
1. Two-Tone Molding Accent Wall Behind the Sofa
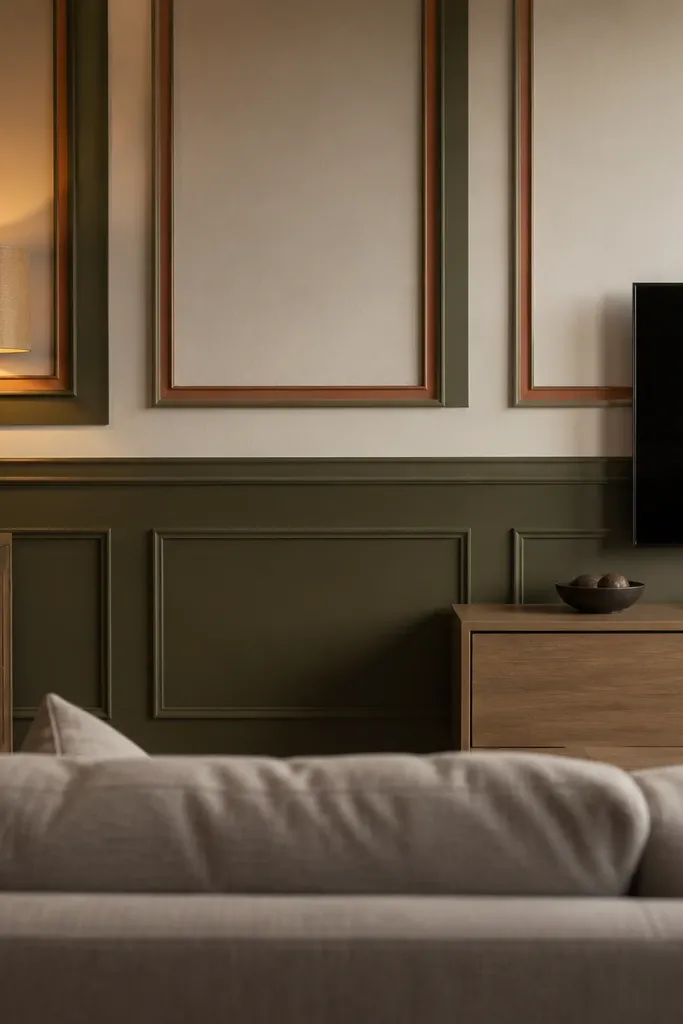
Measure the sofa width and mark a center line on the wall. Install lightweight wall molding strips in a simple grid with painter’s tape as your spacing guide, then fill nail holes with spackle and sand smooth. Paint the wall base first, let it cure, then brush or roll the molding color carefully using angled trim brushes. Finish by touching up edges and removing tape while the paint is slightly tacky so lines stay clean.
A two-tone molding accent wall gives you structure without the “builder-grade” look. The molding creates shadow lines, so the wall reads interesting even when the room is dim. Paint the base a warm white and the molding a muted olive or clay — that color pairing looks good with both wood and chrome hardware. This is beginner-friendly drawing room interior basics because you’re painting and installing pre-made trim, not redesigning the room. It also photographs well because the straight lines and shadows make everything look crisp.
Skip thisDon’t skip measuring — random spacing is what makes molding look crooked even if your cuts are perfect.
Editor's noteUse a 2-inch angled sash brush for molding edges — it beats cutting in with a small roller every time.
2. Oversized Linen-Look Curtains With a Ceiling Track
Measure from where you want the ceiling track to the floor, then add 1-2 inches for pooling if you like a relaxed look. Use a ceiling track or a high wall mount so the rod sits 4-6 inches above the window frame. Hang two panels per side with enough width to gather — aim for 1.5 to 2 times the window width in total fabric. Hem if needed, then steam or press the folds so the drape looks even.
Curtains are the fastest way to make a drawing room look taller and more expensive. Linen-look fabric adds texture, and when panels start near the ceiling and fall to the floor, the room instantly looks “finished.” Choose a warm off-white or oatmeal if your walls are cool-toned; pick a soft greige if your walls are warm. This project is beginner-friendly drawing room interior basics because it’s mostly measuring, mounting, and hanging. It also makes everything else look better by framing the window like a picture.
Skip thisDon’t hang curtains at window height — that’s the #1 reason rooms look smaller and less designed.
Editor's noteBuy an extra panel length if you’re between sizes; you can always hem, but too-short curtains ruin the proportions.
3. Gallery Wall Grid With One Big Center Piece
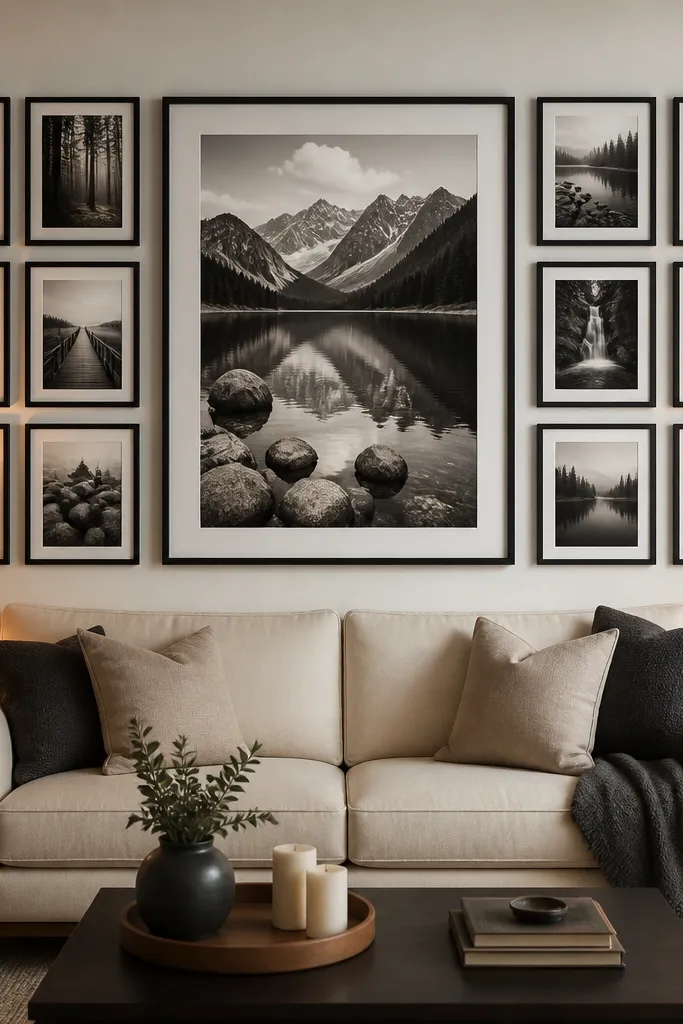
A gallery grid looks “planned” even when you mix different art sizes. The trick is one oversized center piece that sets the rhythm; everything else supports it. Pick frames in one finish (matte black, antique brass, or white) so the wall reads cohesive. This delivers wow because it turns a blank wall into a focal point without needing a feature wall. It’s also beginner-friendly drawing room interior basics because you can use painter’s tape to map the layout before you hang anything.
Lay your frames on the floor and decide the center piece first, then build a balanced grid around it. Tape the layout to the wall using a level and mark stud locations if possible. Start by hanging the center frame, then work outward placing the rest with consistent gaps of about 2-3 inches. Hang with proper anchors for your wall type, then step back from 6-8 feet to check alignment and adjust spacing.
Use paper templates for each frame so your screw holes land exactly where they should.
Don’t mix frame finishes — it makes the wall look like a collection instead of a design.
4. Plug-In Sconce Duo on Either Side of Art
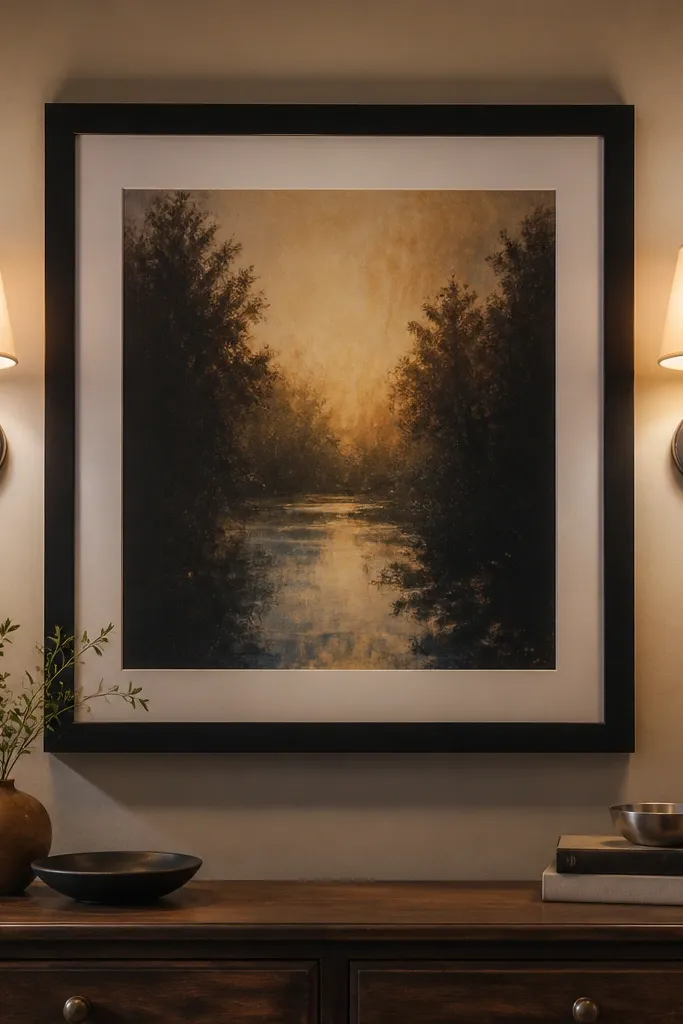
Pick the art or mirror height you want, then center each sconce so the light is roughly at eye level or slightly above the top third of the art. Use the included mounting plate, mark holes, and secure anchors if there are no studs. Route the cord neatly along the trim or behind furniture so it doesn’t become the visual focus. Install bulbs, then test the switch position and brightness before finalizing placement.
Wall lighting on both sides of a focal piece makes a drawing room feel intentional immediately. Plug-in sconces are a smart beginner-friendly drawing room interior basics move because you avoid electrical work but still get the layered lighting effect. Choose warm bulbs around 2700K so the room looks soft, not blue. The wow comes from how the light grazes the wall and lifts the art without harsh overhead lighting. It also photographs beautifully because you get highlights and shadows, not flat illumination.
Skip thisDon’t mount sconces too low — if the light source sits below the art, the glow looks like an accident.
Editor's noteUse 2700K LED bulbs and a dimmer if your sconce has one — it keeps skin tones and fabrics looking right.
5. Framed Fabric Panel for a Soft, Acoustic Look
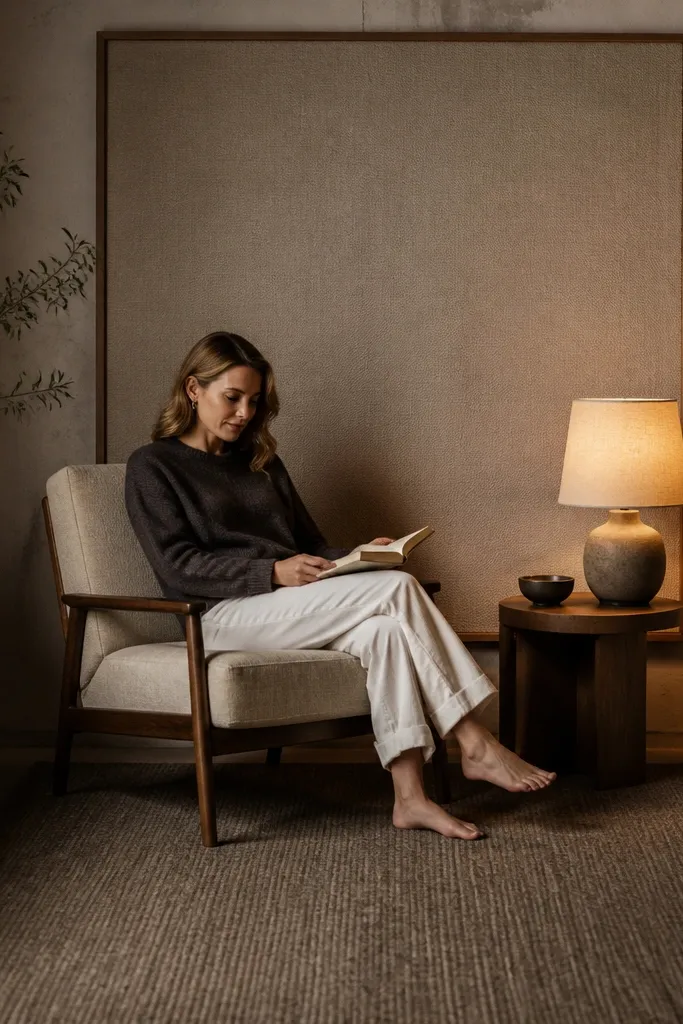
A fabric panel turns a hard wall into something warm and textured. It also reduces echo in a drawing room, which makes the space feel calmer when people talk. Use a medium-weight fabric like linen, cotton canvas, or a subtle boucle blend so the surface holds shape. This is beginner-friendly drawing room interior basics because you’re building a frame and stretching fabric — no complicated carpentry. The wow is in the softness: it looks upscale, even when the build is straightforward.
Cut 1x2 or 1x3 lumber to your chosen dimensions, then assemble a rectangular frame with corner brackets or wood glue and screws. Stretch fabric tightly over the back and staple it, trimming excess once it’s snug. Add a backing board if needed so the fabric stays flat over time. Mount using picture-hanging hardware, and keep the top edge level.
Spray the back of the fabric lightly with adhesive after tensioning so it doesn’t shift as humidity changes.
Don’t use thin, stretchy fabric — it sags and makes the whole panel look cheap.
6. Statement Area Rug Layer With a Border Pattern
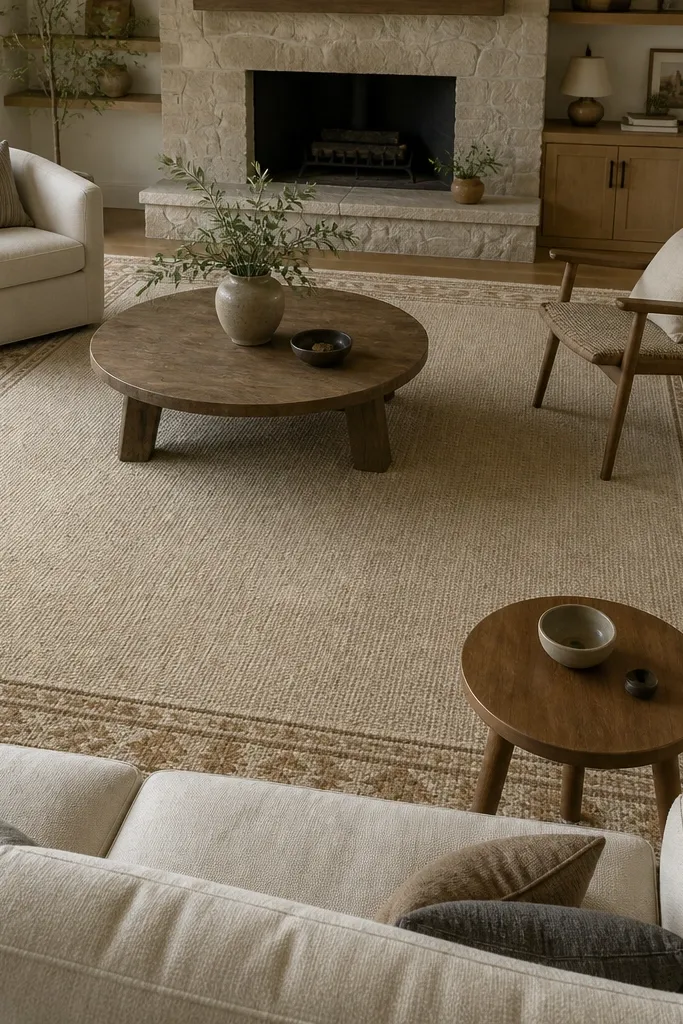
Measure your seating zone and aim for a rug that lets the front legs of sofa and chairs sit on it. Choose a border thickness that matches your room scale — wide borders look best in rooms with bigger walls. Vacuum before placing the rug so it lays flat. If the rug slides, add a non-slip pad cut to size so the edges don’t curl.
A rug border is a cheat code for a wow drawing room because it frames the seating area like a picture. Choose a rug with a visible border or geometric edge so the room has clear boundaries. Warm neutral palettes (sand, oat, taupe) photograph well and blend with most sofas. This idea is beginner-friendly drawing room interior basics because you don’t have to change furniture — you just anchor it. The room looks instantly more pulled together, especially if your floor is bare wood or light tile.
Skip thisDon’t buy a rug that’s too small — partial coverage makes the room feel unfinished.
Editor's noteIf your sofa is dark, go for a lighter rug base to create value contrast.
7. Oversized Mirror With a Simple Frame Finish
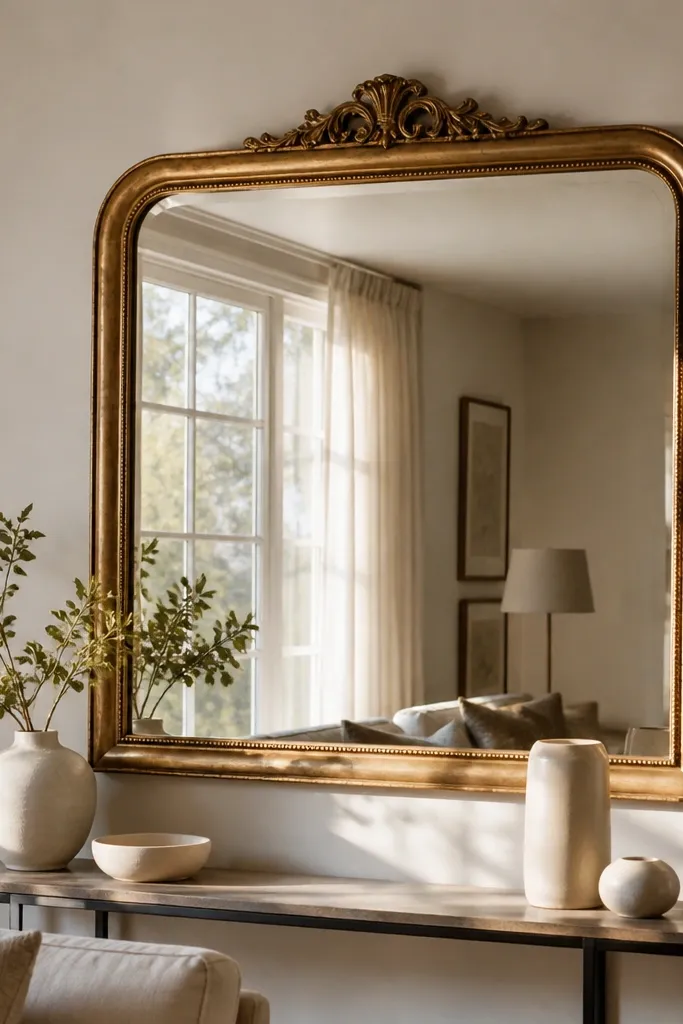
Pick a mirror size that covers at least half the width of the wall space you’re using. Mark wall studs or use proper heavy-duty anchors depending on your wall type. Install mirror mounting brackets so the mirror sits flush and doesn’t tilt. Level it carefully and clean the glass before hanging so smudges don’t show.
A big mirror instantly improves a drawing room by adding depth and bounce. The “wow” part is scale — a mirror that’s too small reads decorative instead of transformative. Frame it in one finish that matches your room’s metals, like light oak, black, or antique brass. This is beginner-friendly drawing room interior basics because you can replace a small mirror with a larger one and get a dramatic look without repainting. It also helps daylight spread, which makes everything else look better.
Skip thisDon’t center a tiny mirror — the scale mismatch ruins the “designed” effect.
Editor's notePosition the mirror so it reflects a lamp or window, not a cluttered corner.
8. Color-Blocked Sideboard Styling With Two Heights
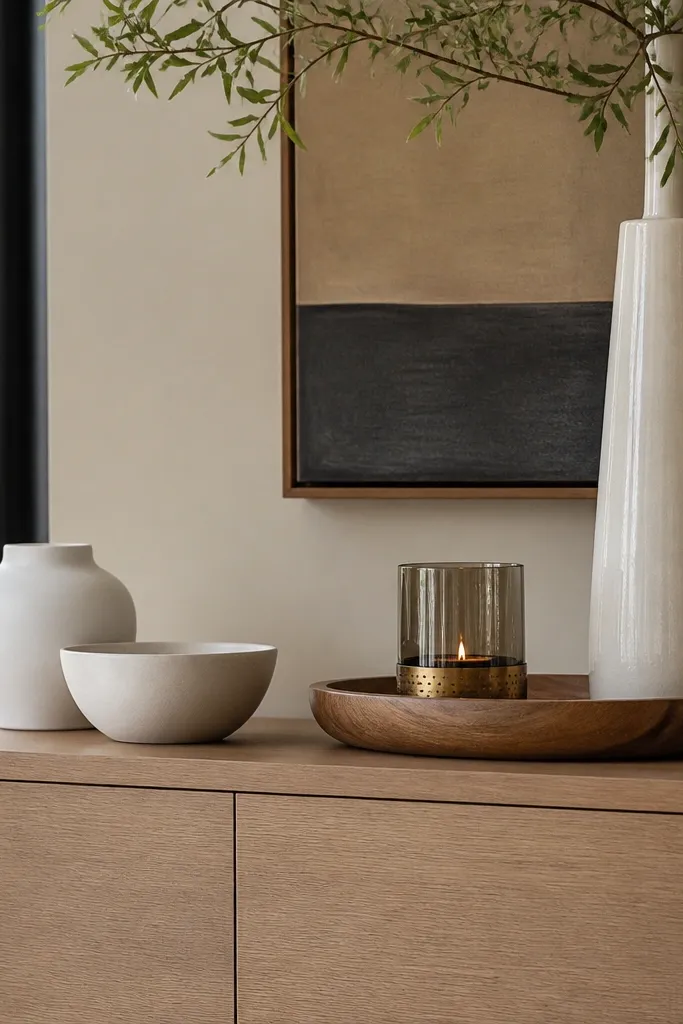
Sideboard styling is where drawing rooms go from “furniture” to “interior.” The trick is height contrast: place one tall element and one low element so the eye reads layers instead of clutter. Use a consistent palette — for example, matte white ceramics plus a warm wood tray plus one brass accent. This project is beginner-friendly drawing room interior basics because it uses objects you can source cheaply and arrange with intention. It looks good in photos because the shapes create a clear silhouette line across the surface.
Choose three anchor pieces: one tall (vase or sculpture), one medium (stacked books or a lantern), and one low (tray or bowl). Arrange them so the taller piece sits slightly off-center and the low piece grounds it. Add one texture item like a woven coaster set or linen runner. Step back and check that the arrangement reads from the doorway — adjust until it does.
Use a tray under small items so everything stays contained and doesn’t look scattered.
Don’t place more than one pattern-heavy object — the surface gets busy fast.
9. Painted Fireplace Surround or Feature Wall Panels
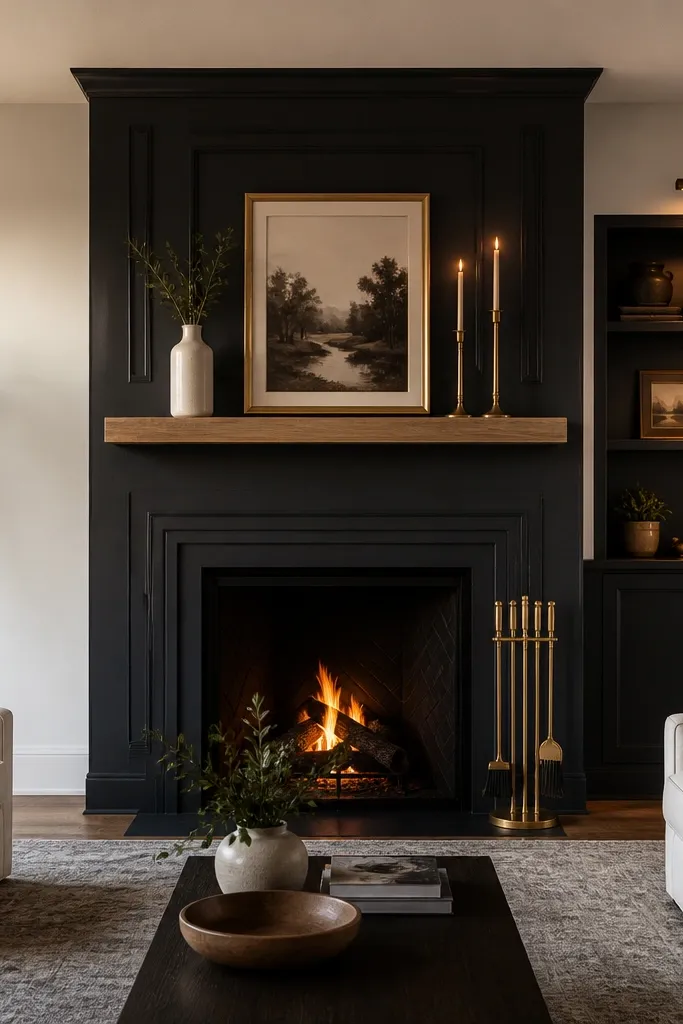
If you have a fireplace or a natural architectural feature, painting it a deep matte color makes the whole room look styled. The surround becomes the focal point and gives you a dark anchor that makes lighter furniture pop. Choose a matte paint finish for the surround and a softer neutral for the surrounding wall. This is beginner-friendly drawing room interior basics because it’s paint, tape, and patience — not carpentry. The wow is in sharp edges and the way the feature catches light without glare.
Clean the surface and remove loose soot or dust, then tape along trim lines with painter’s tape designed for clean removal. Prime bare areas and fill chips with spackle, sanding smooth after drying. Paint the surround with a matte finish in two coats, letting each coat dry fully. Remove tape while paint is slightly tacky to prevent torn edges.
Use a foam roller for flat areas and a angled brush for corners to keep lines crisp.
Don’t paint over dusty surfaces — it causes peeling and chalky patches.
10. DIY Floating Shelf in Walnut Stain for Books and Art
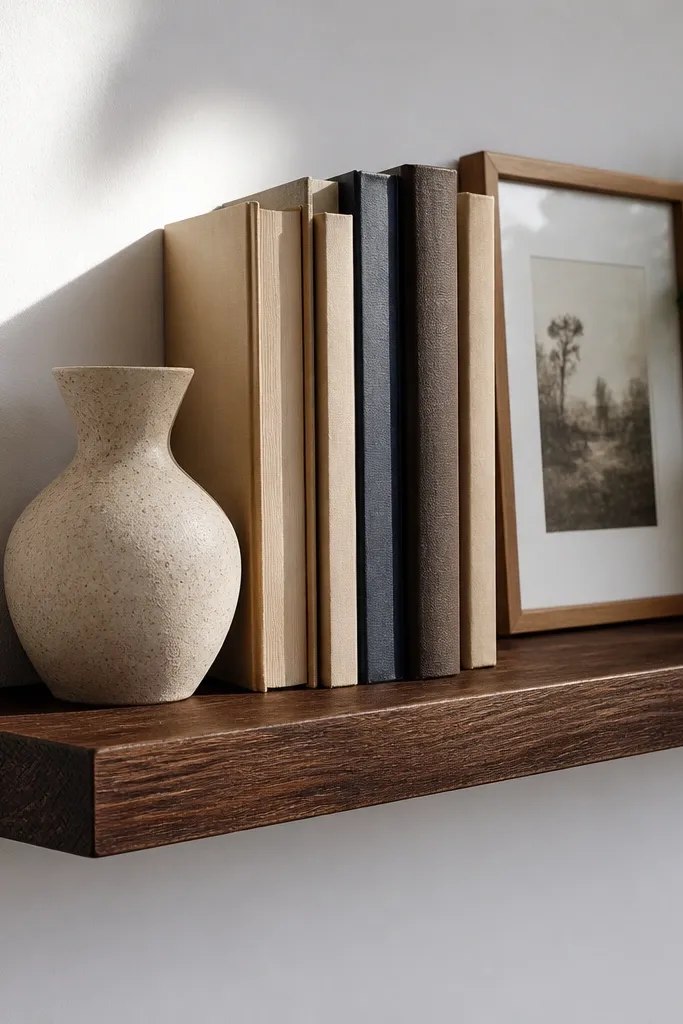
A floating shelf adds vertical interest without taking floor space, and it gives you a place to style in layers. Walnut stain (or a similar warm medium-brown) looks sharp against white walls and light curtains. The wow comes from using it like a display platform, not a clutter shelf. This is beginner-friendly drawing room interior basics because the build is simple straight cuts and secure mounting. It’s also photogenic because it creates clean lines and lets you control composition.
Pick a shelf length that matches your wall section, then buy a shelf board and sand it to at least 180 grit. Stain in thin coats, wiping off excess, then seal with a clear matte or satin topcoat to protect from fingerprints. Mark stud locations and mount two or three brackets spaced evenly based on shelf length. Place items only after the finish has fully cured.
Match shelf depth to your items — 6-7 inches is perfect for books and small décor.
Don’t mount on drywall only — shelves sag even if they hold at first.
11. Rattan or Woven Basket Wall Organizer With Hidden Hooks
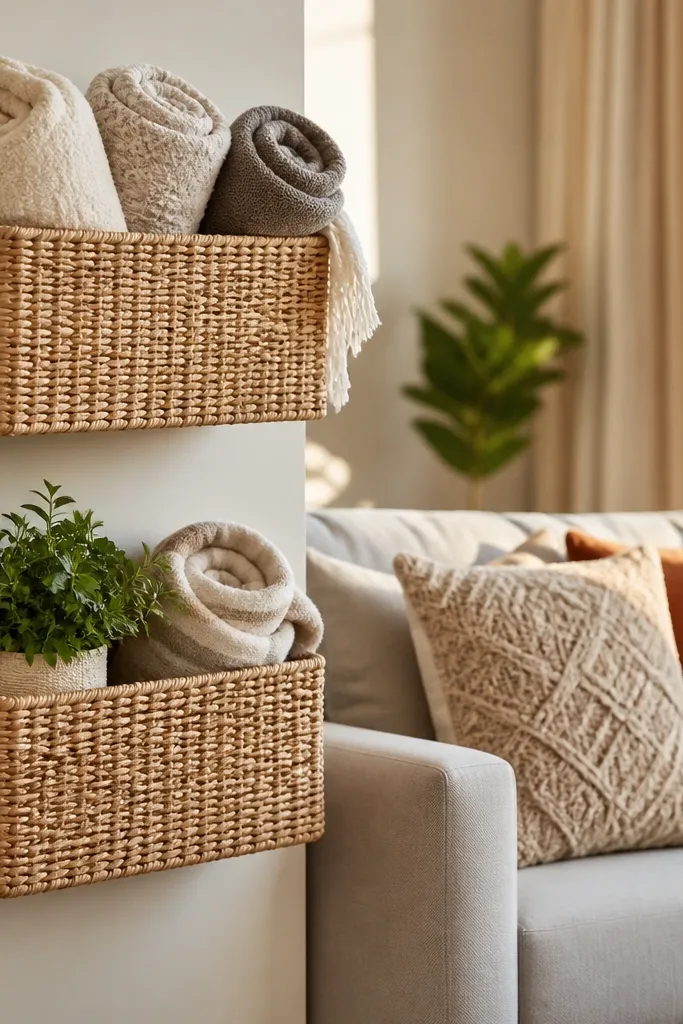
Choose baskets with sturdy backs or built-in loops, then measure the wall area so the tops align. Mark mounting spots, screw in wall anchors or into studs, and hang baskets using hardware rated for the basket’s weight. Add a few small hooks under the basket line for keys or lightweight items. Style with rolled throws or books in a consistent orientation so the wall looks curated.
Woven baskets on the wall add warmth and texture while also cleaning up the room’s visual mess. Use them for blankets, remote storage, small plants, or rolled throws — the room looks styled because the storage is part of the décor. This is beginner-friendly drawing room interior basics because you’re mounting baskets and adding hooks, not building furniture. The wow is in texture — baskets catch light differently than smooth surfaces. It’s also practical, which keeps your drawing room looking good between weekends.
Skip thisDon’t overload baskets — heavy loads pull anchors loose and sag the whole line.
Editor's noteStick to one basket color and weave thickness; mixing too many textures makes it look random.
12. DIY Oversized Floor Lamp Shade Upgrade
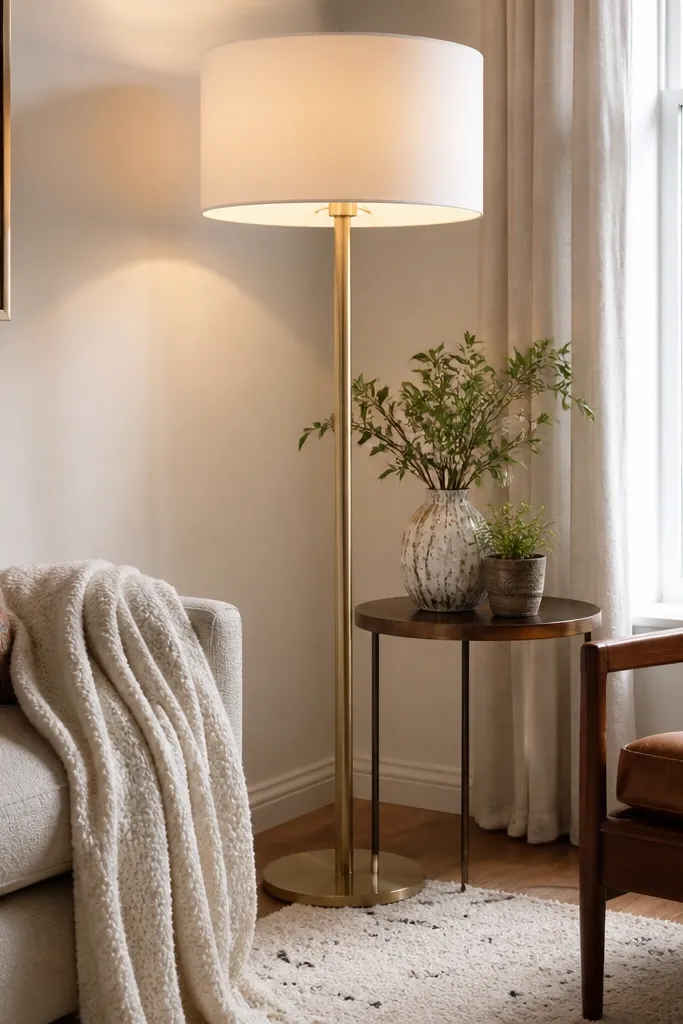
Measure the existing shade’s frame diameter and height or use the old shade as a template. Buy or sew a new shade fabric panel with enough width for the circumference and enough height for a clean top and bottom. Attach fabric to the frame using shade glue or clips, then trim edges with bias tape. Reinstall the shade and test with a 2700K LED bulb to see the actual glow.
Changing the lampshade is one of the quickest ways to make a drawing room look updated without buying a new lamp. A crisp white drum shade softens overhead light and makes the room feel airy. If your current shade is stained or too dark, it drags the whole color palette down. This fits beginner-friendly drawing room interior basics because it’s fabric, a frame, and simple assembly. The wow comes from better light quality — you get an even glow that flatters fabrics and skin tones.
Skip thisDon’t use a shade that’s too small; it creates a harsh hotspot and looks cheap.
Editor's noteKeep the shade inside color light — the outside can be decorative, but the inside controls how flattering the light is.
13. Peel-and-Stick Wallpaper in a Single Wall Niche
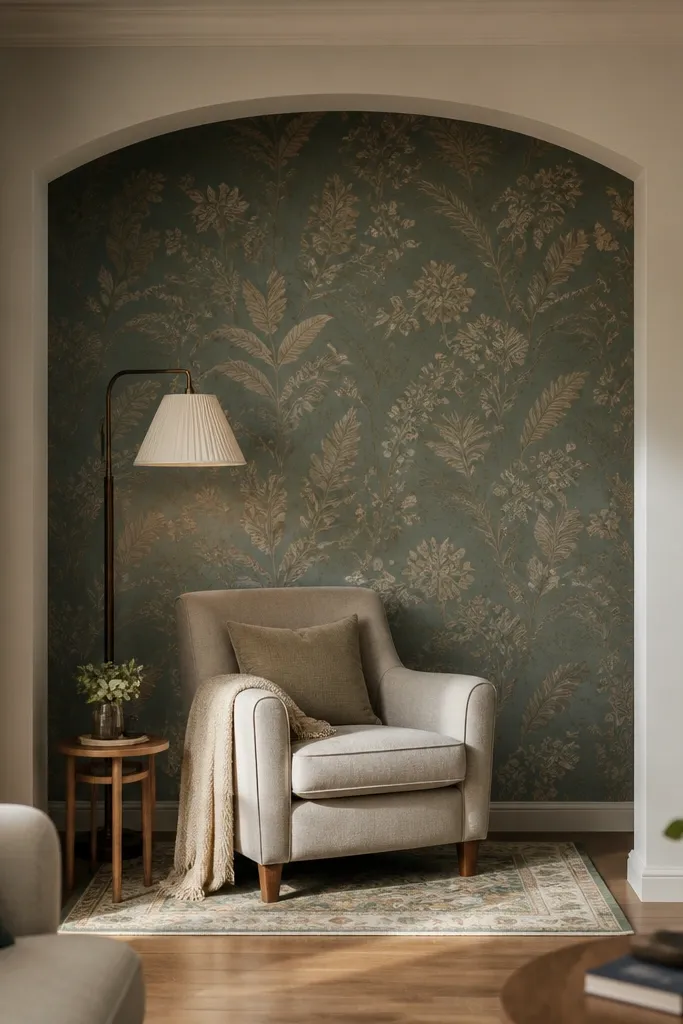
Wallpaper can look intimidating, but a single wall section makes it manageable and still gives a wow moment. A niche behind a reading chair, the wall behind a console, or the corner near the window works great because it frames the pattern. Choose a pattern with large scale so it reads clearly from across the room. This is beginner-friendly drawing room interior basics because peel-and-stick is removable and forgiving. The room looks designed because the pattern becomes the focal point and adds depth.
Clean the wall and let it dry fully, then apply a primer if the wall is glossy or patchy. Measure the wall height and cut strips with a little extra for trimming. Start at a level reference line, apply the first strip carefully, and smooth with a plastic tool to push out bubbles. Trim edges with a sharp utility knife and seal only if the product instructions require it.
Use a laser level or long spirit level for the first strip — everything else depends on that straight start.
Don’t rush the first panel — misalignment shows immediately in repeating patterns.
14. DIY Framed Chalkboard or Message Board Above a Console
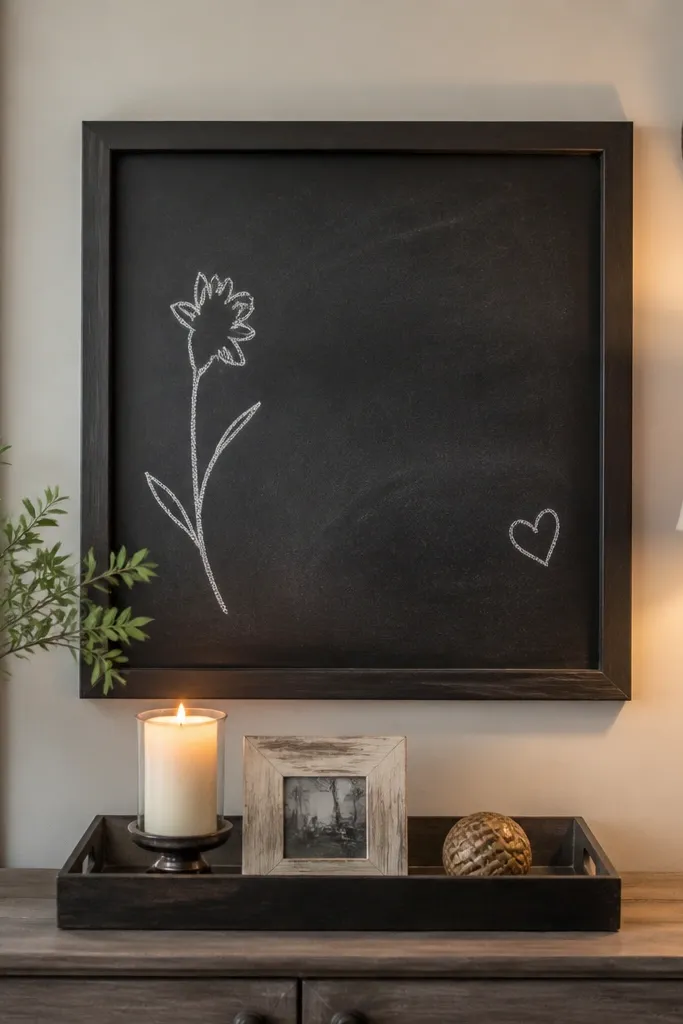
Buy a chalkboard panel or chalkboard paint kit and let it cure fully per instructions. Frame it with simple wood trim or a metal frame, then sand edges so the frame sits flat. Mount above the console at a height where it reads from the sofa — usually eye level. Prime and seal the chalkboard if required, then test with chalk to confirm it wipes clean.
A framed chalkboard adds personality and function without clutter. It also gives you a rotating focal point, which keeps the room from looking static. Use it for a simple quote, a seasonal art print, or a small note — but keep the writing minimal for a clean look. This is beginner-friendly drawing room interior basics because it’s framing and surface prep, not a full wall transformation. The wow comes from contrast: matte black or deep green against light walls and calm décor.
Skip thisDon’t cover the board with decorative borders — it competes with your furniture.
Editor's noteUse deep green instead of pure black if your room has warm wood tones — it looks softer.
15. Textured Paint Accent in a Damask-Free Pattern
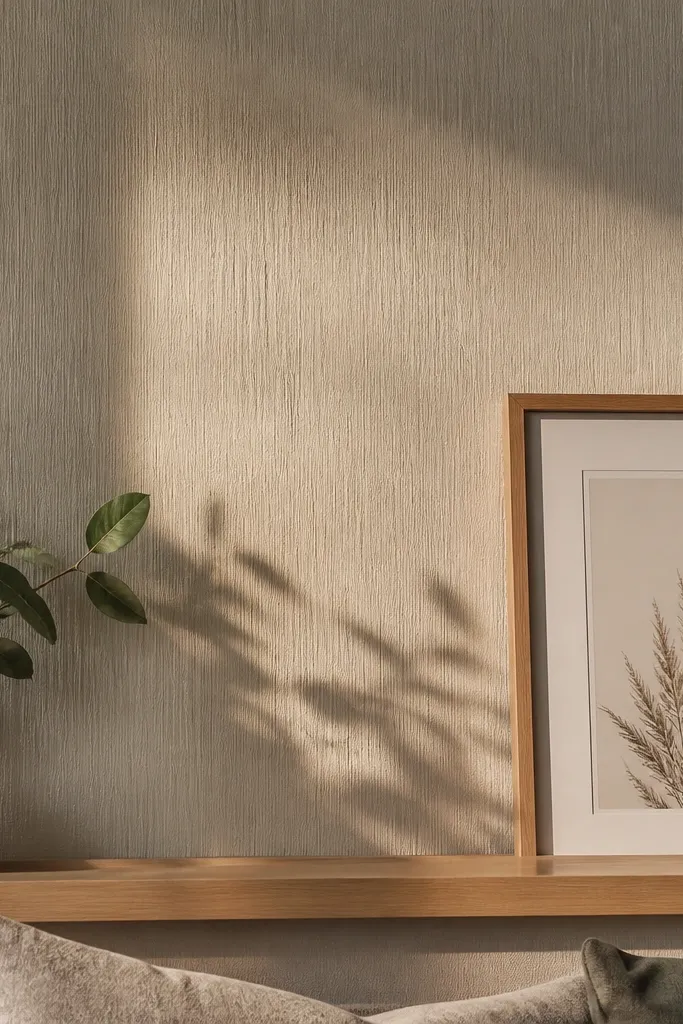
Tape off the wall area and apply a base coat in your chosen neutral, then let it dry. For a simple stripe texture, use a stencil or painter’s tape strips, apply a second paint coat with a sponge roller, and remove tape once the paint is just tacky. For a sponge effect, dab with a natural sea sponge and keep pressure light for a consistent finish. Seal only if the product calls for it, and protect surrounding trim with drop cloths.
Textured paint gives you depth without the commitment of wallpaper. Skip busy damask patterns and pick a simple stripe or sponge texture that catches light gently. Use a neutral color close to your wall tone — the texture shows up in photos as shadow and highlight, not loud color blocks. This is beginner-friendly drawing room interior basics because it uses sponges or rollers and a clear method. The wow comes from how the wall changes throughout the day under different lighting.
Skip thisDon’t use thick paint for texture — it peels and looks lumpy instead of dimensional.
Editor's noteDo a test patch on a corner first — texture intensity changes a lot with paint thickness.
16. DIY Window Seat Cushion With Removable Covers
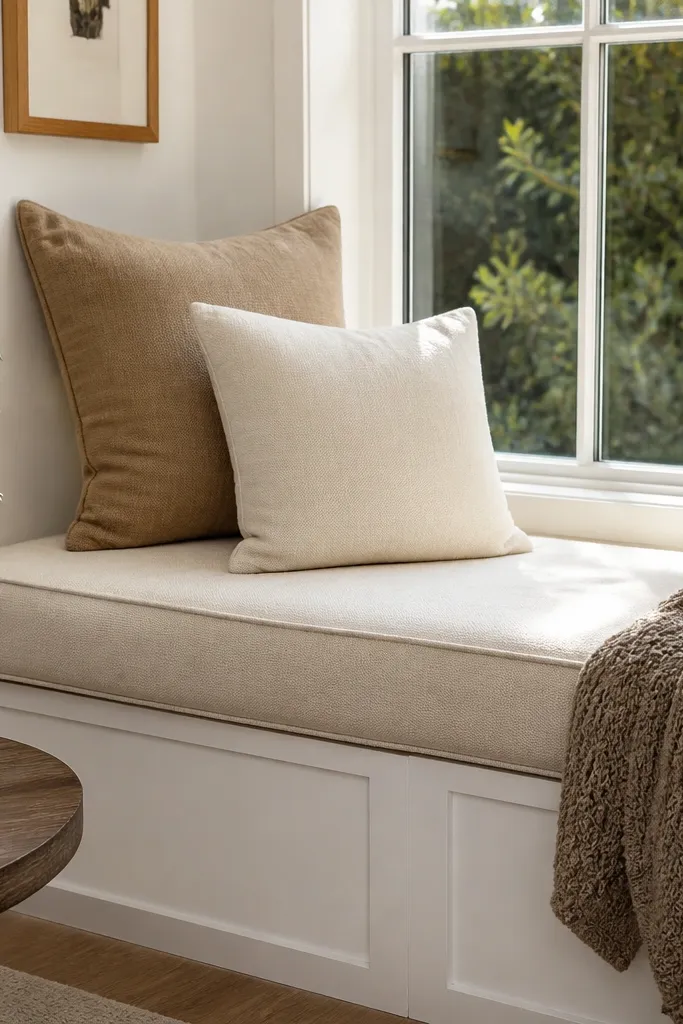
A window seat cushion makes the drawing room feel like a place you want to hang out, and it adds color through fabric. Removable covers keep it looking clean, which matters in rooms where people actually use the space. Choose fabric with a tight weave like canvas or indoor-outdoor fabric if you get sun exposure. This is beginner-friendly drawing room interior basics because you’re measuring foam, sewing or assembling covers, and installing with simple hardware. The wow is the comfort look — plump, even seams, and clean corners.
Measure the seat surface and decide cushion thickness, usually 3-4 inches for a comfortable sit. Cut foam to size with a serrated knife and wrap with a thin batting layer to soften edges. Sew a cover or use a made-to-size cover kit, leaving a zipper along the back or underside. Install with hidden straps or Velcro so the cushion doesn’t slide, then add a couple of throw pillows for balance.
Use a zipper foot for clean corners and press seams before you sew — it changes the whole look.
Don’t skip batting — foam edges can telegraph through fabric and look cheap.
17. Two-Color Throw Pillow Swap With a Repeat Pattern

Choose two solid pillow covers in complementary tones and two patterned covers that repeat one of those colors. Size matters: aim for 18x18 or 20x20 inches for most sofas, and stack 2 or 4 pillows depending on couch width. Arrange with the solids slightly forward and the patterned ones at the corners. Add a quick steam or light press so the covers look smooth with defined edges.
Pillow swaps are the easiest way to make a drawing room look “updated” without changing furniture. The beginner-friendly drawing room interior basics move here is to keep it to two colors plus one pattern, then repeat that pattern somewhere else in the room. Pick a pattern that has one of the same colors as your solids, like a beige base with olive accents. The wow comes from crisp layering: solids create calm, pattern adds motion, and the room looks styled instead of empty. It also photographs well because pillows create clear shapes against upholstery.
Skip thisDon’t mix three patterns — the sofa becomes busy and photos look messy.
Editor's noteUse pillow inserts that are slightly larger than the cover size so corners stay full.
18. DIY Wall Shelf for Candles and a Single Green Plant
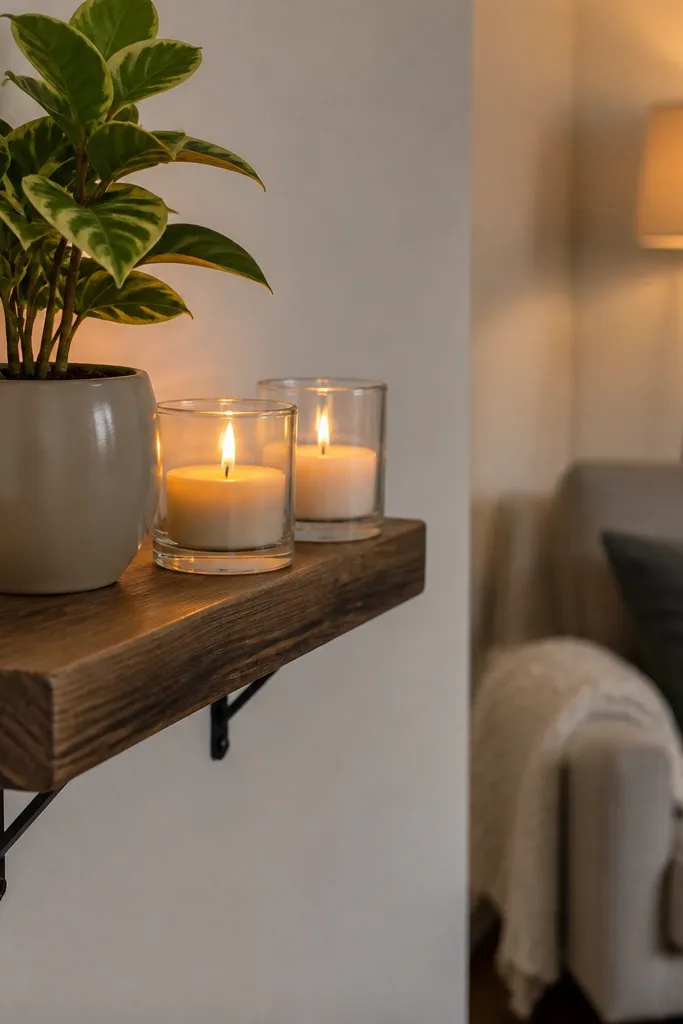
Choose a shelf about 16-24 inches long so it doesn’t feel tiny on the wall. Use a level to mark mounting spots into studs or use heavy-duty anchors where needed. Place a small tray on the shelf, then set two candle holders on either side and the plant in the center back. Finish by adjusting spacing until the shelf looks balanced from the doorway.
A small shelf with candle holders and one plant creates a calm, high-end vignette. The plant adds life and color, while candles add that soft glow that makes the room feel warm. Keep the plant simple — a faux fiddle leaf in a matte pot or a real pothos in a ceramic planter both work. This is beginner-friendly drawing room interior basics because the build is minimal and the styling is controlled. The wow comes from a tidy composition: three items max, aligned visually by height.
Skip thisDon’t put too many objects — shelves look best when they read from across the room.
Editor's noteMatch candle holder metals to your room hardware — it keeps the vignette cohesive.
19. Bespoke Side Table Makeover With a New Top Finish
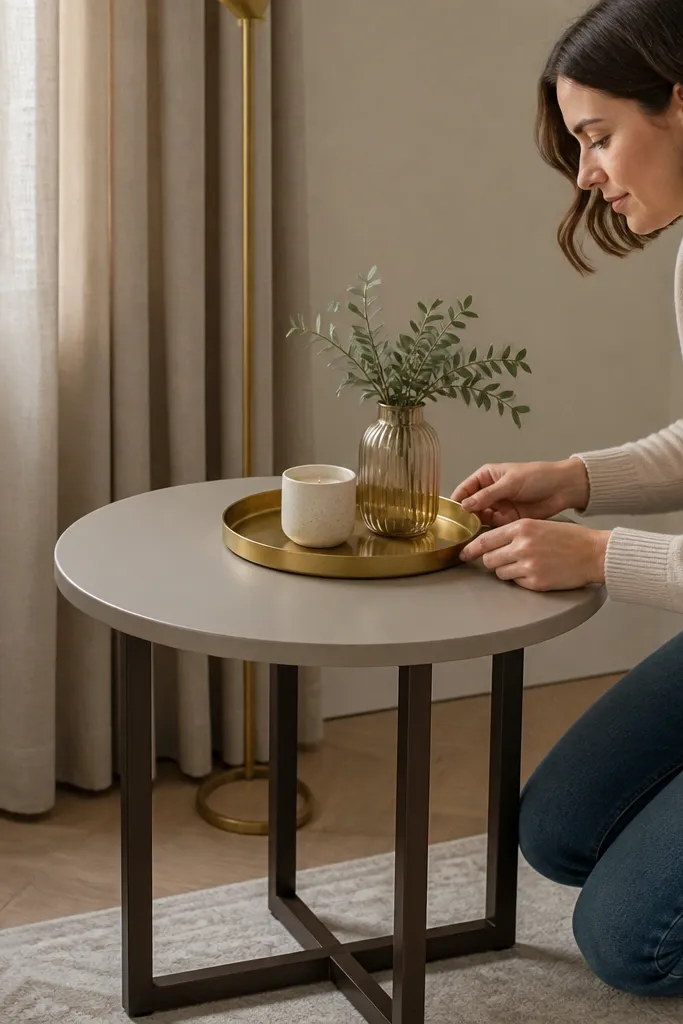
A side table top makeover can change the whole drawing room palette. If your table is scratched or the finish looks dull, a new top finish makes it look intentional and clean. Go for a warm wood tone or a smooth matte paint in a color that repeats from your curtains or pillows. This beginner-friendly drawing room interior basics project is manageable because you’re sanding and refinishing one surface. The wow comes from small objects looking new — lamp bases, trays, and books suddenly look like a set.
Sand the top with 120 grit to remove shine, then 180 grit to smooth. Wipe dust and apply primer if painting, or stain if you’re going for wood tone, followed by a clear protective topcoat. Let it cure fully before placing items. Style the table with a tray, one book stack, and a lamp so the surface looks composed.
Use matte topcoat if you want a softer look that hides minor imperfections.
Don’t skip sanding — coating over gloss is the fastest way to get peeling.
20. Rug and Curtain Color Matching Using a 60-30-10 Rule
Pick your dominant neutral first from the biggest surfaces you’re keeping, like curtains or the wall color. Choose the rug as your 30 percent anchor, then pull one accent shade from the rug into pillows or a small ceramic set. Confirm the accent shade shows up in at least two places so it doesn’t feel like a mistake. Shop or DIY last, after you know the ratio.
Color matching is where beginner-friendly drawing room interior basics either works or falls apart. The problem is people pick a rug they love, then curtains and pillows don’t harmonize. Use a 60-30-10 approach: 60 percent visual area in the dominant neutral (curtains and main wall tone), 30 percent in a secondary neutral (rug or sofa), and 10 percent in one accent color (pillows, ceramics, art). This creates a wow look because the room reads cohesive, not random. It also keeps DIY projects from fighting each other.
Skip thisDon’t add three accent colors — it turns the room into a mood board instead of a designed space.
Editor's noteTake a photo in daylight and compare the colors on your phone screen — it’s the fastest way to see mismatches.
21. DIY Linen-Texture Wall Panels Using Slats and Fabric
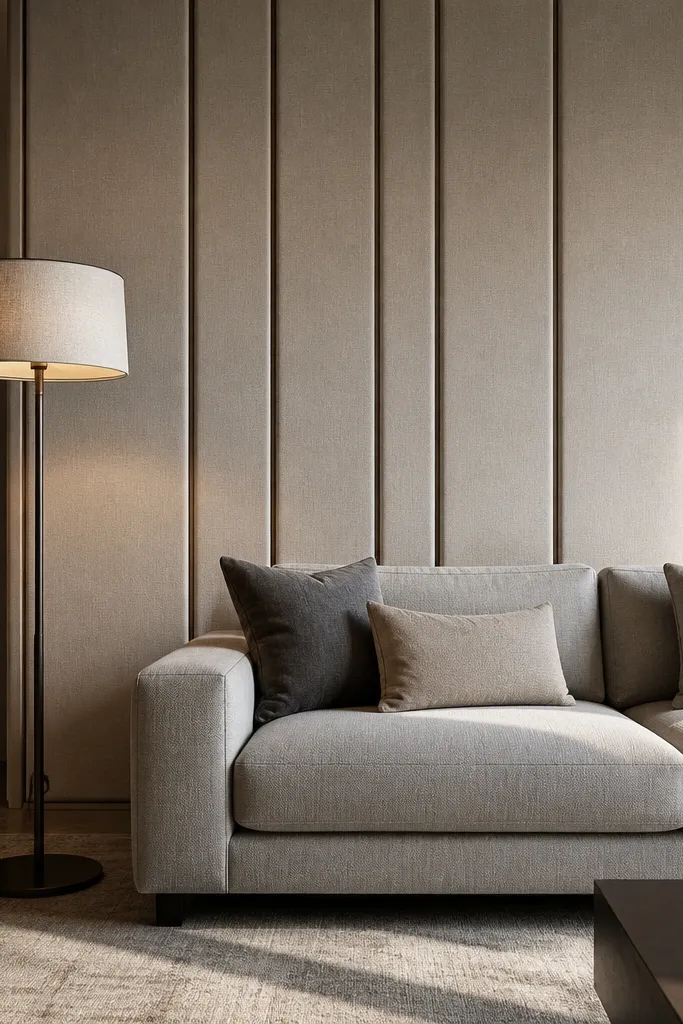
Measure the panel area and cut slats to create evenly spaced vertical strips, usually 2-3 inches apart depending on wall size. Build a backing frame, then attach slats to the backing and stretch fabric over the front. Staple fabric tightly on the back and trim edges so the surface stays smooth. Mount on wall anchors or studs, then align the first panel perfectly before installing the next.
Vertical fabric wall panels add structure and softness at the same time. They make a drawing room look warmer, and the slat shadows add depth even if your wall is plain. Linen texture works because it reads natural and hides minor imperfections in the wall underneath. This is beginner-friendly drawing room interior basics because the build uses simple slats, staple gun work, and straightforward mounting. The wow comes from how the wall catches light — it looks more dimensional than paint.
Skip thisDon’t mount panels without leveling the first one — everything will look wavy across the room.
Editor's noteUse a tensioning board or a scrap wood piece to keep fabric tight while stapling.
22. Painted Picture Ledges in a Matching Tone
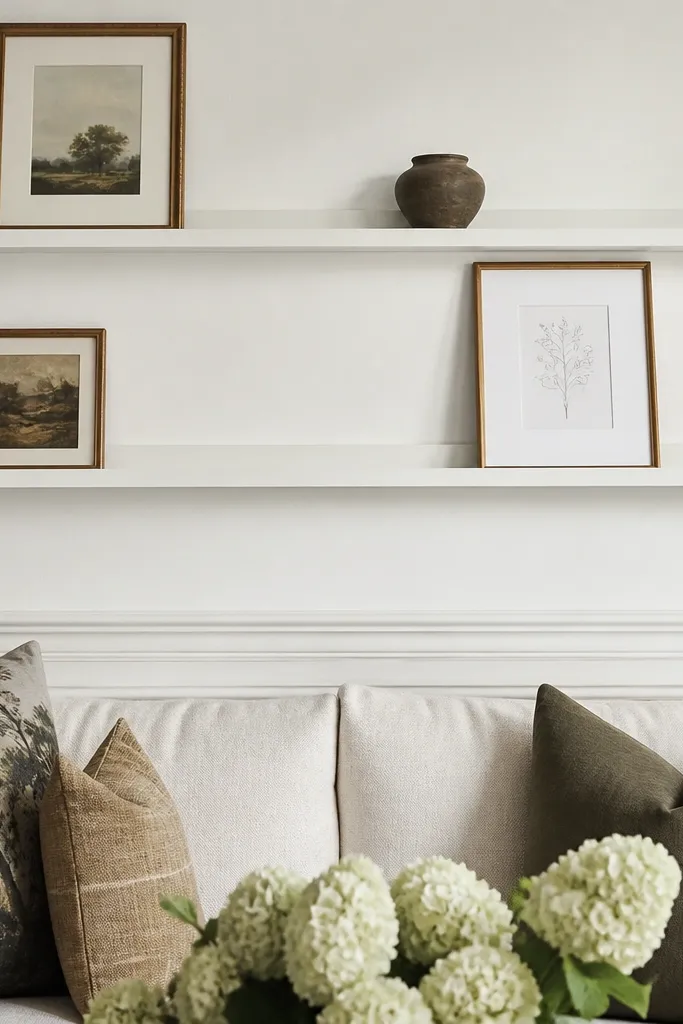
Decide the ledge height so it aligns with your furniture and art sightline, usually 30-40 inches from the floor for the bottom ledge. Sand and paint the ledges, then let them cure. Mount brackets into studs or use anchors rated for the ledge weight, then attach the ledge. Style with frames leaning against the back, add a tray, and keep items grouped by height.
Picture ledges give you a flexible, layered wall look without the permanence of hanging many frames. Paint the ledges the same color as your trim or one of your accent tones so they disappear behind the décor. This is beginner-friendly drawing room interior basics because you can start small: one ledge, two frames, one plant. The wow is in the styling rhythm: you can swap objects seasonally while keeping the wall structured. It’s also great for rooms where you don’t want to nail dozens of hooks.
Skip thisDon’t overload the ledge — three to five items looks intentional; ten items looks like storage.
Editor's noteUse museum putty to keep frames from sliding — it’s invisible and stops constant readjusting.
23. Corner Reading Nook With a Rug Runner and Small Floor Chair
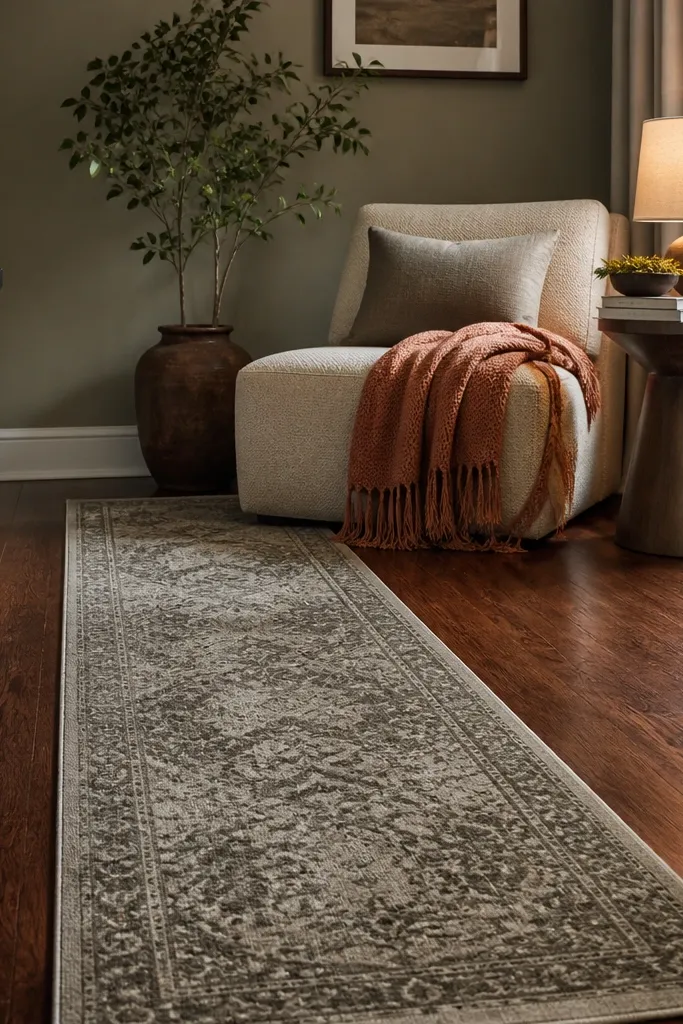
Pick the corner and measure so the chair sits fully on the runner with a little breathing room in front. Add a floor lamp with a warm bulb, then place a small side table close enough for a drink. Layer a throw blanket on the chair back and add one decorative cushion. Finish by keeping the wall behind the chair simple — one small frame or a wall hook panel.
A reading nook makes the drawing room feel lived-in and curated, not just decorated. The wow part is creating a “zone” in the corner with a runner rug and soft textiles, even if the room is compact. Choose a runner with a subtle pattern so it doesn’t fight the gallery wall or curtains. This fits beginner-friendly drawing room interior basics because it’s placement and styling, not complicated builds. When you add a floor lamp and one side table, the corner becomes a visual anchor.
Skip thisDon’t add too many décor pieces to the corner — one lamp, one chair, one textile set is the winning formula.
Editor's noteUse a runner that’s wide enough for the chair legs; narrow runners make the nook look cramped.
24. Statement Ceiling Rose or Medallion Around a Pendant Light
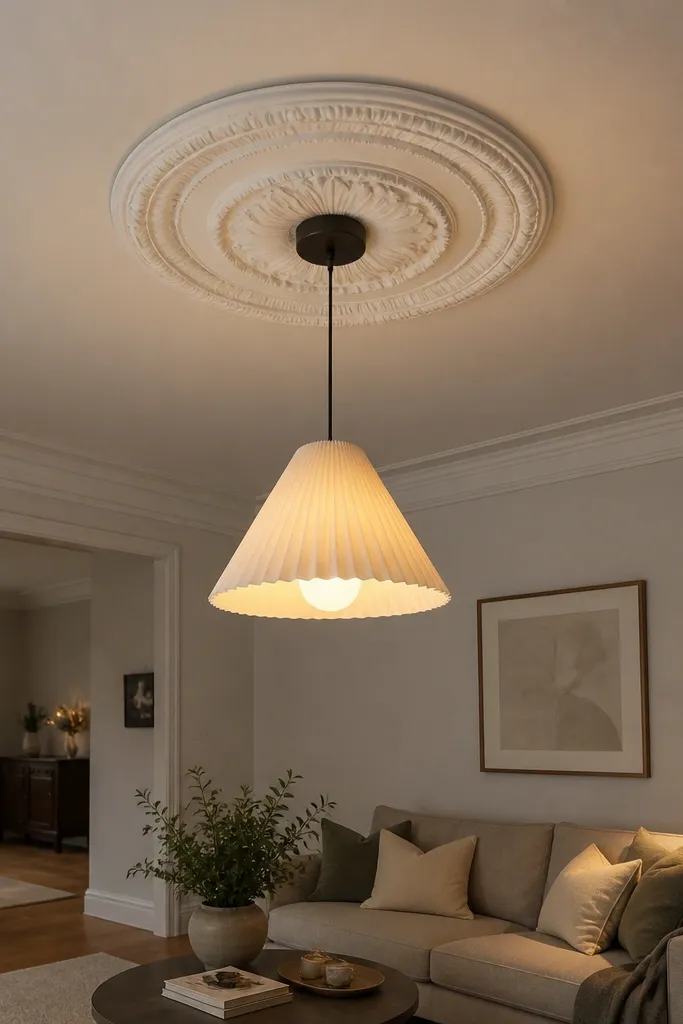
A ceiling medallion turns a basic pendant into a focal point. The room looks taller and more finished because the eye lands on the ceiling detail, not the plain fixture. Choose a medallion in white or a metal that matches your hardware — matte works best. This is beginner-friendly drawing room interior basics because you can add a decorative medallion without re-wiring the light. The wow is in the contrast: a crisp ceiling detail makes the entire drawing room feel more intentional.
Turn off power and remove the pendant shade assembly so you can work safely. Position the medallion around the ceiling outlet and mark where the fixture stem passes through. Attach the medallion with construction adhesive or a mounting ring kit, then reinstall the pendant. Use a caulk line around the medallion edges if the fit is slightly imperfect, then clean up paint dust before turning power back on.
Match paint finish to the ceiling (flat ceiling paint) so the medallion blends until it catches light.
Don’t choose a medallion that’s oversized for the room height — it will look heavy overhead.
25. DIY Chair Slipcovers in a Tailored Fit Look

Measure chair seat width, back height, and arm width, then use a stretch slipcover pattern or tailored sewing approach for better fit. Cut fabric with seam allowance, then sew pieces and test-fit before final hemming. Add elastic at the underside corners if the fabric stretches, and secure with ties where needed. Press the slipcover seams flat and install so the chair edges look crisp.
If your drawing room seating looks tired, slipcovers fix it fast and keep the room looking fresh. A tailored fit look comes from clean seams, proper stretch, and tight corners, not from hiding everything. Choose a fabric with structure like cotton canvas or a linen blend so it doesn’t droop. This is beginner-friendly drawing room interior basics because you can start with two chairs, measure carefully, and adjust patterns. The wow is the “new furniture” look — even a simple sofa-and-chairs setup becomes styled.
Skip thisDon’t skip test-fitting — one wrong measurement shows immediately on chair arms.
Editor's noteUse a fabric weight that holds shape — lighter drapey fabric makes corners collapse.



