
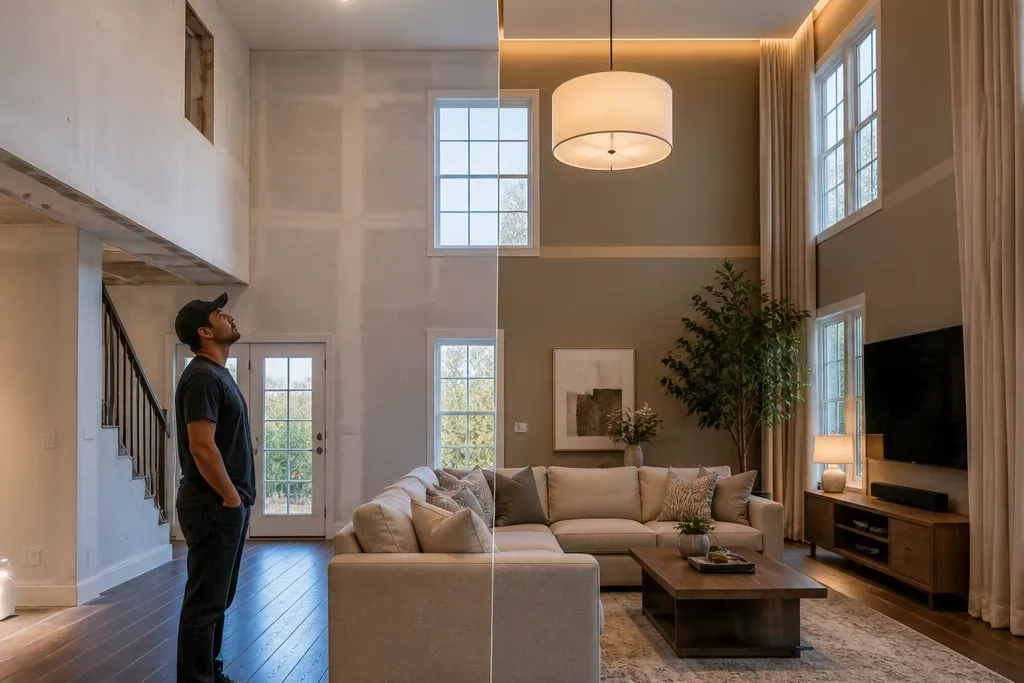
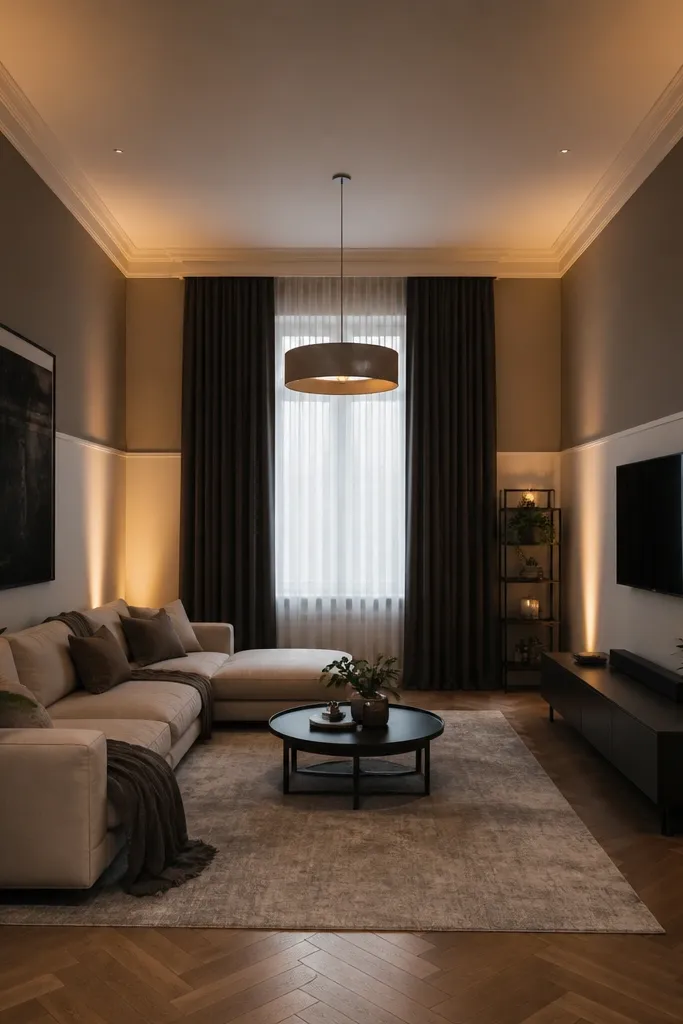
1. Ceiling Light Swap to Wall-Washing LEDs
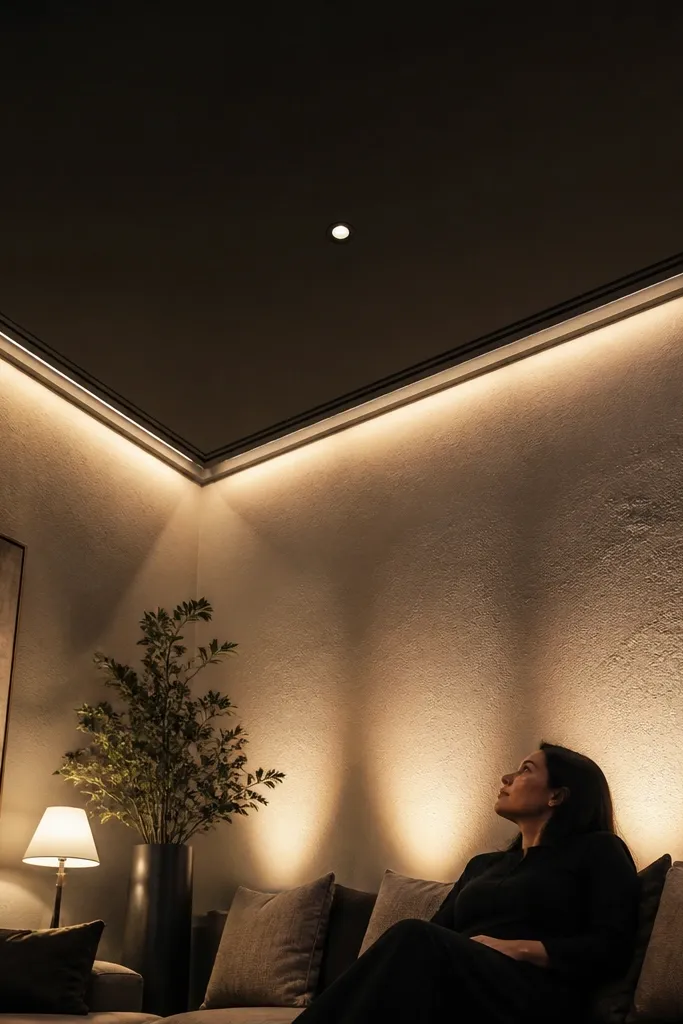
A common double-height mistake is relying on one ceiling light that only brightens the center of the room. The upper half stays flat and shadowy, which makes the room feel taller and emptier at the same time. Wall-washing LEDs fix that by sending light up and across the walls, so your eye reads the whole height as a finished surface. I’d go for warm color temperature around 2700K to 3000K so skin tones and wood tones look natural, not green. This is beginner-friendly because you’re swapping the lighting approach, not re-wiring the entire ceiling.
Start by turning off the power at the breaker and removing your existing ceiling fixture if it’s a simple swap. Choose a wall-washing solution you can install safely: a surface-mounted LED wall wash bar or a track system aimed at the walls. Mount the light so it aims to hit the wall about 1/3 of the way up — use a tape measure from the floor to mark your target height. Then test with the lights on before you tighten everything, adjust the aim, and secure the brackets. Finish by adding a dimmer if you don’t have one, because double-height glare is usually a dimmer problem, not a bulb problem.
Use masking tape to map the beam direction on the wall before you mount anything — it saves you from guess-aiming.
Don’t add brighter bulbs on the same fixture without changing the angle — you’ll just light the ceiling and keep the walls dull.
2. Curtain Rod Mounted 8 Inches Higher + 2x Width
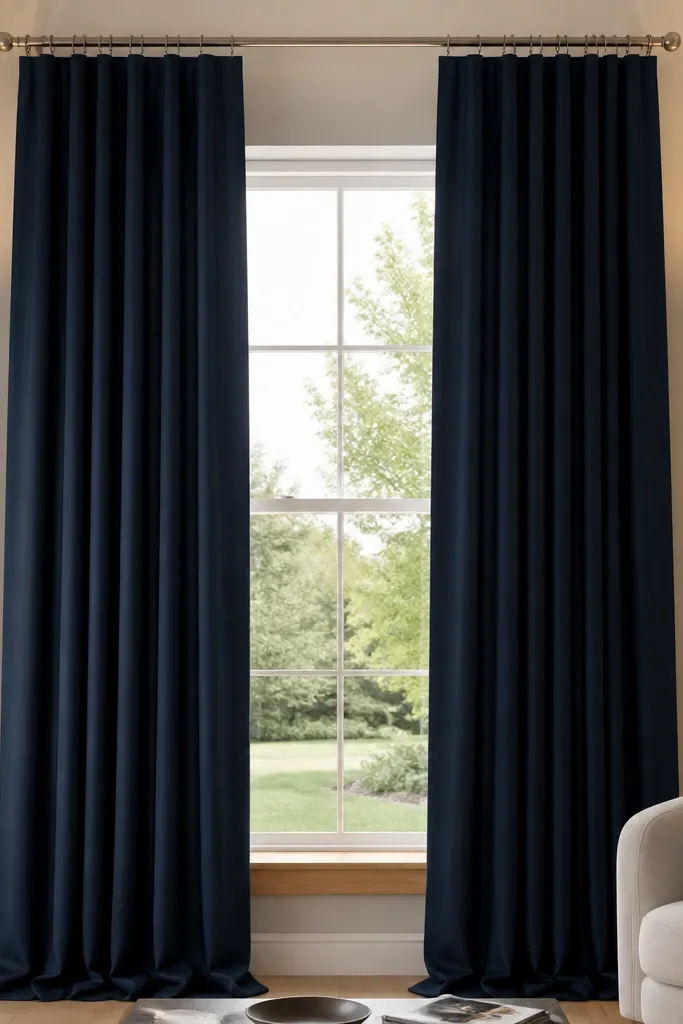
If your curtains stop at the window frame, your double-height room looks like it’s wearing a “short outfit.” Hanging higher and using enough fabric width creates tall vertical lines and makes the whole wall feel planned. I’d aim to mount the curtain rod 8 inches above the top of the window trim, then choose curtains that reach the floor with a slight break. For fullness, you want about 2x the measured curtain track width so the fabric falls in soft folds, not straight panels. This is one of the fastest before/after wins because you can do it in a single afternoon with basic tools.
Measure the window width and decide how wide you want the curtain coverage: start with adding 8-12 inches on each side of the opening. Mark stud locations (or use proper wall anchors rated for the load) and mount the rod 8 inches above the trim. Then hang the curtains and check the length with the curtain fully extended — you want them to skim the floor or kiss it with a light puddle. If you’re sewing or hemming, do it before installing hooks so the hem lands evenly. Finally, pull the curtains fully open and closed to confirm they clear furniture and don’t catch on radiators or vents.
If you’re using rings or clips, pick one system and stick with it — mixing attachment styles makes the folds look uneven.
Don’t buy “double-height curtains” without checking fabric weight — thin sheers won’t create enough body to look intentional.
3. Two-Panel Wall Mirror at Eye Level for the Upper Half
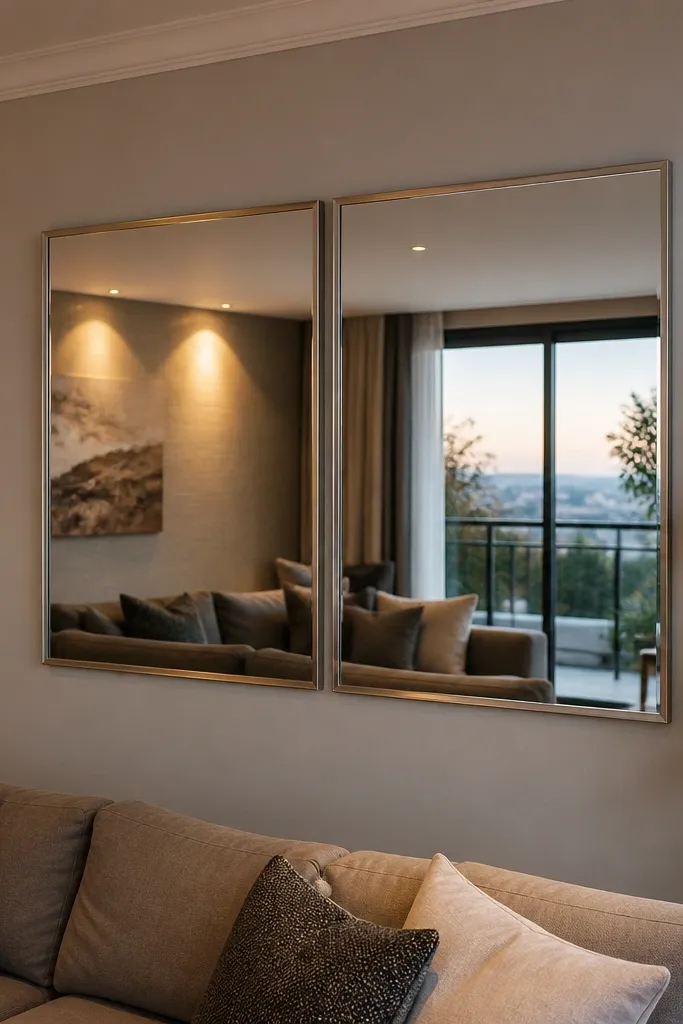
Small mirrors in tall rooms just disappear, and a mirror that’s too low makes the upper half feel like a blank wall. A large mirror positioned correctly bounces light and gives the eye a landing spot that reads from the second-story view too. I like split or two-panel mirrors because they widen the reflected area without needing one giant single piece. Mount it so the center lands around 60 inches from the floor, which is a comfortable visual height for most seating areas. This works best when your room already has decent natural light, since the mirror multiplies it.
Pick a mirror size that covers at least 1/3 of the wall height between floor and the next major architectural line. Mark your mounting points and confirm the wall can take the load — use wall studs when possible. Measure so the mirror center is around 60 inches from the floor, then level it with a bubble level before drilling. Use mirror-safe mounting hardware and spacers if the back needs clearance. Do a quick test by standing where you sit most and checking that the mirror reflects the right part of the room, not just the ceiling.
Wipe the mirror and test in daylight before final tightening; smudges look worse in a tall mirror reflection.
Don’t mount the mirror below your sofa back height — it locks the reflection too low and the room still feels unfinished.
4. Gallery Wall That Actually Scales: 6 Pieces, 72-Inch Span
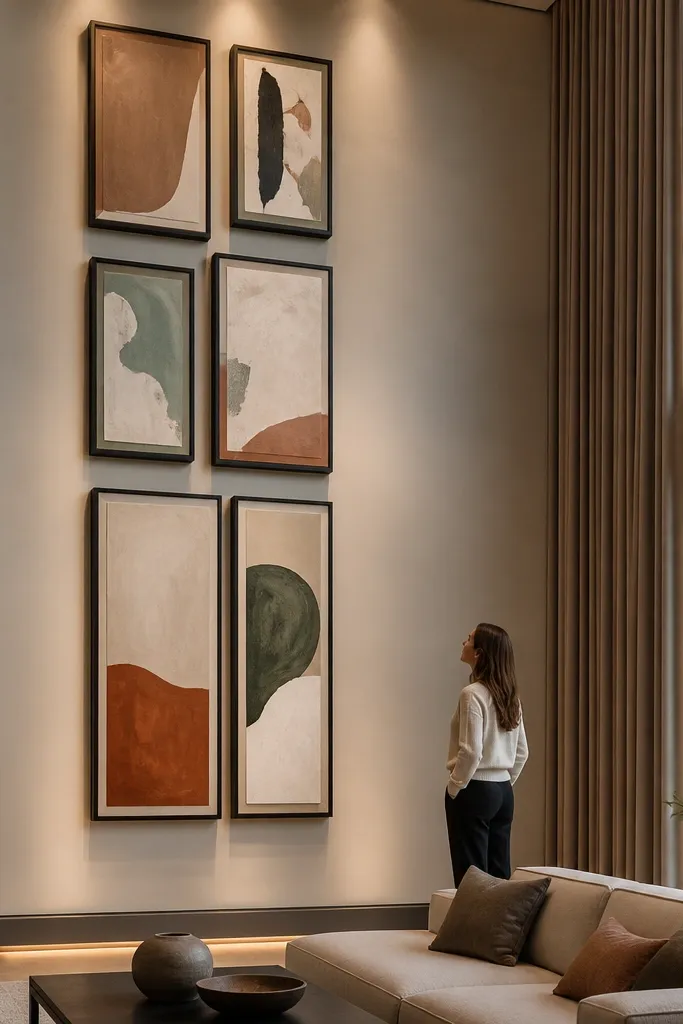
Gallery walls fail in double-height rooms when people treat them like small-room decor. The fix is scale and spacing: you need enough vertical span that the arrangement matches the wall height. I recommend a 6-piece layout that spans about 72 inches total height, with consistent gaps between frames. Use frames that are the same width (or at least the same visual thickness) so your eye reads it as one design block. This method looks intentional from both the ground floor and the upper level.
Choose your frames first — match frame width and finish, then decide your total span. Measure the wall and mark a centerline; then calculate the top and bottom of the gallery so it spans roughly 72 inches. Lay the frames on the floor with the intended spacing, then transfer the layout to the wall using painter’s tape. When drilling, start with the top frame so you can level down from it. Finish by stepping back and checking alignment from the seating area at eye height, not from your feet.
Use a tape template for each frame outline so you don’t rely on measuring while holding a heavy frame.
Don’t mix multiple frame sizes and then “hope” it looks collected — tall walls punish inconsistent scale.
5. Floating Media Console With Open Back and Cable Hide
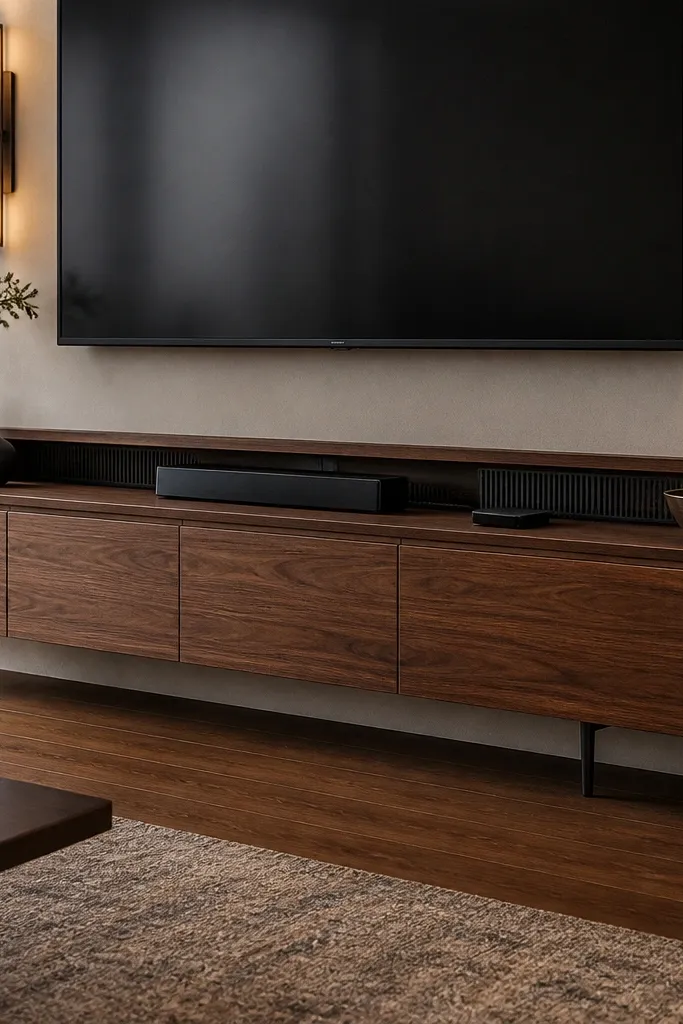
In double-height rooms, a heavy media console sitting on a shelf-killing wall makes the lower half feel cramped while the upper half stays empty. A floating or partially floating console creates cleaner lines and gives the eye a smoother horizontal anchor. The open-back cable hide is what keeps it from looking DIY in the wrong way. I like consoles that have a clear opening for the TV cables and leave space for decor on top. This project improves the room’s before/after by cleaning the “visual clutter layer” that your brain notices instantly.
Editor's noteIf you’re mounting a TV too, mount the TV first and then set the console height around it so you don’t end up with a weird TV-to-console gap.
Measure your TV width and seating distance so the console width is at least 2/3 of the TV width for balance. Choose a console design that allows cable routing through a back channel or removable panel. Install the wall cleat or mounting rail using studs — don’t rely on drywall anchors for a floating unit. Level it carefully, then mount the console and check that nothing rocks. Run cables through a structured raceway behind the unit so you can’t see loops from the sofa.
Skip thisDon’t put the console flush with the wall if you need airflow for electronics — heat buildup shows up later.
6. Paint the Upper Half One Shade Darker (Ceiling-to-Trim Fade)
A double-height room can look unfinished when the paint color stays identical from floor to ceiling. The eye expects a change at height, especially when there’s a second level or deep architectural lines. Painting the upper half one shade darker creates a built-in “frame” so the room feels deliberate without adding objects. Use a clean line at trim height or around a strong horizontal architectural feature. This is DIY-able if you take masking seriously — the edge is the whole trick.
Editor's noteDry brush a tiny test spot of the darker paint next to the lighter area and compare at night — lighting changes how shades read.
Pick two paint samples in the same base color family, with the upper tone about 1 shade darker. Clean the walls, patch holes, and sand the surface smooth. Use painter’s tape and a straight edge to mark the boundary line at your chosen height, then apply primer to patched areas. Roll the upper tone first, let it cure per label, then remove tape carefully after the last coat is applied. Finally, touch up the bottom edge with a small angled brush so the line stays crisp.
Skip thisDon’t skip primer on patched areas — the boundary line will show as a dull strip.
7. Stair-Step Shelf on the Wall Behind Seating
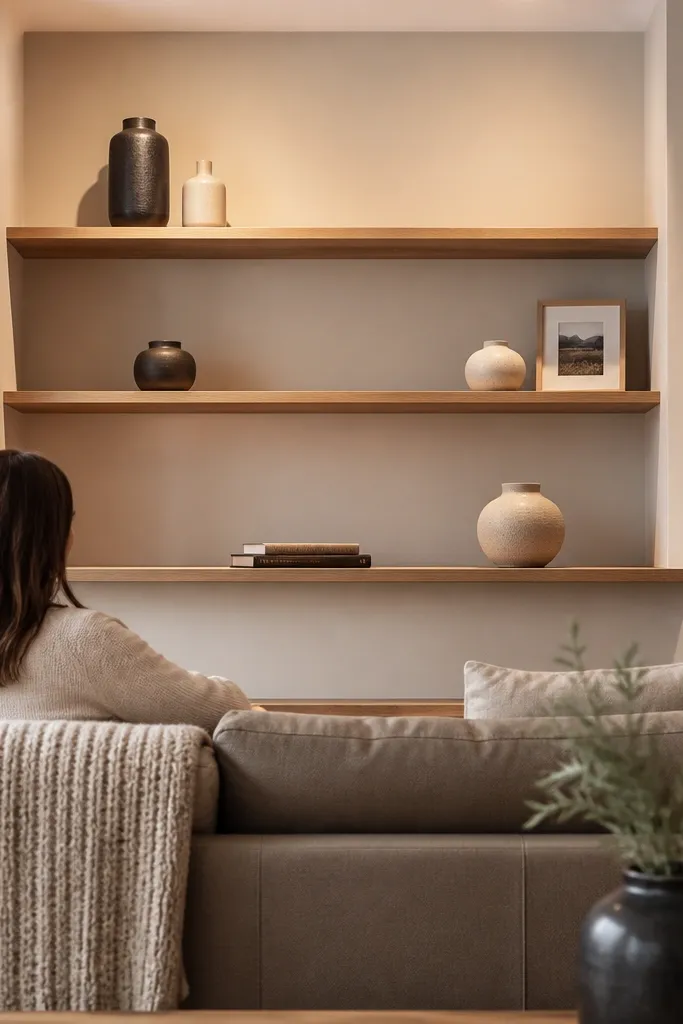
Empty wall behind seating is the classic “double-height looks unfinished” trigger. A stepped shelf pattern gives your wall vertical rhythm and fills the space between art and ceiling without crowding the room. I like shelves that rise upward in 3 or 4 tiers, because it matches the eye’s upward travel and creates a ladder effect. Keep the shelf depth shallow so the wall doesn’t feel bulky. This project also makes your before/after real because it gives you a place for books, frames, and small plants that look intentional at height.
Editor's noteUse a laser level if you have one — stepped shelves look wrong even when they’re “almost level.”
Measure the wall area and pick a shelf depth of about 6-8 inches so items don’t project too far into the room. Mark stud locations and plan a stepped layout where the highest shelf lands around 2/3 of the wall height. Cut shelves to size, sand edges, and finish with paint or stain that matches your trim. Install a level mounting rail or individual brackets per shelf, then attach shelves and test load stability. Style the shelves with a consistent rule: keep decor grouped in 2s or 3s, and leave negative space between groups.
Skip thisDon’t make shelves too deep — double-height walls swallow depth and the space starts to look heavy.
8. Floor-to-Ceiling Panel Dividers With a Track System
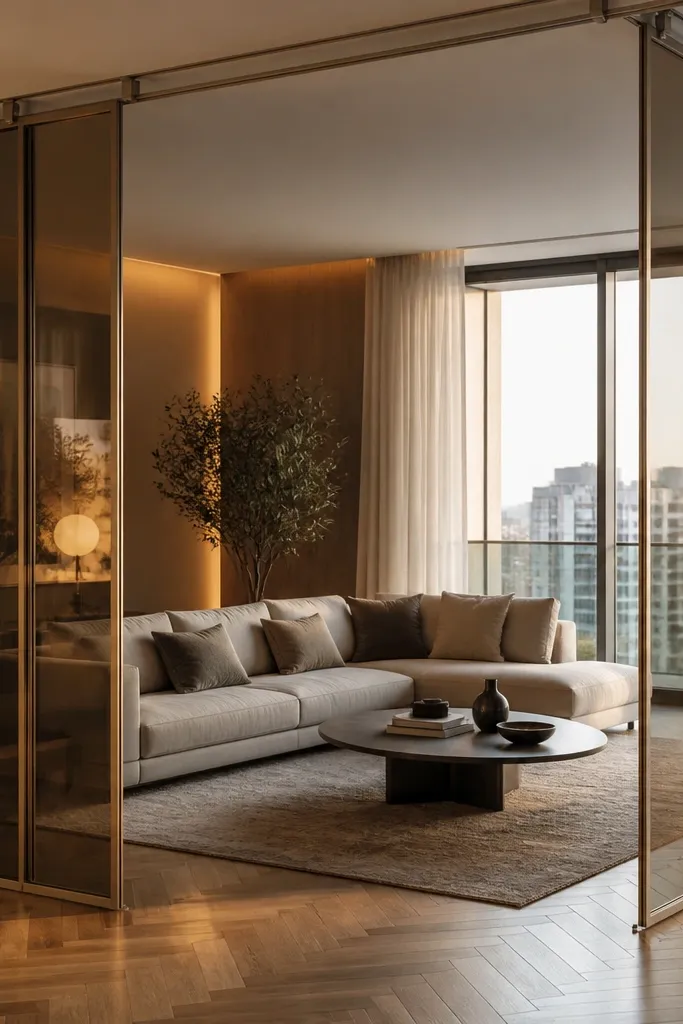
When a double-height living room feels like one giant open box, you’re missing zone definition. Panel dividers create a visual boundary that makes the seating area feel grounded, while still letting light move. I like floor-to-ceiling panels on a track because they’re adjustable and you can close them when you want privacy or reduce echo. Choose panels in a light fabric or a wood frame with translucent panels so the room doesn’t go dark. This project is a before/after because it changes how the room “reads” even before you add decor.
Editor's noteIf your ceiling slopes or has molding, use spacers and shims under the track mounts so the panels hang without a twist.
Decide where the divider sits by measuring your seating footprint and leaving a clear walkway — aim for at least 30-36 inches. Choose a track system rated for the panel weight, and install the track into ceiling structure or engineered anchors. Use plumb line checks so the panels hang straight and don’t rub. Hang panels starting from the center, then align the edges so the seam looks straight. Finally, test sliding and lock positions, then style the edges with a small console or plant stand to hide the track hardware.
Skip thisDon’t use lightweight panels with a heavy frame — the track will sag and the seams will look crooked.
9. Oversized Pendant Over Seating With 30-Inch Drop
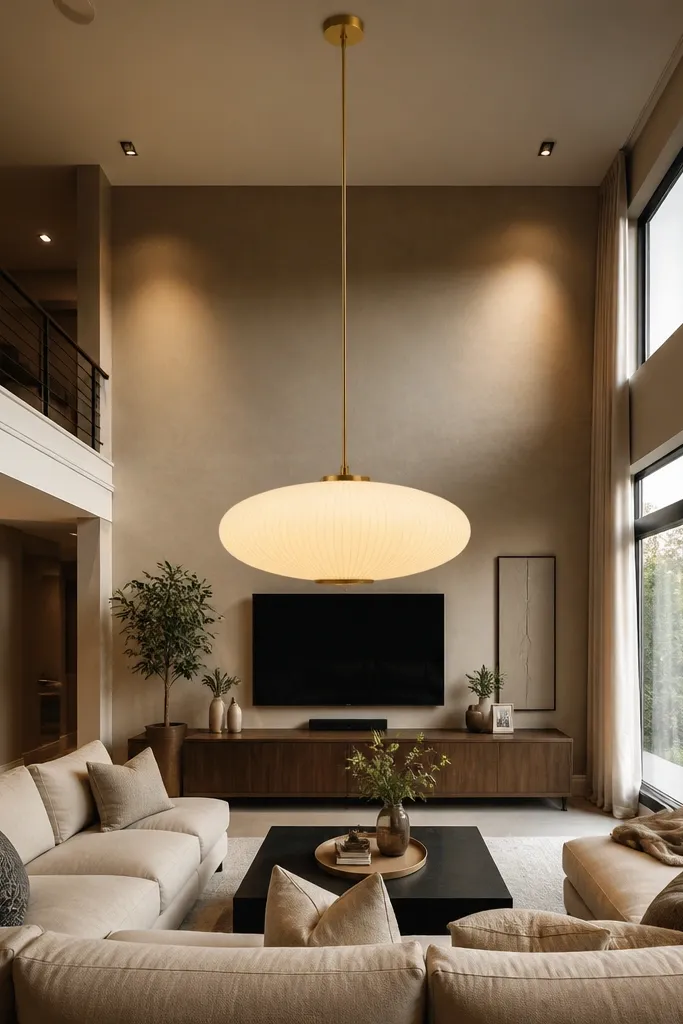
One of the most common double-height lighting mistakes is hanging pendants too high because people fear blocking the view. Then the light lands on the floor, not on the furniture, and the room still feels empty above. A larger pendant with a controlled drop gives you a strong focal point that looks intentional from multiple angles. I recommend targeting about a 30-inch drop from the bottom of the pendant to the top of the table or sofa back height, depending on your setup. Use a warm bulb and a shade that spreads light sideways, not only downward.
Measure from the ceiling to the top of your seating or coffee table surface, then pick a target drop that puts the pendant bottom around eye-line comfort. Install a ceiling mounting plate that supports the weight of the fixture and confirm wiring compatibility. Hang the pendant and adjust the cord length so it matches your measured drop, then level the fixture. Choose a bulb temperature around 2700K and test glare by turning it on while seated. If you need dimming, install a compatible dimmer switch before you finish the canopy.
Use a shade with an open bottom edge if you want glow on the upper wall; fully closed shades can trap light too low.
Don’t center the pendant without checking the ceiling joist location — a late bracket relocation ruins the alignment.
10. Two-Layer Rug Strategy: Underlay + Big Area Rug
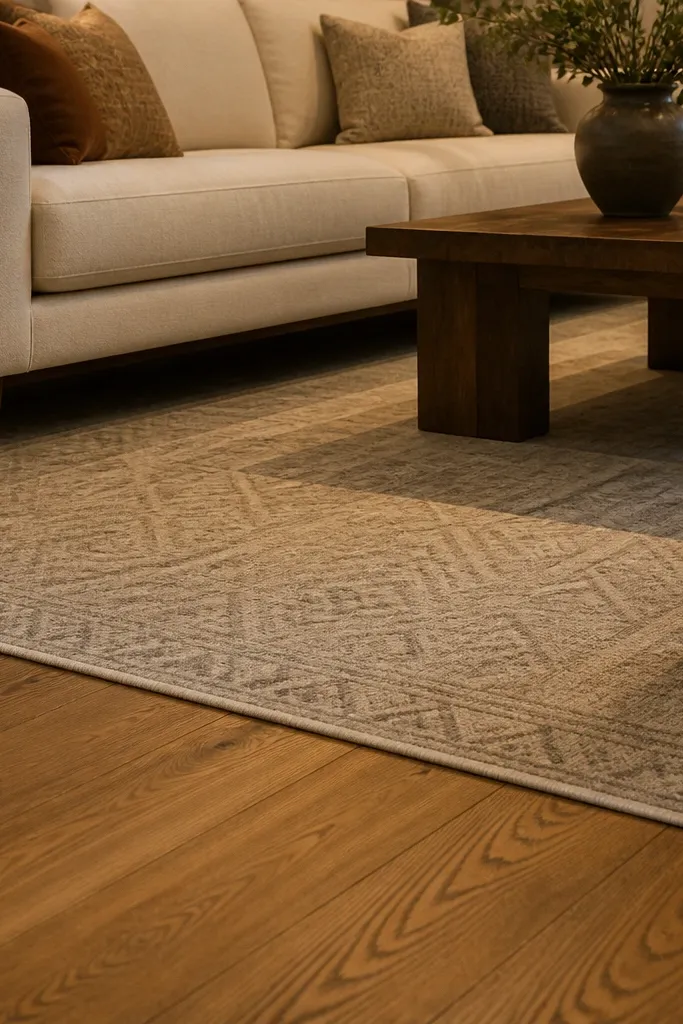
Double-height rooms often feel cold and “floating” because the seating area isn’t visually anchored. A small rug is the usual culprit, and it makes the floor look like it has no purpose. I like a large rug that pulls the front legs of the sofa and chairs onto it, plus a proper underlay so it lies flat. The underlay matters because double-height rooms get more foot traffic and the rug can ripple, ruining the crisp look. This is a DIY win that changes the room’s proportions immediately.
Measure the seating zone: you want the rug to extend under the front legs of the sofa and at least the chair fronts. Pick a rug size that covers a clear rectangle, then buy a non-slip underlay cut to match. Vacuum and clean the floor so the underlay sticks correctly. Lay the rug, center it on a reference point like the fireplace or TV, and adjust until the pattern is aligned with the room’s main lines. Finally, add rug grippers at edges if your floor is smooth and the underlay alone doesn’t prevent movement.
Choose a rug color that matches one trim or wood tone in the room so the rug feels like it belongs to the architecture.
Don’t buy a rug that stops at the sofa backs — it reads too small and keeps the space feeling unfinished.
11. Vertical Planter Column With Trellis for the Corner Gap
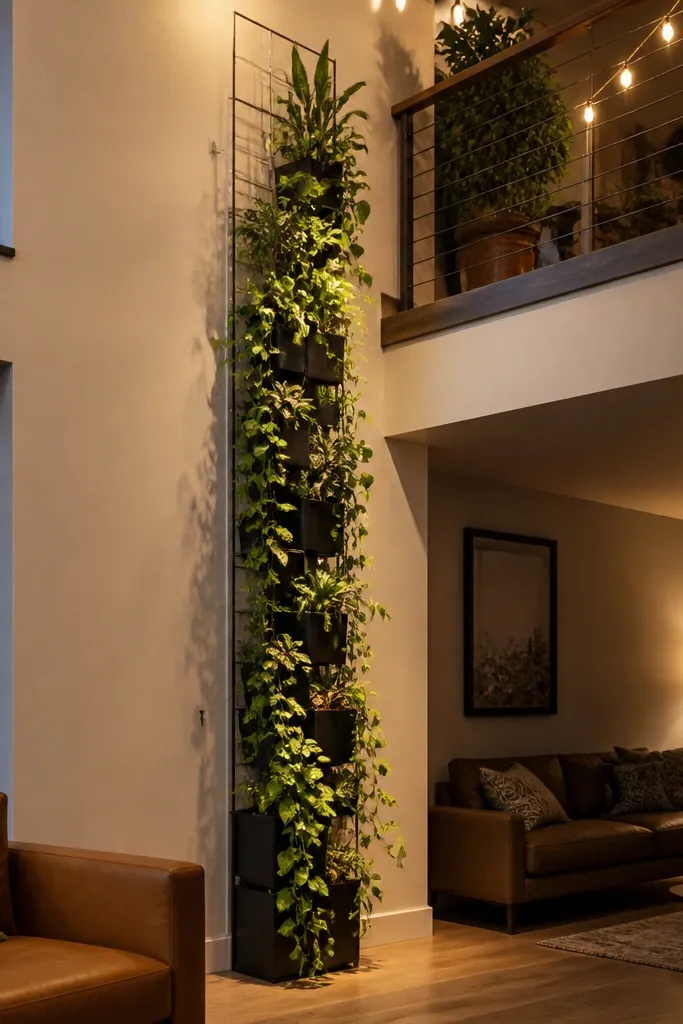
The corner gap is where double-height rooms often fail. People put one small plant and call it done, but the plant stops at mid-wall and the upper corner stays empty. A vertical planter column plus a trellis gives you height and structure without clutter. I like using a narrow trellis-backed planter arrangement because it reads tall while still fitting a tight corner footprint. Pick greenery that climbs or drapes so the wall looks alive from floor to near the second-story line. This is beginner-friendly because it’s mostly assembly and styling, not carpentry.
Editor's noteUse a self-watering planter or a drip tray — water stains show fast on light floors in tall rooms.
Choose a corner and measure the maximum width available — aim for a column width under 18 inches so it doesn’t block traffic. Assemble a narrow trellis frame secured to a stable base or wall anchors, then place tall planters at the base. Use a mix of two plant types: one that climbs and one that fills out for texture. Add a thin stake or string guide for the climbing plant so it starts in the right direction. Water and adjust weekly for the first month so the growth trains upward instead of sprawling.
Skip thisDon’t place the column right in front of vents or radiators — the leaves will crisp and the whole corner looks sick.
12. DIY Ceiling Cornice Paint Trick With 2-Inch Band
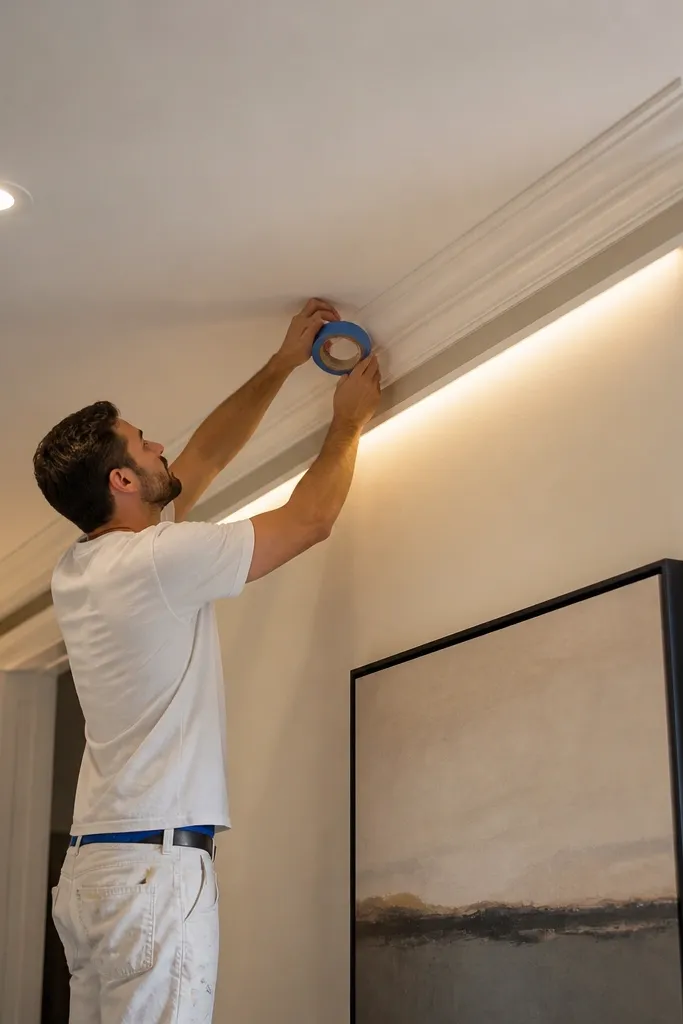
If your double-height ceiling feels like it’s swallowing the room, a simple paint band can give it an intentional “cap.” This trick is small enough for beginners, but it changes the whole visual height because it creates a strong reference line. I recommend a 2-inch band under the ceiling trim in a slightly darker or warmer tone than the wall. Keep it crisp and straight so it reads architectural, not accidental. This works especially well when you have crown molding or an obvious ceiling edge to anchor the line.
Editor's notePress tape firmly with a plastic putty knife edge so paint doesn’t creep under it.
Clean the trim area and patch any cracks, then sand lightly so paint sticks. Mark a 2-inch wide band using painter’s tape and a straight edge along the ceiling line. Cut in with an angled brush first, then roll the band with a small foam roller for a smooth finish. Let the paint set, then remove tape carefully while the paint is still slightly tacky for a cleaner edge. Touch up with a tiny brush once fully dry if you see any bleeding.
Skip thisDon’t paint over dusty trim — you’ll get a rough edge that stands out at eye level.
13. Wood Slat Wall Paneling on One Feature Wall (6-Foot Tall)
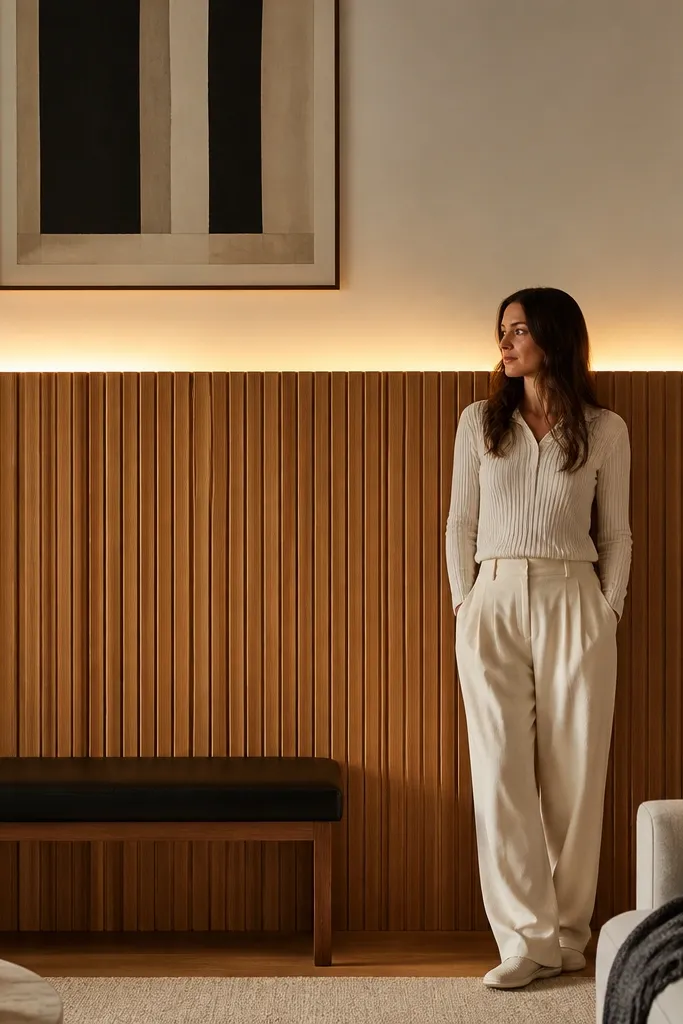
A blank double-height wall makes everything around it look temporary. Wood slat paneling adds texture and vertical lines that match the room’s height without needing heavy decor. I’d keep it to about 6 feet tall so it doesn’t compete with ceiling details, then pair it with a large artwork piece above or beside it. Use real wood slats or a quality composite slat system with consistent spacing so the pattern looks designed. This project is more work than curtains, but it’s still DIY-friendly with a basic miter saw and a level.
Editor's noteDry-fit the first three slats and check alignment from the sofa before you commit — crooked slats are painful to fix later.
Measure your feature wall and decide slat length — 6 feet is a good target for most living rooms with double-height ceilings. Choose slat width around 2-3 inches and spacing around 1/2 inch for a clean rhythm. Mark vertical layout lines and snap chalk lines so your slats stay straight. Attach slats to studs using wood screws or construction adhesive where allowed, then fill visible gaps if needed. Finish with stain or paint and seal with a matte clear coat so it doesn’t look glossy and cheap.
Skip thisDon’t mount slats only to drywall — double-height walls feel bigger, and panels will sag visually if they’re not anchored.
14. Second-Story String Light Canopy Over Balcony Rail
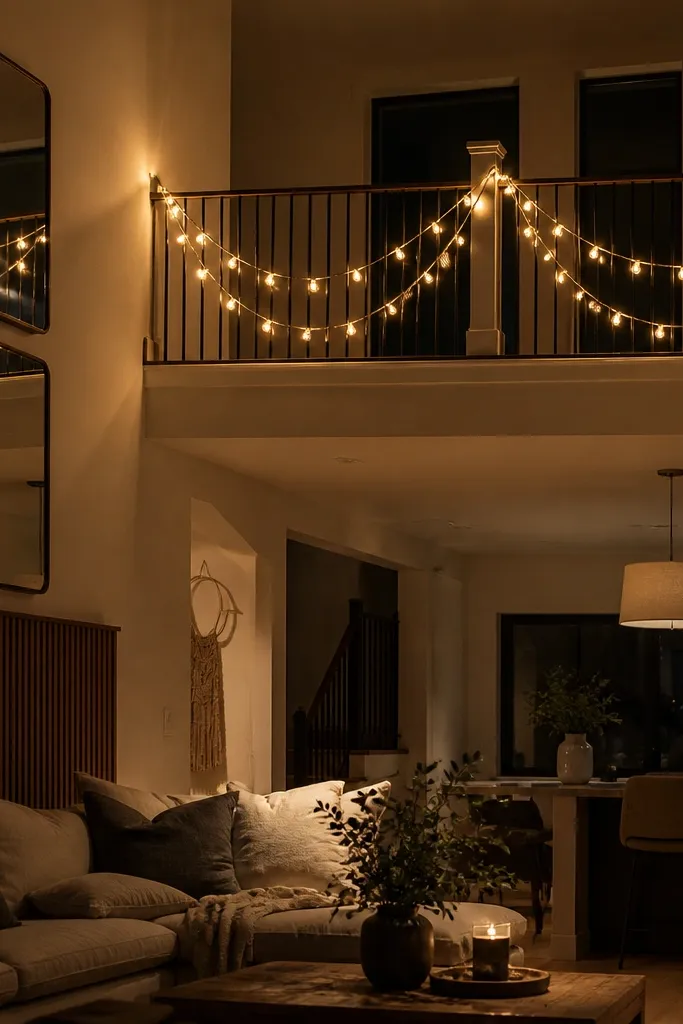
If your double-height room looks good in daytime but flat at night, it’s missing a mid-to-upper layer of glow. A string light canopy over the balcony rail adds that layer without needing wiring into the ceiling. I like warm white around 2200K-2700K, and I prefer lights with a thicker wire so they drape cleanly. The result is a cozy “ceiling-level” effect that makes the space feel finished even when there’s no furniture in the upper half. This is safe DIY when you follow the plug-in system and keep the cord routed properly.
Measure the span across the balcony rail and decide how wide you want the canopy — aim for a gentle arc, not a straight line. Use a plug-in outdoor-rated string light set if it will be near drafts or cleaning risk, and keep all connections above where they could get wet. Secure small transparent hooks or cable clips along the rail line, then hang the lights with even tension. Test the arc by turning them on and checking reflections — adjust before you commit the final clips. Finally, route the cord down a corner path where you can hide it behind decor or a cable cover.
Use two shorter strings instead of one long one — control is easier and sag looks more intentional.
Don’t twist the wire around sharp rail edges — it damages insulation and creates uneven droop.
15. DIY Vertical Lighting Sconce Pair With Fabric Shades
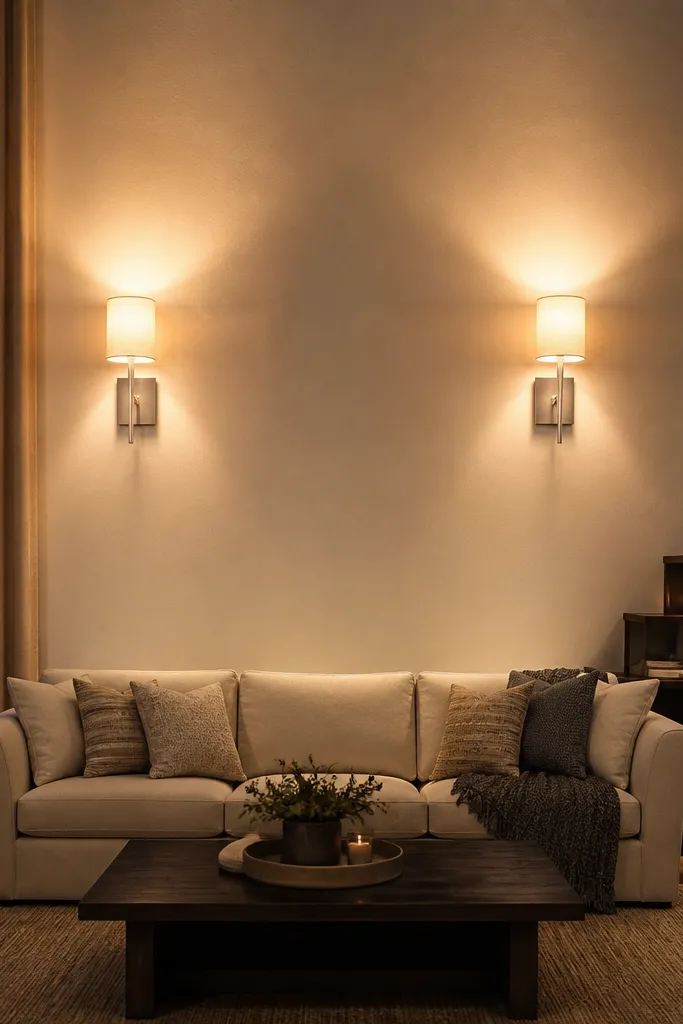
Tall walls need tall light distribution. A single floor lamp rarely reaches the upper half, so the room looks like it has “one working area” and “empty air.” A pair of matching sconces placed high enough to wash the wall gives you symmetry and a calmer look from every seating angle. Fabric shades soften the light and reduce harsh glare on second-story windows. This is beginner-friendly if you use a plug-in sconce kit or hardwire kit that matches your electrical setup. Either way, you’re fixing the double-height problem at the source: light height.
Editor's noteKeep both sconces the same distance from corners — unequal margins look like a mistake even when the fixtures match.
Choose sconces with fabric shades and a warm bulb recommendation, then decide placement by measuring from the floor to the midpoint of the shade. A good target is around 70-74 inches for double-height living rooms where seating is mid-height. Mark wall positions and confirm stud or use correct anchors. Mount the backplates, attach the shades, and connect the wiring per kit instructions if hardwired. Step back and check that the light hits the wall above eye level and doesn’t shine directly into anyone’s face.
Skip thisDon’t mount sconces too low — you’ll get glare and the upper wall stays dim.



