
1. The 3-Height Book Stack + Vase Corner
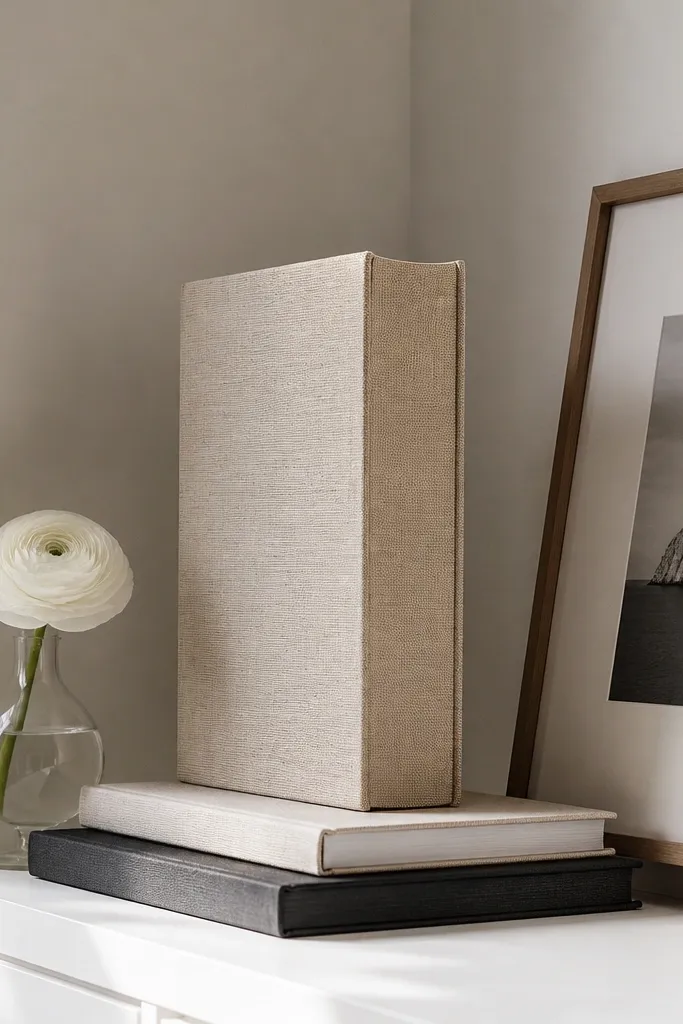
This is the cleanest beginner-friendly corner shelves decor setup because books already look intentional. Stack two books flat, then stand one book upright on top for a height bump. Add one small vase or bud vase so the shelf has a clear “anchor” instead of random figurines. Keep the rest minimal: one framed photo or one small tray. This setup works in living rooms, entryways, and bedrooms because it reads like decor even when the items are simple.
Start by placing a tray or thin riser on the back half of the shelf so items don’t slide forward. Stack two books flat, then add the third book upright centered on the stack. Set your vase on the left or right edge of the stack and keep it 1-2 in away from the wall so it casts a visible shadow. Finish by adding one small photo frame or art card on the opposite side of the vase and leave the front third of the shelf empty.
Use a tray even if it’s just a wood breadboard — it gives the shelf a boundary.
Skip more than one tiny figurine — it turns the shelf into a clutter pile fast.
2. Tray-First Styling for the "Everything I Own" Corner
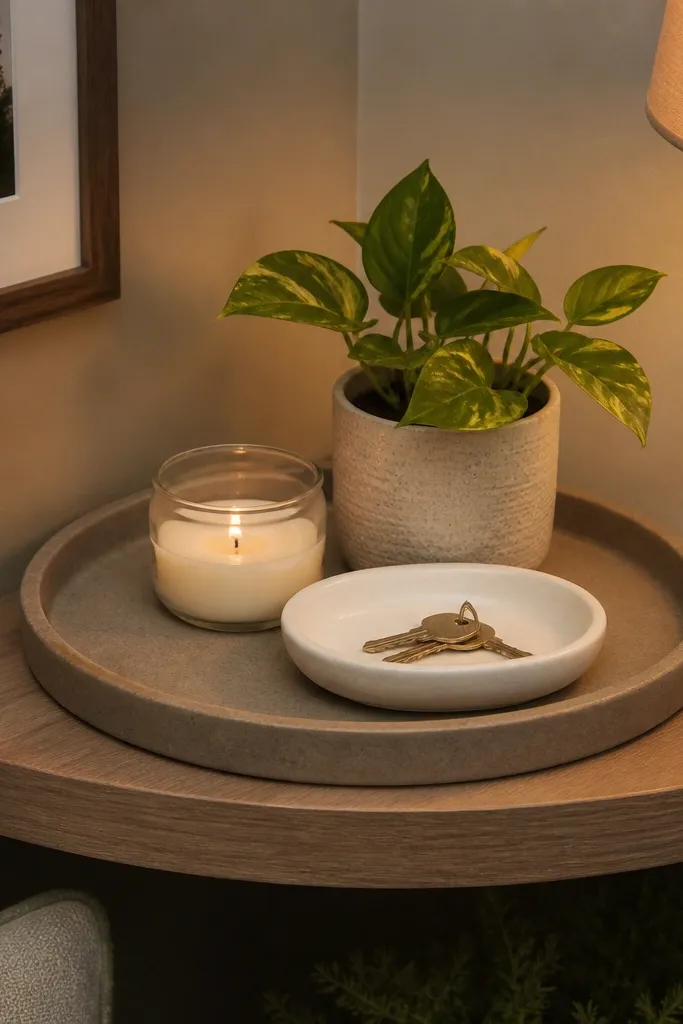
If your corner always turns into a catch-all, tray-first styling fixes it. A tray creates one visual container, so multiple small items read as a set. Choose a round or square tray that fits inside the shelf edges with at least 1 in of breathing room. Inside the tray, cluster 3 items max: a candle, a small plant, and one textured filler like bead garland or dried stems. This works best on shelves that are 6-7 in deep because the tray stays proportional.
Editor's notePick one texture theme: wood + cotton + dried stems look calmer than mixing glass, metal, and plastic together.
Measure your shelf inside edges and pick a tray that leaves 1-2 in margin on each side. Place the tray slightly back from the front edge, then arrange three items inside: candle at center, plant on one side, filler on the other. Add one extra object outside the tray only if it’s tall (like a slim candle holder or narrow vase). Seal the look by keeping the front edge empty — no loose coasters, no random knickknacks.
Skip thisDon’t use a tray that’s wider than the shelf — it visually swallows the corner.
3. Single Tall Vase with Two Small "Followers"
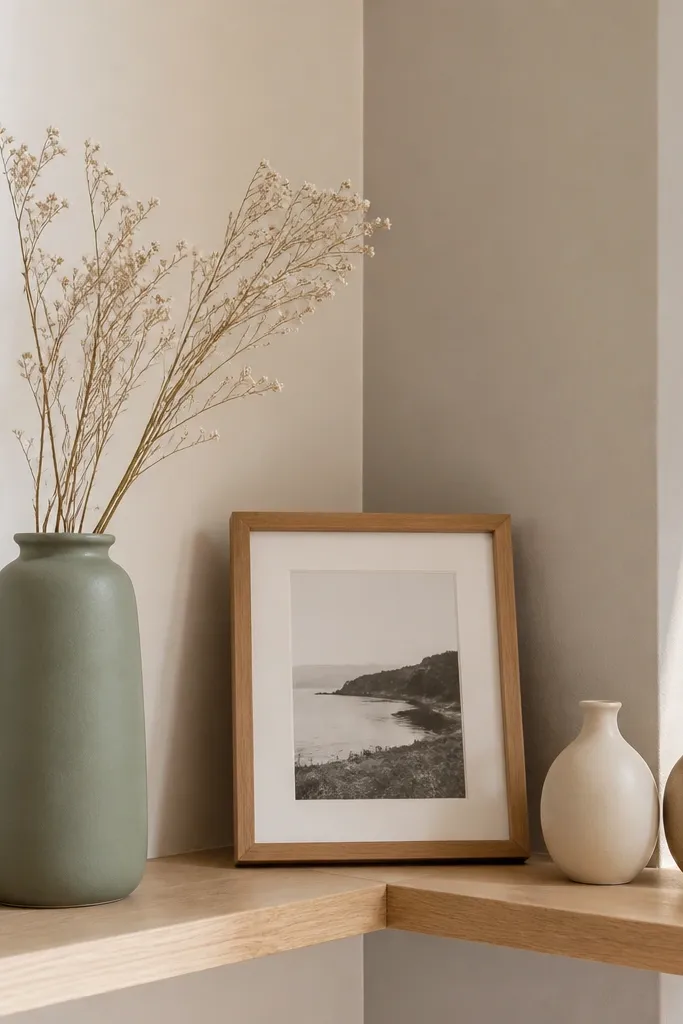
This is the styled look for people who hate clutter but still want personality. One tall vase gives you the vertical line that corners lack. Then add two smaller bud vases or candle cups on the opposite side to balance the shape. Keep colors limited to two tones so the shelf doesn’t feel like a craft table. This idea is perfect for narrow corner shelves where you can’t fit trays comfortably.
Editor's noteIf your tall vase is clear glass, pair it with matte ceramics so reflections don’t multiply.
Choose a vase height between 10-18 in so it shows clearly above the shelf line. Place it centered or slightly toward the corner wall depending on your shelf bracket position. Add two small followers (bud vases or candle holders) spaced 4-6 in apart, and keep them the same material finish. Leave at least 2-3 in of empty space around each piece so shadows separate the objects.
Skip thisSkip mixed heights of tiny objects — it creates visual noise.
4. Rattan Ball + Candle Pair (Warm Minimal)
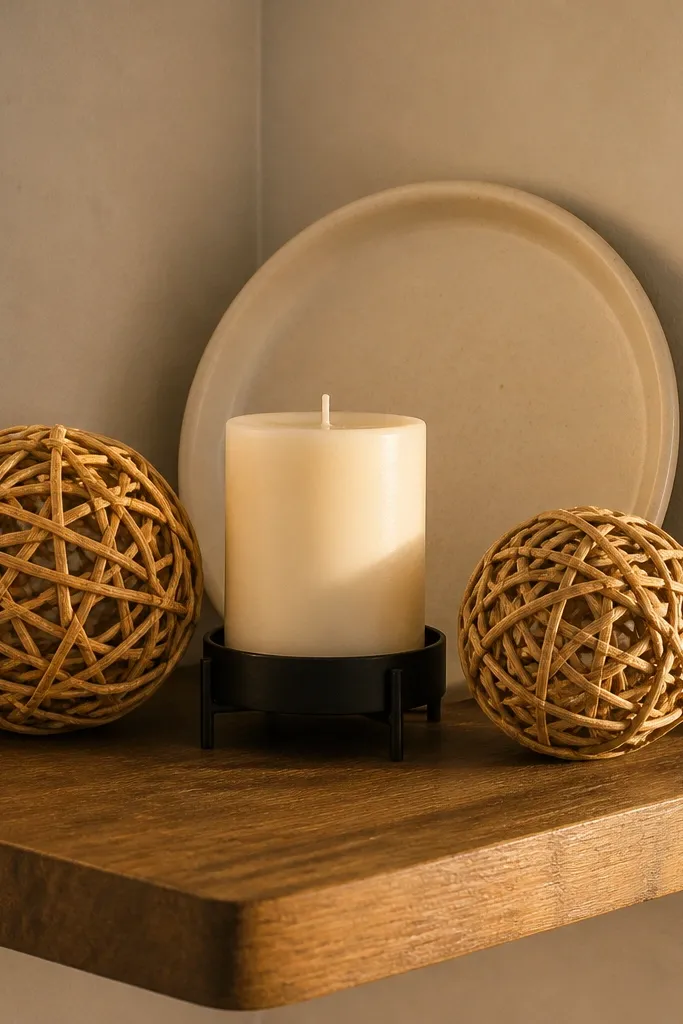
Rattan balls and one candle are a beginner-friendly corner shelves decor cheat code because the materials read “designed” even when the layout is simple. The rattan adds texture, and the candle adds a focal point. Keep the rest blank or add one flat object like a small ceramic dish. This works especially well in reading corners and bedrooms where you want warmth without visual clutter.
Editor's noteUse a candle holder with a wide base so the candle doesn’t look top-heavy.
Pick a rattan ball about 4-6 in wide so it doesn’t look too small. Place the candle holder on one side of the shelf and set the rattan ball on the other side at equal distance from the shelf edges. Add one small dish in the middle only if it’s flat and under 6 in wide. Keep everything matte and warm-toned — avoid mixing bright glossy decor with natural textures.
Skip thisDon’t add three more small candles — one is enough.
5. Gallery Photo on Corner Shelf with a Backing Board
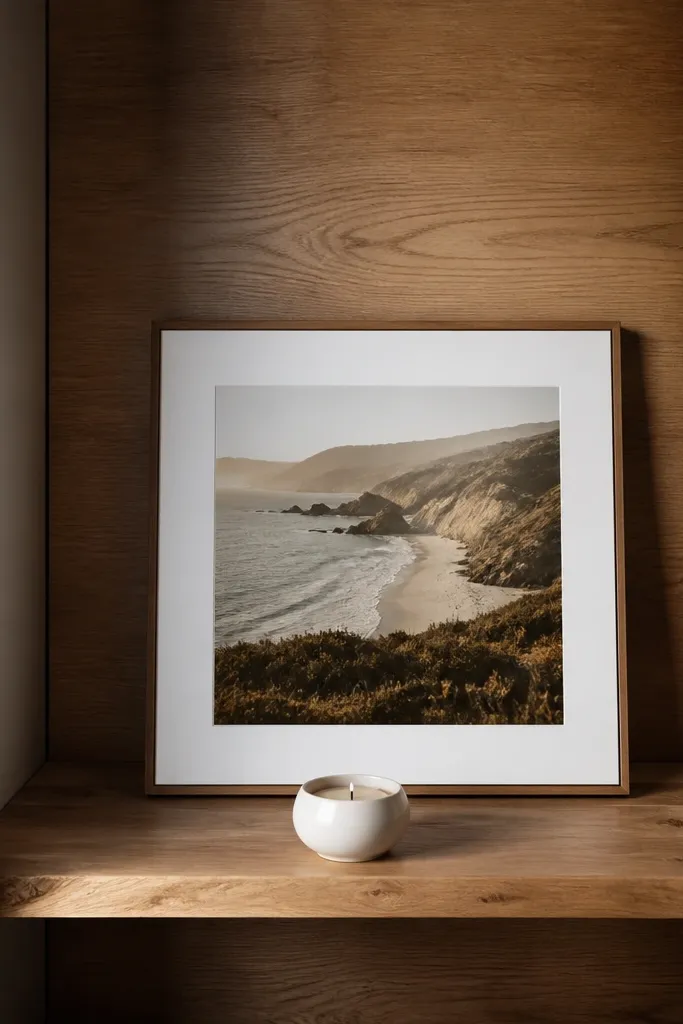
This makes the shelf look styled even with just one frame. The backing board trick is simple: you give the photo a “stage” behind it, so it doesn’t float in empty space. Choose a backing board in a warm wood tone or painted matte color that matches your room. Add one small object below the frame like a candle or tiny vase. This is great for small apartments and for people who don’t want a lot of items.
Editor's noteUse painter’s tape to test the frame height before you commit to the backing size.
Cut a backing board from foam board or thin plywood to fit behind the frame, then paint it matte. Lean the frame against the backing so the top aligns and the photo sits centered in the corner triangle. Place the candle or small vase directly below the frame, centered with the photo. Keep the remaining shelf surface empty so the frame reads as the main focus.
Skip thisSkip glossy backing colors — they reflect room light and make the photo feel busy.
6. Ceramic Catch-All Dish + Mini Plant
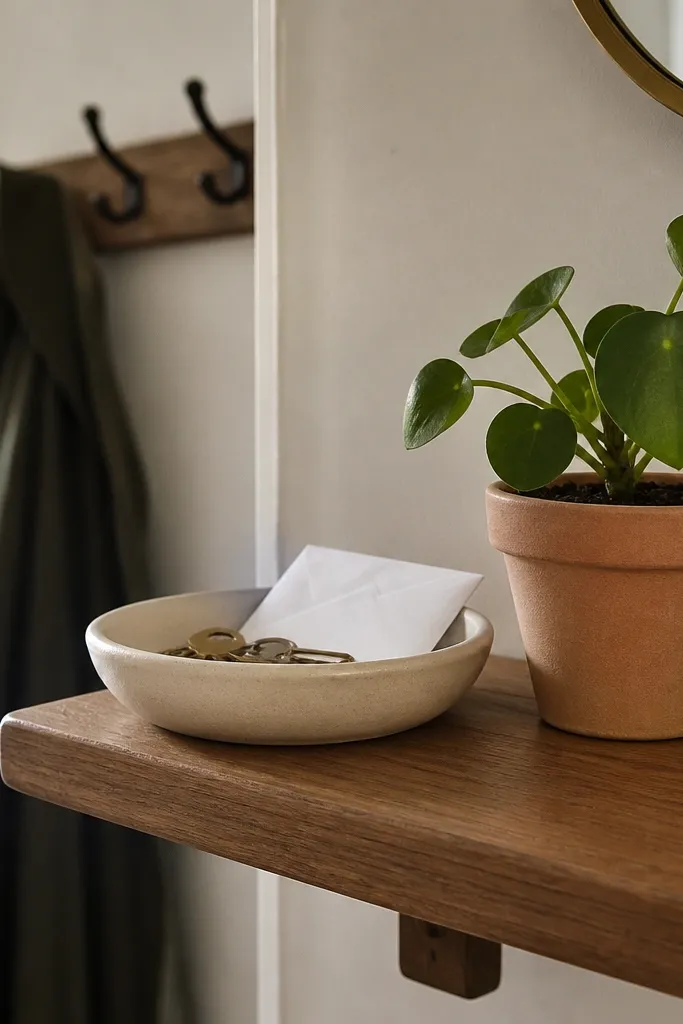
A ceramic catch-all dish solves a real problem: corners collect keys, random remotes, and loose change. Put the dish on the shelf and use it as the “landing zone” for tiny daily items. Pair it with a small plant for life and color. Keep the pot matte and the dish simple so they don’t compete. This is ideal for entryway corners or near a front door where you want function without looking messy.
Editor's noteIf your plant sheds, put it inside a cachepot or liner so water doesn’t stain the shelf.
Choose a dish that’s 6-9 in wide and has a slight lip. Place it toward the front center of the shelf so it’s reachable, then set a small plant (2-4 in pot) behind it. Add one tiny decorative element only if it’s flat, like a small stone or mini figure under 3 in. Wipe the shelf surface first so dust doesn’t make the dish look dirty.
Skip thisDon’t stack functional items next to decor — it breaks the styled look.
7. Corner Candle Trio with a Wood Riser
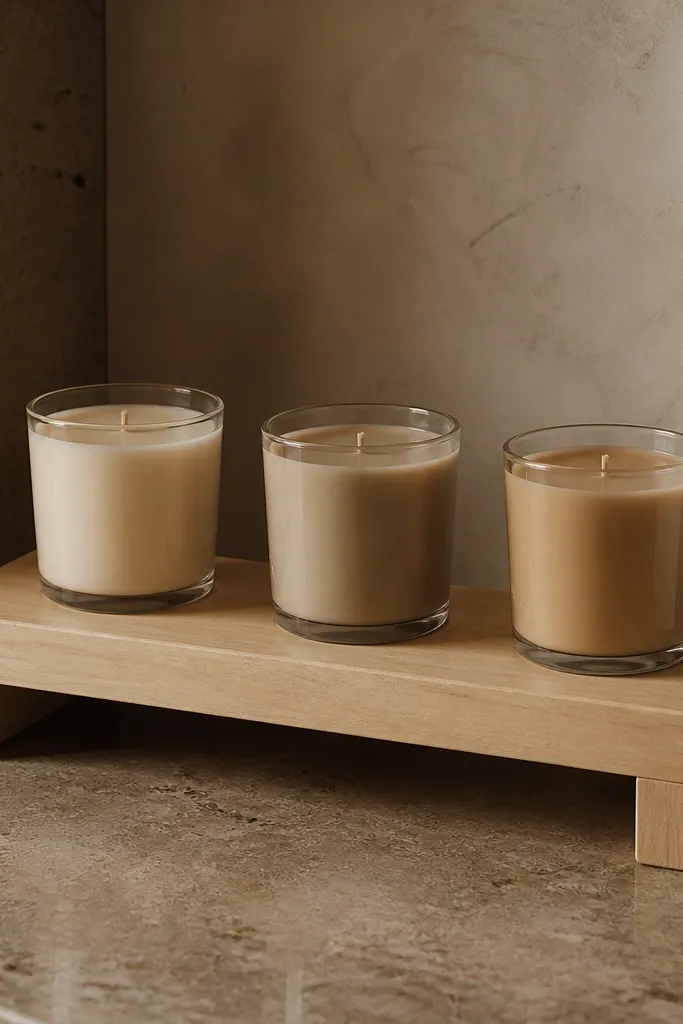
Three candles on a riser look intentional and cinematic, but they stay beginner-friendly because you’re repeating one shape. Use a wood riser or simple tray as the base so the trio stays aligned. Choose candles in the same color family, like cream, oat, and light tan, to keep it calm. This works best on wider corner shelves where candles can sit with space between them.
Editor's noteUse unscented candles if you’re putting them in a tight corner — scent can feel overpowering in small rooms.
Find a riser about 10-12 in long so the candles don’t crowd. Place the riser slightly back from the front edge, then set three candles across it with equal spacing. Keep the tallest candle centered and the shorter ones on the sides for a clean height gradient. Finish by adding one small filler item behind the center candle, like a sprig or a simple ceramic bead ornament.
Skip thisSkip mismatched candle heights — it looks accidental.
8. Wood Bead Garland Line-Up
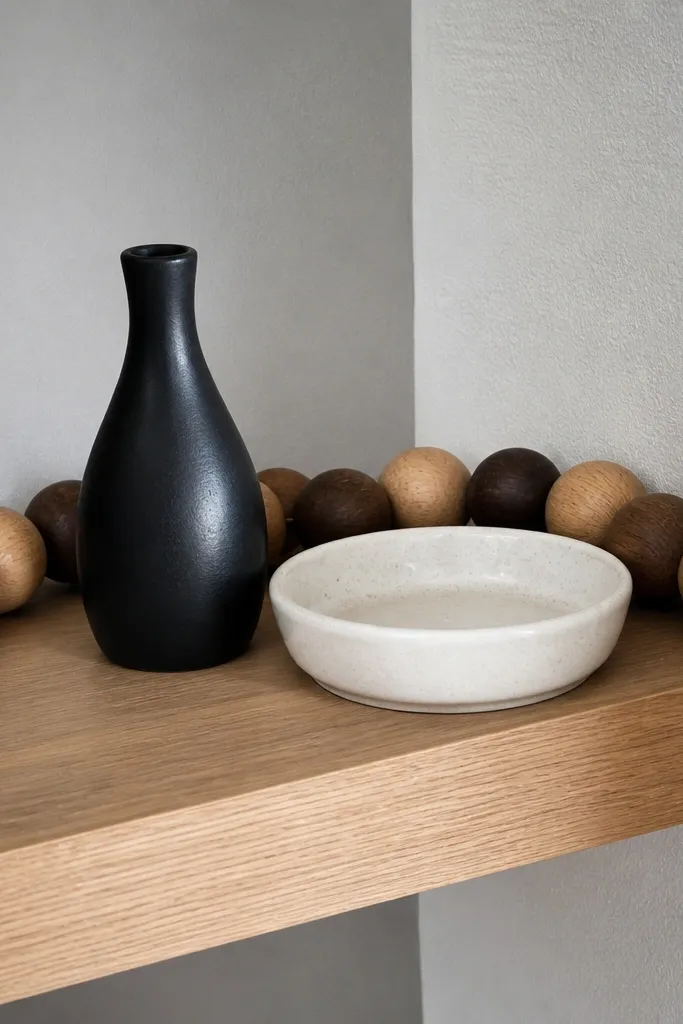
A wood bead garland adds movement without adding clutter. Drape it along the back edge of the shelf so it creates a soft border, then place two or three items in front. This idea hides empty space and makes the shelf look finished even when you keep decor minimal. Use neutral beads (oak, walnut, or natural) and pair them with matte ceramics or black metal.
Cut or measure the bead garland so it fits the back edge of the shelf with 1-2 in extra on each side. Secure it lightly with small clear command hooks or tiny nails near the back edge. Arrange two items in front — one tall and one small — keeping them centered under the garland. Leave the front third of the shelf empty so the garland doesn’t feel crowded.
Thread the garland through two small binder clips at the back to keep it from sliding forward.
Don’t add more than two foreground objects — the garland already does the work.
9. Greenery in a Slim Planter + One Frame
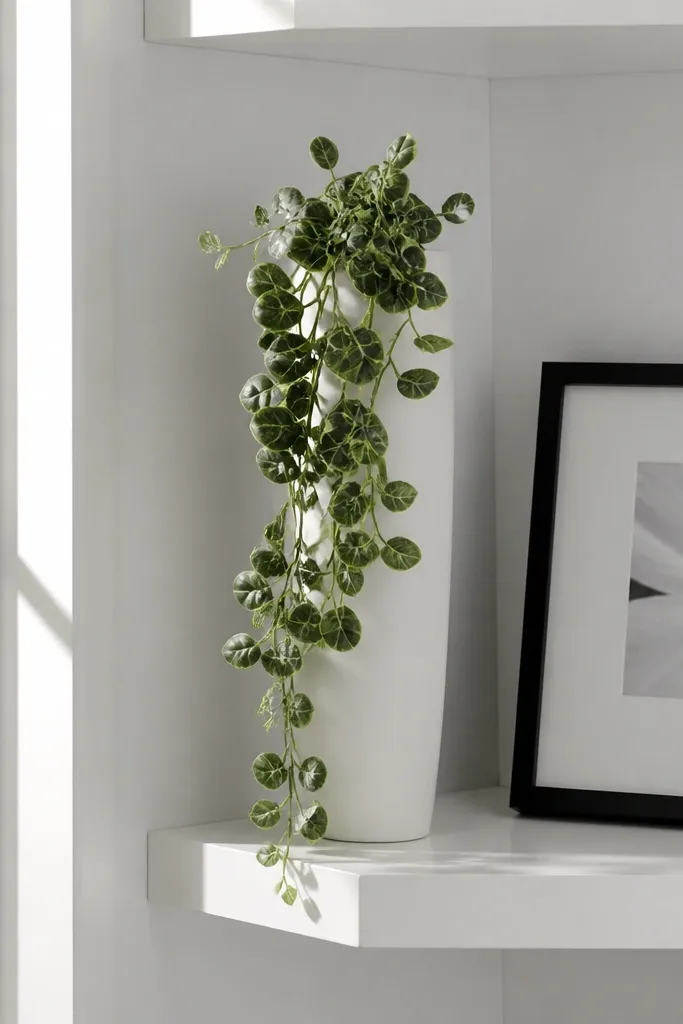
Corners need vertical life, and a slim planter solves that without taking over the shelf. Use a planter that’s tall and narrow, like 3-5 in wide, with trailing faux greenery or a small real pothos cutting. Add one frame or art tile beside it to create a balanced look. Keep everything in a two-color palette so the greenery doesn’t clash. This is a beginner-friendly corner shelves decor idea that looks polished with just two objects.
Place the slim planter on the back corner side so it leans visually into the corner. Add the frame on the opposite side, keeping the top of the frame within 1-2 in of the planter’s height. If you use faux greenery, spread the leaves so they arc upward and slightly outward instead of drooping straight down. Finish with a tiny ceramic dish under the frame or near the base if there’s space.
For real plants, use a cachepot and remove excess water so you don’t stain the shelf.
Skip wide planters on narrow shelves — they swallow the corner.
10. Black-and-White Minimal Decor with One Brass Accent
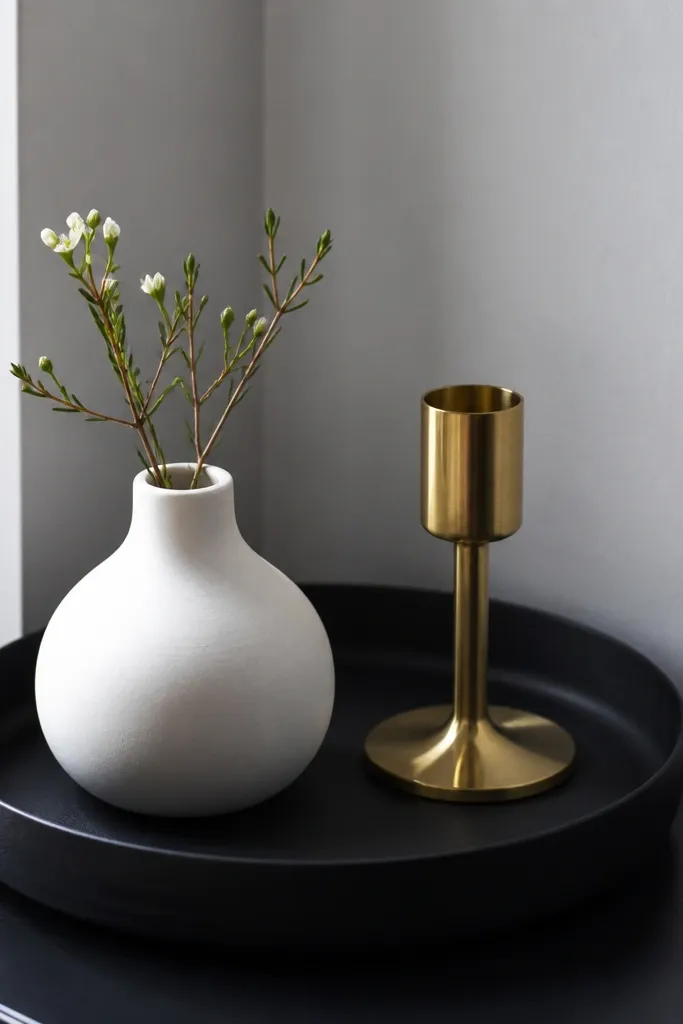
If you want a styled look fast, use a strict color combo. Black-and-white gives contrast, and one brass accent adds warmth. Choose one brass item like a candle holder or small tray, then keep the rest matte black and white ceramics. This works in modern homes and makes corner shelves look intentional even with a single vase and a small photo.
Editor's noteChoose matte finishes for most items; glossy black reflects light and can look messy.
Pick a brass accent item first, then match two supporting pieces around it in black and white. Place the brass item in the center position, then set a small white ceramic dish on one side and a black vase or frame on the other. Keep the spacing even — measure 3-4 in between items if your shelf is small. Wipe fingerprints off glossy black pieces so they don’t look smudged.
Skip thisDon’t add more metals — two finishes is plenty.
11. Floating Shelf + Behind-Object Backing Paper
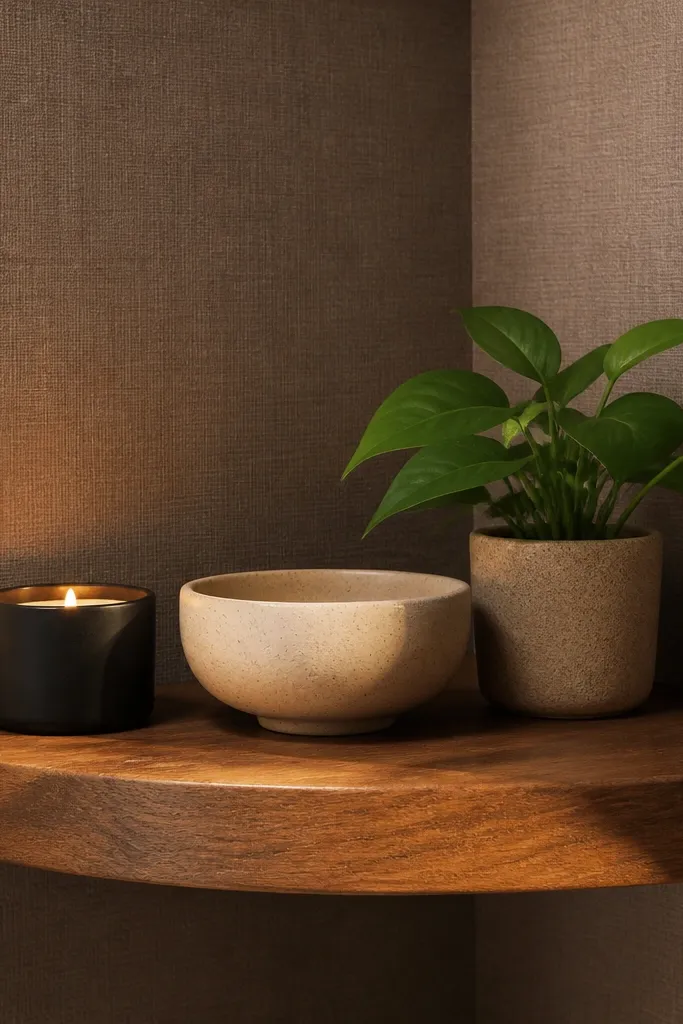
This is a styling trick that makes the shelf look deeper without building anything. Put a sheet of matte scrapbook paper, textured fabric, or painted cardboard behind your decor cluster so the background fills empty space. Keep the pattern small and muted so it doesn’t compete with objects. Place 2-3 items in front and let the backing do the rest. This is ideal for beginners because it hides gaps and makes minimal setups look designed.
Cut a backing piece to the shelf’s corner area, leaving 1 in clearance at the edges. Tape it to the wall behind the shelf so it stays flat. Arrange your decor cluster in front with a tall item in the center and two smaller objects at the sides. Step back and check the pattern intensity — switch to a plainer backing if it looks loud.
Use matte backing, not shiny — shiny paper makes corners look cheap fast.
Skip large bold patterns on small shelves.
12. Ceramic Stack with a Single Tall Stem Vase
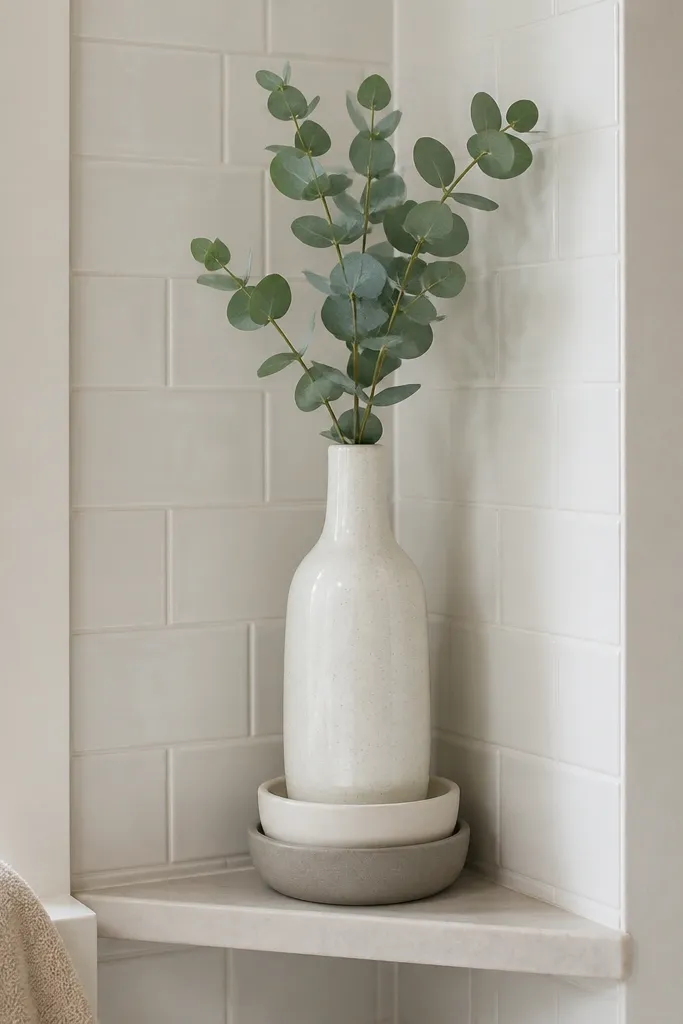
Stacking ceramics gives you height and texture without clutter. Pair a tall stem vase with a small stack of ceramic bowls or two short planters. The stack should look like one grouped sculpture, not random pieces. This works well in bathrooms, bedrooms, and reading nooks where you want a calm, spa-like feel. It also hides the “I don’t have enough decor yet” problem because stacks look intentional.
Start by selecting two small ceramic pieces that stack well — bowls with similar diameters work best. Place the tall stem vase toward the corner wall so it rises off the shelf line. Stack the ceramic pieces on the opposite side, then place a tiny filler like a single dried sprig or bead ornament between vase and stack. Keep the shelf front edge empty so shadows define the shapes.
If your ceramics slide, add a thin felt pad under the top piece.
Skip uneven stacks that wobble — they look careless.
13. Mini Tray + Soap Dish Styling for Bathroom Corners
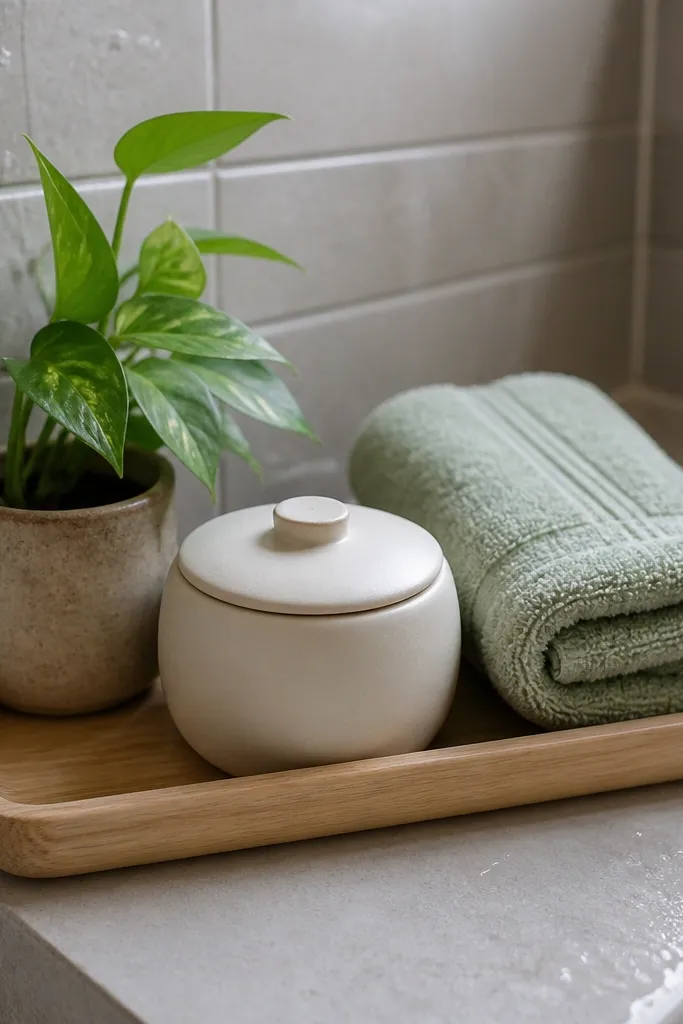
Bathroom corners get messy because items stay wet and small. A mini tray keeps toiletries contained and makes the shelf look styled instead of functional clutter. Use a soap dish or small lidded container as the “center piece,” then add one plant or folded towel ribbon beside it. Choose materials that handle humidity: ceramic, sealed wood, or metal with a clear coat. This is a beginner-friendly corner shelves decor idea that looks clean even with daily use.
Pick a mini tray 8-10 in wide and place it near the back so splashes don’t hit the shelf front. Put a soap dish or small lidded container in the center, then add a small plant or faux greenery on one side. Add one extra flat item like a folded hand towel or small bottle only if it fits within the tray footprint. Seal the area by wiping water spots off the shelf daily for the first week.
Use a tray with a lip so water doesn’t pool at the edges.
Don’t store open cotton balls or loose packets — they look messy fast.
14. Recessed Look with a Corner Shadow Gap
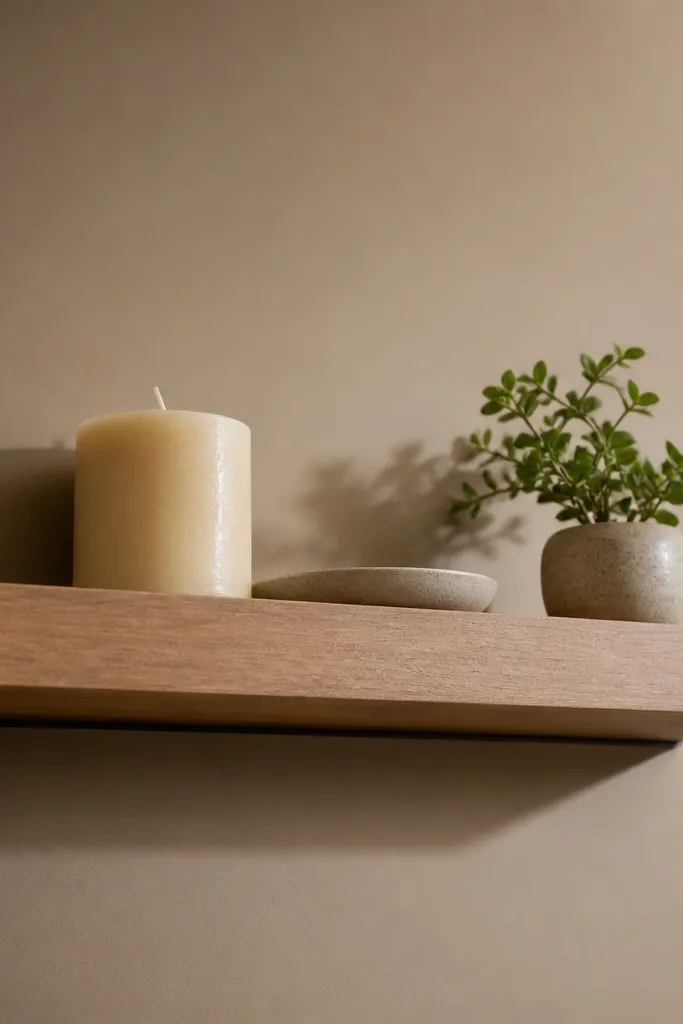
When decor sits too close to the wall, corners look cramped. A small shadow gap makes everything look more intentional because light separates objects from the background. This works especially well for floating shelves and beginner installs where you want the shelf to feel “built-in.” Use a riser or spacer blocks behind decor to create that gap. Style with fewer objects so the shadows do the work.
Place small felt pads or thin risers (about 1/2 in) behind the decor items, not under the shelf. Set your main object (vase, frame, or plant) first, then add one small companion on the opposite side. Keep the items 1-2 in away from the back wall so you see a clear shadow line. Finish by removing any small items that touch or visually merge with the wall.
If your shelf is already tight to the wall, use a taller main object and keep the rest flat.
Avoid crowding the back edge — it kills the shadow effect.
15. Corner Shelf + One Large Art Tile
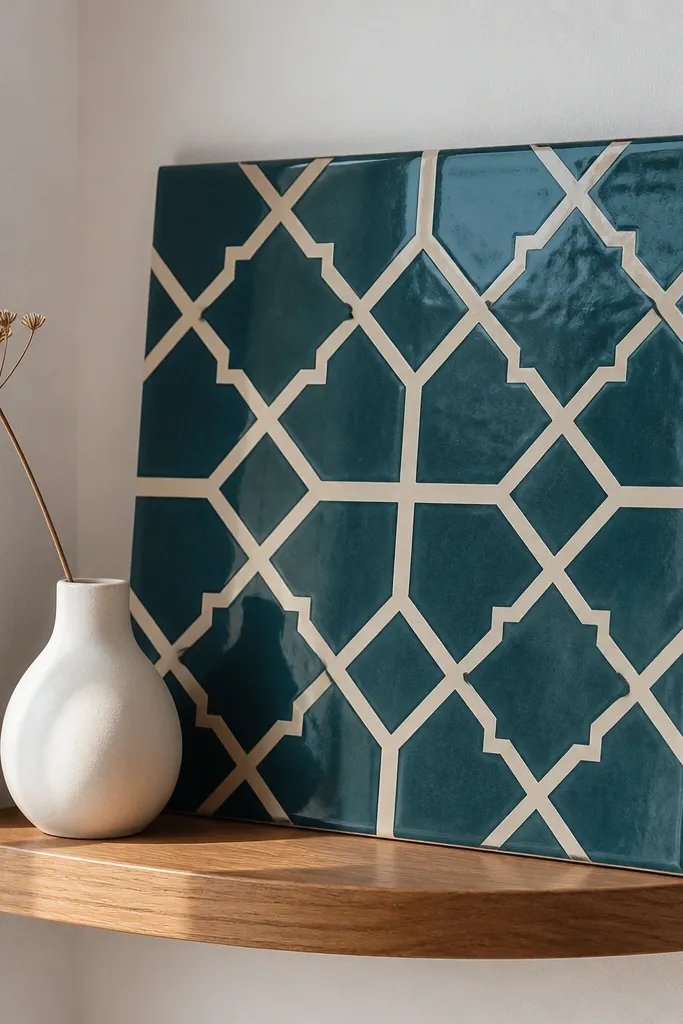
Large art tiles make corner shelves look styled because they replace the need for multiple small frames. Lean the tile slightly so it catches light and creates depth. Add one small vase or candle below to complete the composition. This is perfect for beginners who don’t want to measure lots of tiny items. It also helps if your corner is in a hallway and needs a clear focal point from across the room.
Editor's noteUse painter’s tape on the wall to test the lean angle before you place the tile permanently.
Choose an art tile or framed print about 8-12 in wide and lean it against the wall behind the shelf. Place a small candle, bud vase, or ceramic dish centered under the tile. Keep the tile’s bottom aligned with the shelf height so it doesn’t look awkwardly floating. Leave the rest of the shelf empty — one tile is enough to anchor the corner.
Skip thisDon’t add two more frames — it turns into a collage on a tiny surface.
16. Vintage-Look Tray with Faux Books and a Clock
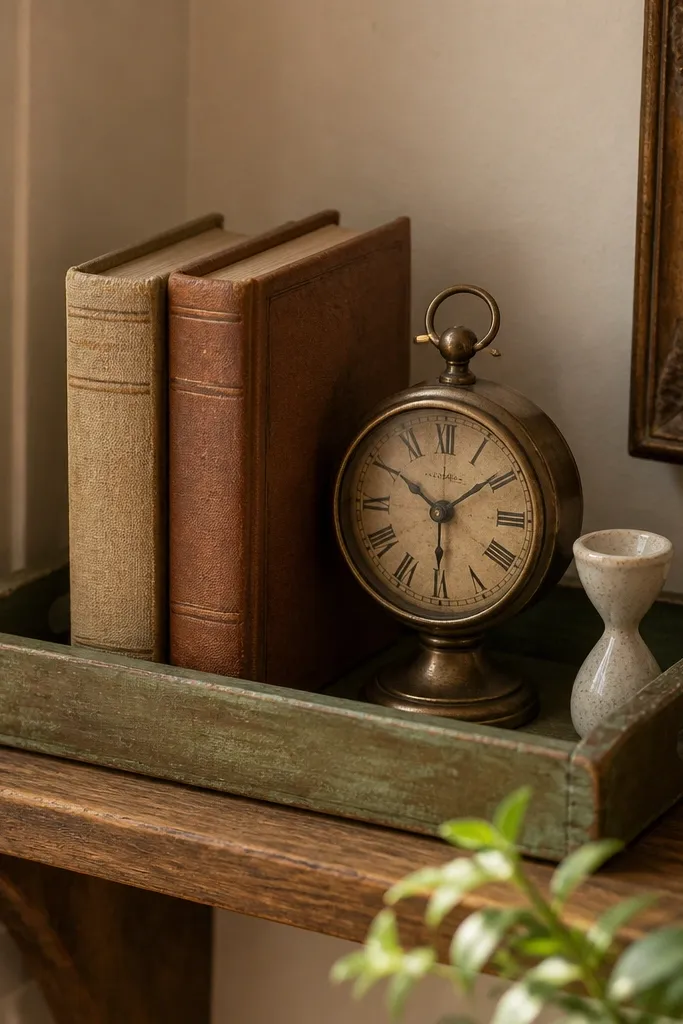
This look reads styled because it has a clear theme and function. Use a vintage-style tray, then stack faux books (or real books with matching spines) and add a small clock or timer. The clock gives you a “reason” for the arrangement, and the tray keeps it contained. Choose muted colors like olive, cream, and warm brown so it doesn’t look costume-y. It’s a great option for entryway corners where you want a practical decorative moment.
Editor's noteIf you use real books, rotate spines to one direction so the text doesn’t look random.
Pick a tray 10-14 in wide with raised edges. Stack two faux books on one side of the tray and place a small clock on the other side. Add a tiny filler like a single brass paperweight or a small stone in the center gap. Set the tray on the shelf with the clock facing outward so it’s the first thing you notice when you walk by.
Skip thisSkip bright neon faux books — they clash with the vintage theme.
17. Corner Shelf with Two Heights of Hanging Dried Stems
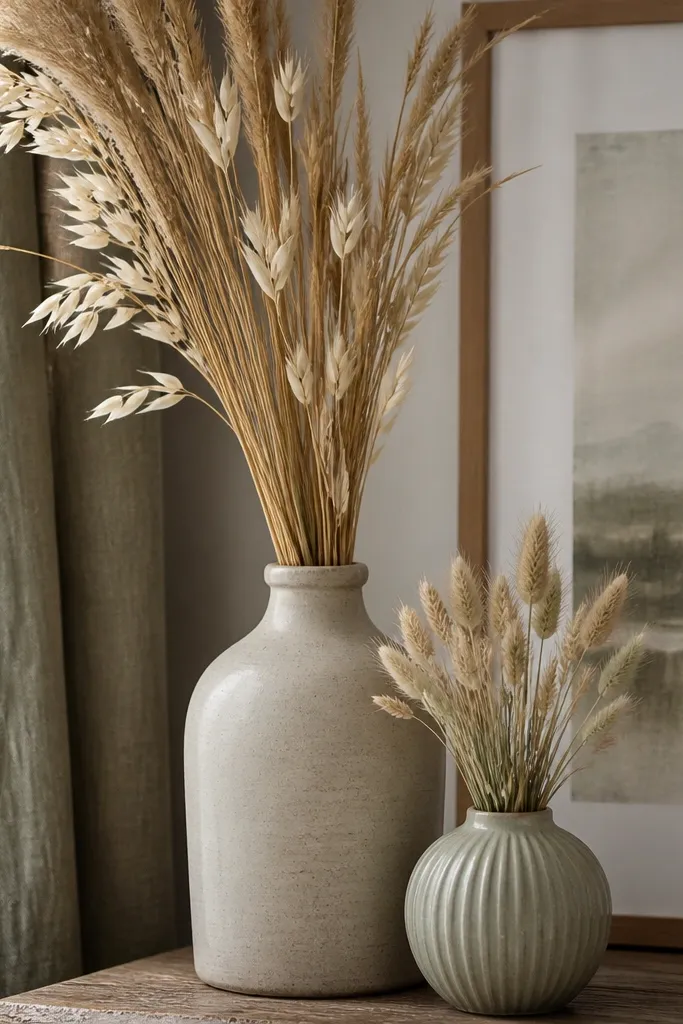
Dried stems add texture and height without clutter. Use one main vase with longer stems and one smaller vase or bud holder with shorter stems. The two heights create a layered look that corners need. Keep everything neutral — tan, oat, sage, and soft gray look cohesive. This is beginner-friendly corner shelves decor for people who like a lived-in look but don’t want lots of small objects.
Select dried stems with lengths that give you a clear gradient: one bunch should reach 14-20 in, the second should be 7-10 in. Place the tall vase toward the corner wall, then position the shorter vase in the open space on the opposite side. Fluff the stems so they spread outward slightly instead of clumping. If stems shed, secure them with a small rubber band inside the vase.
Spray dried stems with a light matte fixative to reduce dust on shelves.
Don’t use too many tiny stem bundles — it looks like leftovers.
18. Matte Ceramic Dish + One Spiral Candle Holder
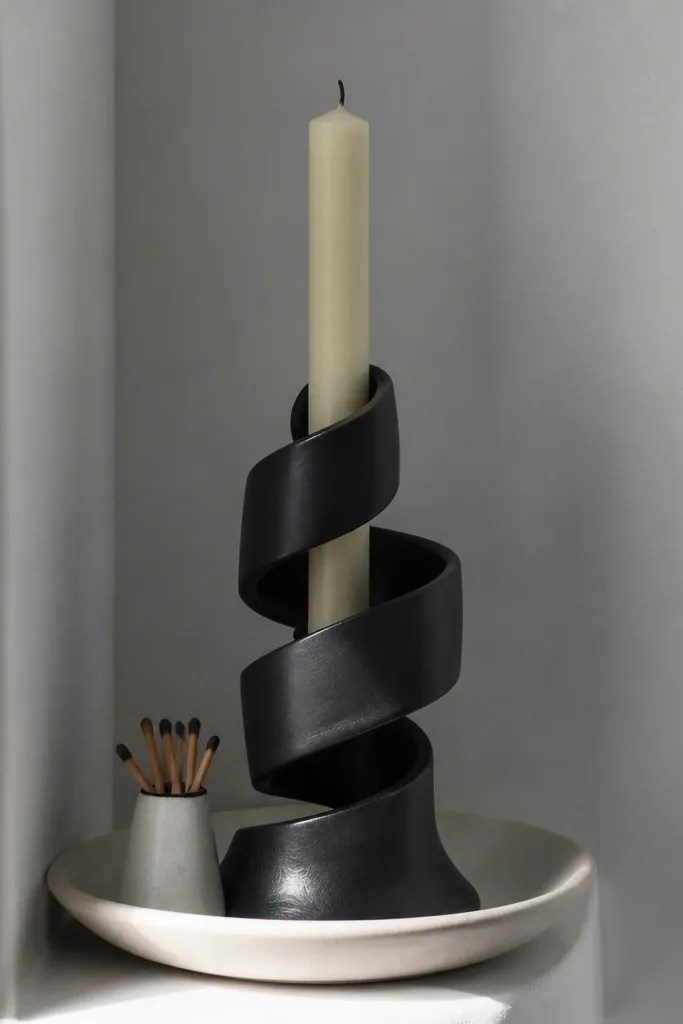
One statement candle holder plus a matte dish is a clean formula. The spiral shape gives visual interest without needing multiple decor pieces. The matte dish grounds the look and catches smaller items like a match holder or a single stone. Choose colors that match your room — white, warm gray, or black. This setup works on narrow shelves because the items are bold and readable from across the room.
Editor's noteUse a candle holder with a weighted base so it doesn’t wobble when you dust.
Place the spiral candle holder on the shelf slightly off-center, toward the open side of the corner. Add the matte dish near it but leave a clear gap so both shapes show. Put one small item in the dish like matches or one decorative stone, then stop. If you add anything else, it must be flat and under 4 in wide so it doesn’t create extra height.
Skip thisAvoid stacking two candle holders — it becomes heavy and messy.
19. Corner Shelf with a Small Plant on a Metal Stand
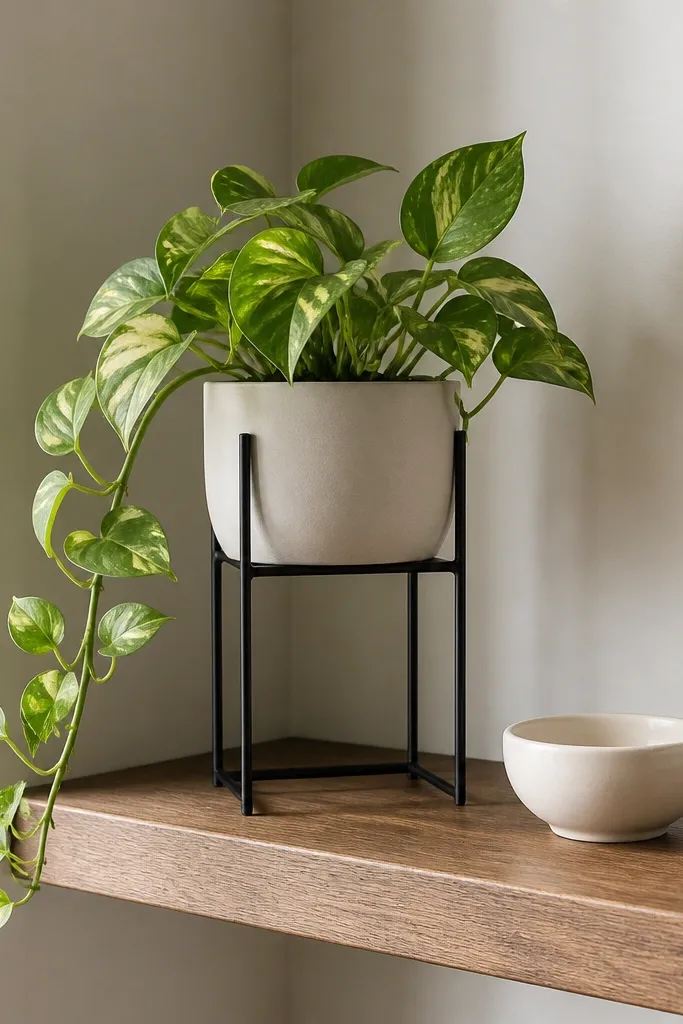
A metal plant stand makes small plants look taller and more intentional. It also keeps the pot off the shelf surface, which reduces water rings and gives you that “styled” elevation. Pair the stand plant with one simple ceramic companion like a mini bowl or a smooth vase. This is a beginner-friendly corner shelves decor setup for kitchens, bathrooms, and bedrooms where you want greenery but not a crowded shelf.
Editor's noteUse a cachepot or tray under the pot even for faux plants — it keeps the look clean.
Choose a metal stand that raises the plant pot by 4-6 in. Place the stand toward the corner wall so the plant’s leaves drape toward the room. Add one small ceramic item opposite the plant, then keep the front edge empty. Dust the leaves and wipe the shelf — smudges show more on metal stands.
Skip thisDon’t let leaves touch the wall behind the shelf — it flattens the shape.
20. Two-Shelf Vertical Layout with a Repeat Pattern
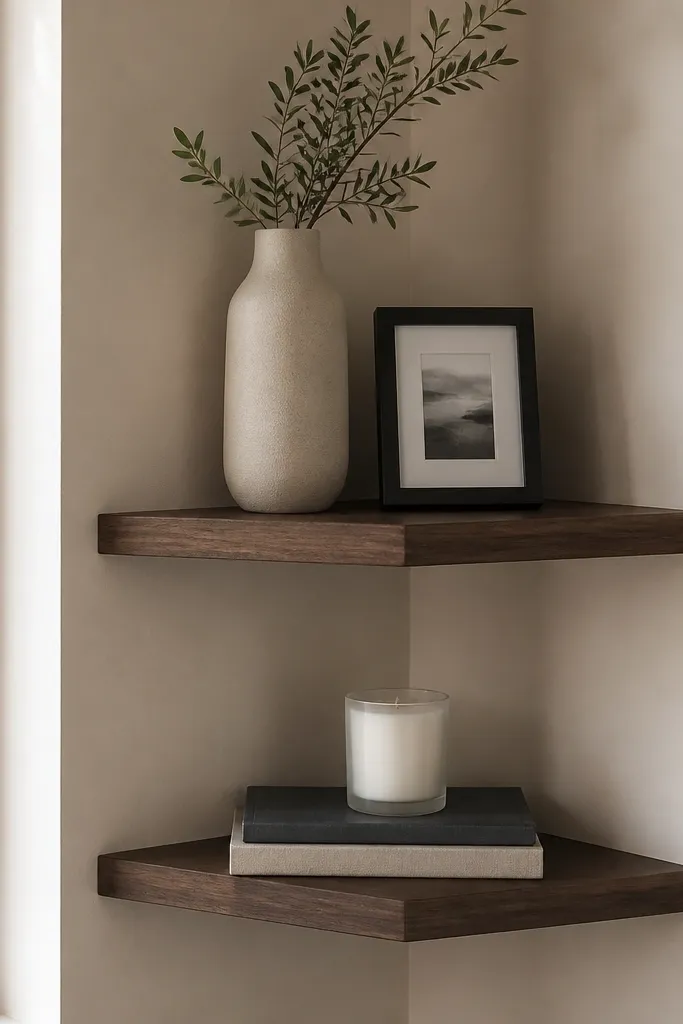
If you have two shelves in the corner, repeat the same style pattern on both levels. For example: top shelf uses a tall vase and one small frame; bottom shelf uses a book stack and a candle. This repetition makes the corner look curated even if the items change. Keep the top shelf slightly lighter visually by using more negative space. This is a beginner-friendly corner shelves decor idea that rewards people who build two levels.
Editor's noteUse the same color for your frames or candles on both shelves to tie them together.
Place the top shelf first and style it with one tall object centered and one small item on the side. Leave at least 2 in empty space on the front edge. Style the bottom shelf using the same color palette and a similar layout: one medium anchor object and one small supporting piece. Keep the spacing consistent between shelves so it looks like a designed set.
Skip thisAvoid mixing too many sizes of frames — it breaks the repeat pattern.
21. Corner Shelf with a Lidded Box + One Seasonal Accent
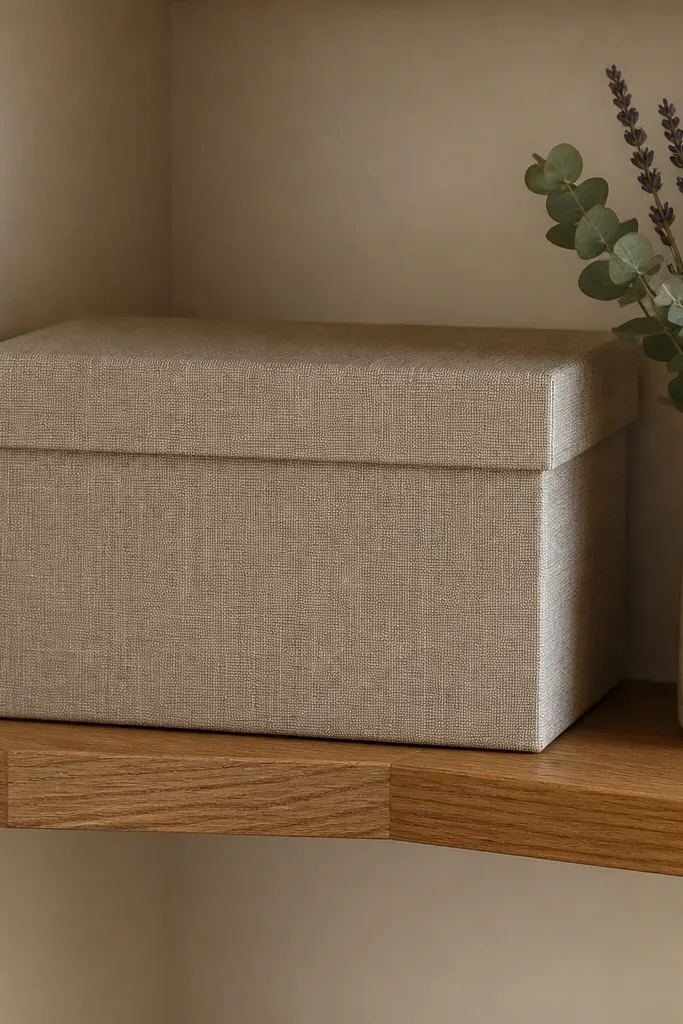
Lidded boxes are a clutter-proofing tool, and they also look styled. Put a lidded box on the shelf to hide small items, then add one seasonal accent like a small bouquet, a single branch, or a candle. This keeps your corner from turning into a storage shelf. Choose a box in a material that matches your decor style: linen-look for soft rooms, wood for warm rooms, ceramic for clean modern looks. Great for entryways, bedrooms, and craft corners.
Pick a lidded box that fits within the shelf without touching the edges. Place it centered toward the back so it doesn’t block the front. Add your accent item on one side of the box, keeping it 1-2 in away from the box lid. If your accent is bulky (like big flowers), keep everything else removed so the box stays the main base.
Use a box liner in the same color as your decor so you don’t see random prints through gaps.
Don’t stack loose items next to the box — let the lid hide them.
22. Textured Wall Contrast with a Shelf + Small Sculpture
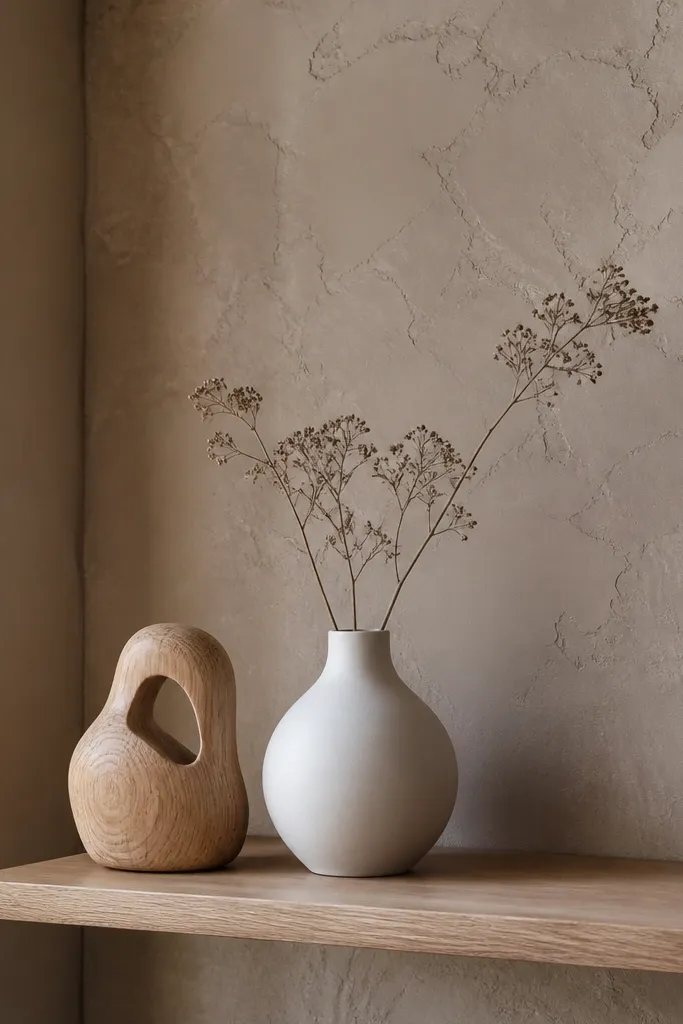
A shelf looks styled faster when the wall behind it has texture. If you have a textured wall or you add a small section of peel-and-stick texture, the shelf decor needs fewer items. Choose one small sculpture or carved wood piece and one simple vase. Keep colors in the same family as the wall texture so nothing fights. This is great for beginners because you don’t need a big collection to create depth.
Editor's noteIf texture is bold, use one matte ceramic and one wood piece only.
Pick one textured element behind the shelf area, like a small strip of peel-and-stick plaster texture or a matte painted panel. Place one sculpture or carved wood piece on the shelf near the corner wall. Add a simple vase or bud holder opposite it, then keep the front edge empty. Step back and adjust until the shelf looks like it belongs to the wall, not pasted on top.
Skip thisDon’t add shiny decor against a textured wall — it looks busy.
23. Minimal Corner Shelf with One Frame and a Matchbook Holder
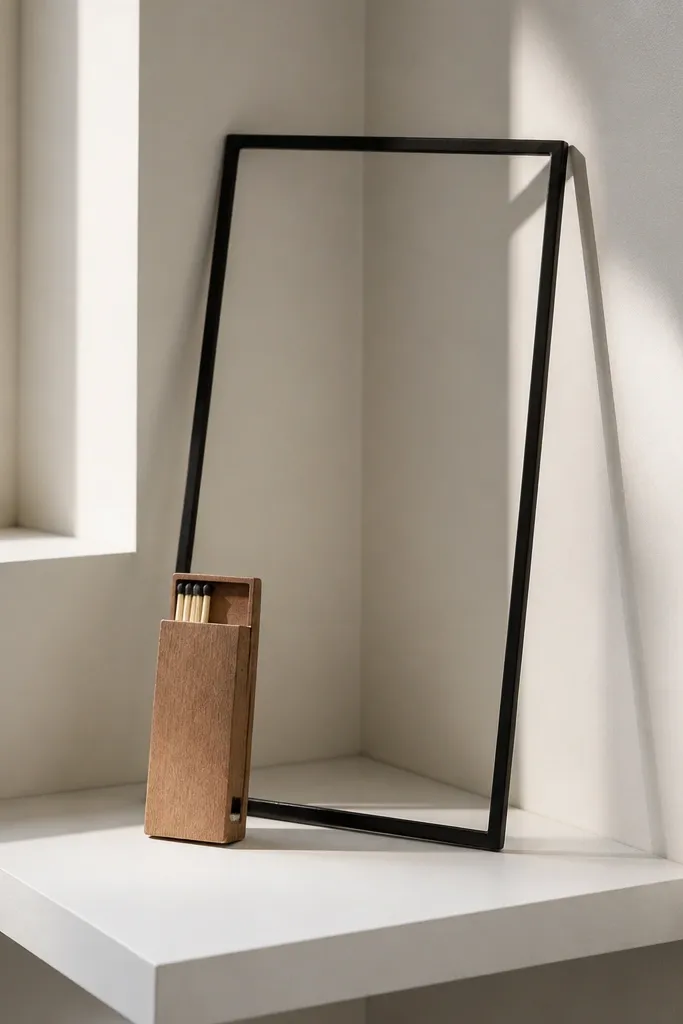
This is the “I want it clean” option for beginner-friendly corner shelves decor. You use one framed print as the main anchor and one functional decorative item so the shelf isn’t empty. A matchbook holder, small ceramic dish, or slim pen cup works because it’s narrow and doesn’t add clutter. Keep the frame simple — thin black or natural wood. This setup is best for small corners where you’d otherwise overfill.
Lean or place one frame on the shelf so it sits centered in the corner triangle. Add a slim matchbook holder or small dish on the opposite side to balance the frame. Leave the rest of the shelf blank. If you’re using a leaning frame, put a small non-slip pad under the bottom edge so it doesn’t slide.
Choose frames with matte finish to reduce glare in corners.
Skip extra mini decor items when you already have a frame — one anchor is enough.
24. Corner Shelf with a Ceramic Canister + Dried Lavender
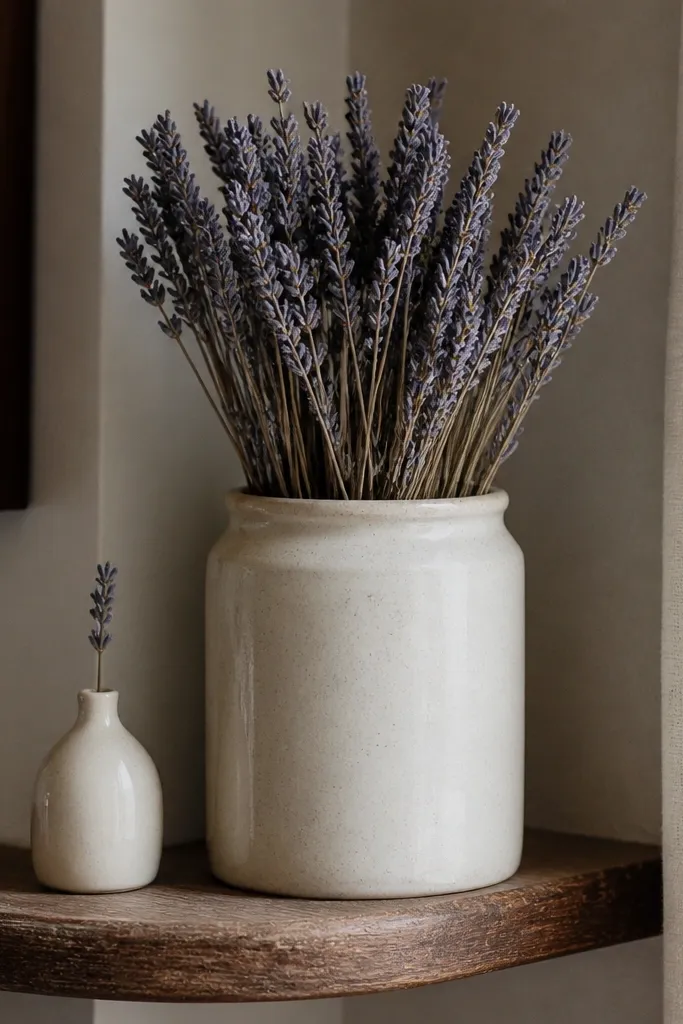
A ceramic canister gives you a clean container look, and dried lavender adds color without taking up space. This is a beginner-friendly corner shelves decor idea that feels intentional because the canister looks like decor storage, not random clutter. Pair it with a small vase or bundle of stems placed behind or beside the canister. Keep the lavender bundle small enough that it doesn’t spill across the shelf. Great for kitchens, laundry rooms, and bathrooms.
Editor's noteTie the lavender with twine so the bundle shape stays neat.
Pick a ceramic canister with a lid and a simple shape, then place it slightly back on the shelf. Add a dried lavender bundle in a small vase or jar next to it, making sure the stems rise 6-12 in above the canister. Keep the color palette to cream and muted purple tones. Wipe the canister and vase so the shelf stays crisp.
Skip thisDon’t use a huge lavender bouquet — it overwhelms the corner.



