
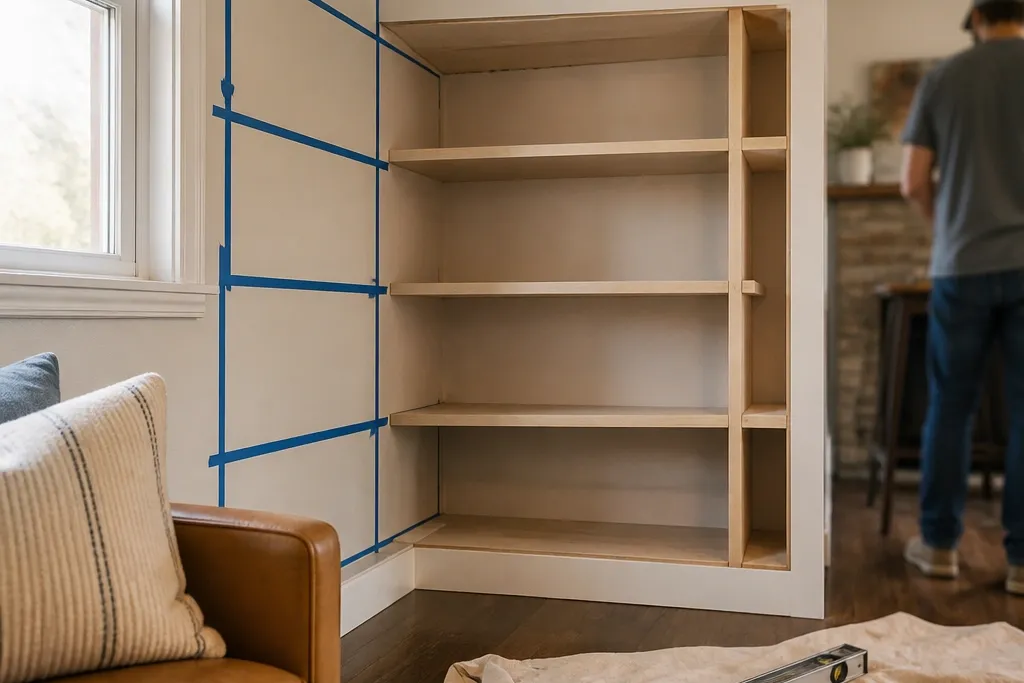
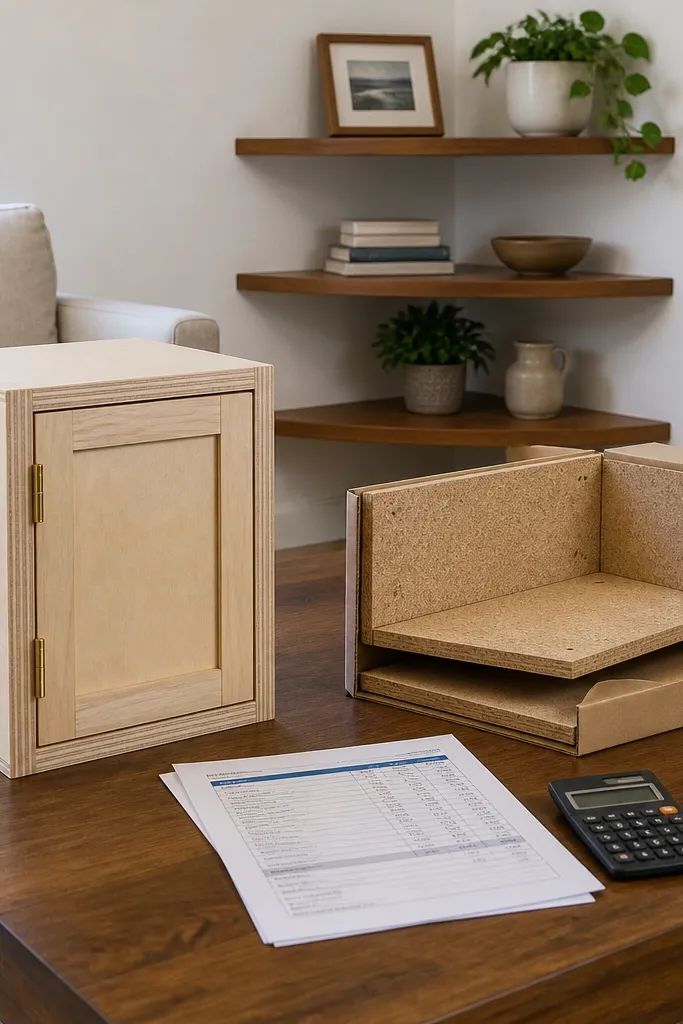
1. Flat-pack corner cabinet with shelf inserts and scribe trim
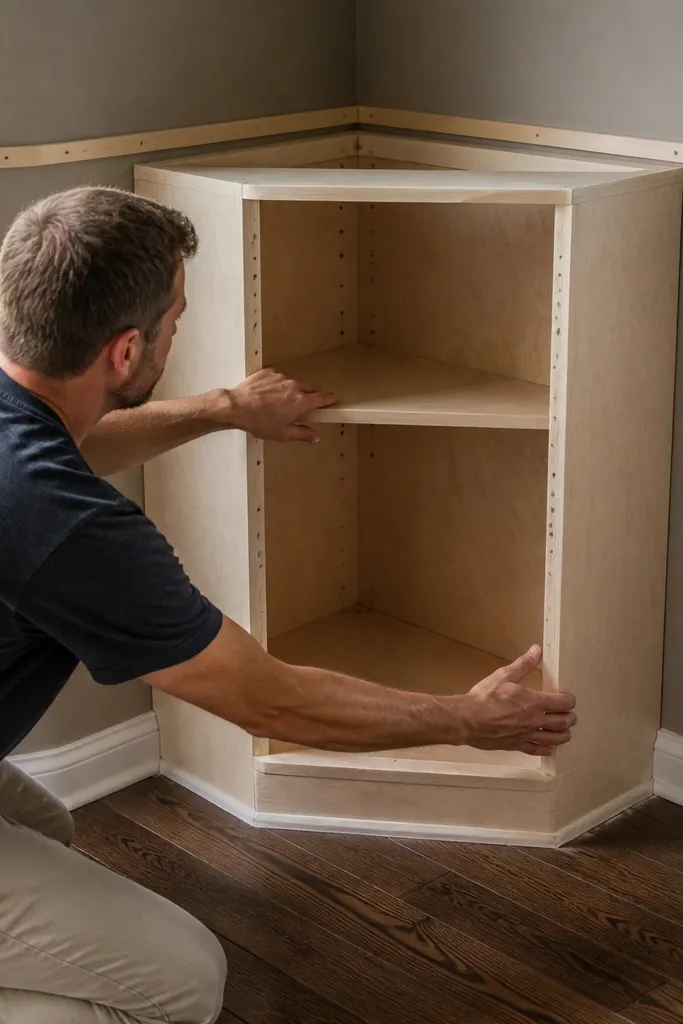
This is the simplest path to beginner-friendly built in corner shelves living room style because the cabinet box does the heavy lifting. You get a real, square carcass to mount, then you add shelves and trim to make the corner look intentional. Use plywood back and add a continuous ledger so the unit doesn’t “float” off level when the wall is imperfect. The finished look comes from a consistent reveal line around the cabinet face and careful caulking at the wall edges.
Start by choosing a flat-pack corner cabinet that has an adjustable interior shelf system or standard shelf pins. Dry-fit it in the corner and check the gap at the top and sides; if the wall isn’t square, buy thin scribe strips (1/8 in to 1/4 in) and mark them with a contour gauge or scrap cardboard. Then mount a level ledger board across the wall studs, set the cabinet on the ledger, and shim behind the mounting points until the face sits plumb. Finally, install shelf inserts, add a plywood back if the kit doesn’t include one, and finish with primer + two coats of wall-matching paint plus a thin paintable caulk line at the reveals.
Use a laser level for the reveal line height. A small reveal mismatch reads instantly in corners.
Don’t skip shimming before you tighten screws — forcing it tight creates visible twist.
2. Custom face-frame corner shelves with a plywood back panel
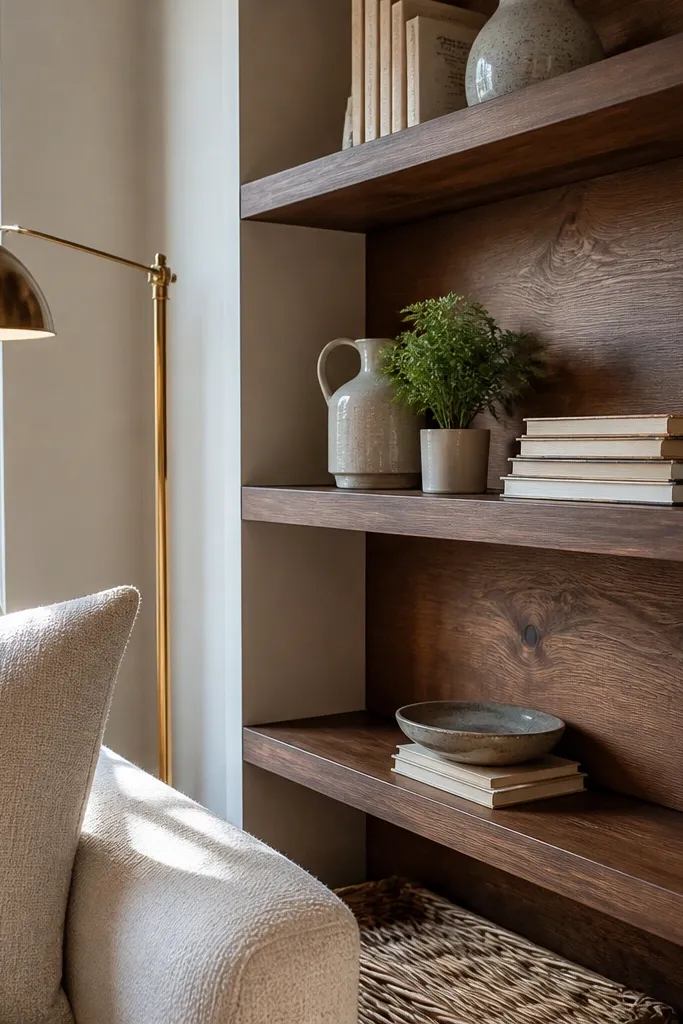
Face-frame builds make beginners look good because the frame gives you a straight reference for reveals, even when the wall has bumps. A plywood back panel also keeps the shelves from looking flimsy and prevents sag behind the scenes. This layout works best in living rooms where you want a finished, built-in look that hides the “inside” construction. Expect more carpentry than flat-pack, but less layout chaos than diagonal corner designs.
Cut a face frame from 1x2 or 1x3 hardwood or MDF strips, then build two shelf bays that meet in the corner with consistent frame widths. Use pocket screws for the frame joints and add cleats inside the bays so each shelf lands at the same height. Install a ledger board, then mount the face frame first to studs, shimming behind the frame until it’s plumb. Add plywood backs, then attach shelves with wood glue and screws through the cleats. Finish by sanding the frame edges flush and caulking all seams before priming and painting.
Editor's notePre-sand and prime the face frame edges before assembly. It prevents missed spots and rough caulk lines.
Skip thisAvoid thin shelves without support — 3/4 in plywood with proper cleats keeps edges from looking wavy.
3. Semi-custom corner shelves using two stock base cabinets
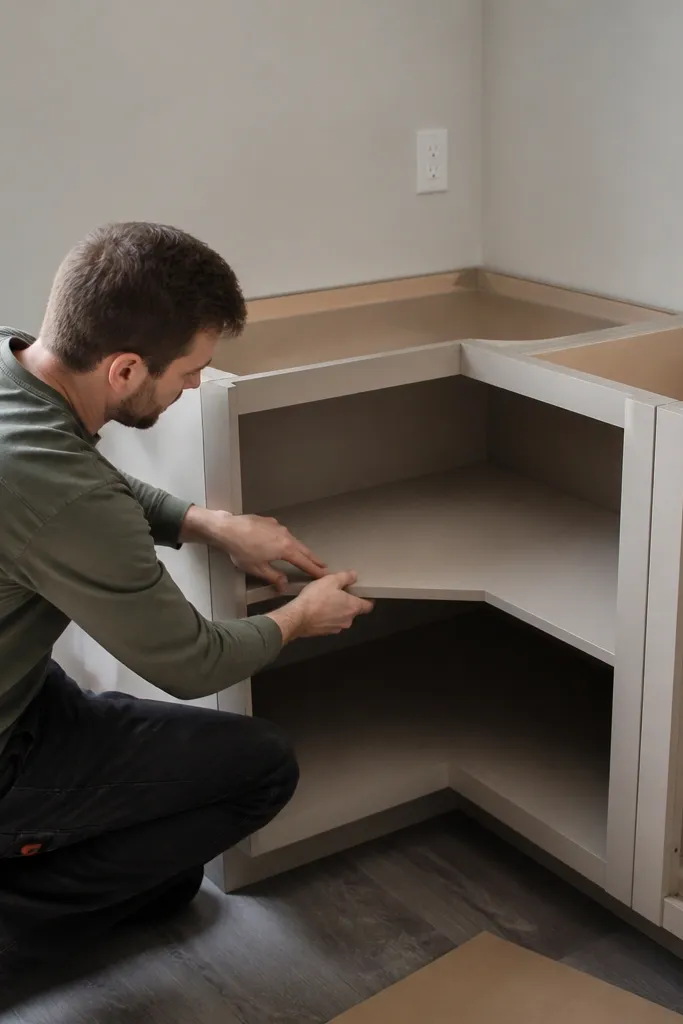
If you want the built-in look without paying for fully custom carcasses, this is a smart middle route. Stock base cabinets give you consistent box quality, and you can cut the corner overlap so the faces meet neatly. This works especially well when your corner has an outlet or a weird wall seam, because you can plan the cabinet placement around it. The finished shelves look “real built-in” because the base cabinets naturally create a strong visual frame and shadow line.
Pick two stock base cabinets with the same depth and compatible door or open-frame style. Dry-fit them in the corner and decide which cabinet face sits slightly forward for a cleaner reveal. Remove the corner panels you don’t need, cut filler pieces to close any gaps, and add a plywood back between the two cabinets. Mount a level ledger, screw through the cabinet back or mounting rail into studs, and use shims behind the cabinet sides until the faces line up. Add shelf boards on adjustable brackets or fixed cleats, then install trim to cover seams and paint with primer + two top coats.
Plan your shelf heights on paper using 12 in increments so books and decor land at natural viewing levels.
Don’t rely on cabinet side panels alone for alignment — always shim at mounting points.
4. Diagonal corner book cabinet with triangular shelves
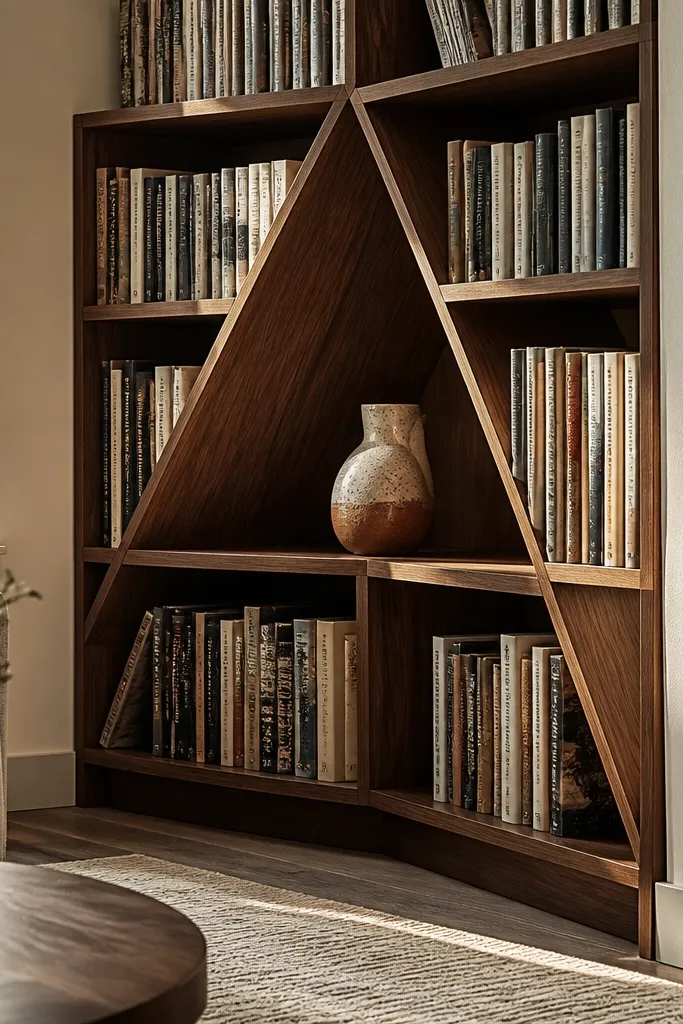
Diagonal corner shelves solve two problems at once: awkward corner angles and wasted space. Instead of forcing two straight runs to meet, you create one corner section that reads as intentional. Triangular shelves also create better sightlines for books and decor, so the corner doesn’t look like a dead pocket. This build needs more measuring, but it’s a beginner-friendly project if you use pre-cut shelf templates and keep the geometry consistent.
Build or buy two side panels that form a diagonal corner, then use a template cut from 1/4 in plywood to trace identical triangular shelf shapes. Assemble the outer frame with pocket screws and confirm the diagonal gap is consistent from top to bottom. Mount the frame to studs using a ledger, shim until it’s plumb, then install shelf cleats so each shelf has the same support points. Drop in triangular shelves, then add a back panel that ties the structure together. Finish by sanding all shelf edges, caulking frame-to-wall seams, and painting.
Make one “master” shelf triangle template and trace every shelf from it. Consistency beats re-measuring each time.
Avoid uneven cleat heights — one shelf out of level makes the diagonal look off immediately.
5. Built-in corner shelves with drywall returns and MDF trim
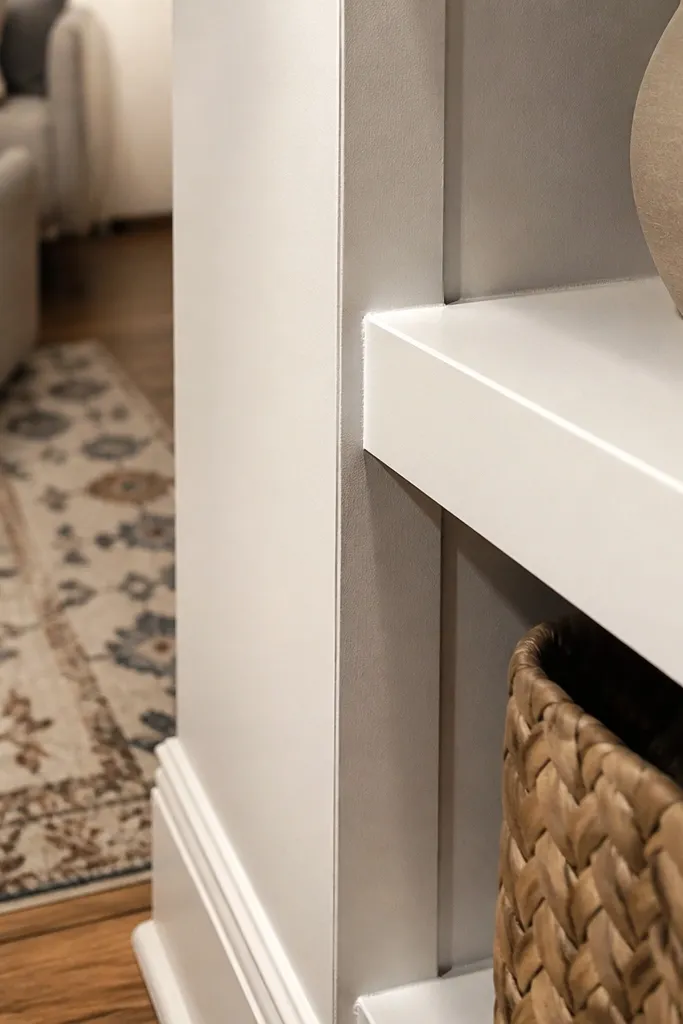
This look is for living rooms where you want the shelves to look like part of the wall, not an added cabinet. MDF trim creates crisp edges, and drywall returns help hide tiny gaps where the cabinet meets the drywall. It’s a great beginner-friendly built-in style because MDF is stable and easy to sand, and the trim gives you a controlled visual line. The trade-off is you’ll do more patching and caulking than a flat-pack cabinet.
Start by marking the shelf layout on the wall and locating studs. Build a simple shelf framework using 2x2 cleats or 1x2 rails, then screw them into studs. Install plywood shelf boards, then add MDF trim pieces around the shelf openings, using coping or miter cuts at the corner for tight joins. For drywall returns, add thin drywall patches or use pre-made corner return strips to cover any rough edges. Prime everything, fill gaps with paintable caulk, sand the caulk after it cures, then paint with a satin or eggshell finish.
Editor's noteUse 1/8 in reveal gaps between trim and shelf edges. The small shadow line sells the built-in illusion.
Skip thisDon’t skip sanding cured caulk. Caulk ridges show under living-room light.
6. Floating corner shelves on a hidden ledger rail
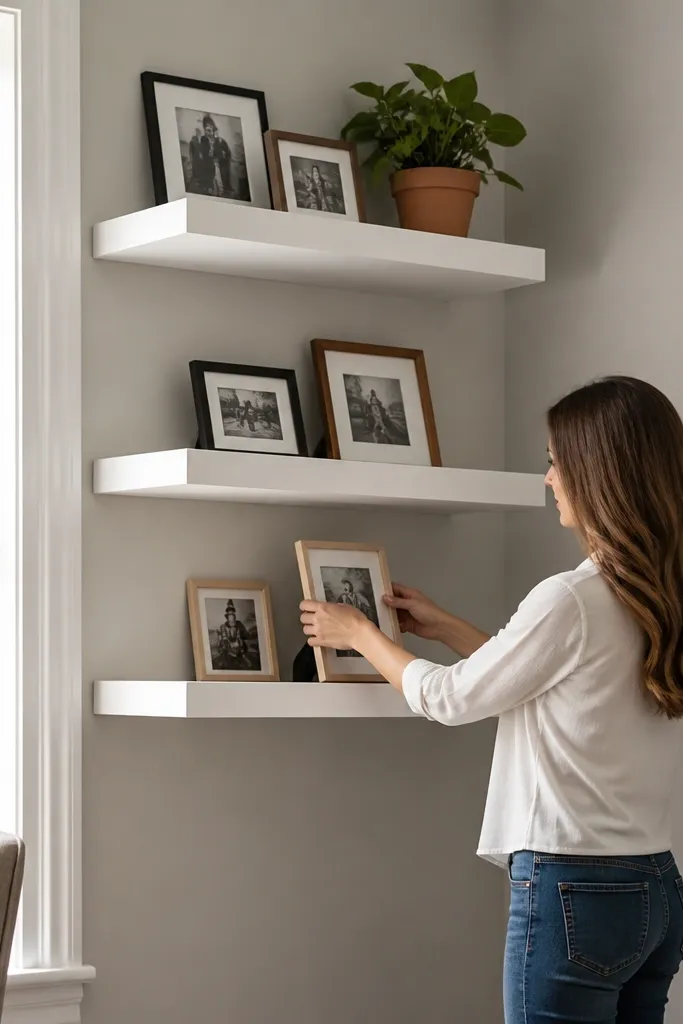
Floating shelves are the fastest way to get corner storage up without building a full cabinet look. They work best when your wall is reasonably flat and you’re okay with a lighter-duty result. The hidden ledger rail is the key here: it makes the shelves feel built-in instead of “mounted.” For beginners, this is a low-cost way to test your layout before committing to a full face-frame build.
Pick shelf boards at least 3/4 in thick (oak, maple, or quality plywood with a wood veneer). Mount a hidden ledger rail into studs with construction screws, then set the shelf board placement marks based on your desired heights. Pre-drill and screw through the shelf into the ledger, and add a second concealed support method like shelf pins with a backing strip or L-brackets hidden behind trim. Add a backing strip at the corner to keep the shelves from twisting. Finish by sanding edges, sealing wood or priming if painted, and using paintable caulk where the shelf meets trim or the wall.
Editor's notePre-finish shelves before installing. It’s easier than trying to paint the underside after mounting.
Skip thisAvoid using thin 1/2 in boards — they flex and the corner seam looks sloppy.
7. Open L-shaped corner run with adjustable shelf pins
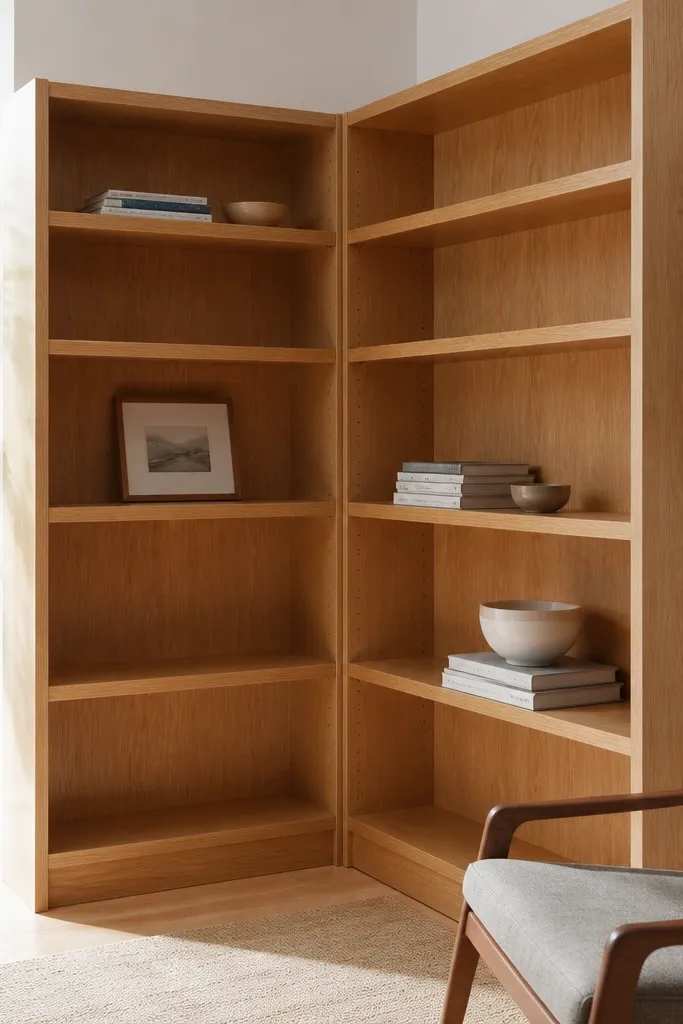
An open L-shaped run gives you maximum display space and a clean, modern look. Adjustable shelf pins let you change heights later for books, frames, and tall decor. This build works well in living rooms where you want symmetry across both walls. The trick is getting the corner reveal and shelf spacing consistent, because open shelves show every misalignment.
Build two matching shelf carcasses or cleat rails for each wall run, using 3/4 in plywood sides or 1x2 rails. Install vertical back supports into studs so the shelf pins have solid backing. Set a reference line using a laser, then mount the rails at the same height on both walls. Drill shelf pin holes at fixed increments (like every 2 in), install shelves on the pins, and add a back panel to tie each run together. Caulk and paint the frame, then seal shelf surfaces to prevent scuffs.
Match shelf spacing to your decor plan. If you want books and frames together, use one set of heights around 10 in and 14-16 in centers.
Don’t mix shelf depths without a plan — shallow shelves look weak next to deeper ones.
8. Corner cabinet with doors on the outer edges and open shelves inside
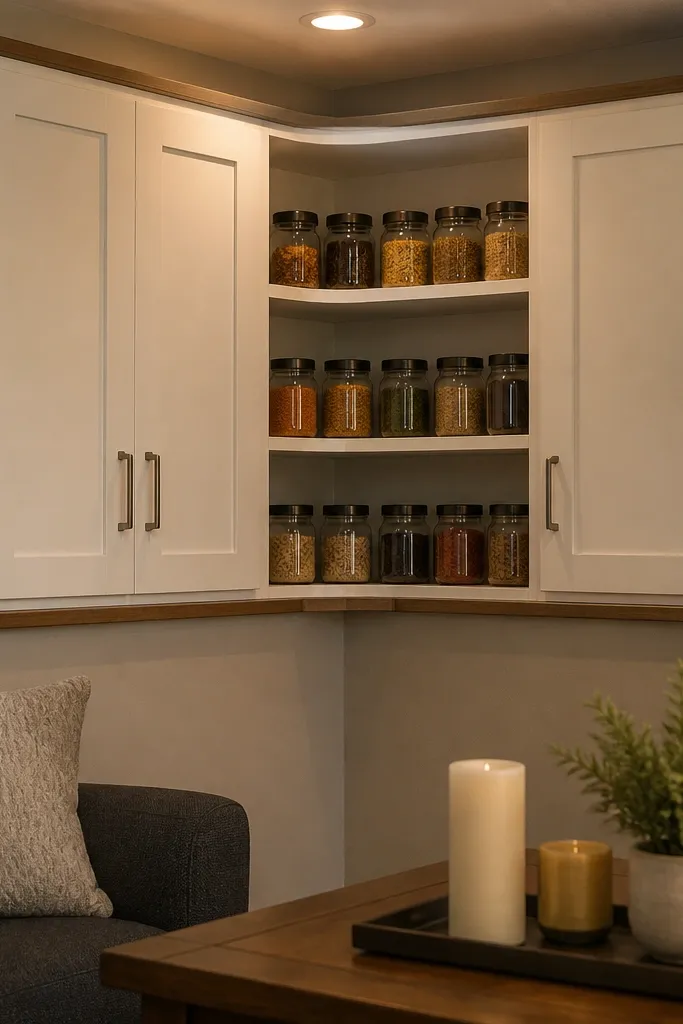
This is a practical living-room setup: you hide clutter behind doors, but you still get open shelves for the stuff you show. It also makes the built-in look easier because closed doors hide tiny reveal irregularities at the outer edges. The open inner shelves keep the corner from feeling heavy. This is beginner-friendly if you pick a flat-pack cabinet system with door hardware already matched.
Choose a corner cabinet kit that includes door panels or a face frame that accepts doors. Install the cabinet box on a level ledger, shim at mounting points, and screw into studs. Add adjustable shelves for the open inner section, and install the door frames and hinges only after the cabinet is plumb. Use filler strips where needed to close any side gaps, then add trim to wrap the face frame edges. Prime and paint the cabinet and doors, then finish with magnetic catches or soft-close hardware.
Editor's noteHang doors after painting only if the kit instructions require it. Otherwise, paint first and let hardware sit flush.
Skip thisAvoid closing door gaps by sanding the frame unevenly — shimming is the fix.
9. Built-in corner shelves with a recessed base and toe-kick
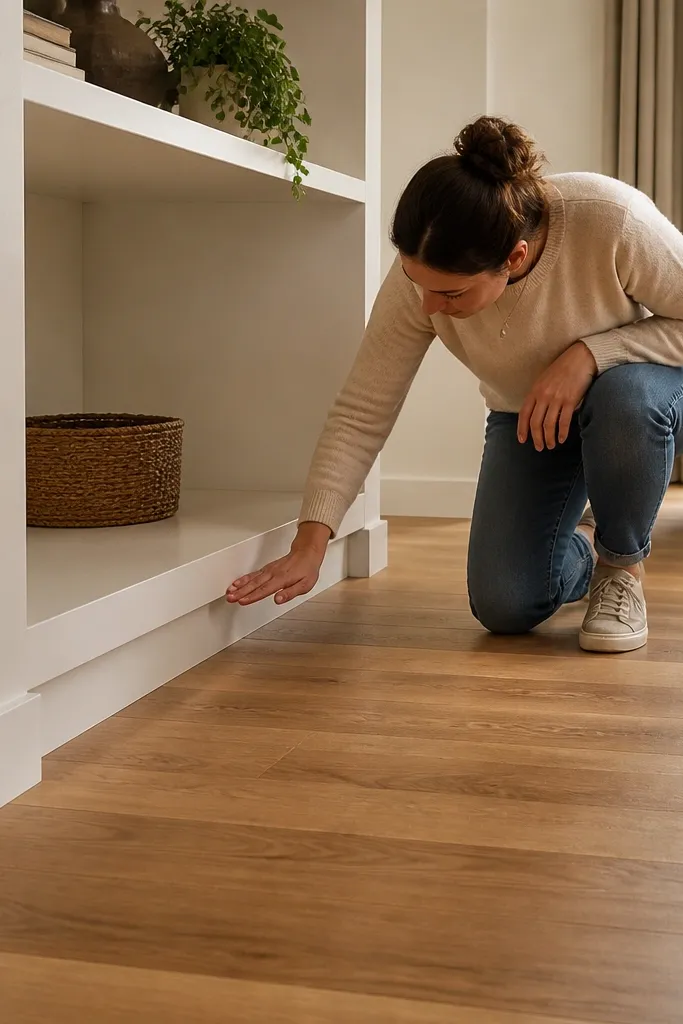
A recessed base with a toe-kick turns simple corner shelves into something that looks furniture-grade. It gives you a natural “grounding” line that hides the bottom gap between the unit and the floor. This helps when your living room floor has a slight slope or when the corner isn’t perfectly clean. It takes more carpentry than floating shelves, but the result reads built-in even from across the room.
Start with a base platform using 2x4s or a plywood base sheet, then add a toe-kick height around 3-4 in. Build the shelf carcass on top, keeping the face frame aligned so the toe-kick line is straight. Mount the whole unit to studs with a ledger, shim behind the base until the toe-kick sits level. Install shelf boards, then add a back panel and trim around the face. Finish with caulk at the base edge and prime + paint, sanding caulk ridges before topcoat.
Editor's noteUse a straight 4 ft level to set the toe-kick line. A slight tilt shows more than you think.
Skip thisDon’t leave the bottom gap unplanned. A consistent toe-kick closes the visual gap.
10. Corner shelf wall using cabinet-grade plywood boxes and mitered trim
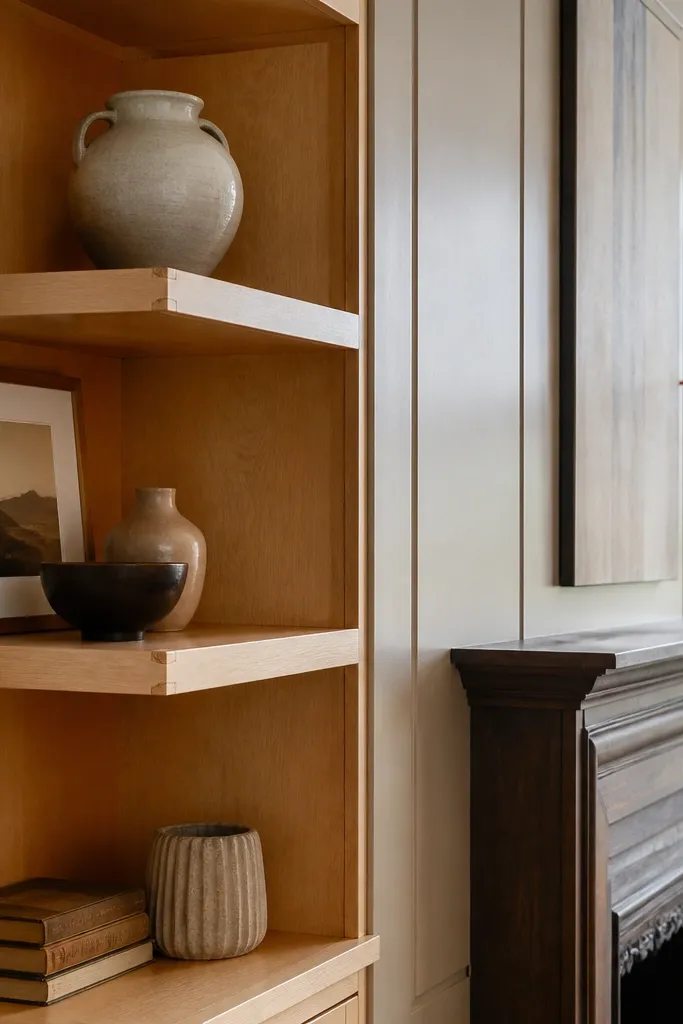
If you’re comfortable cutting accurate angles, plywood boxes plus mitered trim can look like a custom millwork job. The plywood is stable and resists sag, so shelves stay straight over time. This setup is great for living rooms where the corner is a focal point and you want the shelves to look crisp, not bulky. It’s not the cheapest route, but it beats flat-pack if you want control over thickness, depth, and shelf spacing.
Cut shelf boxes from 3/4 in cabinet-grade plywood, and keep box depth consistent so the faces line up. Build each box with a back panel so the structure is rigid, then sand edges flush. Install a ledger rail into studs, mount the boxes, and use shims to correct plumb. Cut mitered trim pieces for the corners using a miter saw, then glue and nail the trim to cover seams. Prime, caulk, sand, and paint in thin coats so the miter seams don’t show.
Editor's noteDry-fit every miter with painter’s tape before glue. Corners reveal mistakes fast.
Skip thisAvoid forcing boxes against the wall. Shim until the face is straight.
11. Corner display shelves with lighting channel and wire-free look
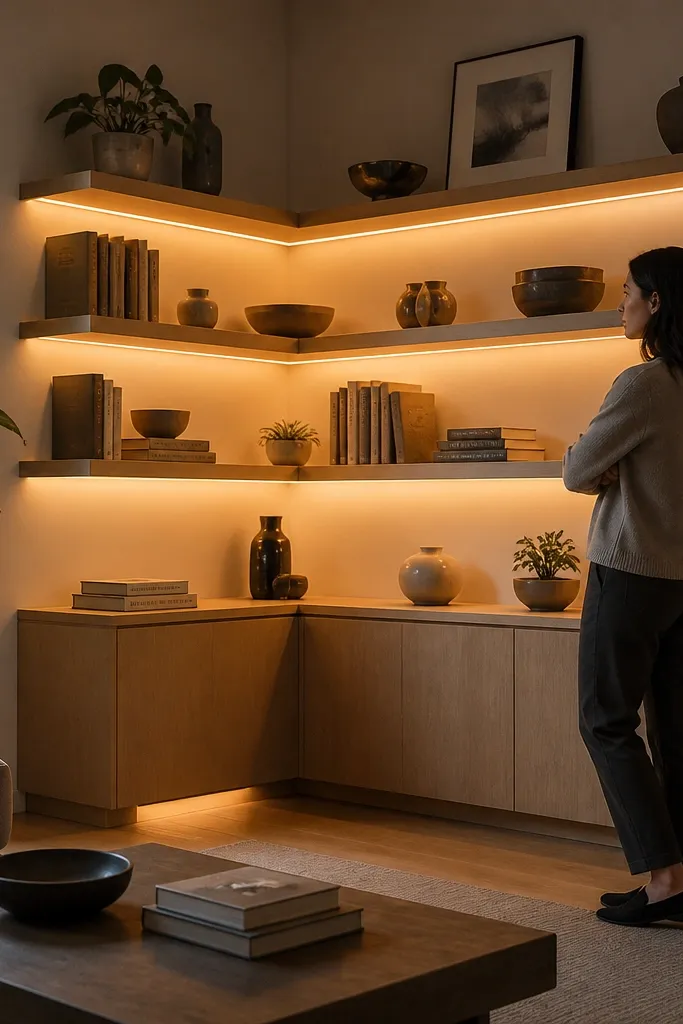
Lighting turns corner shelves into a display wall without adding clutter. A shallow LED channel under the shelves creates a soft glow that makes books and decor look intentional. This works especially well for open corner runs where the back wall is visible. Beginners can do it cleanly by using a plug-in LED system and hiding the wire in the shelf structure.
Choose warm LEDs around 2700K and a low-profile channel that fits under shelf edges. Build or install the shelves first, then mount the LED channel to the underside using screws or adhesive meant for LED channels. Route the wire through a small notch in the back panel or within a trim chase so it disappears into the corner. Add an in-line switch or remote control kit and keep connections accessible. Finish by sealing shelves and painting the channel cover if you need a uniform look.
Use a diffusing lens cover on the channel. It prevents bright dots on decor.
Avoid using cool 4000K LEDs — they make wood look dull and walls look flat.
12. Corner shelf bench-style base with lift-top storage
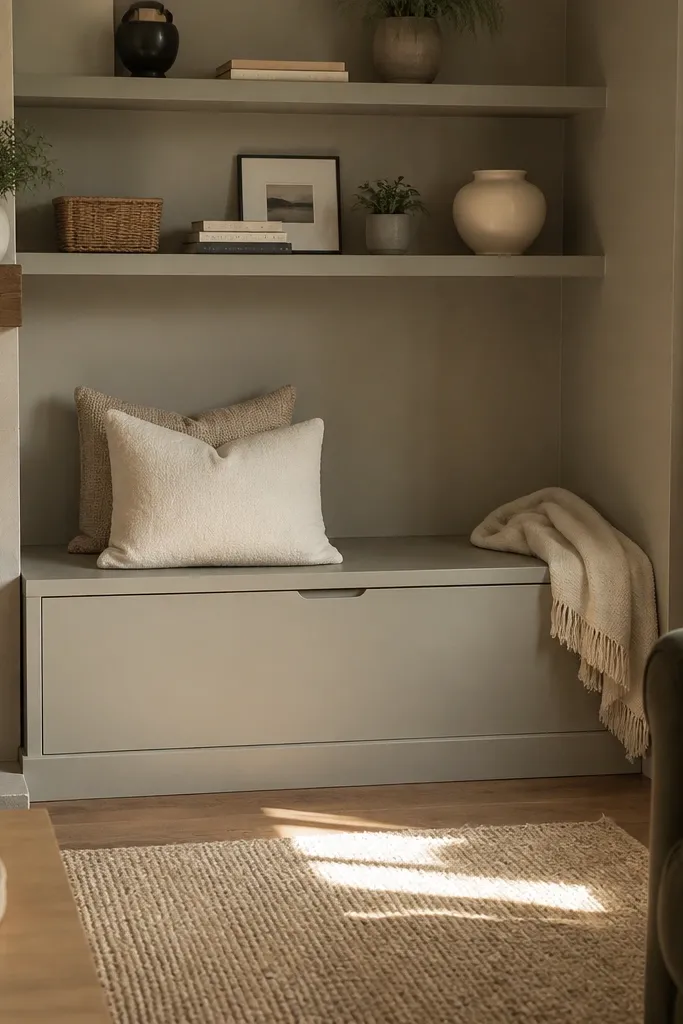
This one is for living rooms that need storage and seating. A bench base under corner shelves gives you a place to drop bags and a hidden compartment for blankets, remotes, or kids' stuff. It looks built-in because the silhouette matches furniture proportions, and the toe-kick line anchors it visually. It’s more work than a shelf-only build, but it’s very beginner-friendly if you keep the mechanism simple and the box square.
Build a simple rectangular base box that fits the corner, then add a lift-top lid panel sized slightly smaller than the opening for clearance. Install hinges or a lift support system rated for the lid weight, and add a plywood bottom panel. Mount the shelf structure above the base, anchored into studs and secured to the base frame. Add shelf boards, then wrap the front edges with trim to match the wall casing. Finish with primer and paint, and test the lid swing before final caulk.
Use a hinge-stop so the lid doesn’t slam the shelves. Stops save your paint job.
Avoid undersized braces under the lid — sagging lids ruin the whole look.
13. Corner shelves with beadboard back and framed edges

Beadboard back panels add texture without making the shelves complicated. The framed edges make the corner area look finished even if the wall has minor unevenness. It’s a good option when you want a cozy living-room vibe and you’re painting anyway, because beadboard takes paint evenly. This build is beginner-friendly if you use pre-cut beadboard sheets and keep the frame width consistent.
Build your shelf framework with cleats and shelf boards first. Cut beadboard panels to fit the back opening between frames, then attach with brad nails or finish nails, keeping the panel centered. Add a thin frame trim around the beadboard edges so the seams look intentional. Install the unit into the corner using a ledger board and shims, then caulk around the frame edges. Prime the beadboard and trim, then paint with two coats so the beadboard grooves don’t look patchy.
Use a foam roller for paint on beadboard. It fills grooves without leaving heavy roller lines.
Avoid leaving beadboard edges raw — seal them or they’ll drink paint unevenly.
14. Flat-pack open shelving system with built-in side panels
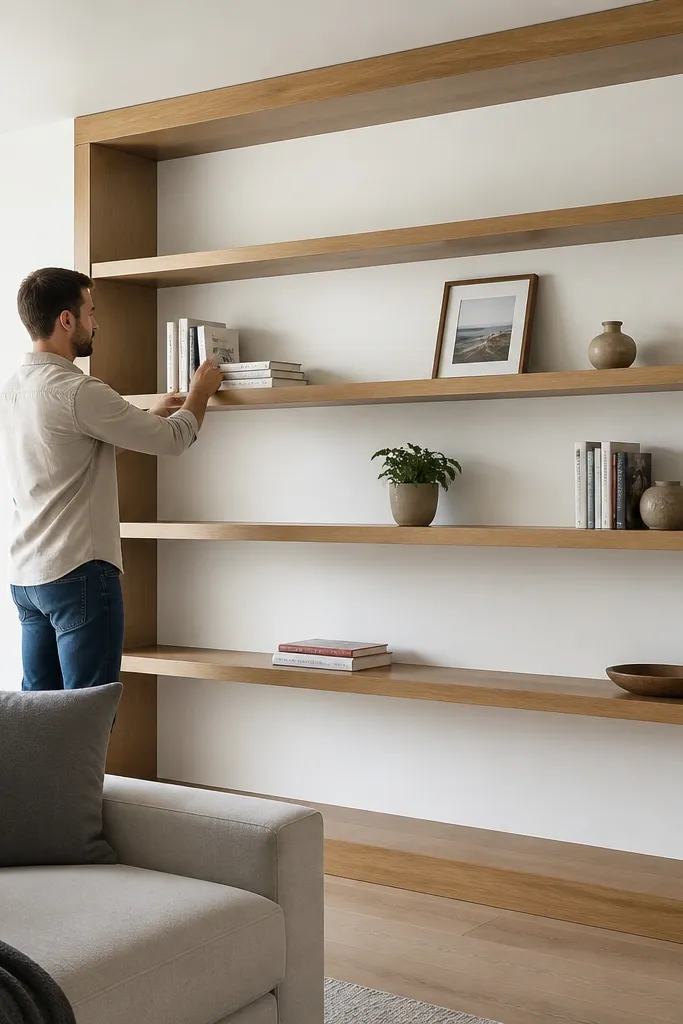
Flat-pack open shelving looks cheap if you mount it directly to the wall. Add built-in side panels and a top rail, and it stops looking like a kit and starts looking like millwork. This is beginner-friendly because you’re not trying to build a full cabinet carcass from scratch. It’s also a good pick if you want a modern look with clear sightlines and you’re okay with open shelves that need regular styling.
Choose a flat-pack shelving kit that includes adjustable shelves and a basic frame. Install the frame on a ledger into studs, shim for plumb, then attach side panels that match the wall casing thickness. Add a top rail and bottom trim so the unit reads as a single built-in block. If the corner has a gap, use filler panels behind the trim edges so the reveal line stays consistent. Finish by sanding all trim seams, caulking, priming, and painting the whole unit in one color schedule.
Editor's noteMatch the shelf thickness to your trim thickness so the edge shadow stays crisp.
Skip thisDon’t skip side panels. Without them, the shelves look like they’re floating on brackets.
15. Custom corner shelves with recessed backing and hidden mounting strip
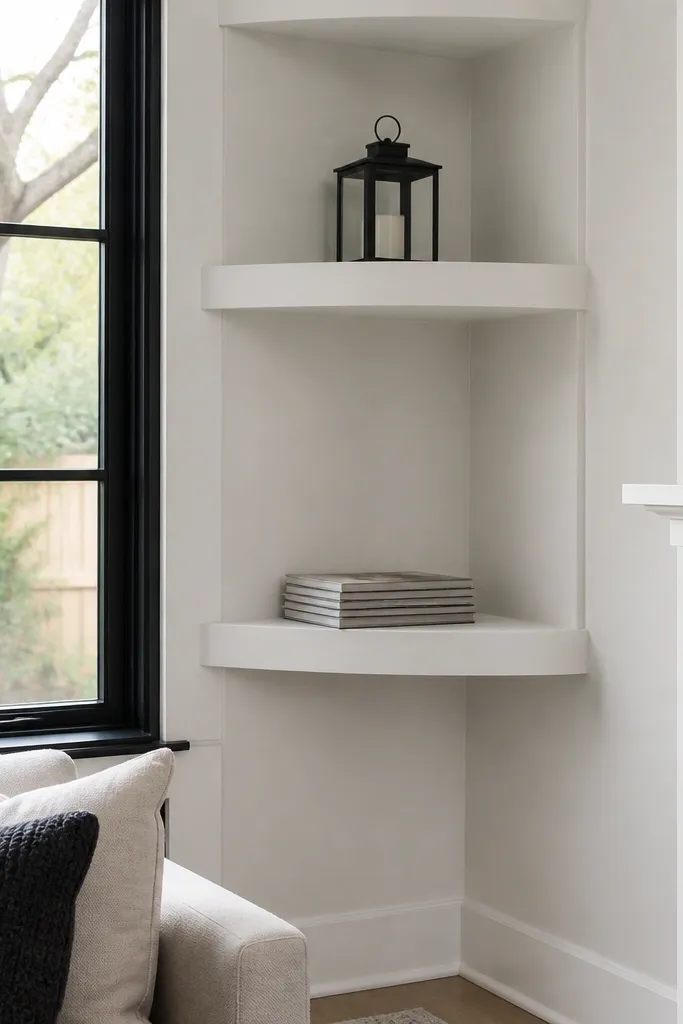
This is a clean, carpentry-forward option that makes the shelves look like they’re carved into the wall. Recessed backing plus a hidden mounting strip gives you straight lines and hides hardware. It’s best when you want a high-end look but you’re willing to measure carefully and do a bit of patching. Beginner-friendly is possible if you keep the shelf run simple and use a consistent shelf depth across both walls.
Cut the shelf recess backing using 1/2 in plywood or thin MDF strips, then install a hidden mounting strip into studs at the correct depth so shelf boards sit flush. Build the shelf boxes or cleat rails to match the recess depth, then dry-fit into the corner to confirm the shadow gap. Screw shelf boards into cleats or rails, then install the recessed backing so it covers the gap behind. Caulk the recessed seams, prime everything, and paint with a finish coat that matches adjacent trim. Clean up the corners with sanded caulk lines for a crisp reveal.
Make a depth gauge from scrap wood so every shelf face sits at the same plane.
Avoid relying on wall texture to hide gaps. Recesses need real measurement.



