
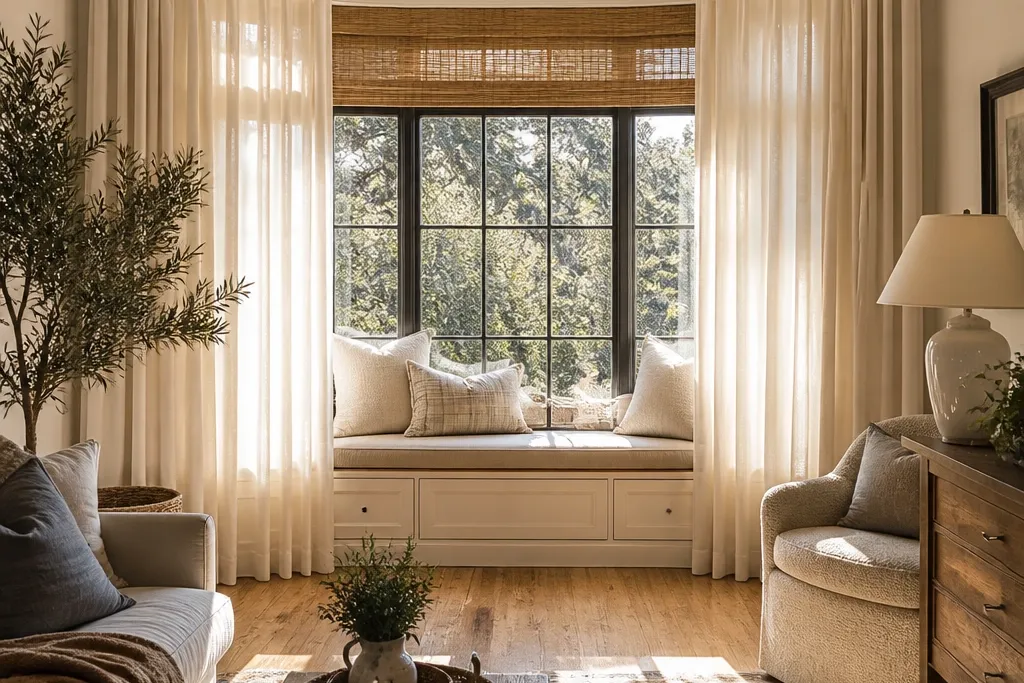
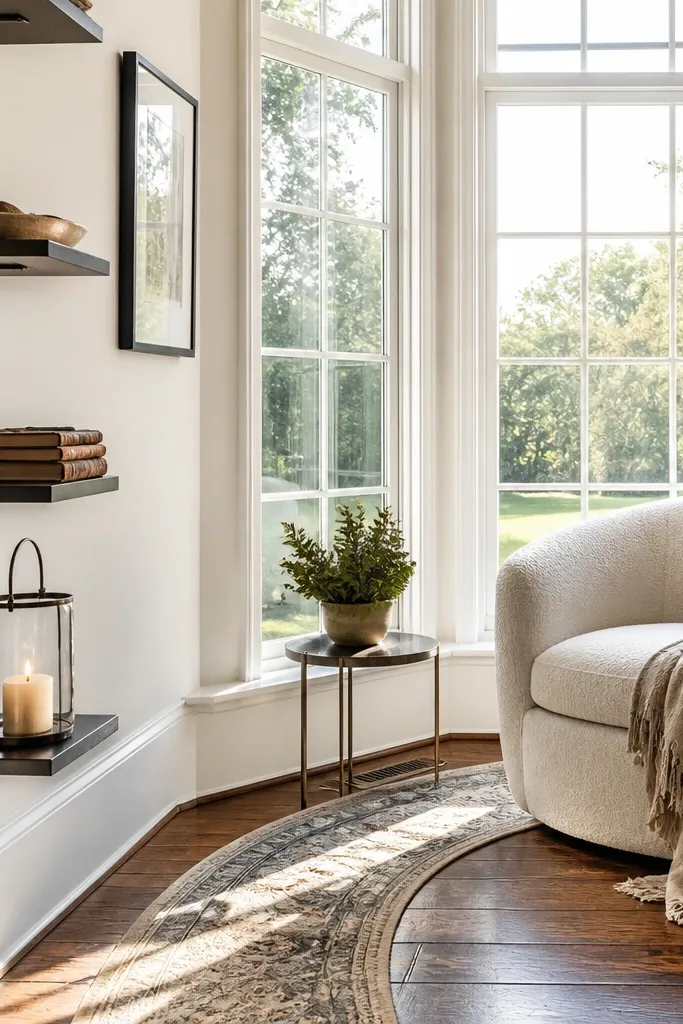
1. Curtain Rod That Hugs the Bay Curve (Proper Overhang)
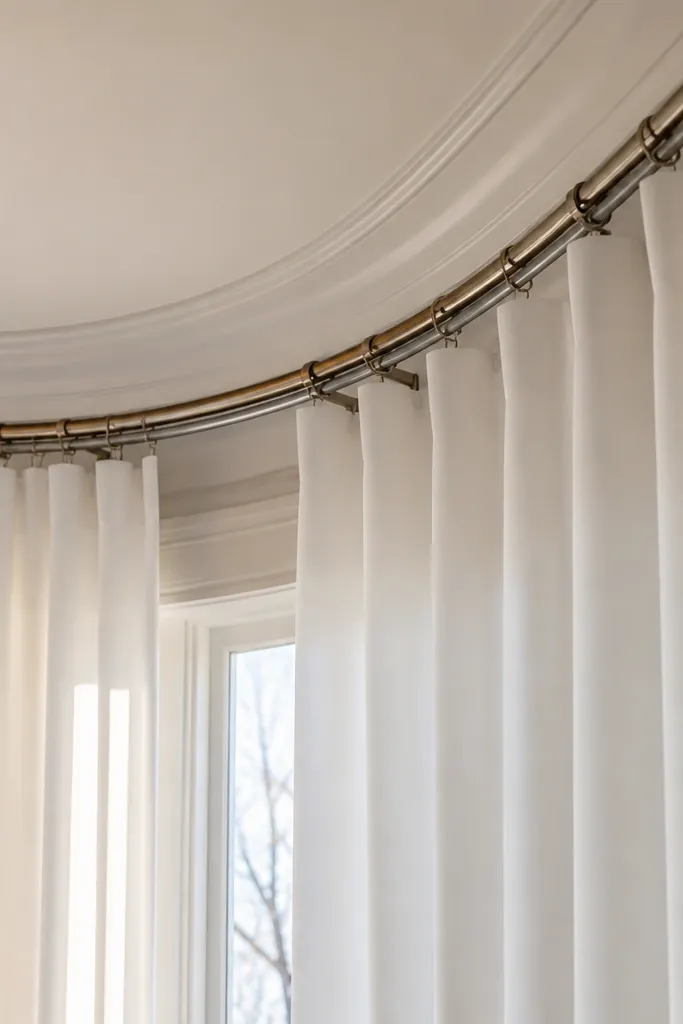
This is the fastest way to make beginner-friendly Bay Window ideas look expensive because the rod placement fixes the most common problem: panels that stop too early. When the rod sits wide enough, the fabric falls into the bay’s shape instead of bunching at the corners. Use a ceiling-mounted or inside-mount track system so you can bend the curve cleanly and keep the top edge straight. Choose medium-weight linen-blend curtains in cream or oatmeal so daylight makes them glow instead of look washed out.
Editor's noteIf your walls aren’t level, mount to the ceiling for straighter folds and fewer curtain twists.
Measure the full bay width at the top edge and again at the widest point of the curve. Install a curved rod or a flexible track, positioned so the panels overlap the outer edges by 3-4 inches on each side. Hang two panels per side zone, then check that the bottom hem lands about 1-2 inches above the window sill for a tailored look. Steam the fabric and lightly weight the hem with iron-on hem weights so it drapes in smooth folds.
Skip thisDon’t mount the rod only to the inner frame — you’ll get gaps that show the bay’s curve like an unfinished project.
2. Roman Shade + Soft Valance Combo
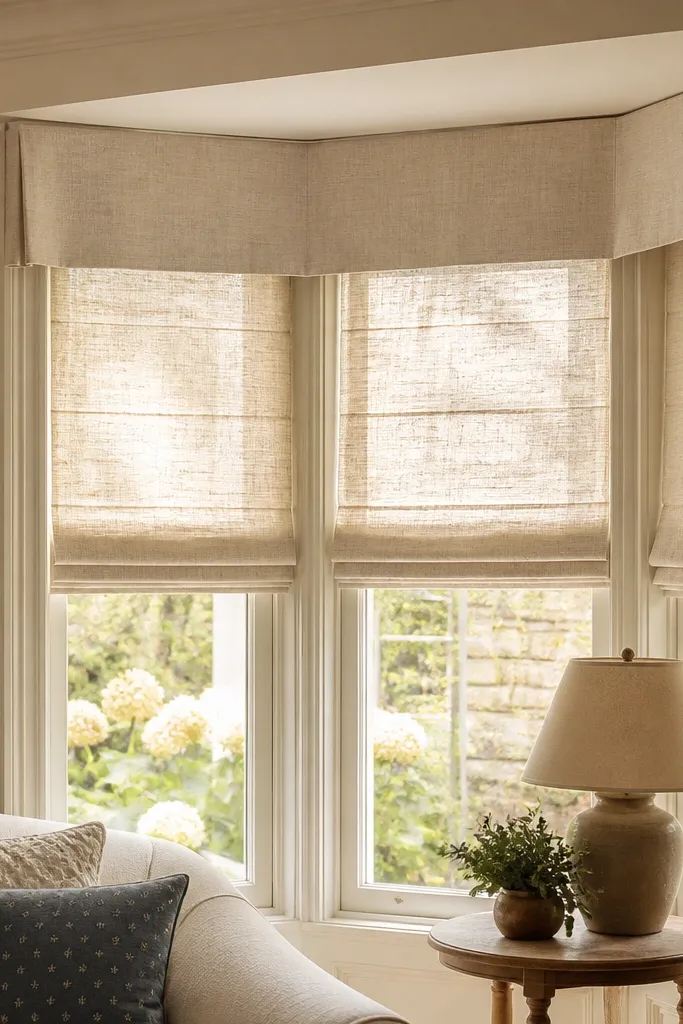
A Roman shade makes the bay practical, and a short valance makes it pretty. The shade gives you clean, controlled light, while the valance hides the top hardware and makes the whole window look designed. For a cozy corner, pick a textured shade fabric like woven cotton or a linen look with a slight slub. Keep the valance narrow and structured so it doesn’t fight the bay’s curve.
Editor's noteChoose a shade that’s 1-2 inches shorter than the finished opening height so it doesn’t rub the trim when it rolls up.
Buy or build a Roman shade sized to each bay section, then ensure the shade guides allow smooth pull without snagging at the curve. Mount the hardware above the window so the folded shade sits neatly when raised. Add a valance board or simple fabric panel at the top, centered over the bay, using fabric that matches the shade color family. Finish by steaming the valance and adding two small tiebacks or magnetic clips so it holds shape.
Skip thisSkip flimsy fabric valances — they sag and look messy in daylight.
3. Window Seat Cushion with Removable Covers
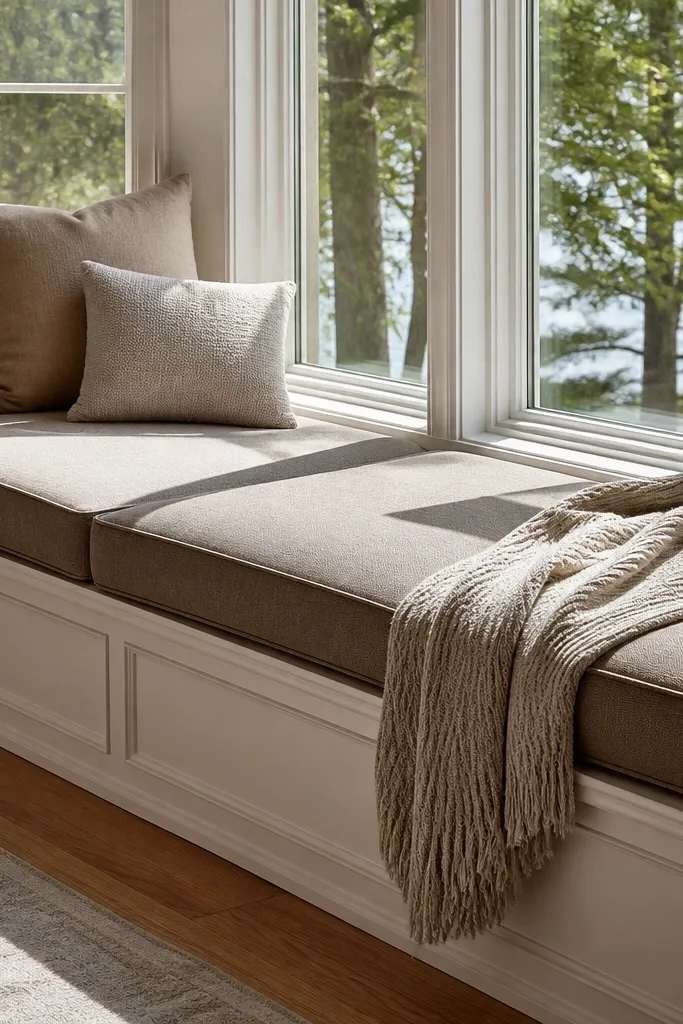
A window seat instantly makes a bay feel like a destination, not a gap of glass. Removable covers keep the look fresh and make this beginner-friendly Bay Window idea maintainable. Use medium-thick foam so it doesn’t bottom out, and choose a cover fabric with texture so it photographs well even in harsh sun. This works best for bays with a sill height that supports sitting comfortably or for adding a slim base platform on the floor.
Measure the center and side areas separately, then cut foam to fit each section with a 1/2-inch allowance for seams. Build a simple base using plywood trimmed to the bay footprint, then screw cleats to hold the cushion in place. Sew a cover with a zipper on the back or bottom so you can remove it without taking everything apart. Add a non-slip fabric layer on the underside to stop shifting, and test sit height with a pillow before final stitching.
Use a foam density around 1.8-2.2 for a firm seat that still feels comfy.
Don’t use thin seat foam — it collapses fast and ruins the “cozy” look.
4. Built-In Ledge for Books, Candles, and Plants
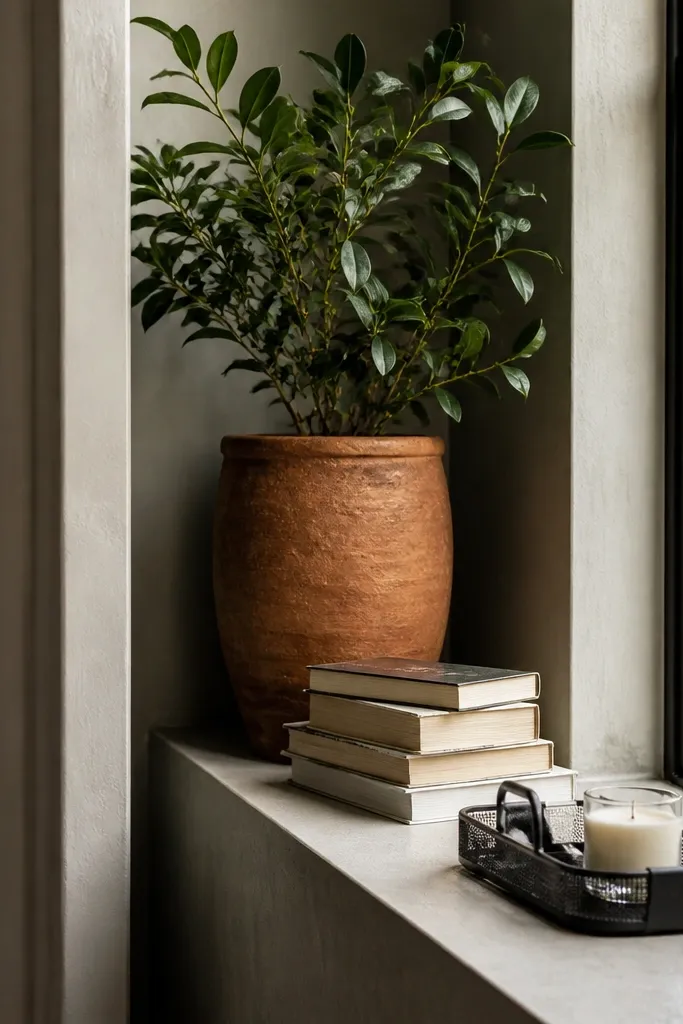
A ledge turns the bay into a display zone without needing a full renovation. It’s photogenic because you can stage height — tall plant in back, books in the middle, candle or small tray in front. Keep the ledge narrow enough to feel light, but deep enough for objects to sit without tipping forward. This is beginner-friendly Bay Window ideas that looks custom because the finish and spacing are controlled.
Measure the bay’s projected curve depth and mark ledge locations on each pane section. Cut a single piece of plywood for the center and two smaller curved pieces for the sides, then sand edges to match the curve. Prime with bonding primer, paint or stain, and seal with a clear topcoat for durability. Install using brackets or a cleat system, then add felt pads under items to prevent scuffs.
Stage items in odd numbers and keep the front edge clear by 1-2 inches for that styled, airy look.
Don’t make the ledge too deep — deep shelves in a bay make the window feel visually heavy.
5. Two-Tone Painted Bay Frame Trim
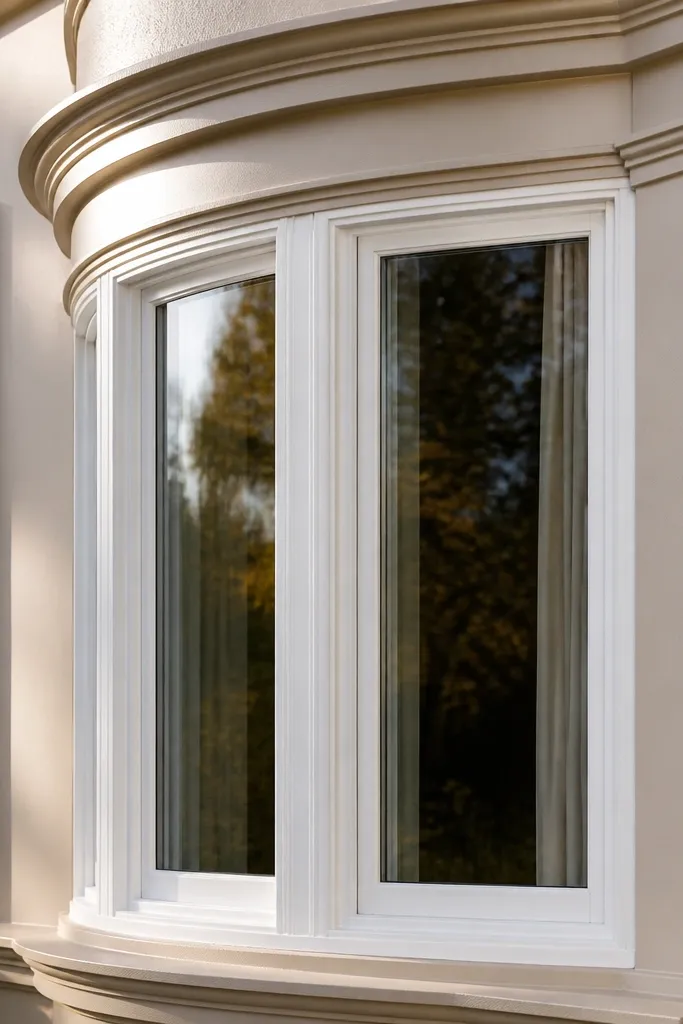
Painting the trim two tones is a clean, high-impact upgrade that reads as “designed” in photos. Use one color for the window casings and another for the surrounding trim, so the bay’s shape pops instead of blending into the wall. This works even if you don’t touch the window itself, and it’s great for renters if you can do removable painter’s tape and spot work. Pick a warm off-white for the casings and a grounded dark for the outer trim.
Editor's noteUse a satin finish for trim; it reflects light just enough to make the bay look crisp.
Mask carefully with painter’s tape and add plastic sheeting inside the bay to protect glass and sill paint lines. Sand glossy trim lightly, then clean with a degreaser wipe so paint sticks. Spray or brush the first color for the casings, let cure, then re-mask for the second color on the outer trim. Remove tape at a 45-degree angle while paint is slightly tacky to avoid peeling edges.
Skip thisDon’t paint over dust or chalky old latex — you’ll get rough edges that show in daylight.
6. Corner-Perfect Plant Stands with Matte Black Finish
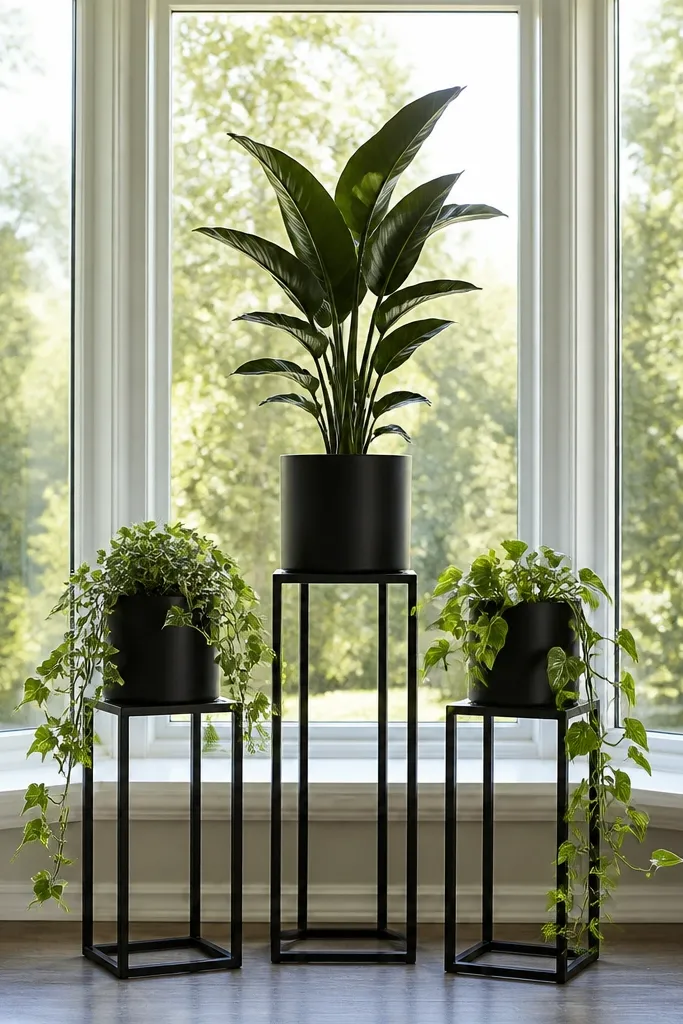
Plants look best in bays when they’re tiered and repeat the same metal finish. Matte black stands create strong silhouettes against bright glass, so your bay looks styled even when plants aren’t blooming. Use one tall plant on the center zone and two smaller ones on the side zones. Trailing vines on the side bring motion and make the bay feel alive.
Editor's notePick plants with different leaf textures — one broad-leaf, one narrow, one trailing — so the bay looks full in photos.
Choose stands with adjustable feet so they sit level on uneven floors. Place the tall stand on the center, then measure the maximum width of each side stand so it clears the window swing or curtain path. Use matching planters in a neutral color to keep the look cohesive. Water-proof the setup by adding saucers or a removable tray under each pot.
Skip thisSkip shiny planters — they reflect glare and make leaves look washed out.
7. Faux Roman Curtain Panels with Tie Backs
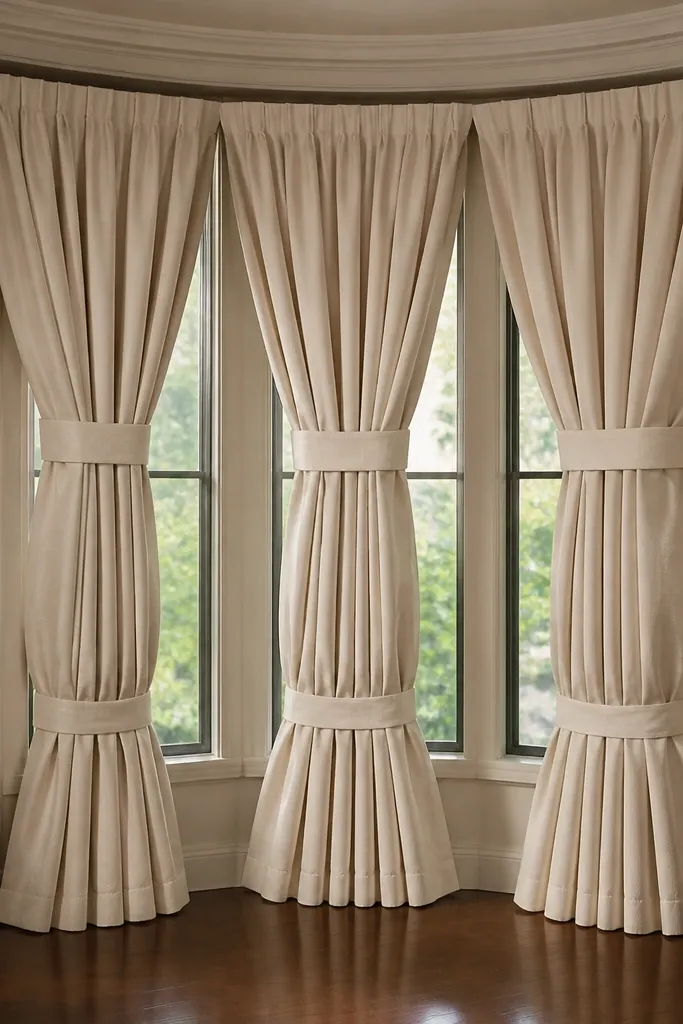
If you want a tailored look without custom window hardware, fabric tie backs with faux-gathering do the trick. Tie at two heights so the folds stay structured, which makes beginner-friendly Bay Window ideas look intentional instead of casual. Use thicker cotton or linen blend so the gathered sections hold shape. This looks especially good when your bay is used as a reading spot because it frames the view.
Editor's noteUse matching tiebacks made from the same fabric for a cleaner look than contrasting ribbon.
Cut or buy panels long enough to reach 2-3 inches above the sill when untied. Install simple hooks or loop anchors on the side trim at two heights. Tie the fabric using ribbon or fabric ties, pulling the fold tight enough to create a clear gathered column. Steam the panels and adjust tie height so both side zones match visually from the room entrance.
Skip thisDon’t tie only once — one tie creates lopsided folds that show the bay’s curve.
8. Bay Window Sill Tray + Lighting Layer
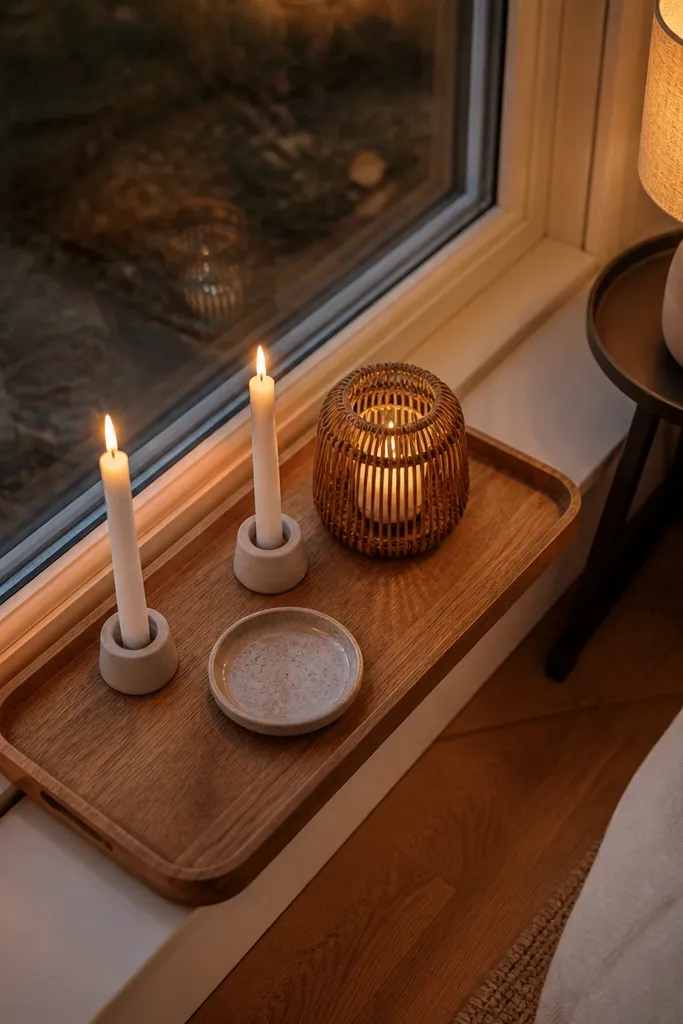
A sill tray is a small project that makes the bay look styled every day. Lighting is what turns it from “decor” into “cozy,” so pair the tray with a low lamp or candle lantern that sits safely. Choose a tray in wood, rattan, or matte ceramic; these materials photograph warmly against glass. Keep objects small and grouped to avoid the cluttered look that happens in bays.
Measure the sill depth and pick a tray that leaves at least 1 inch of clearance from the window edges. Use a tray riser or stacked books under the lamp base if you need height balance. Place one candle or lantern in the center, then add two small items on the sides like a mini plant and a framed photo. Finish by wiping the glass and tray surface before you style — streaks show instantly in bay light.
Use warm bulbs around 2700K for the lamp so the bay looks inviting after dark.
Don’t overload the tray — bays amplify clutter because the glass reflects everything.
9. Sculptural Floor Vase on a Curved Stand
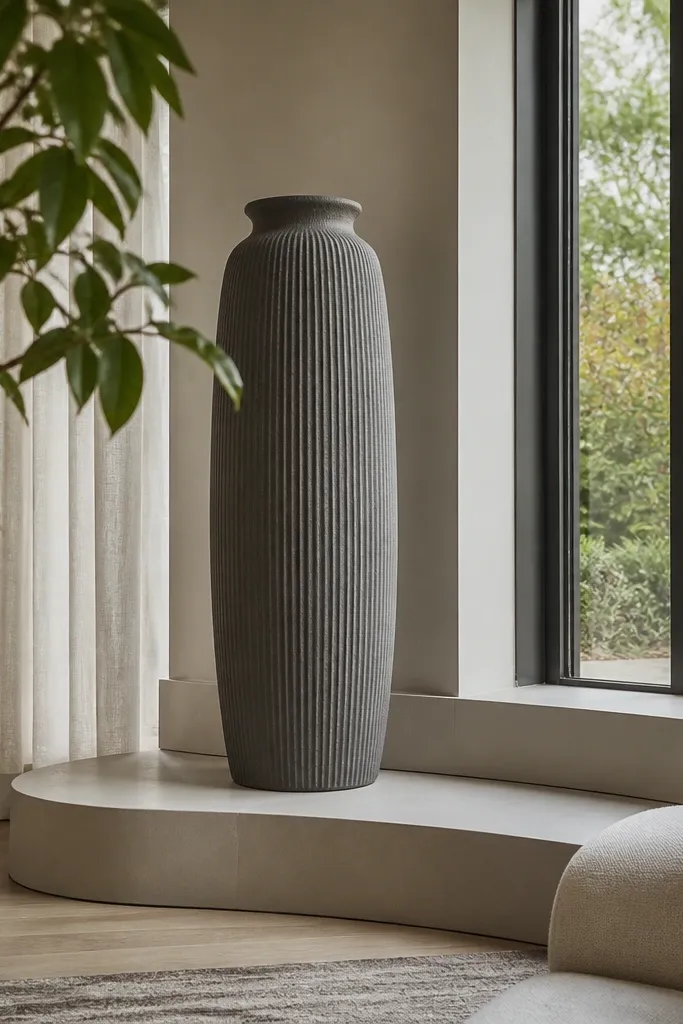
A tall vase gives the bay a strong vertical anchor, which matters because bays stretch sideways. Choose a vase with an interesting silhouette — ribbed ceramic or a matte stone look — so it holds attention even when plants aren’t there. A curved stand or plant riser helps the vase follow the bay’s shape instead of fighting it. This is a beginner-friendly Bay Window idea that looks high-end with minimal effort.
Editor's noteDry flowers should be trimmed so the top doesn’t hit the curtain line when you open or close it.
Pick a floor vase height that reaches about 60-70% of the window’s visible height. Place it in the center zone near the back edge, then use a curved riser or a stand that matches the bay angle so it lines up visually. Add one or two filler elements like dried pampas in a light neutral or a single branch in a warm-toned vase. Keep the rest of the styling low to let the vase be the hero.
Skip thisSkip super-thin vases — they look wobbly and feel fragile in a bay corner.
10. Felted Wool Window Valance with Clean Corners
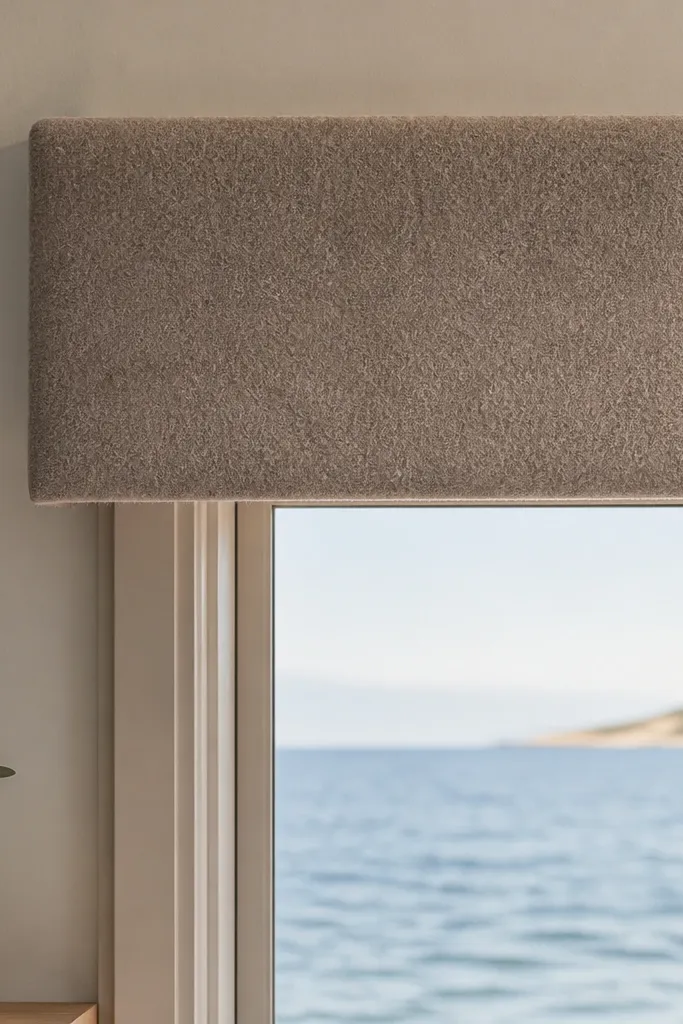
Felted wool or wool-blend fabric makes bays look cozy because the texture absorbs light instead of bouncing it back as glare. A short valance with crisp edges also hides any uneven trim lines that show up in bay light. This idea is great if you want warmth without adding a heavy curtain panel. Choose a warm neutral or muted color so it works year-round.
Editor's noteUse iron-on interfacing on the underside to keep corners sharp after washing or seasonal handling.
Measure the full bay width and cut a valance fabric panel with a 2-inch allowance for hems. Create clean corners by folding and pinning the fabric around a thin cardboard or foam backing strip. Sew the hems, then attach the valance to a simple mounting board using upholstery tape or hidden staples. Mount the board centered above the bay and press the folds flat with steam.
Skip thisDon’t hang felt directly on the trim without backing — it stretches and loses the clean shape.
11. Bay Window Cushion Backrest with Matching Throw Pillows

A backrest makes a bay seating area look complete and gives you a “designed lounge” vibe. Without a backrest, cushions feel like an afterthought. This idea looks stunning in photos because the backrest creates a framed shape around the window light. Keep the fabric consistent with your cushion cover so the bay reads as one coordinated set.
Measure the length of each seat zone and decide how tall you want the backrest, usually 14-18 inches above the cushion. Build a simple back panel from plywood or thick MDF, then cover it with batting before stretching fabric. Attach the backrest to the wall studs using proper screws and anchors — don’t rely on trim alone. Add two throw pillows with removable covers and place one at each side zone to balance the bay curve.
Use foam plus batting for the backrest, not batting alone, or it will look flat and saggy.
Don’t mount the backrest too high — it blocks the window view and ruins the airy feel.
12. Micro Gallery Wall on the Bay Side Trim
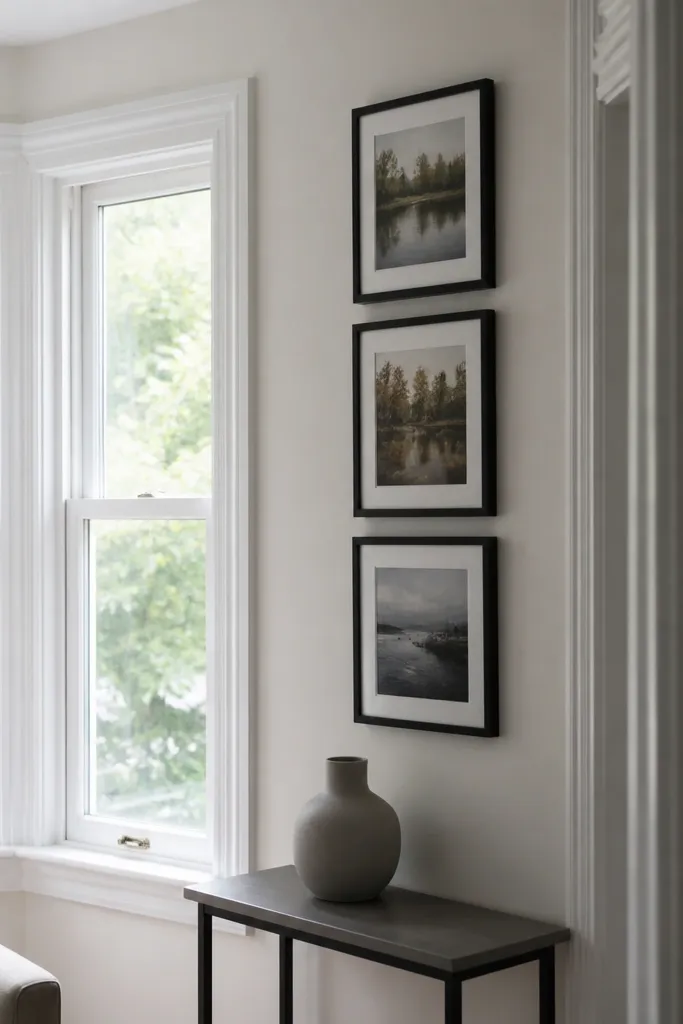
If your bay doesn’t have space for seating or shelves, a micro gallery wall gives it personality while keeping the window area clean. The key is placement: keep the gallery tight to the side wall, not inside the bay glass zone, so the light still feels open. Use frames in one finish and hang in a gentle vertical stack that echoes the bay’s curve. Choose art with warm tones so it looks good under morning and evening light.
Pick 5-7 frames and sort them by size so you have one larger center piece and smaller side pieces. Mark a vertical centerline near the bay and measure the gap between frames at 2-3 inches. Use a level and hang one frame at a time, starting with the center. Use acid-free paper for backing and keep mat colors consistent for a cohesive look.
Use a matte frame finish; glossy frames catch glare from the bay window and look messy in photos.
Don’t mix too many frame colors — bays already have a lot of visual lines.
13. Bay Window Lantern Shelf with Weatherproof Finish

A narrow shelf dedicated to lantern-style lighting makes a bay feel magical at night. The trick is weatherproof thinking: if sunlight hits the shelf, the finish must resist yellowing and heat. Use a compact shelf with a lip so lanterns don’t slide, and keep the objects cohesive in color — black, brass, or warm wood. This reads as cozy and curated without looking cluttered.
Measure the bay sill height and decide the shelf height so lanterns sit below curtain folds. Use a small board (about 6-8 inches deep) and add a 1/2-inch front lip or cleat. Sand, prime, and apply a durable clear topcoat or paint designed for trim. Install with sturdy brackets, then arrange two lanterns and one candle tray, leaving space between them for airflow.
Use flameless candles for beginners — they’re safer and they keep the arrangement consistent.
Don’t place heavy lanterns directly on glass-adjacent trim without a solid mount.
14. Rattan Roman Shade Upgrade with Sun-Friendly Fabric
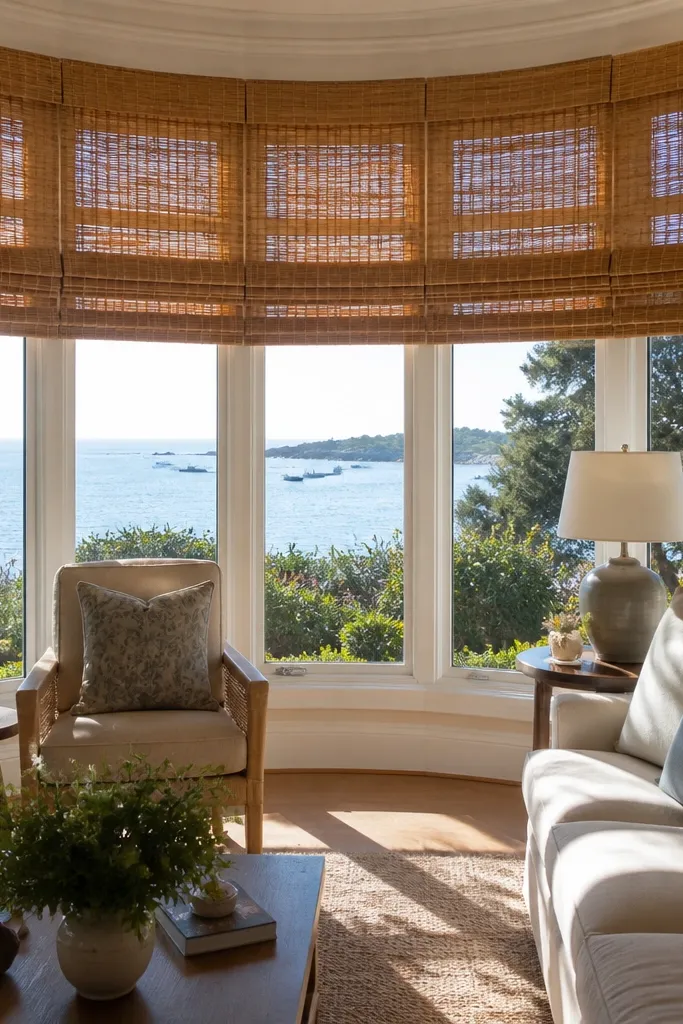
Woven shades add warmth and texture that looks great in bay light. A rattan-style Roman shade softens glare and gives a natural pattern that looks good even from across the room. For beginner-friendly Bay Window ideas, this is smart because it hides hardware and makes the window feel designed without custom carpentry. Choose a shade with a light filtering weave so the room stays bright.
Choose a shade system that can be mounted in three zones or a single system sized for the bay width with correct mounting points. Install the headrail centered over the bay, then check the shade rises without twisting at the curve. If you’re sewing a DIY cover, use a sun-filtering fabric and add a stiffening strip at the top edge. Finish by trimming any frayed edges and testing pull cords for smooth operation.
Keep the shade color one step warmer than your wall — it makes daylight look cozy instead of gray.
Skip blackout weaves if your goal is cozy — they make the bay feel dim.
15. Bay Window Rug Runner that Follows the Curve
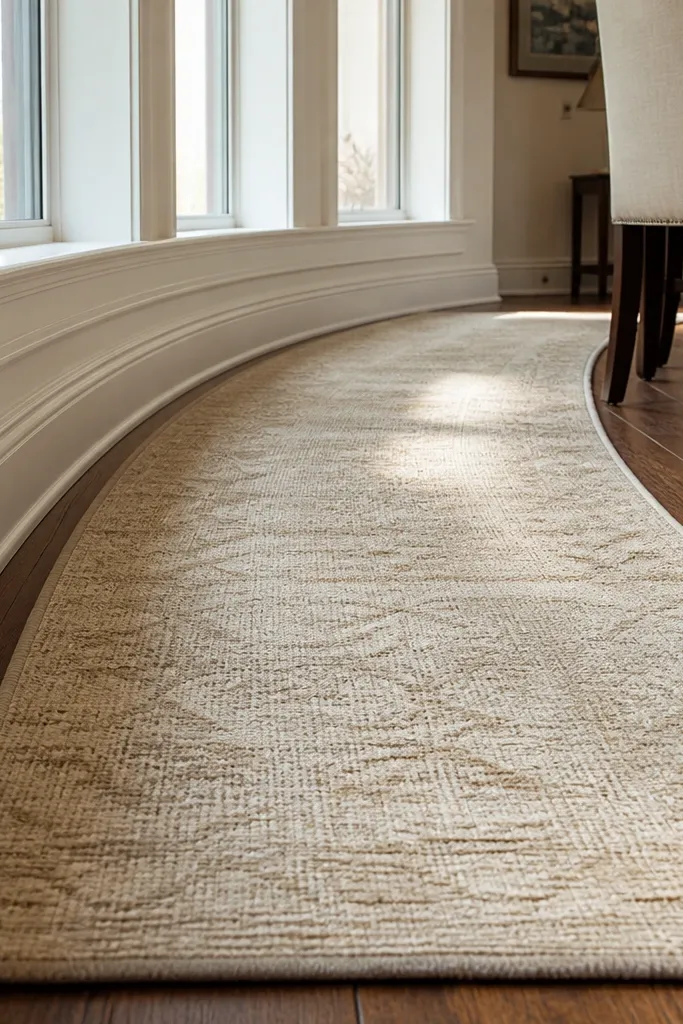
A rug runner can make a bay look grounded and intentional, especially if you have hardwood or tile. The best look comes from aligning the rug edge with the bay’s curve, not forcing it straight across. Choose a short pile or flatweave so it doesn’t bunch under furniture feet. This is a beginner-friendly Bay Window idea that’s cheap, fast, and instantly photogenic.
Editor's notePick patterns with curved lines or small motifs; they visually echo the bay and hide minor gaps.
Measure the bay area from the front edge of the window to where you want the runner to stop, usually 24-36 inches. Cut a rug runner to fit by using a rug pad and trimming only if it’s meant to be cut; otherwise buy a size that’s close. Align the runner’s center with the bay center pane and let the sides follow the curve slightly. Use rug tape or a non-slip pad to prevent shifting when you open curtains.
Skip thisDon’t choose a high-pile shag — it looks messy in bright bay light and collects dust.
16. Painted Window Corners with Soft Color Blocking
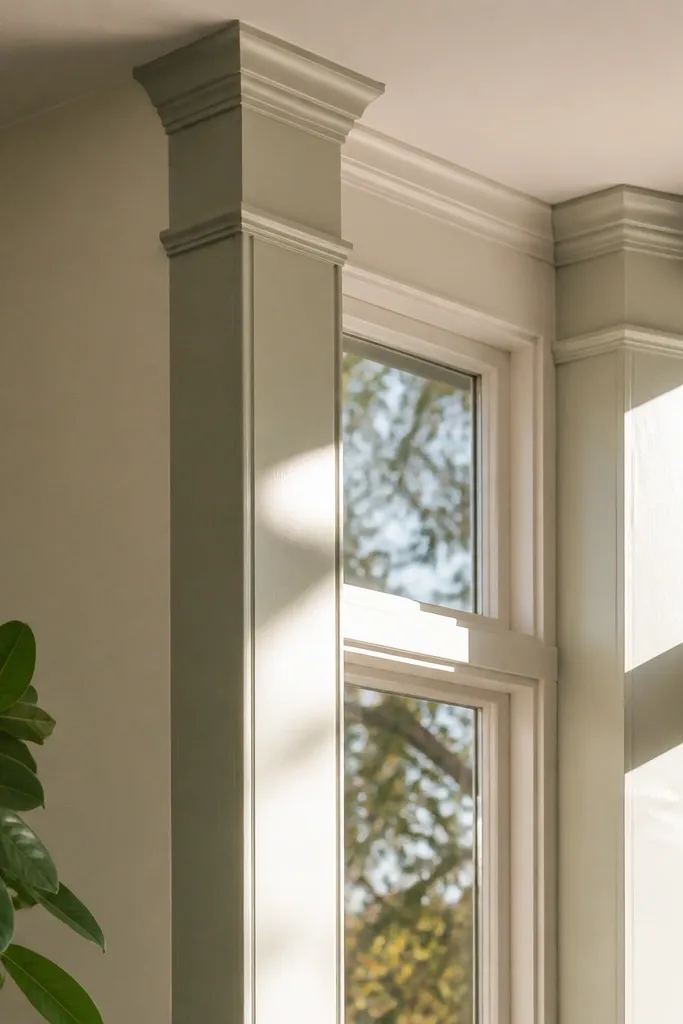
Color blocking around the bay window makes the shape feel intentional. Instead of painting everything the same wall color, use a slightly deeper shade on the corner trim pieces so the bay’s geometry shows up in photos. This works especially well in small rooms where bays otherwise look like a big blank wall opening. Keep the palette muted: warm white plus muted sage, or warm gray plus dusty blue.
Editor's noteUse matte paint for walls and satin for trim so the bay has depth without shiny glare.
Tape off the corner trim lines with painter’s tape and use a small angled brush for edges. Paint the base wall color first, then let it dry fully. Apply the corner color in two thin coats, keeping the line crisp where tape pulls away. Remove tape while the paint is slightly tacky for the cleanest edge, and touch up with a mini foam roller for even coverage.
Skip thisDon’t use bright, high-saturation colors — bay light makes them look harsher and less cozy.
17. Slim Black Metal Shelf Rails with Floating Inserts
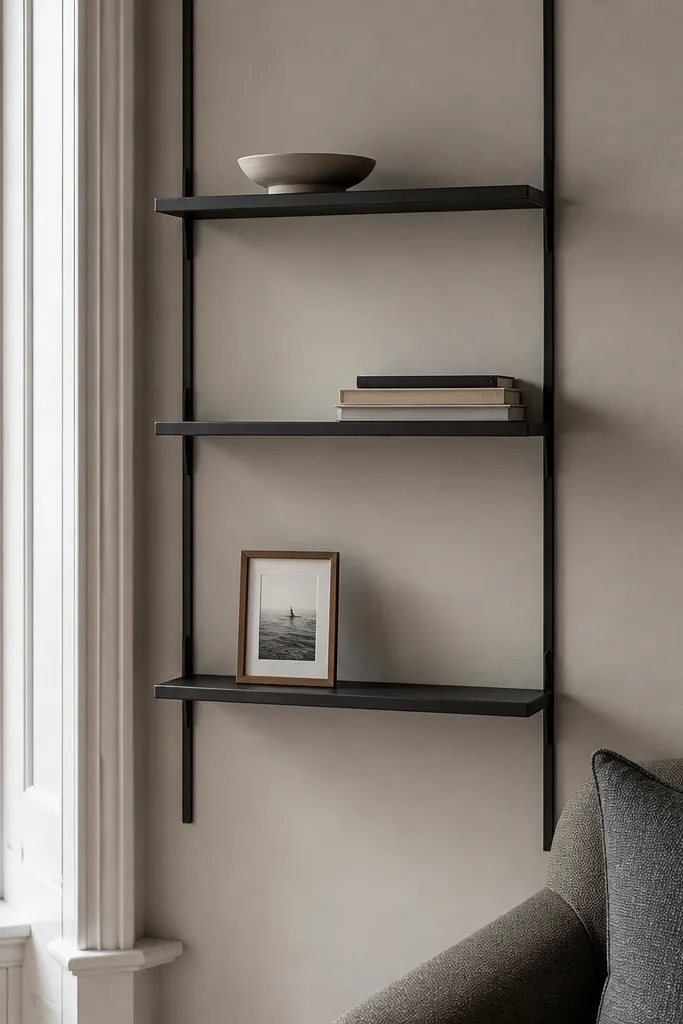
Black metal rails add structure and make small objects look purposeful. This idea is great for beginner-friendly Bay Window ideas because you get the look of a built-in without complex carpentry. Use rails on the side wall or near the bay where there’s vertical space, then add floating inserts for books, trays, or small planters. The contrast between matte black and daylight makes the bay look styled from multiple angles.
Find studs or use proper anchors, then mark rail placement about 6-8 inches above where you want your items to sit. Install two rails level, one for each side zone, and test with a small insert board before final mounting. Use pre-finished wood boards cut to size, and add a thin lip or rubber feet so objects don’t slide. Paint or wipe down rails so fingerprints don’t show, then arrange items with consistent spacing.
Keep the insert depth under 6 inches — it stays light and avoids a heavy look in bays.
Don’t overload the shelves — two rails can look cluttered fast in a wide bay area.
18. DIY Bay Window Curtain Liner for Better Shape

A curtain liner is the secret weapon for beginner-friendly Bay Window ideas because it creates fullness and better folds. Without a liner, many fabrics cling to the glass or flatten under light. With a liner, your panels hang straighter and look richer in photos. Choose a white or warm cream liner that blocks some glare while still letting the room stay bright.
Buy or sew a liner panel matching each curtain panel’s width and height, then hem it so it sits 1-2 inches above the sill. Attach liner to the back of the curtain panel using simple hand stitches at the top corners and a few hidden points down the sides. Install curtains on the rod with proper spacing so the panels can move and drape. Steam the full set and check fold spacing — adjust tie points if you’re using tiebacks.
Use curtain rings or clips that glide smoothly; stiff hardware makes liners hang unevenly.
Don’t skip measuring — liner length errors show as a “short” top layer instantly.
19. Bay Window Wallpaper Accent on the Side Wall
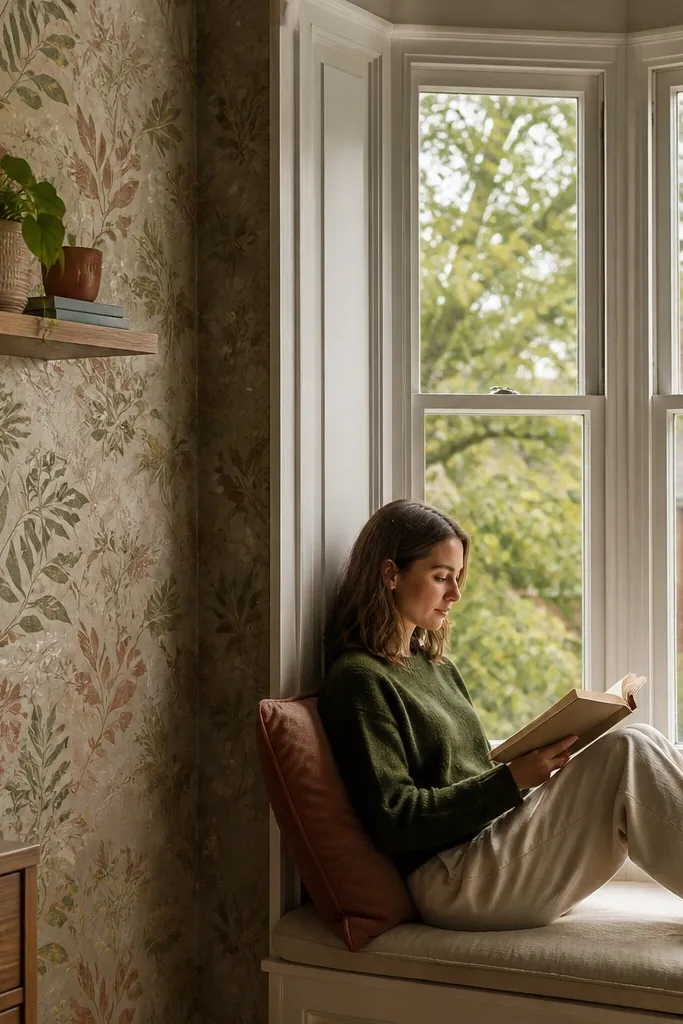
Wallpaper on the side wall near the bay gives you depth without touching the window hardware. Choose a pattern with soft contrast so it doesn’t fight the glass — think subtle botanical, tiny geometric, or textured look. The bay light makes the pattern feel dimensional, and the side wall becomes the backdrop for shelves, plants, or a lamp. This project looks clean when edges line up with trim and you keep the pattern centered.
Measure the wall section beside the bay and plan your seam placement so it falls near a corner or trim edge. Prep by cleaning, then prime if the wall is glossy or patchy. Apply wallpaper with a smoothing tool, aligning the pattern at the top and using a sharp blade for trim cuts. Seal the edges and press firmly around corners, then install any wall hooks after the paper cures.
Match the pattern using a pencil mark at eye level, not by guessing from the roll.
Don’t pick a high-contrast busy pattern — bay light makes it look chaotic.
20. Macramé Plant Hangers on the Bay's Side Corners
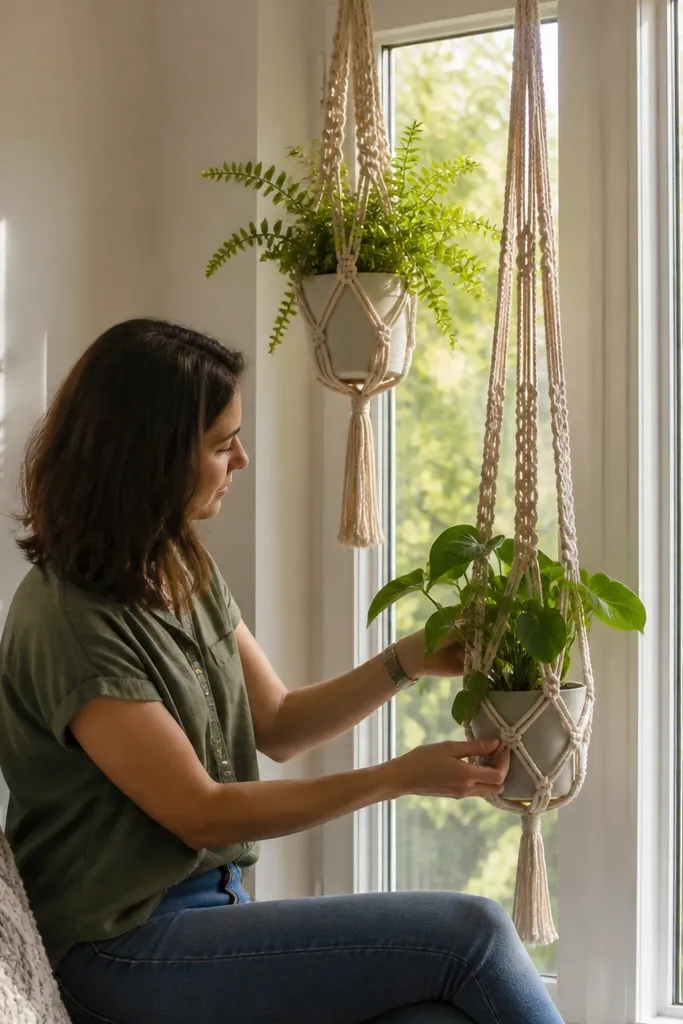
Macramé adds softness and a handmade look that plays well with bay curves. Hang small plants at two different heights so the composition has movement and depth. Keep the rope color neutral and the pots consistent so the bay doesn’t look like random hanging cords. This is a beginner-friendly Bay Window idea because you can mount hooks into studs or use ceiling anchors without building anything.
Decide two hanger points on each side corner and locate studs or use heavy-duty anchors rated for the plant weight. Install ceiling or wall hooks, then measure rope lengths so the lowest pot sits just above the sill line. Use consistent pot sizes and add a saucer to protect the sill. Test the hang by gently pulling each plant to check for contact with curtains or window trim.
Use a plant like pothos or philodendron with trailing growth so the macramé looks full quickly.
Don’t hang too low — trailing leaves will tangle with curtain folds.
21. Bay Window Chalkboard or Menu Board Panel
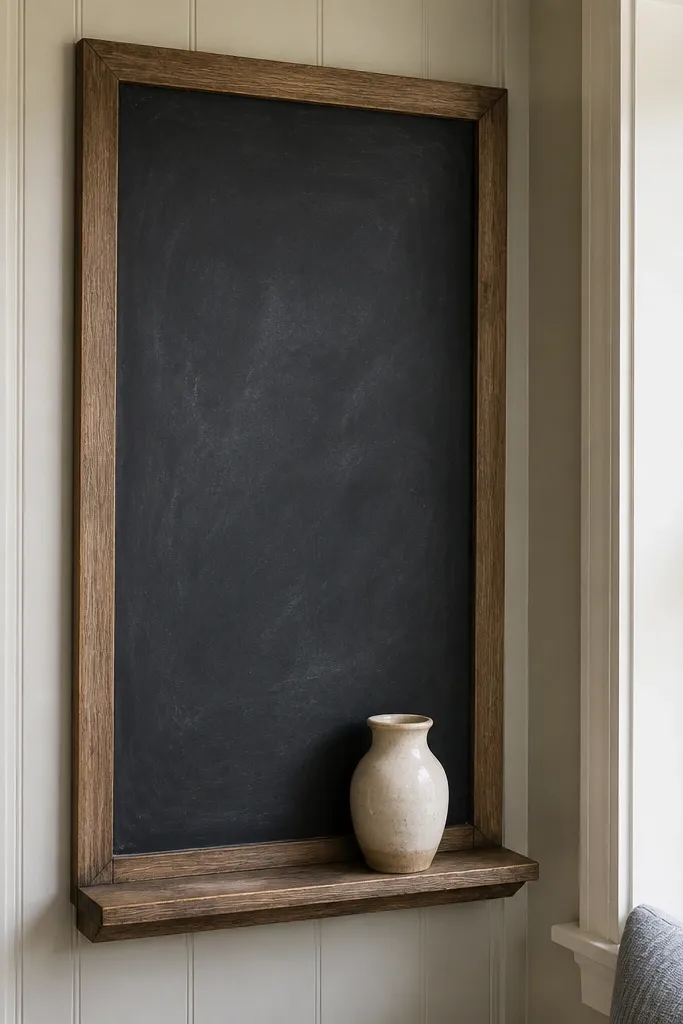
A chalkboard panel near the bay adds charm and turns the window area into a functional corner. It’s visually strong in photos because the matte surface reduces glare and the text stands out. Use it on the wall beside the bay or on the inner side trim if you have room, not on the glass. This beginner-friendly Bay Window idea works best in kitchens and dining nooks where you can keep it updated.
Pick a small panel size like 12x18 inches and sand lightly if it’s glossy. Prime for chalkboard paint if needed, then apply two thin coats of chalkboard paint, letting each coat dry fully. Mount with picture-hanging hooks or screws into studs. Season the surface by rubbing chalk over it and wiping clean, then test your handwriting with a white chalk pen for crisp contrast.
Use a stencil for the first letter set — straight lines look more styled than freehand.
Don’t mount it where sun hits directly all day — chalkboard paint can fade unevenly.
22. Fabric-Covered Bay Window Side Panels (No-Sew Option)
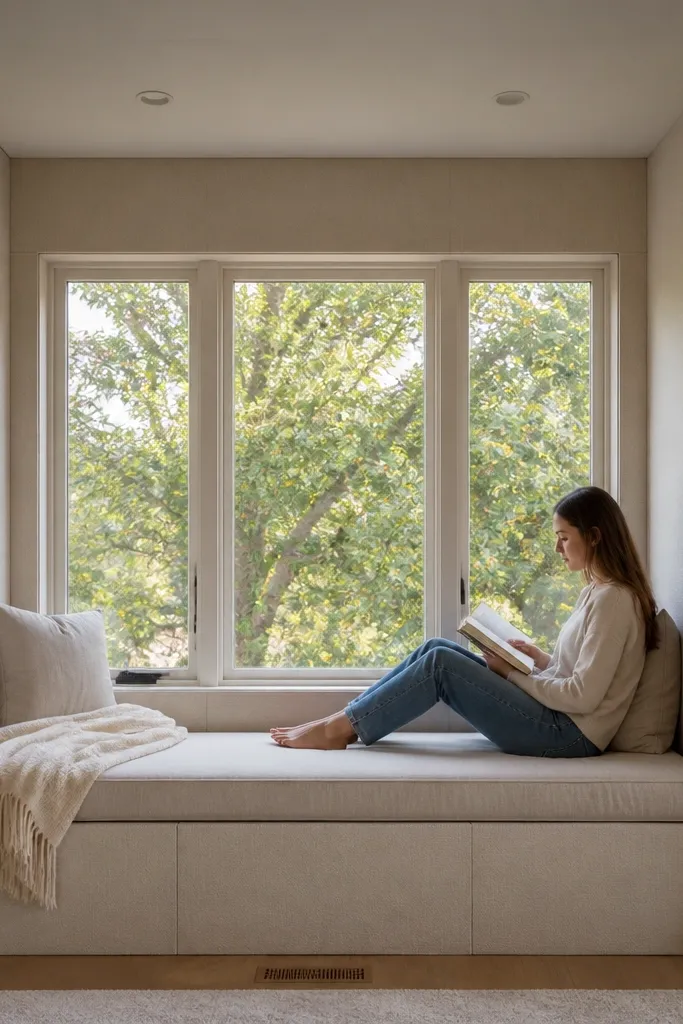
Fabric side panels make the bay look finished when the wall around it feels plain or patchy. You get a soft, gallery-like background for plants and decor, and it photographs warmer than bare drywall. This is beginner-friendly Bay Window ideas because you can use no-sew adhesive hem tape or tension mounting instead of upholstery work. Pick a thicker fabric like cotton canvas or denim-like upholstery so it stays smooth.
Editor's noteUse a fabric that matches your curtain tone so the bay reads as one cohesive styling plan.
Measure the side wall areas adjacent to the bay and cut foam board or thin plywood panels to fit with a 1/4-inch gap for expansion. Wrap fabric tightly around the panel edges and secure with spray adhesive or double-sided mounting tape. Press and trim the fabric at corners for crisp edges, then mount using picture-hanging hardware rated for the panel weight. Add a small picture ledge or hooks below the panel if you want to hang lightweight decor.
Skip thisDon’t use thin sheers for panels — they show wall texture and look wrinkled.
23. Bay Window Light Mirror Placement for Extra Glow
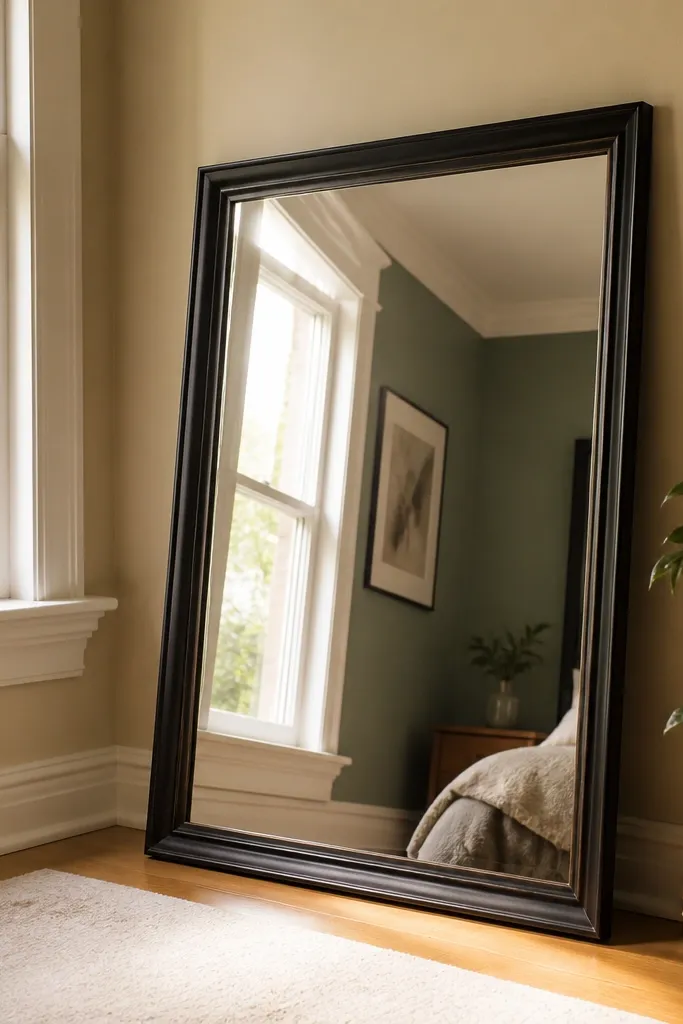
A mirror placed near the bay amplifies daylight and makes the corner look bigger in photos. The goal isn’t a huge mirror — it’s smart placement so the reflection lands on a wall with color. Choose a mirror with a simple frame in black, wood, or brass tone that matches other hardware. This is beginner-friendly Bay Window ideas that feels like “more light” without any construction.
Editor's notePlace the mirror opposite a curtain seam so the bay’s shape looks symmetrical in reflections.
Stand inside the room and angle a small mirror so you can see where the reflected window light lands on a wall or furniture surface. Measure the spot and choose a frame size that doesn’t block the bay sightline from the main seating area. Hang at about 58-64 inches from the floor for most rooms so it reads naturally. Wipe the glass and frame before photographing because mirror streaks show instantly.
Skip thisDon’t place the mirror where it reflects clutter — bay light makes everything obvious.
24. Ladder-Style Bay Window Curtain Rail with Hanging Rings
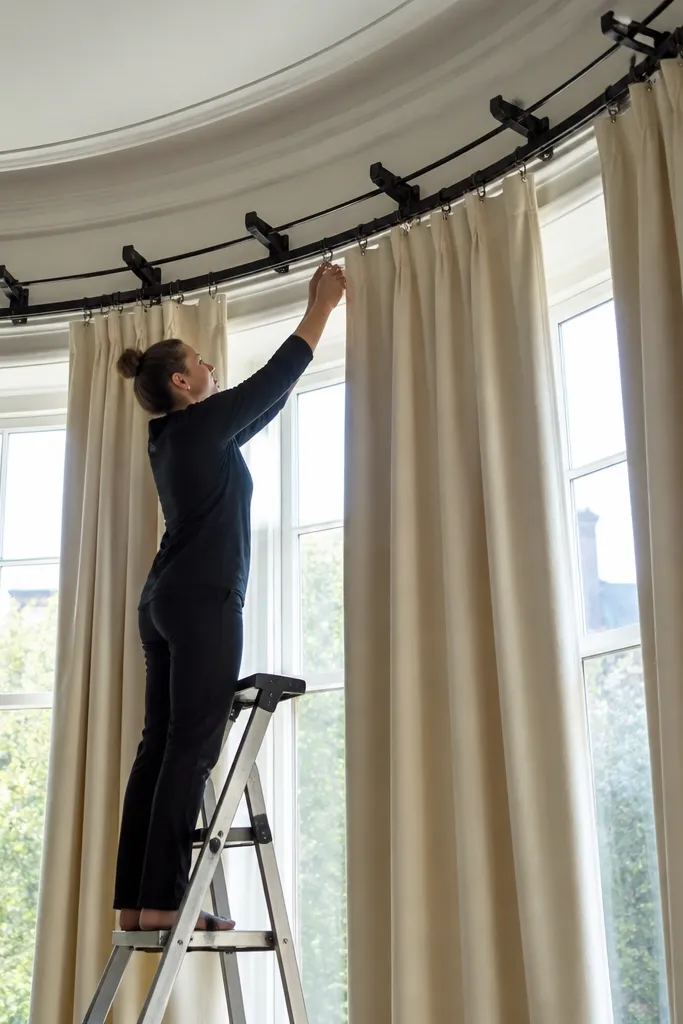
This makes the bay look taller and more designed because the curtain hangs from a curved rail line, not from a flat rod that fights the bay angle. The ladder-style brackets create small “steps” that visually break up the curve, so the window looks intentional from every side angle. You get that crisp, hotel-like curtain fall without needing custom drapery. It’s beginner-friendly if you can measure and drill straight, and the materials are cheap compared to ordering made-to-measure hardware. This suits living rooms, studios, and any bay where you want a clean frame around the glass and a photo-ready curtain moment.
Editor's noteUse a curtain track rated for your fabric weight, and add one extra bracket near the widest part of the bay so the track never “bows” under load.
1) Measure the bay curve length along the front edge and the depth of the bay arms where the rail turns. Buy a flexible curtain track in the right width for your curtain weight, then add ladder-style support brackets every 12-16 in (30-40 cm) so it doesn’t sag; mark bracket holes on the wall using a level and a pencil line. 2) Install the brackets first, then mount the track to them, starting at the center and working outward so the curve stays smooth. 3) Hang rings on the curtain header tape (use 2 in wide tape for structure), then run the curtain along the track with the rings centered in each panel. Finish by steaming the curtain and adding a small 1 in hem weight strip so it drops evenly across the bay angles.
Skip thisDon’t mount brackets by eye — drill the first one perfectly level, then copy the spacing.
25. Bay Window Photo Ledge with Floating Dry-Stack Brick Look

This idea gives you a gallery feel without covering the window, and it photographs like a styled shelf because the ledge sits at eye level on the bay side walls. The faux dry-stack brick panel gives texture and depth while still staying bright, since it’s only on the side and not on the glass area. You can swap photos seasonally, and the ledge keeps items from looking cluttered because everything sits on one clean line. It’s a solid beginner project if you can cut plywood and handle a basic adhesive or thinset surface — no masonry required. Best for entry nooks, dining bays, and reading corners where you want personality right next to the window light.
1) Cut a ledge from 3/4 in (19 mm) plywood to the exact bay side length, then sand all edges and round the front edge with 1/4 in (6 mm) radius. Prime and paint the ledge with a durable finish like cabinet enamel, then let it cure fully. 2) Build a lightweight faux dry-stack brick look on the side wall using peel-and-stick brick veneer panels or thin foam brick sheets; start at the bottom and use a level to keep the first row straight. 3) Mount concealed brackets into studs if possible, or use heavy-duty wall anchors rated for the ledge weight; set the ledge so the top sits about 56-60 in (142-152 cm) from the floor for an easy photo height. Seal the ledge with a matte clear coat and add small felt pads under frames so nothing scratches the finish.
Dry-fit the brick panels first and trim only the last row — keeping the main rows uncut looks more realistic and hides seams.
Don’t glue veneer directly over glossy paint; scuff-sand the wall and prime so the surface actually grips.



