
1. Old Map Compass Stickers

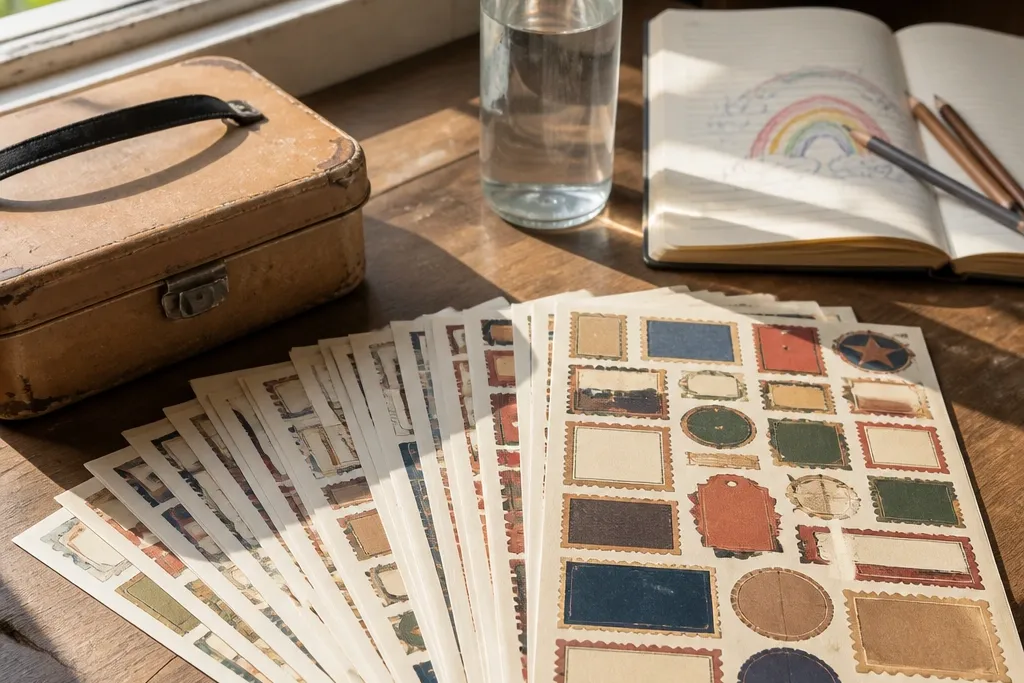
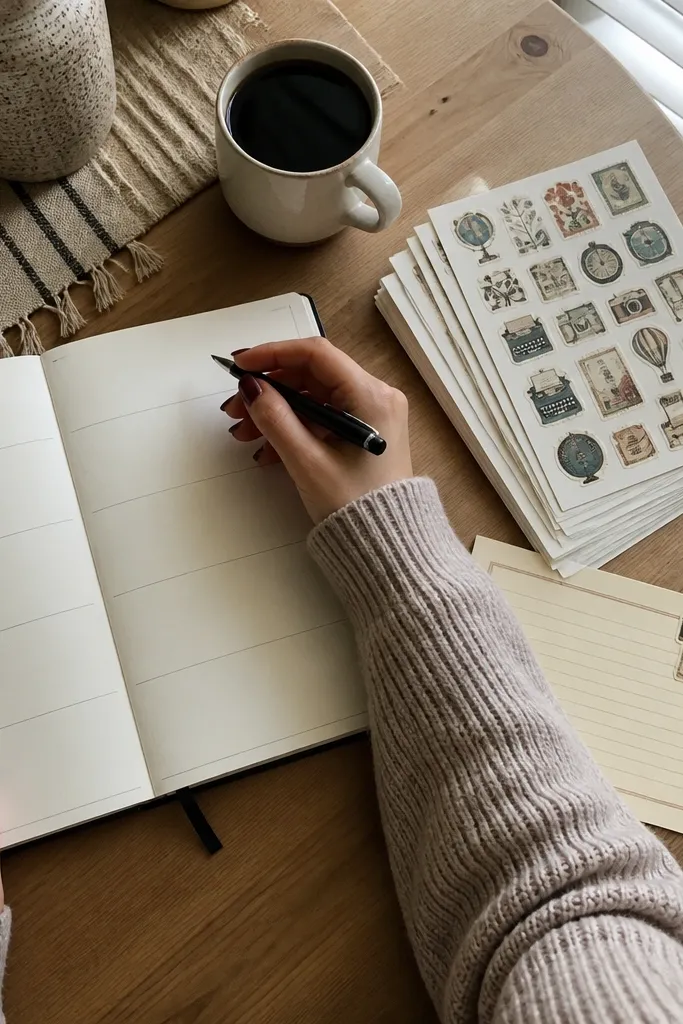
These compass roses look instantly vintage because the shapes are bold and the colors read like aged paper. Make them small enough to fit on a notebook corner or the side of a lunchbox, where the design feels like a travel find rather than a big decal. The muted ink tones also hide minor print imperfections, so your sticker edges still look clean after cutting. This set is a great match for school gear and travel bags all year since it doesn’t lean seasonal.
Editor's noteIf your printer tends to oversaturate, lower the color intensity slightly in your print settings so the beige stays sandy.
Print the sheet at actual size on matte printable sticker paper. Cut each compass with a hobby knife using a metal ruler as your guide. Seal the cut edges with a thin layer of clear matte tape or laminate sheet so the paper doesn’t fuzz. Finally, apply on dry surfaces and press for 10 seconds along the edges to lock it in.
Skip thisAvoid “fit to page” because compass text and tick marks will shrink and blur.
2. French Market Jam Label Trio
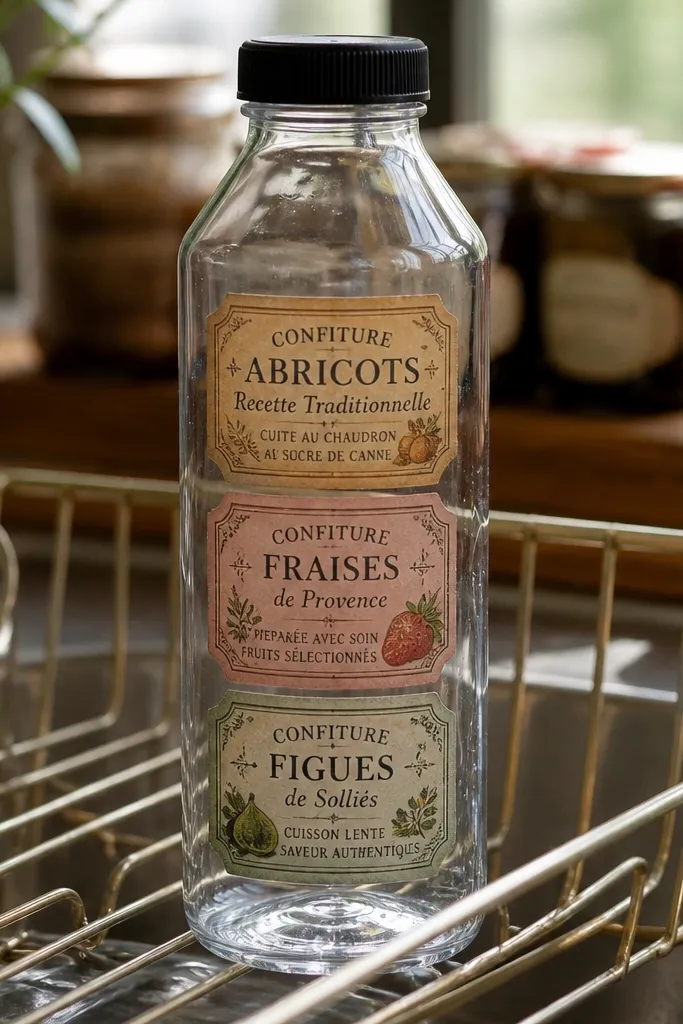
Jam labels have that perfect vintage feel: lots of typography, simple icons, and a border that makes cutting forgiving. This is one of the best year-round Vintage Stickers for kids because they look like “real product labels,” not random art. They also look great on clear water bottles and lunch containers because the printed paper frame gives structure. You can place them vertically for a cabinet-door vibe or horizontally for a sticker-badge look.
Editor's notePrint one label slightly larger for the “hero” placement on the lunchbox lid.
Print on matte sticker paper so the script looks like ink on paper, not like a glossy ad. Cut around the outer border first, then use the knife to trim inner lines only if they’re close to the edge. Apply the sticker to a smooth, clean surface, then burnish the corners with a fingernail. If you want extra durability, cover the finished sticker with a small piece of clear matte laminate.
Skip thisDon’t leave long thin script parts unsealed; they lift first.
3. 1960s Soda Pop Bottle Caps
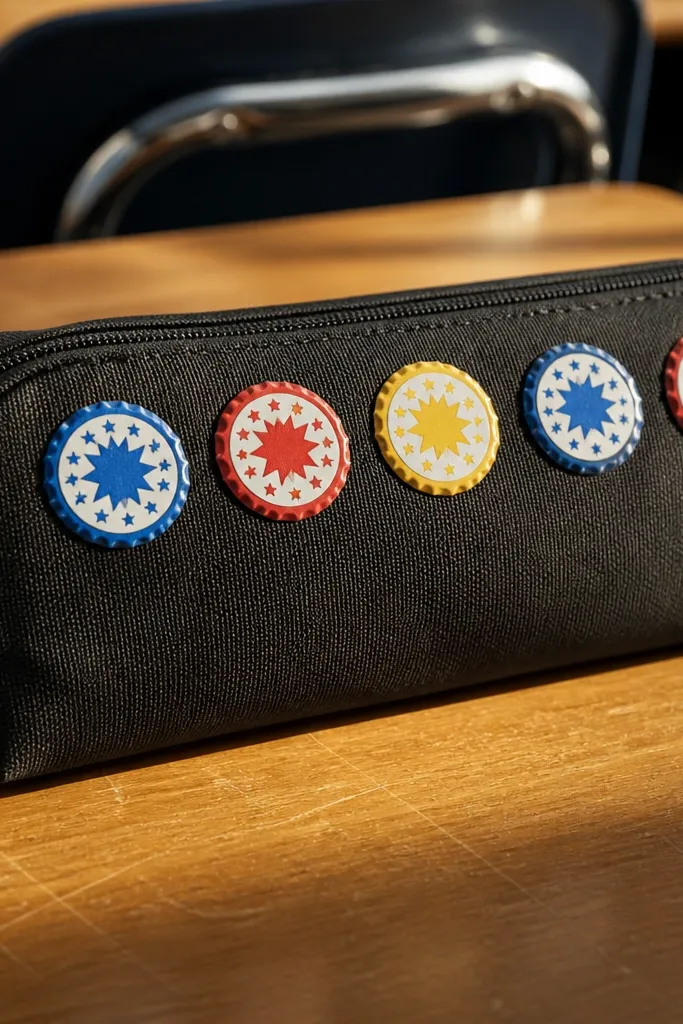
Bottle cap circles are the most foolproof retro sticker shape because they hide uneven cutting. The design style feels playful, and the bold rings make it readable even at small sizes. Put them on notebooks, pencil cases, or the side of a lunch thermos. This set works year-round because it’s bright without being seasonal, and it looks good in a cluster of 3 to 5.
Editor's noteIf you’re cutting by hand, rotate the sheet under the blade instead of twisting your wrist to keep circles smooth.
Print on glossy printable sticker paper if your bottle cap art has shiny highlights. Use a circle cutter or a compass-style punch with a sharp edge to keep the rims round. Apply to clean plastic after wiping with rubbing alcohol on a paper towel and letting it dry. Seal with a clear gloss tape strip over the top if you expect lots of rubbing.
Skip thisAvoid matte paper for glossy cap art; the highlights lose their “cap” look.
4. Antique Botanicals in Tiny Frames
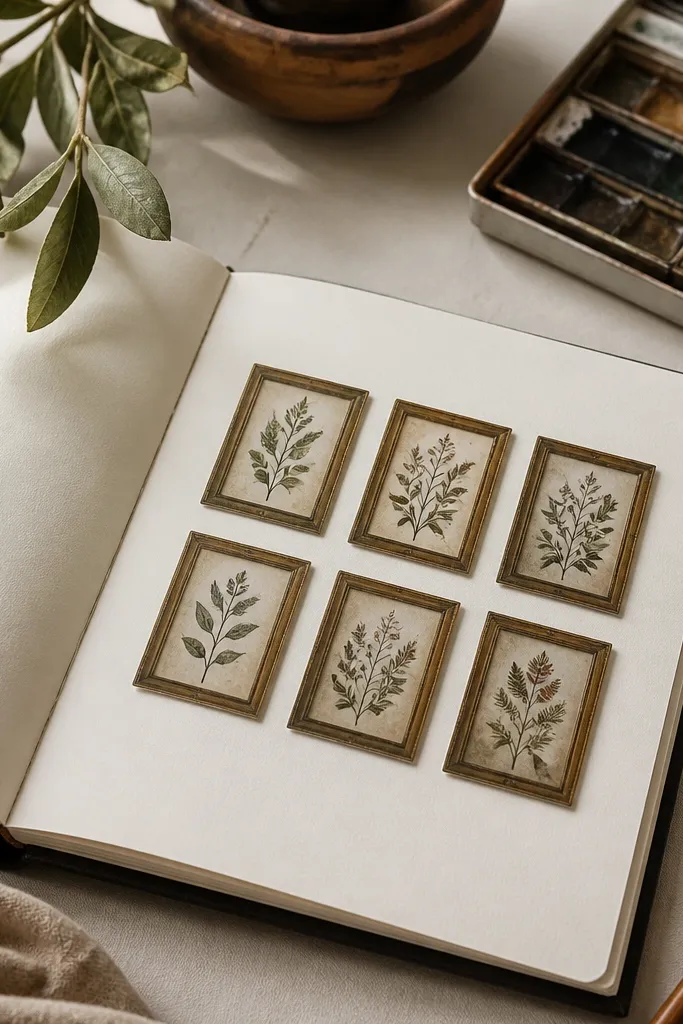
Tiny framed botanicals look expensive because the frame creates a crisp edge and the drawing style reads like old print illustrations. This is a strong choice for year-round Vintage Stickers because the subject matter stays calm and doesn’t scream a specific season. Use them in small clusters on sketchbooks or on the inside cover so they feel like a collection. The thin frames also make your cutting look intentional, even if you’re not perfect.
Editor's noteKeep botanicals on the same color family for a cleaner look across the whole sheet.
Print on matte paper with sticker backing so the linework stays soft. Cut each frame carefully leaving a hairline border — about 1 mm — so the drawing doesn’t get nicked. Press the sticker flat first, then rub along the frame edges with a burnishing tool or credit card corner. For added protection, add a small piece of clear matte laminate over each sticker.
Skip thisDon’t try to cut inside tiny leaf veins; cut just outside the frame lines.
5. Railway Ticket Stub Stickers
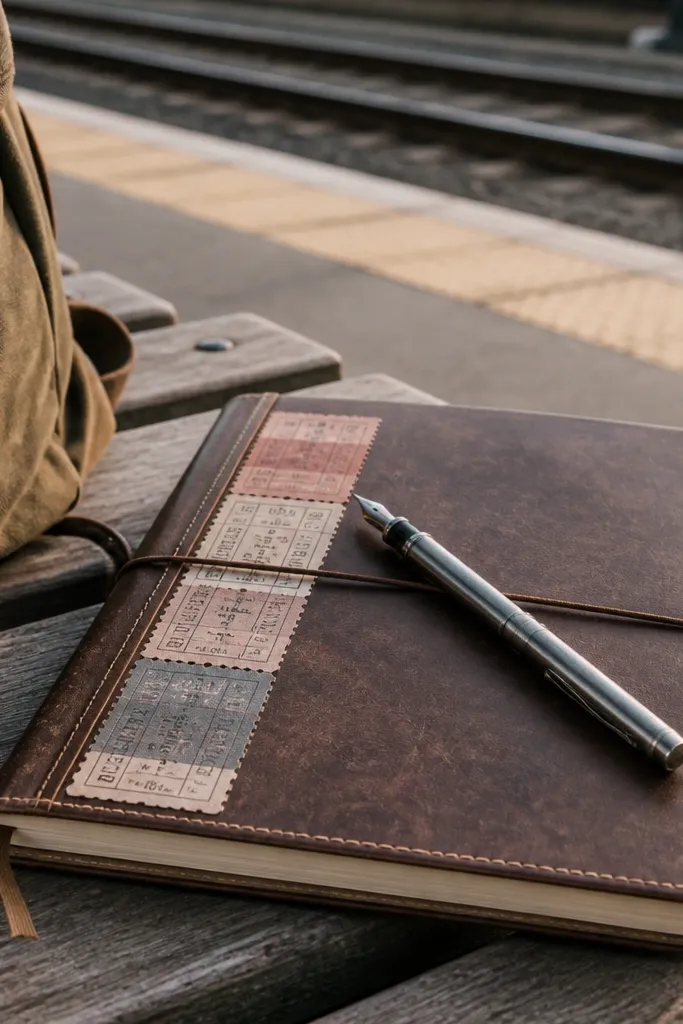
Ticket stubs give you that “found paper” vibe, and the perforation graphics make them look real even when printed. They’re also naturally year-round because travel and school both happen every month. Stick them on journals, kid planners, or the back of a sketchbook where they act like a decorative receipt. The long shape works great for covering small scratches on older notebooks too.
Print on matte sticker paper and cut the stubs with a straight blade so the edges stay crisp. Score the perforation line lightly with a craft knife and ruler so the sticker bends slightly and looks like it’s been folded. Apply to surfaces with a matte finish; glossy plastic can show glare that hides the print. Seal with a thin matte laminate topcoat if the sticker will go on a frequently handled item.
Make the perforation score shallow — you want the graphic to show, not cut through the sticker.
Avoid applying to dusty surfaces; ticket-style art shows every fingerprint.
6. Retro Postcard Corners
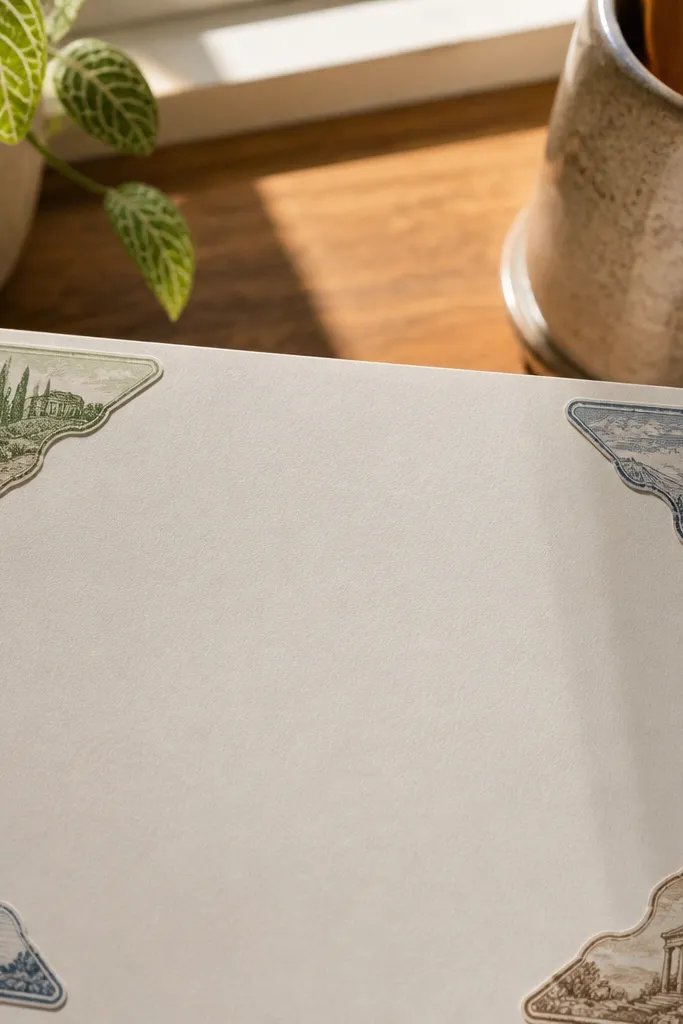
Corner stickers are a cheat code for a clean aesthetic. Postcard corners frame a page edge without covering too much, so they look neat even when you’re placing them by hand. They also hide misalignment — you can place them slightly off and it still reads as intentional vintage design. Use them on kids' journals, school folders, or the corners of a scrapbook page where you want structure.
Editor's notePlace corners in pairs with one slightly higher than the other for a postcard layout feel.
Print the corner sheet on matte sticker paper for a paper-like finish. Cut each corner with a small angled snip or craft knife so the diagonal edge is sharp. Apply to dry paper first, then press along the diagonal edge with a ruler edge. If you’re sticking to plastic, seal with a clear matte tape layer to prevent peeling at corners.
Skip thisDon’t use glossy laminate on corners; it makes the diagonal edges look plastic.
7. Old Typographic Posters Sayings
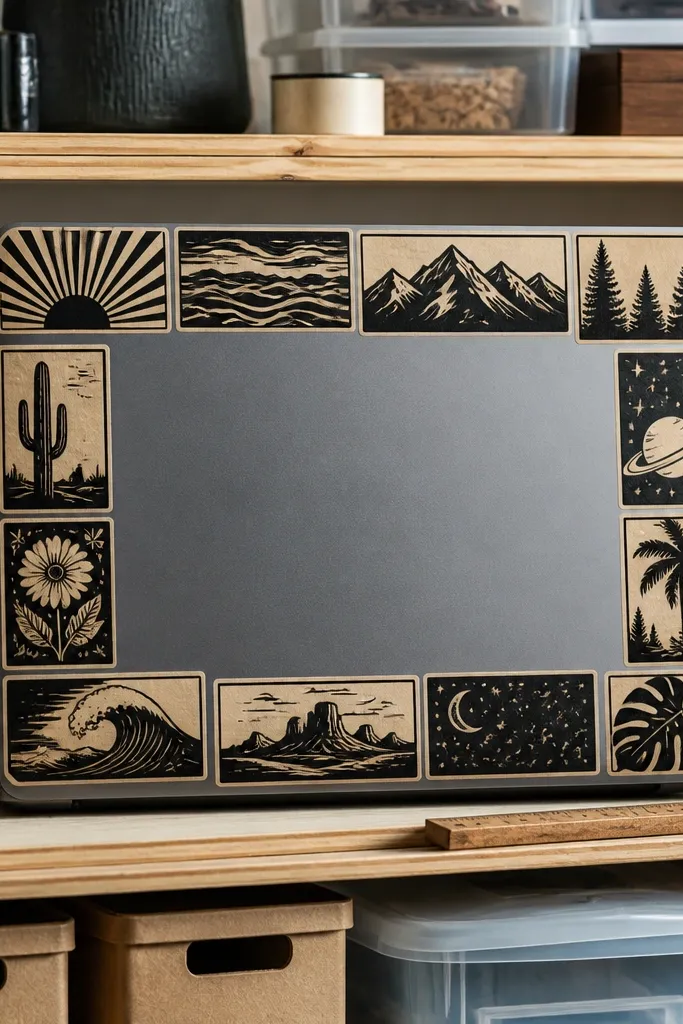
Typography stickers make the biggest visual impact because they read like printed wall art. This set is ideal for year-round Vintage Stickers when you want something that works on every surface — laptops, water bottles, pencil cases, even storage bins. The bold borders also give you a clear cutting line, which helps keep your stickers looking pro. Pick a few sayings that match your kid’s interests and rotate them instead of using one massive graphic.
Editor's noteIf letters look slightly fuzzy, bump print density up one notch and re-test one sticker.
Print on matte sticker paper and set your printer to high quality for sharper text edges. Cut just outside the border, then trim any stray bits on the corners with a new blade. Apply to clean, dry surfaces and press firmly for adhesion. For durability, cover with a thin clear matte laminate sheet cut to the same size.
Skip thisAvoid thick over-lamination on small text; it can blur the edges.
8. Vintage Bicycle Illustration Labels
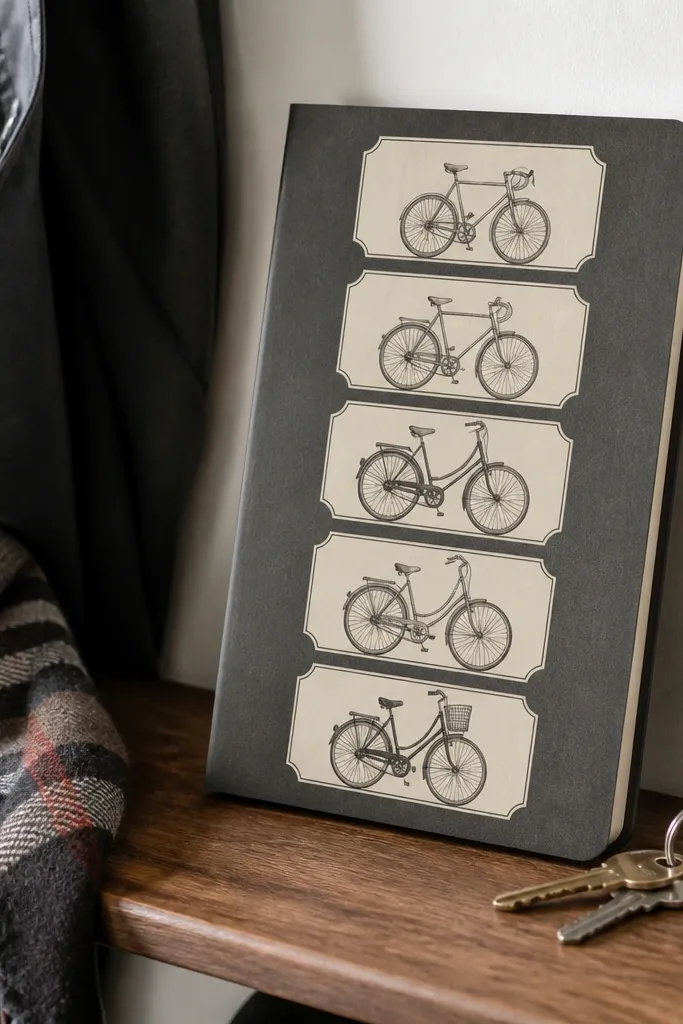
Bicycle stickers look great because the lines are detailed but still easy to read at sticker scale. They’re playful enough for kids and stylish enough for adults who end up stealing the notebook. This set works year-round because bikes fit spring/summer vibes but the vintage art style doesn’t rely on weather. Place them on the side of pencil cases or on the front of a planner for an instant “personal brand” look.
Editor's noteLeave a 1-2 mm white paper margin if the art has no border; it helps the sticker look intentional.
Print on matte sticker paper so the artwork feels like ink on paper. Cut around the bike illustration with a steady hand and a ruler — keep the cut line consistent around the tire edges. Apply to clean plastic after wiping with rubbing alcohol, then let it dry fully before sticking. Seal with clear matte laminate if the sticker will get handled daily.
Skip thisDon’t stretch the sticker during application; it warps the linework.
9. Antique Weather Icons
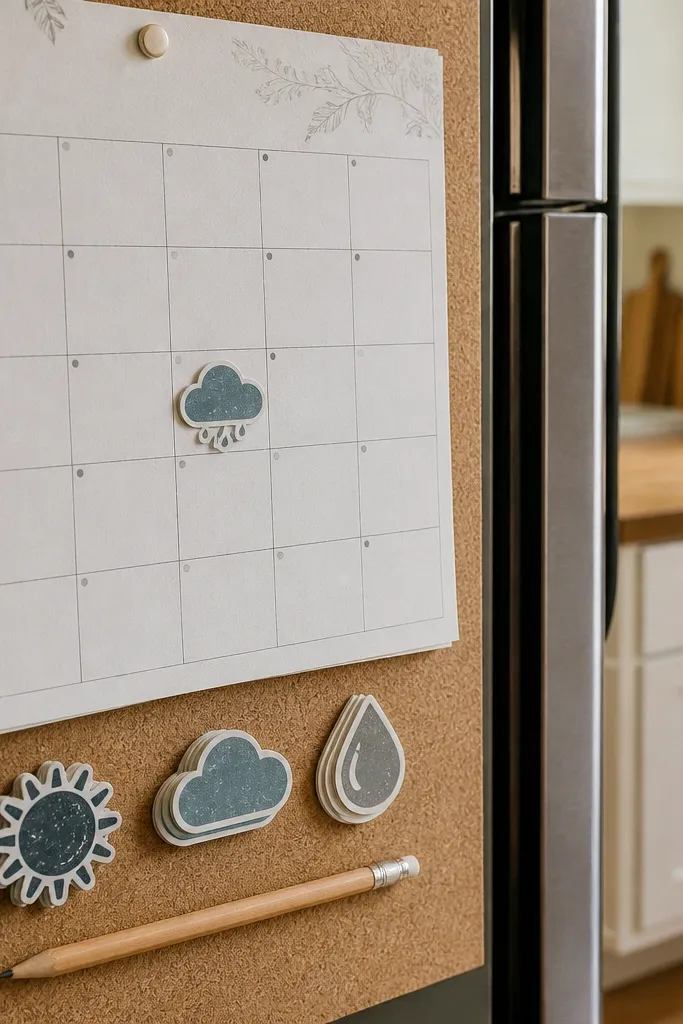
Weather icons are the most practical year-round Vintage Stickers because they match every school day. The vintage style keeps them cute instead of childish, and the simple icons are readable at small sizes. Use them on water bottles, lunch notes, or the calendar page where kids track the week. They also stack nicely in a row, which makes your finished projects look designed rather than random.
Editor's noteFor a tidy look, arrange icons by size from large to small across a single item.
Print the sheet on matte printable sticker paper and choose a color mode that avoids neon. Cut each icon with a small blade and keep the outline tight for a clean edge. Apply to smooth surfaces and press around the perimeter. Seal with a thin laminate topcoat if you expect the sticker to get wiped with a damp cloth.
Skip thisAvoid glossy finishes on weather icons; glare makes the icon lines disappear.
10. Vintage Recipe Card Stickers
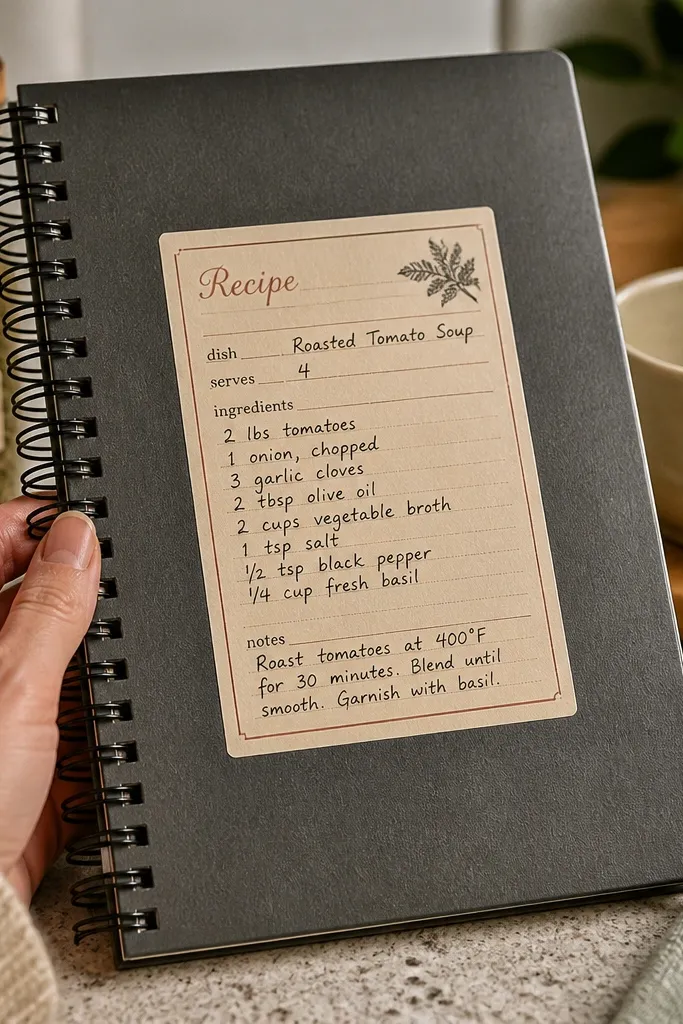
Recipe cards give you that cozy, vintage paper feel and they look especially good on planners and kitchen notebooks. The card rectangle shape is forgiving for cutting, and the layout makes your stickers look like real ephemera. This is a strong year-round Vintage Stickers pick for kids because you can label lunches, snack lists, or “cook with me” notes without changing the art theme. Choose cards with visible borders and clear text blocks so the design stays readable.
Editor's noteUse the cards like tabs — place them along the edge of a notebook page for instant organization.
Print on matte sticker paper and cut each card with a ruler for straight edges. Lightly score the border lines if the design includes them so it bends like real paper. Apply to paper notebooks first, then to plastic only if you seal with clear laminate. Burnish the corners last because they’re the first to lift.
Skip thisDon’t cut too close to tiny handwritten lines; they peel faster.
11. Retro Music Labels and Notes
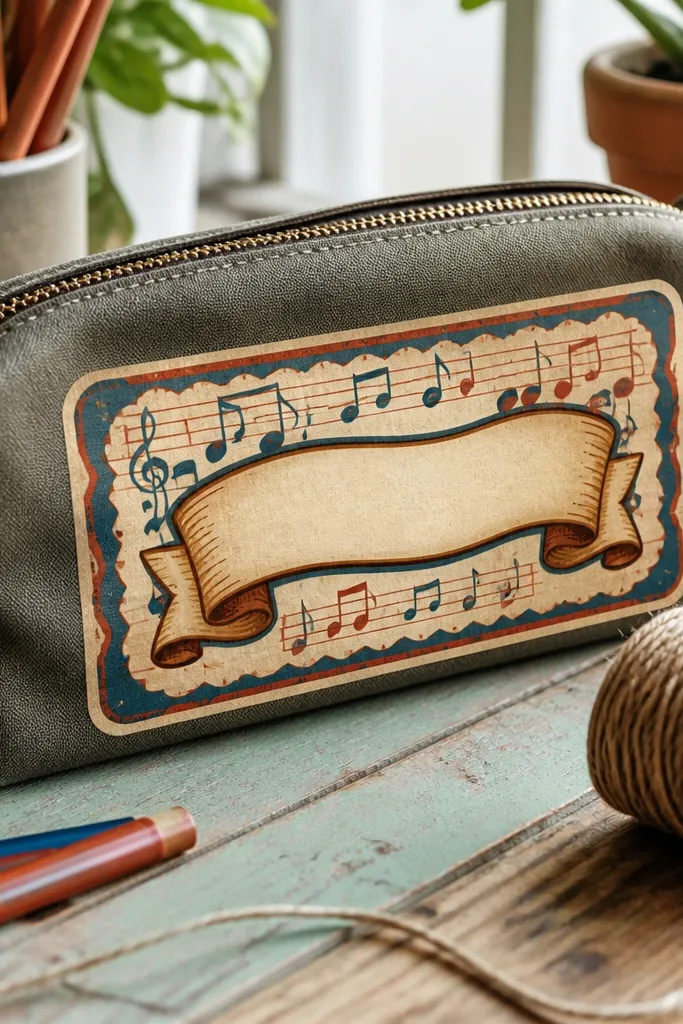
Music-label stickers look fantastic because they combine small icon detail with a ribbon or banner shape. The result feels like a miniature poster, which is exactly what makes stickers photogenic on backpacks and pencil cases. This is year-round Vintage Stickers material because you can keep the same style while swapping themes like calm songs for homework weeks. Place them in a vertical strip to mimic a stack of old sheet music.
Editor's noteIf ribbon tails lift, add a small piece of clear tape just over the tail ends.
Print on matte sticker paper to keep notes from looking like bright cartoons. Cut the ribbons with a sharp blade, then trim the inner notches with the tip of the knife. Apply to clean surfaces and smooth from center outward to avoid bubbles. Seal with matte laminate if the sticker lands on a backpack that gets wiped or scraped.
Skip thisAvoid thick white margins if the art has a border; it can look like a sticker stuck on top of a print.
12. Vintage Library Bookplate Stickers
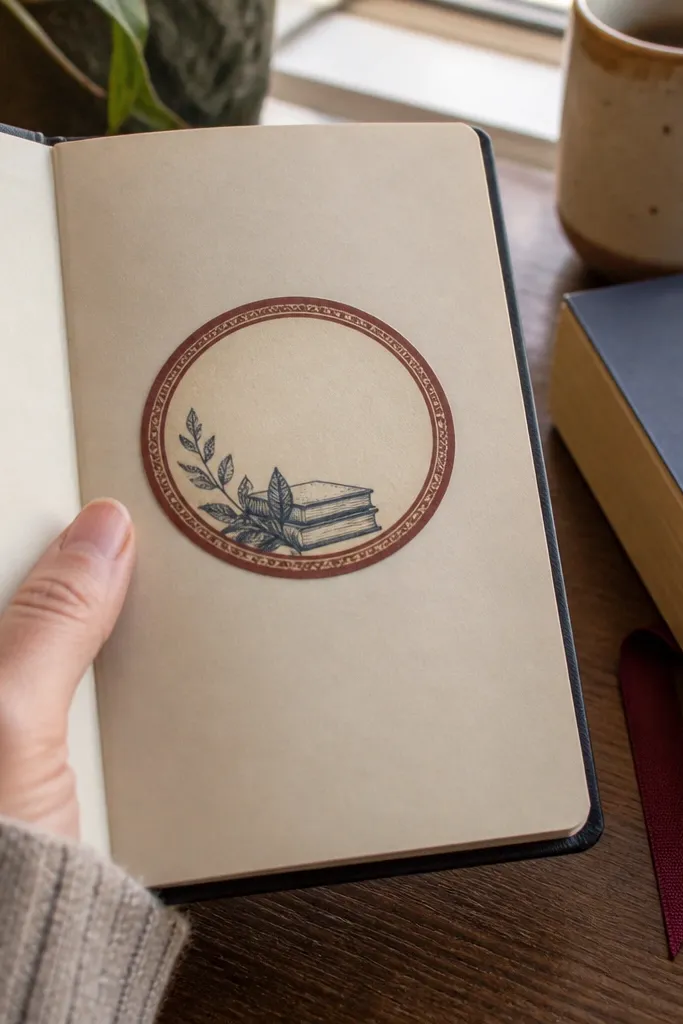
Bookplate designs instantly read as vintage because they mimic the labels you’d find inside real books. The oval or shield shape also looks good on the inside cover of a notebook, where kids can write their name. This is a year-round Vintage Stickers option because it’s neutral and doesn’t depend on holidays. It also helps you keep track of supplies by making every notebook feel like it belongs to someone.
Print on matte sticker paper and cut with an oval cutter or by hand following the outer border. Apply to the inside cover of a notebook after wiping with a dry tissue. Press firmly along the border and corners. For extra durability, laminate only the sticker area with a small clear sheet, leaving the edges sealed.
Write the kid’s name on the bookplate with a fine-tip archival pen before you seal over it.
Avoid gel pens under laminate; they smear when sealed.
13. Retro Sports Club Badges
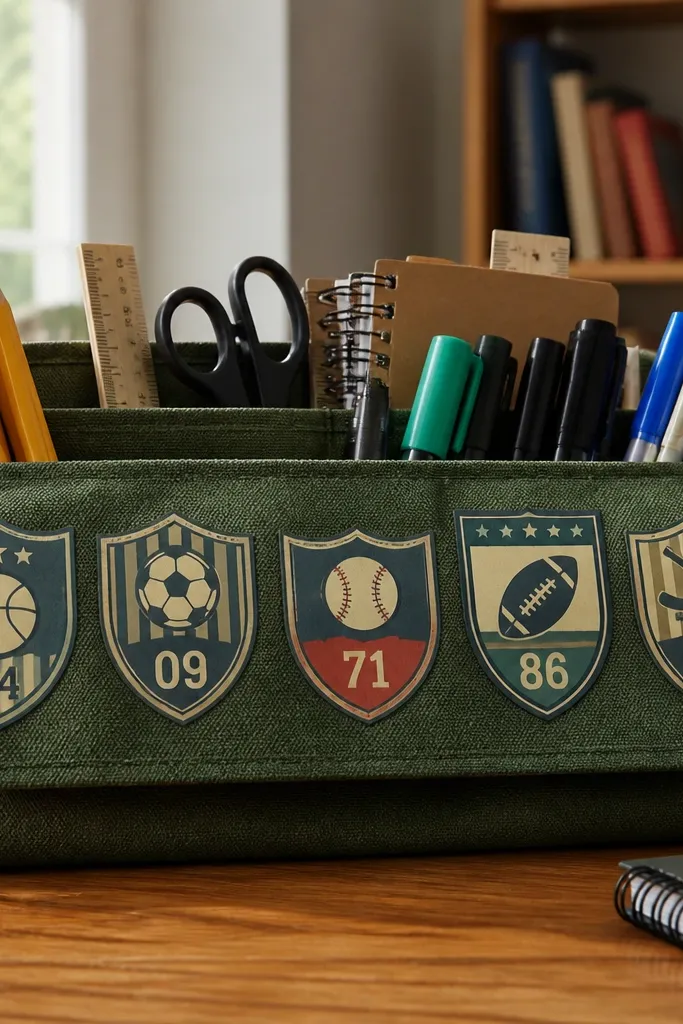
Badges look bold and photogenic on school items because they read at a glance. The vintage club style gives you that old-stadium feel without needing actual team logos. This set is great year-round Vintage Stickers because you can rotate badge numbers across the year and they still look like a cohesive collection. Put them on water bottles and lunch containers so the stickers act like uniform patches.
Editor's noteKeep badge placement centered and slightly above mid-height for the most balanced look in photos.
Print on matte sticker paper if you want a paper-printed badge look, glossy if the badge art includes shine. Cut along the outer badge edge, then carefully trim the inner banner cutouts. Apply to clean plastic and burnish with a flat tool. Seal with clear matte laminate so the banner edges don’t lift.
Skip thisAvoid placing badges over curved dents; the edge will wrinkle.
14. Old Cigarette Card Style Icons
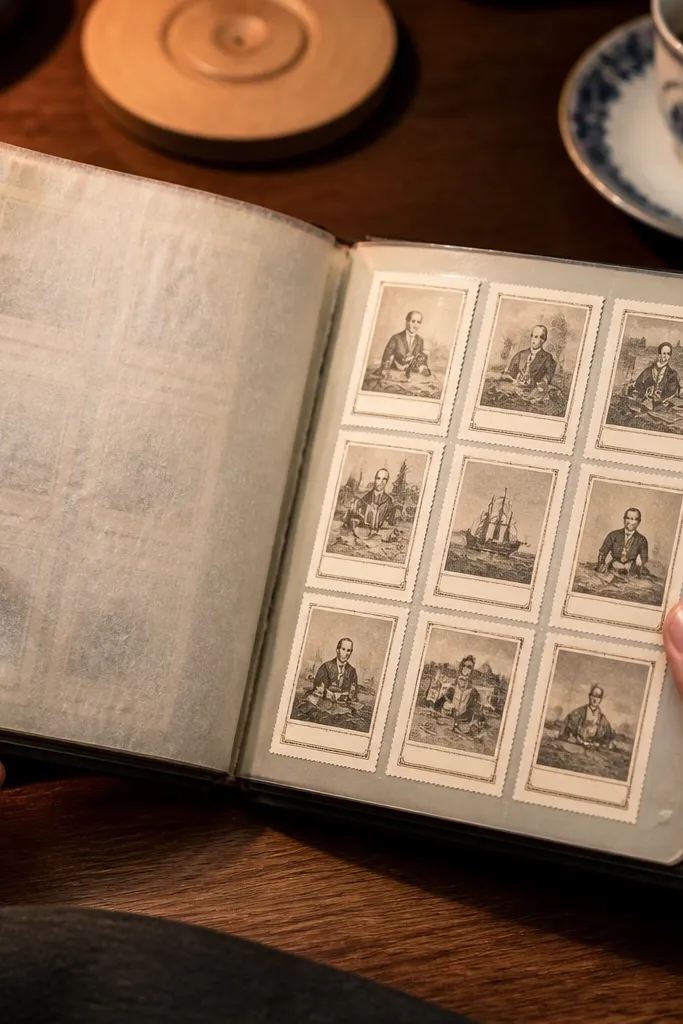
Cigarette card-style art looks vintage because it uses a consistent grid, captions, and small framed scenes. The stickers look like a mini collectible set, which makes kids want to trade or collect them. This is a strong year-round Vintage Stickers pick because you can keep the same card design structure and swap the subject matter season to season. The grid layout also makes it easy to place them evenly on a notebook without measuring every time.
Editor's noteUse a consistent card size across your set so the collection looks intentional.
Print on matte sticker paper and keep the sheet flat when printing so the grid edges stay sharp. Cut each card with a ruler and sharp blade, staying just outside the card border. Apply to smooth paper first, then seal with clear tape if it’s going on plastic. If you want the cards to look extra old, add a second thin laminate layer only on the card face.
Skip thisAvoid glossy paper; the grid lines lose that printed-card feel.
15. Vintage Sea Shell Labels
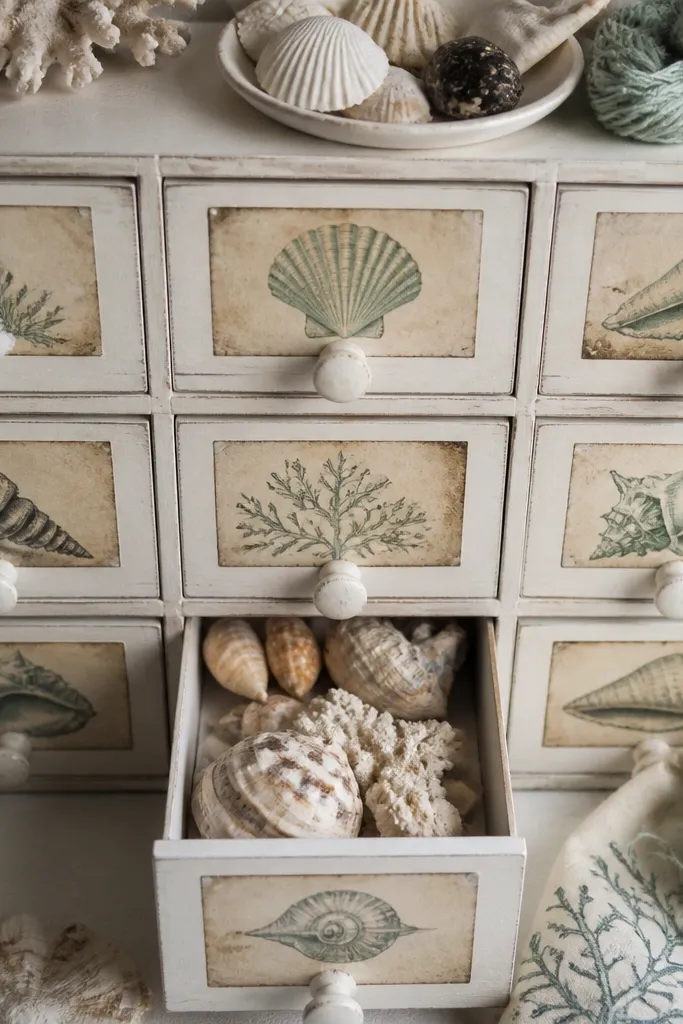
Shell labels are a quiet kind of vintage that still looks good in photos. The line art and muted sand tones make them feel like they belong on a seaside journal, but they work year-round because the palette isn’t tied to a single holiday. Use them on sketchbooks, pencil boxes, or the side of storage drawers. The label rectangle shape also makes cutting easier and gives a clean edge for layering.
Editor's notePair shell labels with one darker icon sticker per page to keep the contrast interesting.
Print on matte sticker paper and cut each label with a straight edge on the sides and a careful curve on the corners if needed. Apply to dry surfaces and press from the center outward to avoid trapped bubbles. Seal with clear matte laminate, especially around the label corners. If the label has a thin border, leave a tiny margin so the border doesn’t get cut away.
Skip thisAvoid placing on textured fabric; label edges don’t adhere well.
16. Retro Holiday Garland Postmarks
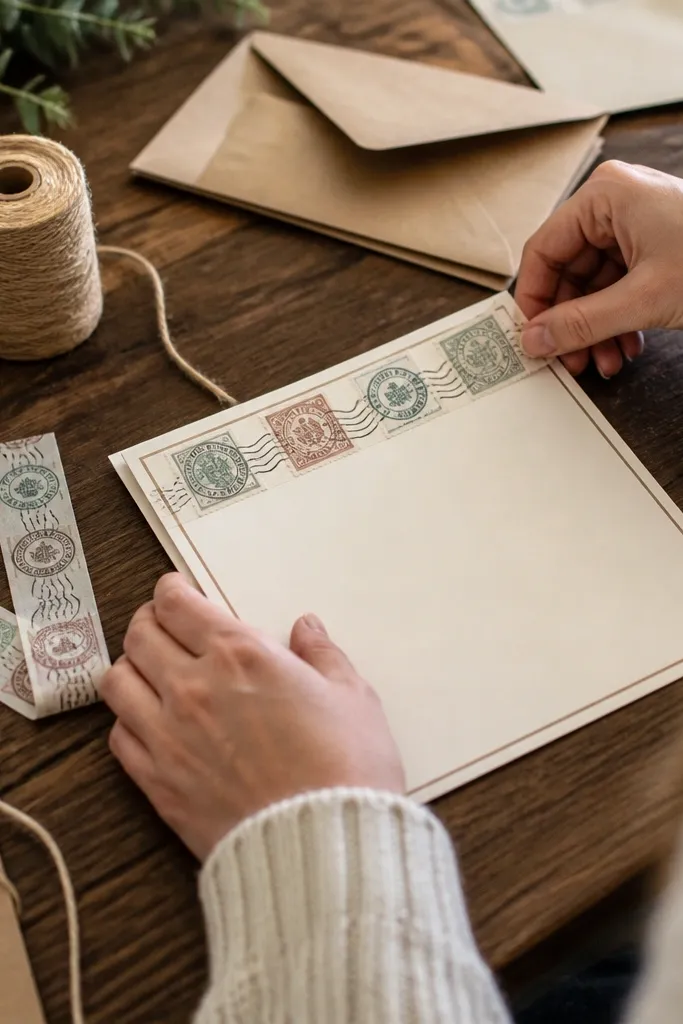
Even if it has holiday vibes, postmark garland art reads vintage through its stamp texture and muted ink. It’s a good year-round Vintage Stickers choice because you can use it for school events, birthdays, and just “good job” notes without making everything feel seasonal. The stamp text also gives you a built-in narrative when you place it on envelopes or notebooks. This set looks best when you cluster two or three on one surface.
Editor's noteTrim around the stamp circles last; that keeps the banner alignment intact while you cut.
Print on matte sticker paper for a faded stamp look. Cut the banner segments separately so you can spread them across a page instead of placing one big strip. Apply to paper first, then seal with a clear matte tape topcoat. If you’re using it on envelopes, burnish the edges with a bone folder or ruler edge.
Skip thisAvoid oversaturating stamp colors; neon reds kill the vintage effect.
17. Vintage Camera and Film Numbers
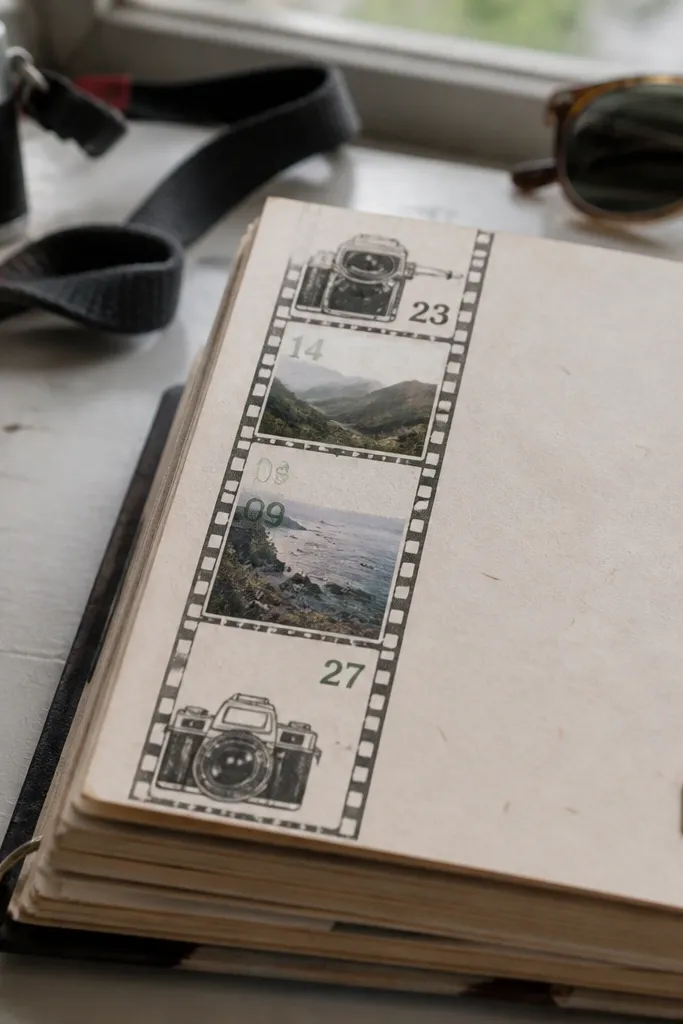
Camera and film strip stickers are a perfect “memory” theme that looks good all year because it turns any notebook into a photo journal. The film numbers and tiny labels create lots of visual interest, but the overall shapes stay readable. Put these on scrapbooks, kids' project folders, or travel journals. They also look great on the back cover of a sketchbook where they catch light when pages flip.
Print on matte sticker paper and choose high-quality settings so the film numbers stay crisp. Cut the camera and film strip as separate pieces so you can place them closer together or farther apart. Apply to clean, dry surfaces and press firmly along the film holes area. Seal the whole sticker with clear laminate to protect the small printed numbers.
Use a sharp blade and replace it after 10-15 stickers; dull blades snag film hole details.
Avoid sealing only the edges; the center needs protection too for small text.
18. Retro Garden Seed Packet Stickers
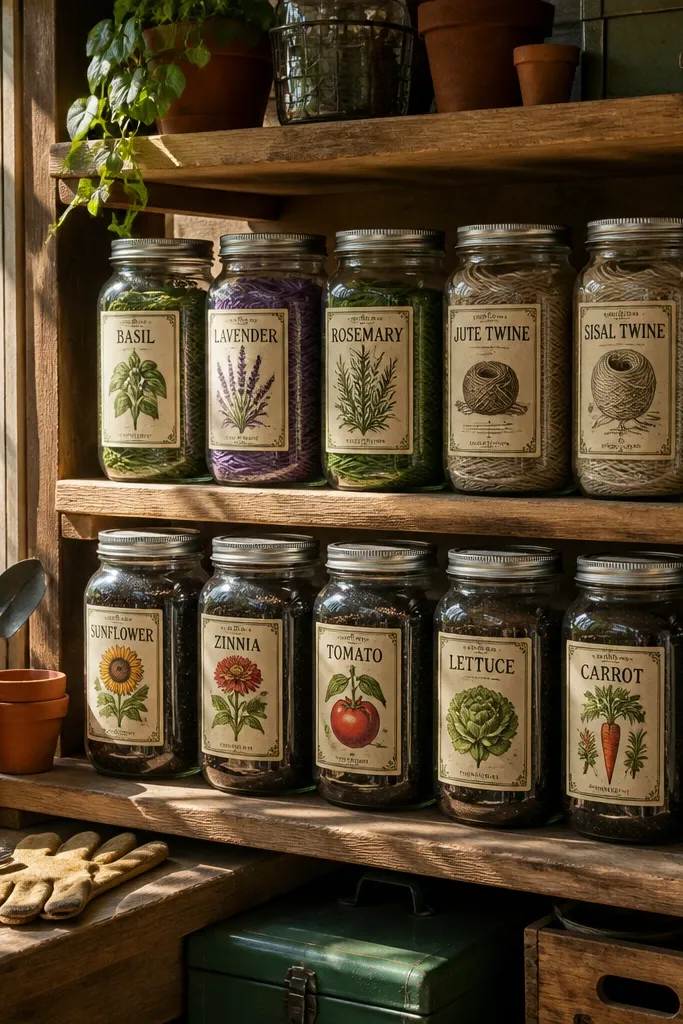
Seed packet stickers are one of the best year-round Vintage Stickers because they look useful even when you’re not gardening. The packet layout gives you structure, and the plant illustrations keep it photogenic on notebooks and storage bins. Use them on craft jars, school supply organizers, or on the cover of a “projects” binder. Since the style is vintage and not seasonal, you can keep the same set for spring planting and winter indoor crafts.
Editor's noteWrite a short date label on the packet area with a pencil before sealing.
Print on matte sticker paper for that printed-paper look. Cut each packet outline with a ruler, then trim any tiny plant stems close to the border. Apply to flat surfaces and burnish the corners where the packet folds would be. Seal with clear matte laminate if you’re sticking to plastic bins or glossy folders.
Skip thisAvoid applying to dusty plastic; seed packet art shows lifting edges immediately.
19. Vintage Train Schedule Strips
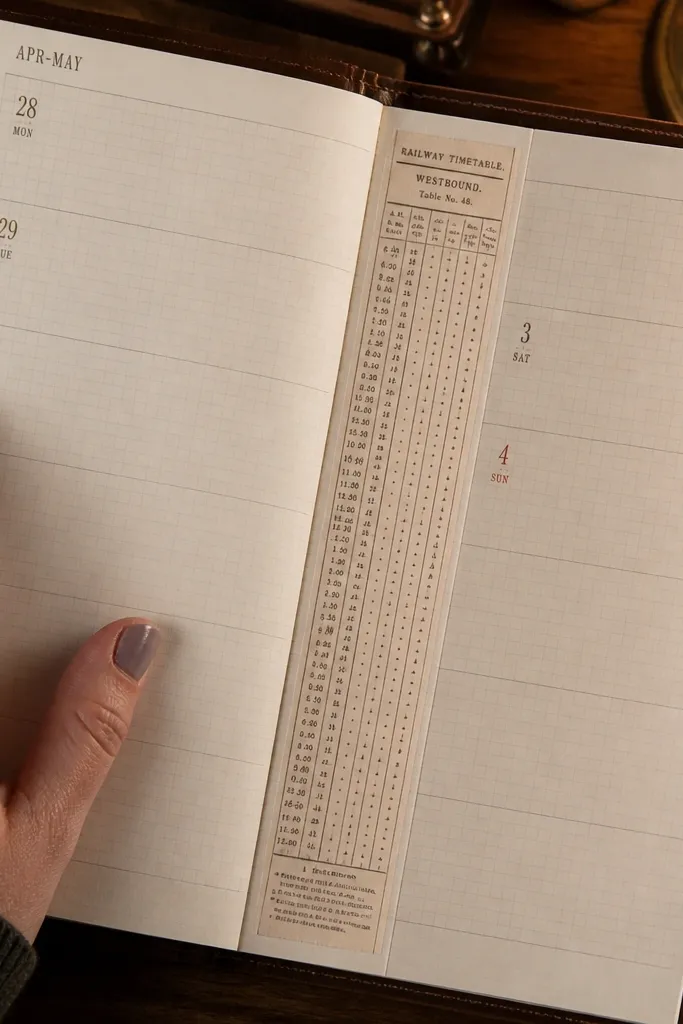
Schedule strips look like real printed ephemera, and the long shape is great for covering thin gaps on planners and notebooks. The vintage time typography gives you a clean, structured look without needing color. This is a year-round Vintage Stickers pick because schedules fit school, clubs, and activities across the whole year. Stick them across a notebook spine or along the top edge of a page like a header.
Editor's noteUse a ruler to align your strip by the notebook’s top edge, not by the printed border.
Print on matte sticker paper and set margins so the strip doesn’t get cropped. Cut straight strips using a metal ruler and sharp knife. Apply to clean paper or smooth plastic and press along the strip length to avoid bubbles. If the strip is long, seal with a clear matte laminate strip cut exactly to length.
Skip thisAvoid cutting too short; a 1 cm extra length looks more intentional than a clipped strip.
20. Retro Science Lab Labels
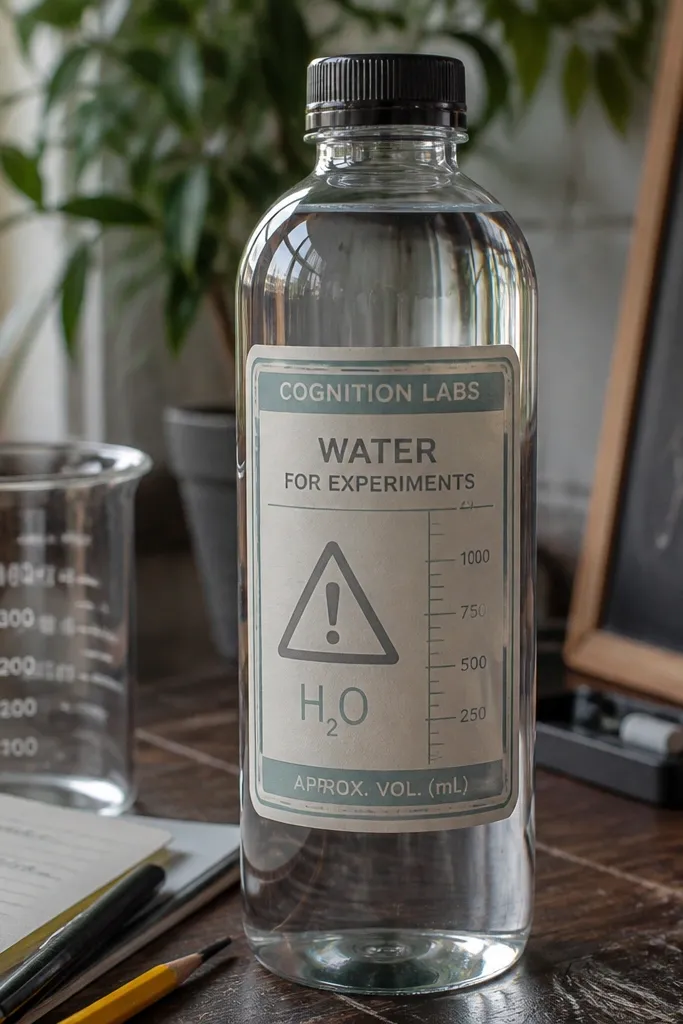
Lab labels give you a crisp vintage-industrial look that kids actually love. The warning triangles and measurement numbers read clearly even at smaller sizes, so these stickers look good on water bottles, pencil cases, and science notebooks. This set is year-round Vintage Stickers because it doesn’t rely on holidays; it fits any school subject and looks cool in mixed collections. Place them like “equipment tags” for a tidy, themed look.
Print on matte sticker paper to keep the labels from looking too modern. Cut the tags out with a clean border and trim around the icon corners carefully. Apply to a clean surface and press down firmly at the icon area first, then the rest. Seal with clear matte laminate so the corners don’t peel when kids open and close backpacks.
If your printer smears, slow down print speed and use the highest paper type setting for your sticker paper.
Avoid glossy finishes; glare makes warning icons harder to read.



