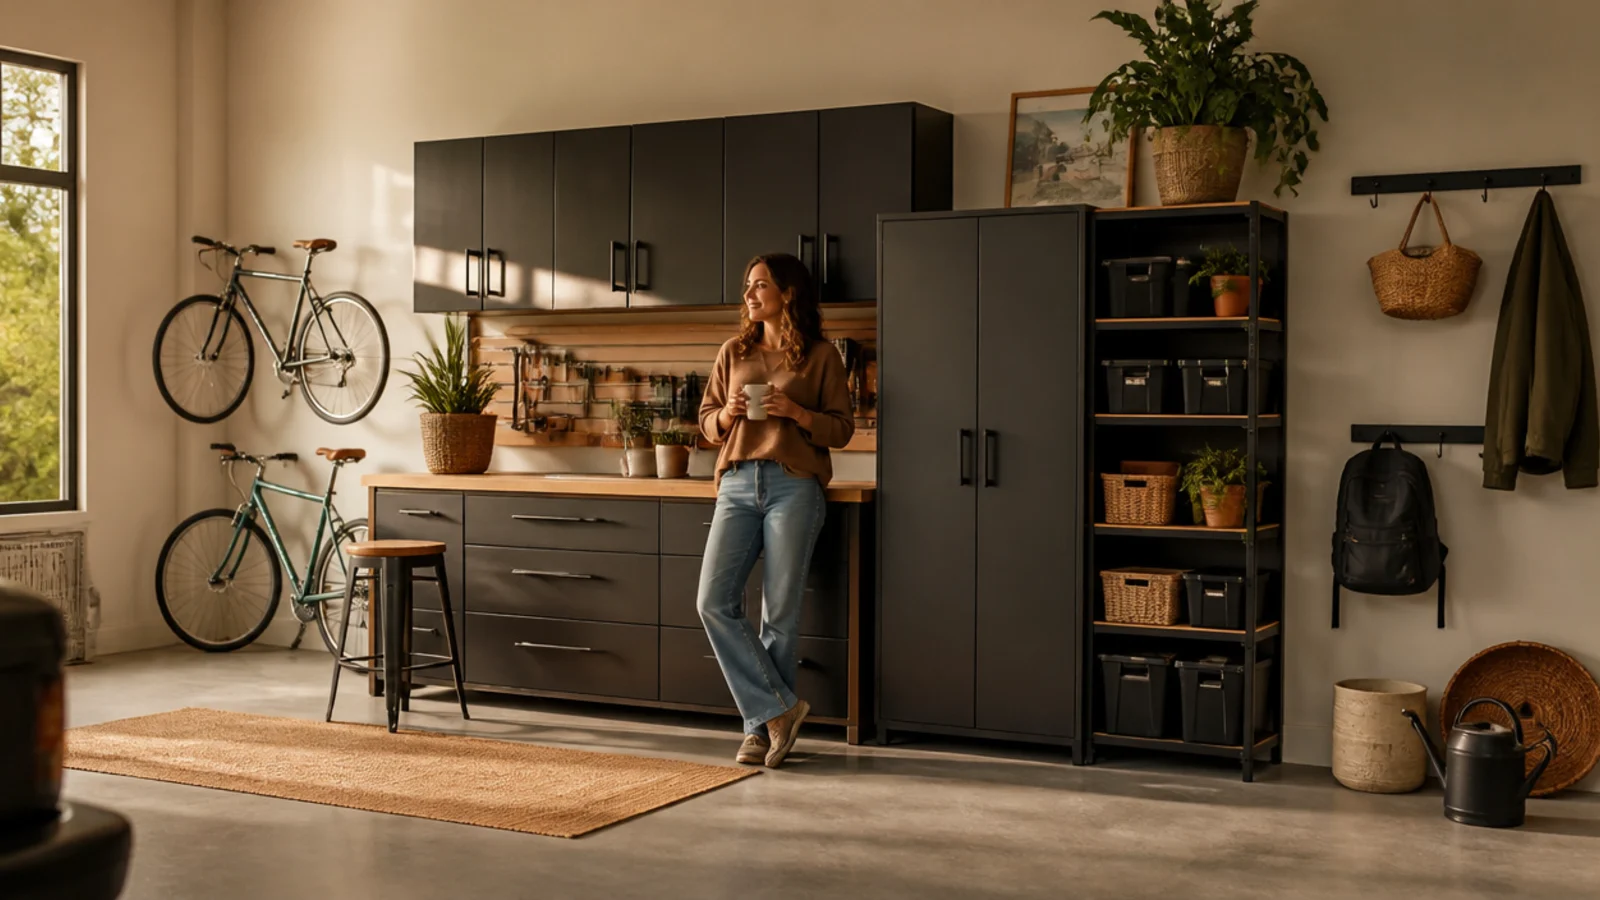
Garage organization ideas only turn into a clean garage when you follow them in the right order — and the order is what most weekend projects get wrong. I’ve organized garages that took years to fill and cleared them in two days, and every time the sequence was the same: declutter first, zone second, walls third, ceiling fourth, containers fifth, and a maintenance habit last. This is that six-step plan, with the tools, the timing, and the reason each step comes when it does. Do them in order over one weekend, and you’ll reclaim the floor — and probably fit the car back in — by Sunday night.
The single biggest mistake is buying storage before decluttering. People start with bins and shelves, then organize clutter they should have tossed — so do the sorting first and buy containers last, once you know what’s actually staying. This plan is built around that truth: the early steps cost nothing but time, and the spending comes only after you know what you’re storing.
Line up your tools before Saturday: a drill/driver, stud finder, level, 3-inch construction screws, a stud-friendly wall system (pegboard, slatwall, or a steel rail), clear heavy-duty totes, a marker and tape for labels, and trash and donation bins. Find your studs and joists first, since the wall and overhead steps both anchor into framing. Clear a staging area — the driveway works — so you can empty the garage and sort in the open.
Match the pace to your garage. A one-car garage is a comfortable weekend; a packed two-car garage may need the sorting spread over an extra evening. Do the steps in order regardless of size — declutter, zone, walls, ceiling, containers, maintenance — because each step sets up the next. Skipping ahead to shelving before decluttering is exactly how garages end up organized but still full.
The first and most important step is to empty the garage and sort ruthlessly, because you can’t organize around piles and you shouldn’t store what you’ll toss. This is where the real work happens. Everything after it gets easier once the junk is gone.
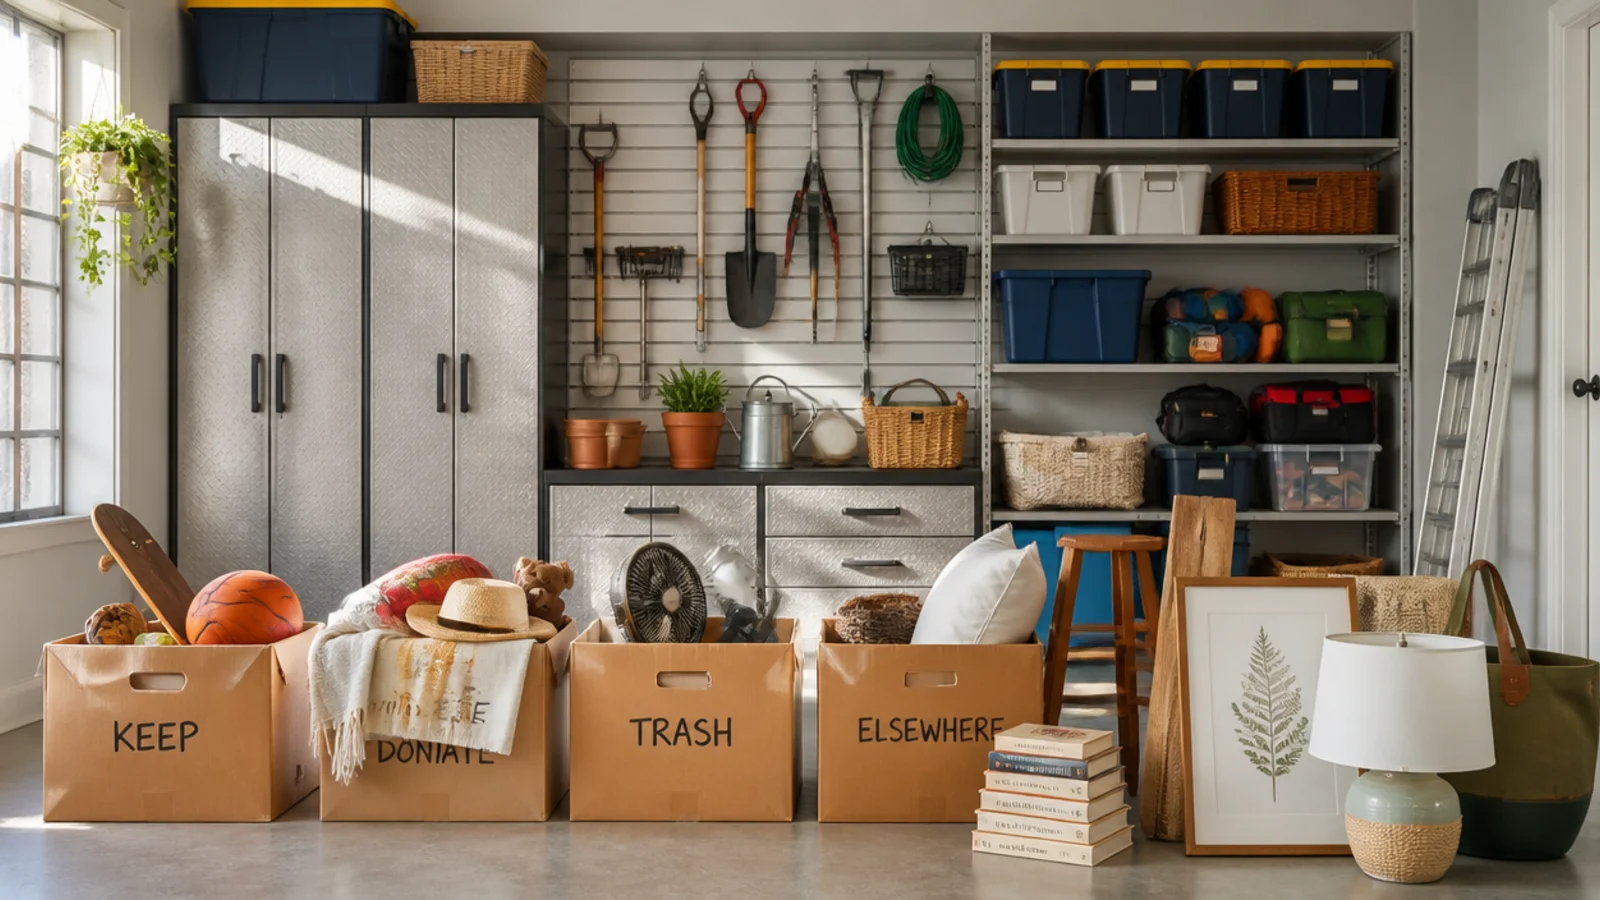
Stage the driveway with four zones — keep, donate, trash, belongs-elsewhere — plus a bin for hazardous items. Pull everything out and sort each item into a pile as you go, handling it once. Be honest: most garages hold a third that should leave. Sweep the empty floor. Take hazardous materials to a proper drop-off, not the trash. Do this before buying any storage.
Handle each item once and decide on the spot; setting things in a 'maybe' pile is how the clutter creeps back in.
Don’t buy bins or shelving before this step; organizing clutter you should have tossed is the top garage mistake.
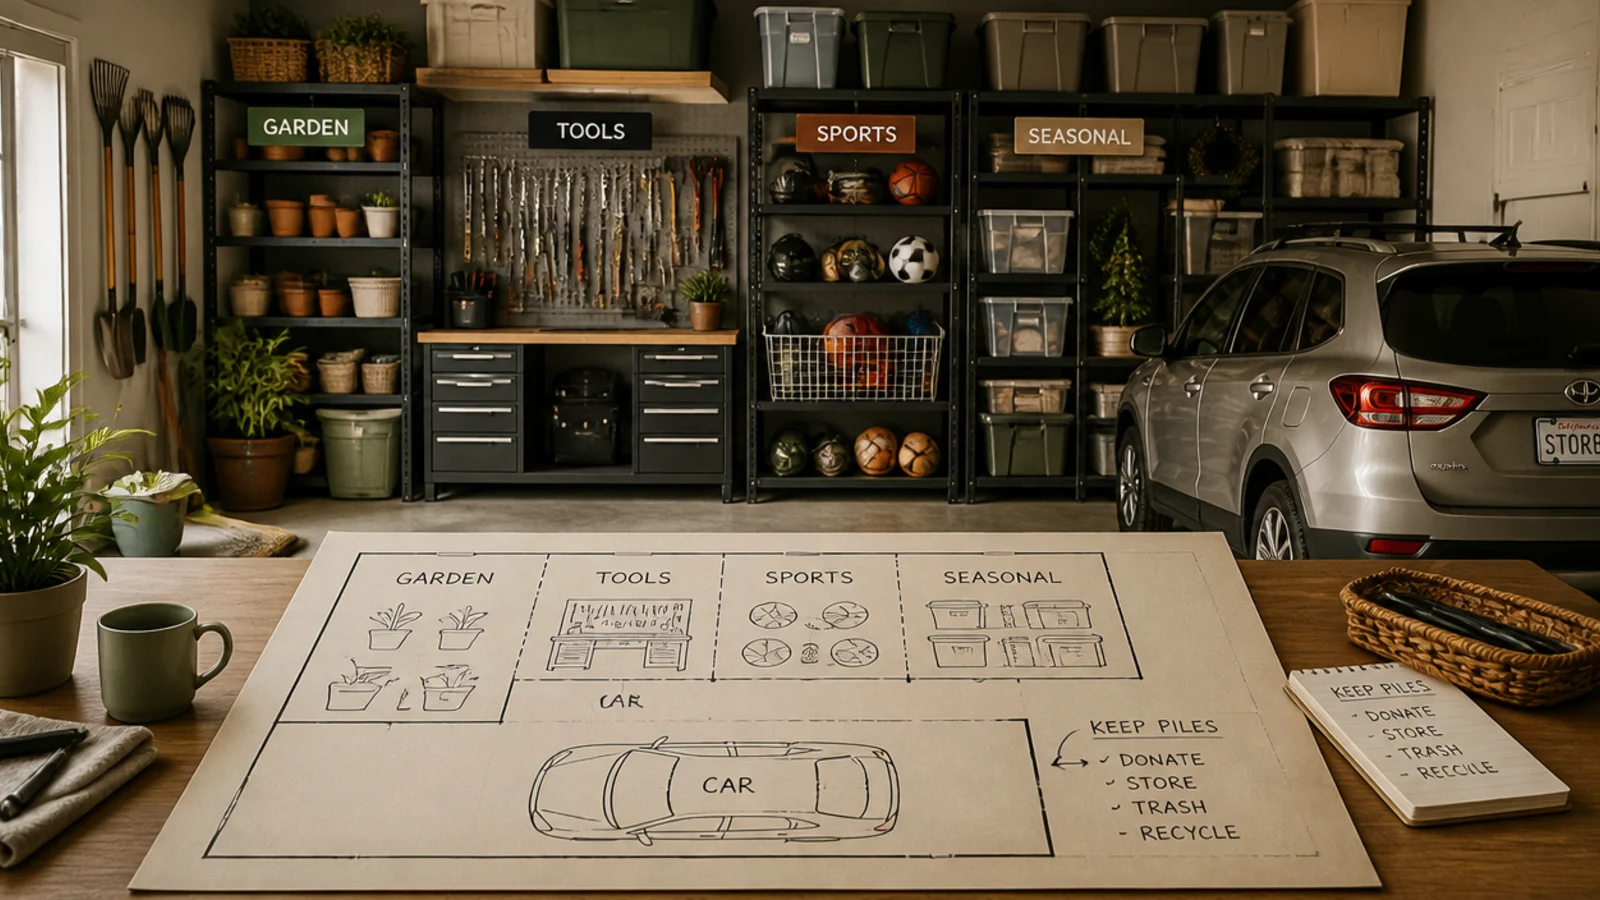
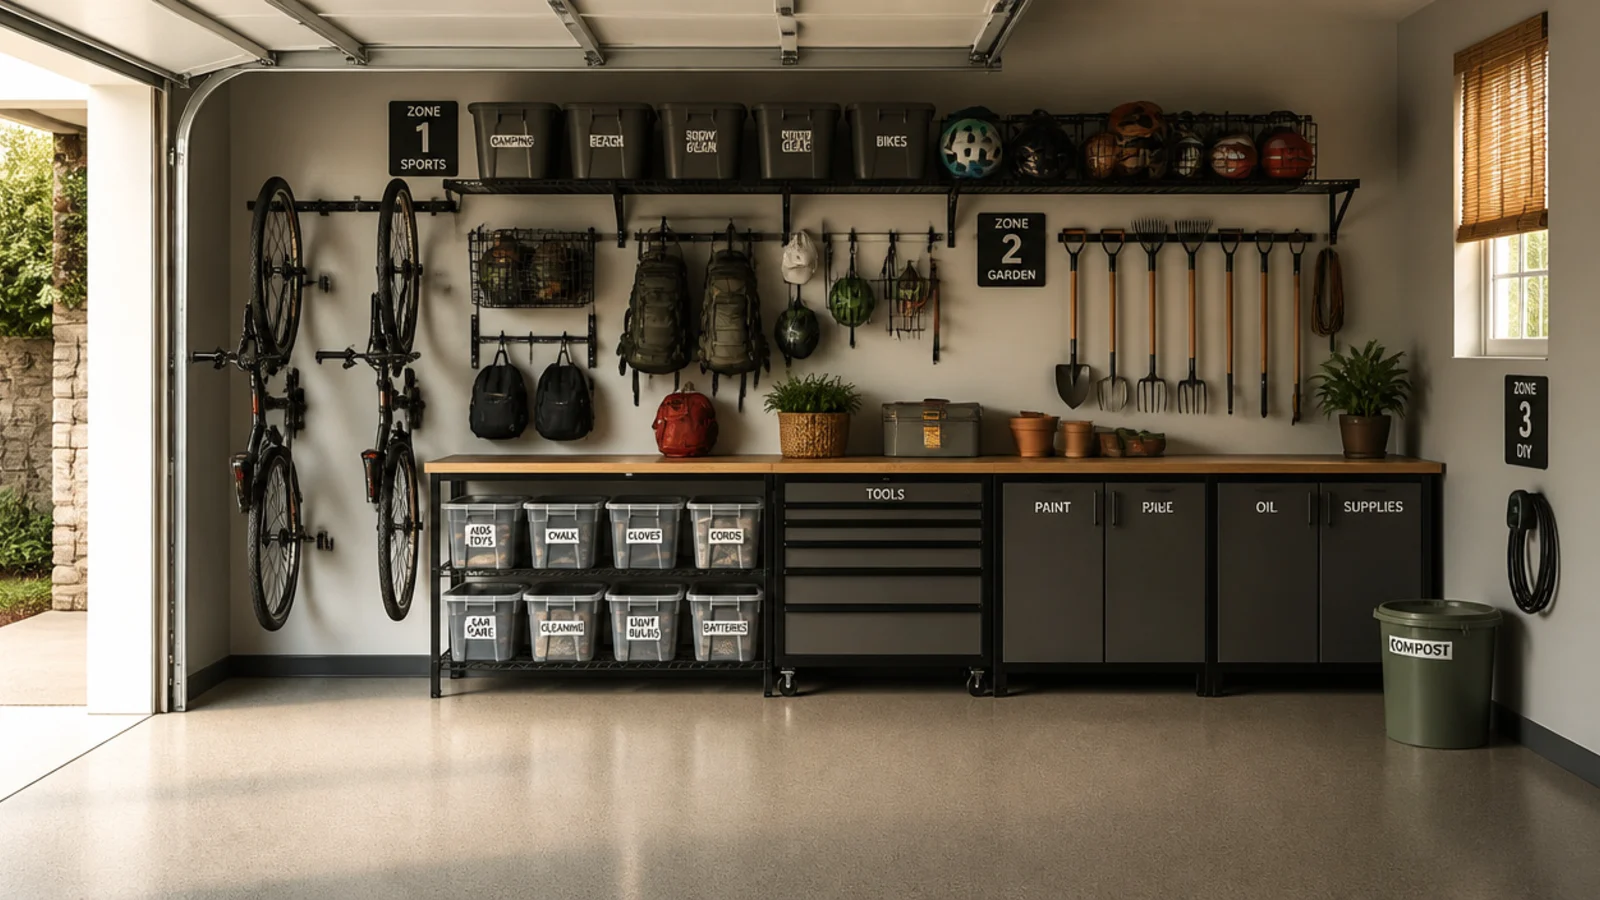
Group your keep piles by category — tools, garden, sports, auto, seasonal — and sketch a quick floor plan marking a zone for each, plus the car’s footprint and a clear walkway. Put frequently used zones near the door and seasonal zones in far corners or overhead. Keep heavy items low and light items high in each zone. Plan around the car and door clearance.
Before storing anything, assign each wall and area a job so related items live together and everything has a logical home. Zoning is the plan that makes the rest efficient. It turns a keep pile into a place for everything.
Skip thisDon’t scatter a category across the garage; keeping each group in one zone is what stops the daily hunt later.
Editor's notePut the zones you use most near the entry door and banish seasonal items to far corners and overhead space.
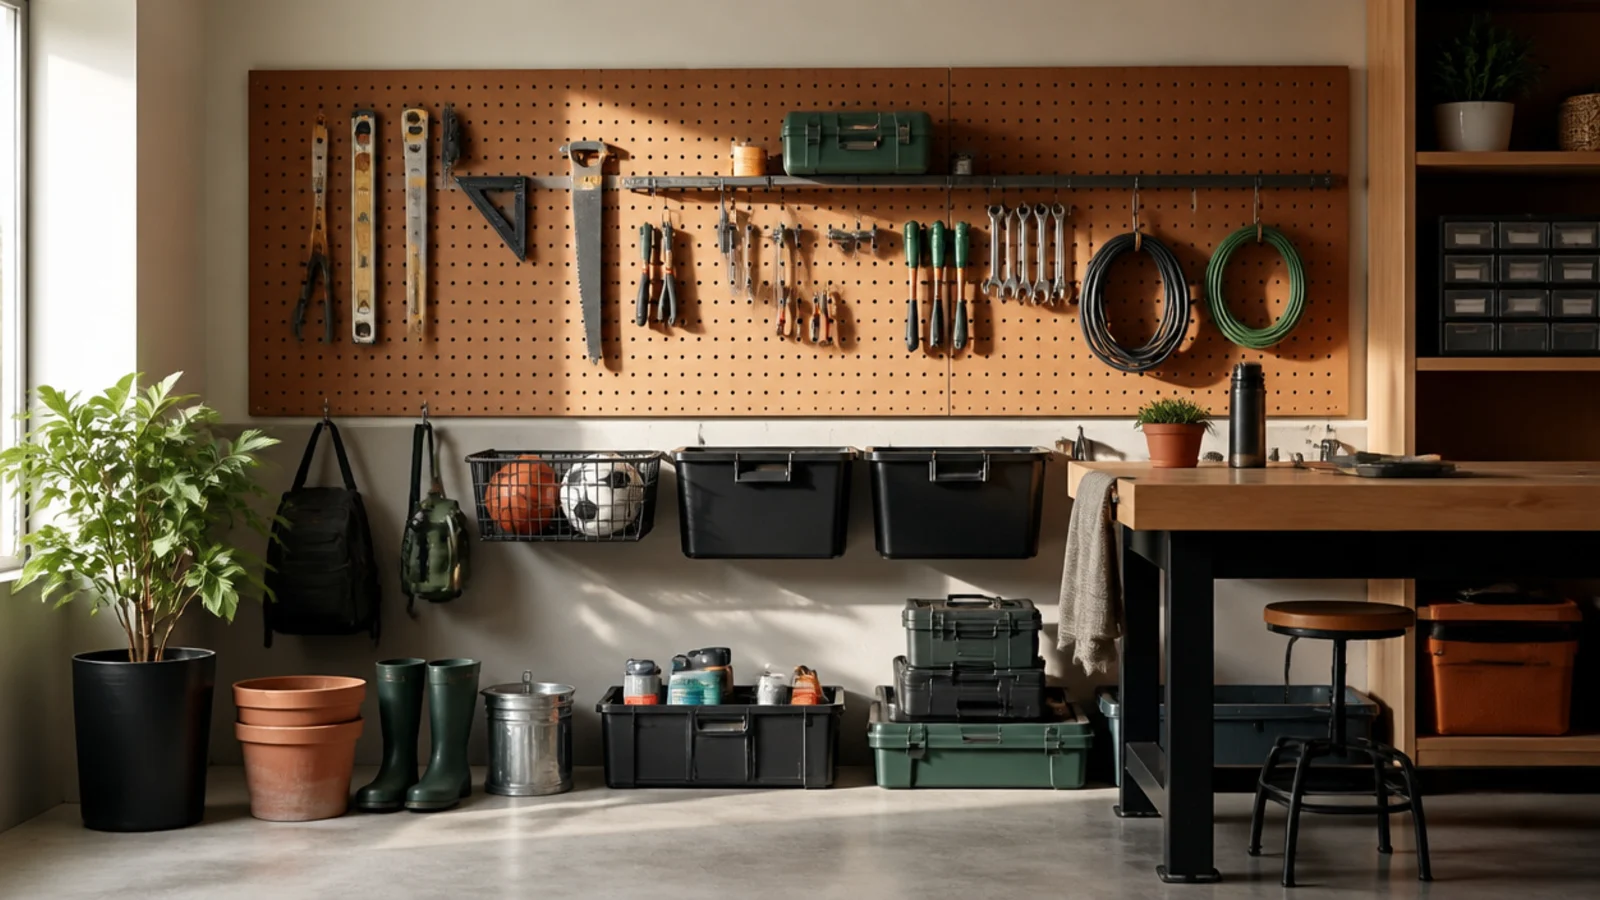
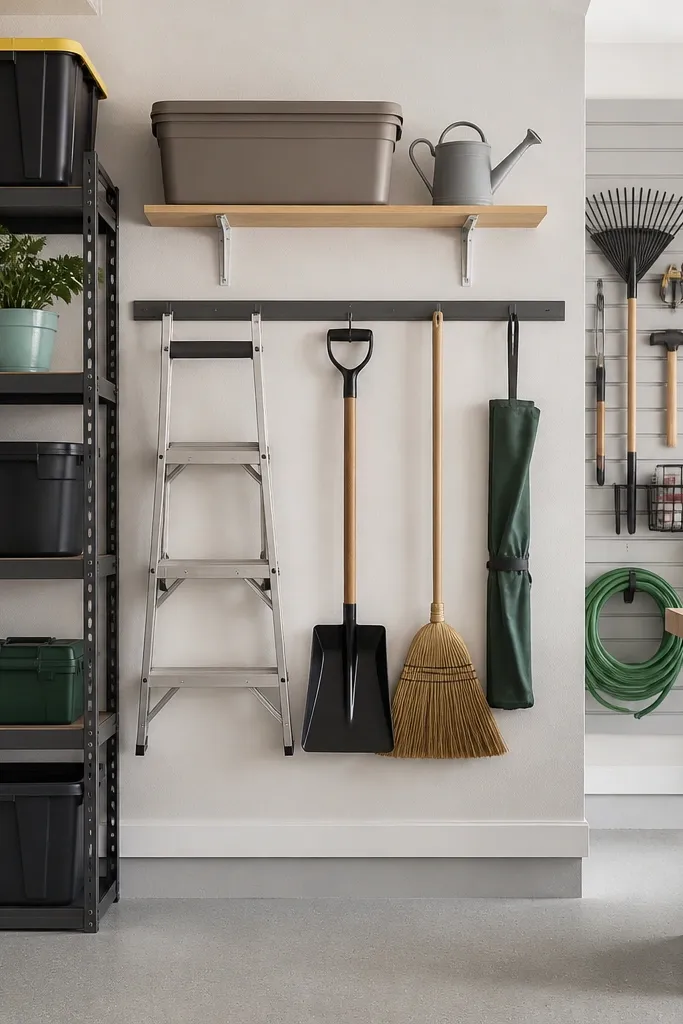
With zones set, get everything possible off the floor and onto the walls — this is the step that actually reclaims your space. Walls are the biggest empty surface you own. Clearing the floor is the whole goal.
Find your studs and mount a wall system for each zone — pegboard or slatwall for tools, a steel rail or heavy hooks for garden and bulky gear. Anchor everything into studs with 3-inch screws, not drywall. Hang tools at eye level, heavy items low, and long-handled tools high enough to clear the floor. Load each wall by its zone so related gear stays together.
Do the walls before placing any freestanding shelving; you’ll often find you need far less floor storage than you thought.
Don’t anchor wall storage into drywall alone; loaded systems pull out, and your gear ends up back on the floor.
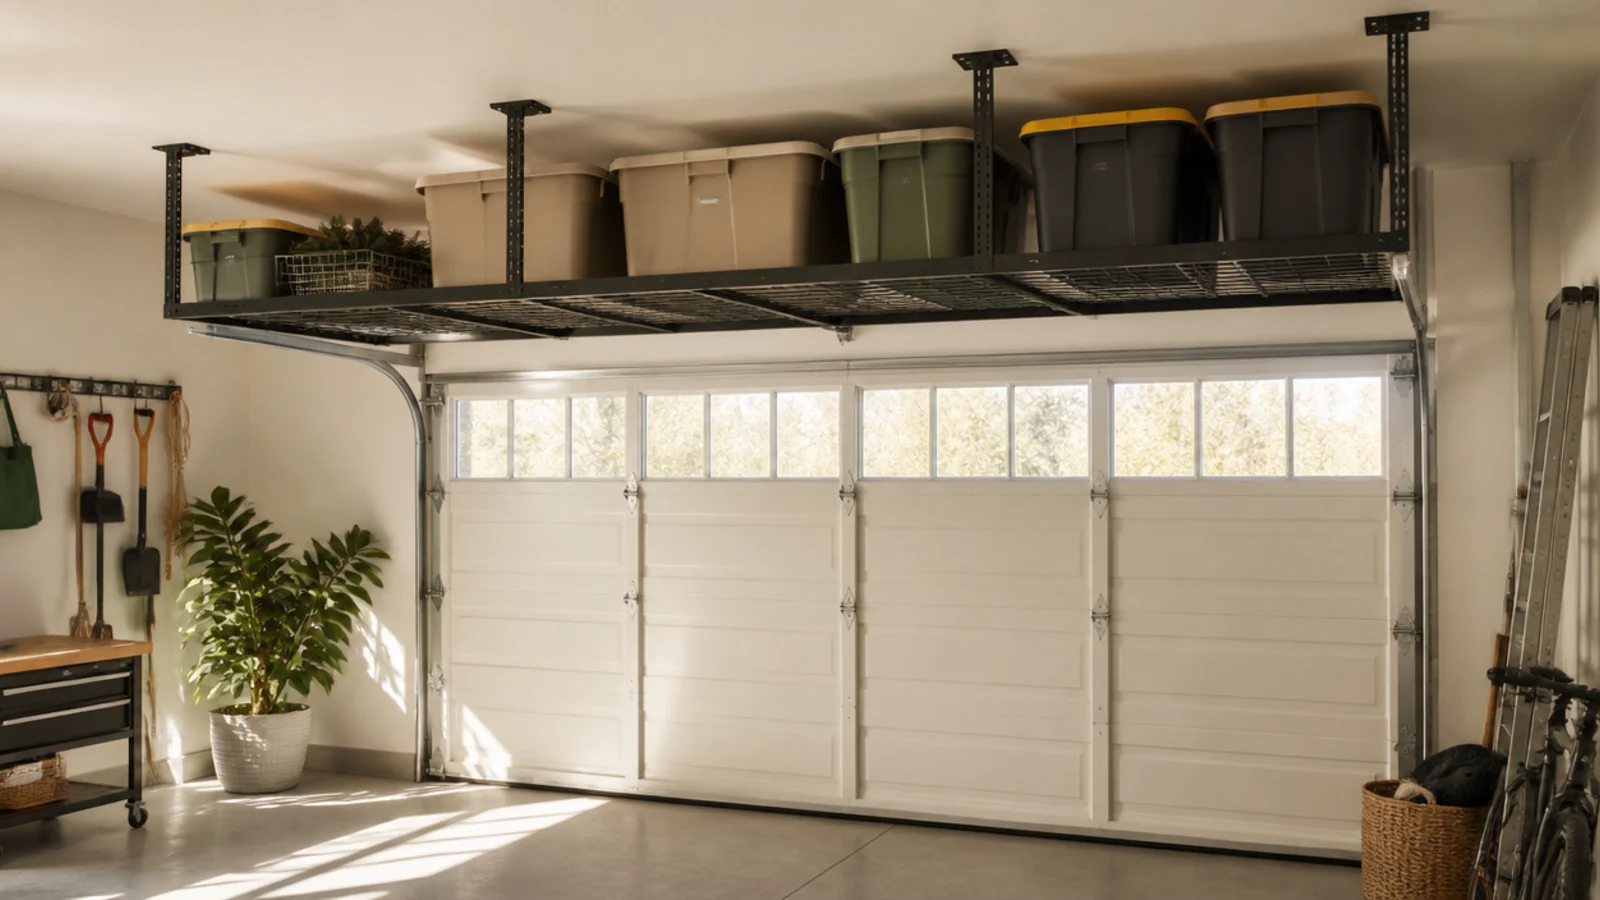
Once the walls are working, move seasonal and bulky-light items up to the ceiling, using the dead air above your head. Overhead space is where the big volume goes. It frees the floor and shelves for daily items.
Lag an overhead rack or a plywood platform into the ceiling joists, positioned to clear the car and the open garage door’s path. Load only light, seasonal totes — holiday decor, camping gear, empty luggage — distributed evenly and within the rack’s rating. Keep a sturdy step stool nearby. Never put heavy or daily items overhead.
Position overhead storage above the garage door’s open path, which is almost always wasted dead space.
Don’t store heavy or frequently used items overhead; reserve it strictly for light seasonal bins you rarely touch.
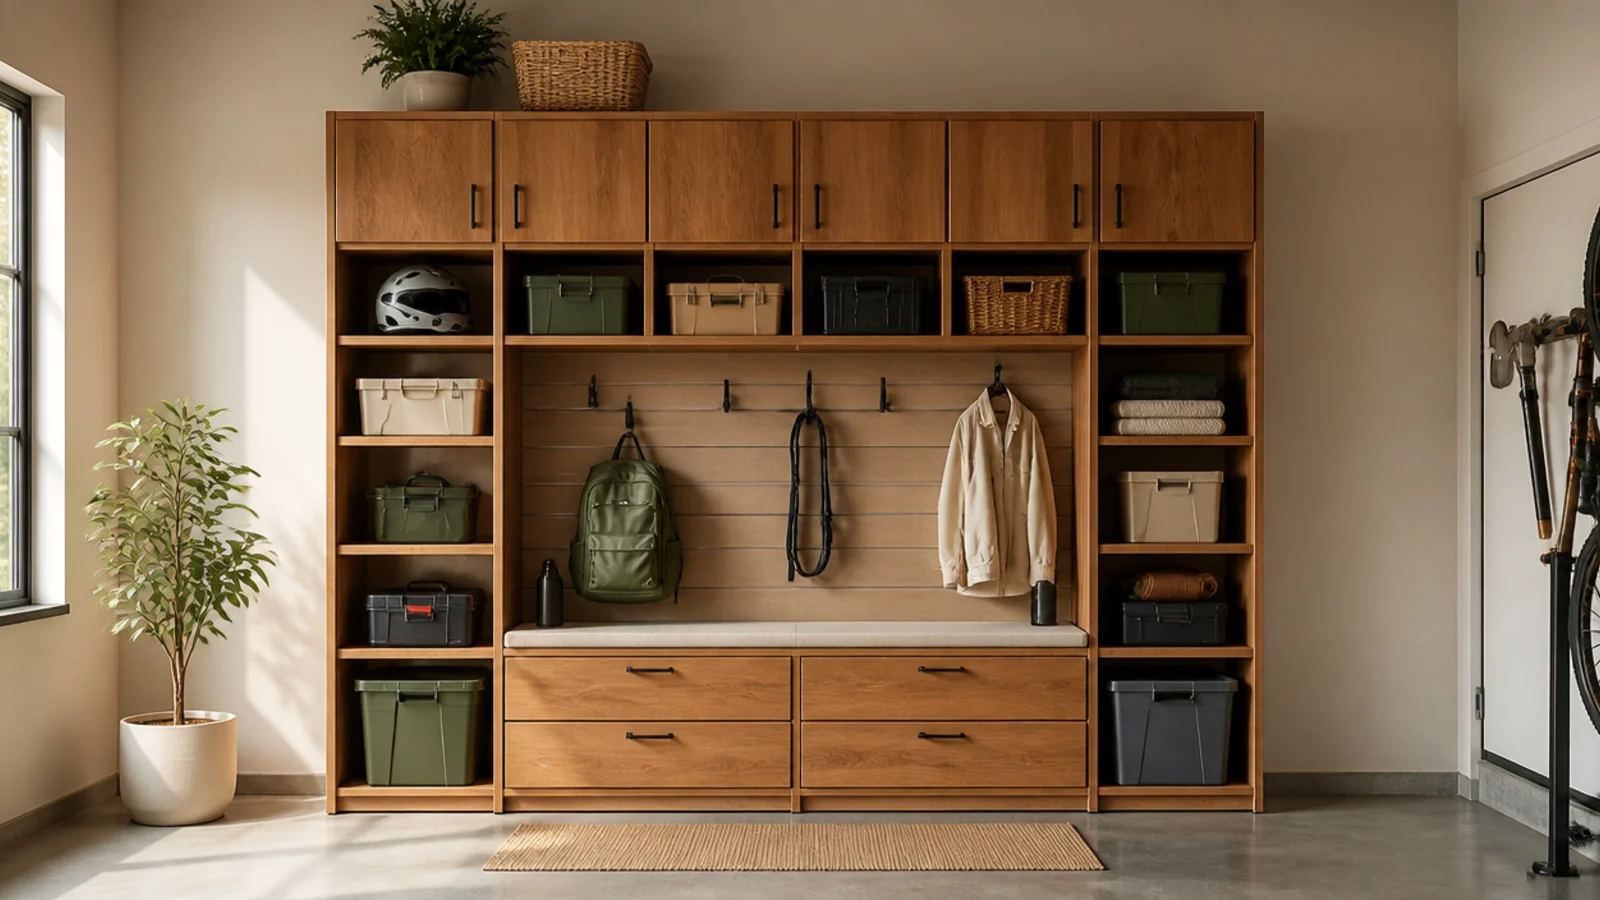
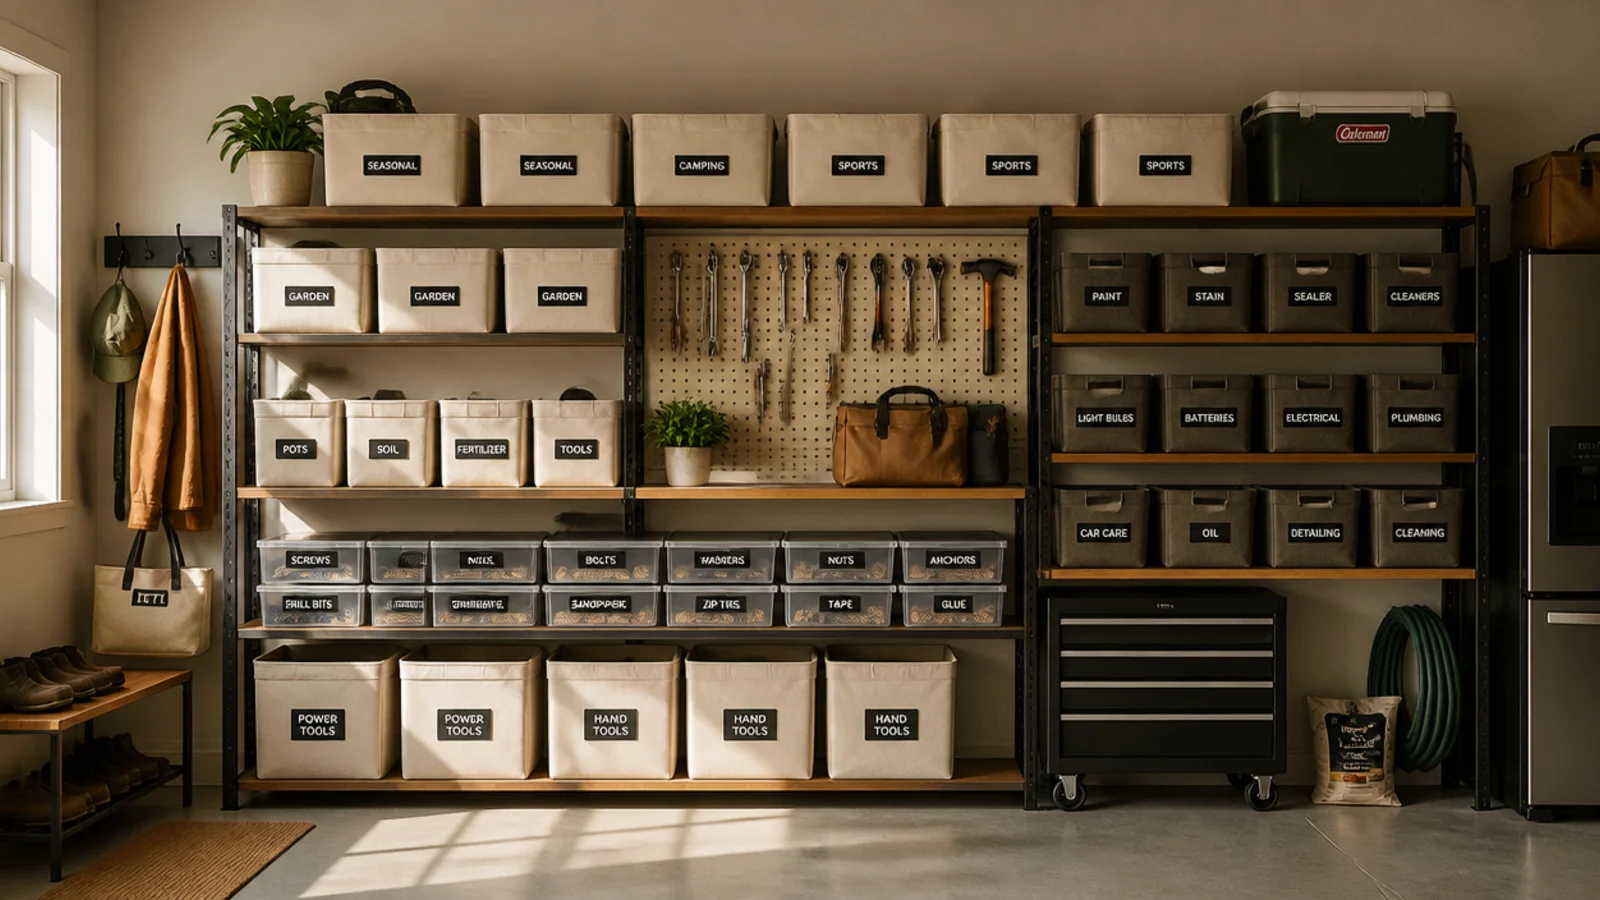
Buy clear heavy-duty totes and small-parts bins sized to what remains, and place them by zone on shelving. Sort by category, one type per bin, and label each with a consistent style — same tape, same marker, same spot. Keep daily bins reachable and overflow up high. Standardize the labels across every container so the space reads as one system.
Now that the big items are on walls and overhead, contain the remaining small stuff in labeled bins so nothing lands loose. Containers finish the sort. This is when you finally buy storage — for exactly what’s left.
Skip thisDon’t buy pretty matching sets before this step; contain only what’s left after decluttering, or you overbuy.
Editor's noteUse one label style everywhere — matching labels read as 'organized' far more than matching bin colors do.
Clip a simple zone map by the door so everyone puts things back in the right place. Do a fifteen-minute reset each season to return strays to their zones and re-donate anything unused for a year. Follow a one-in-one-out rule: every new item either gets a defined home or something leaves. Keep the floor clear, since a clear floor is what keeps the whole system honest.
The last step is what makes it last — a simple maintenance system so the garage never refills. Organization without a habit slides back in months. This step is why this attempt sticks when past ones didn’t.
Skip thisDon’t skip the maintenance habit; without a one-in-one-out rule, new items with no home refill the floor within months.
Editor's noteRun a fifteen-minute seasonal reset — pull strays back to their zones — and the whole garage stays organized for years.
Your questions, answered
How do I organize my garage in a weekend?
Follow a strict order over two days. Saturday: empty the garage, sort into keep/donate/trash/elsewhere, and zone the space. Sunday: mount your wall storage, add overhead storage, then place labeled containers by zone, and finish by setting up a maintenance habit. The key is doing it in sequence — declutter first, walls before floor — so you don’t organize clutter or buy shelves you don’t need.
What's the first step to organizing a garage?
Declutter. Pull everything out, sort into keep, donate, trash, and belongs-elsewhere, and be ruthless — most garages hold a third stuff that should leave entirely. Do this before buying any storage, because you organize far less once the junk is gone, and you’ll know exactly what containers and shelving you actually need. Everything after this step gets easier.
In what order should I organize a garage?
Declutter, then zone, then walls, then ceiling, then containers, then maintenance. Each step sets up the next: decluttering shows what’s staying, zoning decides where it goes, walls and ceiling clear the floor, containers sort the small stuff, and the maintenance habit keeps it all in place. Skipping ahead to shelving before decluttering is why past attempts refilled.
How much does it cost to organize a garage?
It ranges widely, but the first two steps — declutter and zone — cost nothing but time. From there, a budget setup with pegboard, reused containers, and a few hooks can run well under $100, while a mid-range setup with slatwall, totes, and an overhead rack might be a few hundred. Spend only after decluttering, so you’re not buying storage for things you’ll toss.
How do I keep my garage organized after cleaning it?
Set up a maintenance system: give every item a defined home, do a fifteen-minute reset each season, and follow a one-in-one-out rule so new items replace old ones instead of piling up. Garages refill because new stuff has no assigned spot and lands on the floor. If something comes in, give it a home or let something go, and the space holds.
Do I need to take everything out of the garage to organize it?
Yes, ideally. Emptying the garage lets you see the true footprint, sort without working around piles, and sweep the whole floor. Stage everything in the driveway, sort as you go, and only bring back what’s staying. If a full empty isn’t possible, work one zone at a time — clear it completely, organize it, then move to the next.
What should I do with garage stuff I don't want to keep?
Split it as you sort: donate usable items to a charity or resale store, recycle what you can, and take hazardous materials (old paint, chemicals, batteries) to a proper hazardous-waste drop-off rather than the trash. Sell anything valuable. Handling this during the declutter step, with bins ready, keeps the removed items from drifting back into the garage.