
1. Postage Heart Love Seal
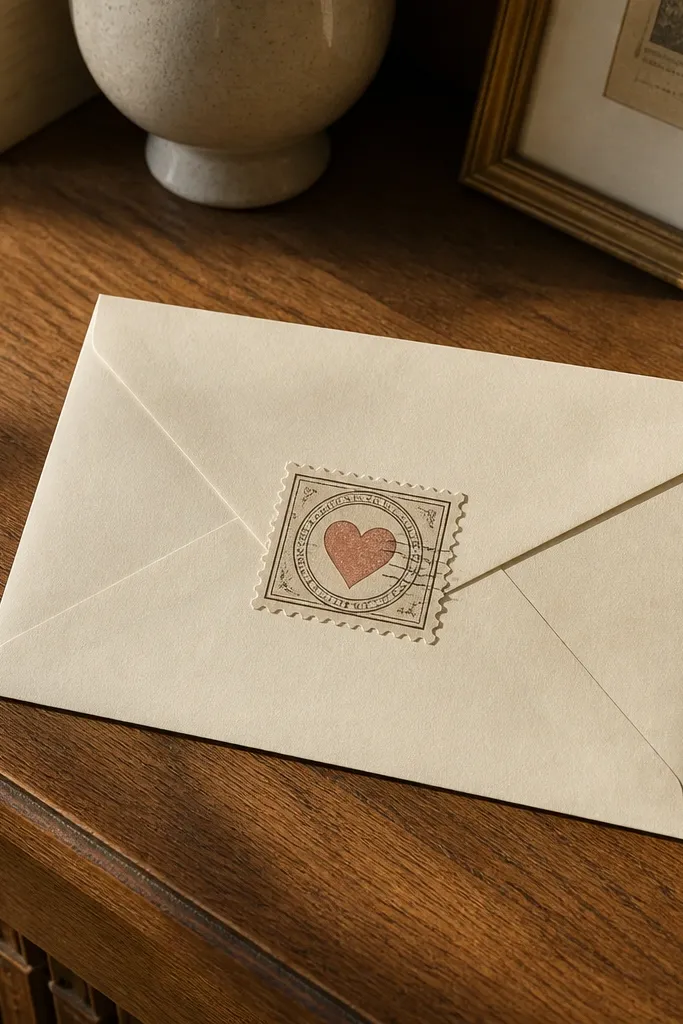
First, print on 110-160 gsm cardstock (or sticker paper) at 100% scale so the stamp border stays crisp. Then, cut around the outer frame with scissors and trim any corners so the edges look slightly irregular, not perfectly machine-perfect. Finally, stick it on the envelope flap or the front of a folded note and write your message on the blank area inside the card.
This one looks like something you’d find in a junk drawer of old mail. The postage frame gives it instant structure, and the heart in the center is easy for kids to recognize without reading small text. It also works great when you want the note to feel official — like it traveled. Print it on light cream paper so the “ink fade” reads as vintage instead of dirty.
Skip thisDon’t laminate the sticker — it kills the worn-paper vintage effect and can make edges lift.
Editor's noteIf your printer smears, let the page sit 10 minutes before cutting so the ink locks in.
2. Roses and Ribbon Heart Banner
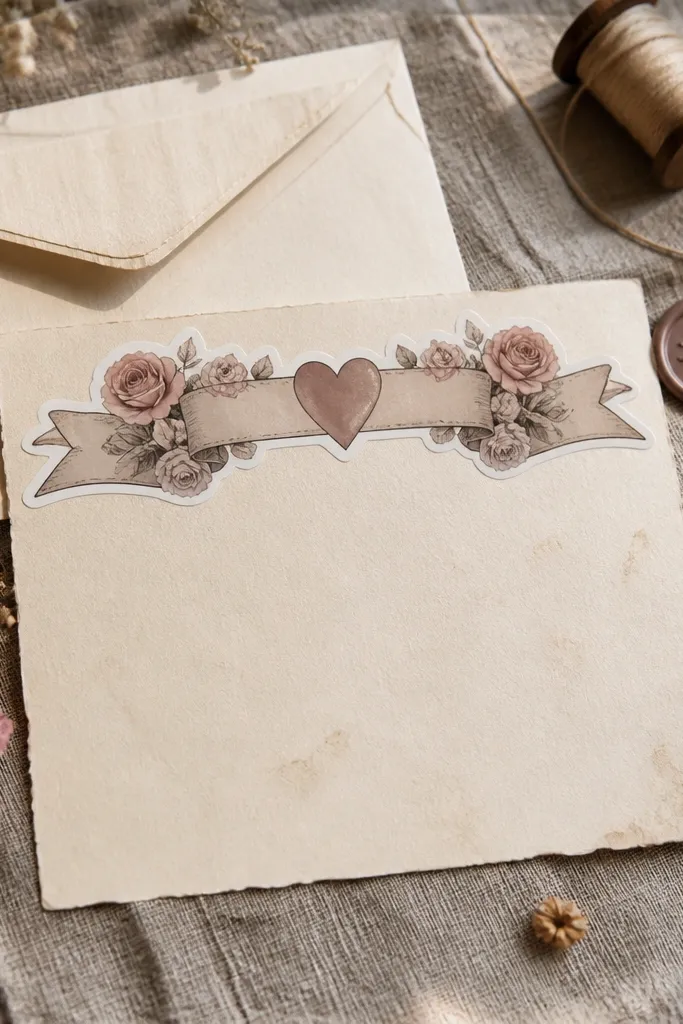
This design makes love notes feel like a gift, not a worksheet. The ribbon shape gives you a natural “where to place it” — center it at the top of the page or along the corner of the envelope. The roses add detail that looks good even when you write over a blank spot beside it. It’s a strong choice for Valentine’s Day notes, teacher messages, and birthday love notes.
Start by printing on cream cardstock and choosing “borderless” only if the file is already built for it. Next, cut the banner shape carefully along the ribbon tails so the ends look intentional, not chopped. Then, place it where you want the focal point and keep handwriting in the open area so the sticker stays the hero.
Use a black gel pen for the note text so it contrasts with the faded rose tones.
Avoid placing the banner over textured paper — the sticker edges won’t sit flat.
3. Vintage Cupid Arrow Corner Sticker
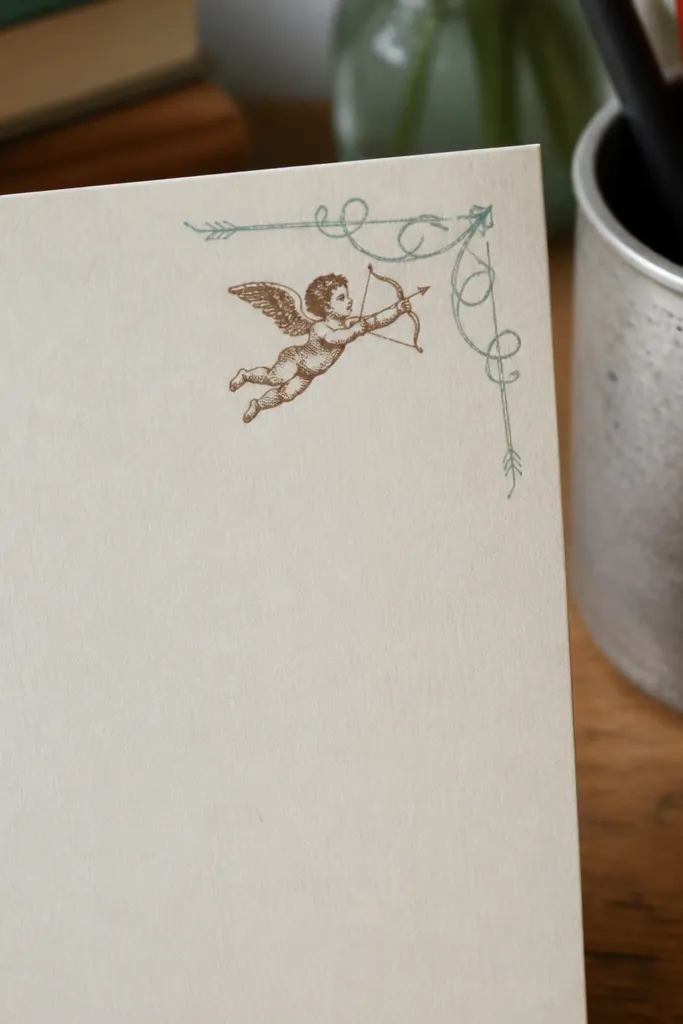
Print on sticker paper or cardstock, then cut just the arrow outline — don’t over-trim the background. Fold a small scrap of paper to make a corner guide, then position the sticker so it lands exactly on the edge. Press firmly for 20-30 seconds and run a fingernail along the border to seal it down.
Corner stickers are sneaky-good for kids because they don’t cover the message. This themed Vintage Sticker is small, angled, and reads like a playful arrow from an old illustration. It gives the page a finished look without demanding a lot of space. Use it when your handwriting needs room — birthday notes, homework compliments, or “you’re awesome” notes.
Skip thisDon’t center it — the design is meant for the corner and looks off when placed in the middle.
Editor's noteIf you’re sticking on envelopes, press on the flap edge first, then smooth outward.
4. Antique Love Quote Label
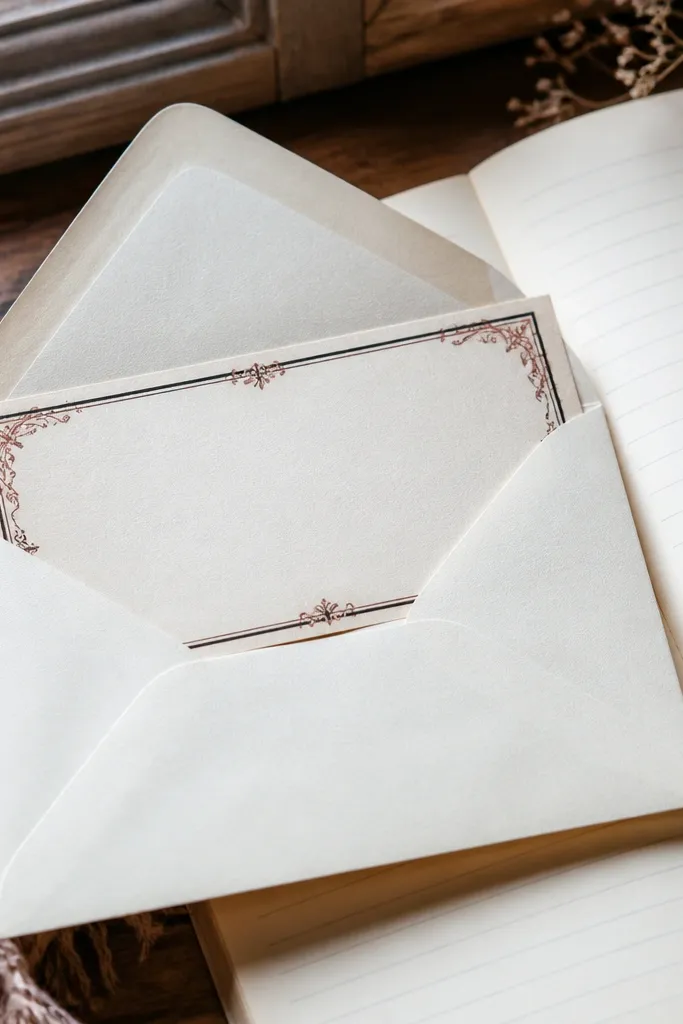
Print at 100% and use cardstock so the border doesn’t look washed out. Cut with a craft knife if you have one, using a ruler for straight edges and scissors for curves. Place the label on the front of a folded card, then write your message on the inside where there’s room.
Labels make notes feel like they came from a book of letters. The border frames the text area so your writing doesn’t compete with the design. This is one of the cleanest themed Vintage Stickers for printing because the shapes are simple and hold up well on home printers. It’s perfect for kids who like structure and for anyone who wants the note to look “organized vintage,” not messy.
Skip thisSkip thin copy paper; it makes the border look like a faded photocopy.
Editor's noteUse a glue stick sparingly — too much glue makes the label wrinkle and ruin the aged edge effect.
5. Heart Key and Lock Mini Tag
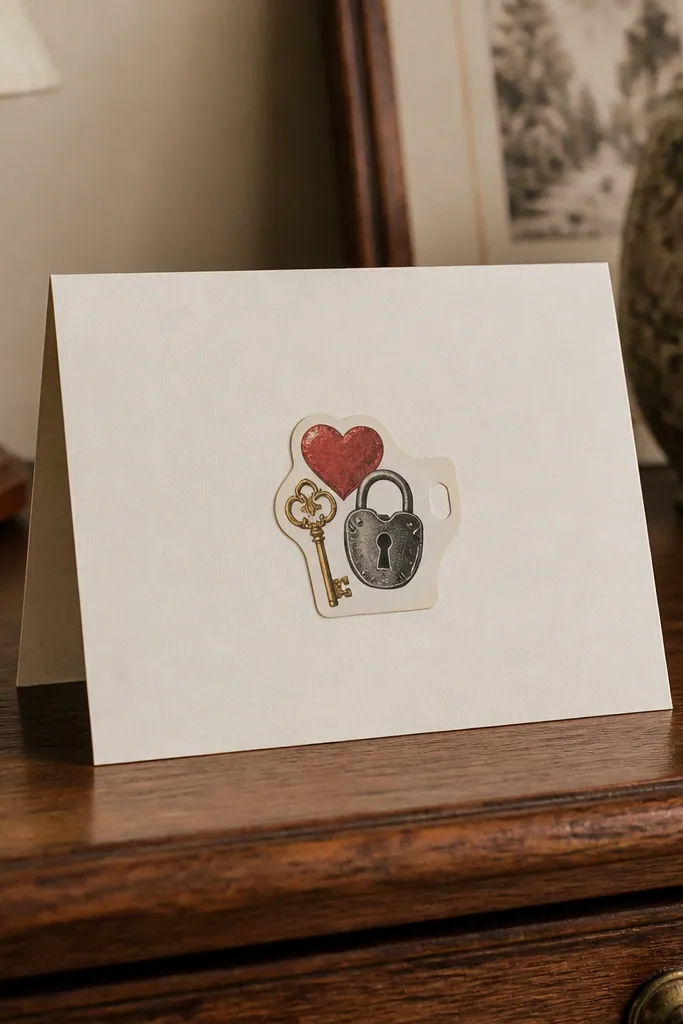
Print on sticker paper if you can; otherwise, print on cardstock and glue the back. Cut the tag shape and punch or pre-mark a hole if you want to thread it through string on a small gift. Attach it to the note cover with a dot of glue at the corners so the center stays flat for writing space.
This one is cute in a way that still reads vintage. The key-and-lock motif feels like a story, so it works for “I’m glad you’re my friend” notes, crush notes, and thank-you messages. It’s also easy for kids to place because tags usually have a built-in edge to grab. Print it small and let it do the heavy lifting visually.
Skip thisDon’t make the tag too big — oversized tags cover the message and look like a label stuck on a homework page.
Editor's noteIf you’re attaching to string, seal the knot with a dab of clear tape so it stays tight.
6. Old Library Card Love Note
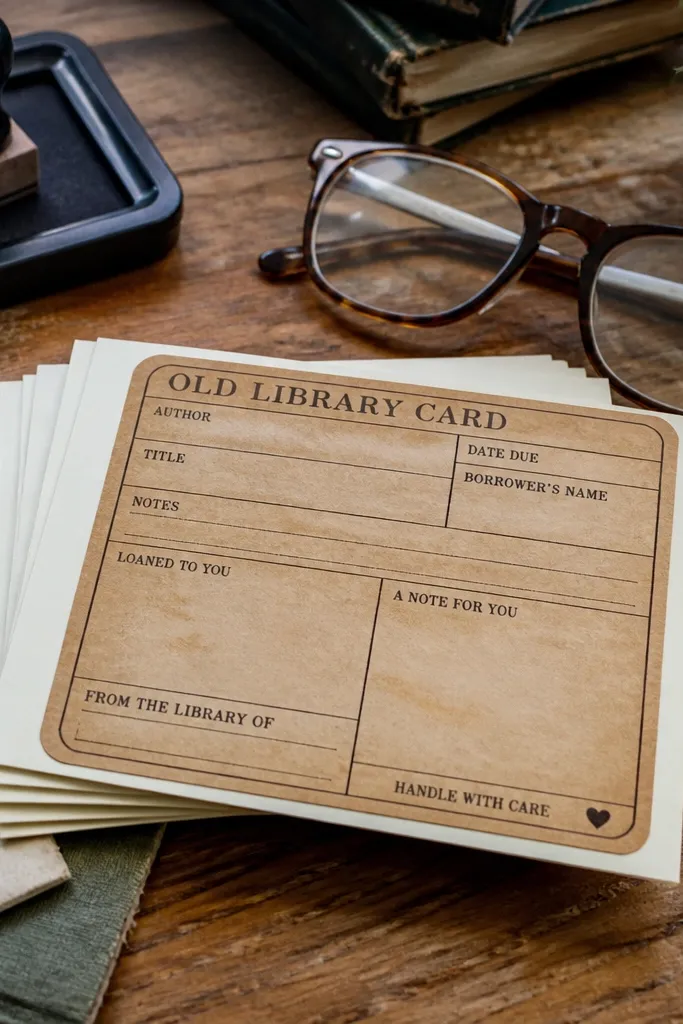
This is a smart choice for kids because it feels like something they recognize. The card layout has neat sections, so it naturally tells kids where to write and where to place the sticker. The aged paper tones give it a real ephemera vibe without needing heavy ink. It’s great for classroom rewards and for notes that need a “receipt” feel.
Print on cream cardstock and keep the scale so the small blocks stay readable. Cut along the card outline, then round the corners slightly with scissors for a softer vintage look. Stick it on the front of a folded note, leaving the inside free for handwriting.
Use a pencil first to plan where the message goes, then trace with a pen so you don’t smudge.
Don’t choose dark envelopes; the card design disappears against black or navy paper.
7. Faded Floral Heart Frame
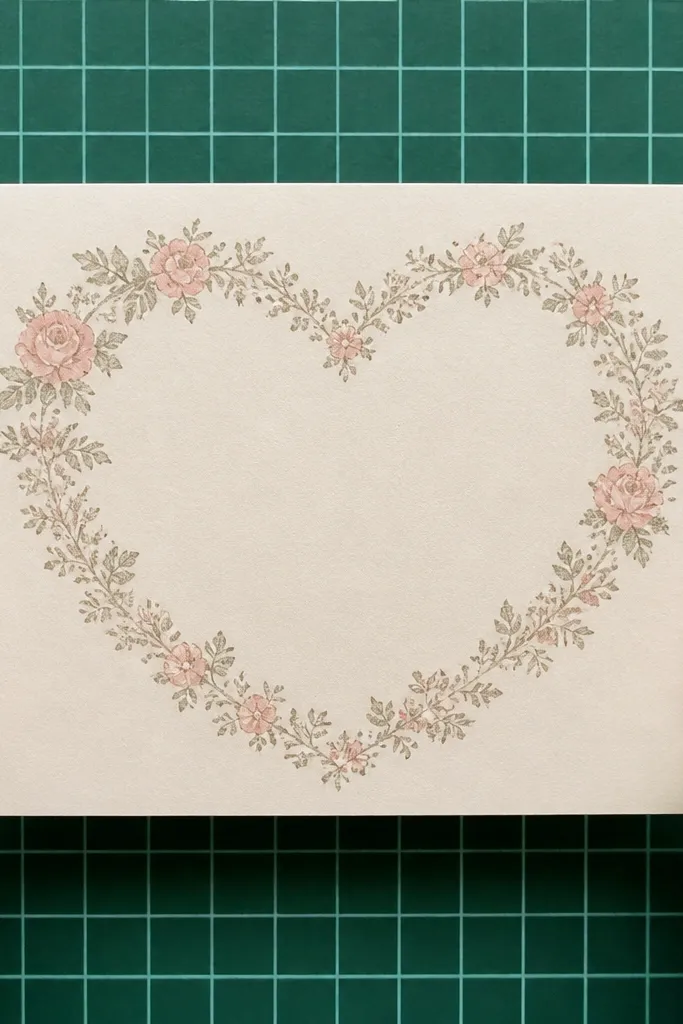
Print on light cardstock and cut just inside the frame edge so the border looks clean. Place it on top of a blank card front and press down lightly first, then firmly once aligned. If you’re writing directly on the card, use a pen with a fine tip so the ink doesn’t bleed into the floral areas.
Frames look extra good when you want your handwriting to be the main event. This themed Vintage Stickers design is a heart border, not a big block of printed text, so it gives the note a romantic “window” feel. The floral hints keep it sweet rather than plain. Use it for kids who want to write big and let the sticker hold the edges.
Skip thisAvoid thick markers; they smear inside the floral border.
Editor's noteTest one print on your paper — some printers darken floral tones and you want them faded, not neon.
8. Vintage Matchbook Love Strip
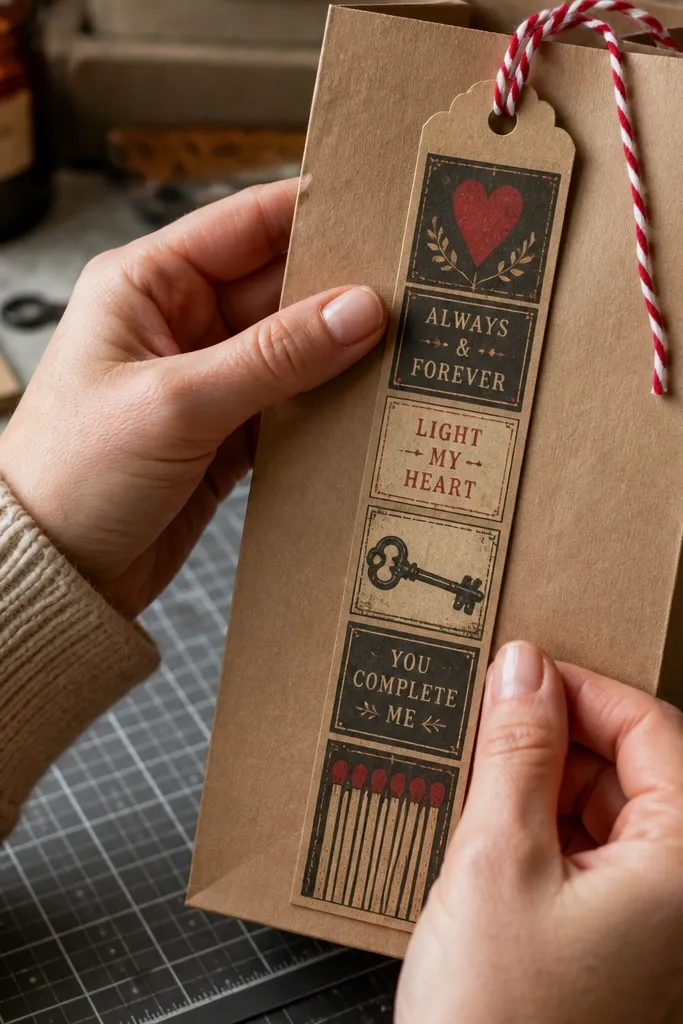
Matchbook stickers are a great “hidden detail” look. They’re narrow, so they fit on the corner of a letter, a bookmark, or the side of a small gift bag. The vintage matchbook layout reads like old packaging, which makes the love note feel like part of a set. It’s also a fun option for kids who like things that look like real objects.
Print on cardstock and cut the strip with scissors for a slightly uneven paper edge. Position it vertically along the right side of a note or across the top border of an envelope. Press along the strip edges to prevent lifting, especially at the ends.
If your paper curls, weigh the sheet with a book for 5 minutes after printing before cutting.
Don’t place it on glossy tape or shiny paper — the sticker won’t grip.
9. Victorian Style Love Medallion
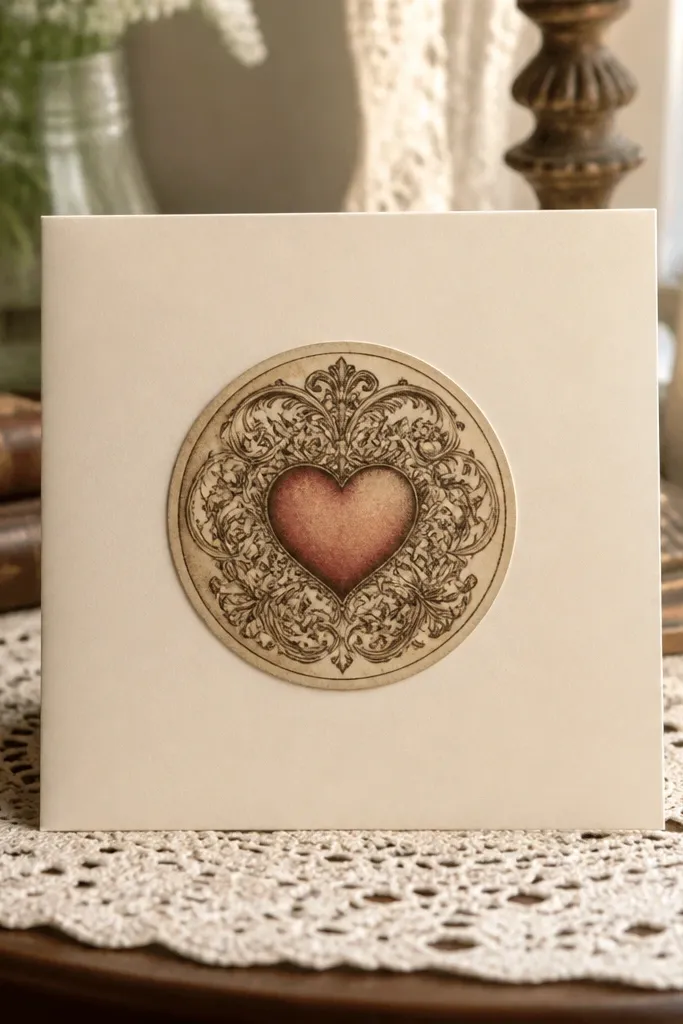
A medallion reads fancy without being hard to use. The circle shape makes it a strong focal point on a card front, and the heart center keeps the message clear even for younger kids. This is one of the best themed Vintage Stickers when you want the note to look like it came from a Victorian stationery shop. Print it on cream paper so the ornament lines look like faded engraving.
Print on cardstock and cut the circle cleanly with a craft knife or circle cutter if you have one. If not, trace the circle on the back of the sheet, cut slightly outside, then trim to the line. Glue it to the center of a folded card front and keep the inside for the actual love message.
Use a craft knife for circles — scissors tend to wobble and ruin the medallion symmetry.
Don’t stick it too close to the fold; it can peel when the card opens.
10. Vintage Postmark Heart Stamp
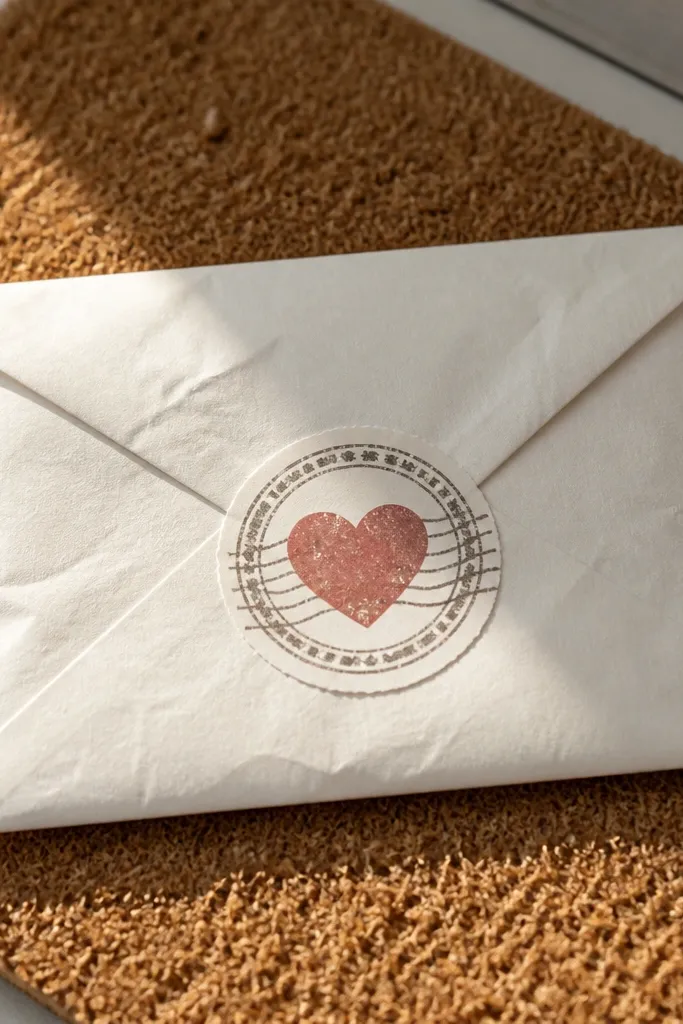
Print on cream cardstock and cut around the stamp border. Position it on the envelope so the postmark sits near the address area but doesn’t cover labels. Press the edges firmly, especially around the cancel marks that have thinner ink lines.
Postmarks make love notes feel like they were mailed from somewhere real. This themed Vintage Stickers design has the “canceled stamp” look, which is a reliable vintage cue and photographs well on envelopes. It works best for kids' notes because it’s instantly recognizable and doesn’t require reading fine print. Stick it on the top right of an envelope or the back flap.
Skip thisSkip low-contrast paper — if your envelope is too gray, the stamp looks like a smudge.
Editor's noteIf you use clear tape on the back of the envelope, keep it behind the sticker edges so it won’t show through.
11. Love Letter Envelope Flap Sticker
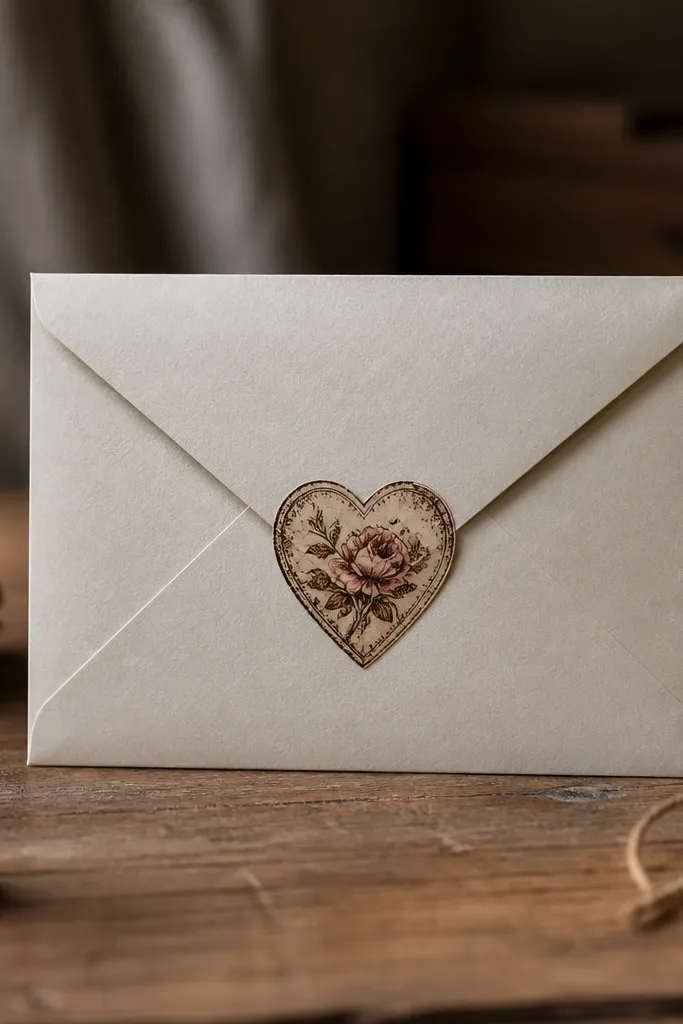
Print on sticker paper if possible so you can stick directly without glue. If you print on cardstock, glue the back and wait 30 seconds before placing it so the adhesive grabs. Align it on the flap seam, press along the fold first, then smooth outward.
Flap stickers make the whole envelope look finished. This themed Vintage Stickers design is built to sit where the flap meets the front, so it hides the messy edge where tape sometimes shows. The heart theme is clear, but the layout keeps it from covering the handwriting area. It’s especially good for kids passing notes in class because it reduces the chance of the sticker shifting.
Skip thisDon’t put it over a heavy tape seal — the sticker lifts from the uneven surface.
Editor's noteScore the flap crease with a bone folder before sticking if your envelopes are thick.
12. Antique Roses Love Letter Corners
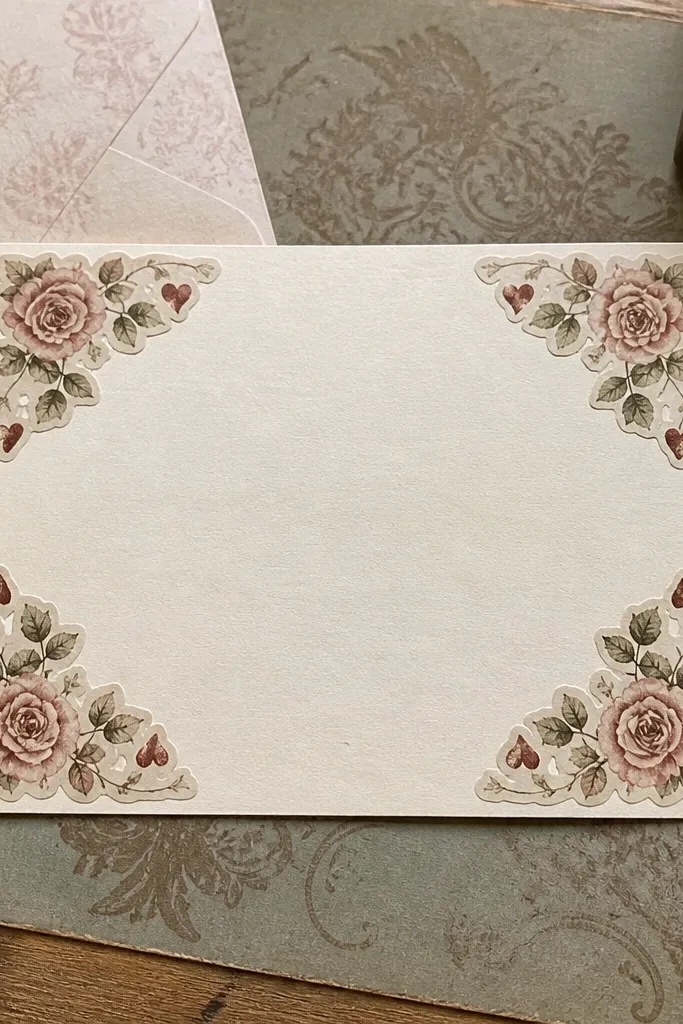
Corner sets are the easiest way to make a note look styled. This themed Vintage Stickers set gives you symmetry without needing to measure fancy placements — you just match corners. The roses add softness, and the heart accents keep it love-themed. Use it on handmade cards, classroom mailboxes, or any note where you want the front to look “designed,” not random.
Print the sheet and cut each corner sticker separately. Place one corner at a time, starting with the top left, then align the top right, bottom corners, and finally press. If the corners overlap your card fold, trim a hair off the inner edge so the card opens flat.
Use a light pencil grid on the card front to keep corners evenly spaced.
Don’t press hard on the first corner placement — peel and re-stick once if it’s off by a few millimeters.
13. Vintage Hearts and Date Label
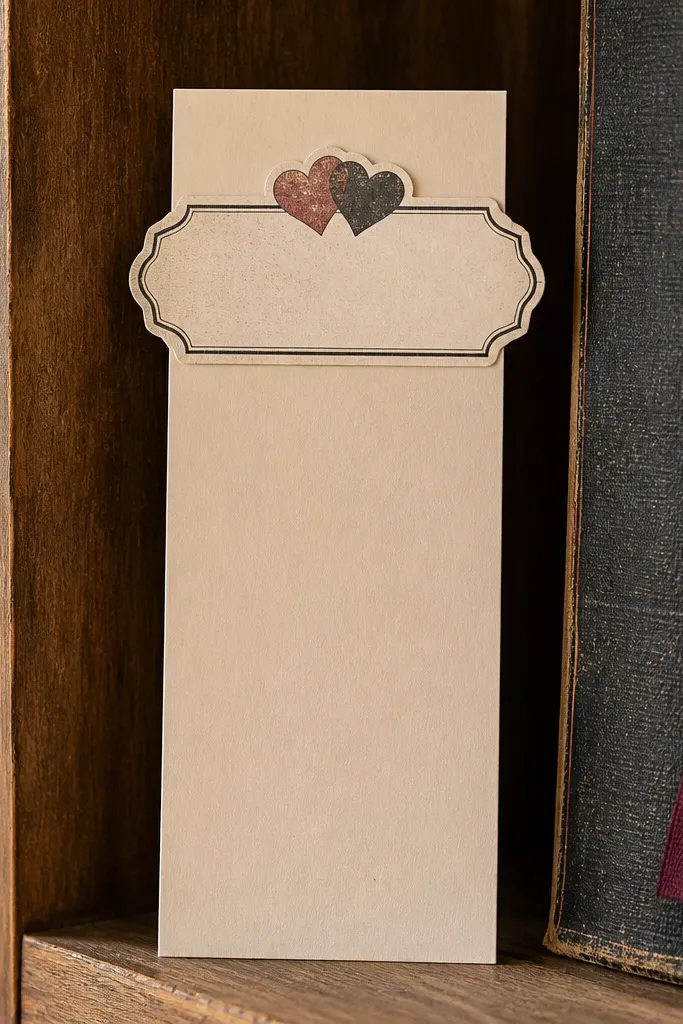
A date label makes the note feel like it belongs to a memory. The blank date area is useful for kids because they can write “February 14” or “Today” without smudging across the whole design. The hearts give you that clear love vibe while the label style keeps it vintage. Stick it on the back of a card, on a bookmark, or on the front of a folded note.
Print on cardstock and cut the label outline with straight cuts on the sides. Place the label where the date will be written, then write with a fine-tip pen after you stick it so you don’t misalign. Seal the edges with a thin strip of clear tape on the back if the note will be handled a lot.
Write the date with a pen that has quick-dry ink so it doesn’t bleed into the vintage texture.
Don’t stick it over a bumpy seam — the date text area will wrinkle.
14. Sweethearts Candy Wrapper Style
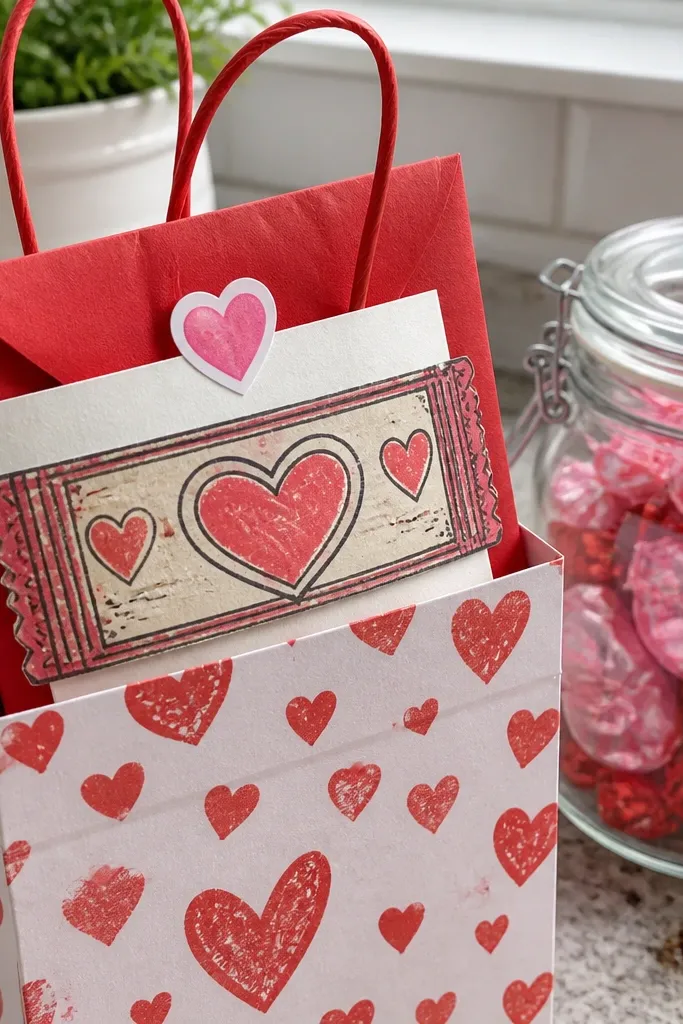
Print on sticker paper for the cleanest edges. Cut the wrapper shape and angle it slightly (about 10-15 degrees) on the bag front so it looks like it’s been placed, not pasted. Press firmly and reinforce the ends with a tiny piece of tape if the bag will get squished.
Candy-wrapper stickers photograph like a treat and feel playful for kids. This themed Vintage Stickers design has the wrapping layout that makes it look authentic, even when printed at home. It’s ideal for Valentine’s Day goodie bags, small note cards, and “you’re my favorite” notes tucked into lunchboxes. Keep the text you write on the card simple so the sticker stays readable.
Skip thisSkip glossy candy wrapper paper — the print can smear if it’s too slick.
Editor's noteIf you use glue, apply a thin ring at the edges so the center doesn’t warp.
15. Vintage Love Bookplate Sticker
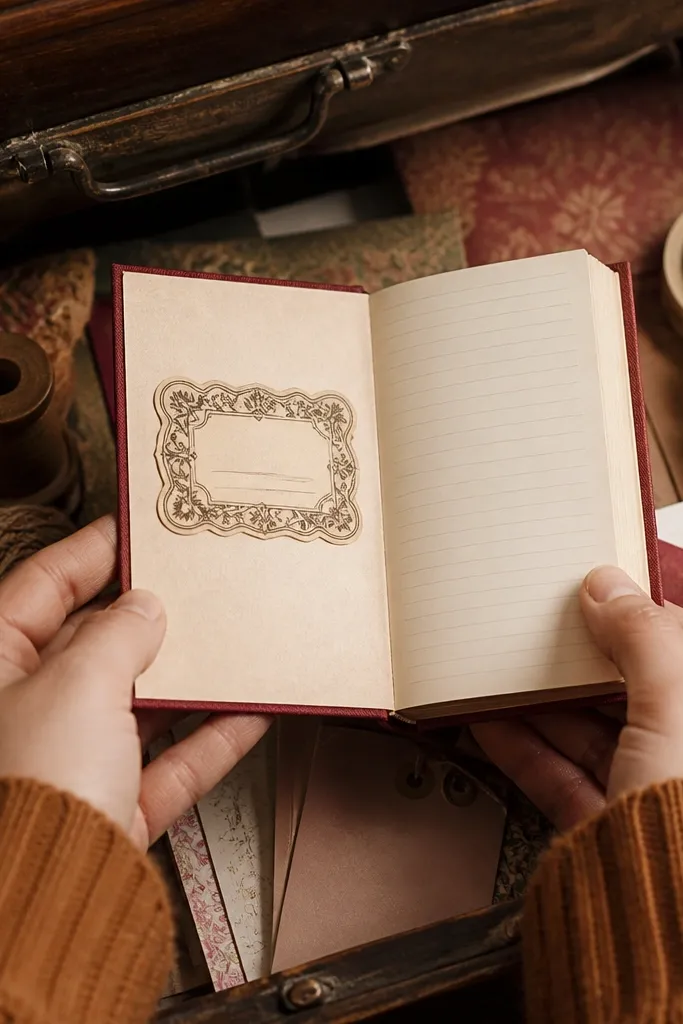
Bookplate stickers make notes feel like a keepsake. This themed Vintage Stickers design has a built-in “name line,” which is perfect for kids writing to a friend or for teachers labeling special cards. The ornamental border gives the vintage look without relying on dense text. Put it on the inside cover of a small notebook or the back of a card where it won’t get smeared.
Print on cardstock and cut the bookplate outline. Write the recipient name on the blank line after sticking it so you keep alignment. If you’re using it inside a notebook, place it on the first page only — not on glossy covers where it won’t adhere well.
Use a ruler to keep the name line straight; the border makes crooked writing more noticeable.
Don’t place it where the paper folds — book spines pull stickers up.
16. Worn Heart Wings Sticker
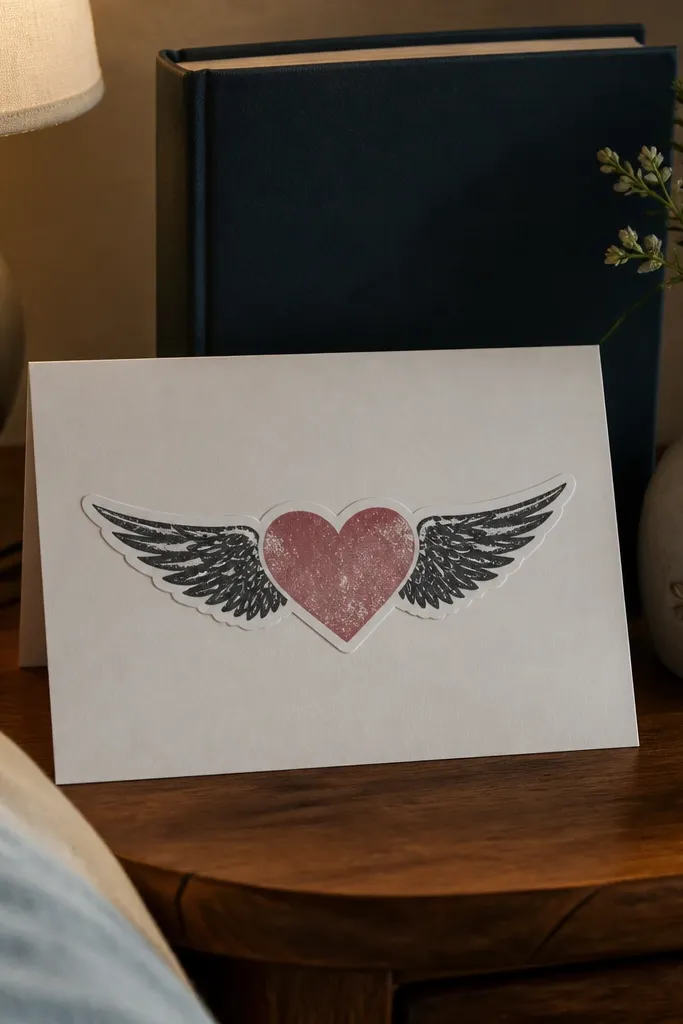
Print on cardstock and cut close to the wings so the sticker silhouette stays crisp. Place it near the bottom corner of a folded card so handwriting still has space. Press the thin wing tips carefully — use your thumbnail and hold for 10 seconds at each tip.
Wings make the heart feel like a symbol, not just a doodle. This themed Vintage Stickers design is bold enough to read quickly, but it’s still delicate because the wings taper out. It works beautifully on thank-you notes, get-well cards, and sweet messages that need a little emotion without getting too sentimental. Print on cream paper so the “worn ink” looks like age, not shadowing.
Skip thisAvoid sticking wing tips on textured paper; they lift first.
Editor's noteCut wing tips in two passes — first cut the outer shape, then trim tiny bits for clean points.
17. Vintage Love Postcard Frame
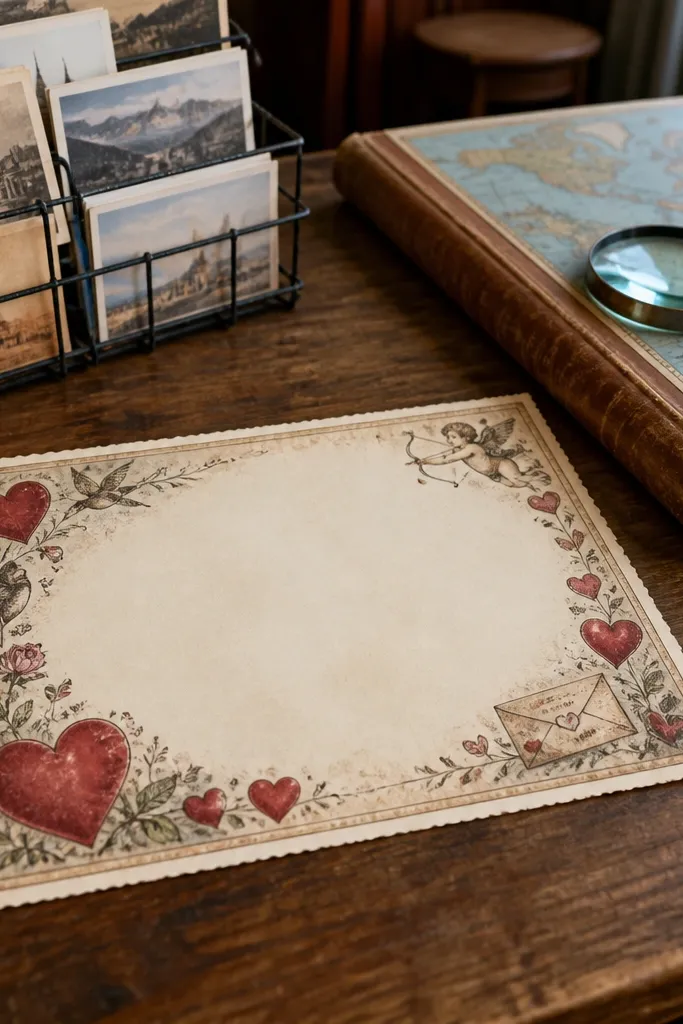
Print on cardstock and cut the outer border rectangle. Place it on a card front, then write your message in the blank center. If you want it to look extra vintage, lightly crumple the card once after sticking, then flatten — the sticker keeps the edges crisp while the paper looks lived-in.
Postcard frames are great because they give you layout. This themed Vintage Stickers design includes a border that makes the front look like an actual postcard, so your note feels complete even if you write only a few lines. The blank area makes it easy for kids to add their message without overcrowding. It’s also a strong choice for family notes because you can address it like mail.
Skip thisDon’t write over the border — vintage borders blur when ink hits textured lines.
Editor's noteUse a slightly wider pen tip (0.7) for kids so letters stay legible in the postcard box.
18. Handwritten Love Script Oval
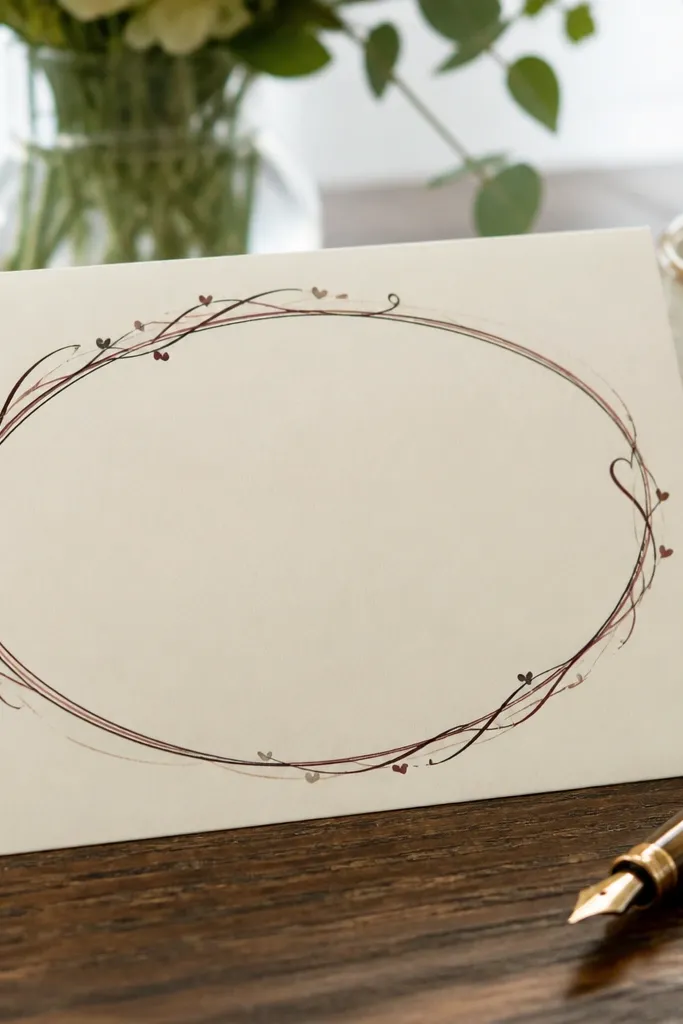
Script-style ovals look classy and friendly at the same time. This themed Vintage Stickers design uses an oval frame to make the cursive text feel like a real signature label. It’s ideal when you want the sticker to carry the message and the handwriting to be your personal add-on. Put it on the front of a note or on a gift tag where you want a clean focal point.
Print on sticker paper and cut the oval with smooth scissors for a clean curve. Place it centered on a card front and press from the middle outward. If the cursive ink is thin on your printer, print on thicker paper so the design looks darker and more intentional.
If your printer fades cursive, switch to “Best” print quality before you print the sheet.
Avoid tiny ovals on large cards; it looks like a sticker label lost in space.
19. Vintage Heart Locket Sticker
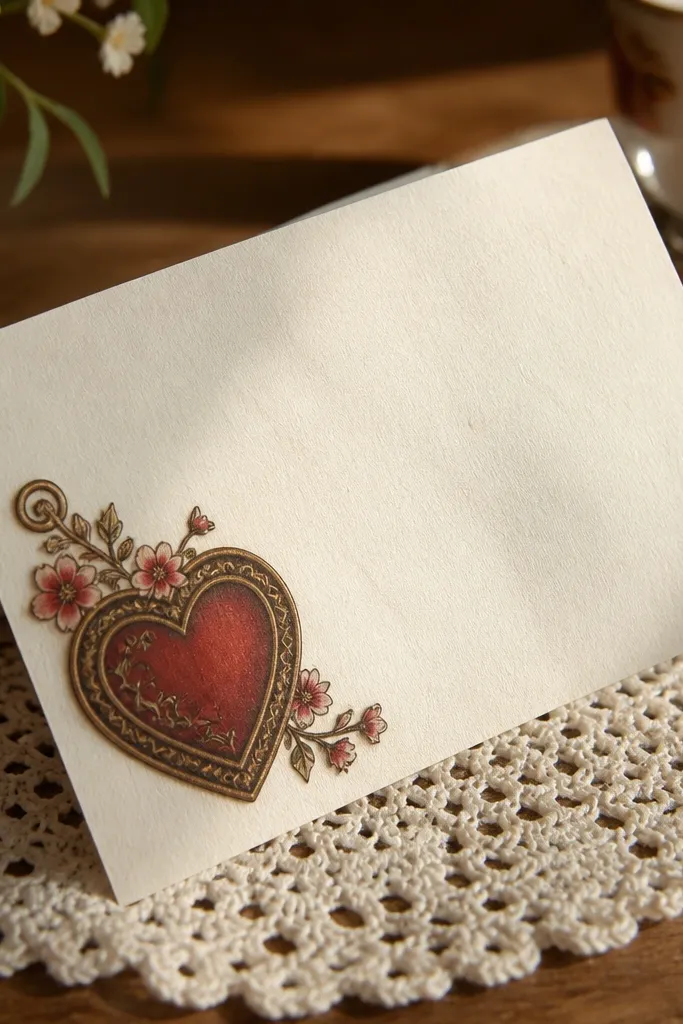
Print on cardstock and cut the locket outline carefully around the top knob so it doesn’t look flattened. Place it on the cover of a folded card so the locket sits above the fold line. Write your message inside and keep the handwriting away from the locket shading for clean readability.
This locket design adds a nice 3D illusion without needing actual layers. It’s a themed Vintage Stickers pick that looks adorable on kids' cards because it feels like a little secret charm. The locket shape also frames any handwritten message you add beside it. Print it on cream paper so the shading reads as vintage, not harsh contrast.
Skip thisDon’t put it on thick glitter paper; the locket edges won’t stick reliably.
Editor's noteUse foam tape only if you want extra dimension — otherwise keep it flat for easy sticking.
20. Vintage Love Match Letter Seal
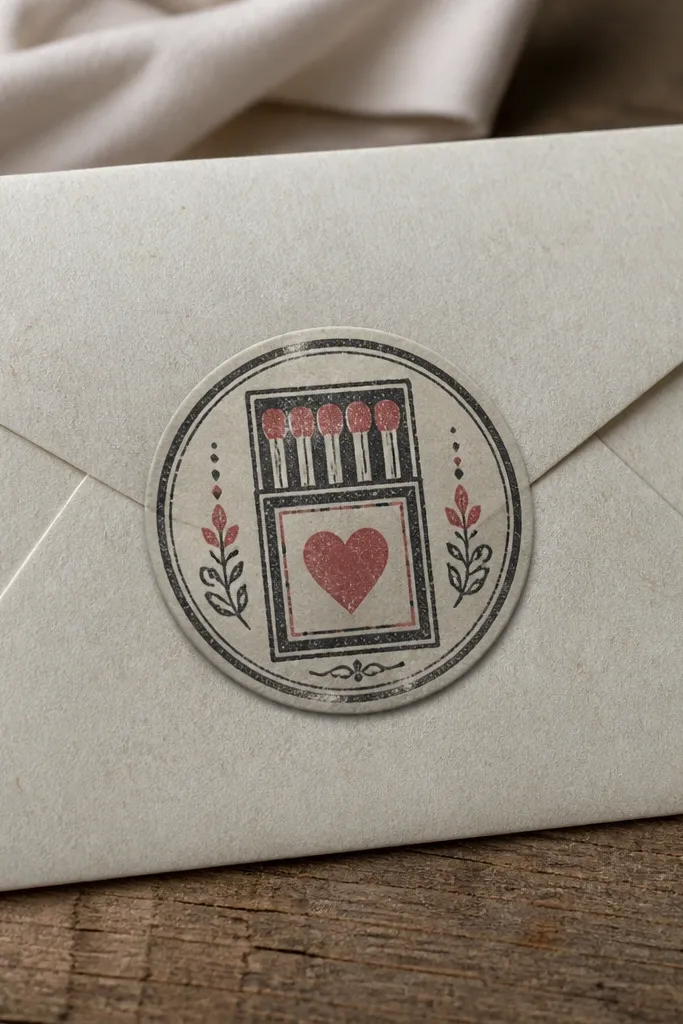
Seals look great because they signal “this is the important part.” This themed Vintage Stickers design is small, round, and built to sit on the front of a folded note like a stamp. The match/label vibe keeps it vintage and fun, not overly romantic. It’s a solid choice for quick notes where you want the sticker to create the aesthetic while the message stays short.
Print on sticker paper or cardstock and cut the circle. Place it on the front cover of a folded note, aligning it with the center fold so it doesn’t shift. Press firmly and run a finger along the edges to prevent lifting during handling.
If you cut on a mat, use a fresh blade so the vintage edge doesn’t get ragged.
Skip glossy envelopes — seals pop off when the surface is too slick.



