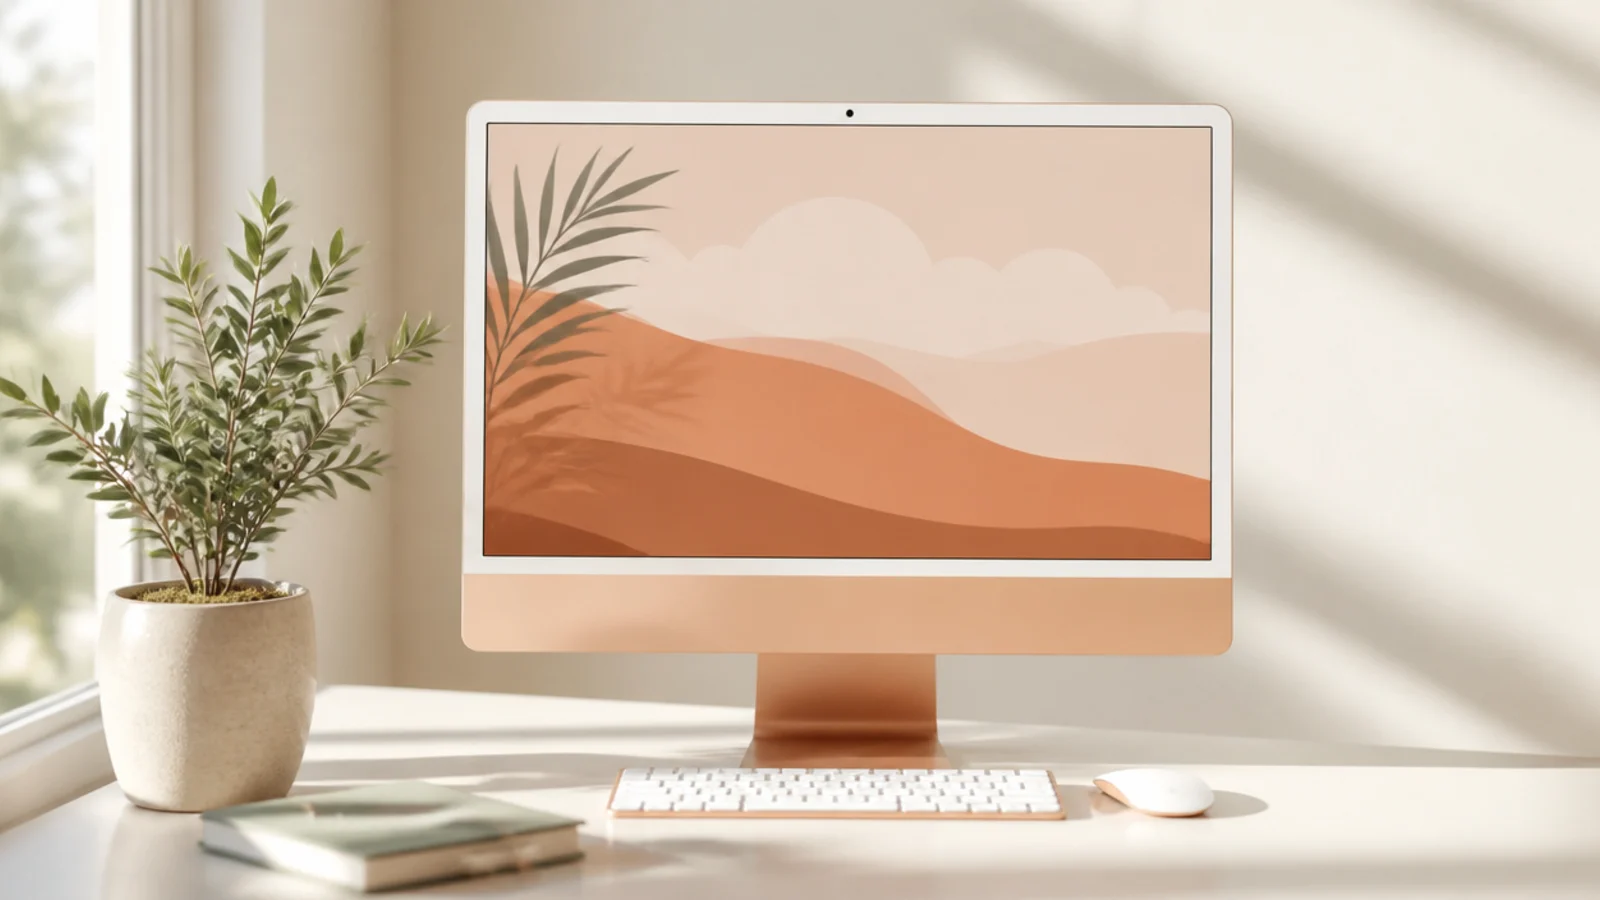
1. Distraction-Free Zone
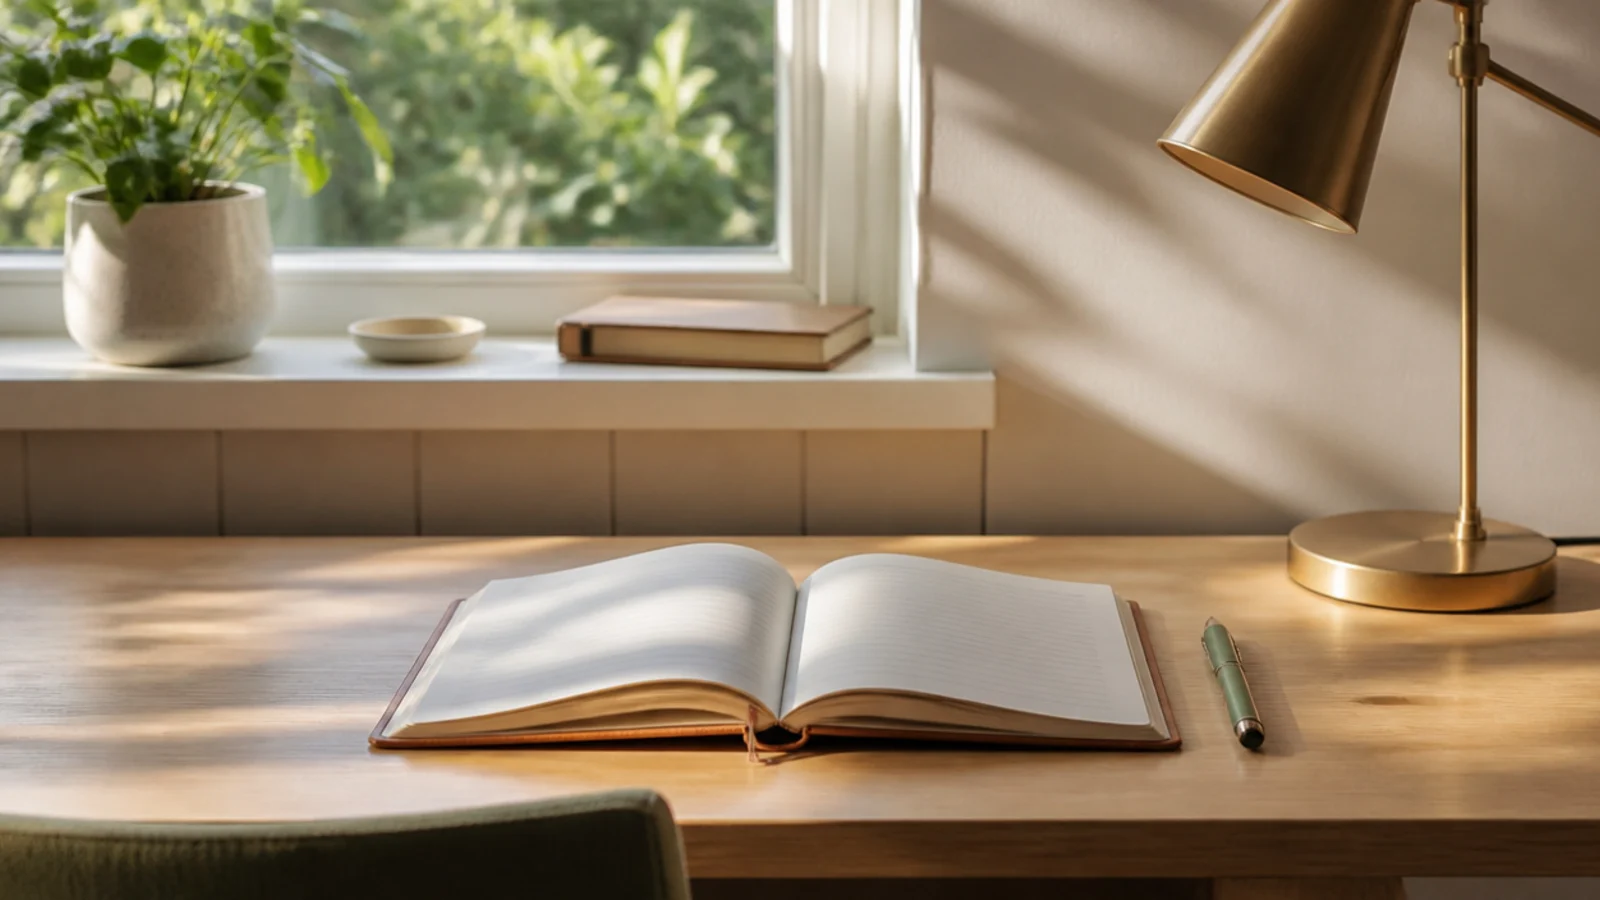
This is the foundation of any study desk — clear everything except the current task and put your phone out of reach. A nearly empty surface removes the small temptations that break concentration. It’s the highest-impact change and it costs nothing.
Editor's noteLeave your phone in a different room entirely; out of sight cuts the pull far more than flipping it face-down.
Clear the entire desk and return only what the current task needs — the notebook or book, one or two pens, and your lamp. Put your phone in another room or a closed drawer, not face-down on the desk. Turn the desk to face a wall rather than a window or doorway if your eyes wander. Reset to this bare state at the start of every session.
Skip thisDon’t keep other subjects' books on the desk 'to get to later'; they’re a constant low-level distraction from the task at hand.
2. Color-Coded Subject Folders
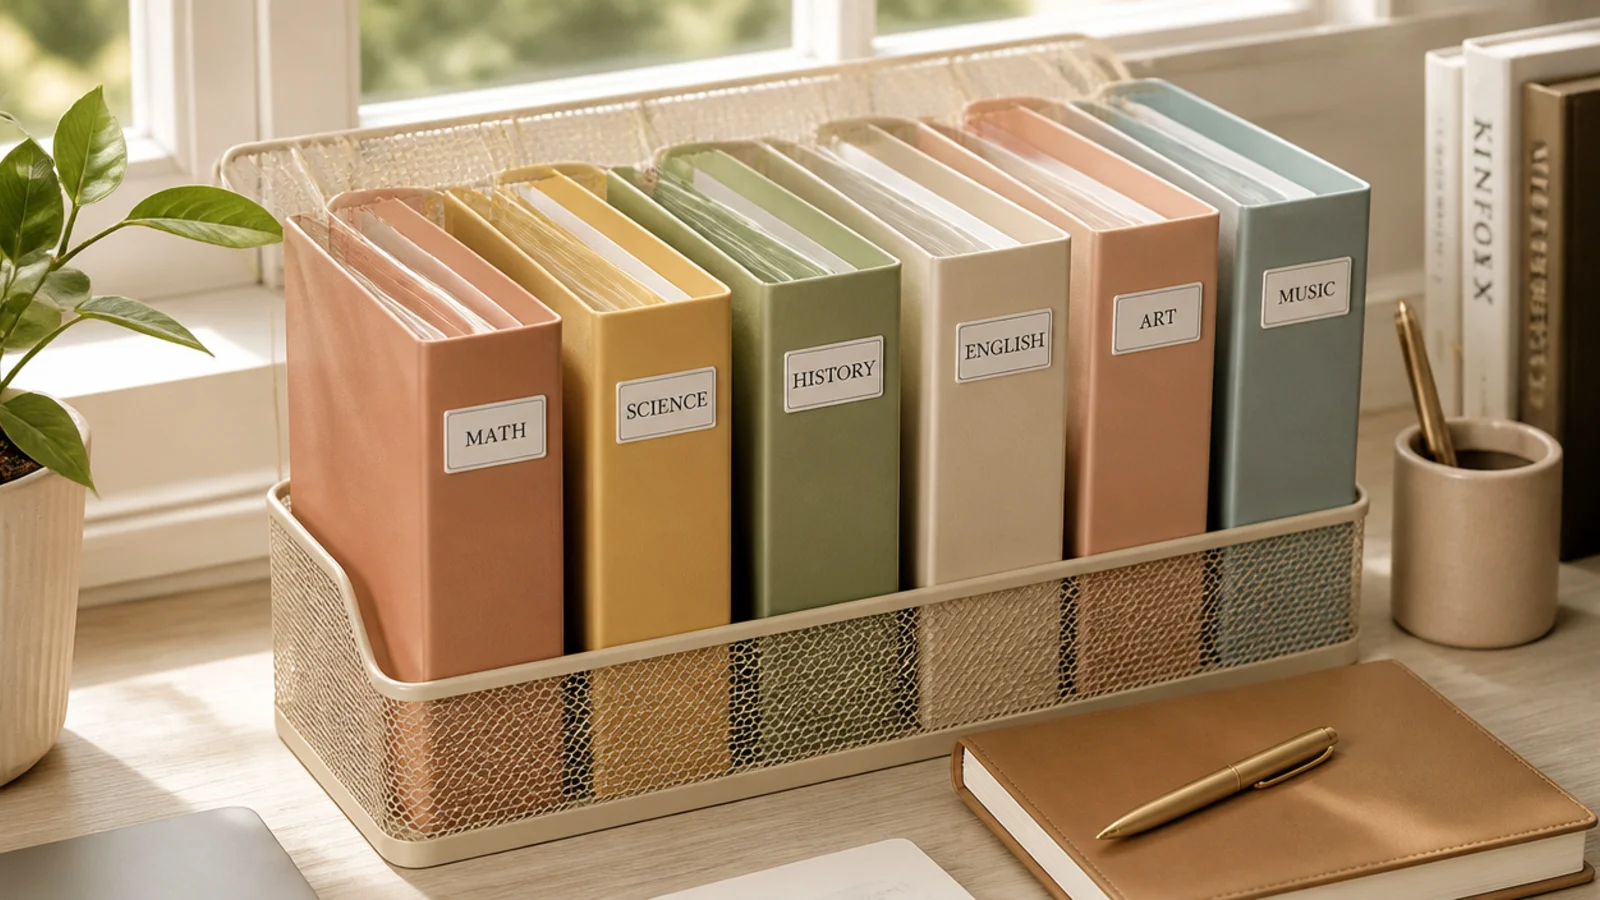
Assigning one color to each subject makes finding and switching materials instant. A blue folder for math, green for biology, and so on means you grab the right one without thinking. It’s the fastest way to keep multiple classes from turning into one messy pile.
Editor's noteMatch your notebook and sticky-tab colors to each subject’s folder so everything for one class shares a color.
Get a folder or thin binder in a different color for each subject and label each clearly. Keep only the current subject’s folder on the desk; store the rest upright in a sorter or on a shelf. File loose handouts into the right color the same day you get them. Use matching colored sticky tabs inside for chapters so you jump straight to what you need.
Skip thisDon’t let handouts float loose 'until later'; unfiled paper is how subjects blur together and materials go missing.
3. Textbook Book Stand
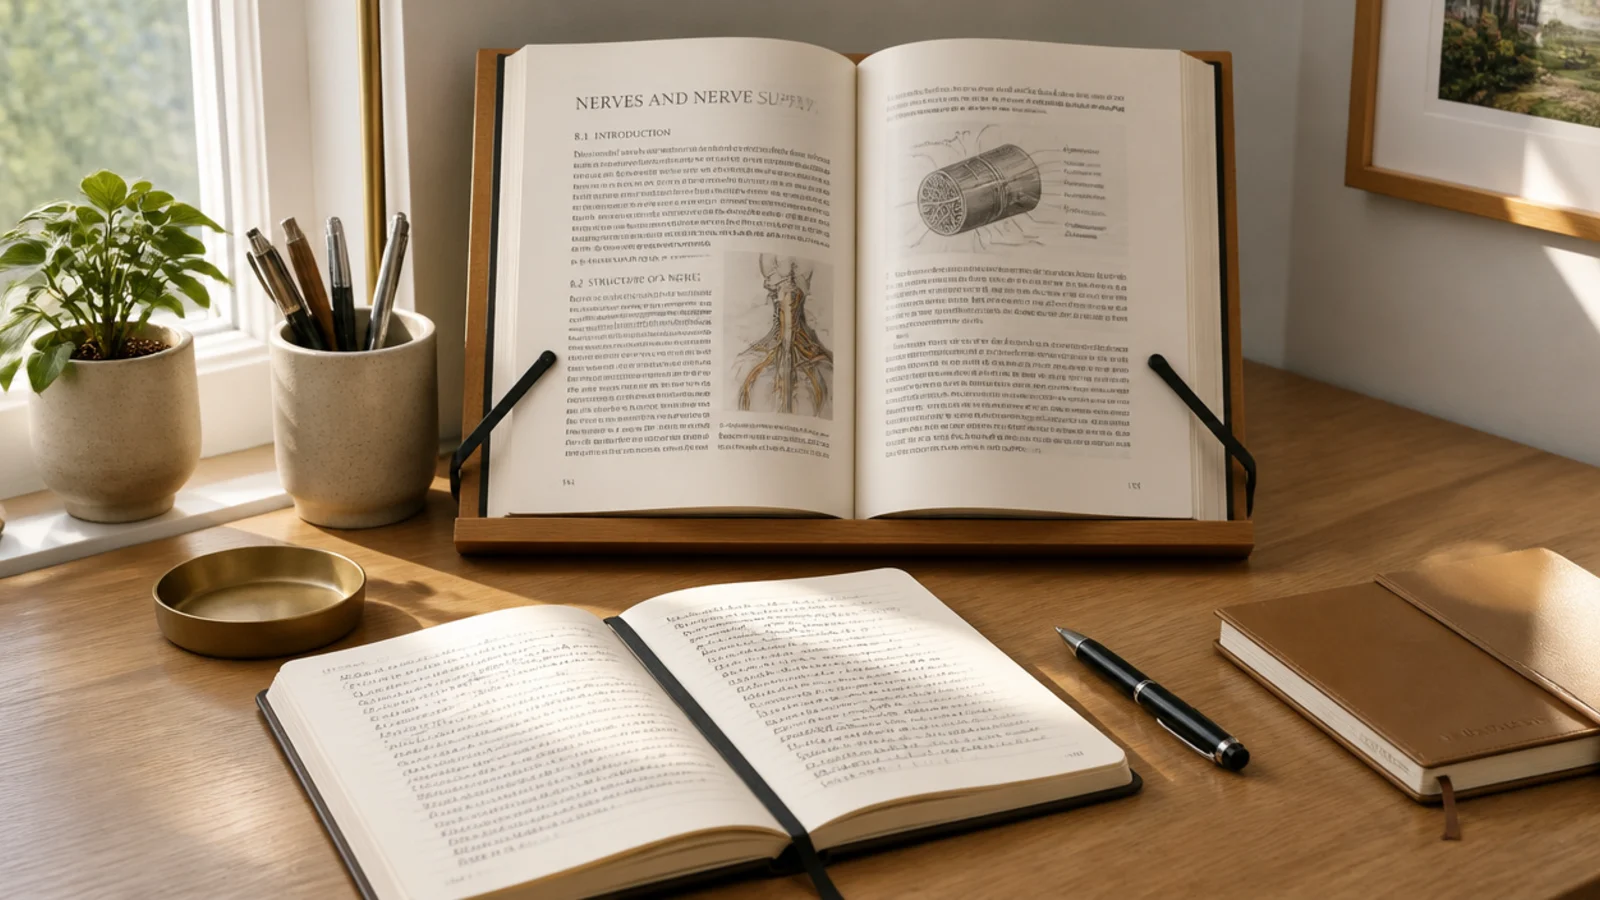
A book stand props your textbook upright at a readable angle so you’re not hunching over a flat page. It saves your neck during long reading sessions and frees desk space beside it for notes. Essential for anyone studying from physical books.
Set an adjustable book stand at the back of your writing area, angled toward you. Prop the textbook open and use the stand’s clips or a page weight to hold your place. Keep your notebook flat in front for writing. Adjust the angle so you read with your head level, not tilted down. Fold it flat to store it when done.
Use page-holder clips or a clear ruler to keep the book open at the right page so you’re not fighting the spine.
Don’t study from a book lying flat for hours; the constant downward neck tilt causes strain and tires you out faster.
4. Visible Study Planner
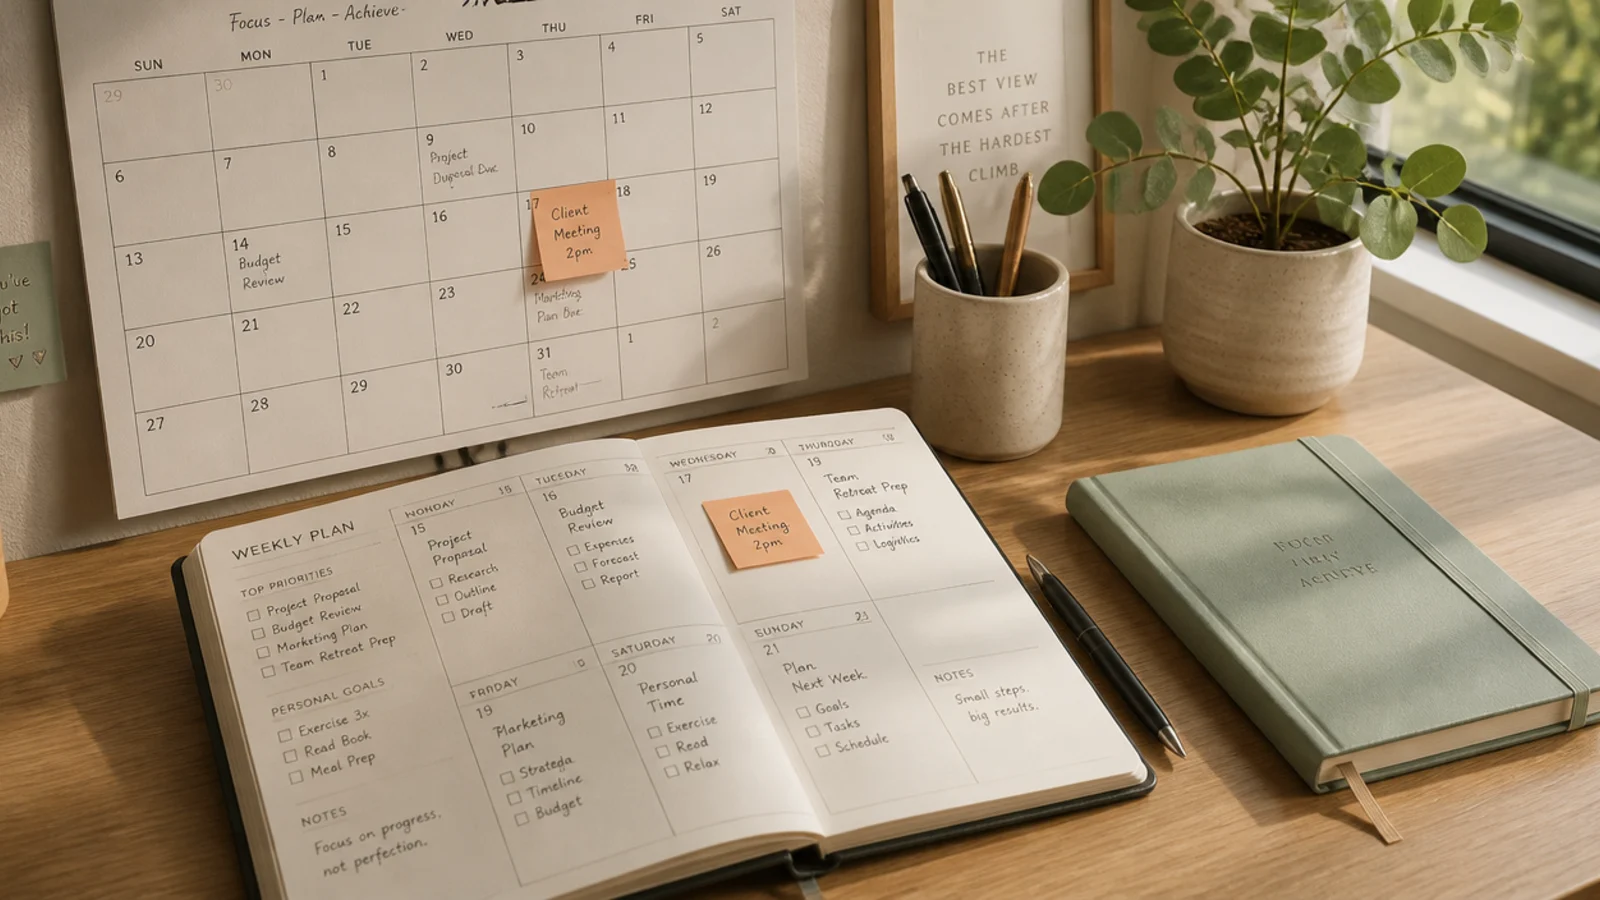
A plan you can see without opening an app keeps you on track and reduces the anxiety of forgetting. An open planner or a wall calendar shows deadlines and today’s tasks at a glance. Visibility is the whole point — a hidden plan is easy to ignore.
Editor's noteWrite only the top two or three tasks for today somewhere you can’t miss them, so you always know what to start next.
Keep a weekly planner open on the desk or a wall calendar mounted where you’ll see it. Write assignment due dates and daily study goals where they’re visible. Check it at the start of each session to pick your task. Cross off finished items for momentum. Update it whenever new deadlines come in so it always reflects reality.
Skip thisDon’t bury your whole plan in a phone app you have to unlock; the phone becomes a distraction and the plan goes unseen.
5. Minimal Study Supply Station
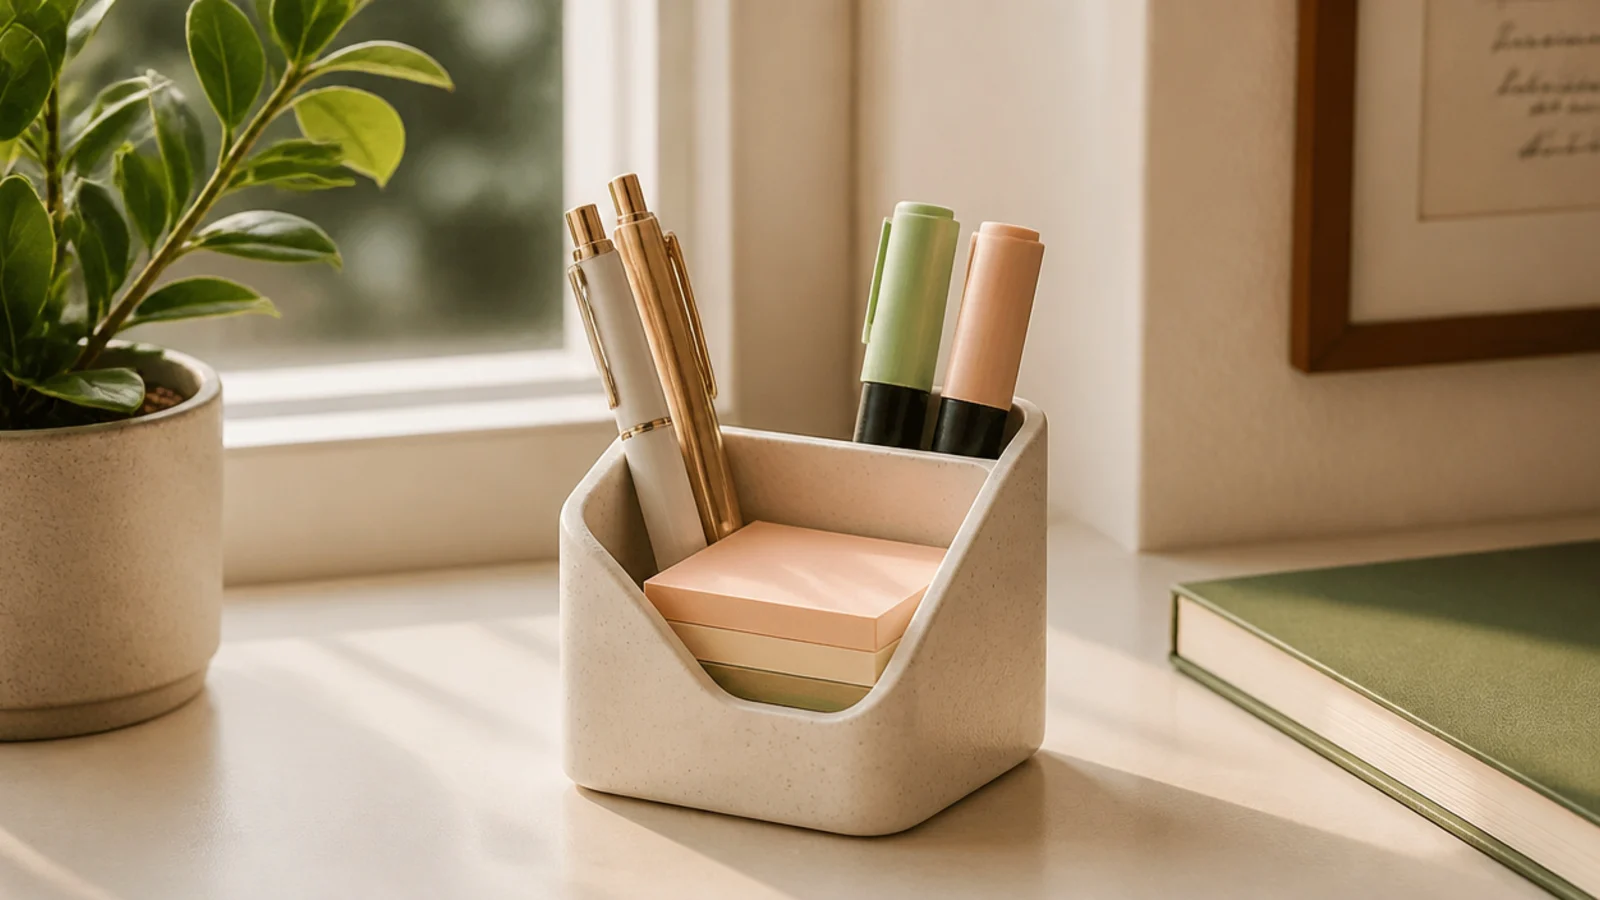
A tiny supply station holds only your study essentials — a couple of pens, highlighters, and sticky notes — so you have what you need without clutter. Limiting it to study tools keeps the desk focused. Everything you might reach for is there; nothing you don’t need is.
Editor's noteKeep just two highlighter colors out — one for key points, one for definitions — so highlighting stays a fast decision.
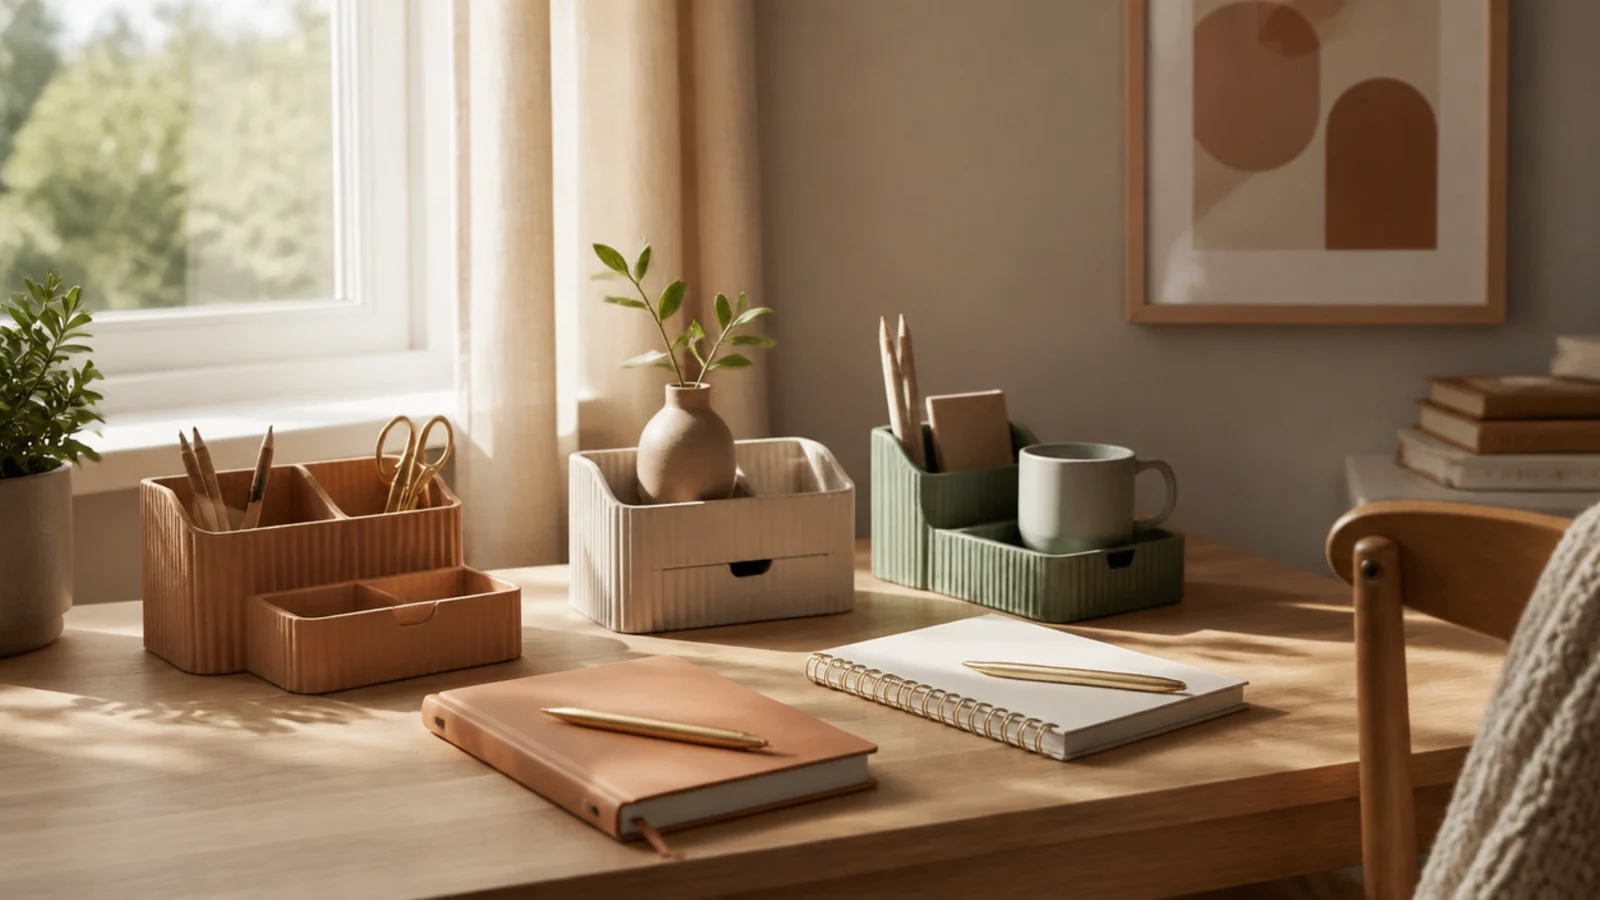
Use one small holder for a couple of pens, two or three highlighters, a pencil, and a pad of sticky notes. Keep the overflow of supplies in a drawer, not on the desk. Position it on your writing-hand side. Refill it from the drawer as things run out. Cull anything you haven’t used in a week back to storage.
Skip thisDon’t crowd the station with every pen you own; a jumble of supplies is visual noise that pulls at your attention.
6. Flashcard and Note Board
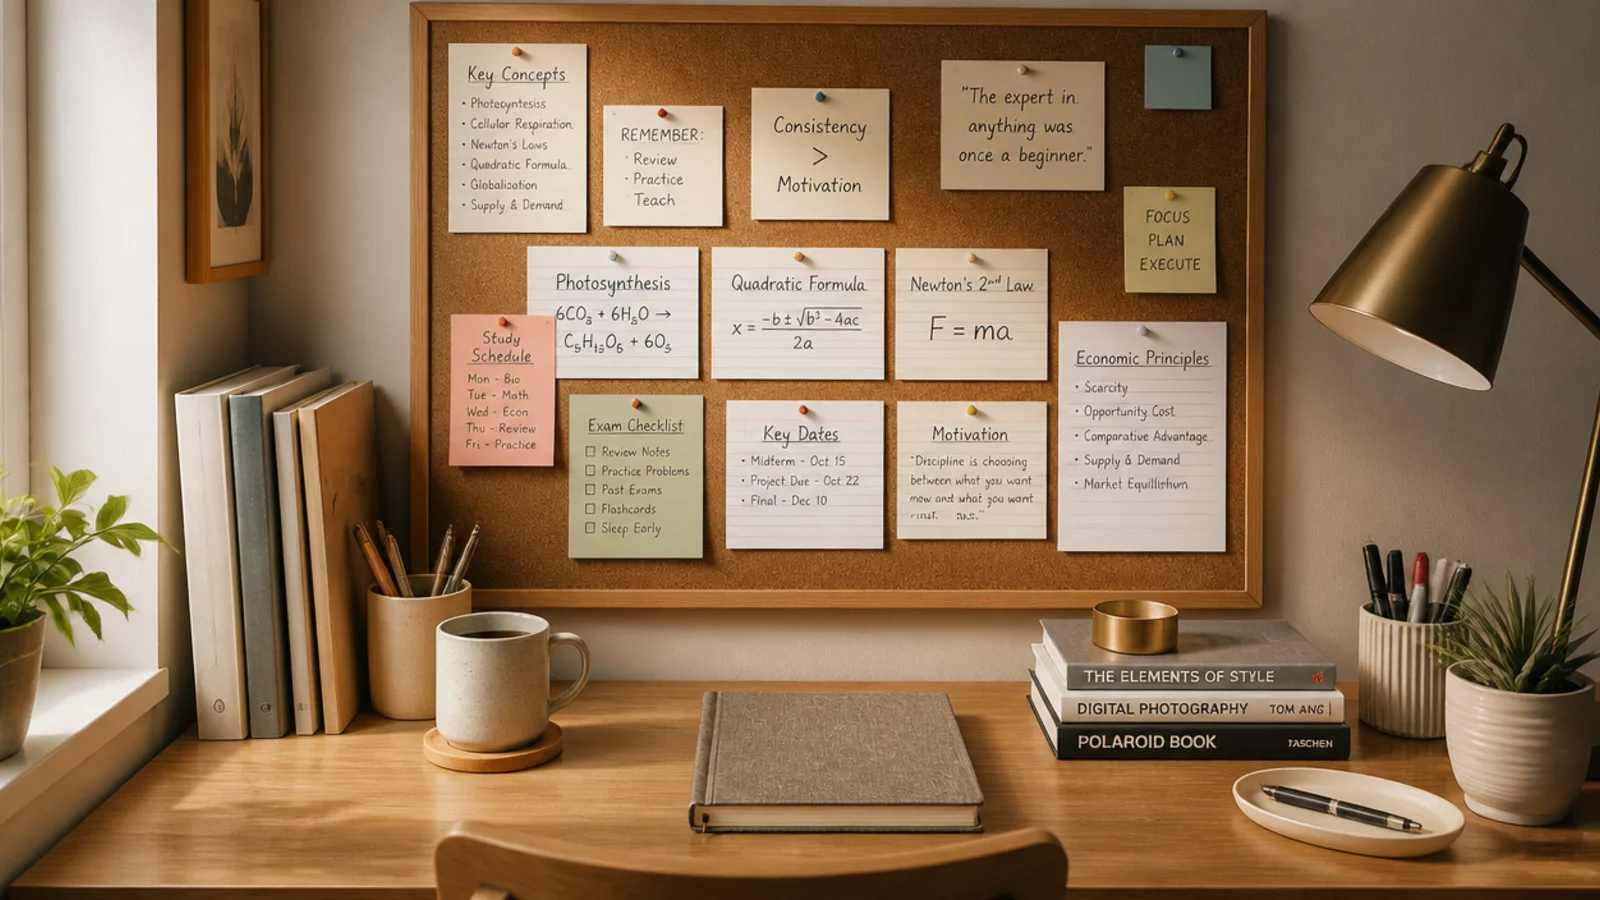
A board of flashcards and key notes above the desk turns dead wall space into passive revision. Formulas, dates, and terms you glance at all session sink in through repetition. It keeps the facts you’re memorizing constantly in view.
Editor's noteRotate the cards as you learn them — retire mastered ones and pin new gaps so the board always shows what you don’t know yet.
Mount a corkboard or magnetic board on the wall above the desk. Pin the flashcards, formulas, and key facts for your current topic. Swap them out as you master each set and move to new material. Keep it to the current topic so it stays relevant, not cluttered. Glance at it during breaks for effortless review.
Skip thisDon’t leave old, mastered material up; a board crammed with everything you already know just becomes wallpaper.
7. Focus Session Timer
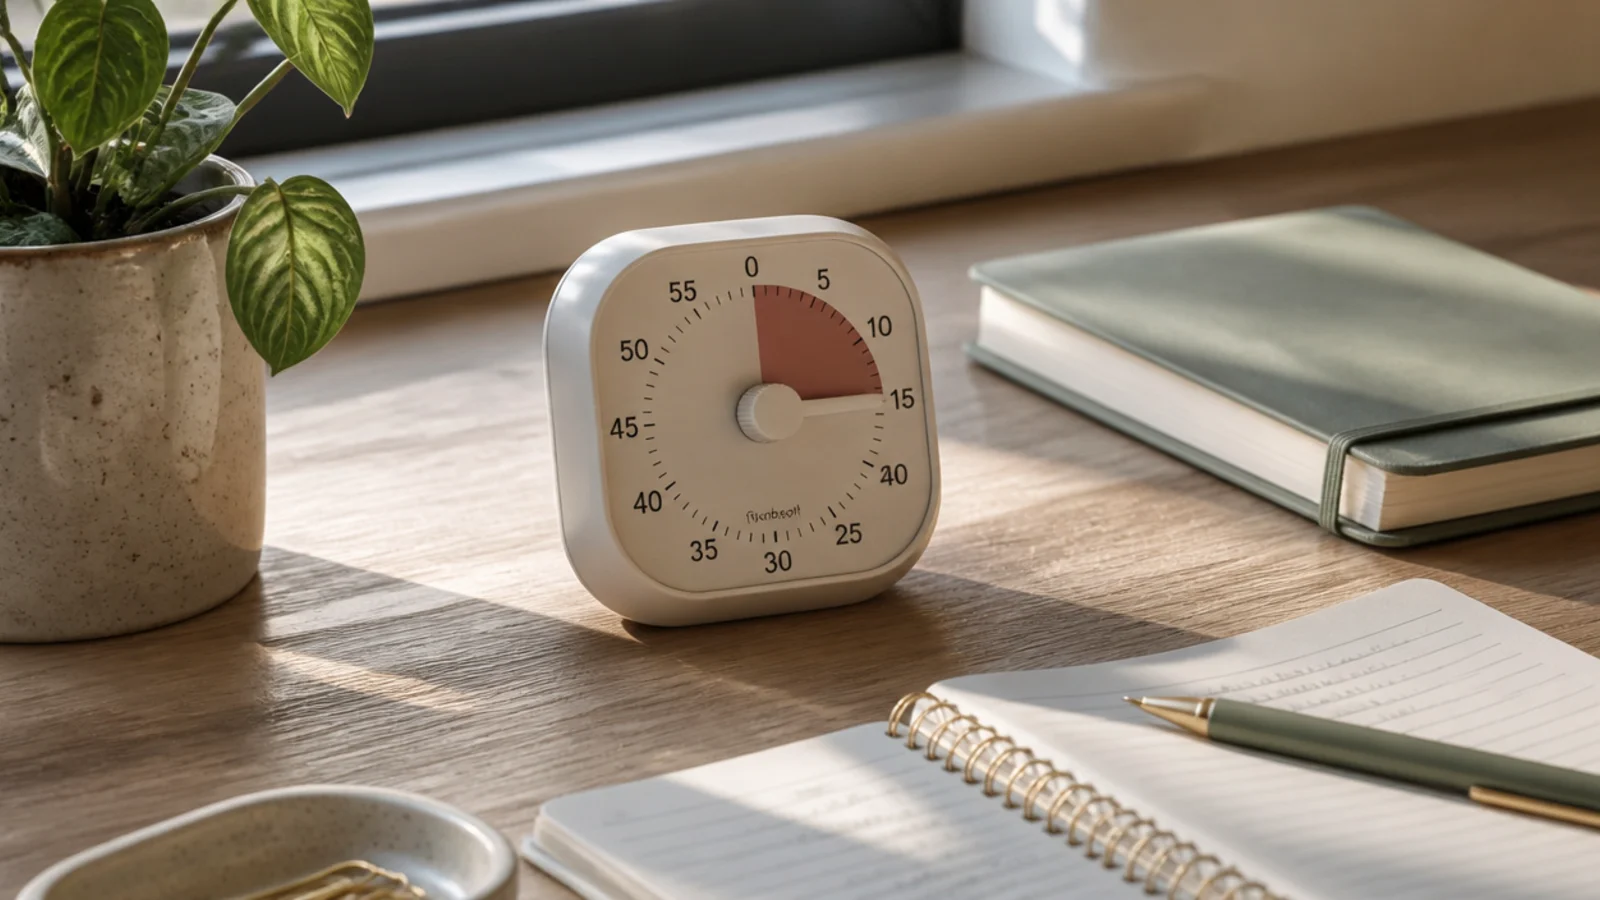
A dedicated timer lets you study in focused blocks with short breaks, which sustains concentration far better than open-ended sessions. Working against a visible countdown creates gentle urgency. A physical timer also means your phone can stay out of the room.
Editor's noteUse a standalone timer so your phone can leave the room entirely instead of tempting you every time you check the clock.
Use a physical timer or a cube timer, not your phone. Set a focused block — 25 minutes is a common start — and work with no interruptions until it rings, then take a 5-minute break. After a few blocks, take a longer break. Adjust the block length to what you can sustain. Keep the timer in view so the countdown keeps you moving.
Skip thisDon’t use your phone as the timer; unlocking it to check the time is the exact gateway to a scrolling distraction.
8. Warm Task Lighting
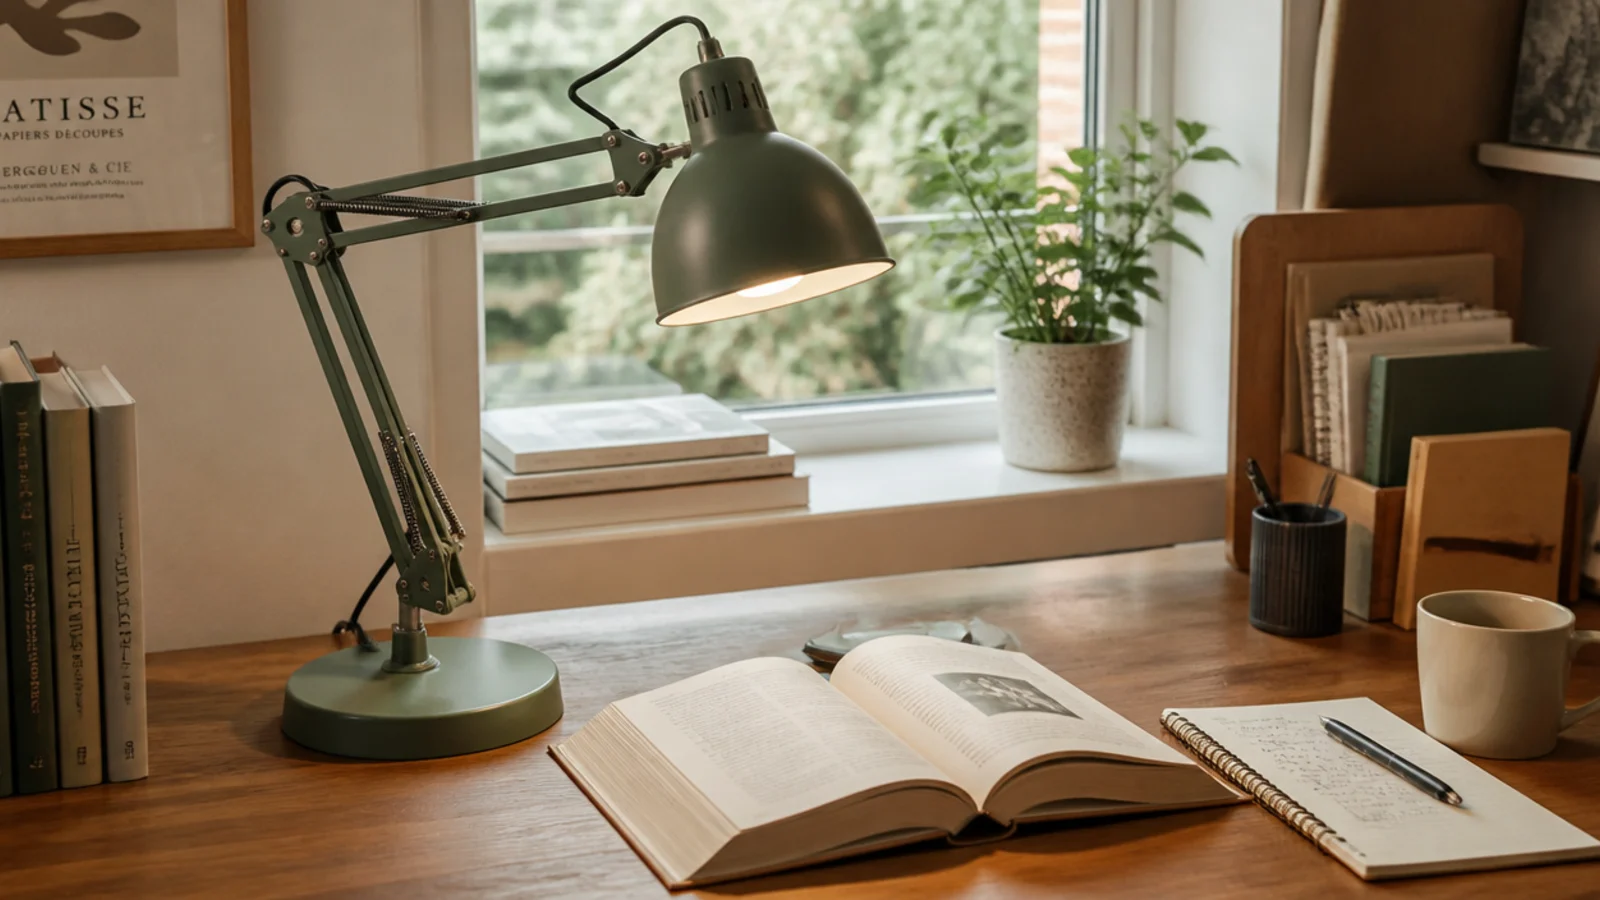
Good task lighting reduces eye strain, which is what lets you study comfortably for longer. An adjustable lamp lights your page evenly without the flat harshness of overhead light. It’s an easy upgrade with a real effect on how long you can concentrate.
Set an adjustable-arm task lamp on your non-writing side so your hand doesn’t shadow the page. Use a warm-to-neutral bulb (3000-4000K) — bright enough to read clearly, warm enough not to feel clinical. Aim the light at your work, not your eyes. Combine it with some ambient room light so the contrast isn’t harsh. Angle it lower for reading, higher for writing.
Put the lamp on your non-dominant side so your writing hand never casts a shadow across what you’re working on.
Don’t study by a single harsh overhead light or a dim screen glow; poor light tires your eyes and cuts sessions short.
9. Cable-Free Study Surface
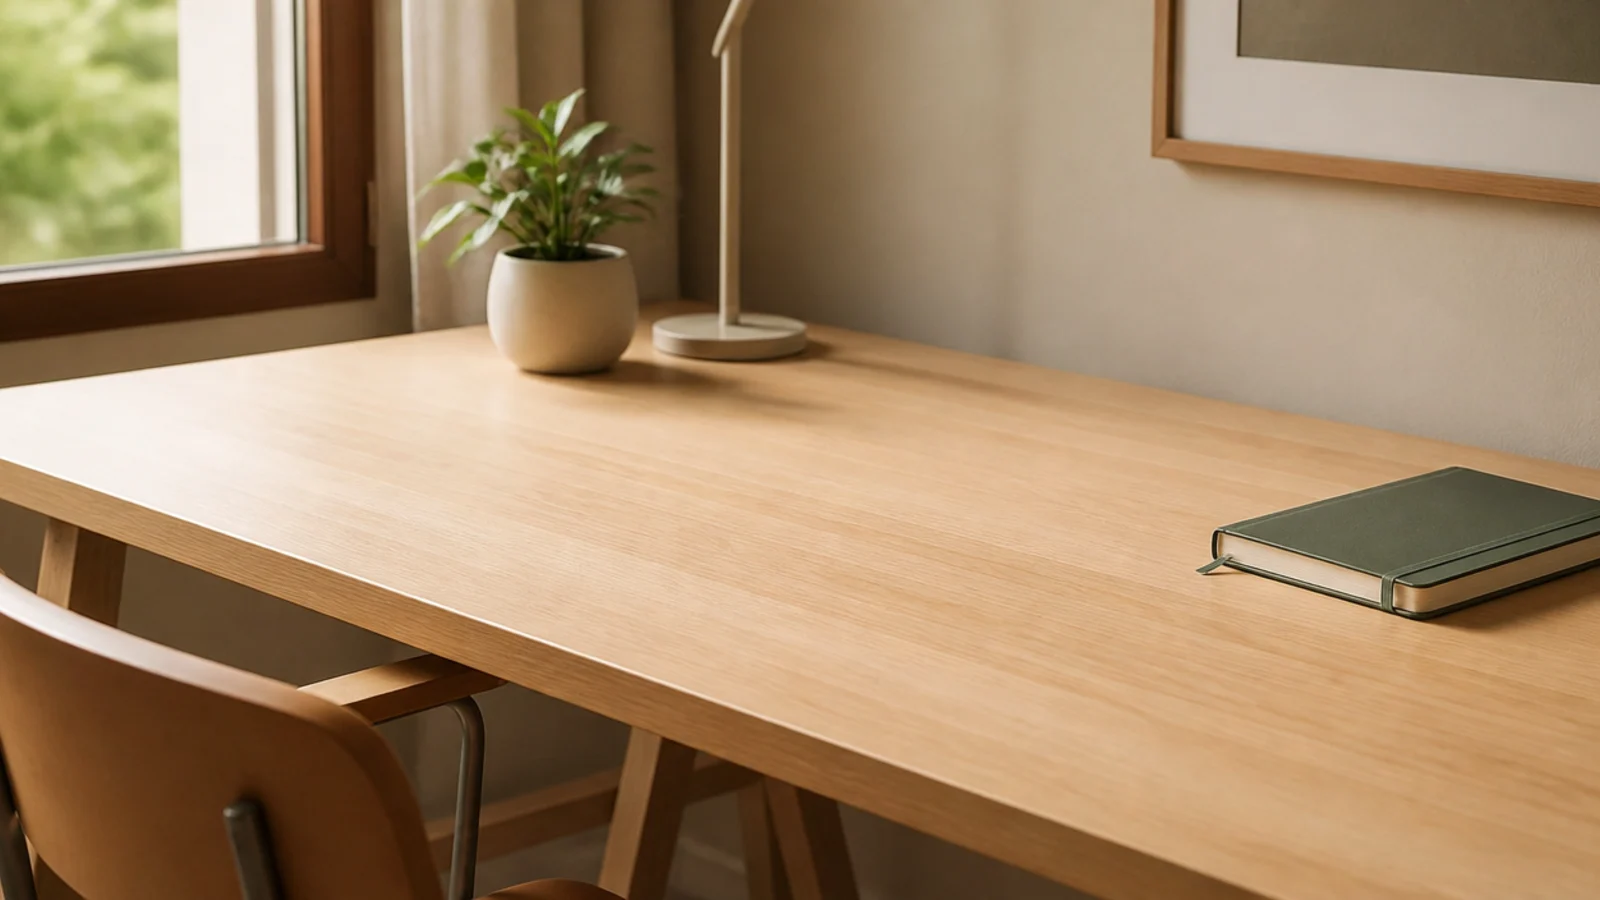
Loose cables snag your notebook and clutter the surface you’re trying to keep clear. Routing them under the desk keeps the study zone clean and your papers unobstructed. A small fix that supports the distraction-free goal.
Editor's noteCharge your laptop fully before a session so you can work cable-free and the cord isn’t dragging across your notes.
Route your laptop charger and lamp cord off the surface and down to a clip or small tray under the desk. Keep only the cable you’re actively using on top, clipped to the back edge. Charge your laptop before sessions so you can unplug entirely if the cord bothers you. Bundle any slack with a velcro tie so nothing pools on the desk or floor.
Skip thisDon’t let a charger cable snake across your writing area; it snags pages and adds visual clutter to a focus space.
10. Contained Snack and Drink Spot
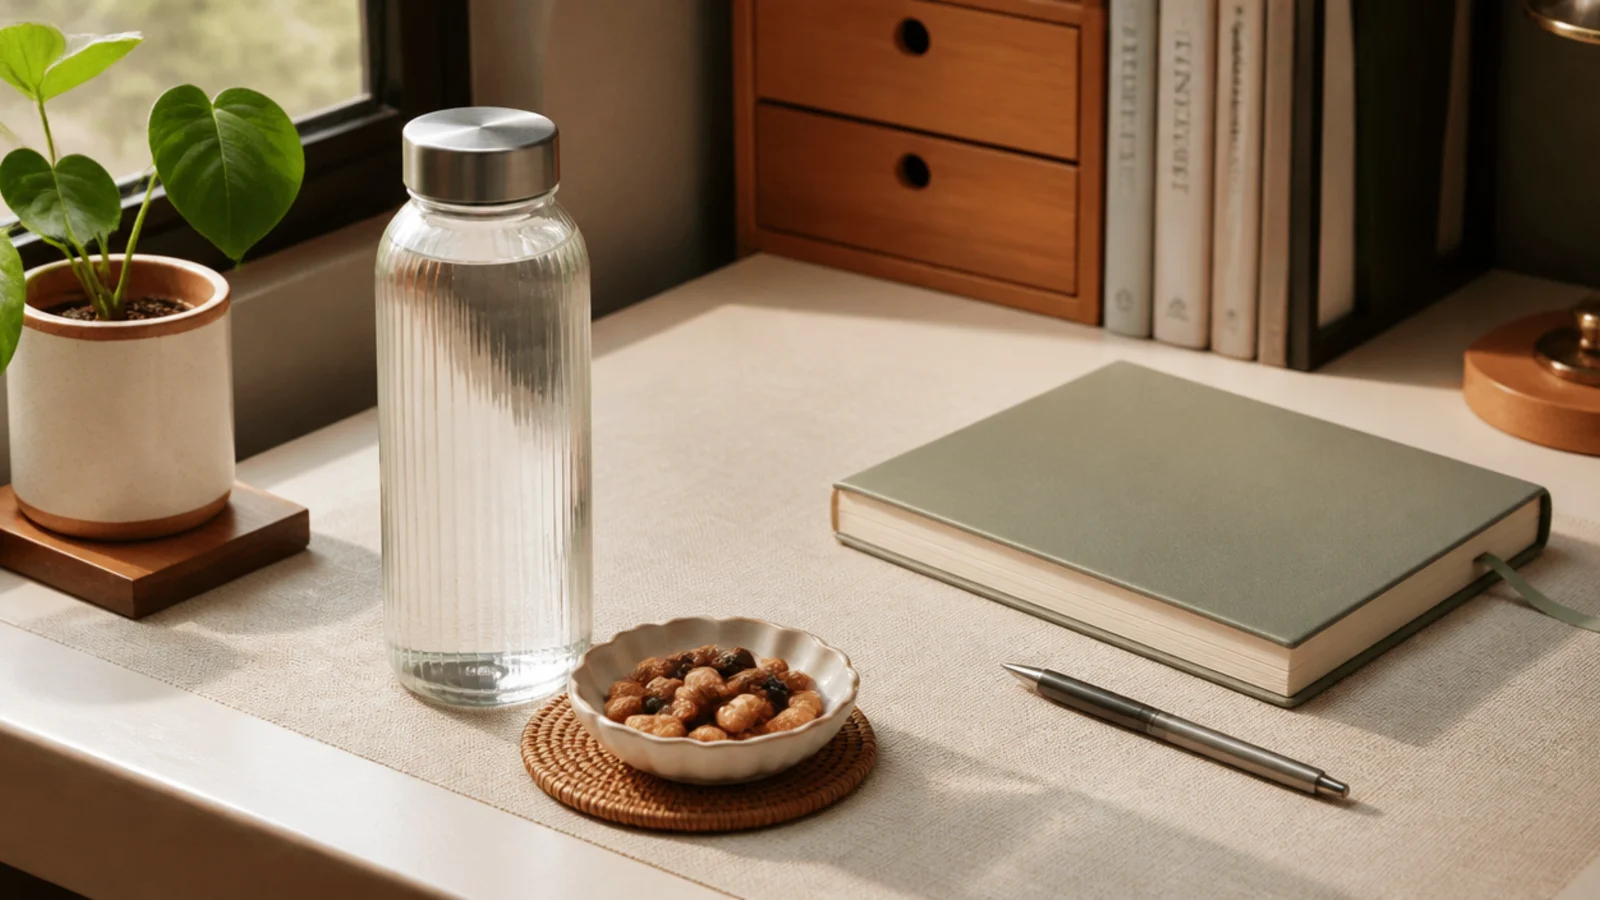
Staying fueled helps focus, but loose snacks and drinks near your work risk spills and crumbs on your notes. Giving them one contained corner keeps you going without endangering your materials. Hydration and a small snack, safely away from the books.
Editor's noteUse a closed water bottle rather than an open glass so an accidental elbow doesn’t drown your notes and laptop.
Set a water bottle and a small dish of a simple snack at the far corner, on a coaster, away from papers and your laptop. Use a bottle with a lid so a knock doesn’t soak your work. Keep the snack simple and non-greasy so your hands and pages stay clean. Refill during breaks rather than getting up mid-focus. Clear it during your reset.
Skip thisDon’t set an open drink among your papers and keyboard; one spill can destroy a session’s work and your device.
11. Reference Pinboard
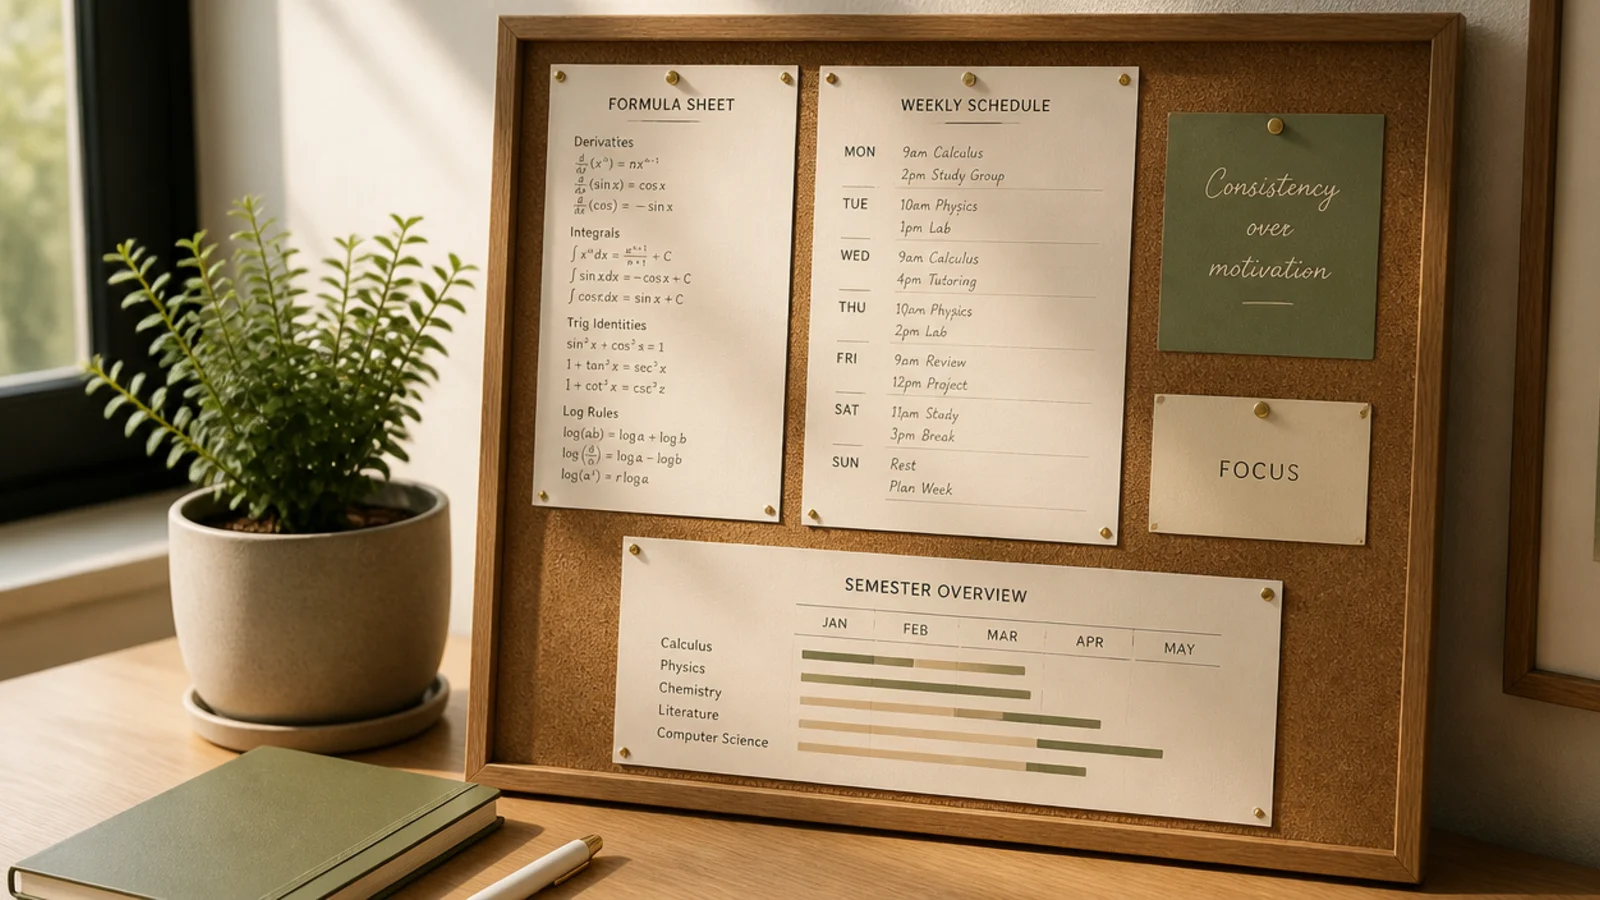
A reference board holds the things you check constantly — a formula sheet, your class schedule, a semester overview — so they’re always in view and never lost. It’s different from the flashcard board: this is stable reference, not rotating revision. Keeps the essentials at a glance.
Editor's noteLaminate or sleeve your most-used reference sheet so it survives a whole term of constant glancing and handling.
Mount a small board beside the desk for permanent references — your timetable, a formula or reference sheet, key deadlines for the term. Keep it stable and uncluttered so a glance finds what you need. Update it only when the semester or schedule changes. Position it where you look up naturally when you pause. Separate it from your rotating flashcard board.
Skip thisDon’t mix rotating flashcards with permanent references on one board; keep stable info separate so it stays findable.
12. Finished Work Drawer
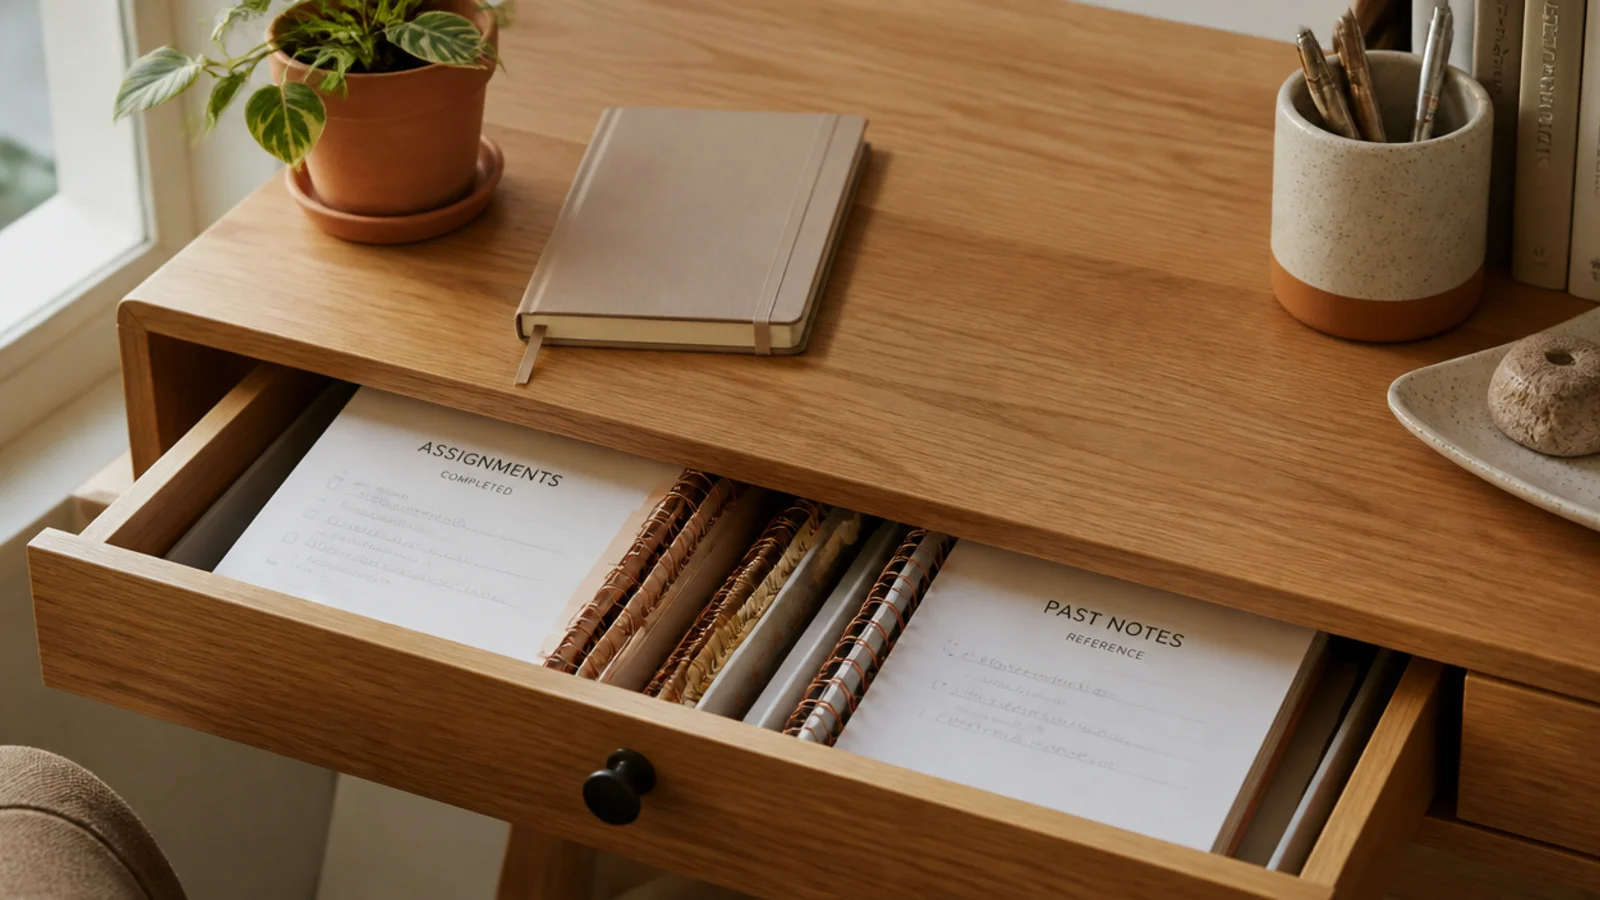
Completed work piling up on the desk buries your active task. A dedicated drawer or tray for finished pages keeps the surface clear for what you’re working on now. Done work goes away; current work stays in front of you.
Editor's noteFile finished pages into their subject color the moment you’re done so revision later means opening one folder, not digging.
Assign a drawer or a lower tray for finished assignments and past notes, sorted by subject if you’ll revisit them. As soon as you finish a page or task, move it there so it leaves your working space. File it into the right subject folder during your reset. Purge or archive at the end of each term so it doesn’t overflow. Keep the desktop for current work only.
Skip thisDon’t let finished work stack on the desk; completed pages in your workspace bury the task you’re actually doing now.
13. Whiteboard for Problem-Solving
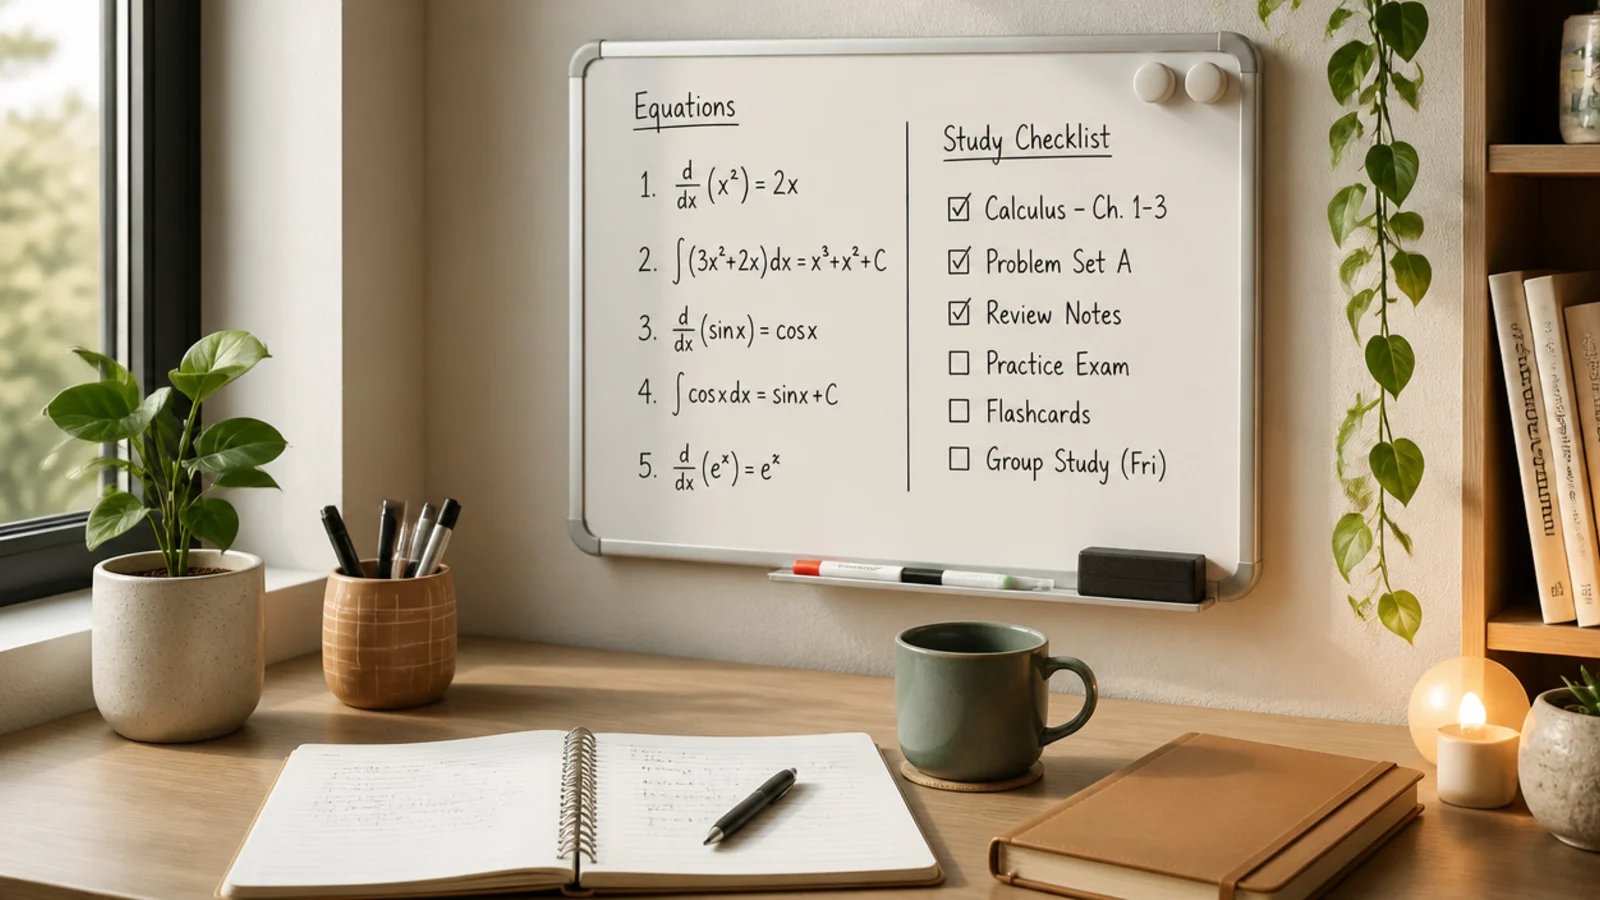
A small whiteboard is ideal for working through problems, brainstorming, and jotting a quick to-do without using up paper. Wiping and rewriting keeps thinking fluid. Great for math, science, and planning your study session.
Editor's noteSnap a photo of any working you want to keep before wiping the board, so you can reuse the space freely.
Mount a small whiteboard on the wall beside the desk or prop one on it. Use it to work through equations, map out an essay, or list the session’s tasks. Wipe and reuse freely so it stays a thinking space, not a record. Keep a couple of markers and an eraser in your supply station. Photograph anything worth keeping before you wipe it.
Skip thisDon’t treat the whiteboard as permanent storage; it’s a thinking surface, and leaving old work on it wastes the space.
14. Ergonomic Long-Session Setup
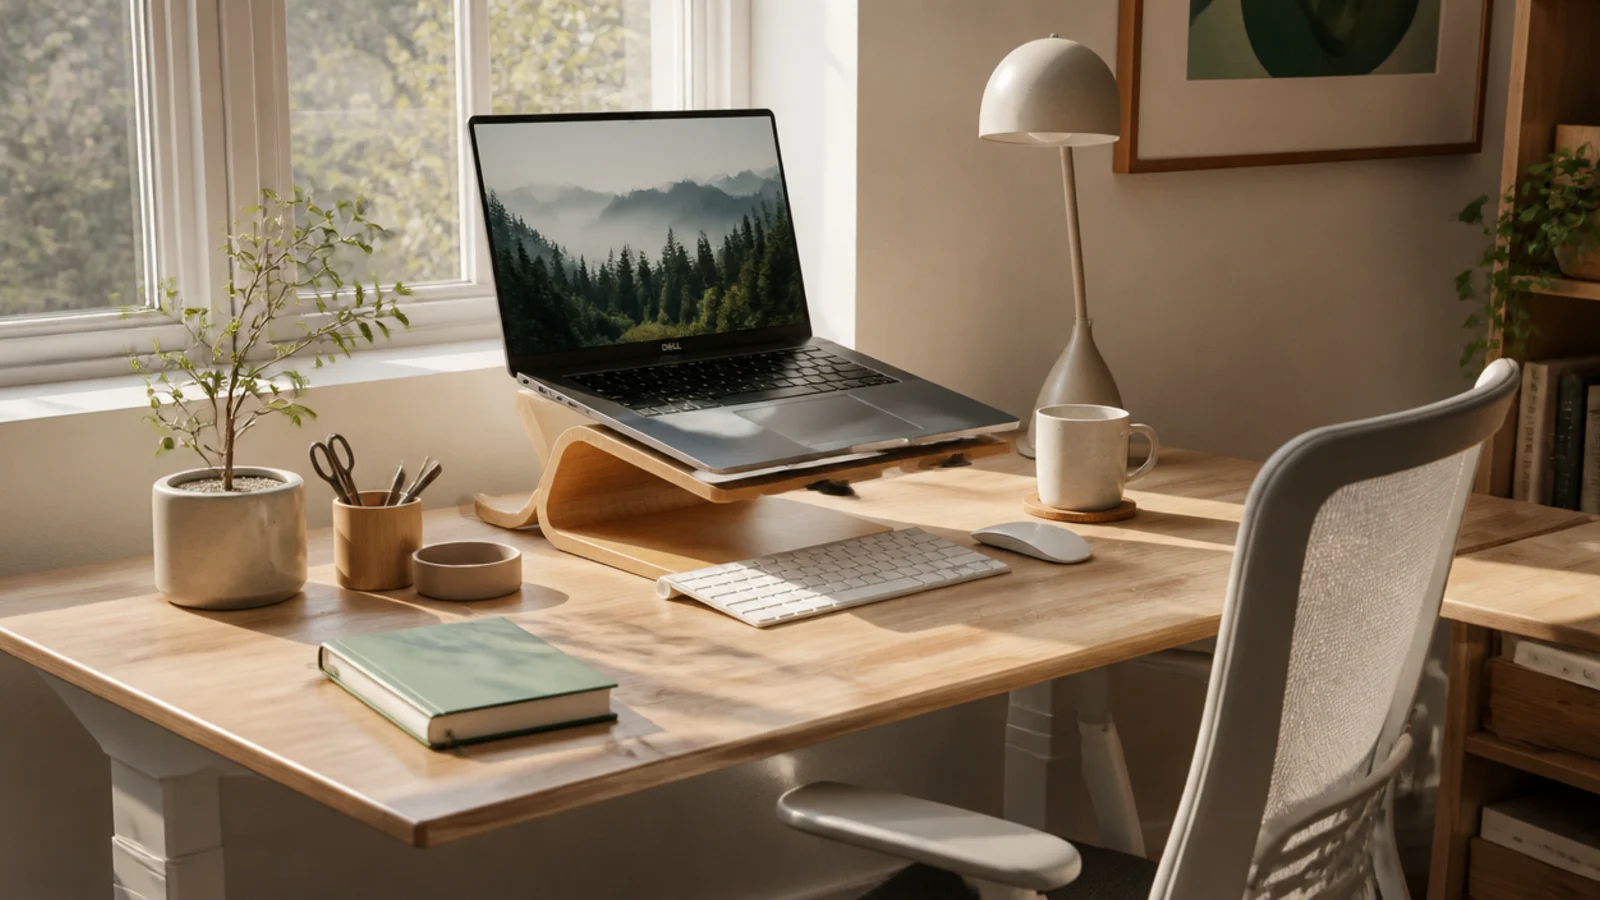
For long study sessions, comfort keeps you at the desk instead of aching your way to distraction. Raising your screen, sitting supported, and keeping your feet flat prevents the fatigue that ends sessions early. Comfort is a focus tool over long hours.
Editor's noteRaise the screen and add an external keyboard so you can sit back supported instead of hunching over a low laptop.
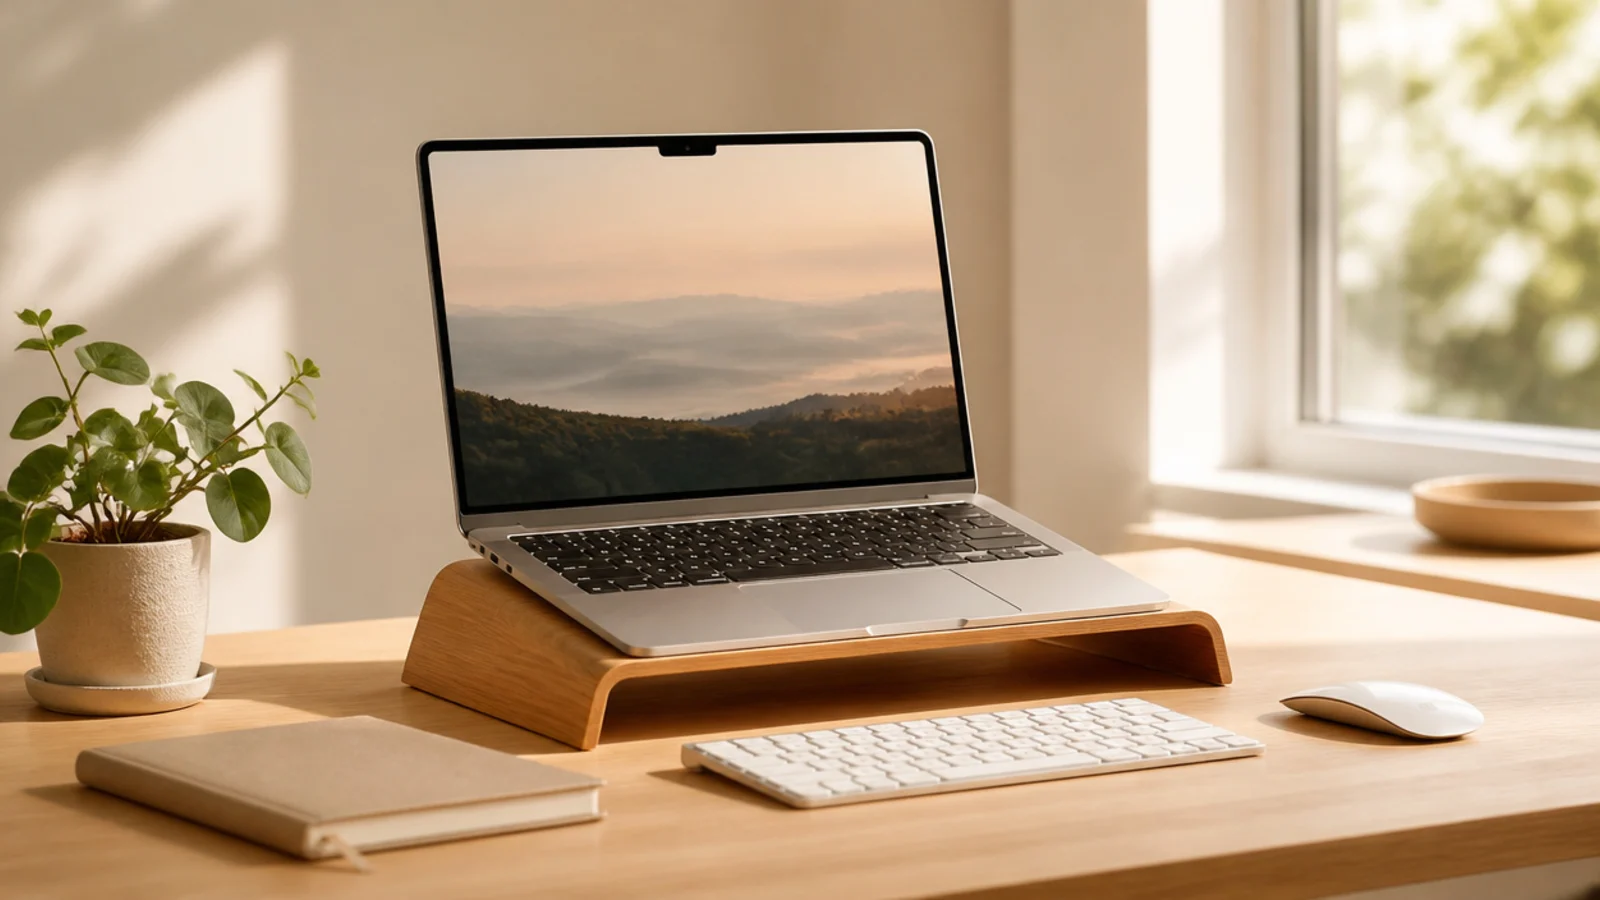
Raise your laptop or monitor so the top of the screen is at eye level, using a stand or a stack of books, and add an external keyboard if using a laptop. Sit back in a supportive chair with your feet flat on the floor or a footrest. Keep your forearms level when typing or writing. Take a short stand-and-stretch break each focus block. Adjust until nothing aches after an hour.
Skip thisDon’t study hunched over a flat laptop for hours; the neck and back strain will end your session long before your focus does.
15. Clear-and-Prep Routine
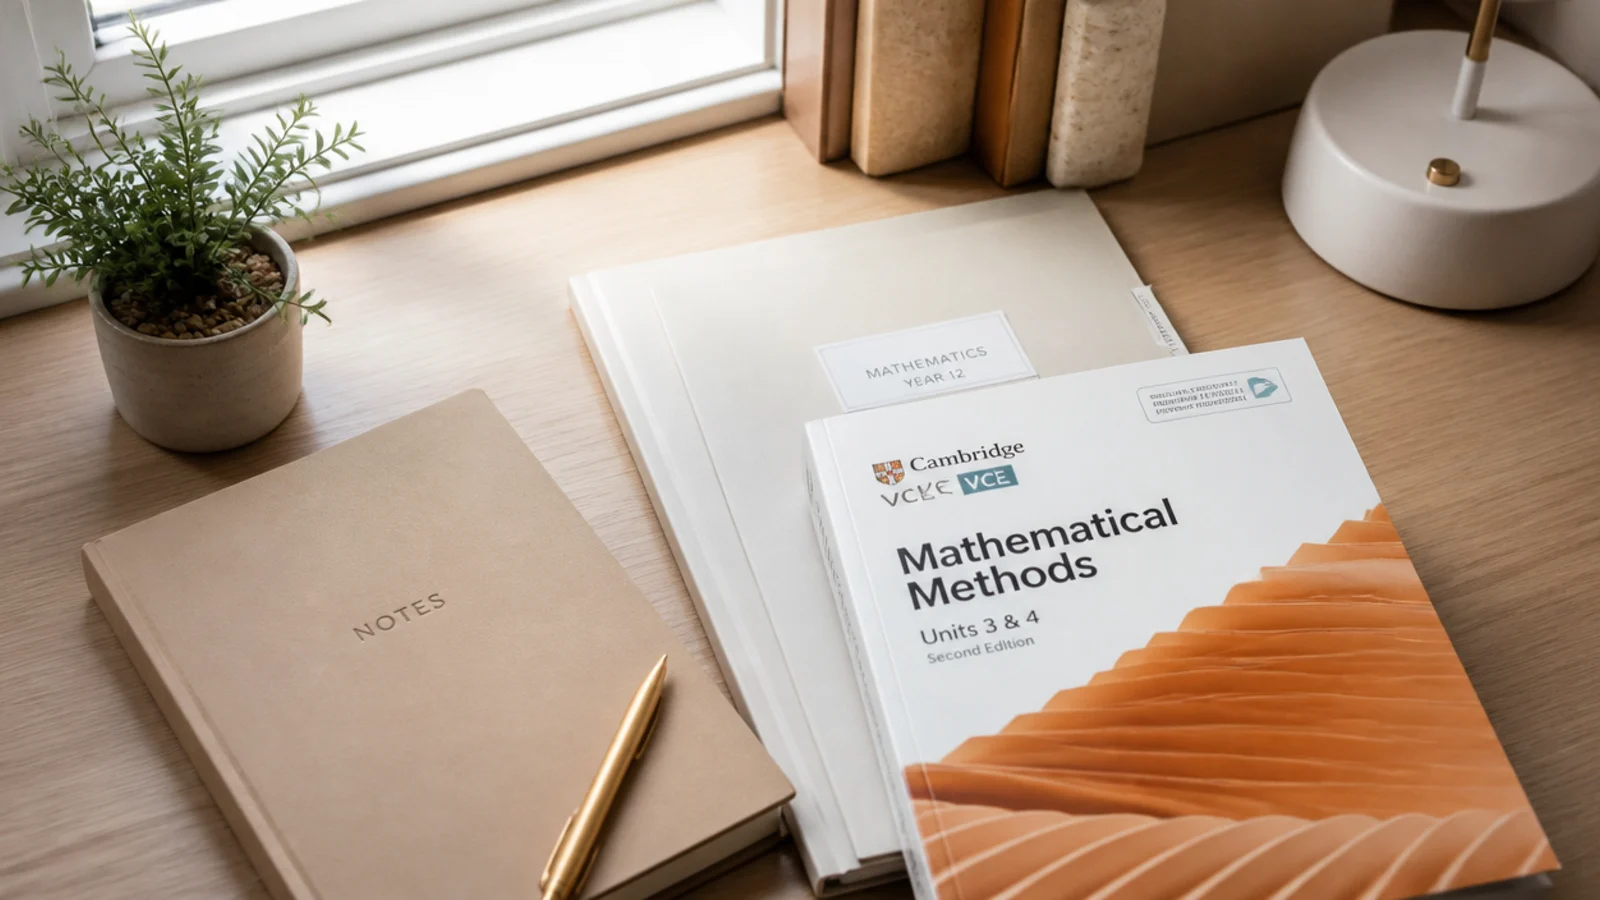
The habit that makes a study desk work is clearing it after each session and setting out tomorrow’s first task. You always sit down to a ready, focused surface instead of yesterday’s mess. Removing the friction of starting is what gets you studying.
Editor's noteSet out tomorrow’s first task before you leave the desk; walking in to a ready page removes every excuse to delay.
At the end of each session, file finished work, return the current subject’s materials, and wipe the surface back to empty. Then set out the book and folder for your next session’s first task, so starting is effortless. Refill water and tidy the supply station. Treat this reset as the last step of studying, not an optional extra. A ready desk lowers the barrier to sitting down again.
Skip thisDon’t leave the desk mid-mess; a cluttered surface tomorrow adds friction that makes it far easier to put off studying.