1. A Shelf Riser on Top of the Desk
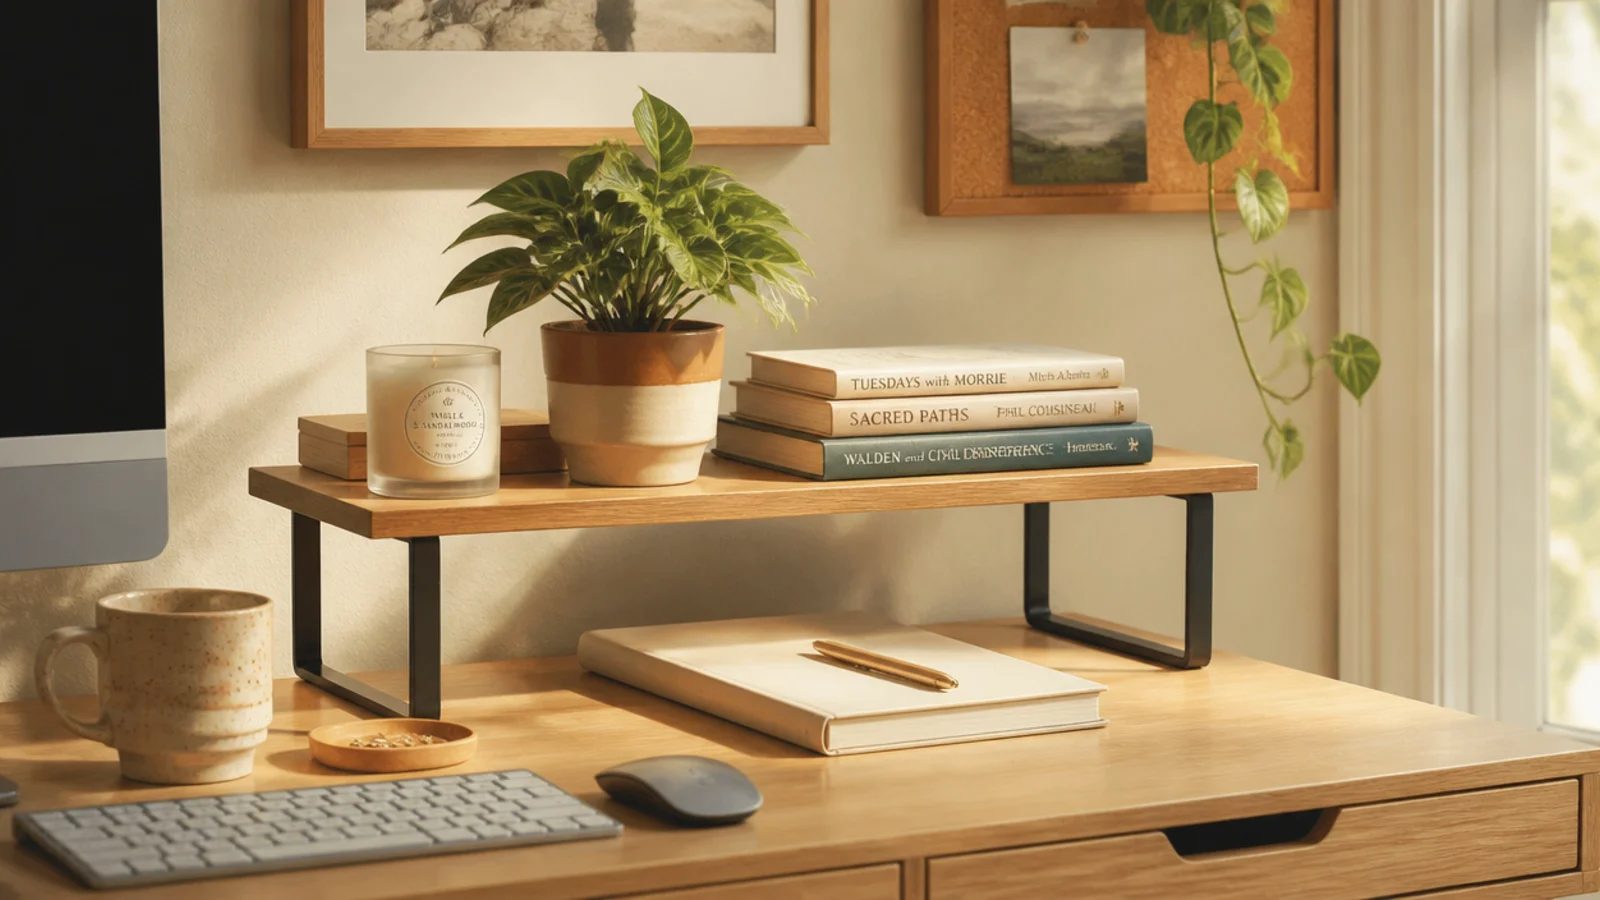
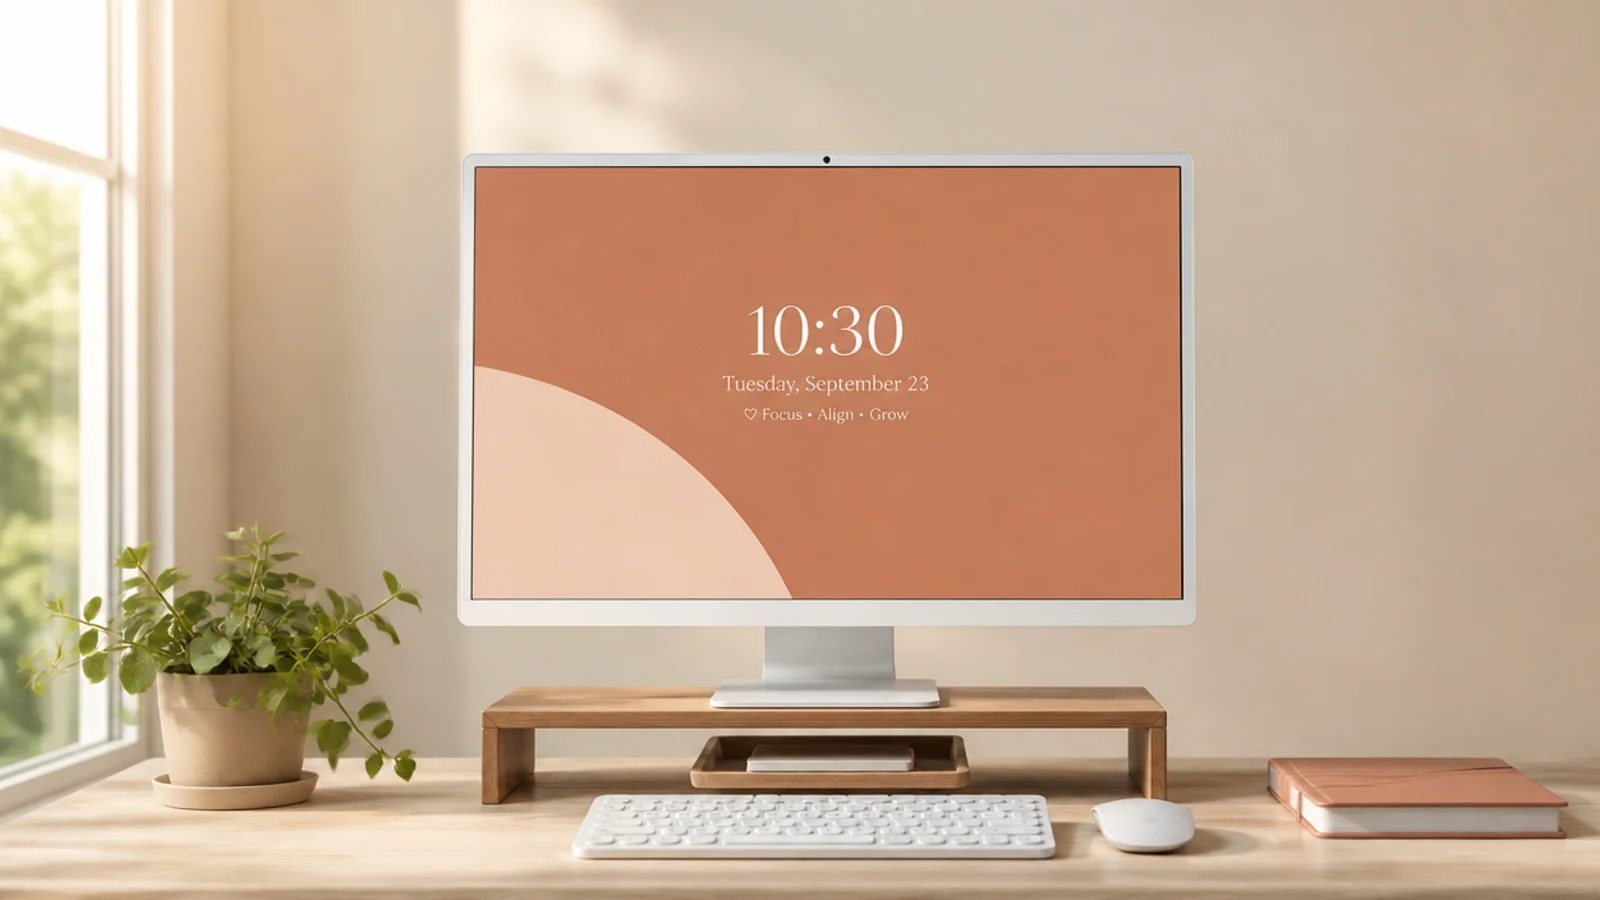
This was the first thing I set up and the one that helped most. A shelf riser adds a whole second level on top of a tiny desk without any tools. I put my books, a small plant, and a supply cup up top, and instantly had my desktop back for actual work.
I got a simple two-tier riser that just sits on the desk against the back edge — no mounting. The top holds books, a plant, and things I want visible; the shelf underneath holds a small tray and my phone. I kept it shallow so it didn’t push my laptop too far forward. If your desk has a windowsill or ledge behind it, that works too, but a freestanding riser fits any dorm desk and comes with you next year.
Editor's notePut display-only stuff like books and a plant up top and keep the actual work surface below clear for your laptop.
Skip thisDon’t load the riser with things you grab constantly; if you reach for it all day it should be at hand, not up on a shelf.
2. Command Hooks for Everything
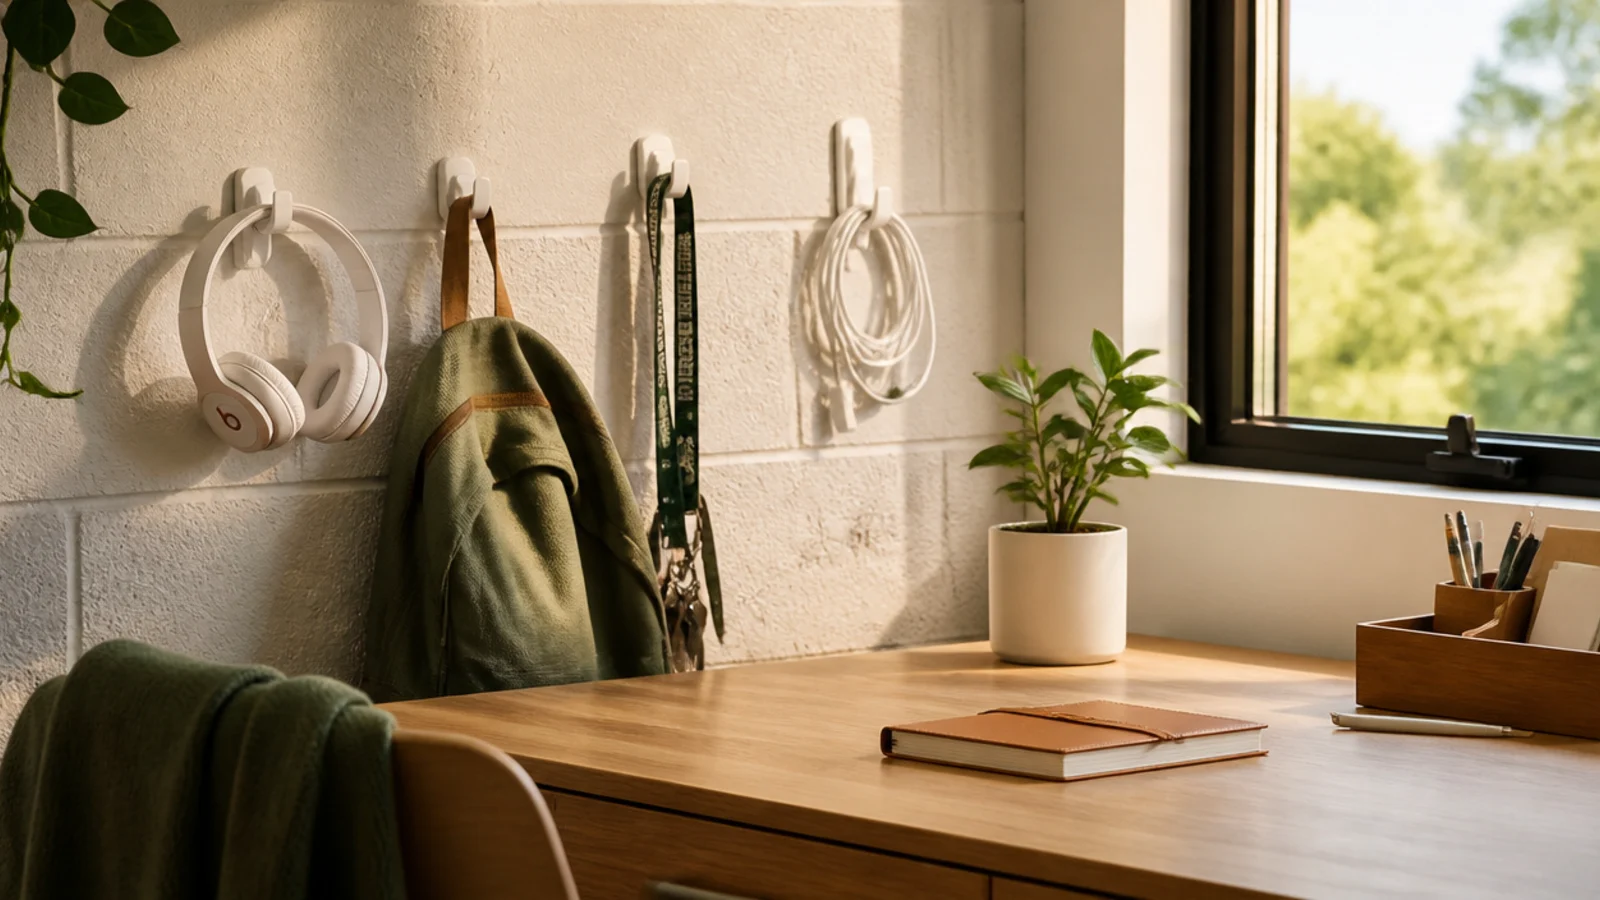
Command hooks are the dorm MVP — they turned the bare wall by my desk into storage for everything that used to clutter the surface. Headphones, my bag, my lanyard, charging cables, all up on the wall and off the desk. They hold surprisingly well and peel off clean at move-out.
I stuck command hooks on the wall beside and above the desk, wiping the wall with rubbing alcohol first so they’d grip. I matched the hook size to the weight — small ones for cables and my lanyard, bigger ones for my bag and headphones. I let them cure a full hour before hanging anything, which the instructions say and I ignored the first time (it fell). Spread the weight across several hooks rather than overloading one.
Editor's noteWipe the wall with rubbing alcohol and wait the full hour before hanging anything, or the hook drops your stuff overnight.
Skip thisDon’t overload one hook past its weight rating; it’ll peel off and take a strip of paint — and your deposit — with it.
3. An Over-the-Desk Hutch Shelf
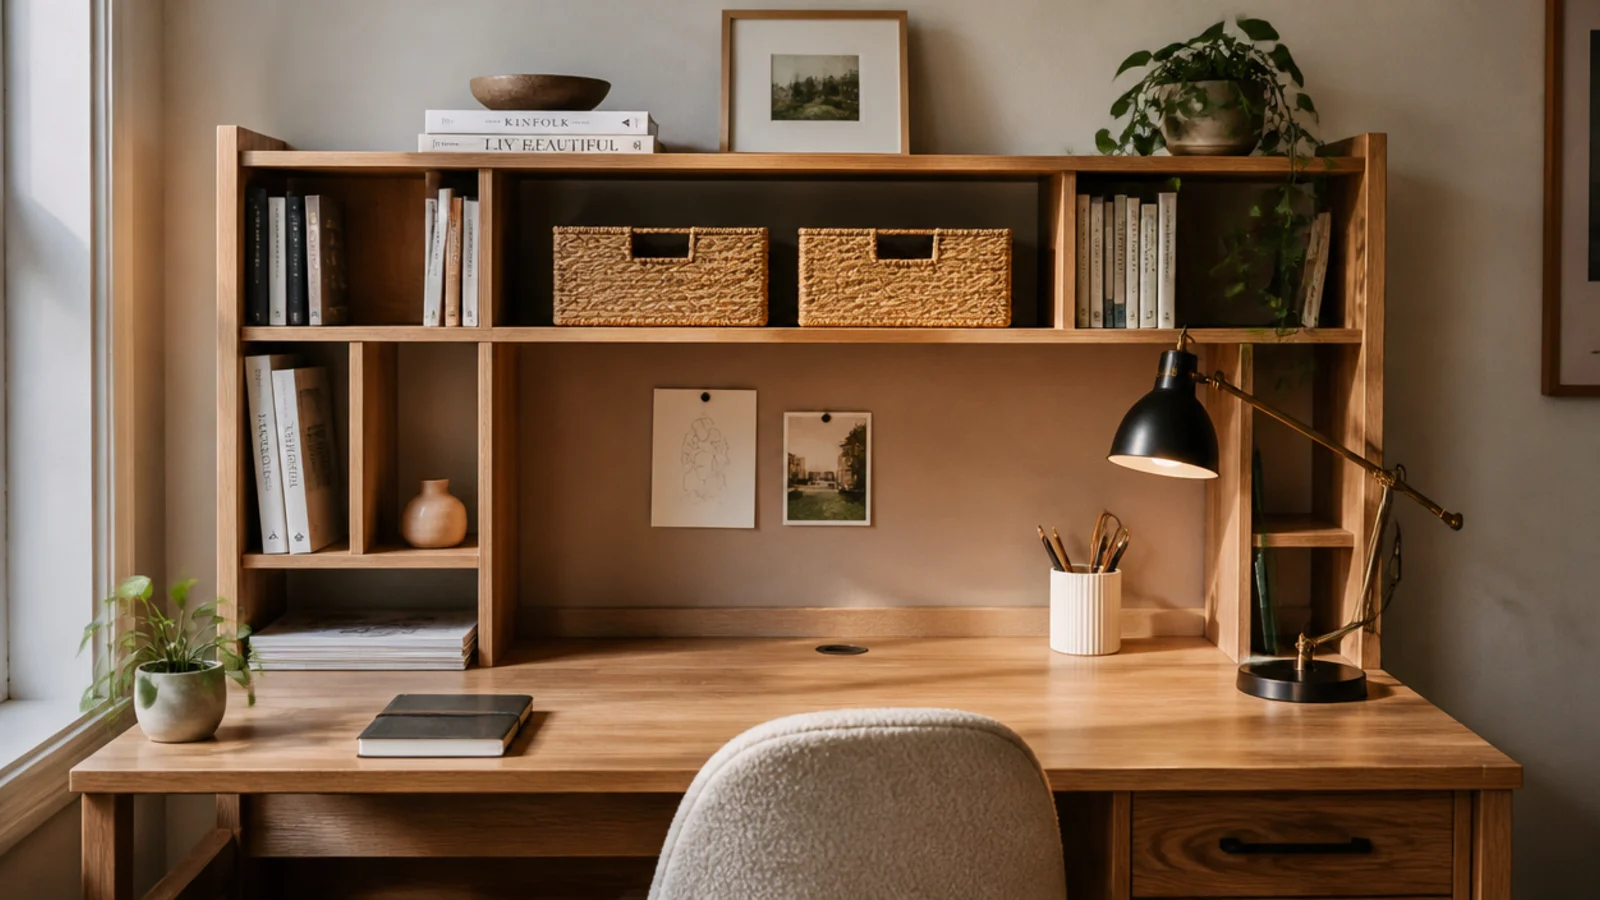
When a single riser wasn’t enough, a freestanding hutch that stands on the desk gave me a wall of cubbies without touching the actual wall. It framed my workspace and held way more than the desktop could. Perfect for a dorm because it’s all vertical and needs zero mounting.
I found a hutch-style shelf unit that stands with legs on either side of the desk, arching over the back of the surface. The cubbies held textbooks, fabric bins of supplies, and a couple of plants. My laptop tucked under the arch in the clear zone. I made sure it was stable and not top-heavy before loading it. It broke down flat for move-out, which sealed it for me.
Editor's noteLoad the heaviest things like textbooks on the bottom cubbies so the whole hutch stays stable and doesn’t get top-heavy.
Skip thisDon’t overload the top shelves of a freestanding hutch; a top-heavy unit on a desk is one bump away from tipping.
4. An Adhesive Under-Desk Drawer
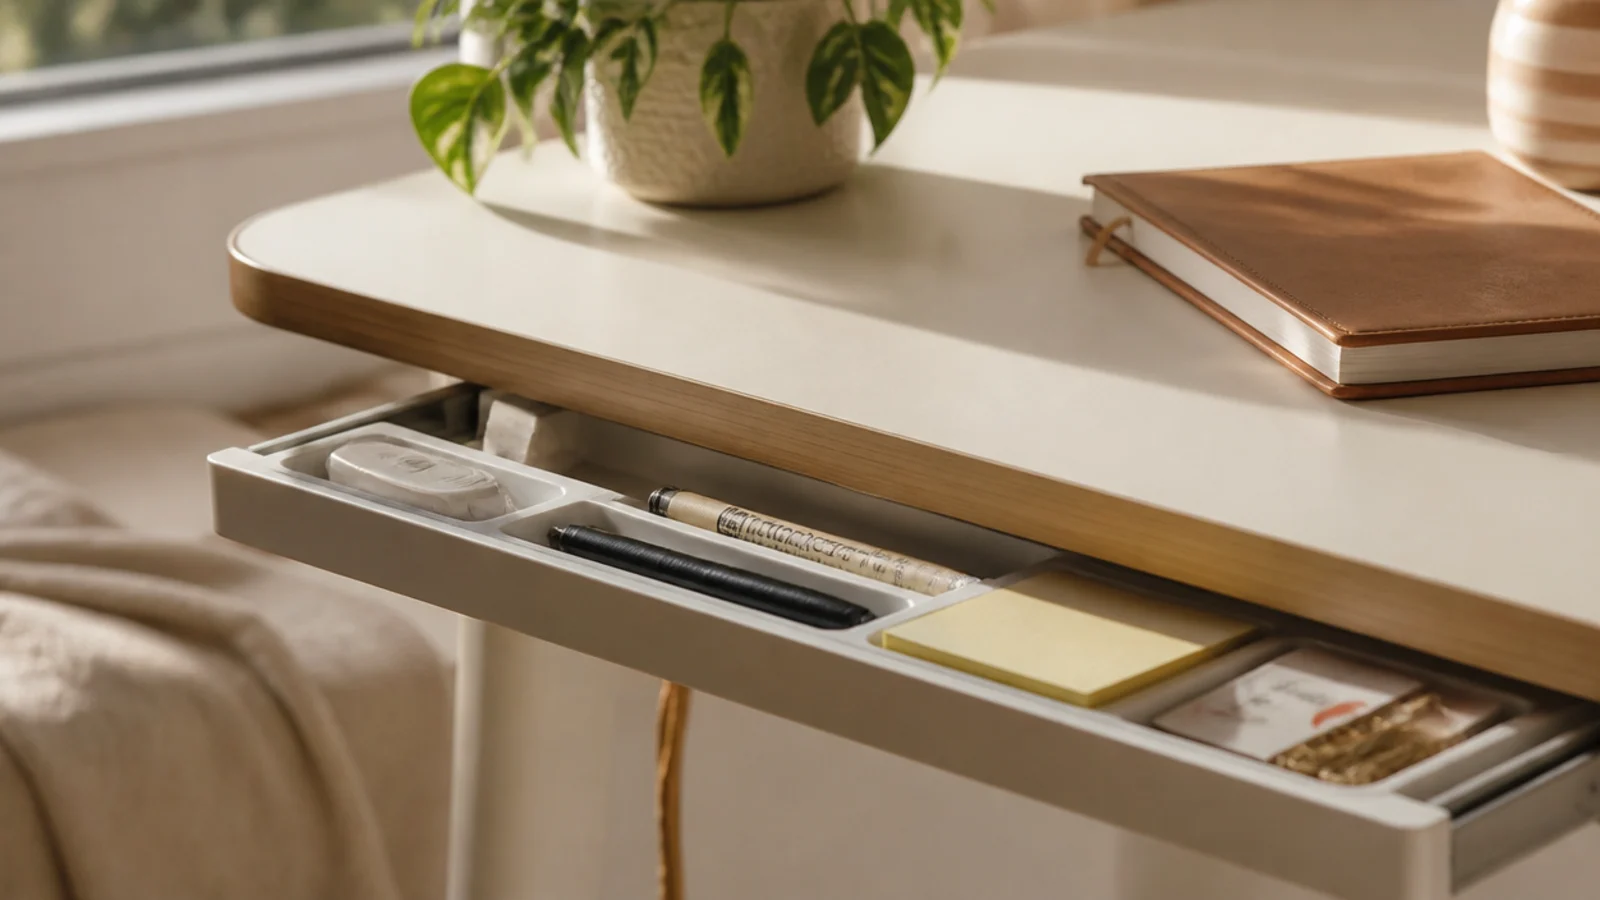
Since my dorm desk had barely any drawers, an adhesive drawer stuck underneath gave me hidden storage from nothing. It hid my pens, sticky notes, and cables out of sight but within reach. It made the tiny desk feel like it had way more storage than it did.
I cleaned the underside of the desktop with rubbing alcohol and pressed on a self-adhesive slim drawer, centered where I sit but far enough back to clear my knees. I gave the adhesive a full day to cure before loading it, and kept it to light, flat things — pens, sticky pads, cables. Anything heavy would’ve pulled it off. It came off cleanly at the end of the year with no marks.
Editor's noteLet the adhesive cure a full day before you load it, and keep it to light flat items so the mount holds all year.
Skip thisDon’t stick it onto a dusty or textured underside without cleaning first, or it’ll drop off within a week.
5. A Clamp-On Desk Lamp
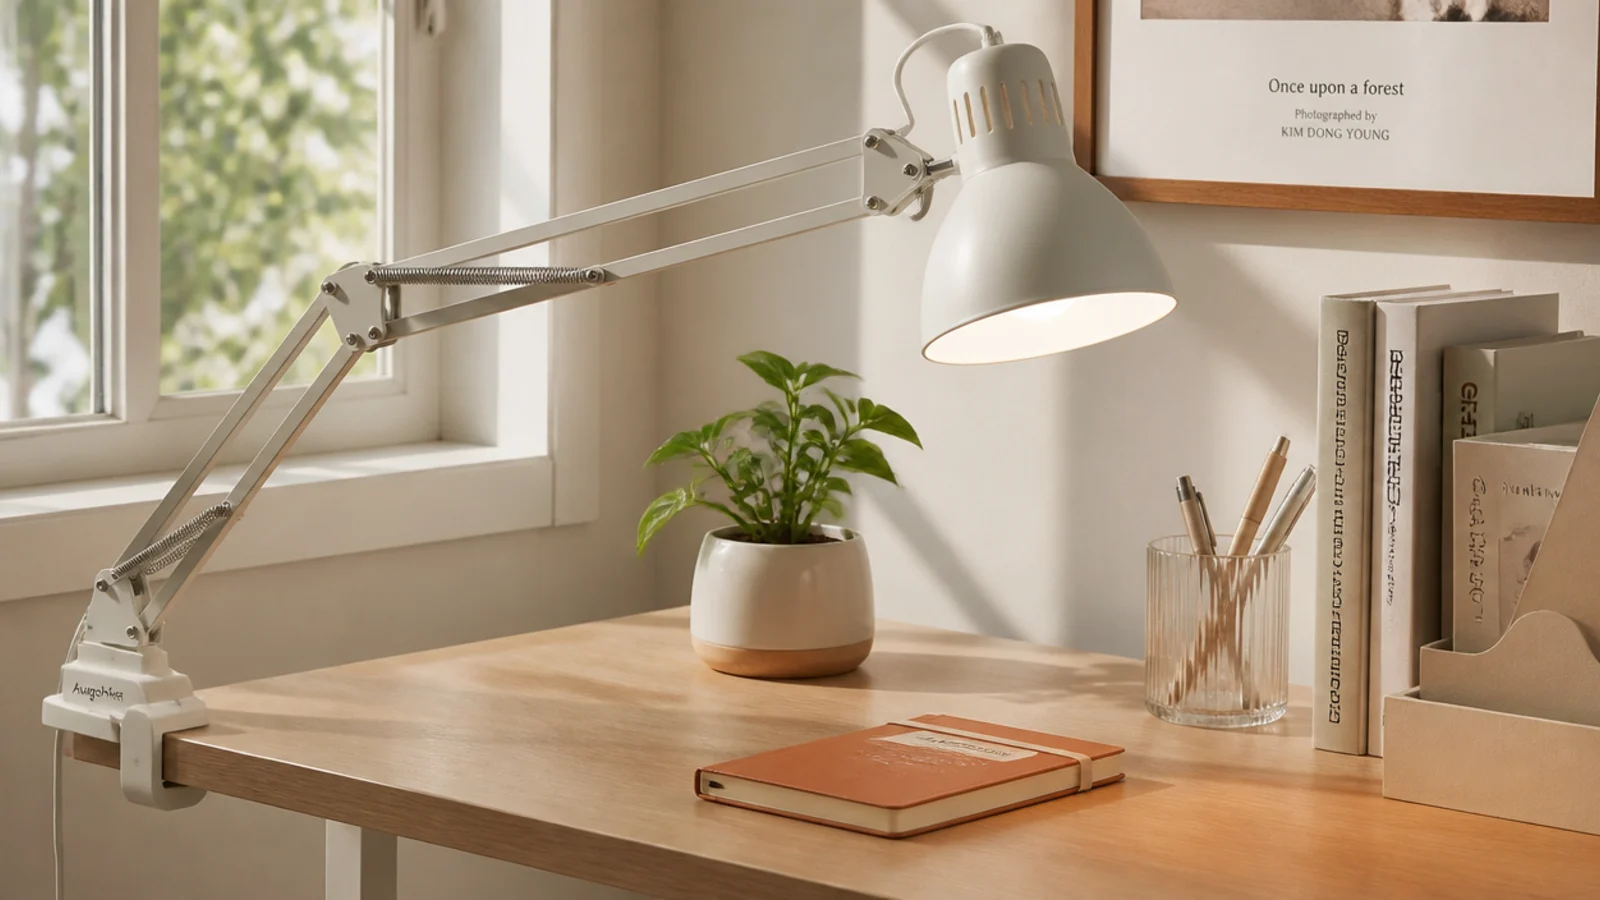
A clamp lamp was a small change that gave me good light without sacrificing any of my precious desktop. It grips the desk edge instead of standing on the surface, so I got proper study lighting and kept the space a base lamp would’ve eaten. Dorm overhead light is always terrible, so this mattered more than I expected.
I clamped an adjustable-arm lamp onto the back edge or the side of the desk and angled it over my work from the non-writing side. I used a warm-to-neutral LED bulb so late-night studying didn’t fry my eyes. The clamp base meant zero footprint on the surface. I routed its cable down with the others so it didn’t add to the tangle. It moved to any edge whenever I rearranged.
Editor's noteClamp it on your non-writing side so your hand never shadows the page, and use a warm LED bulb for long study nights.
Skip thisDon’t use a big base lamp on a dorm desk; it eats surface space a clamp lamp gives you back entirely.
6. A Rolling Cart Beside the Desk
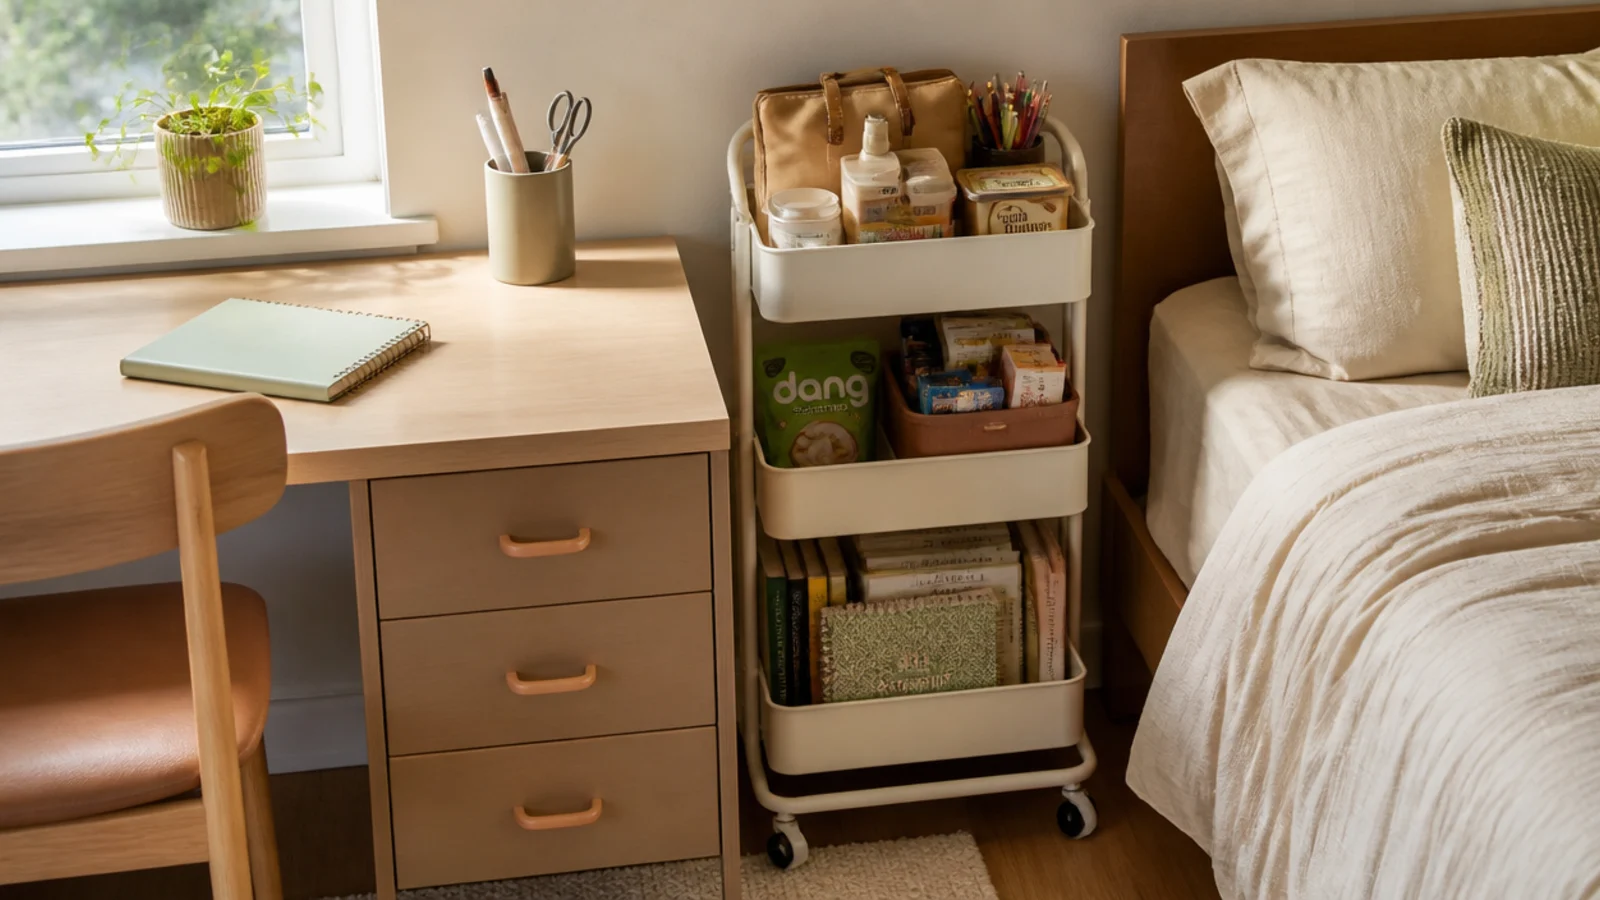
A slim rolling cart parked in the dead space between my desk and bed became my most-used storage. It held everything that didn’t need to be on the desk — supplies, snacks, extra books — and rolled over when I needed it. In a dorm, using that gap between furniture is huge.
I got a narrow three-tier cart that fit the gap beside my desk. Top tier was daily supplies, middle was study materials, bottom was snacks and bulk stuff. I added small bins to the tiers so nothing rolled around. I locked the caster brakes once it was parked so it didn’t drift. When my desk switched to dining or a project, I just rolled the cart out of the way.
Editor's noteLock the caster brakes once it’s parked so the cart doesn’t roll away every time you lean on it or grab something.
Skip thisDon’t let the cart become a dumping ground; give each tier a job or it turns into a mobile pile of dorm clutter.
7. Cable Control for the Laptop and Chargers
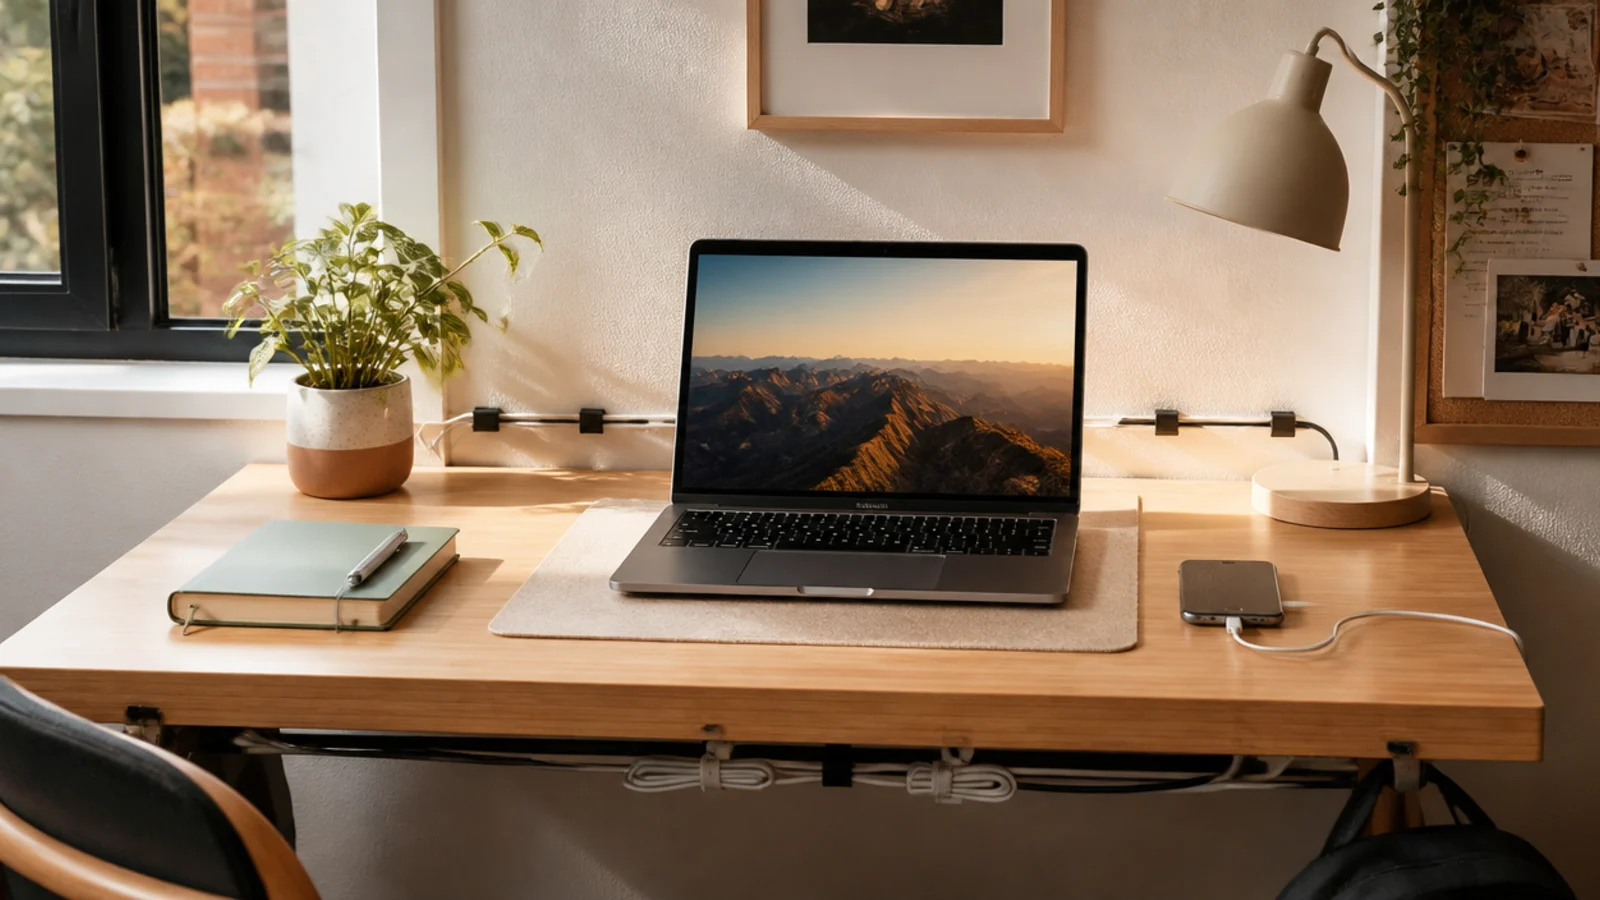
Between my laptop charger, phone cable, and lamp cord, my little desk was a cable mess until I clipped them down. Getting the cables under control made the whole desk feel less chaotic and stopped cords from sliding off the back. Small fix, big daily difference in a tight space.
I stuck adhesive cable clips along the back edge for the laptop and phone chargers so the ends stayed on the desk, ready to plug in. The slack and the power strip I bundled underneath with velcro ties, keeping it off the floor since dorm floors get gross. I used a small surge-protector strip since dorms never have enough outlets. Everything stayed reachable but out of the way.
Editor's noteClip the charger ends right where you use them so you never fish behind the desk for a cable that slid off the back.
Skip thisDon’t leave the power strip and cables pooling on the dorm floor; they collect dust and dirt and tangle around your feet.
8. Fabric Bins for Supplies
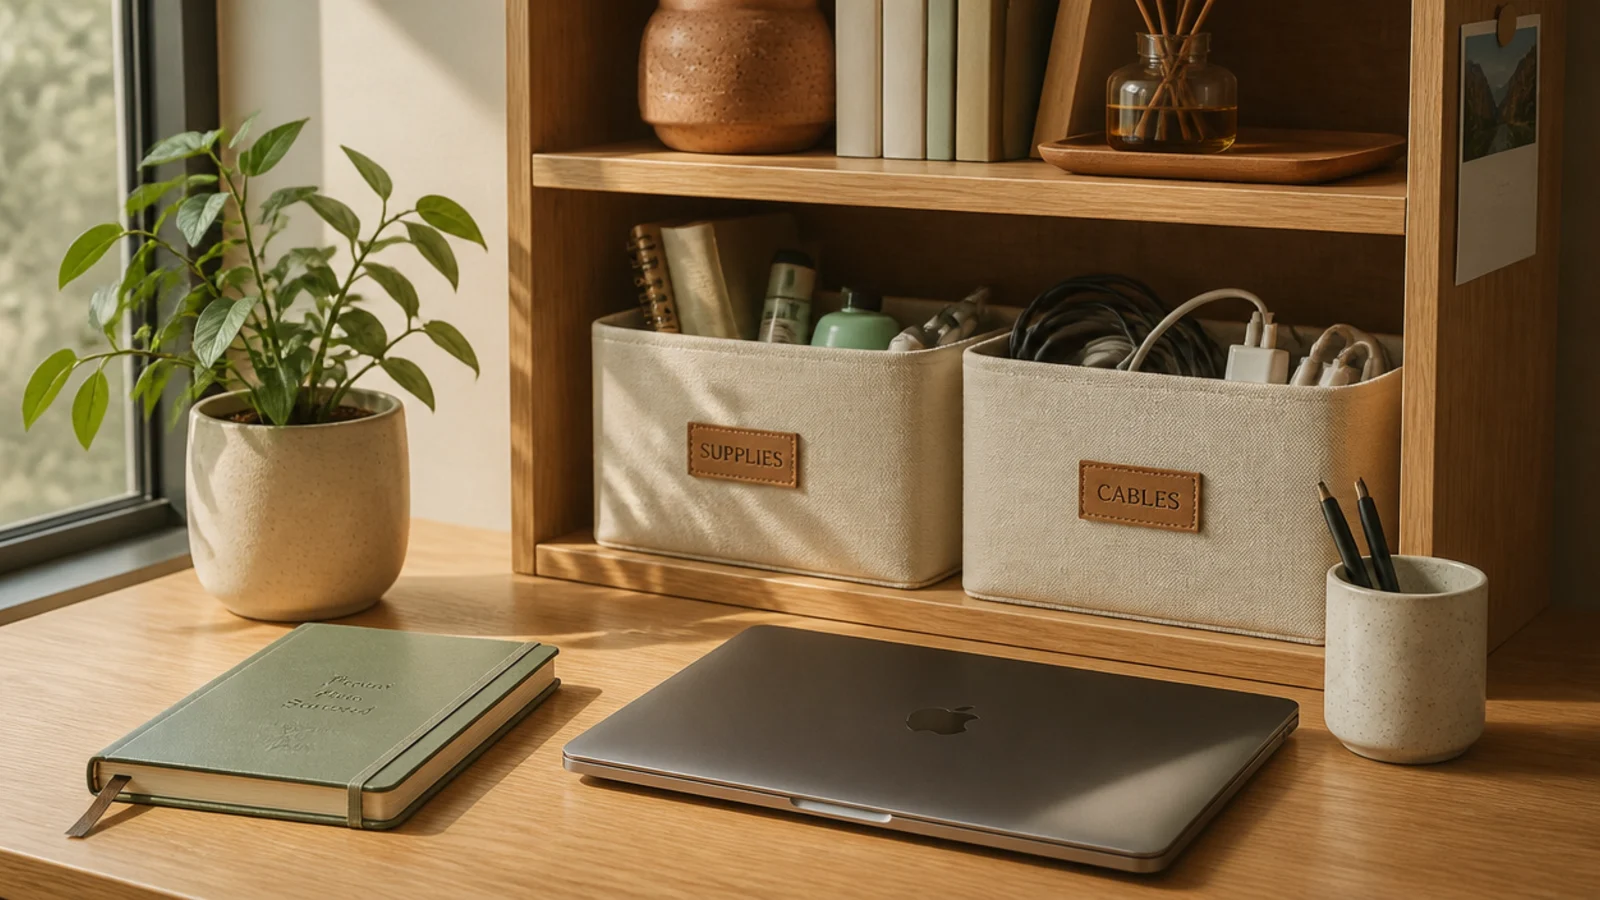
Fabric collapsible bins hid all my bulky, ugly supplies — extra cables, backup notebooks, random dorm stuff — behind a tidy front. They made a messy shelf look intentional and squished flat for storage over breaks. Cheap, soft, and they take a beating.
I used a couple of matching fabric bins on the shelf riser and a nearby shelf for the stuff I didn’t need daily — cables, backups, seasonal things. I added a little tag to each so I remembered what was inside. They collapse flat, so at the end of the year they packed down to nothing. I kept daily items out of them since digging into a bin every hour is annoying.
Editor's noteUse bins that collapse flat so they pack down to nothing when you move out or head home over a long break.
Skip thisDon’t use closed bins for daily-use items; digging through one every hour messes it up and wastes more time than it saves.
9. A Laptop Riser With Storage Under It
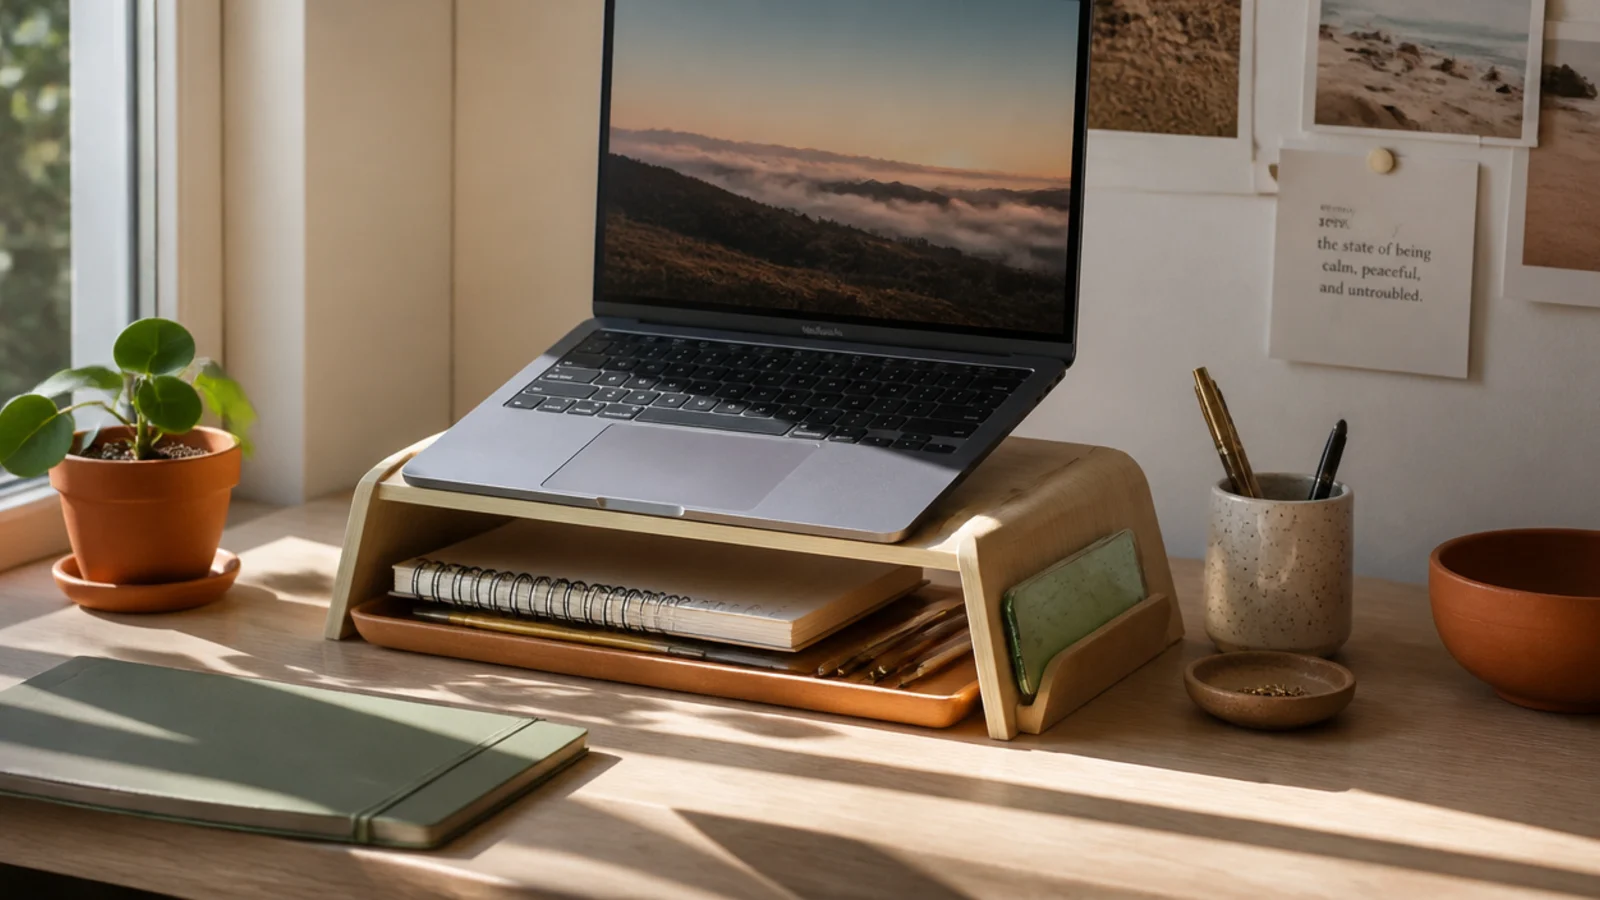
Raising my laptop fixed my neck on long study nights and opened up storage underneath at the same time. On a dorm desk, any space you can reclaim counts double. I tucked a notebook and a small tray in the gap and paired it with a cheap external keyboard.
I set my laptop on a small stand so the screen came up toward eye level, and added a cheap external keyboard so I could actually type at that height. The space underneath held a slim notebook and a little tray of supplies. When I needed the desk clear, the keyboard slid under the stand too. It also kept the laptop cooler, which the dorm heat definitely appreciated.
Editor's noteAdd a cheap external keyboard so you can raise the laptop to eye level and still type without hunching over it.
Skip thisDon’t raise the laptop without a separate keyboard; typing up at a raised built-in keyboard wrecks your wrists and neck.
10. A No-Nail Memo Board
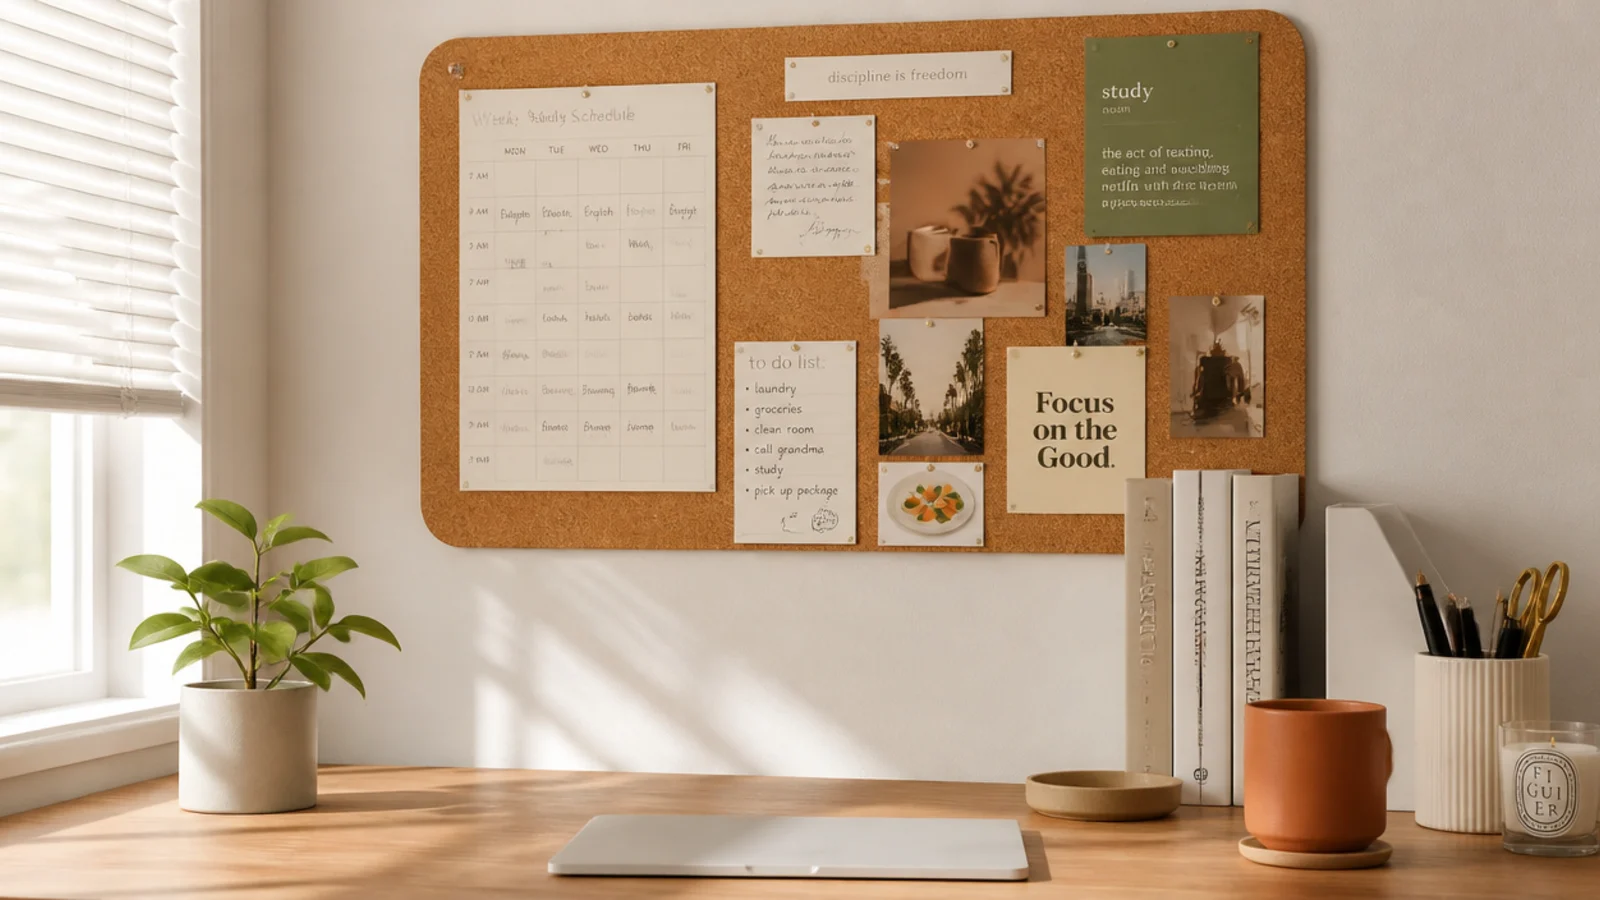
A memo board above my desk kept my schedule, deadlines, and a few photos in one spot instead of stuck all over the place. Hung with command strips so it left no holes, it was part organization, part little piece of home. It’s where I looked to know what was due.
I mounted a lightweight corkboard with command strips (checking the weight rating first) above the desk at eye level. I pinned my class schedule, deadlines, and a few photos, grouping the useful stuff separate from the decorative. I cleared old notes regularly so it stayed current. A magnetic board works the same way if you prefer magnets to pins. Both come down clean at year’s end.
Editor's noteHang a lightweight board with command strips rated above its weight, so it never peels off and leaves marks on the wall.
Skip thisDon’t cram the board so full it becomes wallpaper; keep it current or you’ll stop actually reading what’s on it.
11. Dividers in the One Desk Drawer
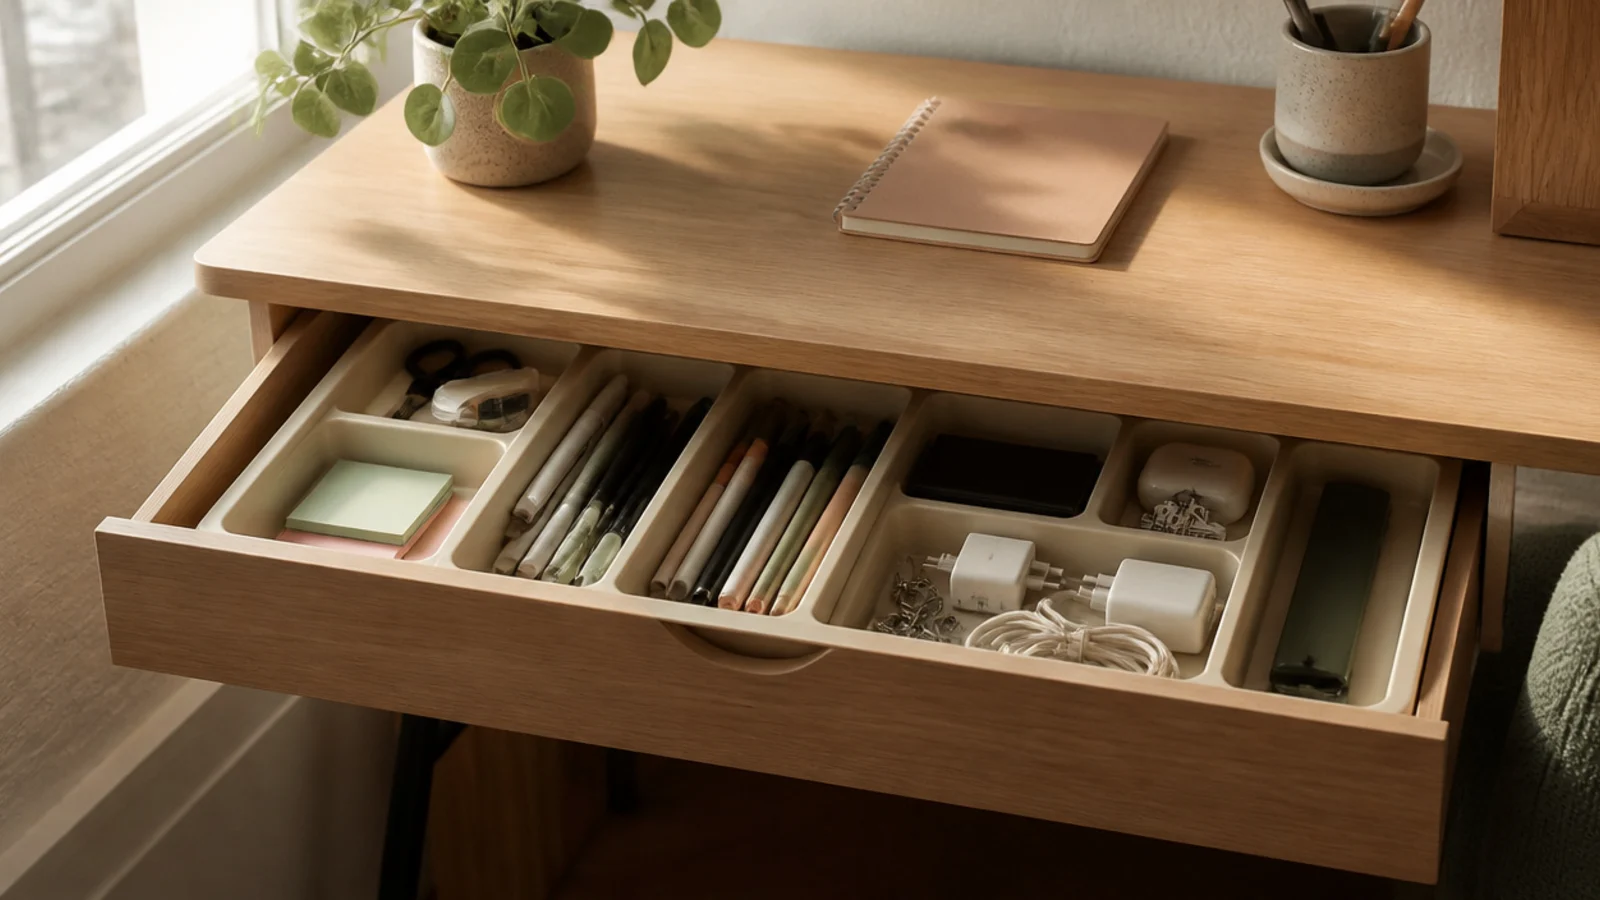
If your dorm desk has even one drawer, dividing it stops it from becoming the black hole where everything disappears. Mine went from a tangled junk pile to sorted sections I could actually find things in. A cheap set of dividers made the one drawer genuinely useful.
I measured the drawer and dropped in cheap adjustable dividers to make three or four sections — writing, chargers and tech, sticky notes and clips, and a spare. I put the daily stuff at the front. A non-slip liner underneath kept it from sliding into a mess every time I opened it. Even a cut-down box or a cutlery tray works if you don’t want to buy dividers.
Add a non-slip liner under the dividers so the whole layout doesn’t slide forward into a jumble every time you open it.
Don’t leave the drawer as one open space; it becomes the junk drawer that swallows everything within a week.
12. A Contained Snack and Coffee Corner
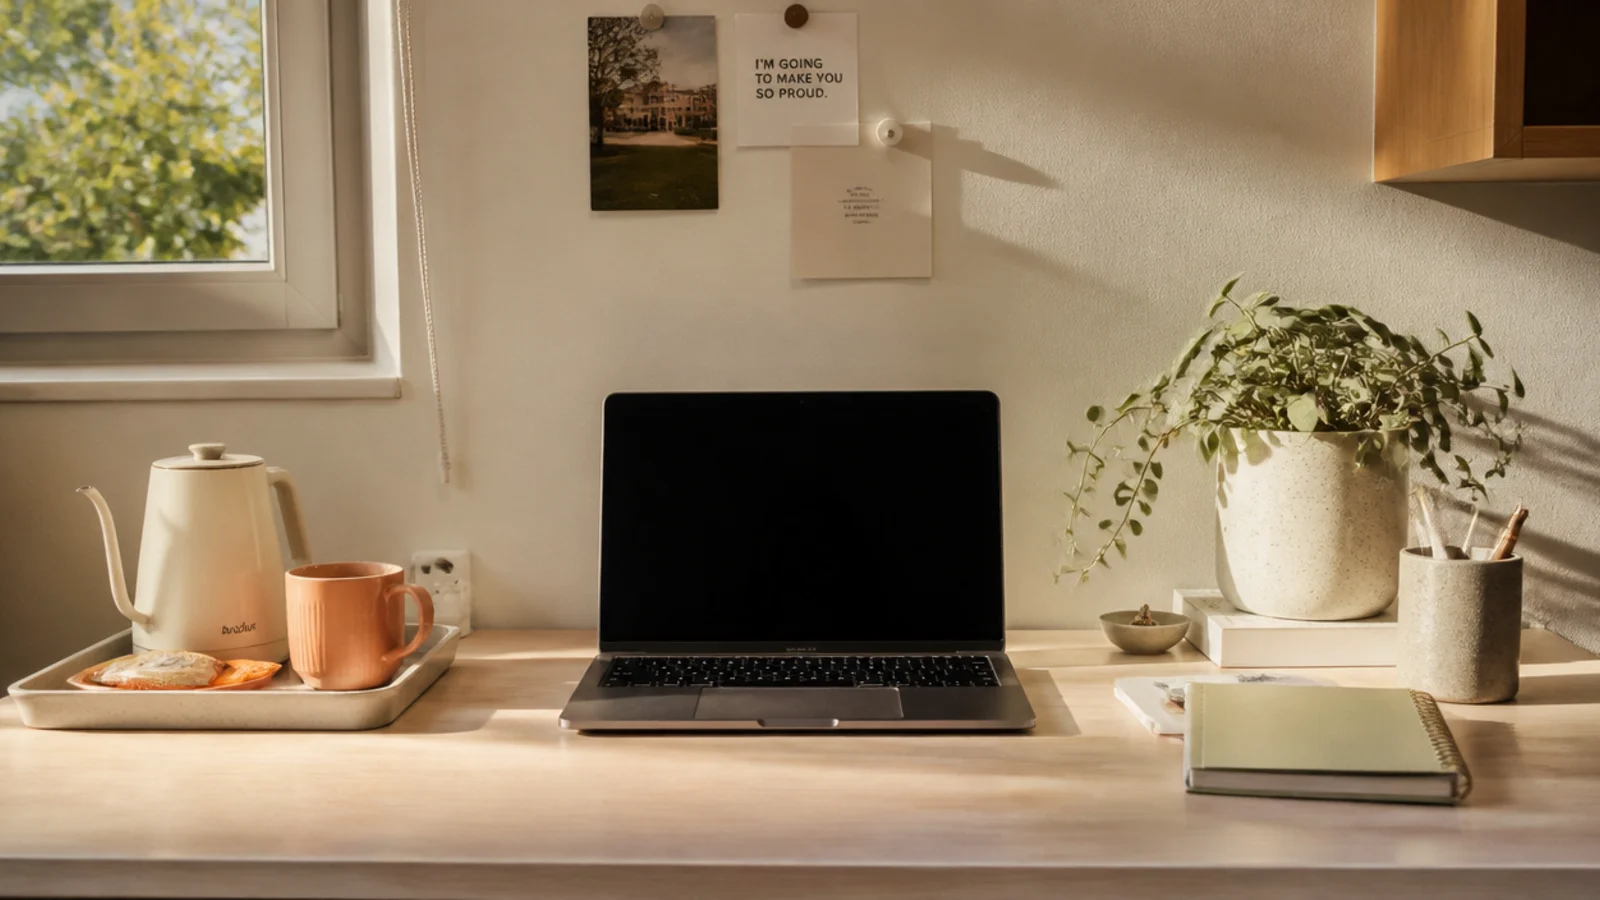
Dorm life means the desk is also the kitchen, so I gave my snacks and coffee stuff one contained corner instead of letting them sprawl. A single tray held my mug, snacks, and a small kettle, easy to move when the desk switched jobs. It kept crumbs and spills away from my laptop.
I put a tray in one corner and kept my mug, a few snacks, and a mini kettle on it, well away from my laptop and papers. The tray meant I could lift the whole setup off in one move when I needed the desk for something else. I used a lidded mug so knocks didn’t spill onto my work. I wiped the tray down as part of my nightly tidy so it never got gross.
Editor's noteKeep the whole snack setup on one tray so you can lift it off in a single move when the desk switches to studying.
Skip thisDon’t spread food and drinks around your laptop and notes; one spill on a dorm desk can wreck your only computer.
13. A Vertical Holder for Class Materials
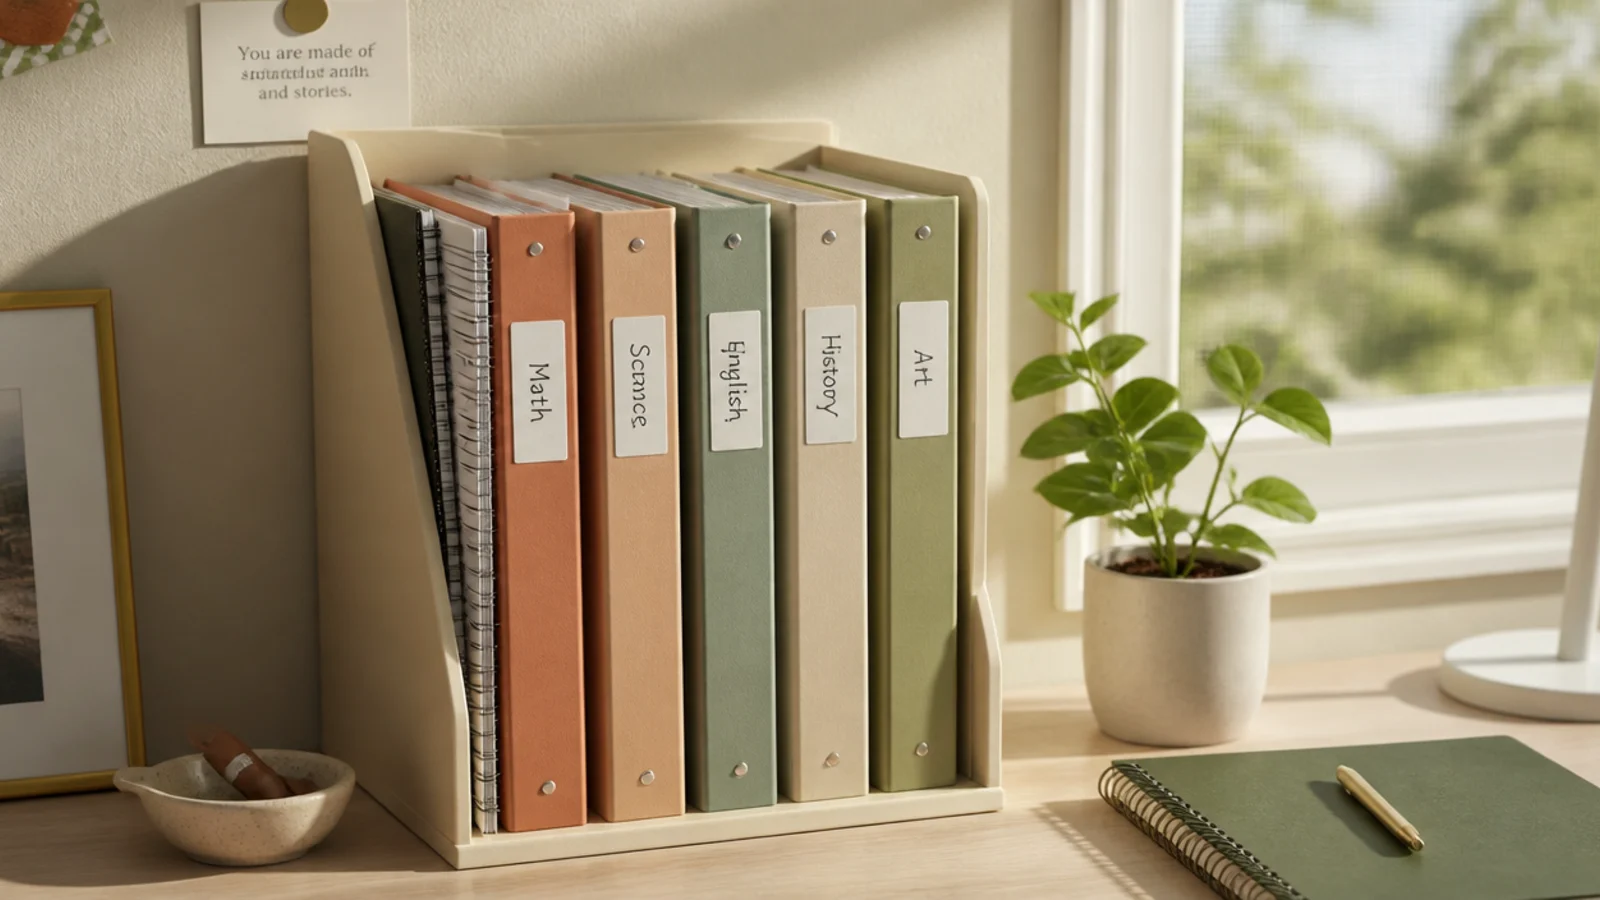
Standing my class binders and folders upright in a vertical holder kept every subject separate and off the desktop. Grabbing the right class took a second instead of digging through a flat stack. Color-coding by class saved me during finals when everything blurred together.
I stood a vertical file holder at the back of the desk or on the riser and gave each class its own colored folder or thin binder. Only the current subject came out onto the desk; the rest stayed upright and labeled. I filed handouts into the right color the day I got them so nothing floated loose. It kept a semester’s worth of paper from taking over my tiny surface.
Editor's noteColor-code one folder per class so you grab the right subject in a second, especially when everything blurs at finals.
Skip thisDon’t let handouts pile loose on the desk 'for later'; unfiled paper is how a dorm desk gets buried by week three.
14. A Tension Rod or Magnetic Strip
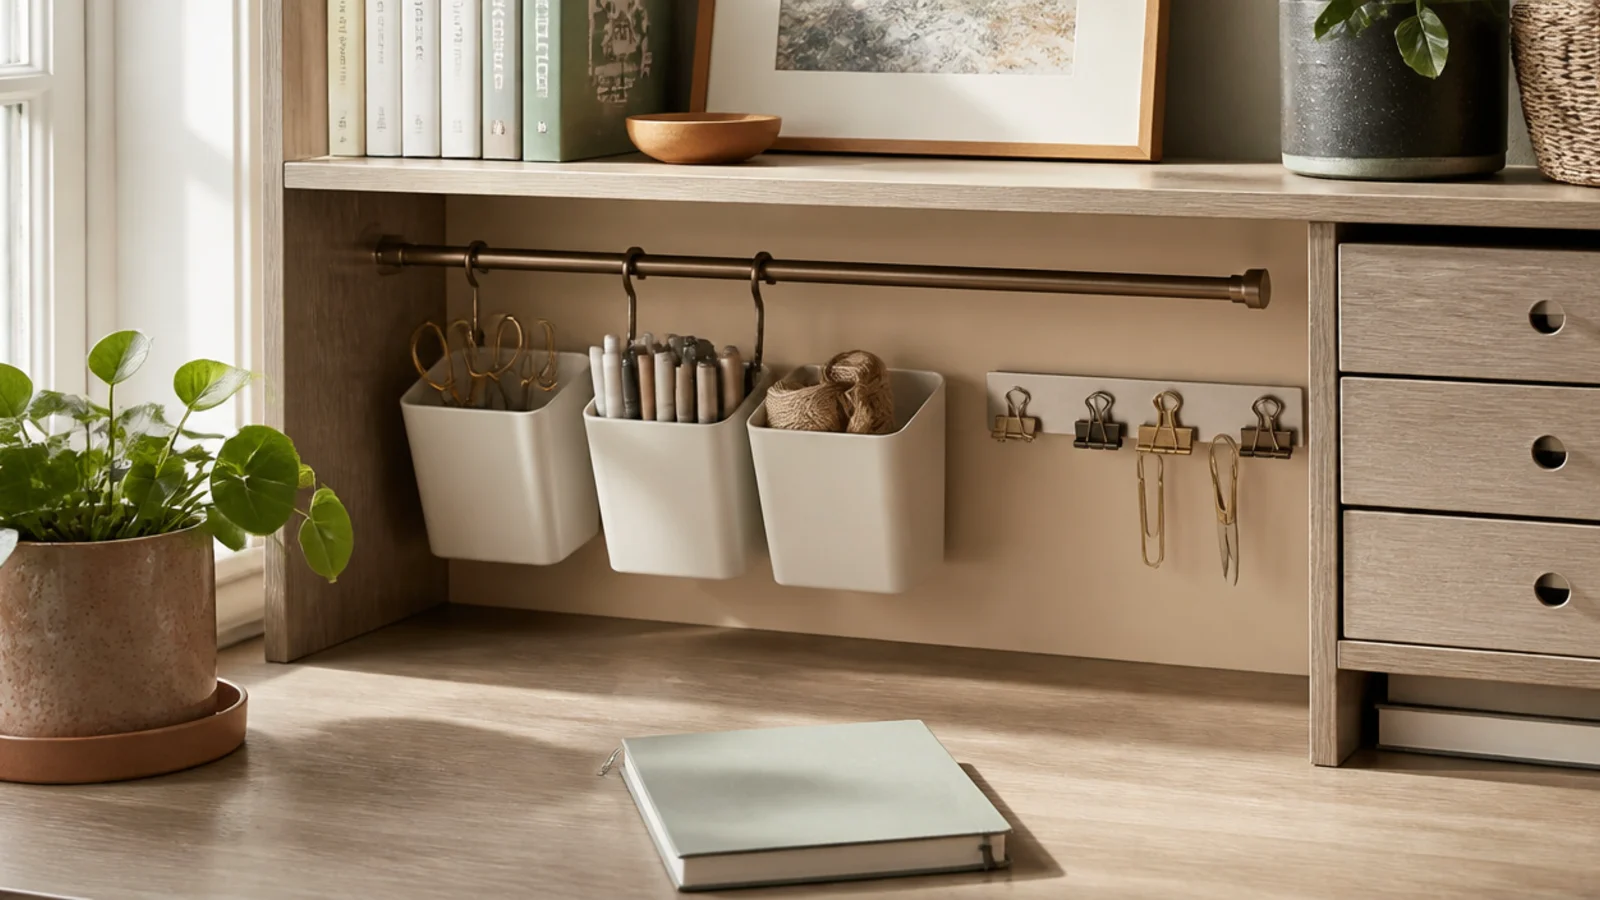
This is my favorite dorm hack — a tension rod wedged into a desk cubby or between shelves held hanging caddies with zero mounting. A magnetic strip did the same for my metal supplies. Both use tension or magnets instead of nails, so they were perfect for dorm rules.
I wedged a small tension rod across a desk cubby and hung little S-hooks and cups from it for supplies. For scissors and clips, I stuck a magnetic strip to a metal desk edge or the side of the hutch. Neither needed a single hole. I kept the hanging weight light so the tension rod didn’t slip. Both came out at move-out leaving nothing behind.
Editor's noteWedge a tension rod across a cubby and hang cups from S-hooks; it’s storage from thin air with no holes at all.
Skip thisDon’t overload a tension rod; too much weight makes it slip down, dumping everything hanging on it onto the desk.
15. A Quick Reset Before Bed
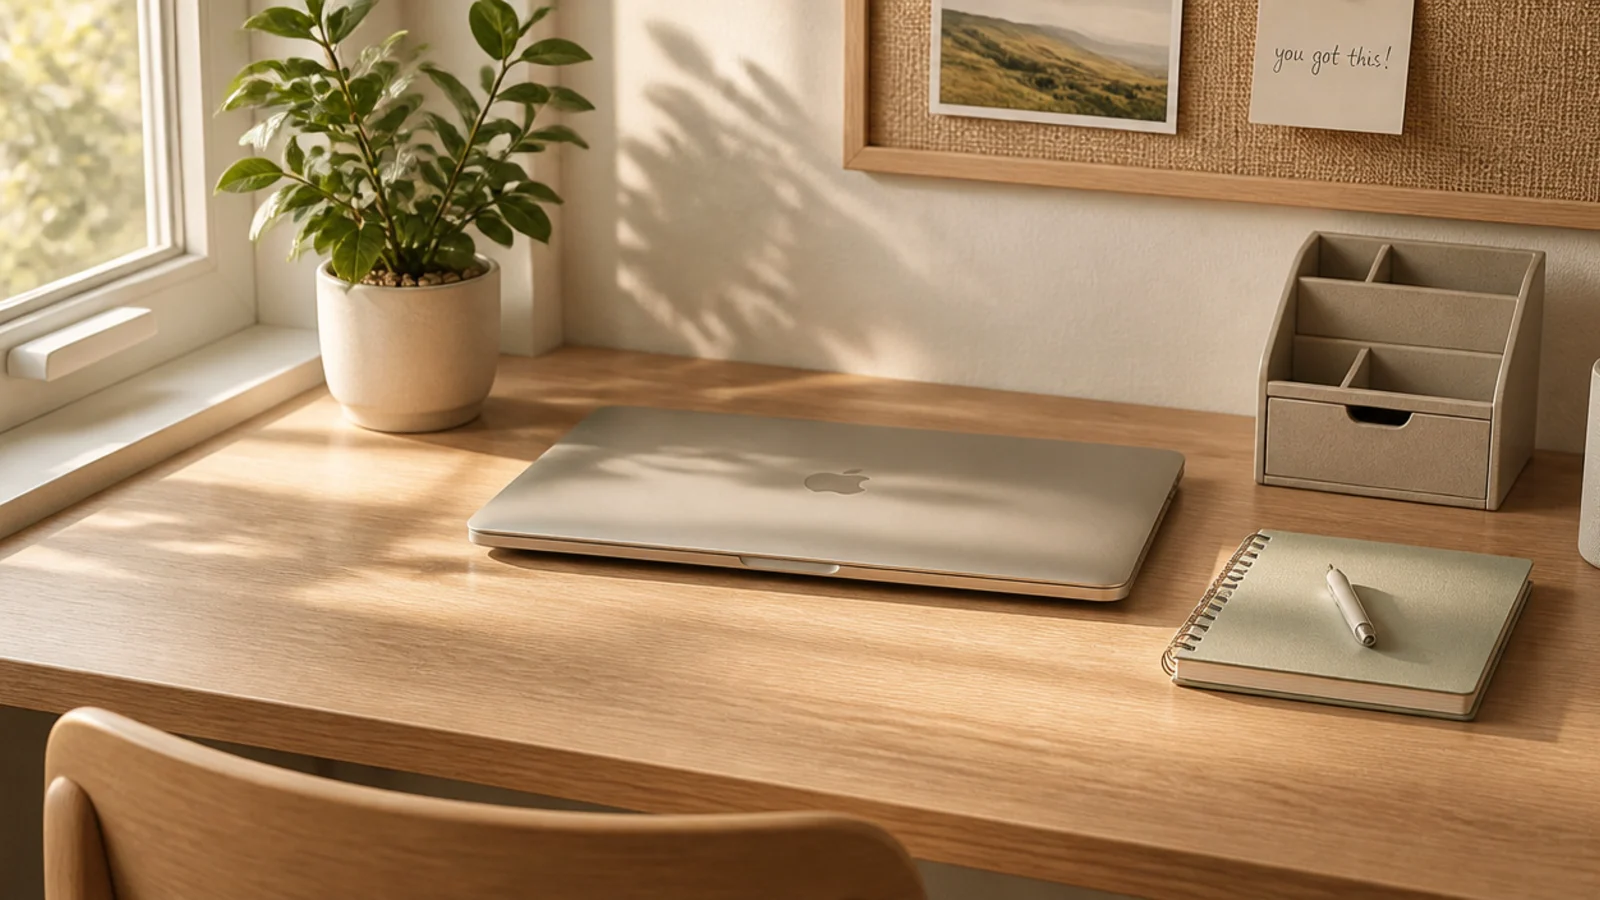
The habit that actually kept all of this working was a quick tidy before bed. Since my desk had to be clear to study on in the morning, resetting it at night meant I woke up to a ready surface instead of last night’s mess. In a shared room it was also just courteous. This is the one I swear by most.
Before bed I spent a minute putting supplies back in the cart or drawer, clearing snacks and dishes off, closing the laptop, and wiping the surface. Everything had a quick home to go to, so it genuinely took about sixty seconds. I left only the permanent stuff on top. Waking up to a clear desk made starting homework so much easier, and my roommate appreciated me not sprawling into shared space.
Editor's noteReset before bed, not in the morning; a clear desk waiting for you removes the biggest excuse to skip your first task.
Skip thisDon’t leave dishes and clutter out overnight in a shared room; it piles up fast and it’s not fair on your roommate.