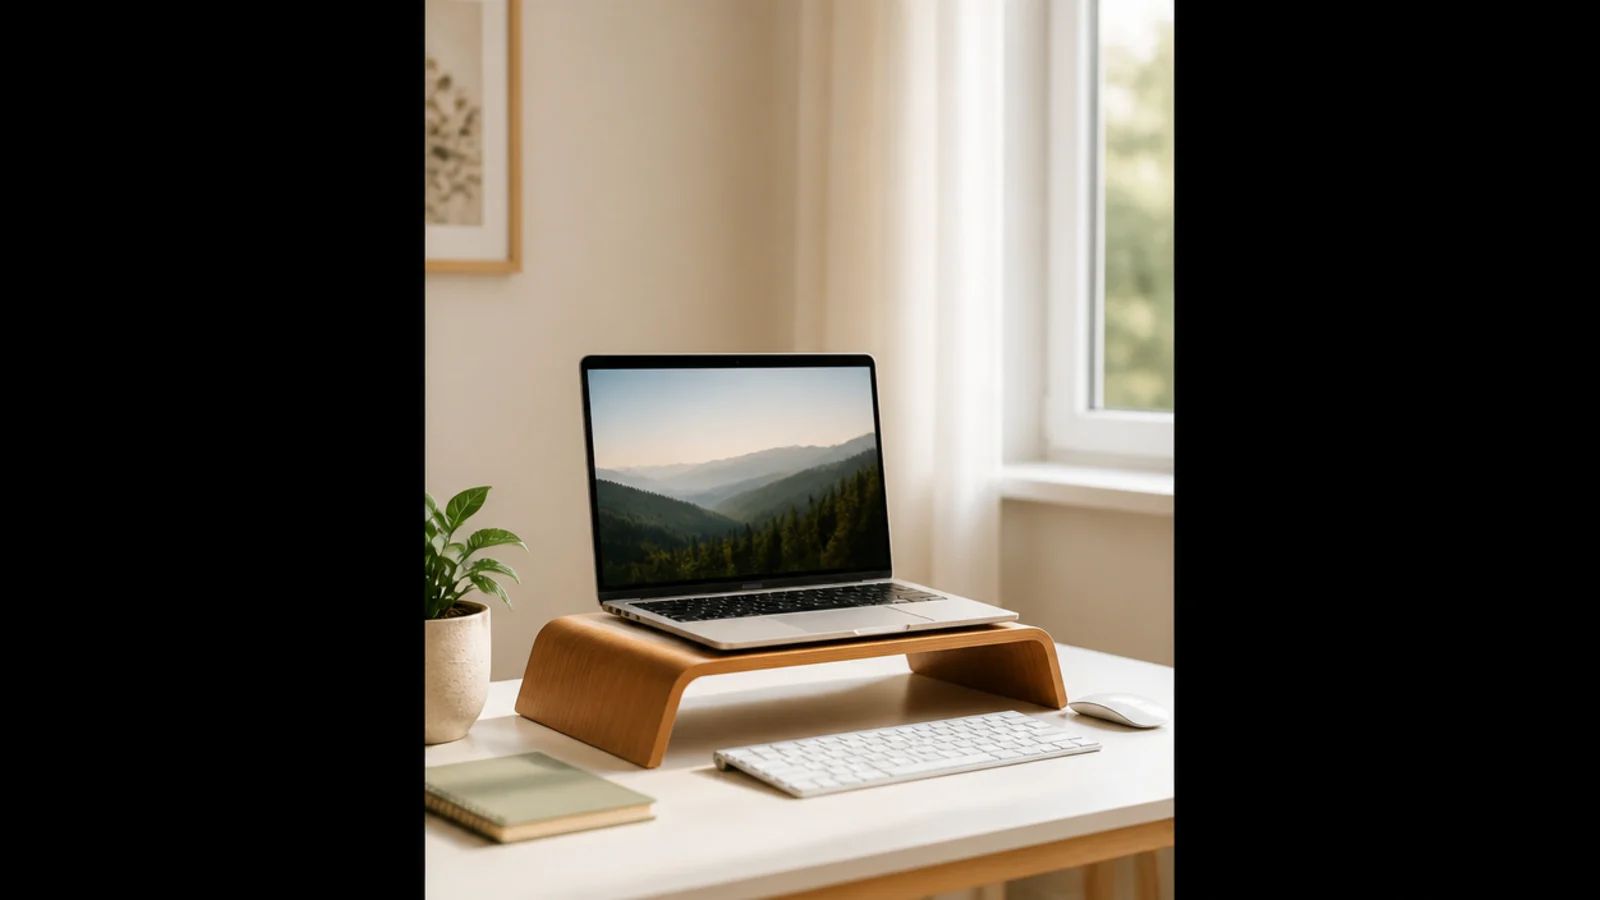
1. Monitor Riser With Under-Storage
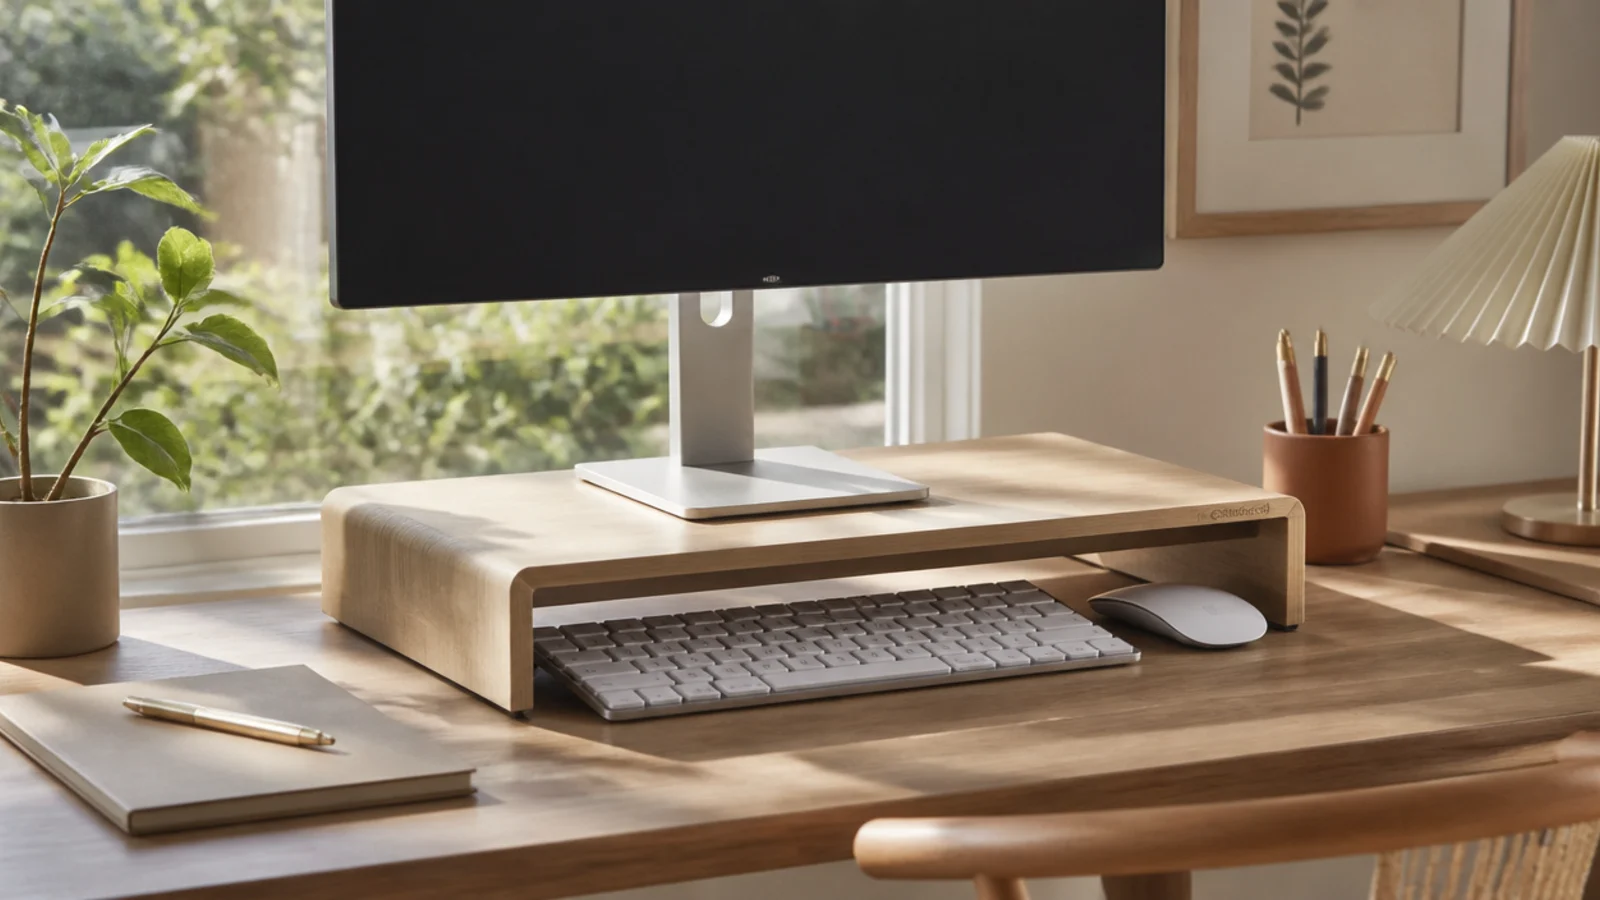
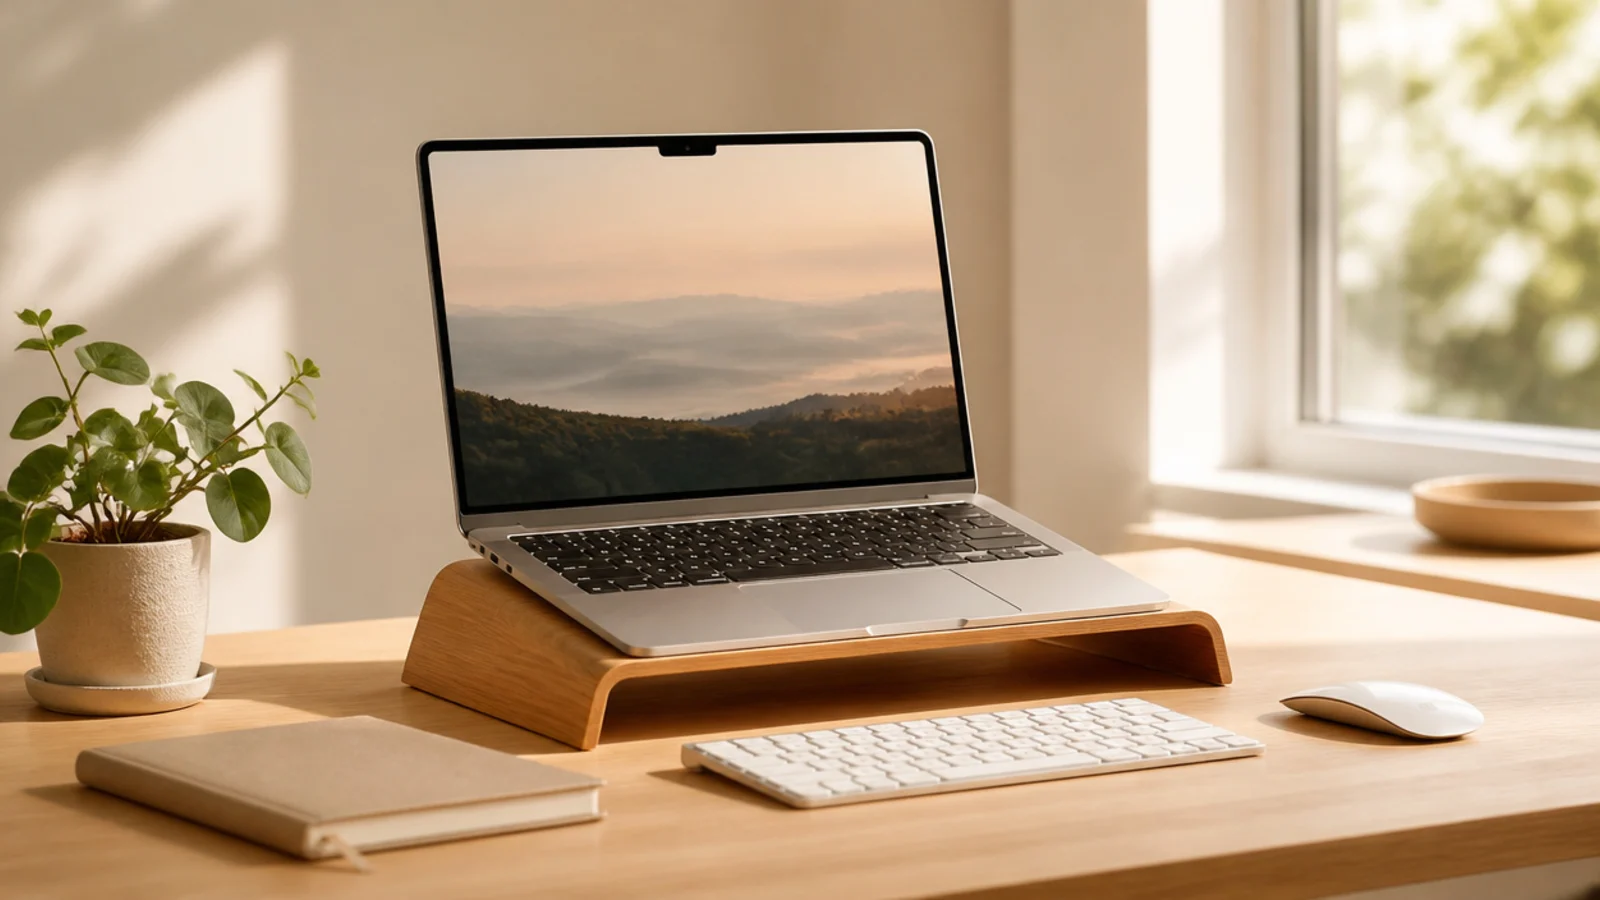
On a small desk, the space under a raised monitor is the easiest square footage to reclaim. A riser lifts the screen to eye height and lets you slide the keyboard, a notebook, or a slim tray underneath. It’s the first move because it instantly doubles the usable area of your one small surface.
Measure your desk depth and pick a riser that doesn’t overhang the front edge (around 12 inches deep suits a shallow desk). Set the top of the screen at eye level. When you step away, slide the keyboard and mouse into the gap beneath. Add one slim tray under there for a notebook so it’s stored but reachable. Keep the riser top clear except for the monitor.
Choose a riser with a small built-in drawer so even your pens and phone hide underneath instead of taking surface space.
Don’t buy a riser deeper than your desk; an overhanging rister wastes the front inches you most need to keep clear.
2. Under-Shelf Hanging Basket
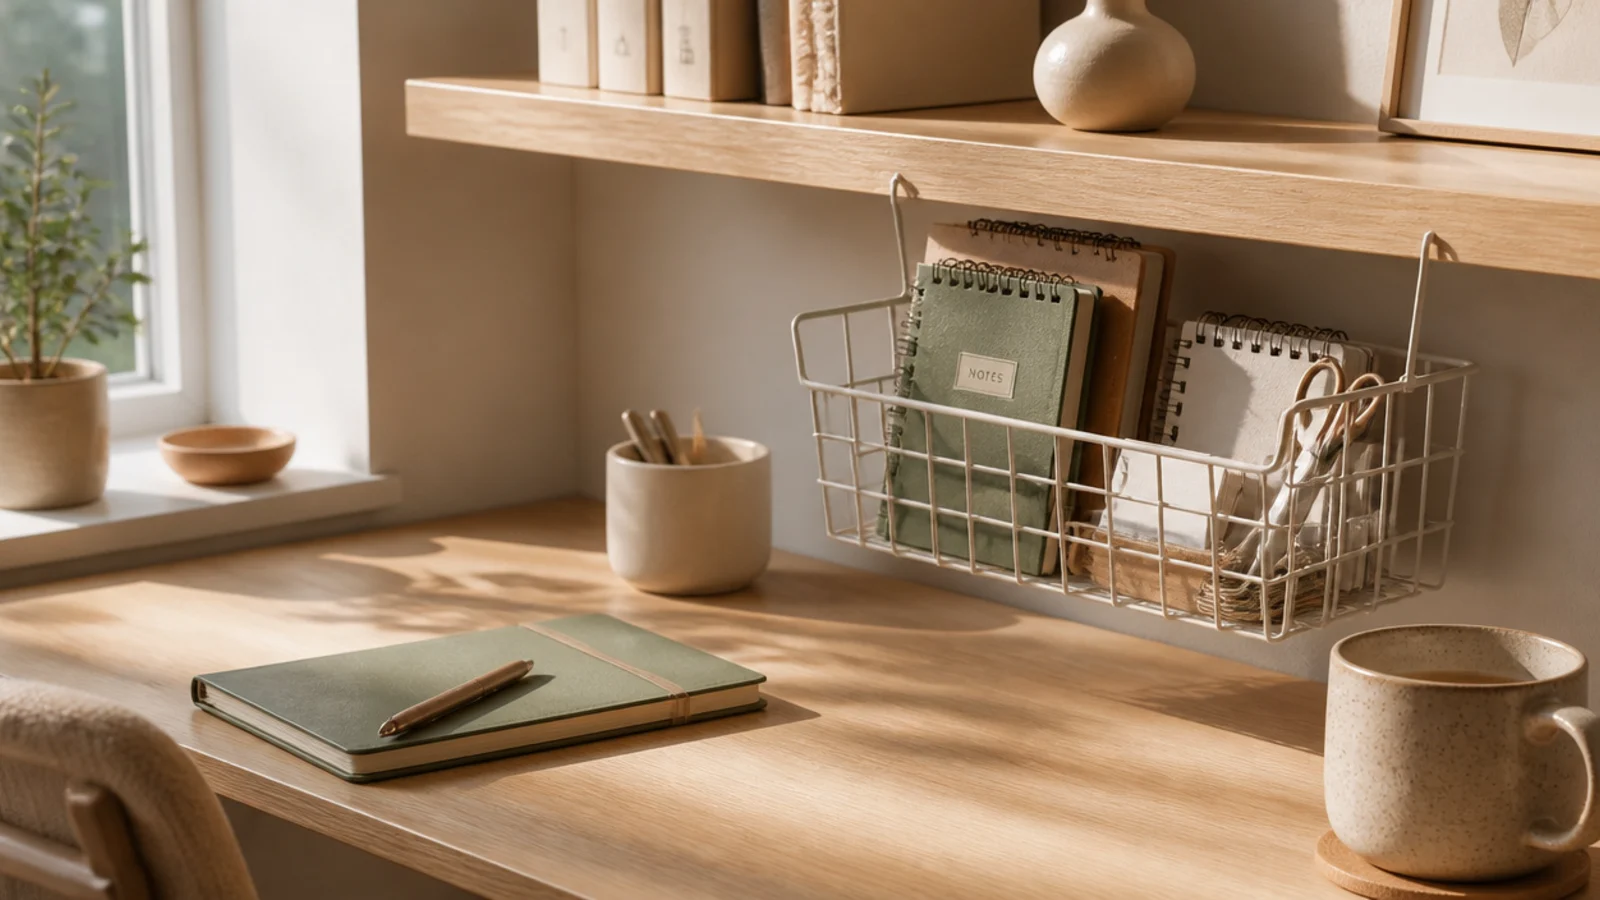
If there’s a shelf above your desk, the space under it is free storage you can grab in seconds. A slide-on wire basket hangs beneath the shelf and holds notebooks or supplies without touching the desktop. It uses the dead air between shelf and desk that’s otherwise wasted.
Measure the shelf thickness and buy a slide-on under-shelf basket that clamps onto it (they come in a few widths). Slot it on and load it with flat, light items — a notebook, a folder, small supplies. Keep the weight modest so it doesn’t bow a thin shelf. Position it toward the back so your head clears it when you lean in.
Editor's noteUse a basket with a solid bottom for loose small items so nothing falls through the wire onto your keyboard below.
Skip thisDon’t overload it on a flimsy shelf; a sagging basket in your face defeats the space you were trying to save.
3. Floating Wall Shelf
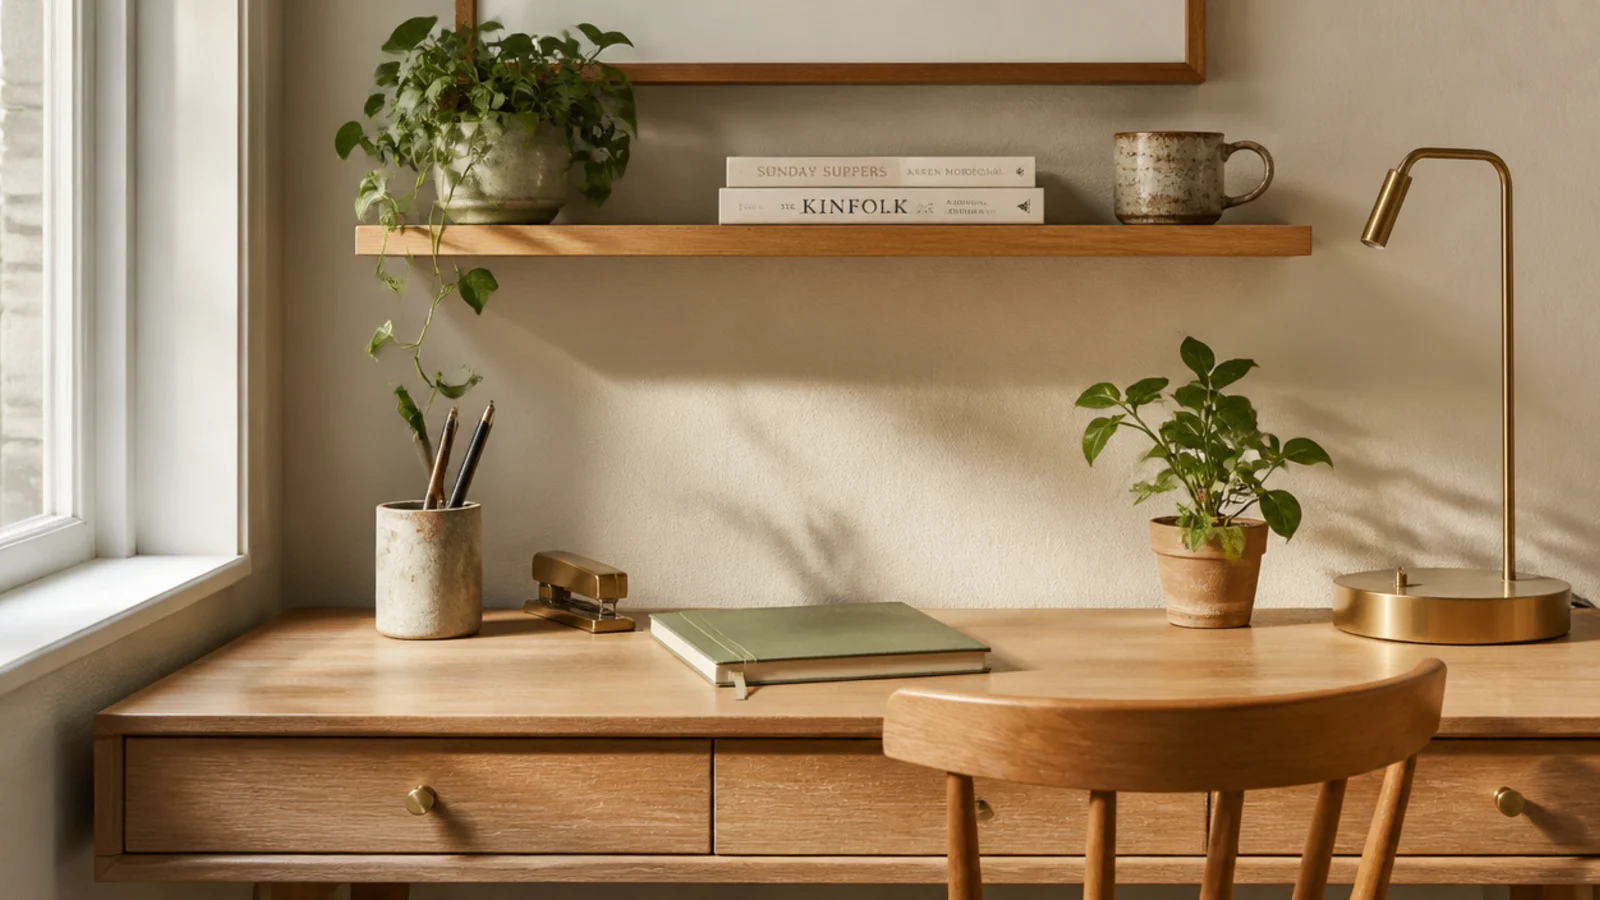
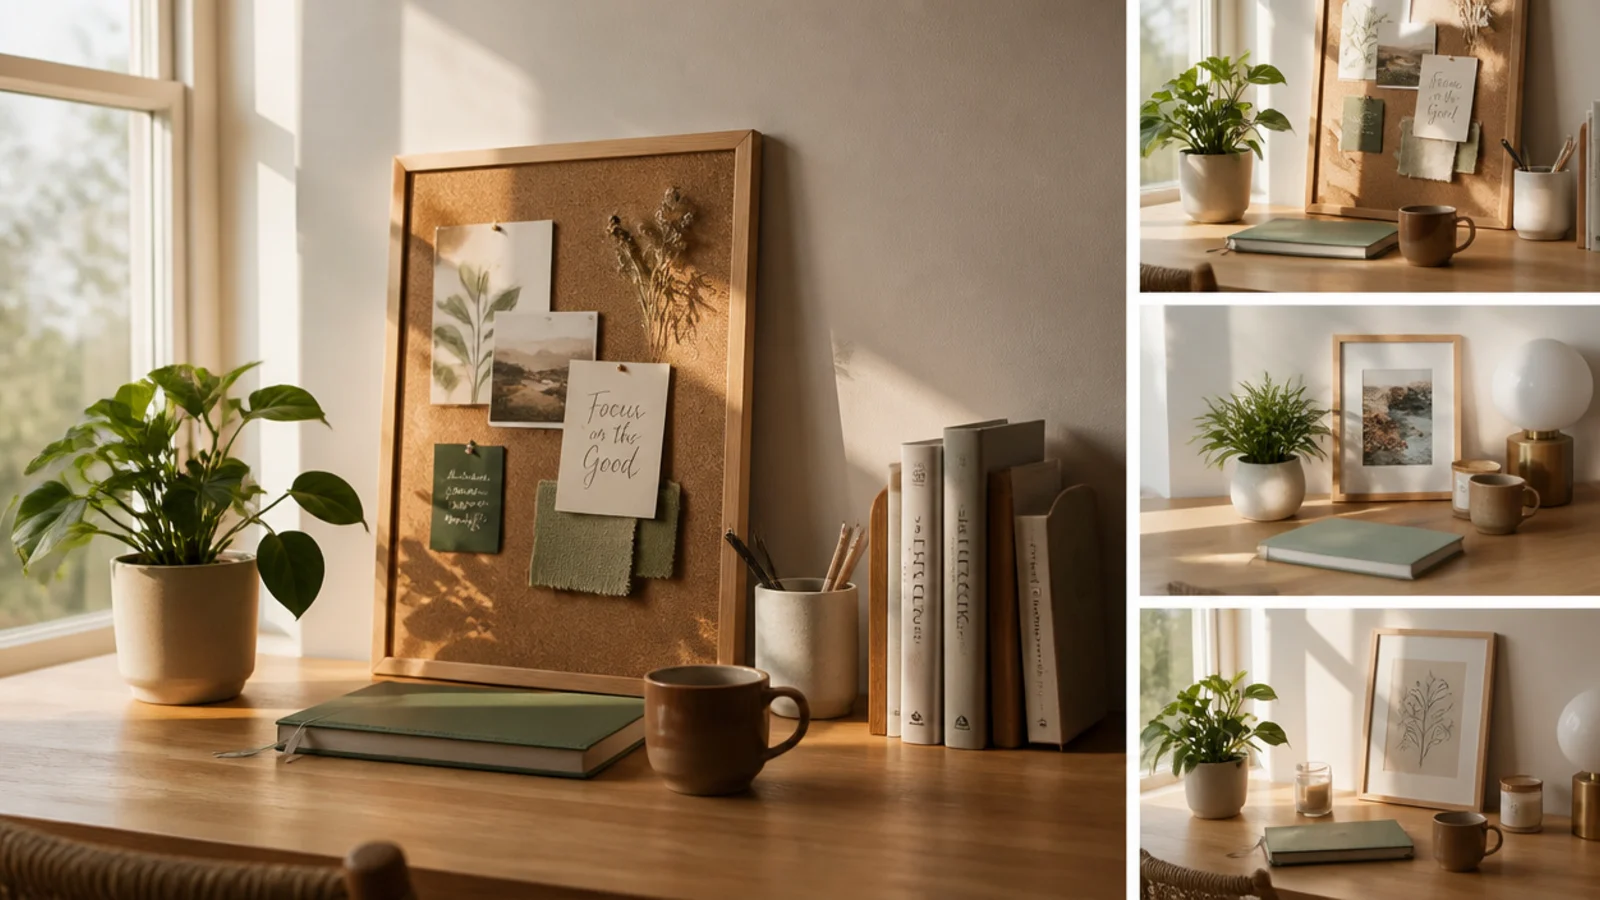
The wall above a small desk is usually empty, and a single floating shelf turns it into storage. It gets your books, a plant, and a supply cup off the surface and up out of the way. One well-placed shelf can clear half a small desktop.
Mount a slim floating shelf (6-8 inches deep) on the wall a foot or so above the desk, using anchors rated for the load and a level. Keep the shelf itself edited — a plant, two or three books, a small cup, and breathing room. Store reference and less-used items here so the desk stays for daily work. Put the heaviest items near the brackets, not the center span.
Mount the shelf high enough that your monitor and head clear it, but low enough to reach without standing up.
Don’t overload a floating shelf or hang it on drywall without anchors; a shelf that pulls loose takes the wall with it.
4. Pull-Out Keyboard Tray
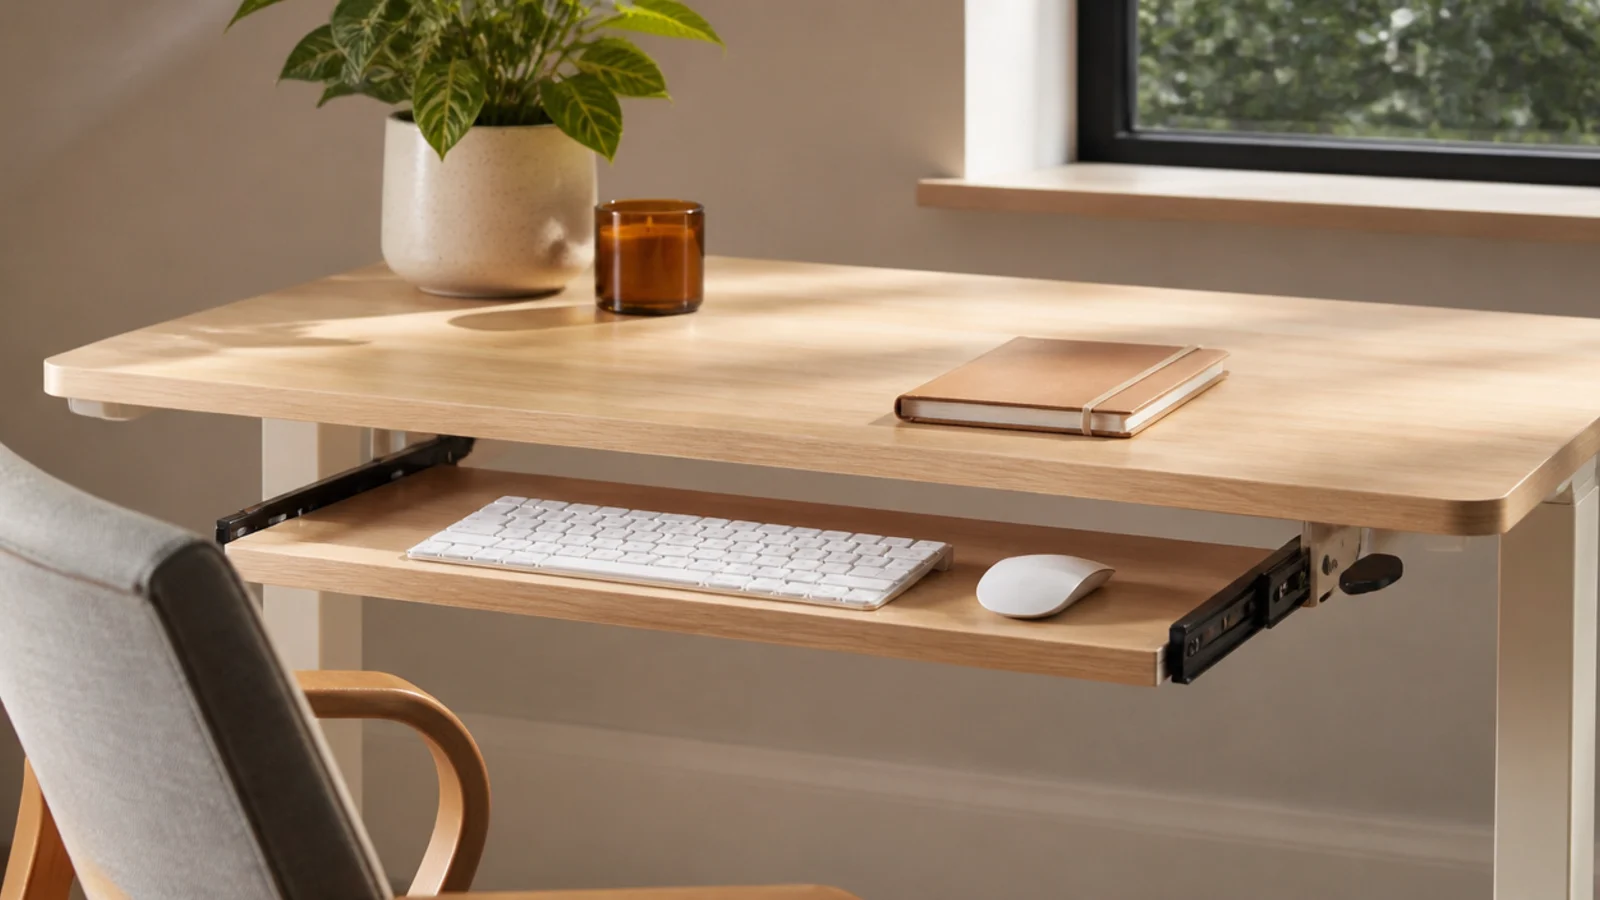
A keyboard tray mounted under the desk moves your keyboard off the surface entirely, giving you the whole desktop back when you’re not typing. On a small desk that’s a huge gain. It also improves your typing posture by lowering the keyboard.
Measure the under-desk clearance and buy a clamp-on or screw-mount keyboard tray that fits your keyboard width. Mount it under the front edge so it slides out over your lap. Set the height so your forearms are level when typing. Slide it away when you need the full desktop for writing or spreading out papers. Route the keyboard cable up through a clip so it doesn’t snag.
Editor's noteA clamp-on tray installs without drilling, which makes it perfect for a rental or a desk you can’t modify.
Skip thisDon’t mount it so low your knees hit it; leave thigh clearance or you’ll never actually slide it out.
5. Pegboard Vertical Storage
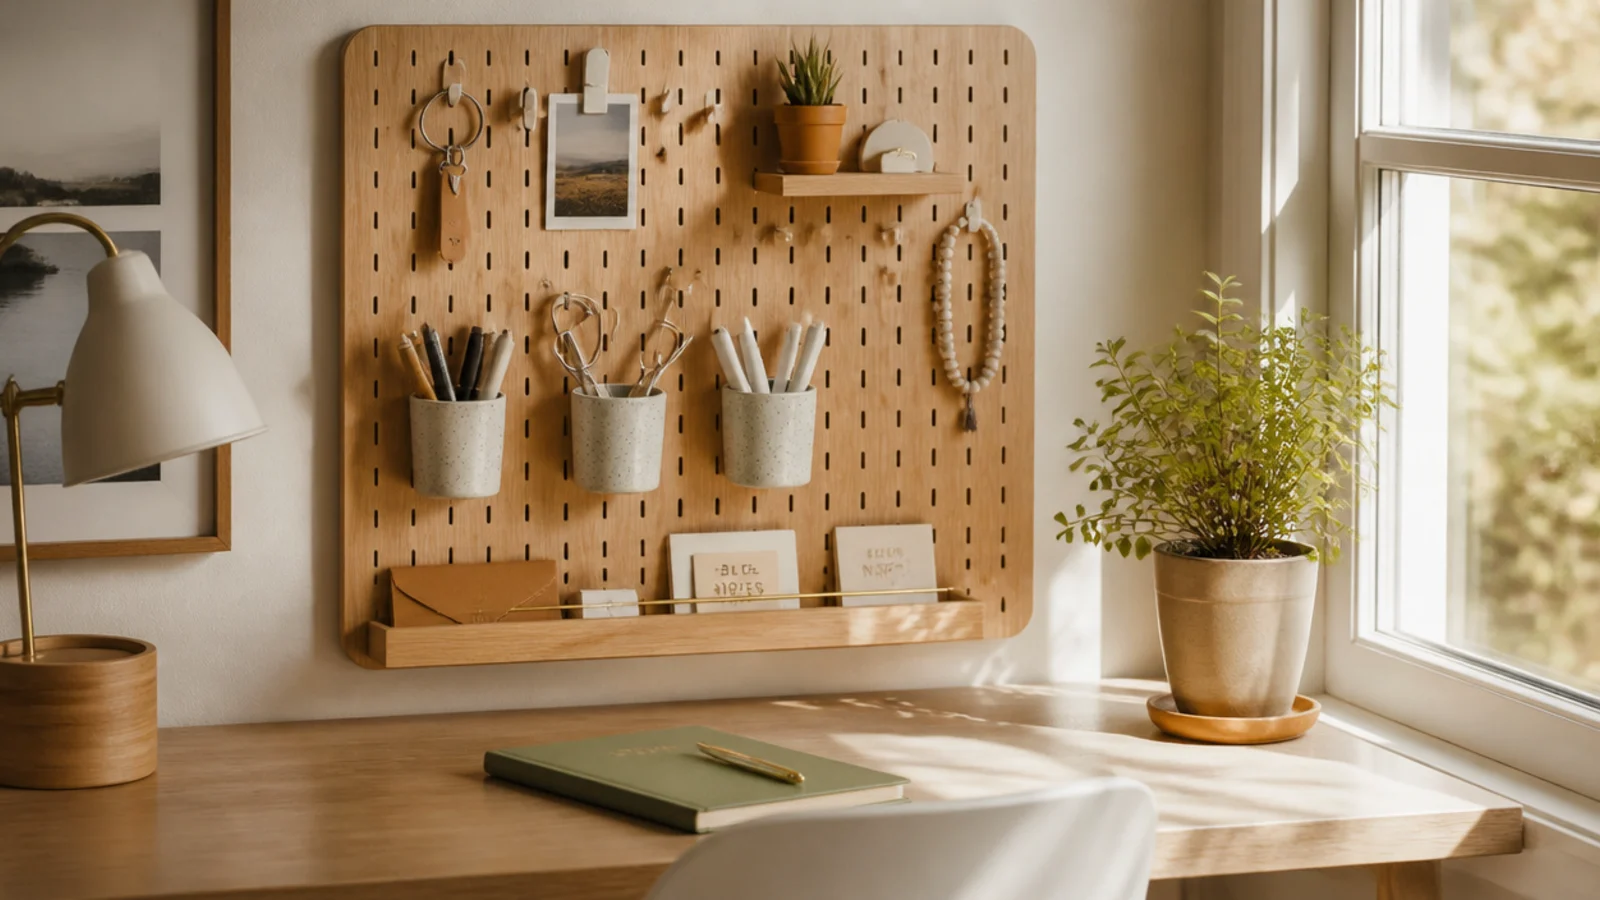
A pegboard converts the whole wall behind a small desk into flexible, off-surface storage. Hooks, small cups, and a mini shelf hold everything the desktop can’t. Because it’s vertical, it adds a lot of storage for almost no footprint.
Mount a pegboard on the wall behind the desk with the included standoffs so hooks can slot through. Hang your most-used items at arm height — headphones, a pen cup, a small basket, cables. Add a narrow shelf accessory for a plant or notebook. Keep the layout spaced and edited so it reads organized rather than busy. Reconfigure hooks anytime your needs change.
Put the things you grab most in the center at eye level and less-used items toward the edges and corners.
Don’t fill every hole; a packed pegboard becomes visual noise and you lose track of where things go.
6. Corner Shelf Riser
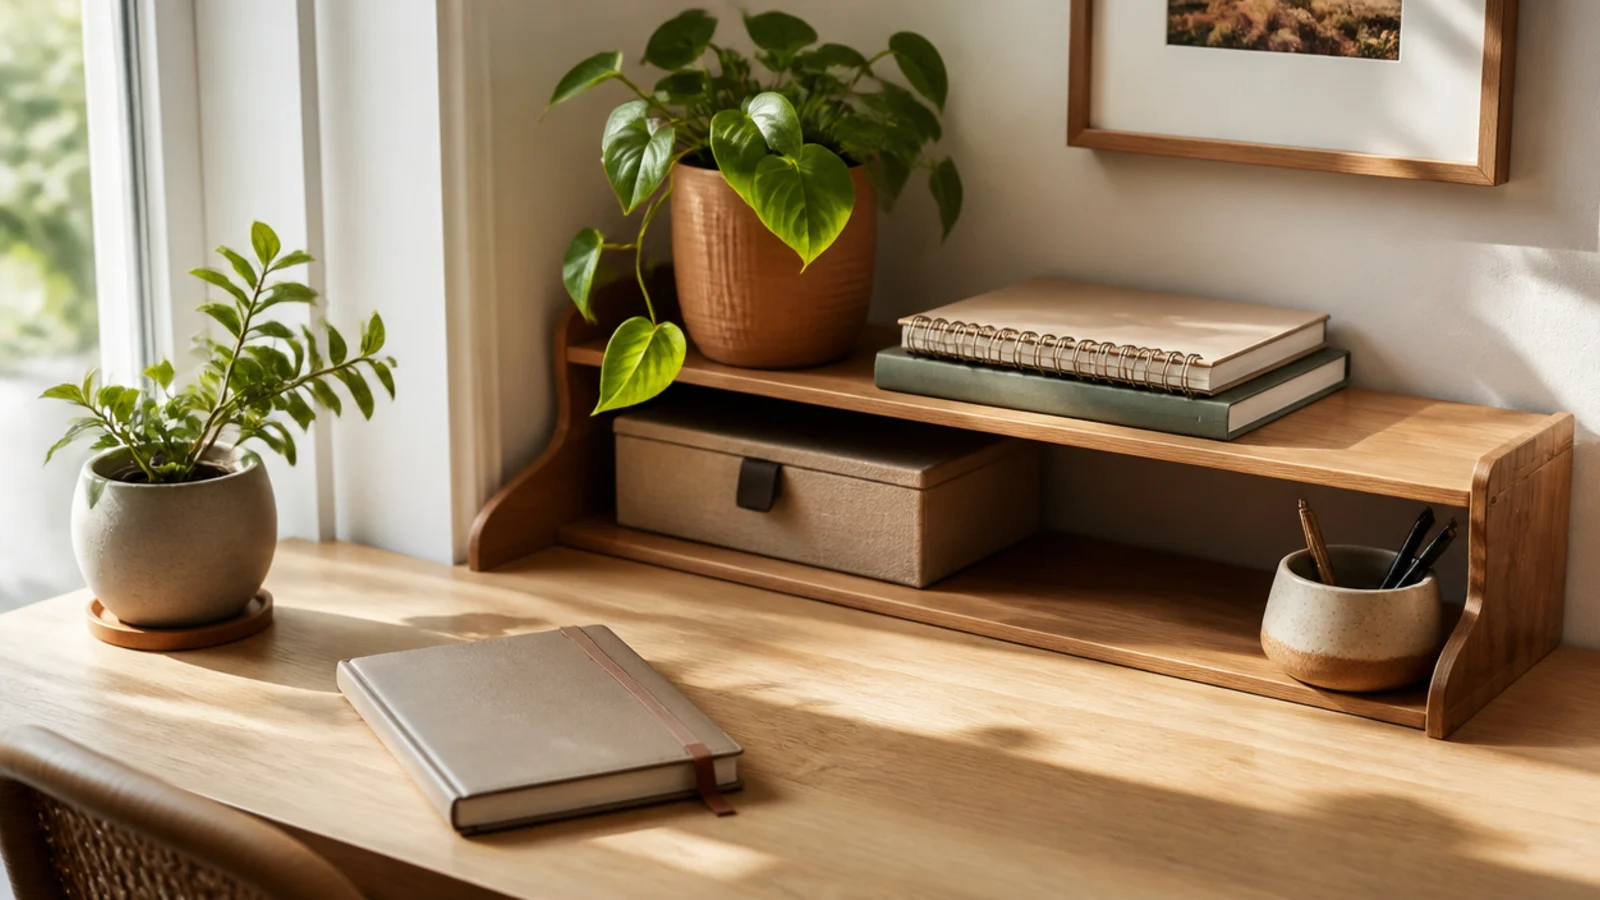
The back corner of a small desk is awkward, hard-to-reach space — a tiered corner riser makes it useful. It stacks a couple of levels of storage into the spot you’d otherwise waste. Perfect for lifting a plant, a clock, or reference books out of your working area.
Fit a small two-tier riser or a corner shelf unit into the back corner. Use the tiers for items you want visible but not underfoot — a plant, a clock, a couple of books, a small dish. Keep it shallow so it doesn’t push into your work zone. Anchor a taller unit to the wall if there’s any risk of tipping.
Editor's noteUse the awkward back corner for display-only items so your reachable front space stays clear for actual work.
Skip thisDon’t put daily-use items on a back-corner riser; if you reach for it constantly, it belongs closer to your hands.
7. Under-Desk Cable Tray
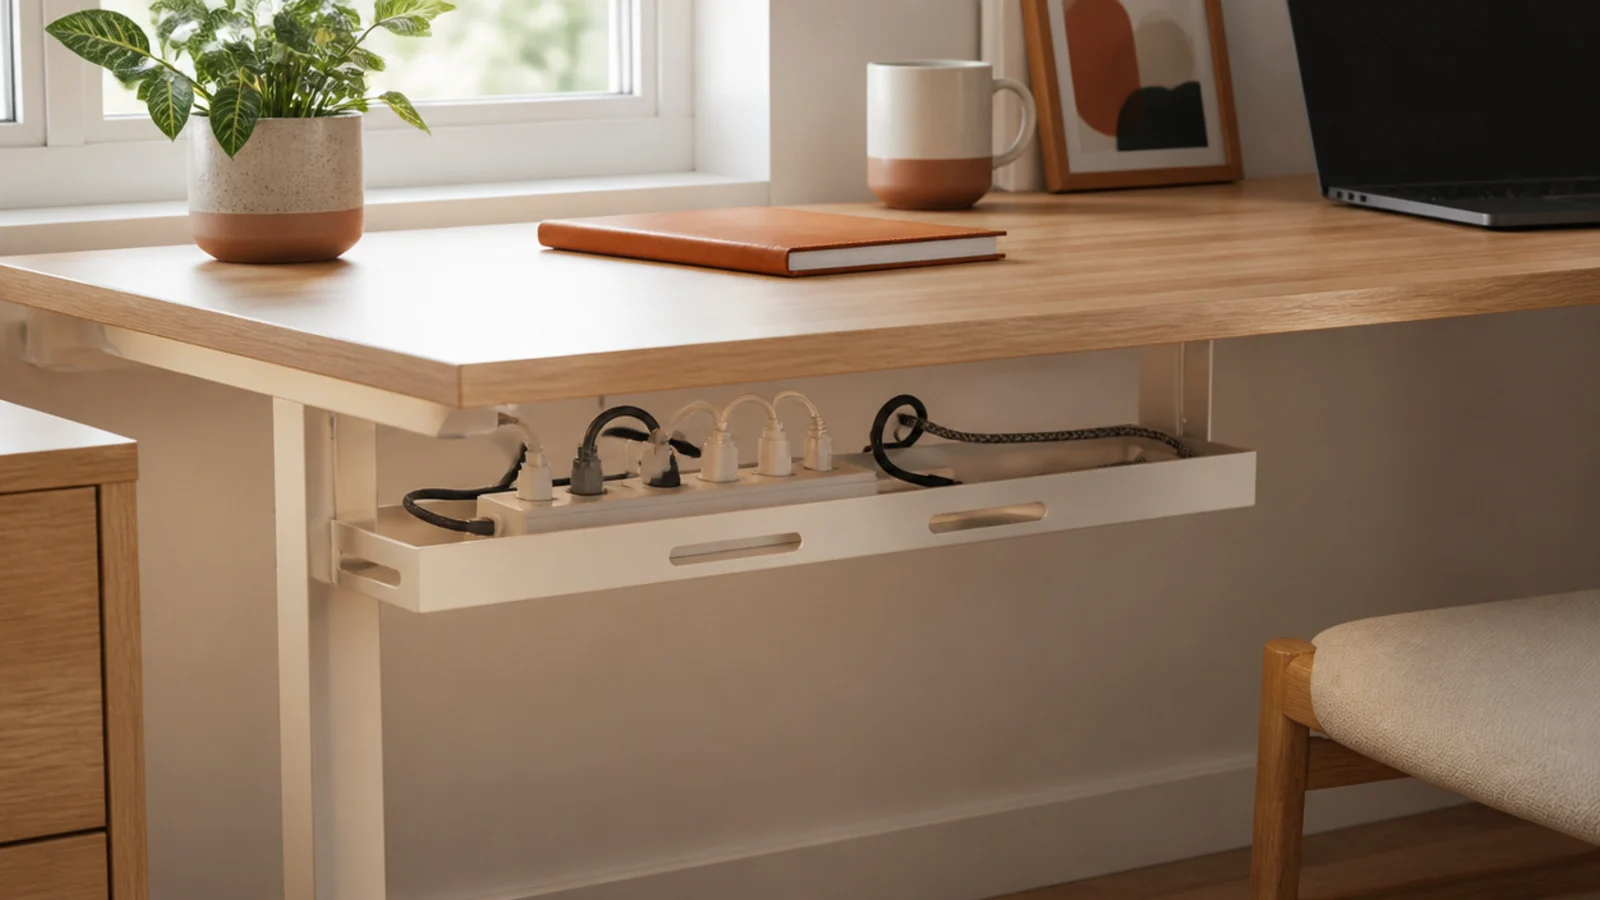
On a small setup, even a few loose cables look like major clutter and eat floor space you need. A tray under the desk holds the power strip and slack so nothing pools below. It makes the whole area feel calmer and easier to clean around.
Mount a small adhesive or screw-on cable tray under the back edge and set the power strip inside. Run each cable down, coil the slack, and secure with a reusable velcro tie. Use short cables where you can so there’s less to hide. Clean the mounting surface with rubbing alcohol first if it’s adhesive so it holds.
Editor's noteUse short 1-3 foot cables instead of the long ones devices ship with; less slack means less to manage in a small space.
Skip thisDon’t leave the power strip on the floor; on a small desk that’s the corner where dust and cable tangle collect.
8. Under-Desk Headphone Hook
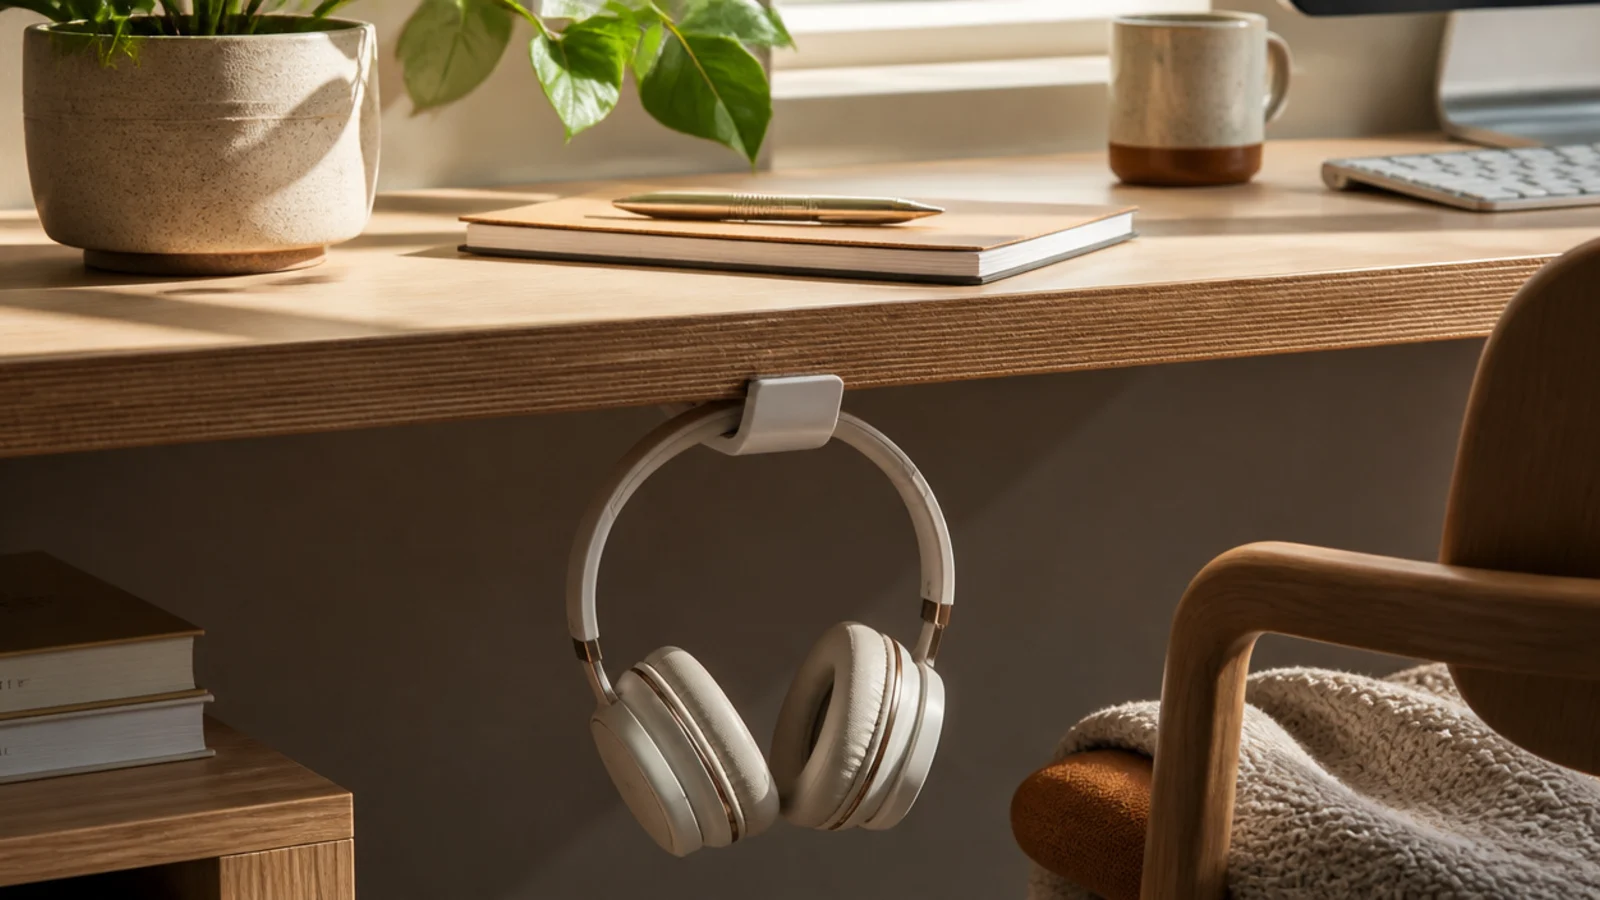
Headphones take up a big chunk of a small desktop. A hook under the desk edge hangs them completely out of the way and out of sight. It’s a two-minute fix that reclaims a surprising amount of surface.
Stick an adhesive hook (rated for the headphone weight) under the front or side edge of the desk after wiping the spot with rubbing alcohol. Hang the headphones by the headband so they keep their shape. Coil any cable and tuck it up with the headphones. Let the adhesive cure a few hours before hanging weight on it.
Editor's noteMount the hook on your non-dominant side so your headphones are reachable but never in the way of your mouse hand.
Skip thisDon’t hang heavy headphones on a light adhesive hook; check the weight rating or it’ll drop them within a week.
9. Wall-Mounted Drop-Leaf Extension
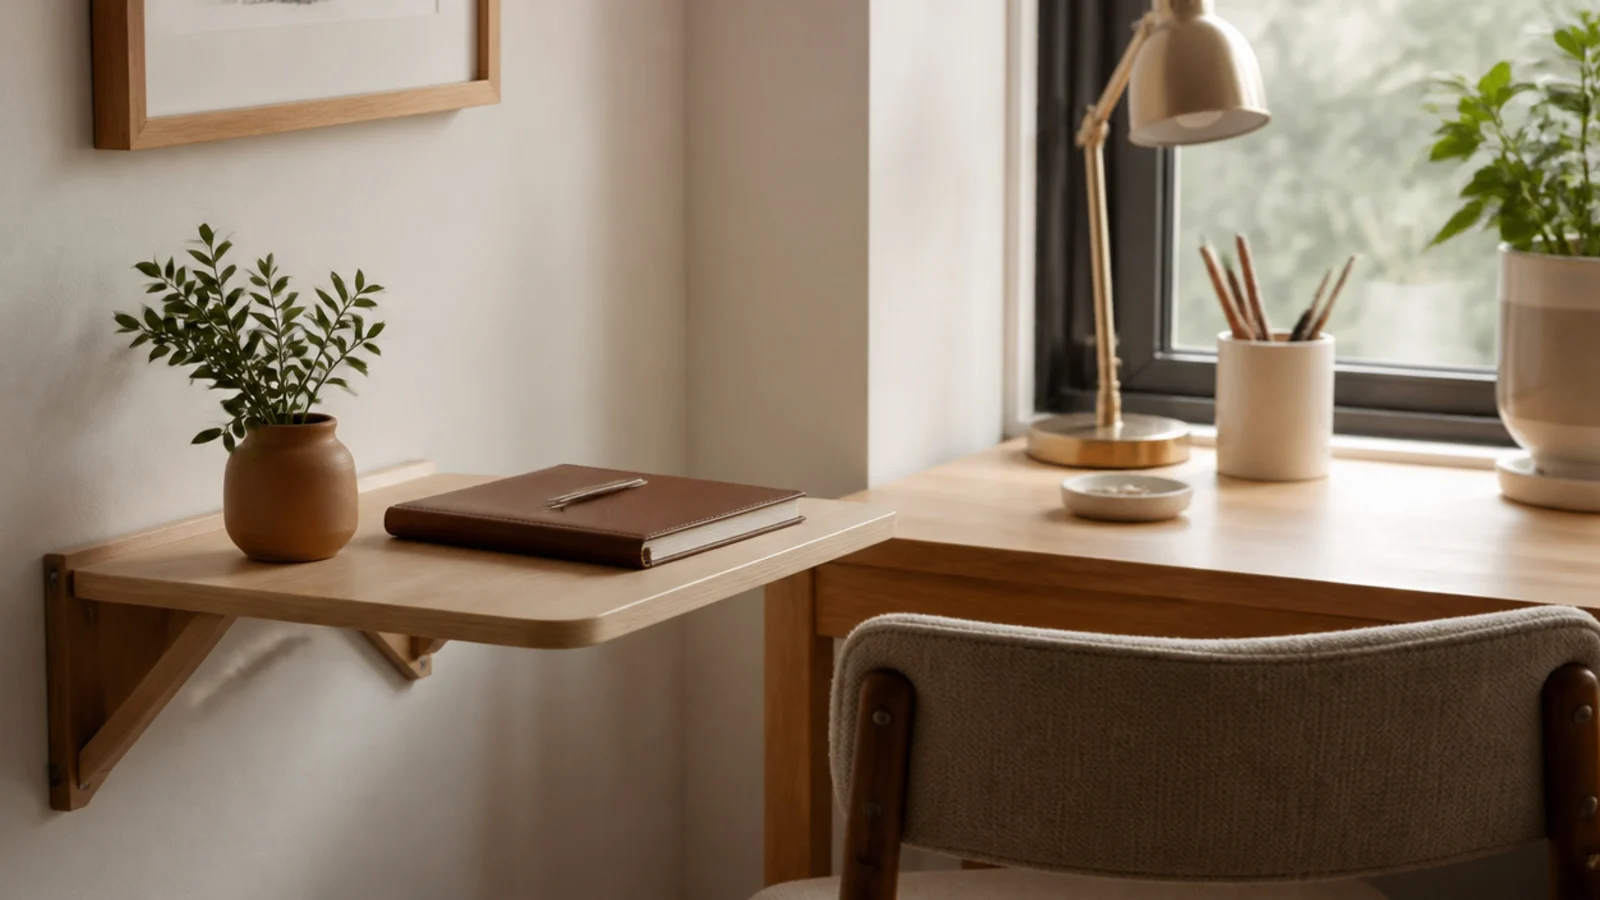
When you occasionally need more surface than a small desk offers, a fold-down drop-leaf shelf gives it to you on demand. It mounts on the wall and folds flat when unused, so it costs no permanent space. Great for spreading out papers or a second device now and then.
Mount a hinged drop-leaf shelf on the wall beside the desk at desktop height, into studs or with heavy-duty anchors. Fold it up when you need extra room and down flat against the wall when you don’t. Keep it clear when folded down so it can close. Use it for temporary overflow, not permanent storage.
Editor's noteSet it at the exact height of your desk so the two surfaces line up into one continuous work area when extended.
Skip thisDon’t leave items on it that block folding; the whole benefit is that it disappears when you don’t need it.
10. Magnetic Strip for Metal Supplies
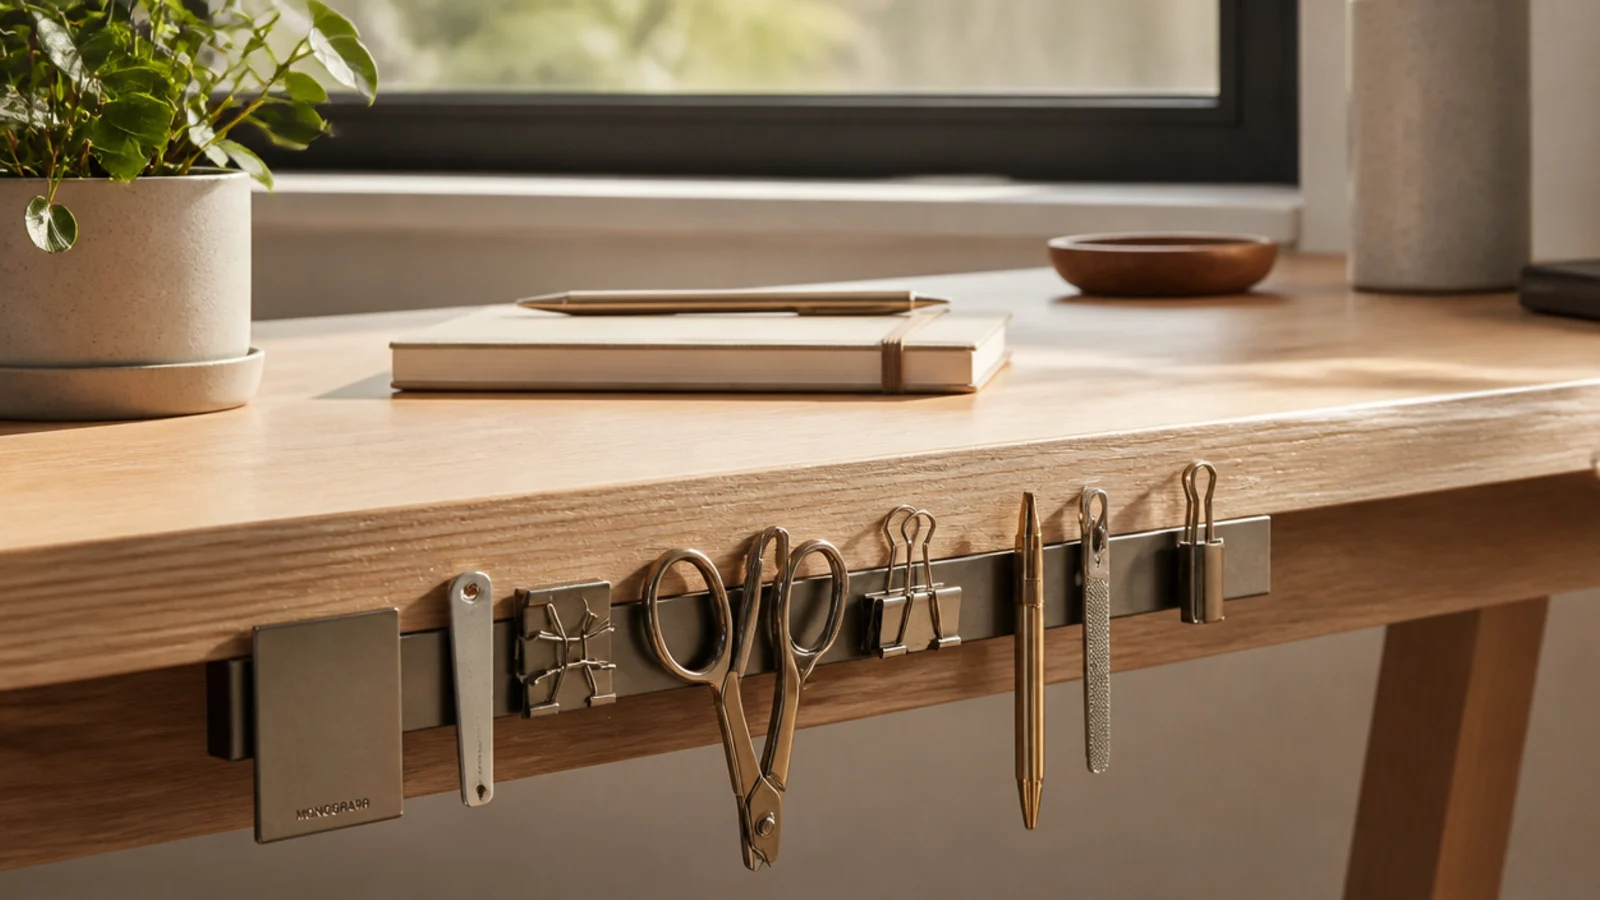
A magnetic strip mounted on the side of the desk or the wall holds all your small metal tools — scissors, clips, a nail file — vertically and visibly. It clears the little items that otherwise clutter a drawer or surface. Everything sticks in reach and drops off with a tug.
Stick or screw a magnetic knife-style strip to the side of the desk or the wall beside it. Attach scissors, binder clips, paper clips, and small metal tools directly to it. Keep it to genuinely magnetic items so nothing falls off. Position it where your hand naturally reaches but out of your main work path.
Editor's notePut a small metal tin of paper clips against the strip so even non-magnetic bits get held in one grabbable spot.
Skip thisDon’t mount it right over your keyboard; if something slips off the strip you don’t want it landing on the keys.
11. Over-Monitor Shelf
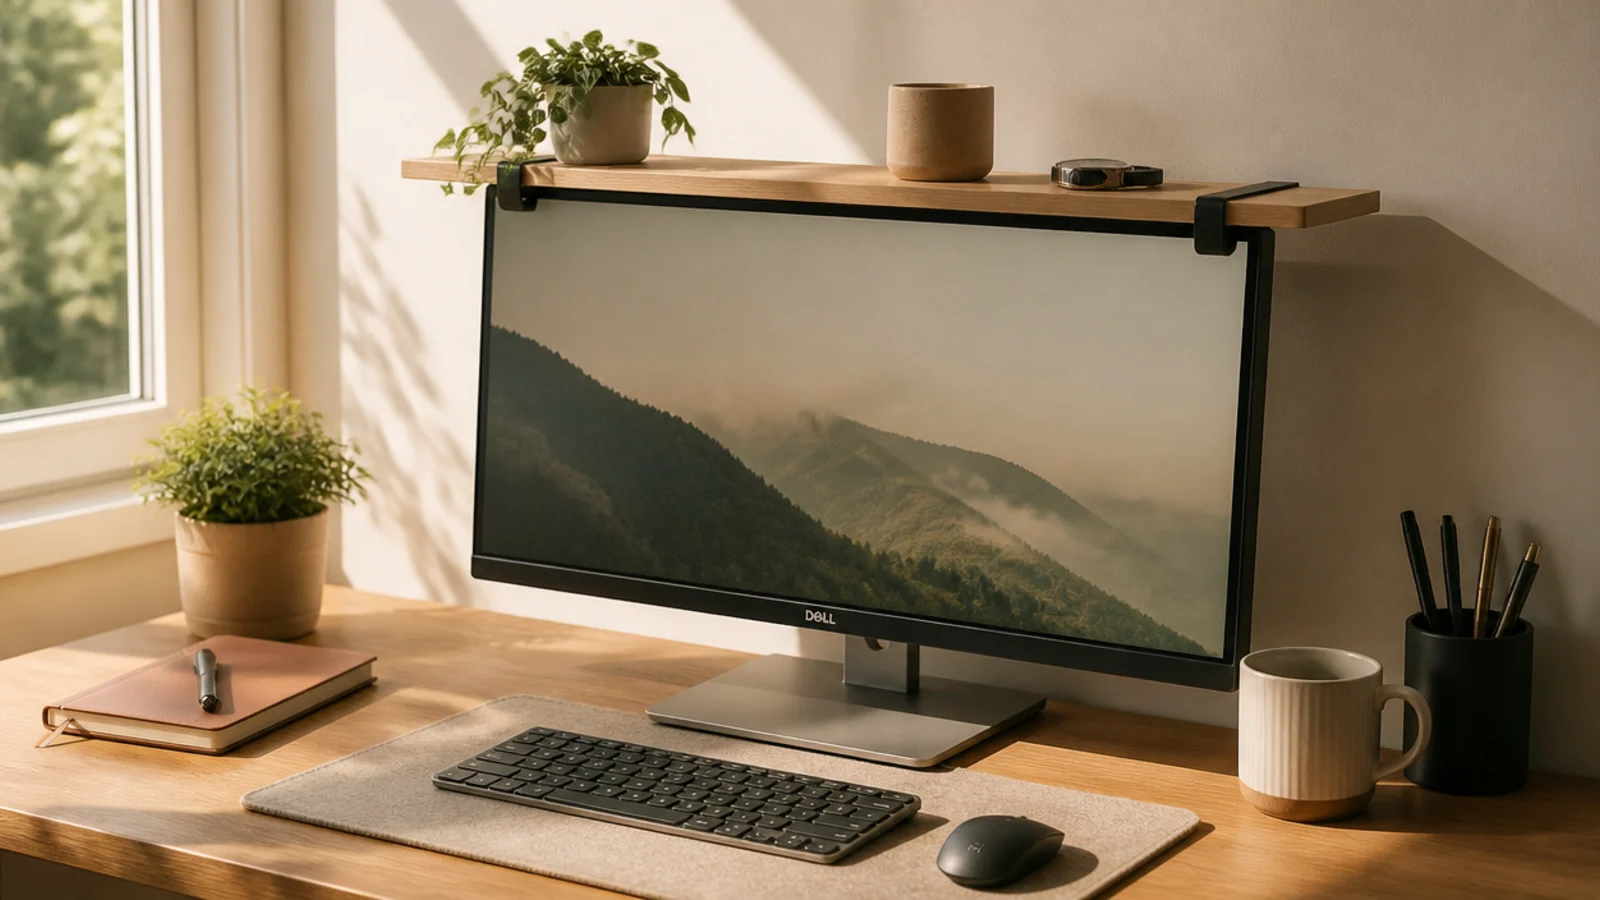
The top of your monitor is unused space, and a clamp-on over-monitor shelf turns it into a little storage ledge. It holds light items — a plant, a phone, sticky notes — completely off the desk. It’s clever, hidden storage most people never think to use.
Buy an over-monitor shelf sized to your screen’s width and clamp it onto the top bezel per the instructions. Load only light items — a small plant, a phone, a notepad. Keep the weight balanced so it doesn’t tip the monitor. Make sure it doesn’t block your webcam or any top-mounted sensors.
Use it for light, glanceable things like a plant or a note pad rather than anything heavy that could unbalance the screen.
Don’t put heavy or precious items up there; a knock to the desk can send them off the ledge onto your keyboard.
12. Nesting Stackable Trays
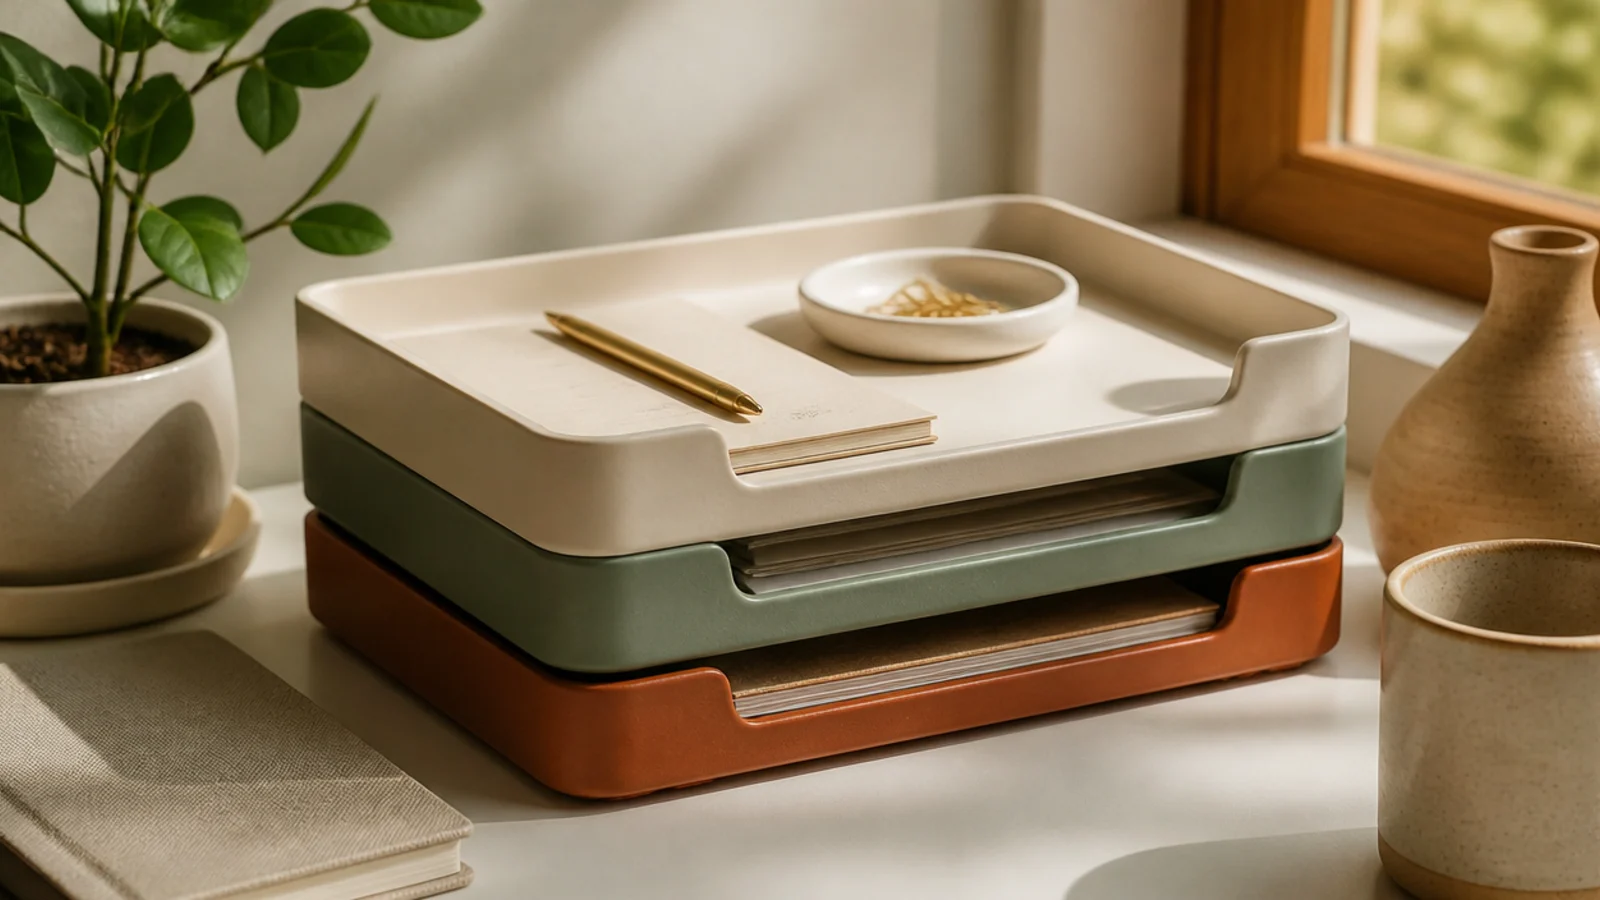
Stackable trays store papers and supplies upward instead of spreading them across a small surface. Nesting them uses one small footprint for several layers. It’s the most space-efficient way to keep a bit of paper and a few supplies on a tiny desk.
Choose small stackable letter trays or drawers that sit in one corner. Assign each layer a job — incoming paper, current work, supplies. Keep the stack to two or three so it stays stable and reachable. Pull the whole stack out to clean under it during your reset. Nest them down when you need maximum clear space.
Pick trays with a slight front cut-out so you can slide papers in and out without unstacking the whole tower.
Don’t stack them so high they wobble; a tall, tippy tower on a small desk is an accident waiting to happen.
13. Side-of-Desk Hanging Organizer
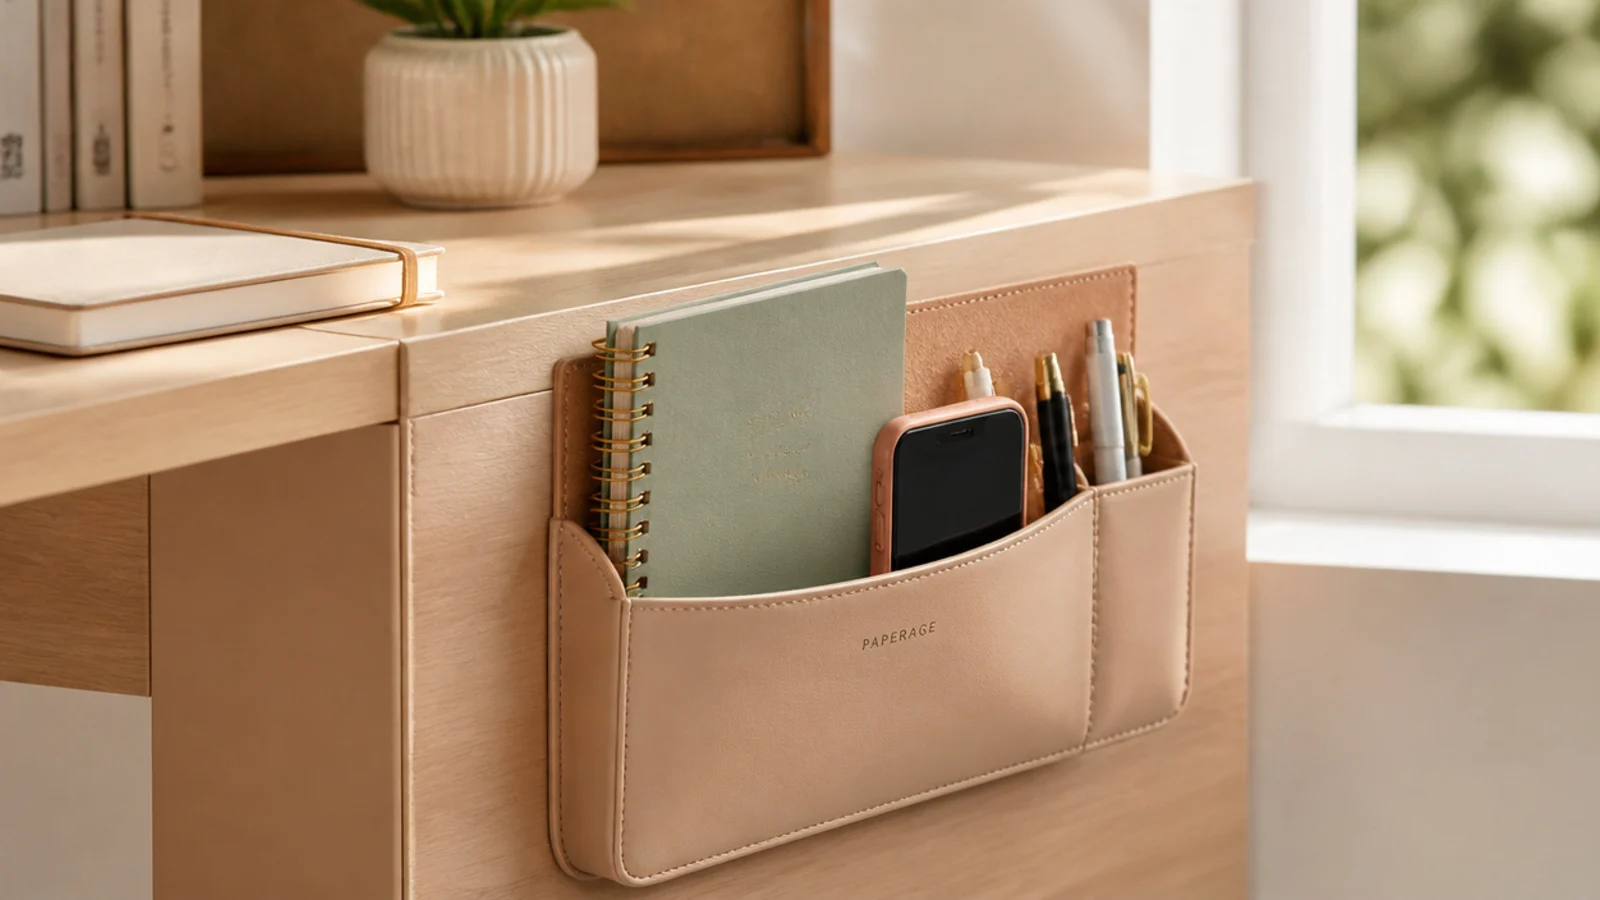
The vertical side of a desk is prime unused space, and a hanging organizer puts it to work. Adhesive pockets or a caddy hold a notebook, phone, and pens right at the edge without touching the top. It keeps daily items reachable but off the precious surface.
Stick an adhesive side-mount organizer or clamp-on caddy to the side of the desk after wiping it with rubbing alcohol. Use the pockets for flat daily items — phone, notebook, pens, glasses. Mount it on your dominant side within easy reach. Keep it light so the adhesive holds, and let it cure before loading.
Mount it on the side you sit closest to so daily items are a natural reach, not a lean-over.
Don’t load a side organizer with heavy items; weight peels adhesive mounts and drags clamp-ons out of square.
14. Vertical Phone and Pen Stand
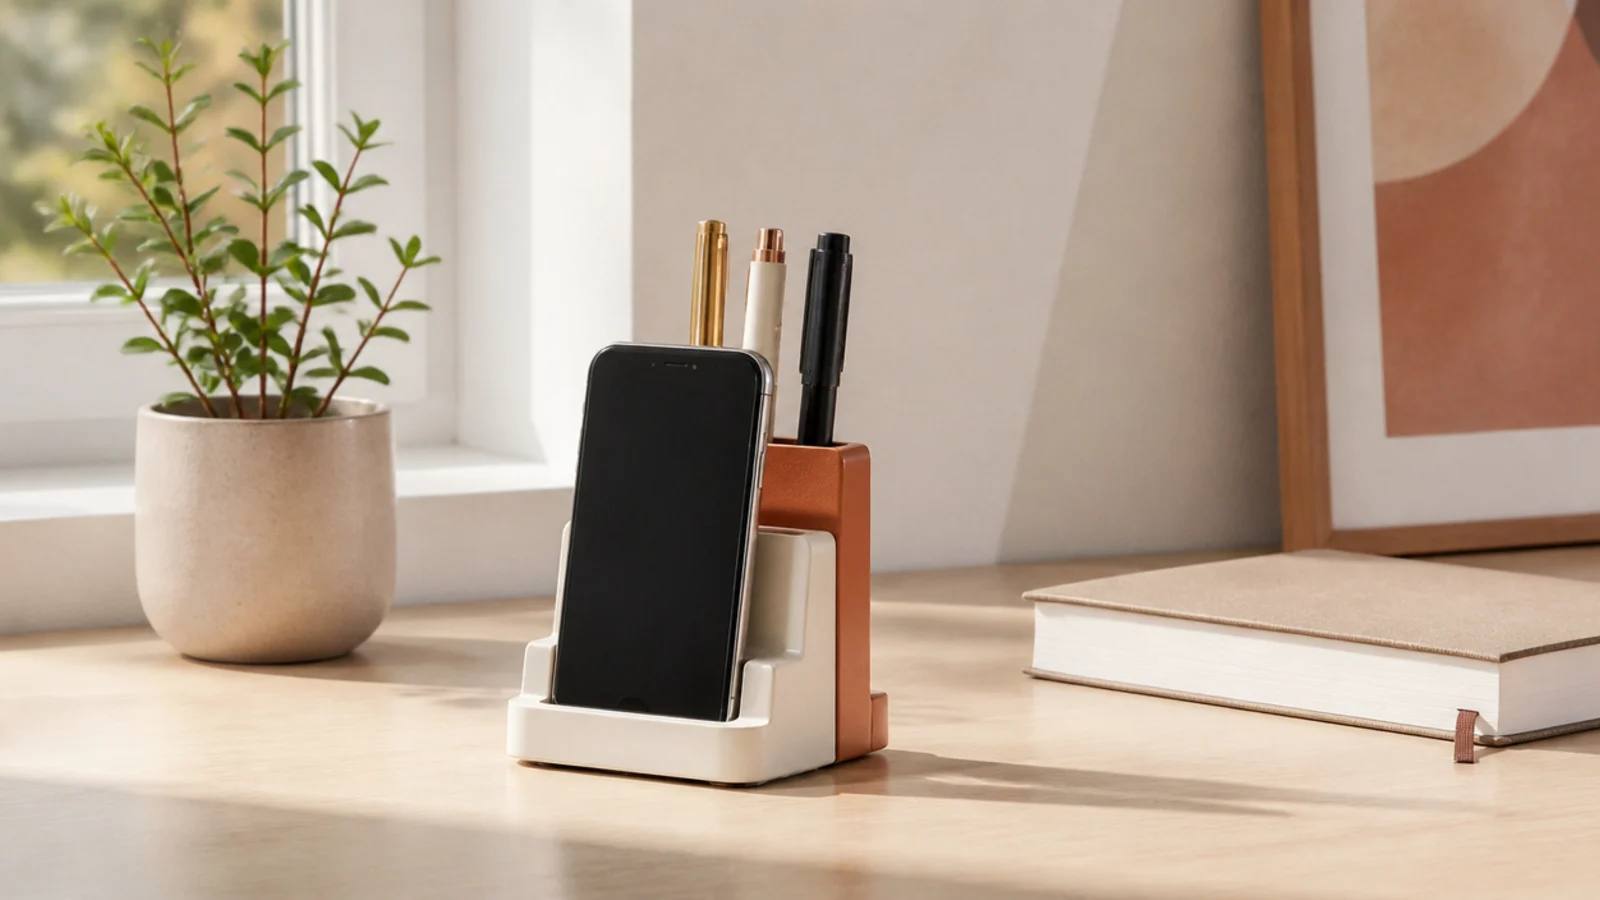
A combined phone-and-pen stand consolidates two desktop items into one small vertical footprint. Your phone stands propped and charging while a few pens sit in the same base. On a small desk, every combined item is a win.
Choose a slim stand with a phone slot and a pen section built in. Route a short charging cable through the base so the phone charges while docked. Keep only three or four pens in it so it stays compact. Set it at a back corner where the propped phone is visible but out of your working reach.
Editor's notePick a stand with a cable channel so the phone charges in place and you eliminate a separate charging spot entirely.
Skip thisDon’t choose a bulky combo stand with more slots than you need; extra empty compartments just waste your small footprint.
15. The One-In, One-Out Edit
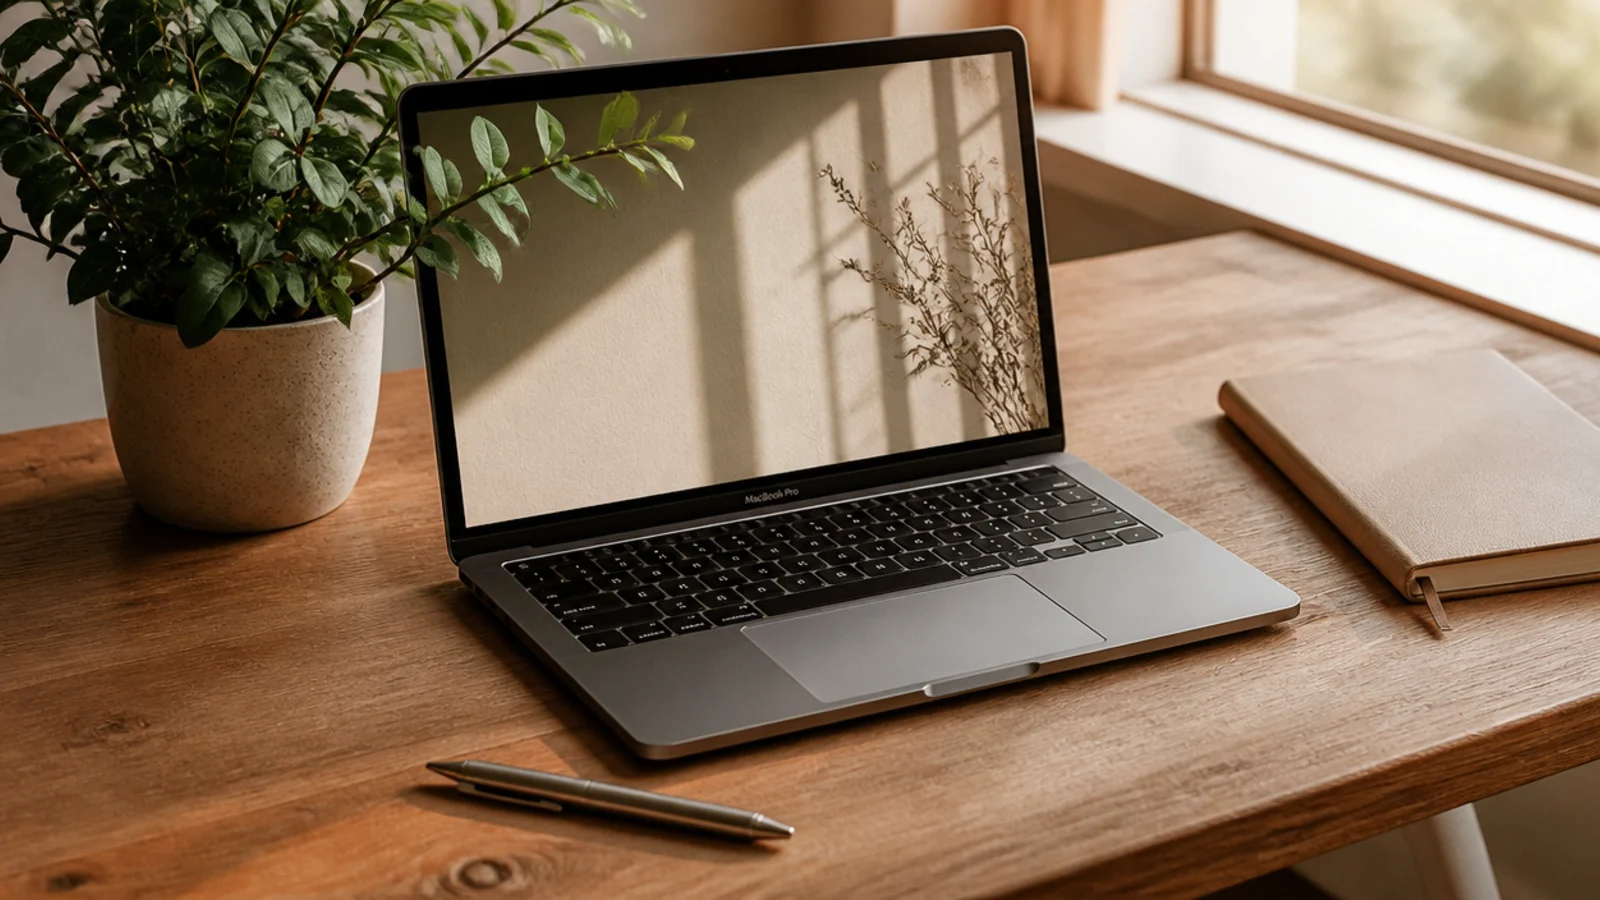
This is the rule that keeps a small desk working: for every new item that lands on it, one item leaves. A small surface has zero tolerance for drift, so the discipline matters more here than anywhere. It’s not a product — it’s the habit that makes the products unnecessary.
Do a full edit first, keeping only genuine daily items on the desk. From then on, whenever something new arrives, remove something else — store it, relocate it, or let it go. Do a daily reset so nothing accumulates overnight. When you’re unsure whether something belongs, default to moving it off; you can always retrieve it.
Editor's noteKeep a small 'off the desk' box nearby so demoting an item is instant instead of a decision you postpone.
Skip thisDon’t tell yourself an extra item is 'just for now'; on a small desk, temporary clutter becomes permanent fast.