
1. Crisp Square Desk Pen Box
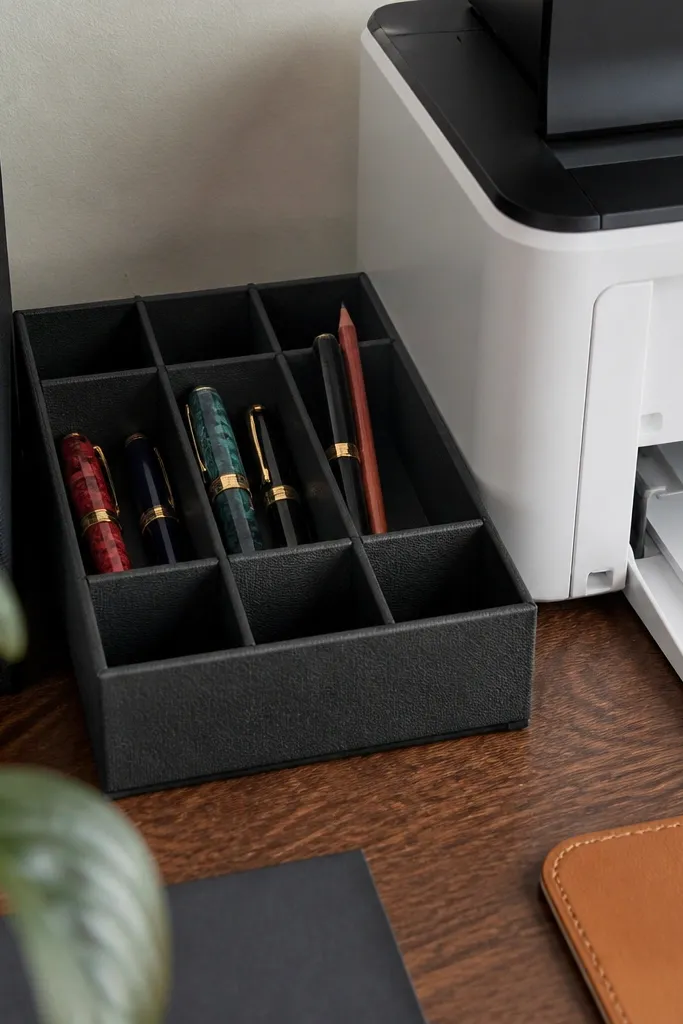
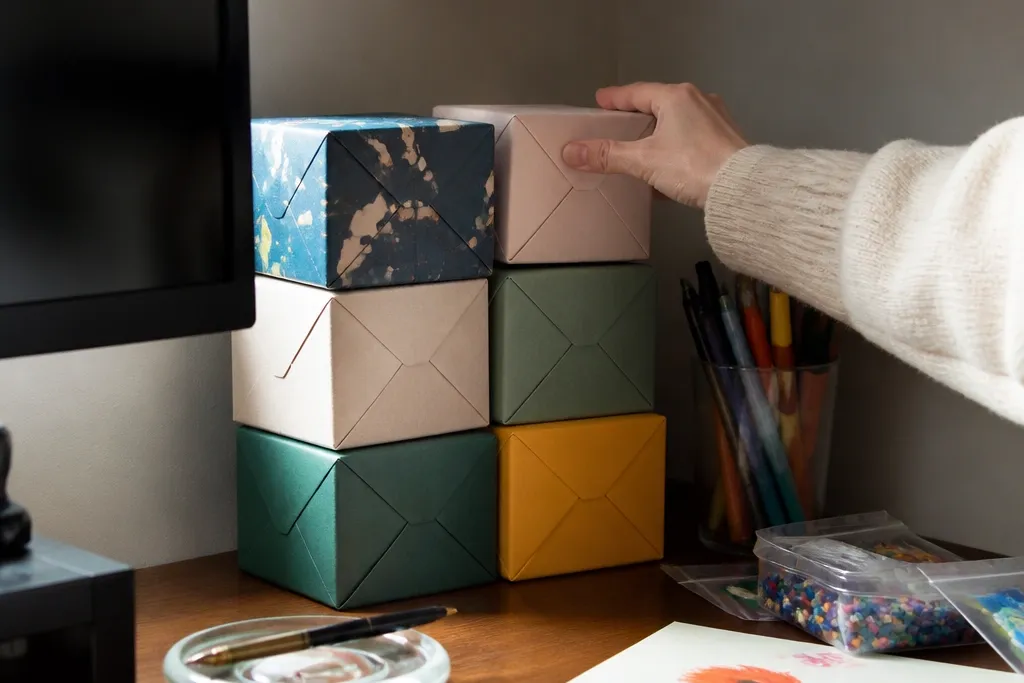
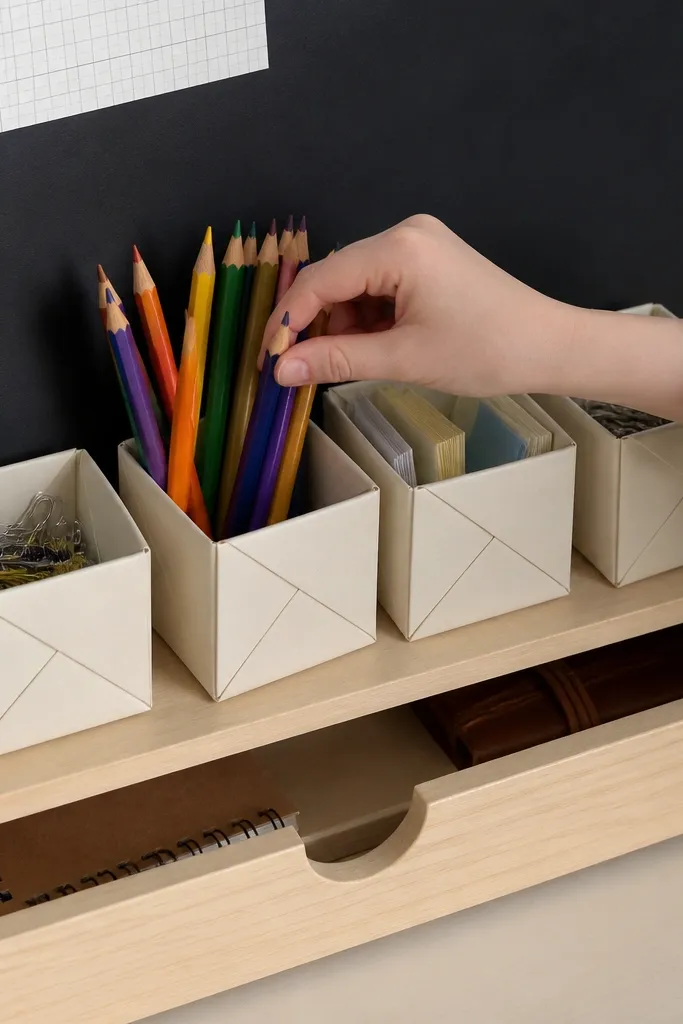
This is the box you make when your pen cup is too tall and your desk looks messy. A square desk box gives you a flat footprint and a straight silhouette, so it sits neatly beside a monitor stand or printer tray. The look stays sharp because the folds create a rigid wall grid, especially if you use cardstock instead of thin origami paper. It’s also easy to label with a tiny paper tag, so kids can grab the right supplies without rummaging.
Start with a square sheet of cardstock and fold it into a simple base with clear center creases. Fold each corner to create the wall pockets, then tuck the side flaps inward so the rim locks. Press along every crease with a bone folder, then test the fit by sliding a ruler edge into the opening to check it stays square. Finish by folding the top rim down flat and adjusting the corners so the box sits without wobble.
After you lock the sides, run the bone folder along the rim one more time — it tightens the box instantly.
Don’t use paper thinner than typical wrapping paper; it will droop after a few openings.
2. Two-Tone Drawer Divider Box
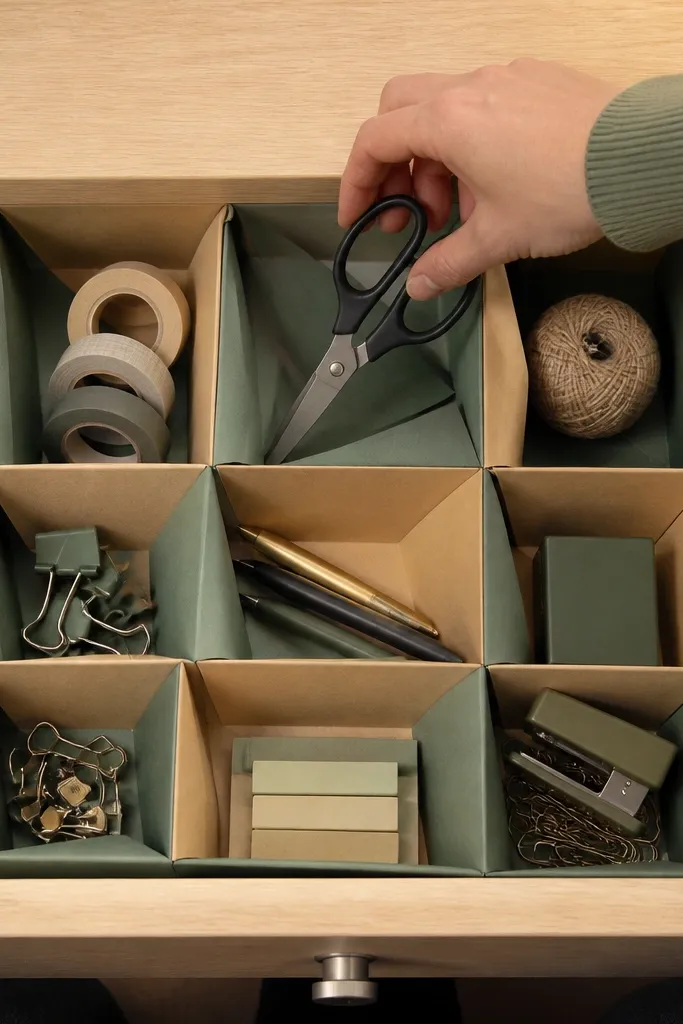
Cut two matching squares from thick paper: one dark, one light. Fold the base structure from the light square, then fold the dark square into the lid or outer panel so the colors frame the opening. Line up the corners carefully before you tuck the locking flaps. Finally, adjust the divider height by trimming only the top edge paper if the lid sits too high.
This is a desk-drawer fix with a good-looking payoff. When your “junk drawer” becomes a grab bag, drawer dividers turn it into a system — and the two-tone look makes the compartments feel intentional. The color blocking hides scuffs and keeps the drawer from looking chaotic. Make a set of matching boxes and you’ll stop losing small items like erasers, thumbtacks, and tiny hair ties.
Skip thisDon’t mix paper weights — heavier paper will make the lid sit crooked.
Editor's noteUse the same size paper for every box in the set so lids stack and drawers close smoothly.
3. Lid-On Mini Treat Box for Sticky Notes
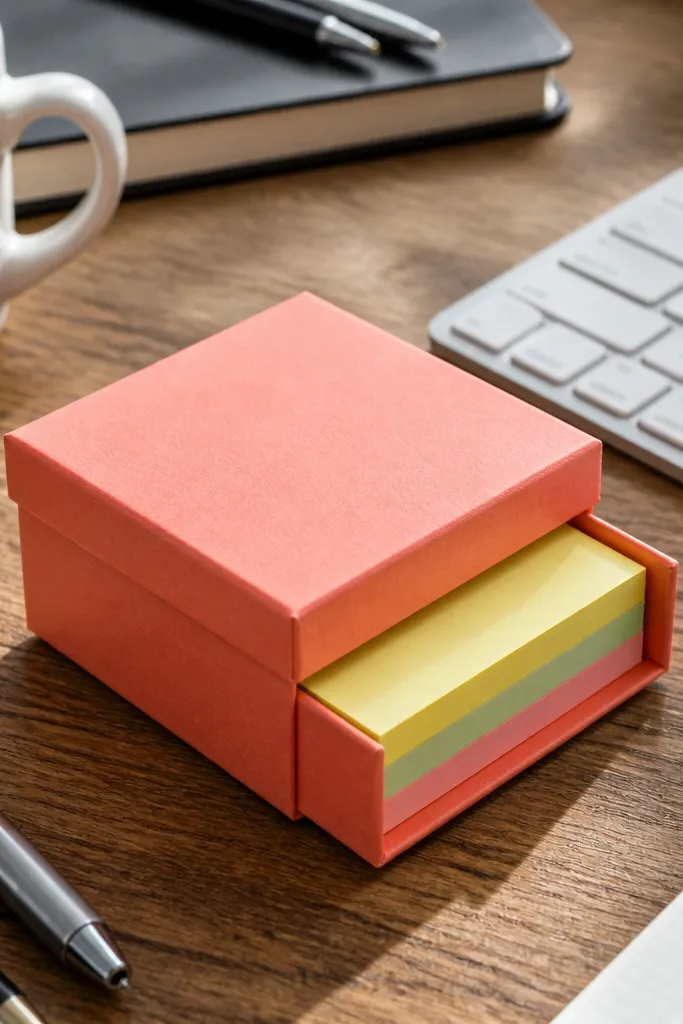
Start with a square sheet and fold it into a base that forms a shallow tray. Build the lid by folding the top layer corners to create a rim that can tuck under the tray lip. Make the lid slightly tighter by pressing creases hard and keeping the folds crisp. Test the fit with one sticky note pad, then adjust the rim depth by loosening or tightening the corner folds.
If your sticky notes look like they’re multiplying, this lid box gives them a home. The lid makes the top feel finished and keeps loose notes from sliding out when the drawer gets bumped. It also photographs beautifully because the lid creates a second shape line over the base. Use it for sticky notes, markers caps, or kids' small erasers.
Skip thisDon’t make the lid too loose; it will pop off when you carry the box.
Editor's noteRub the bone folder along the fold edges twice: first for crease, second for a sharper lock.
4. Modular Star Box for Paper Clips
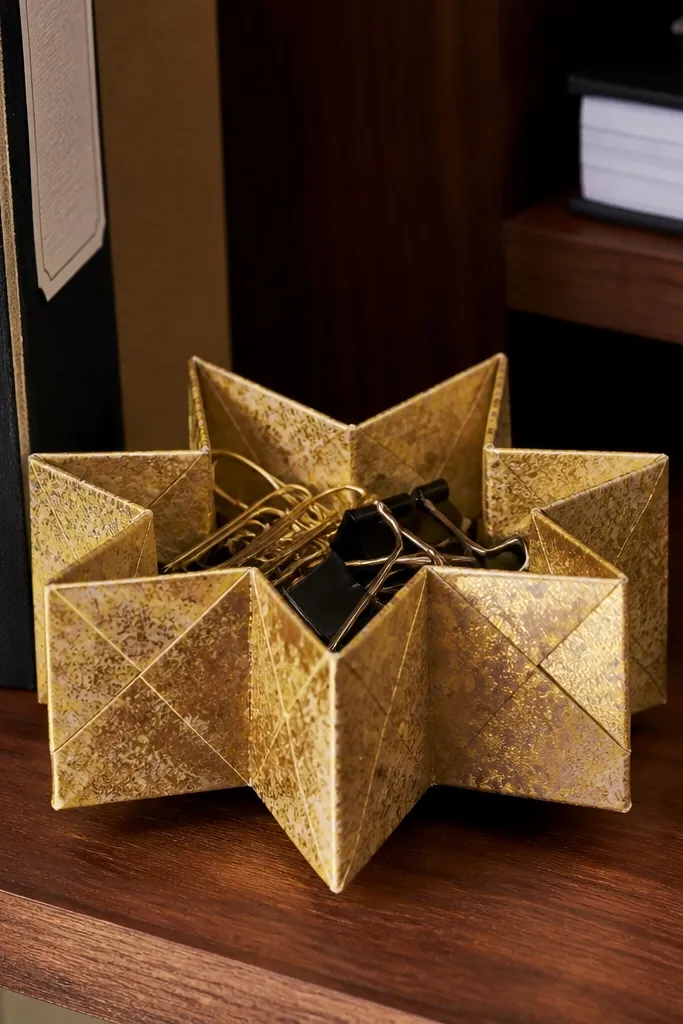
Fold a star base from a square sheet using a classic corner-to-center approach. Reinforce the walls by folding an extra layer inward on each point so the container holds shape. Lock the final flap by tucking it under the nearest point panel. For best results, make the box from two sheets: one for the outer star and one for an inner liner that stiffens the bottom.
This one looks like decor but works like storage. The star points catch light and make the box easy to spot on a cluttered shelf. It’s a smart choice for paper clips, binder clips, and small hair accessories because the points give you grip zones to pick it up. The modular look also hides messy interiors — clips sit inside while the outside stays clean and photogenic.
Skip thisDon’t skip the inner liner; paper clips will wedge in the creases.
Editor's noteAdd a thin paper liner cut to the base size — it stops tiny items from falling into fold gaps.
5. Origami Envelope-Box Hybrid for Receipts
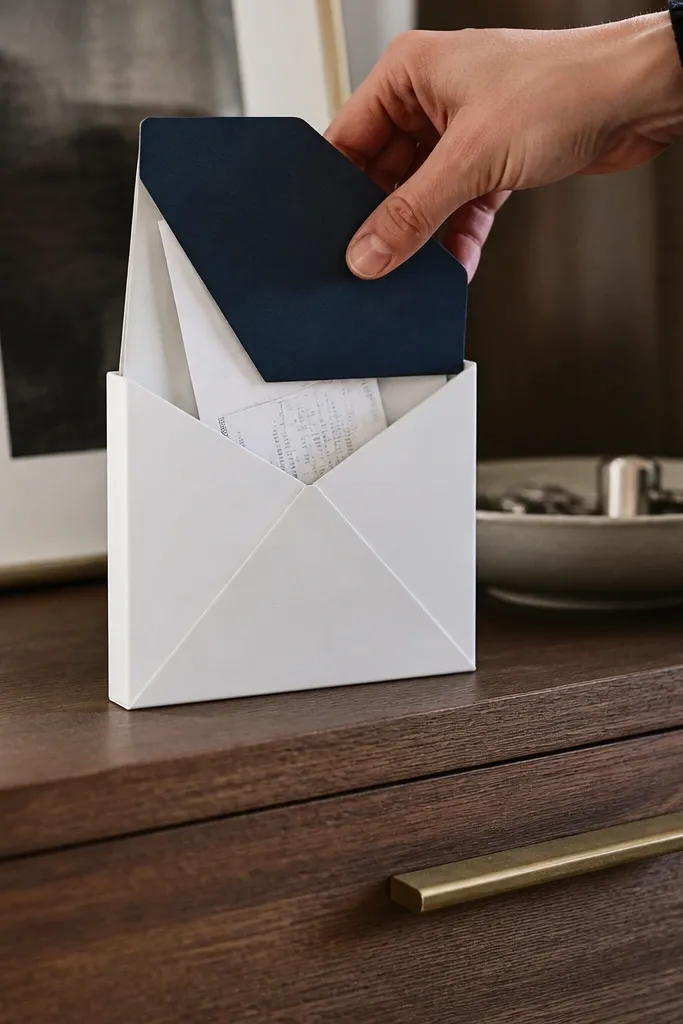
This is the “I need a place for papers” box that still looks tidy. The envelope style gives you an obvious opening and a natural flap closure, so receipts don’t spill out when you toss the box into a drawer. Visually it’s clean and graphic, especially with solid-color paper and a contrasting flap. It’s also great for kids' permission slips and art permission forms because they can flip it open without wrestling the folds.
Start with a rectangle or a square trimmed to an envelope ratio (a rectangle that’s about 1:1.4 works well). Fold the outer envelope flaps inward to form the sides, then create a bottom fold that creates a tray. Add a tuck flap that slides under the front flap to lock it closed. Press the crease lines firmly and square up the corners so the box sits flat.
Use a contrasting flap color and keep the rest solid — it makes the closure line pop in photos.
Don’t use flimsy paper; the envelope flap will wrinkle and lose its crisp edge.
6. Rolled-Edge Mini Box for Crayons
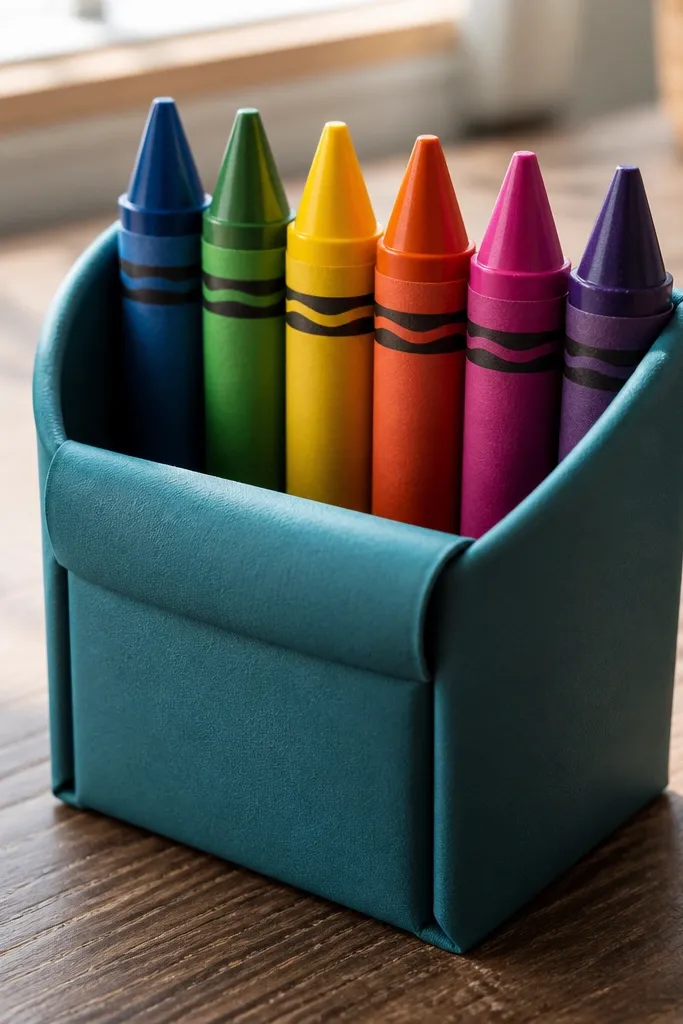
Fold a standard mini box base, then create a rim by rolling the top edge layer inward before locking it. Use cardstock so the roll holds its shape instead of springing back. Tuck the locking flaps and then press the rolled rim with a bone folder to set the curve. Test with two crayons side by side to make sure the opening width is comfortable.
Crayons don’t fit in most tiny boxes without getting scuffed. A rolled-edge rim gives you a soft barrier that grips crayons and keeps the top neat. The rolled look also makes the box feel intentional, like a small craft organizer rather than a random fold. Use it for fat crayons, colored pencils, or chunky markers caps.
Skip thisDon’t overstuff; a tight rim needs breathing room or it will buckle.
Editor's noteRoll the rim one direction only — flipping back and forth creates uneven thickness.
7. Geometric Window Box for Tiny Toys
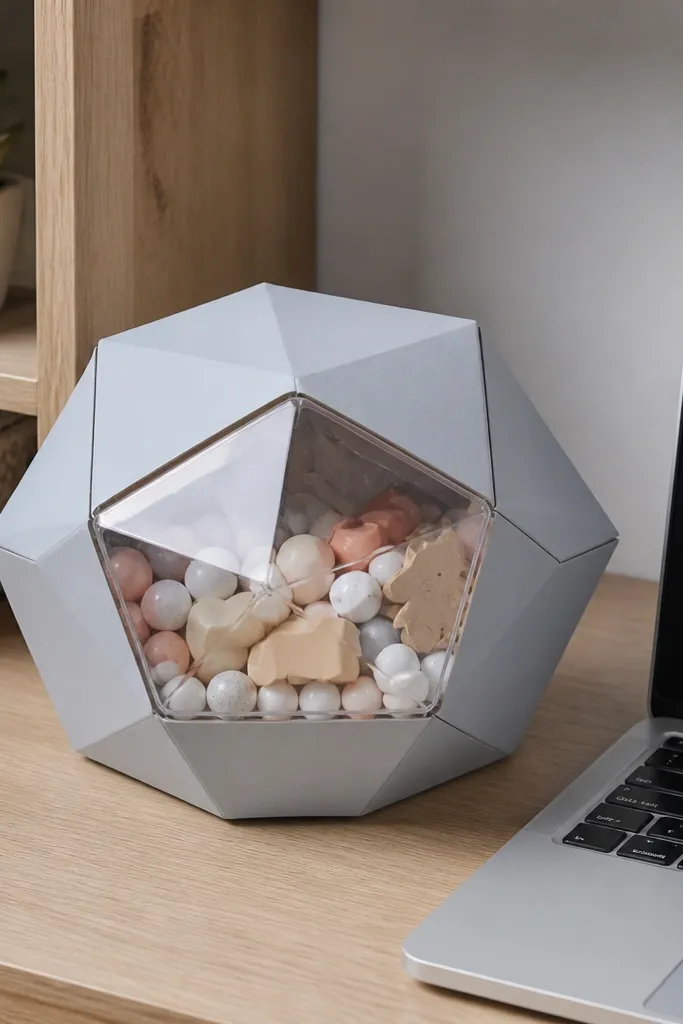
This one is for the “I want it to look cute even when it’s messy inside” problem. A window panel lets you see what’s inside without opening the box, and it creates a clean geometric front that looks like modern desk decor. Use it for small toy pieces, beads, or craft gems. It’s also easy for kids because they can spot the right pieces fast.
Fold the box walls from cardstock using a simple tray-and-lid pattern. Before assembling the front panel, cut a rectangle window in the paper layer and reinforce the edges with clear tape. Fold the remaining panel layers to frame the window, then lock the box together. Finish by adding a lid that closes over the window so pieces don’t fall out.
Reinforce window edges with tape strips that overlap the cut by 5-8 mm each side.
Don’t cut the window too close to creases; it weakens the fold line.
8. Accordion-Fold Mini Tray for Erasers
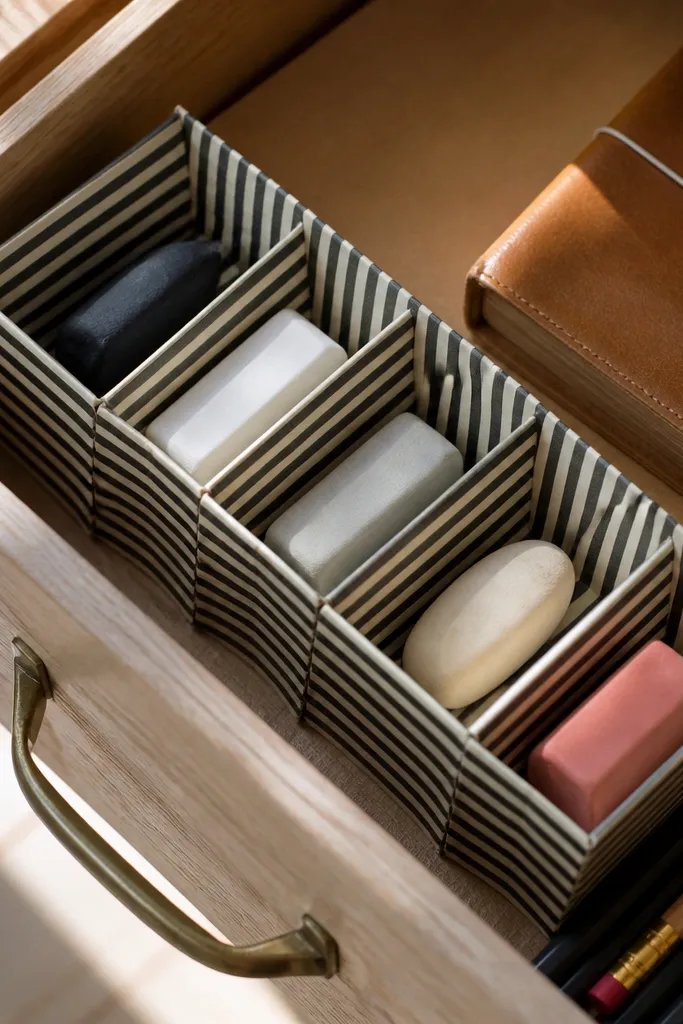
Start with a long rectangle sheet and mark crease intervals about 1 cm apart for a compact tray. Fold it into an accordion, then fold the accordion into a shallow U shape. Lock the ends by tucking the tabs inward to create a stable base. Add a small back lip using one extra fold so items don’t roll out.
A tray is better than a box when you want fast access and a tidy top. Accordion folds create small compartments that keep erasers from sliding into one pile. Striped paper makes the fold pattern look crisp and graphic, so the tray looks decorative even when it’s holding boring stuff. Great for desk corners where you need a clean spot for small daily items.
Skip thisDon’t skip the back lip — without it, erasers slide out when the desk is bumped.
Editor's noteUse a ruler to measure each fold interval; even 2-3 mm drift shows up badly in stripes.
9. Photo-Frame Style Box for Hair Ties
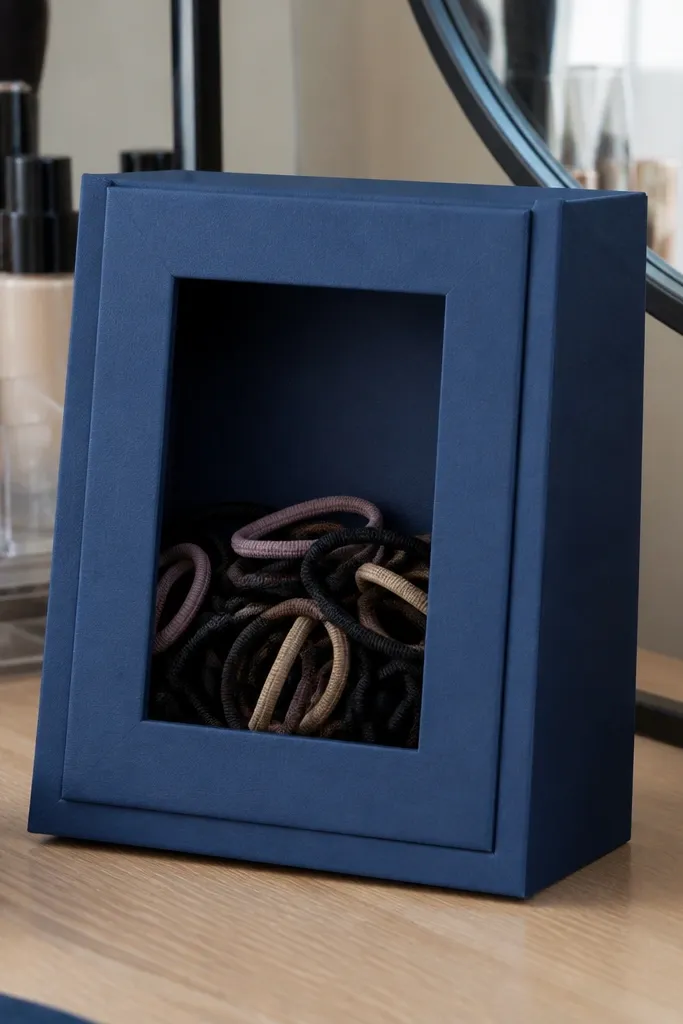
This box looks like a tiny frame and holds hair ties or small elastics neatly. The framed border comes from a two-layer fold where the edges form a clean outline around the opening. It’s a great “aesthetic storage” choice because it hides the mess while keeping the shape graphic. Use matte black or deep navy paper for a modern look.
Fold a base tray with a raised border by using a double-layer approach: one sheet for the outer frame and one for the inner wall. Create a window opening by leaving the center unfilled and folding only the border layers. Then lock the inner layer tabs under the outer border tabs. Press all edges flat so the frame lines stay crisp.
Matte paper looks cleaner than glossy here because the border edges don’t catch glare.
Don’t use too much shine; glare hides the framed outline in photos.
10. Folded Ribbon Box for USB Cables
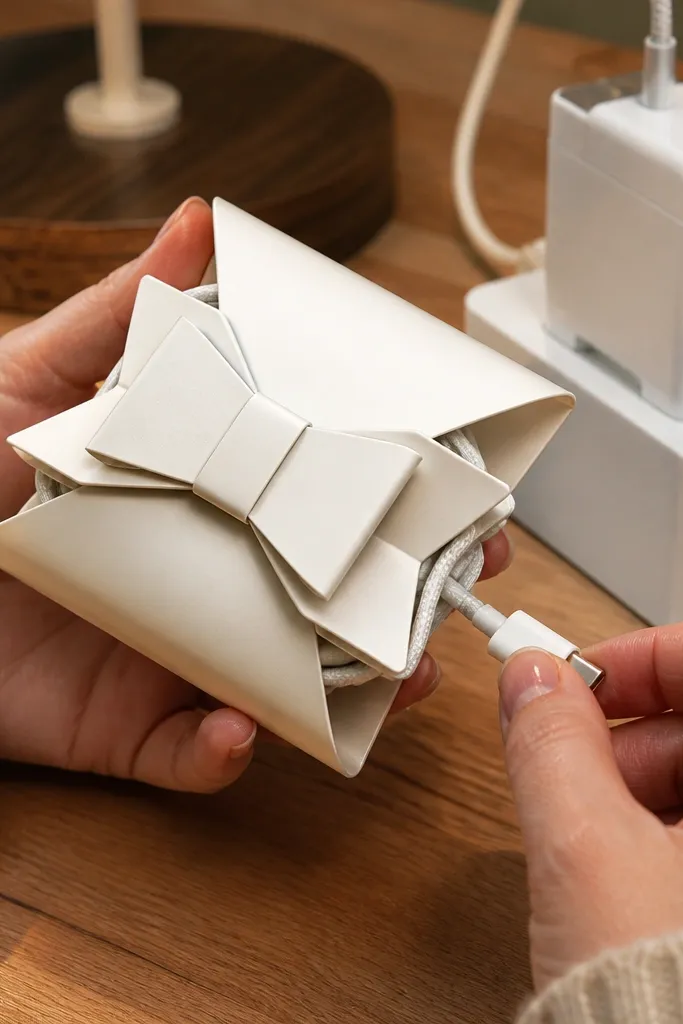
Start with a rectangular sheet and fold it into a ribbon channel by making parallel creases along the length. Wrap the folded ribbon around a small cable loop to size the internal space. Then fold the ends inward and tuck them into each other to lock. Finish by shaping the front into a bow fold and pressing the ribbon creases to hold the form.
Cable storage looks bad when it’s bulky. This ribbon-style box compresses the shape into a tidy bundle while still looking cute on a desk shelf. It also keeps USB cables from tangling because you wrap them inside the folded ribbon channels. The bow-like front adds visual interest without making the box huge.
Skip thisDon’t wrap the cable too tight; it makes the folds fight each other.
Editor's noteUse a slightly heavier paper for the ribbon so it doesn’t collapse under cable weight.
11. Stacking Cube Box for LEGO Minifig Parts
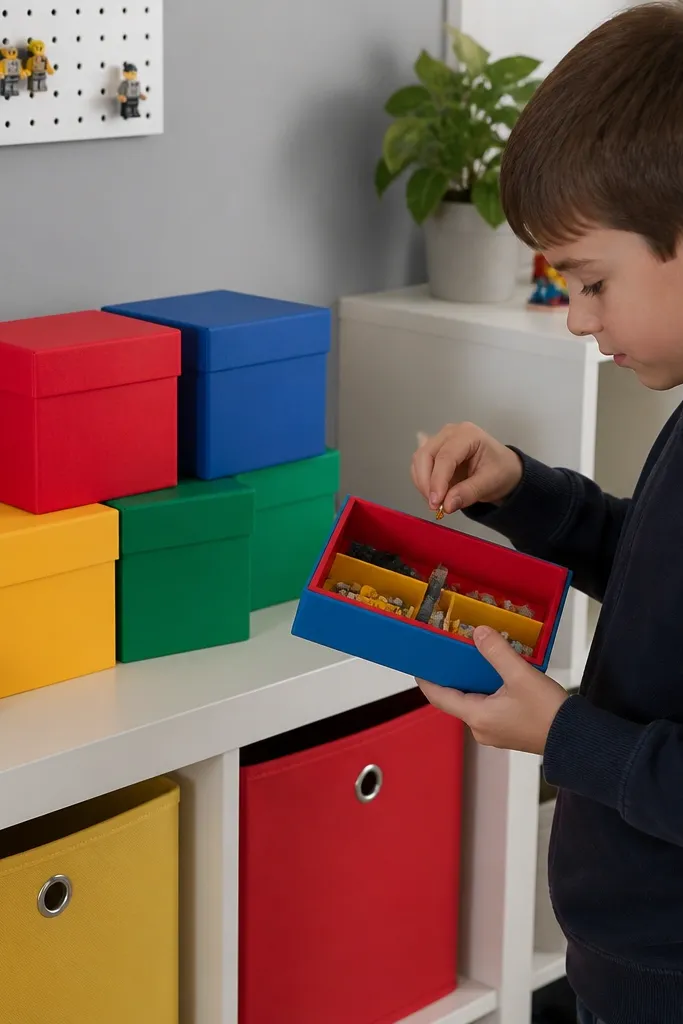
Use a square sheet and fold it into a cube base with four side panels and a top opening. Make the cube height about 3-4 cm by choosing paper size that matches your desired cube scale. Lock each side flap by tucking it under the adjacent panel, then fold the top lid down. Press the cube seams hard so it holds even when handled.
Cubes are the best shape for small-space storage because they stack and they don’t waste horizontal space. This cube box keeps LEGO minifig accessories in separate piles with a clean top lid that looks like a tiny container. Bright paper makes it easy for kids to pick the right set without dumping everything out. Use it beside a toy bin or on a narrow shelf.
Skip thisDon’t skip seam pressing; weak seams make the cube lean.
Editor's noteMake one test cube, then stack three on your desk shelf to confirm the height fits your space.
12. Tri-Fold Tall Box for Markers and Brushes
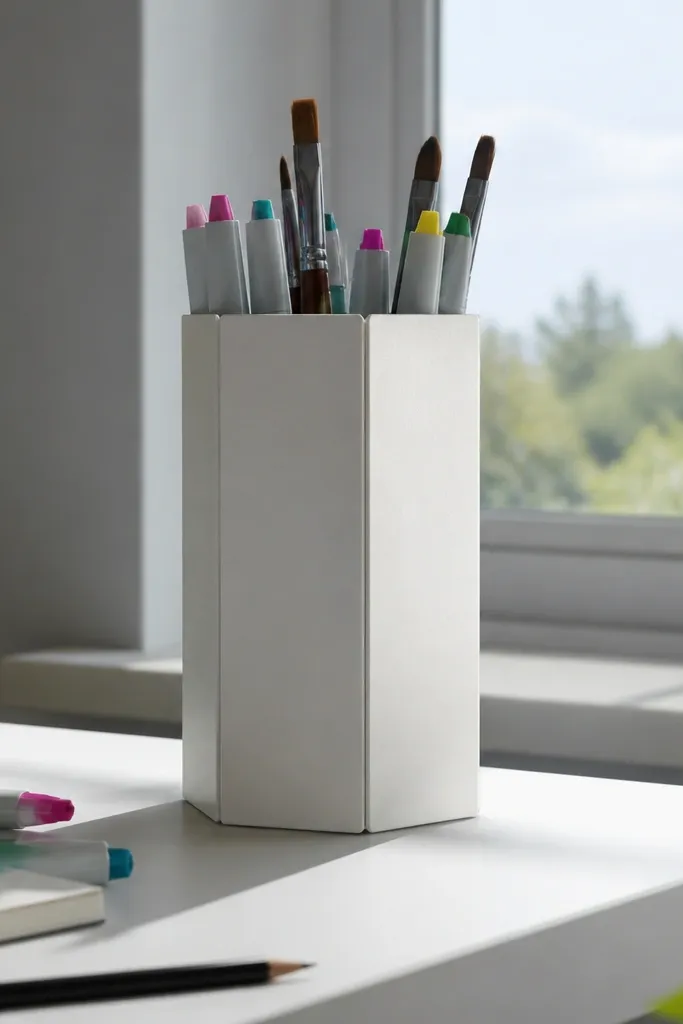
When you need vertical storage without a bulky container, a tri-fold tall box works. Three panels create stronger walls than a single flat fold, so it stands better and looks structured. It holds markers, paint brushes, and craft tools without tipping over like skinny cups do. The vertical panel look also makes it visually clean on a desk stand.
Start with a larger rectangular sheet and create three vertical sections using strong crease lines. Fold the sections up to form the walls, then tuck the bottom edges to lock the base. Add a top rim fold that wraps over the opening so tools don’t fall out. Press every vertical seam with a bone folder to keep the box straight.
If your markers are thick, widen the opening by trimming only the top corner layers before final locking.
Don’t make the walls too thin; tall boxes need sturdier paper than mini boxes.
13. Corner Pocket Box for Desk Accessories
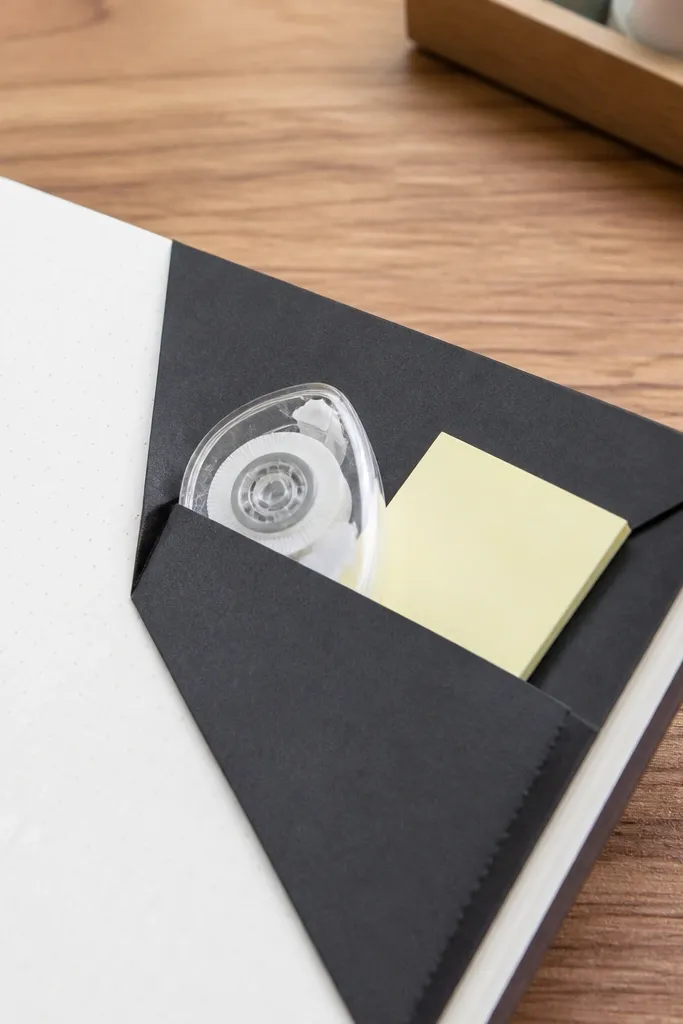
This is the desk accessory organizer you stick at the corner of a notebook or shelf. A corner pocket box holds items like sticky note slips, small scissors, or correction tape so they’re visible and reachable. The pocket shape also makes it look neat even when it’s full — the opening stays tidy and straight. If your desk feels cramped, corner storage is the move.
Fold a small pocket base using a square sheet and create one deep pocket flap by folding a layer inward. Add a second layer that acts like a back wall so the pocket stays open at the right angle. Tuck side flaps inward to make the pocket stable. Finish by flattening the back so it sits flush in the corner.
For a sharper corner pocket angle, press the pocket fold on a hard tabletop for 20 seconds each side.
Don’t rely on paper alone to “stick” to a surface; keep it friction-based with a flat back.
14. Origami Drawer Tray with Raised Edges
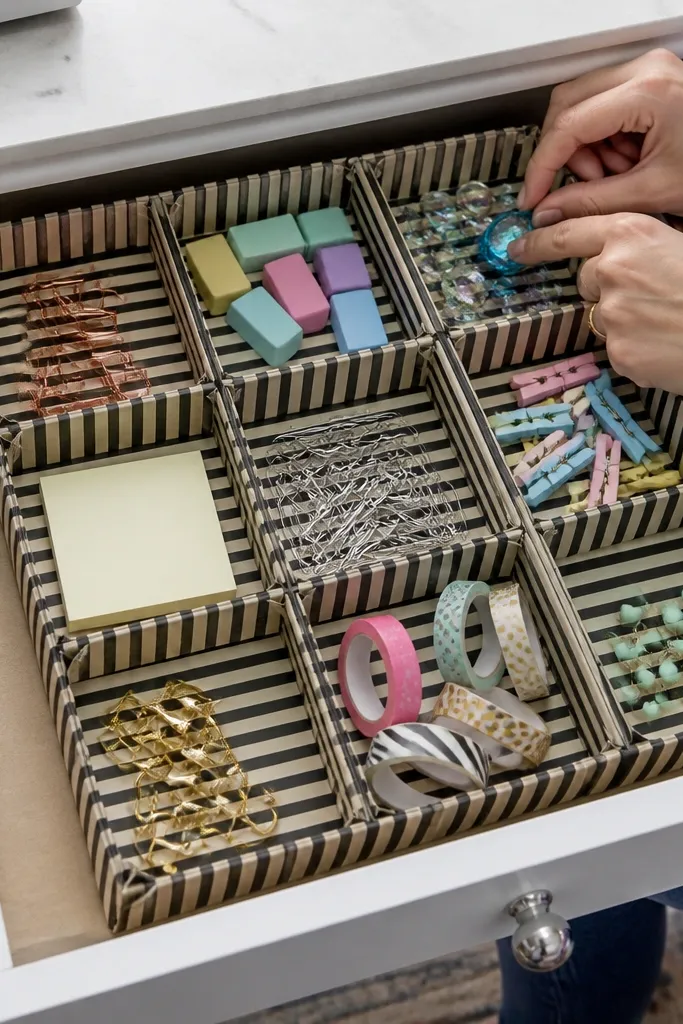
Start with a rectangle sheet and fold it into a base with multiple side walls using long crease lines. Create raised edges by folding up the side layers and tucking them under the nearest wall panel. Reinforce the corners with a small extra fold tab so the tray doesn’t bow. Press along the perimeter, then check fit in your drawer by sliding it in and out once.
Trays beat boxes when you want a clean top surface and quick sorting. Raised edges keep small items contained without needing a lid, so your drawer looks organized even when kids grab things quickly. The striped paper makes the fold pattern visually crisp and adds structure to the layout. Use it in a shallow desk drawer for paper clips, markers, and craft beads.
Skip thisDon’t skip corner reinforcement; the tray will warp first at the corners.
Editor's noteIf your drawer has a lip, measure it first and trim the tray corners by 5 mm for smooth sliding.
15. Color-Blocked Mini Calendar Box
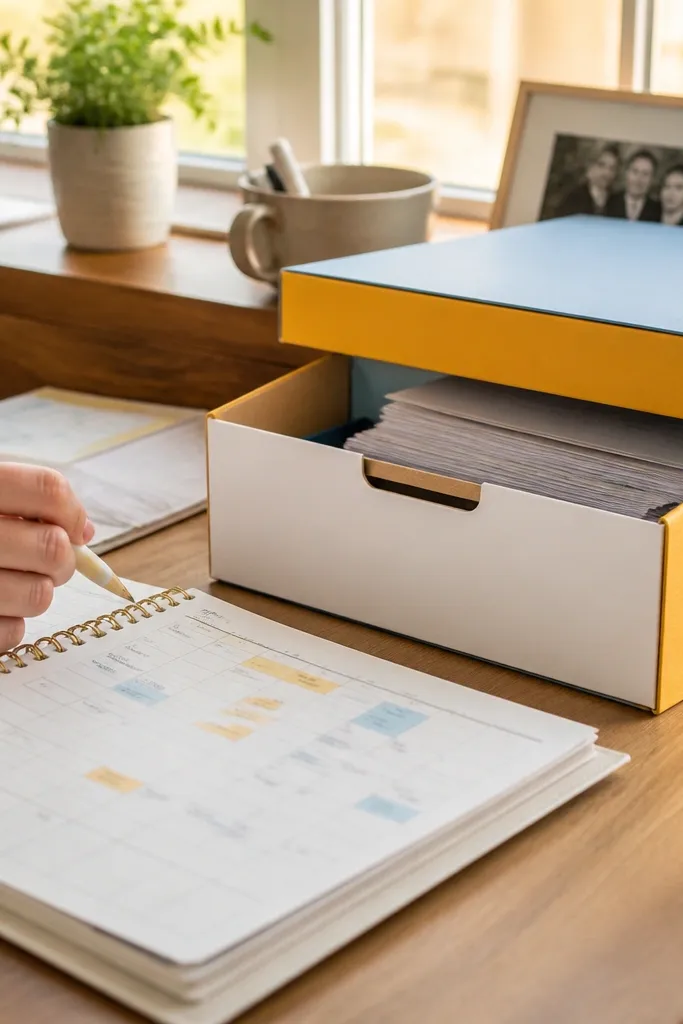
This one organizes schedules without making your desk look like a paperwork dump. A flat-lid box holds mini calendars, weekly planners, and permission slips, while the color-block panels make it look like a desk accessory. It’s also kid-friendly because the lid gives a clear place to stack papers. Choose paper colors that match your room theme so it looks coordinated, not random.
Cut two squares and one narrow rectangle for the side accent. Fold the main box from the first square, then wrap the accent rectangle as a vertical color panel on one side. Add a lid fold that closes over the top, then tuck the lid into the box rim. Press all edges and align the color panel so it sits straight when the box is on a desk.
Use a ruler to keep the color panel width consistent across multiple boxes.
Don’t let the lid sit uneven; uneven lids make the whole box look sloppy.
16. Folded Starburst Box for Crayola Caps
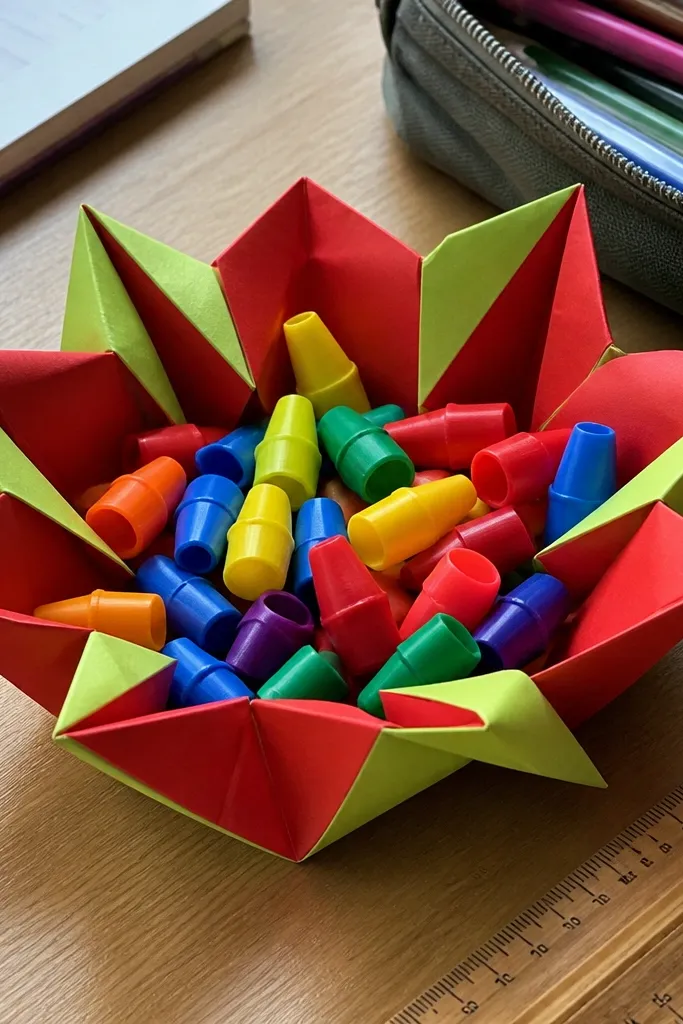
Fold a starburst base by starting with a square and creating corner folds toward the center in a repeating pattern. Build the walls by lifting each folded segment upward and locking it with a tucked flap. Add a simple top cover fold that keeps items from escaping. Press each point so it stands proud instead of collapsing.
Caps roll and disappear. A starburst box has pointed sides that create grip and reduce sliding, so caps stay inside. The starburst look also makes the box pop on a desk, especially with bright paper. This is perfect for organizing marker caps, small bottle caps, and toy accessories that tend to migrate across surfaces.
Skip thisDon’t use slippery paper; caps slide and wedge in the points.
Editor's noteMake the starburst points slightly taller by folding with thicker cardstock than you’d use for a flat box.
17. Folded Booklet Box for Art Supplies
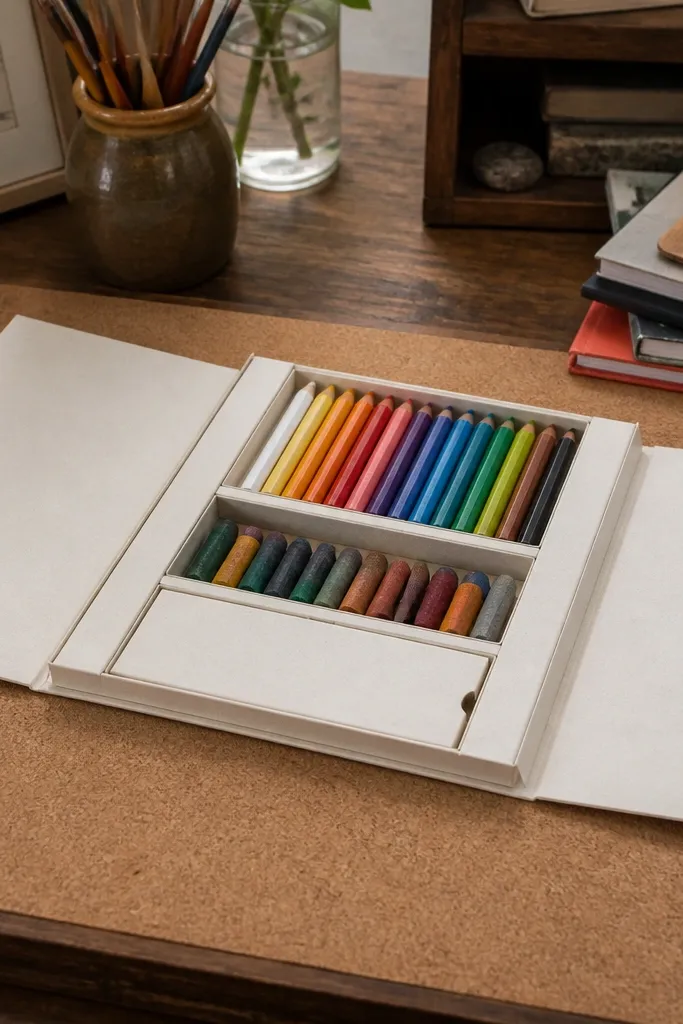
Use a rectangle sheet and fold it like a booklet cover first, creating a front and back panel with a strong center crease. Build inner walls by folding the side edges inward and tucking tabs under the inner panel. Close the booklet cover to lock the contents. Reinforce the spine crease with extra pressing so the cover doesn’t crack.
If you want storage that looks like stationery, this booklet-style box is a win. It holds art supplies like small colored pencils, crayons, or sketchbook scraps while looking like a tidy cover. The cover fold makes it easy for kids to open without tearing the box. It also looks good on a desk because it’s a flat object with a clear front.
Skip thisDon’t overfill; booklet boxes look best when the cover closes cleanly.
Editor's noteChoose a paper with a matte finish so the cover crease looks crisp instead of shiny.
18. Minimal Round-Lid Box for Small Rings
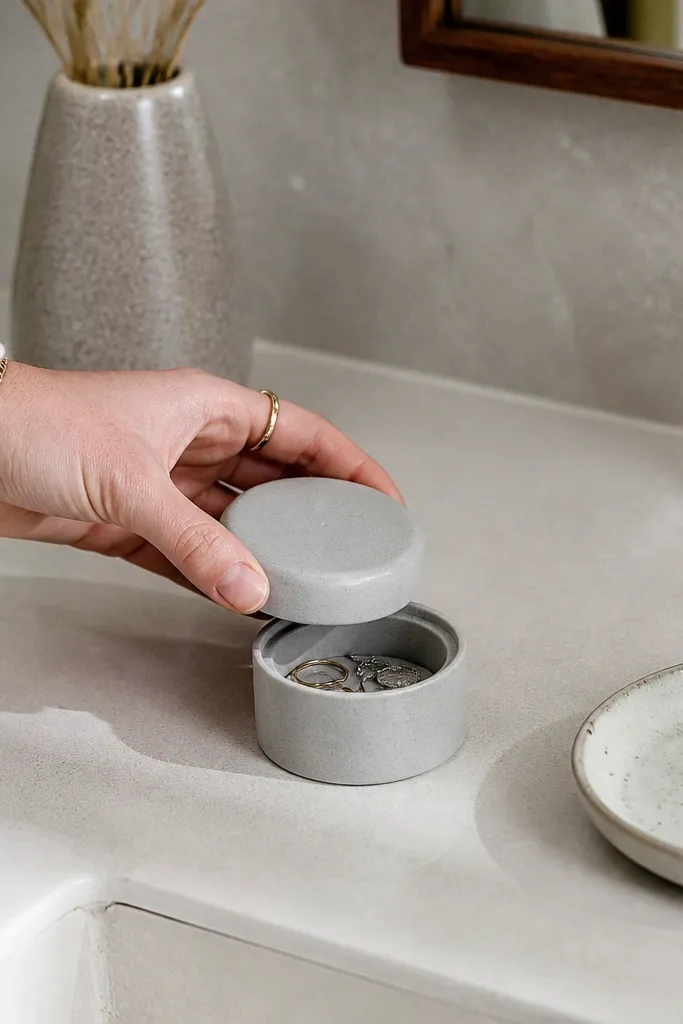
Start with a square sheet and create a base that forms a circular lid illusion by folding corners inward toward a center point. Build the walls by lifting folded segments up and locking them with tuck flaps. Shape the lid by pressing the center and smoothing the outer folds so it reads as a circle. Test with one small item and adjust the center fold depth so the lid closes gently.
You can make a box that looks calmer than square storage. A round-lid style creates a smooth top circle effect, which is really good for small items like rings, tiny charms, or jewelry finds kids bring home. It also looks elegant on a shelf without being fancy — just clean geometry. Use it for small treasures so they don’t get lost inside a drawer full of everything else.
Skip thisDon’t force the lid shut; if it resists, your folds are too tight.
Editor's notePress the lid center first, then smooth outward to prevent puckers.
19. Origami Gift-Box Style for Math Manipulatives
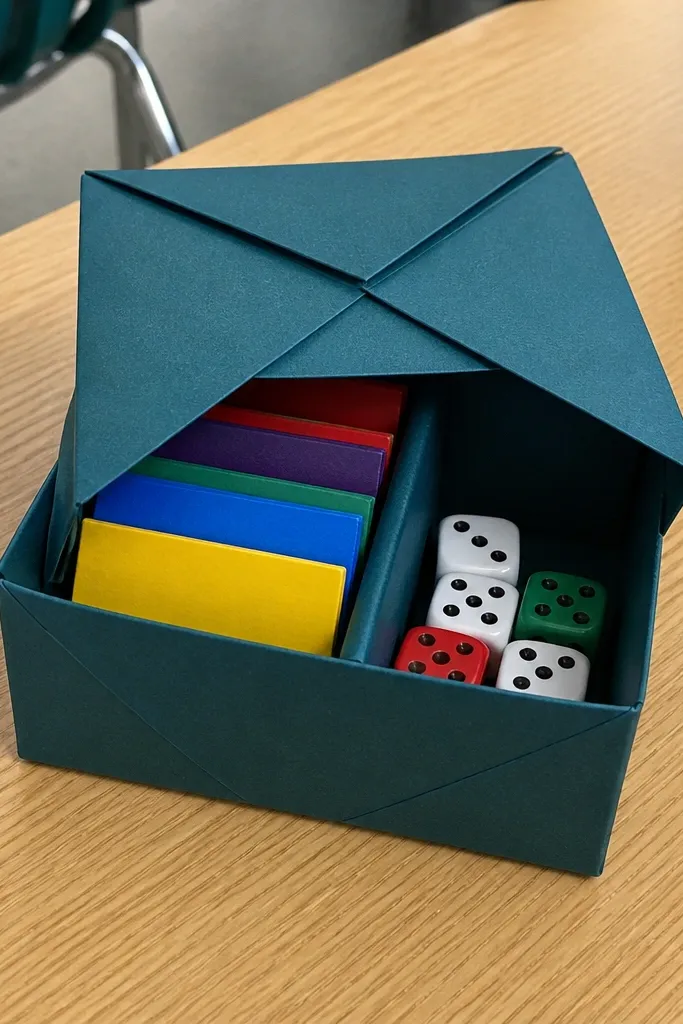
Fold a box base with a lid flap that folds over the front opening. Create the “gift” look by folding side panels inward and aligning corners so the lid sits centered. Lock the lid by tucking the flap under a small tab on the base rim. Press the corners firmly so the box keeps its shape when kids open and close it.
Math manipulatives need separation, not a single mixed pile. A gift-box style origami container gives you a lid and clean edges that keep counters, fraction tiles, or small dice from spilling. The look is classic and photogenic because the top flap creates a strong silhouette. Use it on a classroom-style desk area or at home for homework prep.
Skip thisDon’t skip label placement; unlabeled boxes turn back into a mixed pile.
Editor's noteAdd a tiny paper label tab on the front so each manipulative box stays in its lane.
20. Origami Waterfall Box for Post-its and Paper Scraps
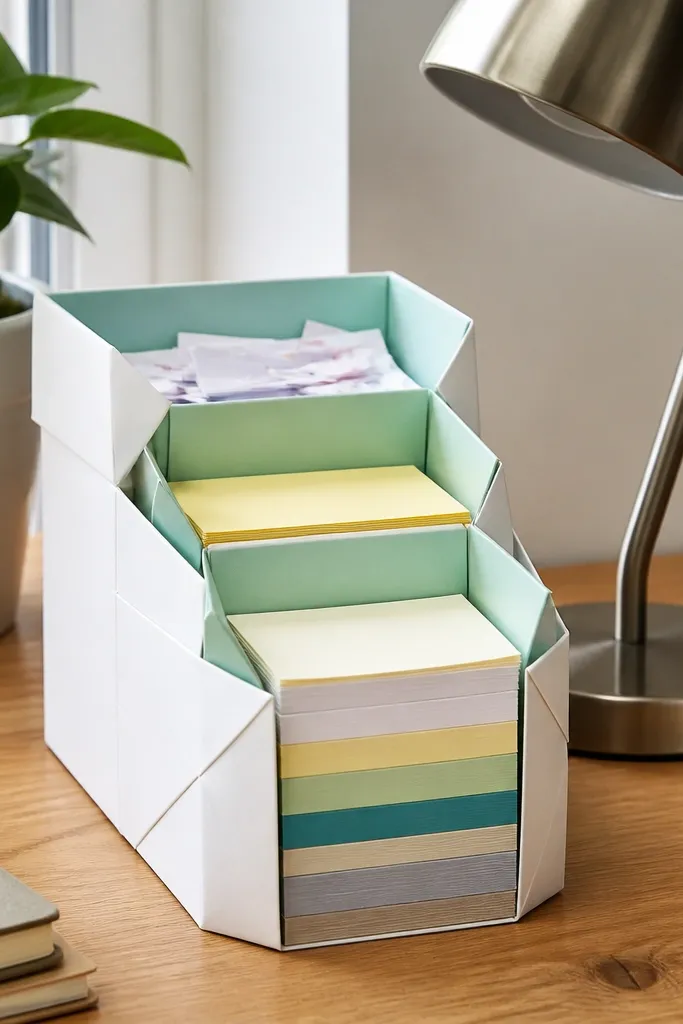
Cut 6 sheets of origami paper to 6 in (15 cm) square. Pick two colors and alternate them so the front bands read clearly; for a calmer look, use one color with a darker shade for the front strip. Fold each square into a standard base by making a diagonal crease both ways, then fold to a smaller square and press hard along every crease. Assemble the waterfall by stacking three folded units into a row, then repeat with the other three so you get a stepped front; tuck the last flap of each unit into the pocket of the one next to it. Finish by reinforcing the top rim with a thin strip of double-sided tape inside the fold line, then test that notes slide in without catching.
This box fixes the desk mess where sticky notes slide around and paper scraps end up in a single sad pile. The “waterfall” fold creates stepped compartments, so you can drop in different note sizes without them mixing. It looks sharp on camera because the front edge shows stacked bands of paper, especially with two colors. Use it as a small-space organizer that still feels decorative, not like a storage bin. It takes patience more than skill, and you can finish one in about 30 to 45 minutes once you get the folding rhythm. Best for desks, craft tables, and study nooks where you want tidy, visible sorting.
Skip thisDon’t use flimsy printer paper for this one — it buckles at the stepped front and makes the compartments sag.
Editor's notePre-burnish every crease with a plastic ruler edge so the steps stay crisp when you slide paper in and out.



