1. Monitor Riser With Hidden Storage
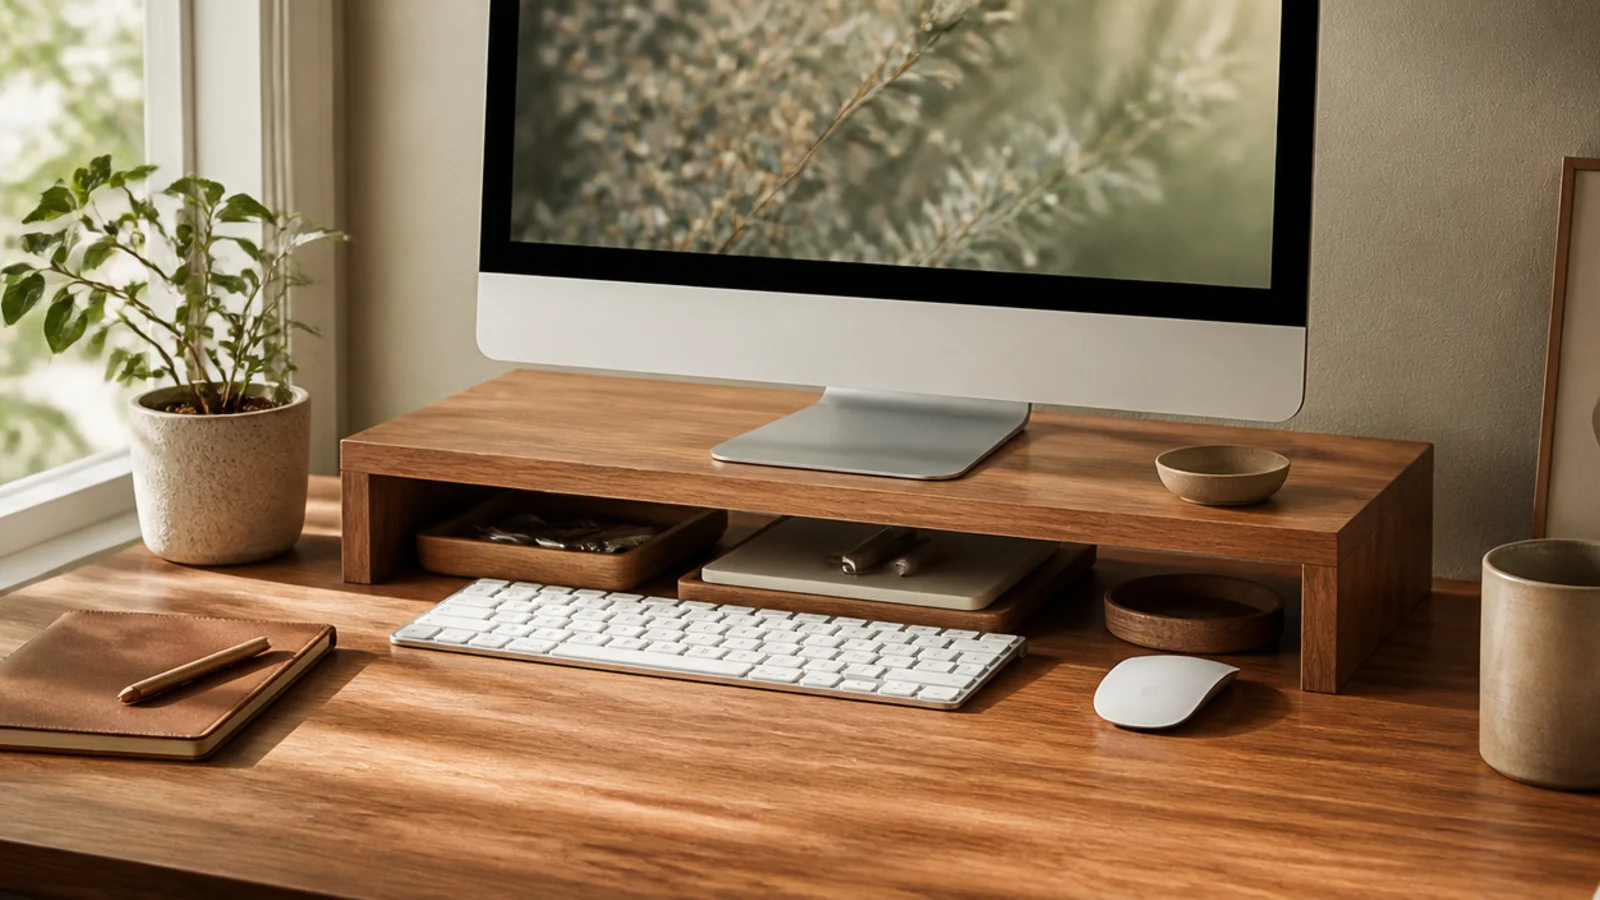
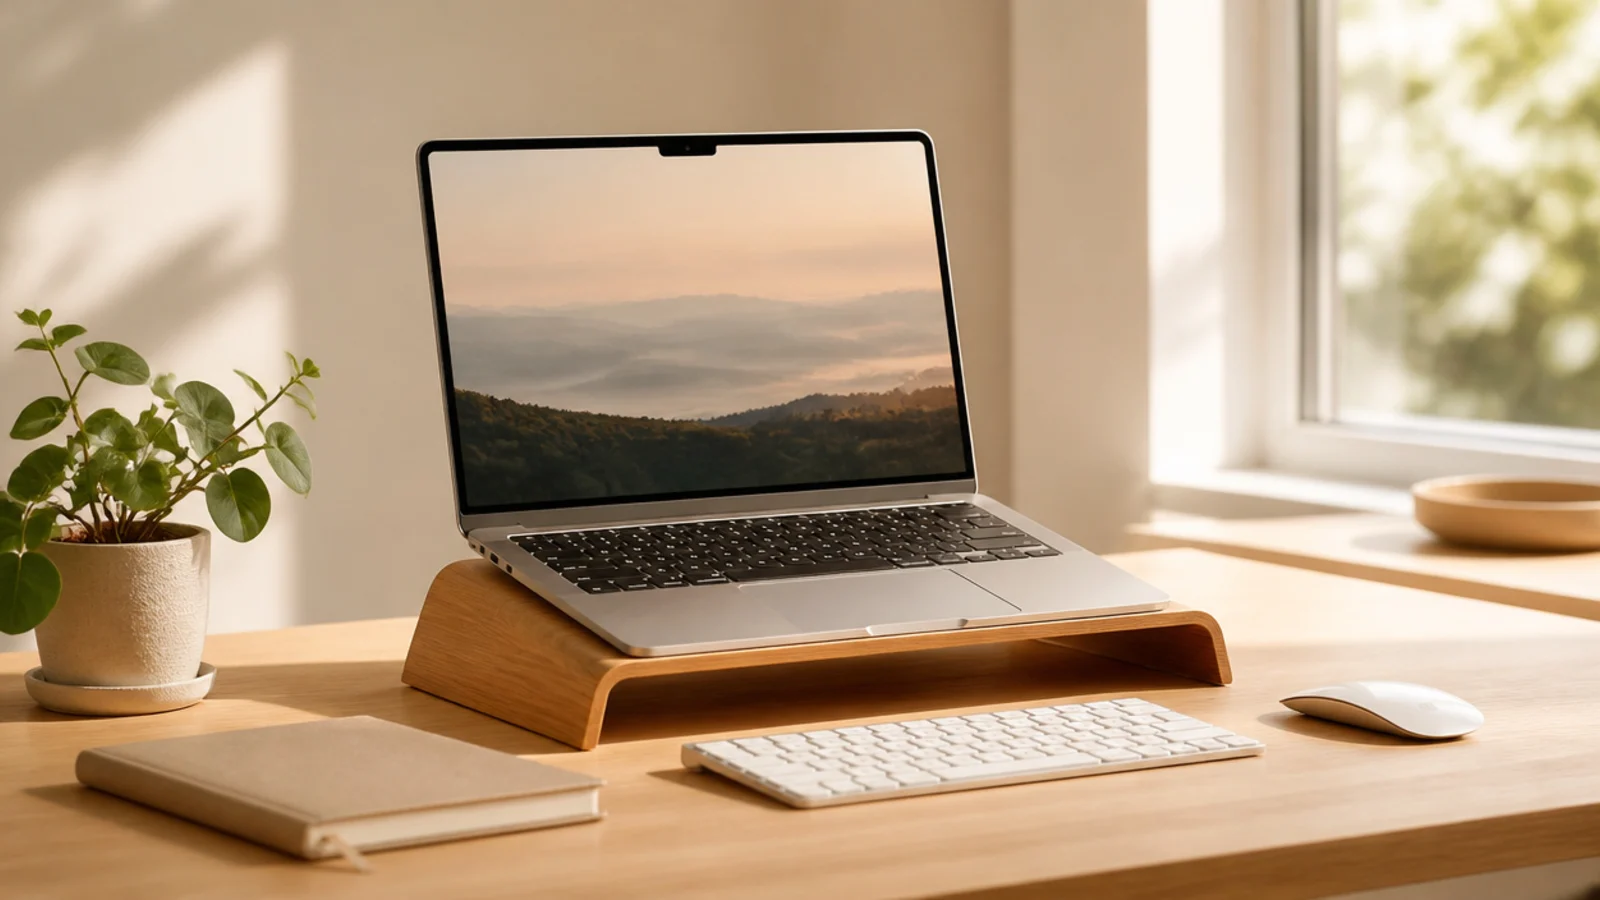
Measure your monitor stand’s footprint and buy a riser at least that wide (a 20-inch bamboo riser fits most single-monitor setups). Set the top of your screen at or just below eye level — stack a book or two under the riser if you need extra height. Slide your keyboard and mouse into the space beneath when you step away, and add a slim tray for a notebook. If you have two monitors, use a wide riser or a dual arm instead.
This is the highest-impact starting point because it fixes two problems at once — it raises your monitor to a healthy eye height and creates a whole shelf of storage underneath. You slide your keyboard, a notebook, or a small tray into the gap when you’re done. It instantly clears desktop space you didn’t know you had.
Skip thisDon’t set the monitor so high your neck tilts up — the top of the screen at eye level, not the middle, is the right mark.
Editor's notePick a riser with a small drawer or built-in phone slot so your charging cable has a permanent home instead of trailing across the desk.
2. Three-Cup Desktop Caddy
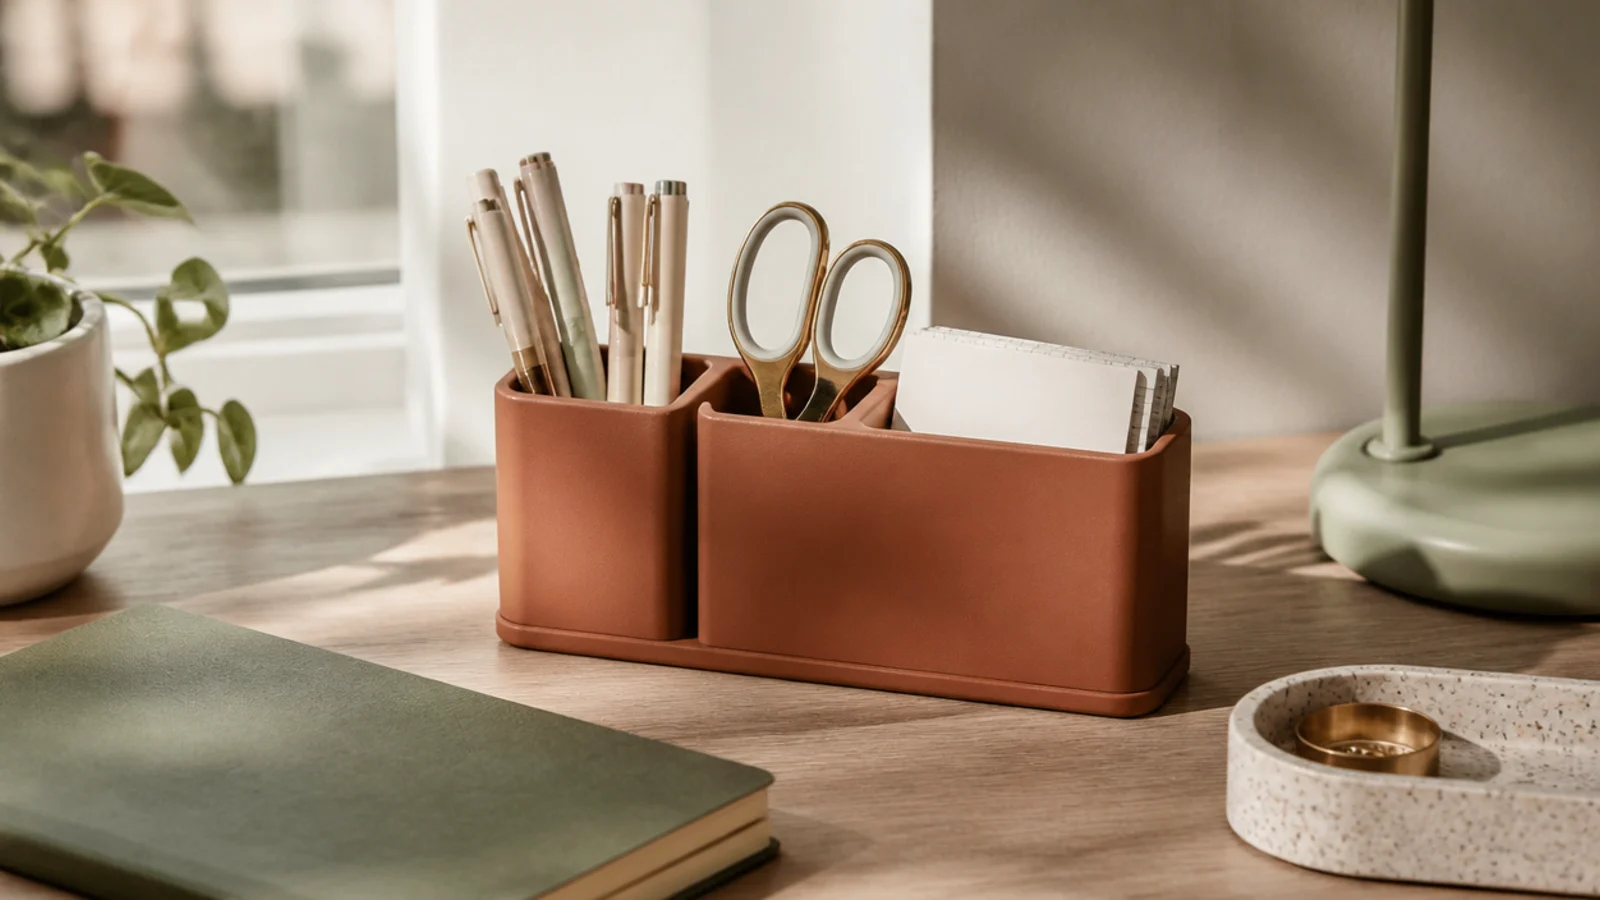
Choose a caddy no wider than about six inches so it stays in a corner and off your main work area. Limit yourself to the pens you actually use — three or four, not fifteen — and put the overflow in a drawer. Set it on the side of your dominant hand so grabbing a pen is a reflex. Empty and wipe it out once a month so dried-up pens don’t pile up.
A small caddy corrals the loose supplies that otherwise scatter across the whole surface. Three sections is the sweet spot — one for pens, one for tools like scissors and a highlighter, one for sticky notes and clips. It keeps your writing tools in one grabbable spot without turning into a junk collector.
Skip thisDon’t let the caddy become a catch-all for random small items; if it’s not a writing or marking tool, it goes elsewhere.
Editor's noteTest every pen before it goes in the caddy — a cup of dead pens is the most common desk clutter there is.
3. Under-Desk Cable Tray
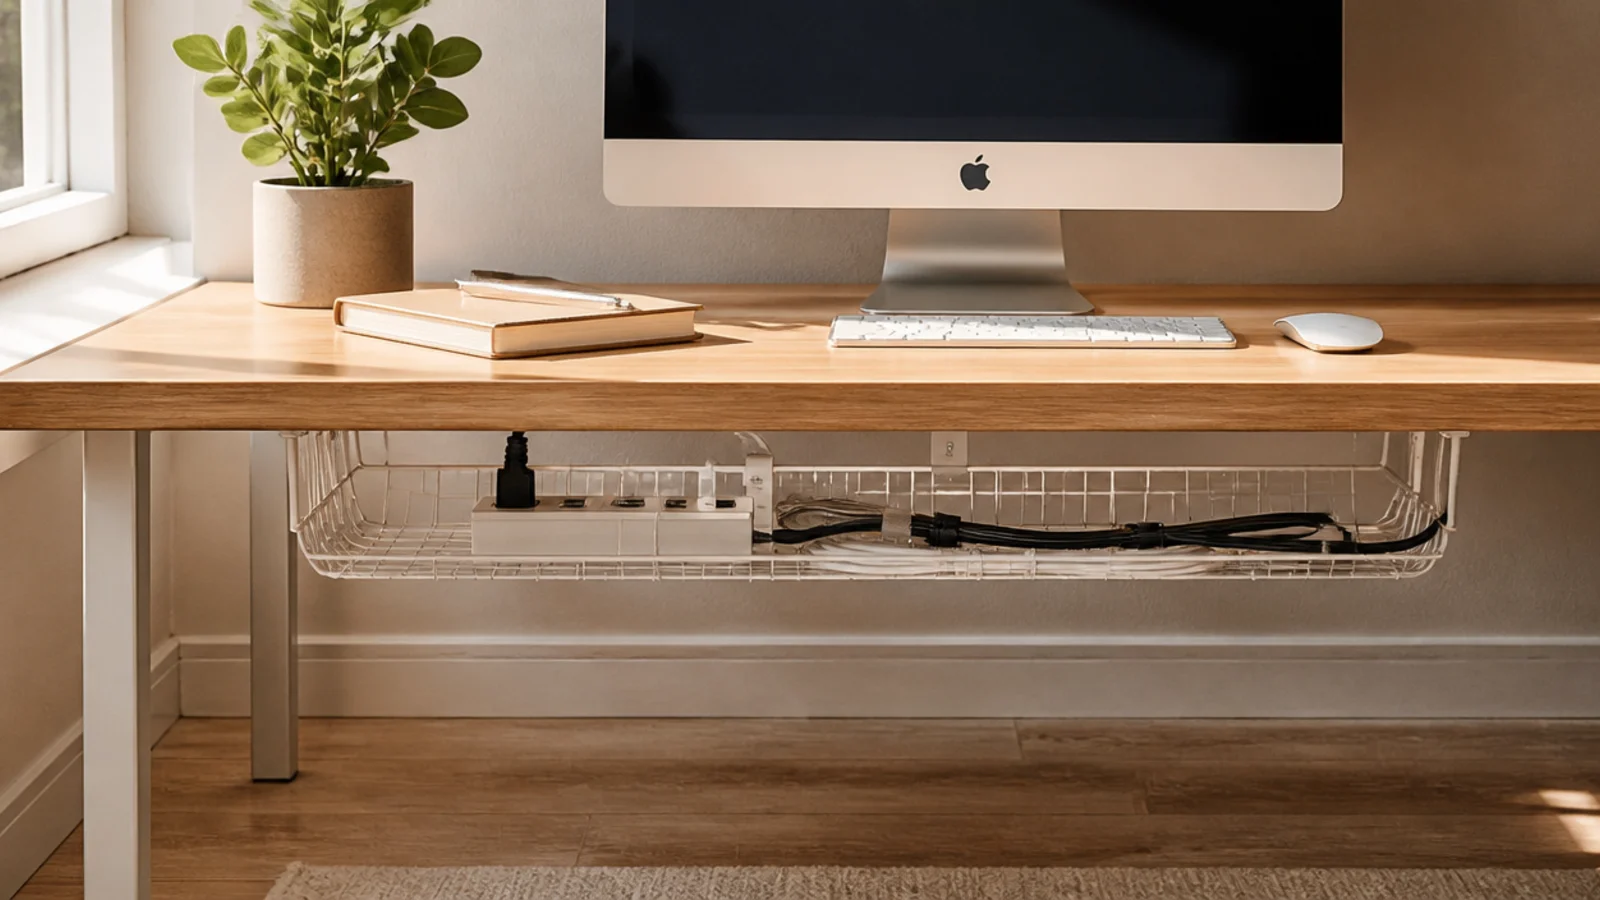
Getting cables off the floor is the single change that makes a desk feel genuinely tidy underneath. A tray holds your power strip and the slack, so nothing pools around your feet. It also makes cleaning easy because you can vacuum without fighting a cable nest.
Buy a self-adhesive or screw-mount cable tray sized to hold your power strip (a 16-inch mesh tray fits most). Mount it under the back edge of the desk with the strip inside. Run each device cable down to the tray, coil the slack, and hold it with a reusable velcro tie. Leave enough slack at the top so you can still move your monitor and lamp freely.
Mount the power strip switch-side out so you can flick everything off at night without crawling under the desk.
Don’t use zip ties for cables you’ll change — cutting and re-tying every time you swap a device gets old fast.
4. Adjustable Drawer Dividers
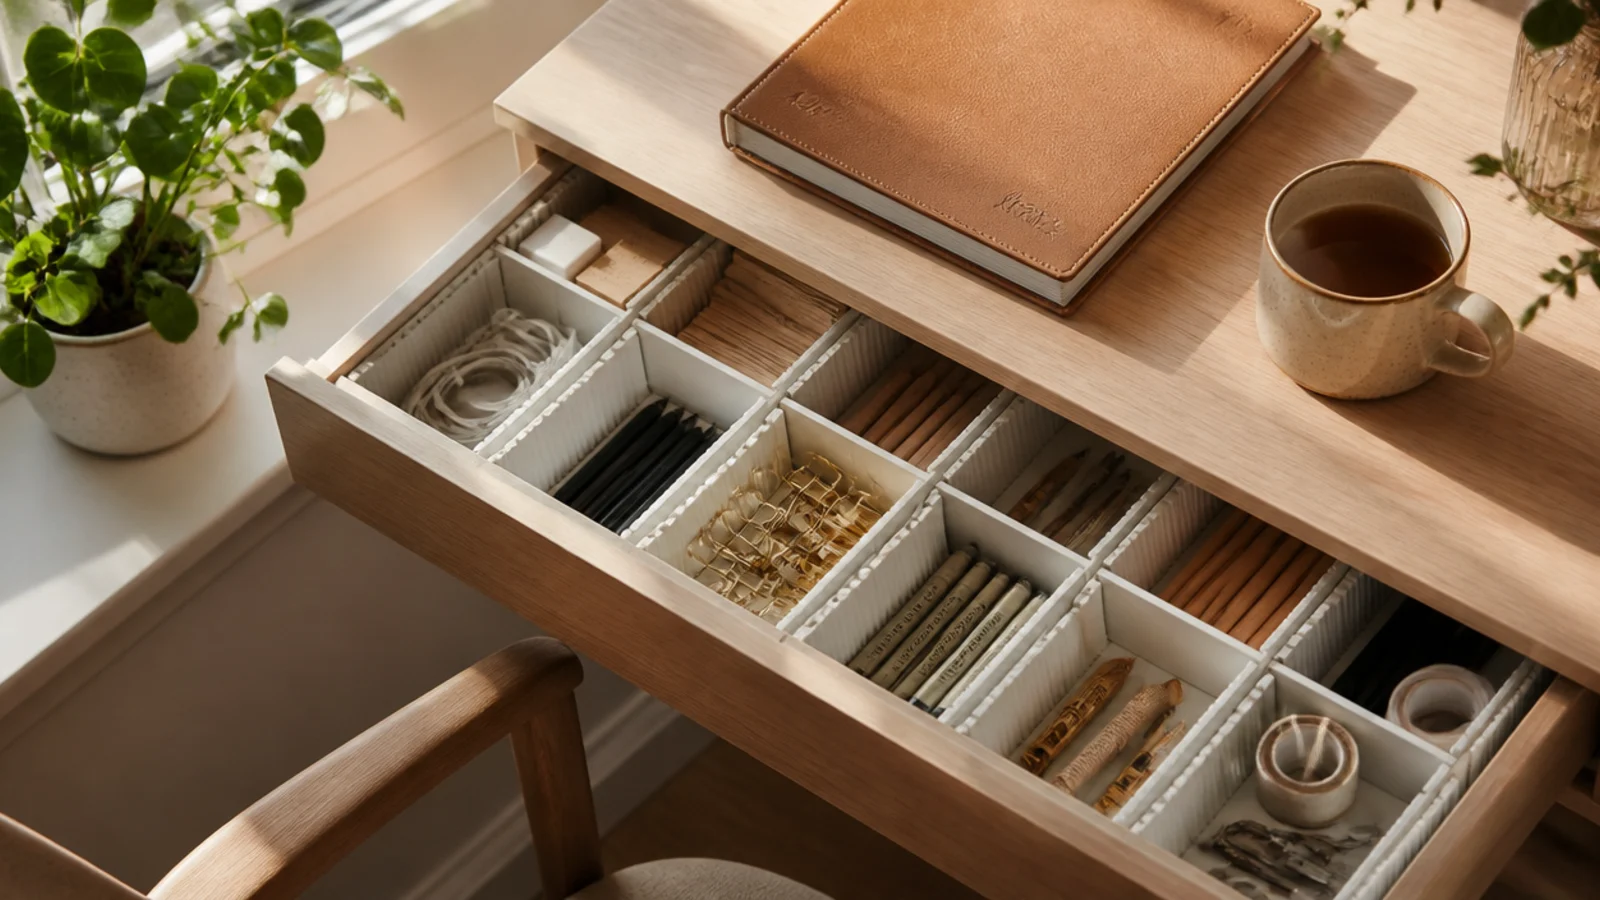
A single open drawer is where small items go to become a tangle. Dividers turn it into fixed zones so pens, cables, and sticky pads each stay put. Spring-loaded ones adjust to your drawer width without tools, which is why they beat fixed trays for most desks.
Measure your drawer’s interior width and depth before buying — spring-loaded dividers come in size ranges, so match yours. Set the dividers to create three or four sections and assign each a category: charging bits, writing supplies, sticky notes and clips, and a spare. Put the items you reach for most toward the front. Add a small open bin inside a section for tiny loose things like USB drives.
Use a felt or rubber drawer liner under the dividers so nothing slides forward every time you open the drawer.
Don’t overfill the sections — a drawer you can’t see into at a glance is just organized clutter.
5. Vertical File Sorter
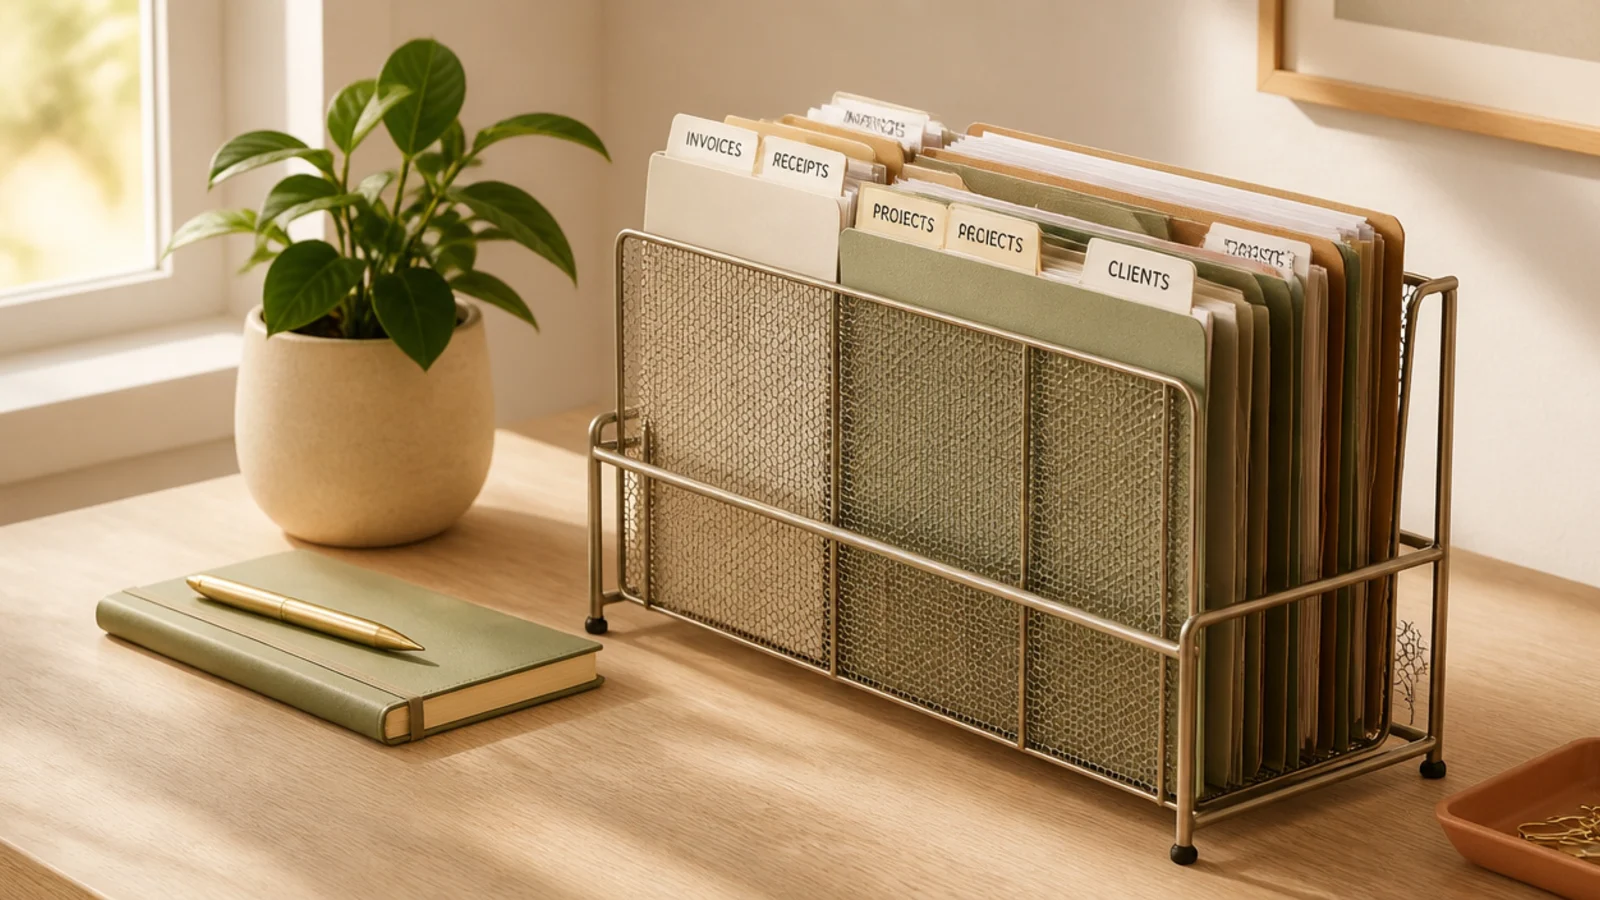
If paper piles up on your desk, standing it upright in a sorter is the fix. Vertical storage takes a fraction of the footprint of a flat stack and lets you see every folder’s label at once. It’s the difference between a paper avalanche and a system you can actually file into.
Get a sorter with three to five slots and label a folder for each active category — to-do, to-file, reference, and one for receipts or bills. Keep only current paper here; anything you’re done with gets filed away or recycled the same week. Set it at the back corner of the desk so it’s visible but out of your working area. Purge it every Friday so it never overflows.
Angle the sorter slightly toward you so you can read the folder tabs without turning your head or lifting anything out.
Don’t let a 'to-file' folder become permanent storage — if it’s full, you’ve stopped filing and started piling.
6. Pegboard Wall Organizer
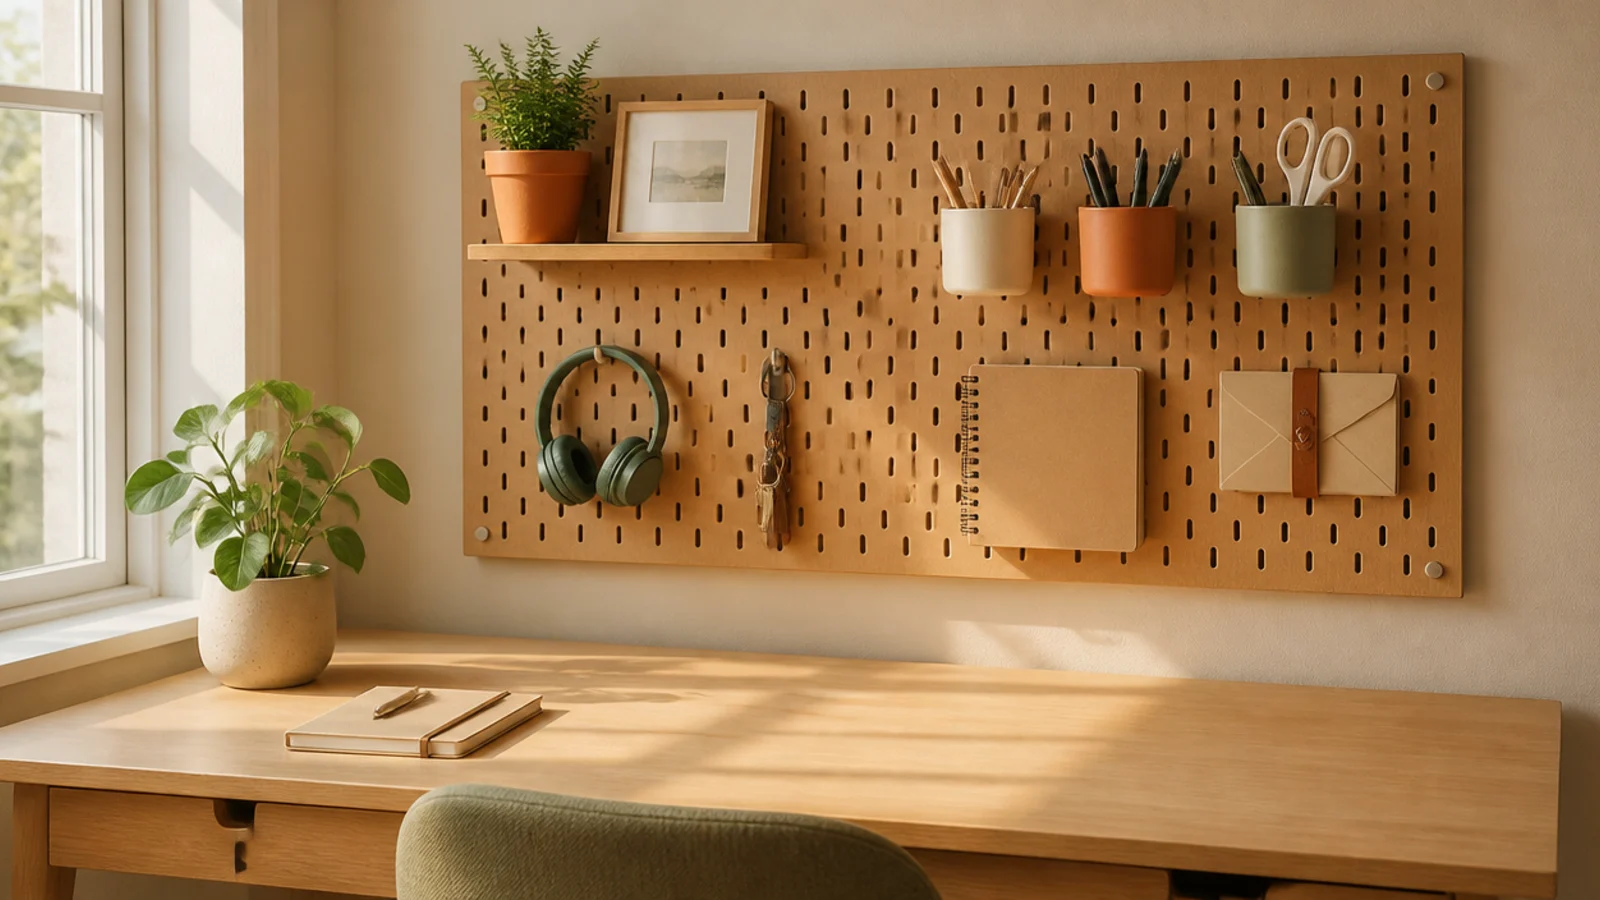
When your desktop is full, the wall above it is free real estate. A pegboard turns that vertical space into flexible storage for headphones, cups of supplies, and a small shelf. Everything hangs in view, so you reach up instead of digging through a drawer.
Mount the pegboard on the wall a few inches above the desk, using wall anchors rated for the board’s weight and a level. Space the standoffs so hooks can slot through from behind. Hang your most-used items at arm height — headphones on a hook, a small cup for pens, a hook for a bag or cables. Add a narrow shelf accessory for a plant or a notebook to break up the grid.
Trace each tool’s outline on the board with a pencil so you (and anyone sharing the desk) always know where it goes back.
Don’t cover the whole board edge to edge — leave breathing room or it reads as clutter mounted on a wall.
7. Desk Mat Zone Definer
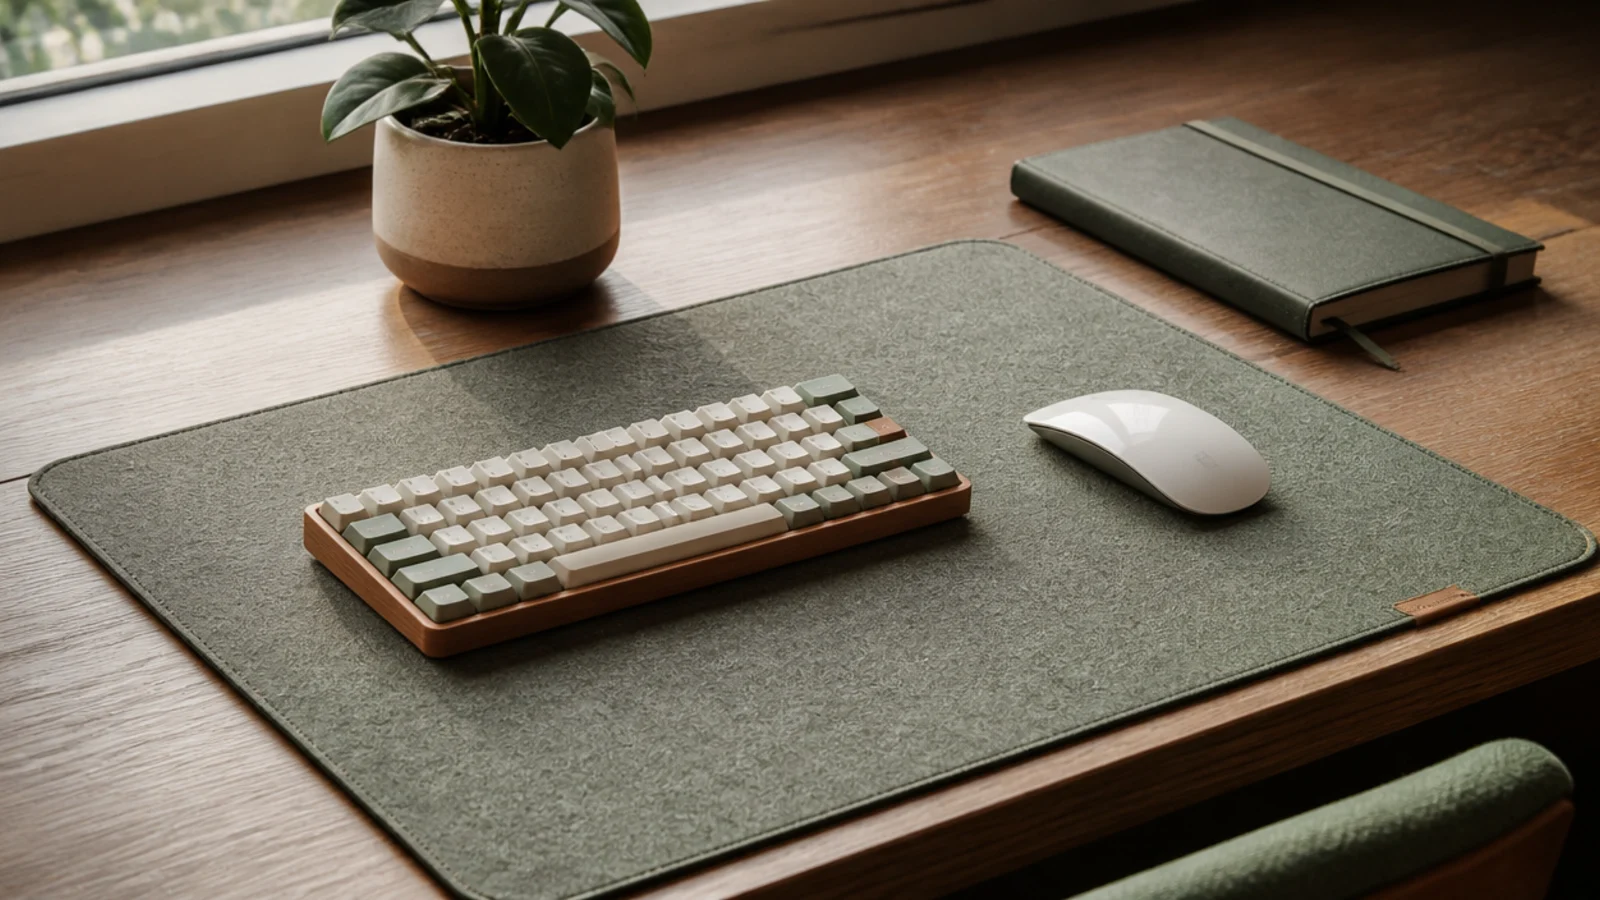
Choose a mat sized to hold your keyboard and mouse with a little room to spare — roughly 31 by 15 inches suits most setups. Center it in front of your monitor. Keep the mat surface for only your input devices and maybe a coaster; push pens, notebooks, and trays to the bare desk beyond it. Roll it up and wipe the desk under it during your weekly clean.
A large desk mat does more than protect the surface — it draws a visual boundary around your active work zone. Everything on the mat is 'in use'; everything off it is storage. That simple line makes a desk look intentional and gives your keyboard and mouse a defined home.
Skip thisDon’t let items creep onto the mat; the moment it holds clutter, it stops working as a boundary.
Editor's notePick a mat color that contrasts your desk so the zone edge actually reads — a cream mat on light wood disappears.
8. Under-Monitor Slide Drawer
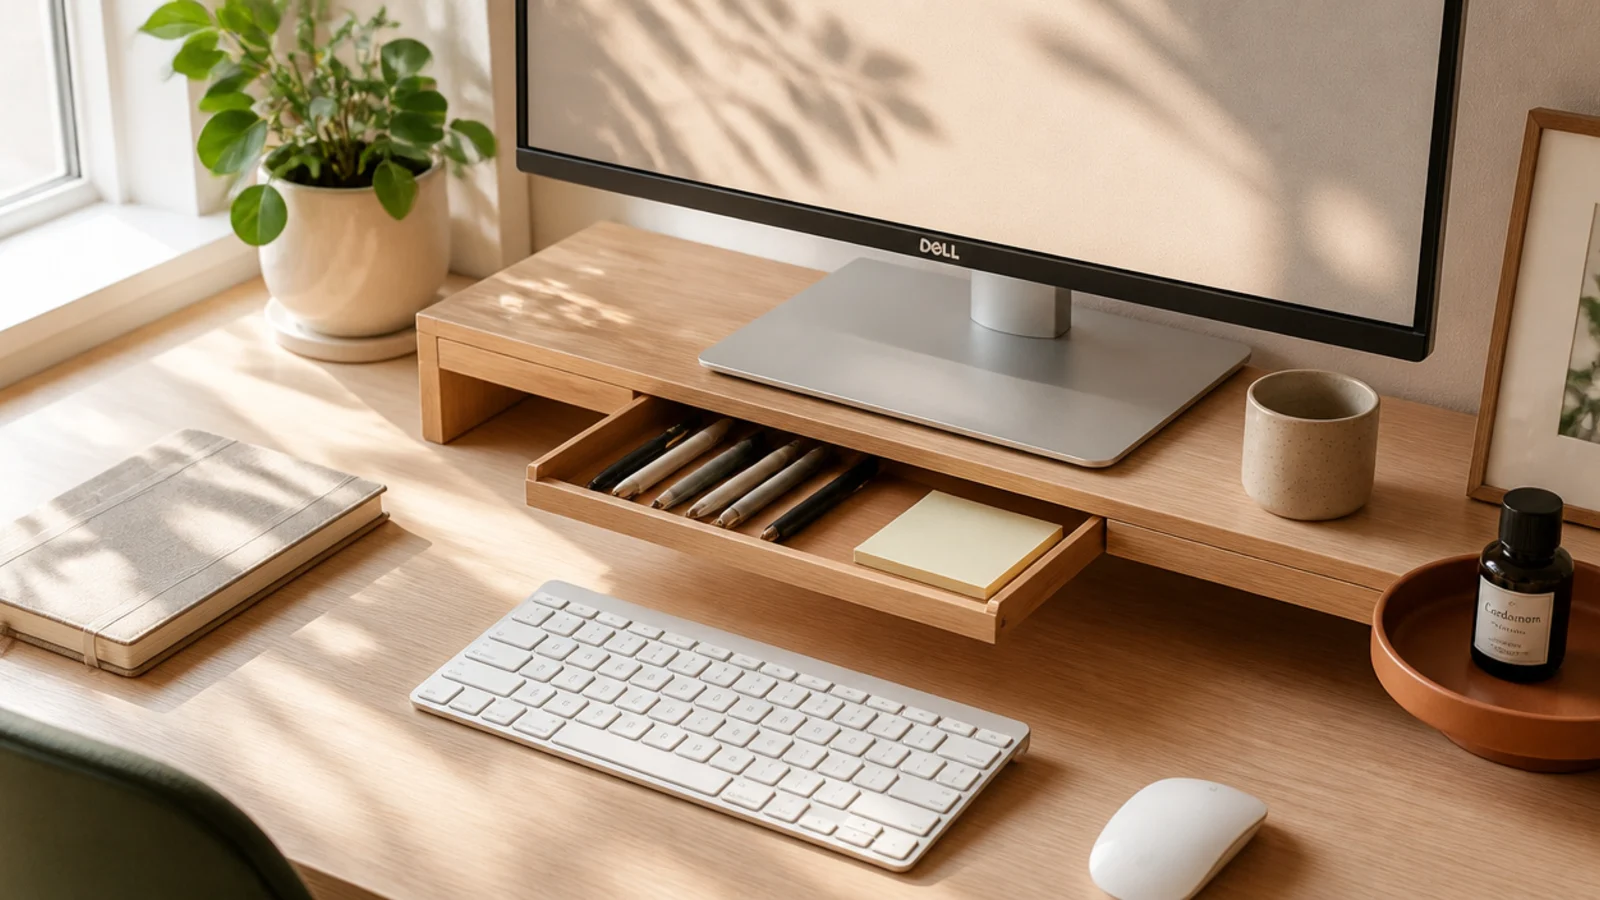
Buy a self-adhesive under-desk drawer and clean the mounting surface with rubbing alcohol before pressing it on so the adhesive grips. Mount it centered under where you sit, far enough back that your knees clear it. Use it for flat, light items — pens, sticky pads, a notebook, cables — not heavy tools. Give the adhesive a full day to cure before loading it.
A thin drawer that mounts under the desktop reclaims the dead space beneath the surface. It hides pens, sticky notes, and a phone out of sight but within reach, so your desktop stays clear without adding a bulky caddy. It’s ideal for desks with no built-in drawers.
Skip thisDon’t overload an adhesive drawer with heavy items; the weight peels the mount off the desk over time.
Editor's noteMount it slightly off to your non-dominant side so it never interferes with your mouse hand’s range of motion.
9. Charging Station Dock
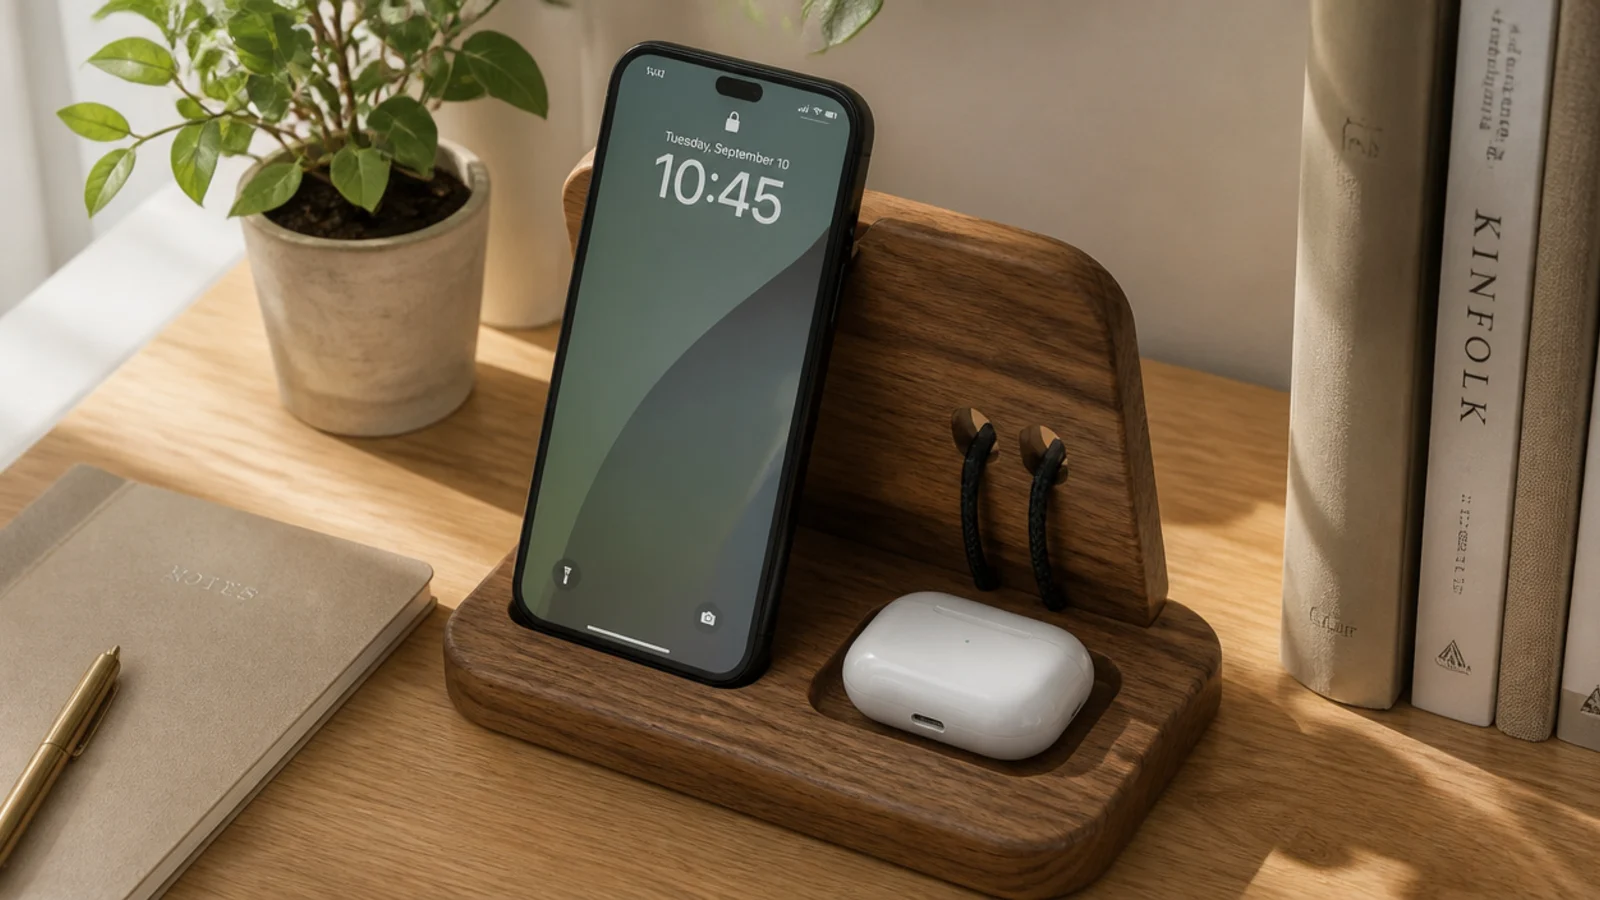
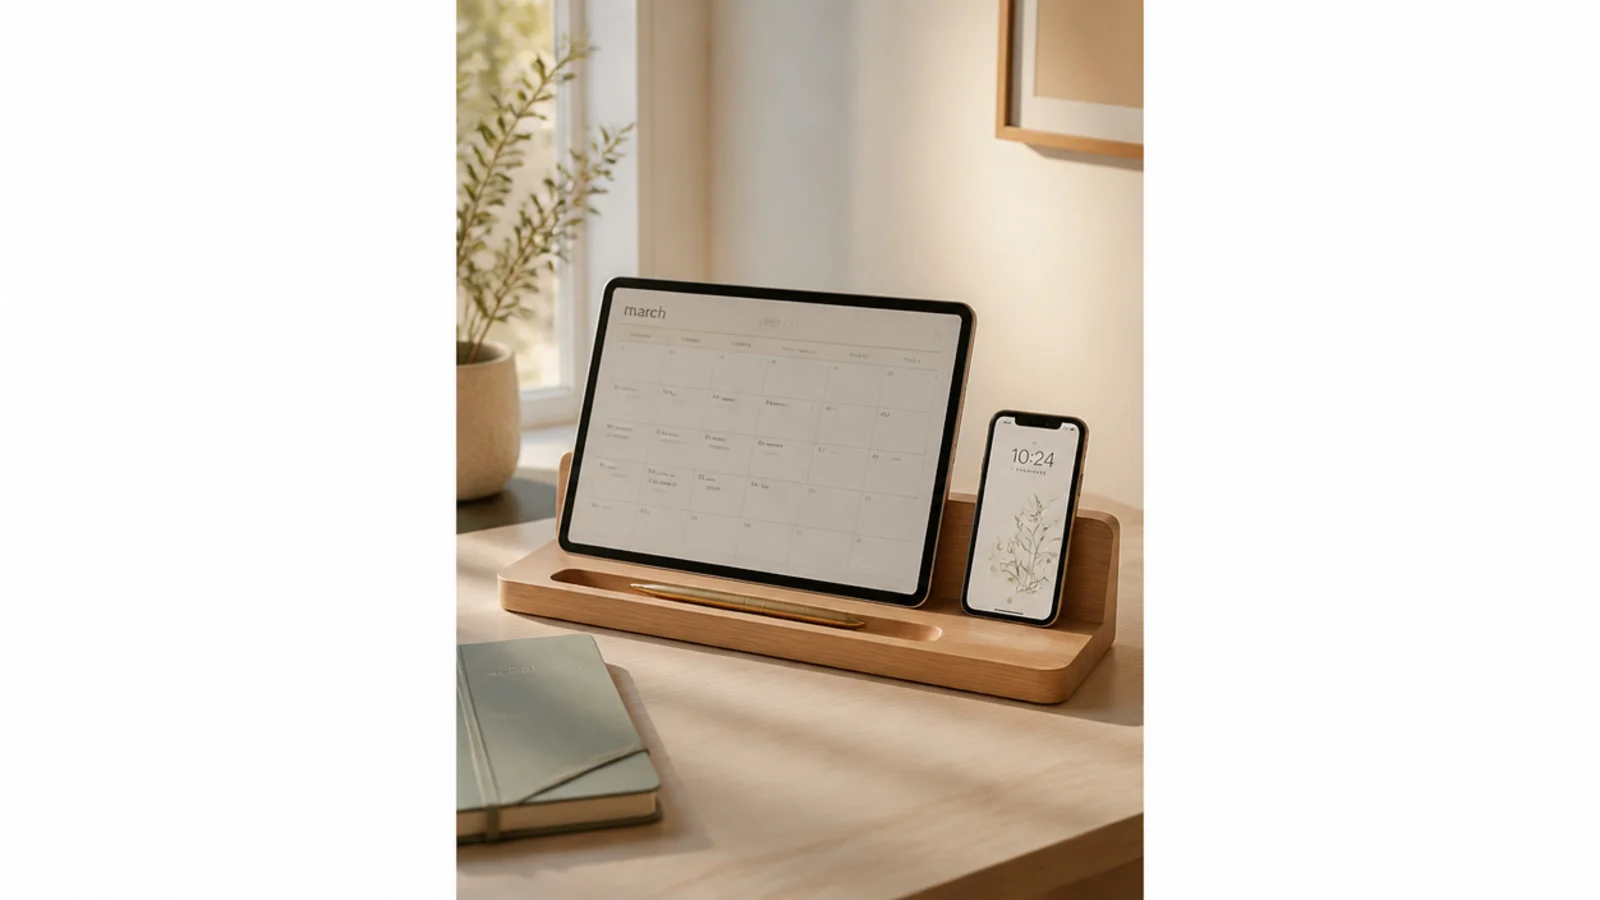
Pick a dock with slots for the devices you carry and a channel to route cables out the back. Cut your charging cables to length or coil the slack behind the dock and secure it with a small velcro tie. Plug the dock’s cables into a single strip so it’s one power source. Place it at the edge of the desk on your non-working side so devices charge without crowding your work area.
Loose charging cables are one of the biggest desk-clutter sources, and a dock ends it. One small station holds your phone, earbuds, and a watch, with the cables permanently routed and hidden. You just set the device down instead of hunting for a cable.
Skip thisDon’t stack devices flat on the desk to charge; without a dock they slide, and the cables creep back into a pile.
Editor's noteUse short 1-foot charging cables built for docks instead of the 6-foot cables that came with your devices — the excess is what tangles.
10. Letter Tray Inbox Stack

Stack two matching letter trays in a back corner. Label the top 'in' and the bottom 'out' or 'to file'. Process the in-tray on a set schedule — I clear mine every morning — so paper doesn’t calcify. Keep it to two trays; more layers just create more places for paper to hide. Recycle or file anything that’s been sitting more than a week.
A stacked inbox/outbox gives incoming paper a single landing spot so it stops covering your desk. Everything new goes in the top tray; anything to hand off or mail goes in the bottom. It turns 'where do I put this?' into a reflex.
Skip thisDon’t add a third 'maybe' tray — it becomes a permanent graveyard for decisions you’re avoiding.
Editor's noteSet a standing rule that the in-tray gets emptied to zero once a day, the same way you’d clear an email inbox.
11. Rolling Supply Cart
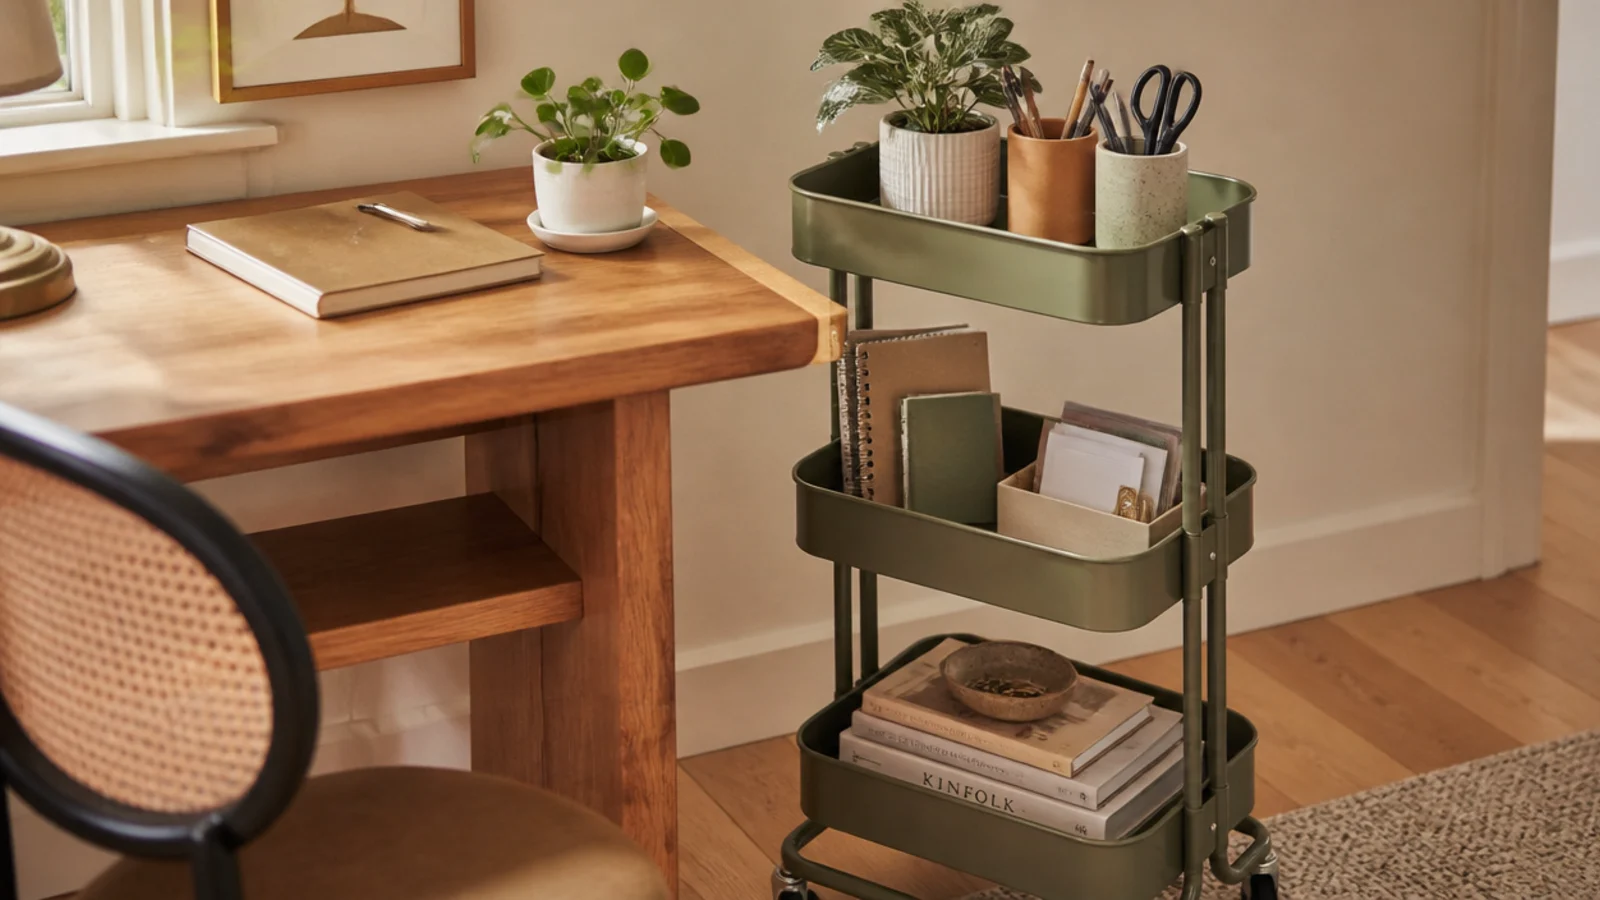
Choose a narrow three-tier cart (about 12 inches deep) that fits beside or under one end of the desk. Assign each tier a category: daily overflow on top, project supplies in the middle, bulk stock on the bottom. Add small bins to the tiers so loose items don’t roll around. Roll it flush against the desk or into a corner when you’re done for the day.
A slim rolling cart parks next to the desk and holds everything that doesn’t need to live on the surface — extra supplies, notebooks, snacks, a water bottle. Because it rolls, you pull it close when you need it and tuck it away when you don’t. It’s perfect for keeping the desktop minimal without walking to a closet.
Skip thisDon’t turn the cart into a dumping ground; give each tier a purpose or it becomes a mobile pile of clutter.
Editor's noteLock the caster brakes once it’s parked so the cart doesn’t drift when you lean on it or grab something.
12. Label-Everything System
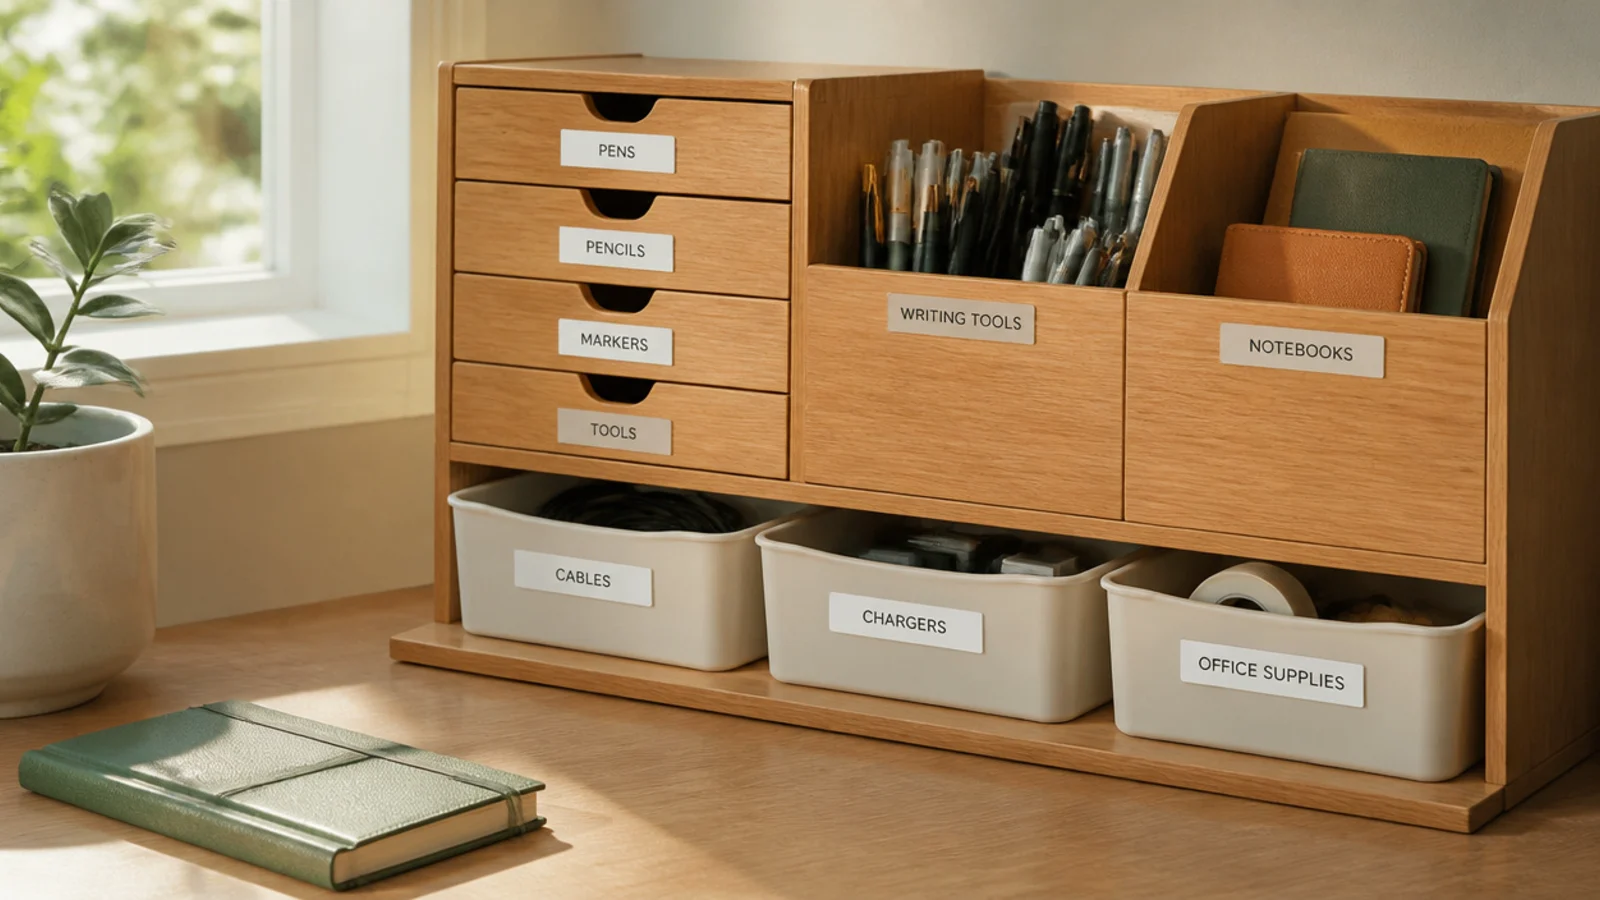
Use a label maker or printed labels for a clean, consistent look. Label the front edge of each drawer and every bin — 'cables', 'writing', 'paper', 'tech'. Keep names broad enough to hold a category but specific enough to guide a decision. Relabel when a category changes rather than cramming mismatched items into an old label. Place labels at eye level for standing bins and on the drawer face for drawers.
Labels are what make an organization system survive past week one. When every drawer and bin says what belongs inside, putting things away becomes automatic and nothing drifts. It’s the cheapest, highest-return step on this whole list.
Skip thisDon’t skip labeling because 'you’ll remember' — the whole point is that anyone, including future-you, doesn’t have to.
Editor's noteWrite labels for categories, not exact items, so the system flexes as your supplies change without a full relabel.
13. Desktop Shelf Riser
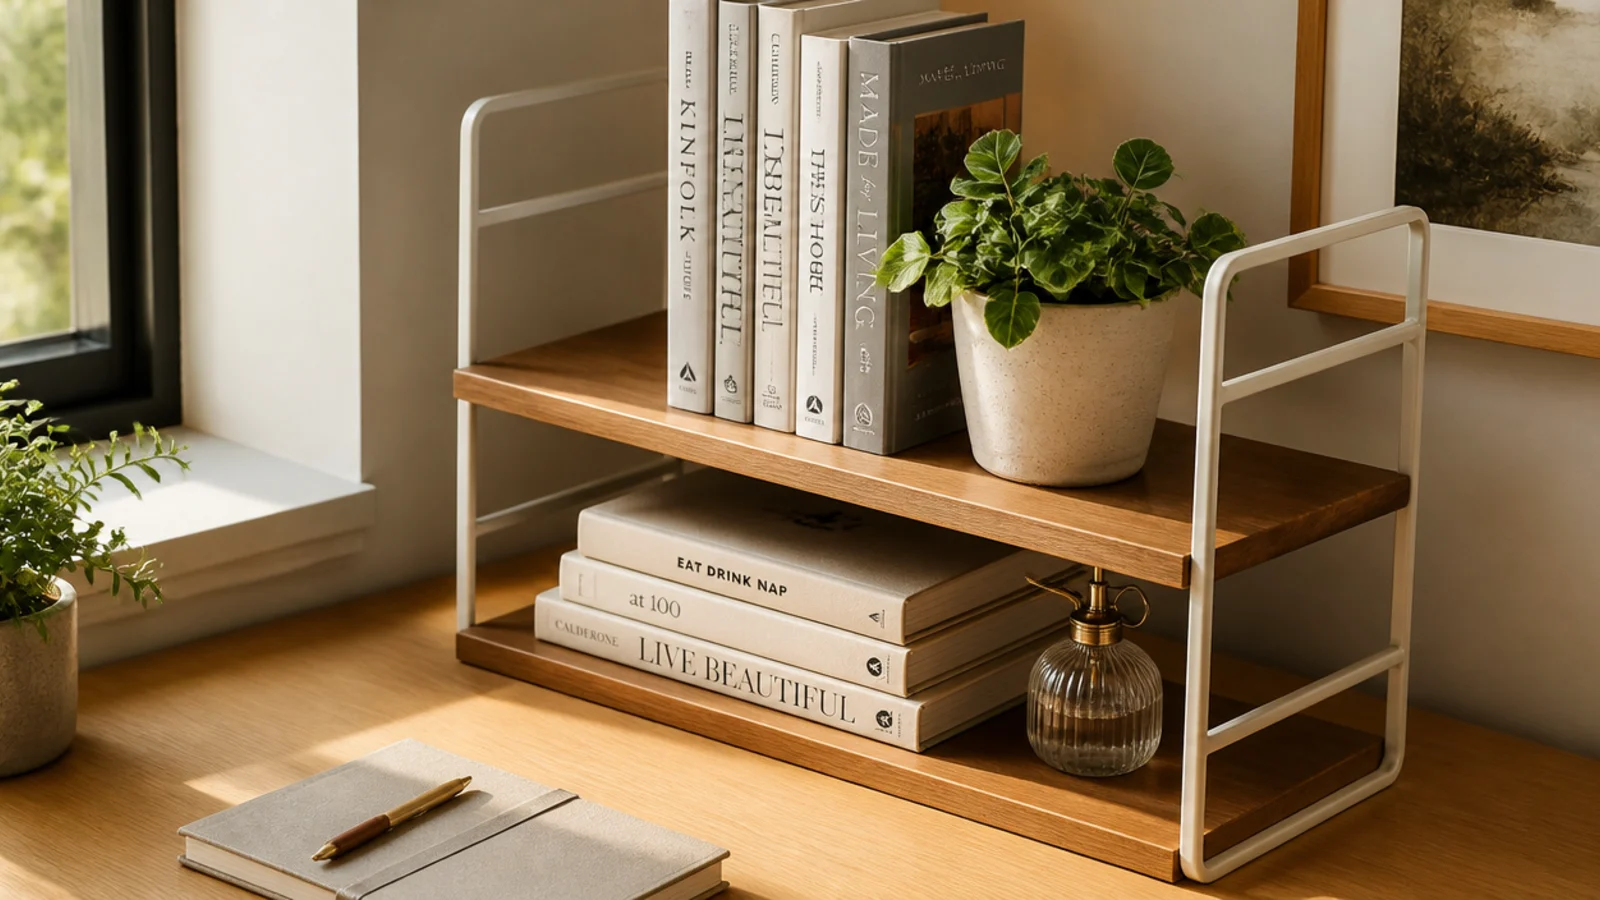
Set a two-tier riser or a small monitor-height shelf along the back edge of the desk. Use the top for things you want in view — a plant, a photo, a couple of reference books — and the shelf underneath for a small tray or your phone dock. Keep it shallow (around 8 inches deep) so it doesn’t push your monitor too far forward. Anchor it if it’s tall enough to tip.
A small riser shelf adds a second level to your desk, lifting books, a plant, or a speaker off the working surface. It uses vertical space you’re already paying for and keeps reference items visible without eating into your workspace. Great for a desk against a wall.
Skip thisDon’t load a tall riser with heavy books near the front edge where a bump could topple it onto your keyboard.
Editor's noteReserve the riser for items you look at, not items you use — your active tools should stay at hand level, not up on a shelf.
14. Memo Board Sticky Zone
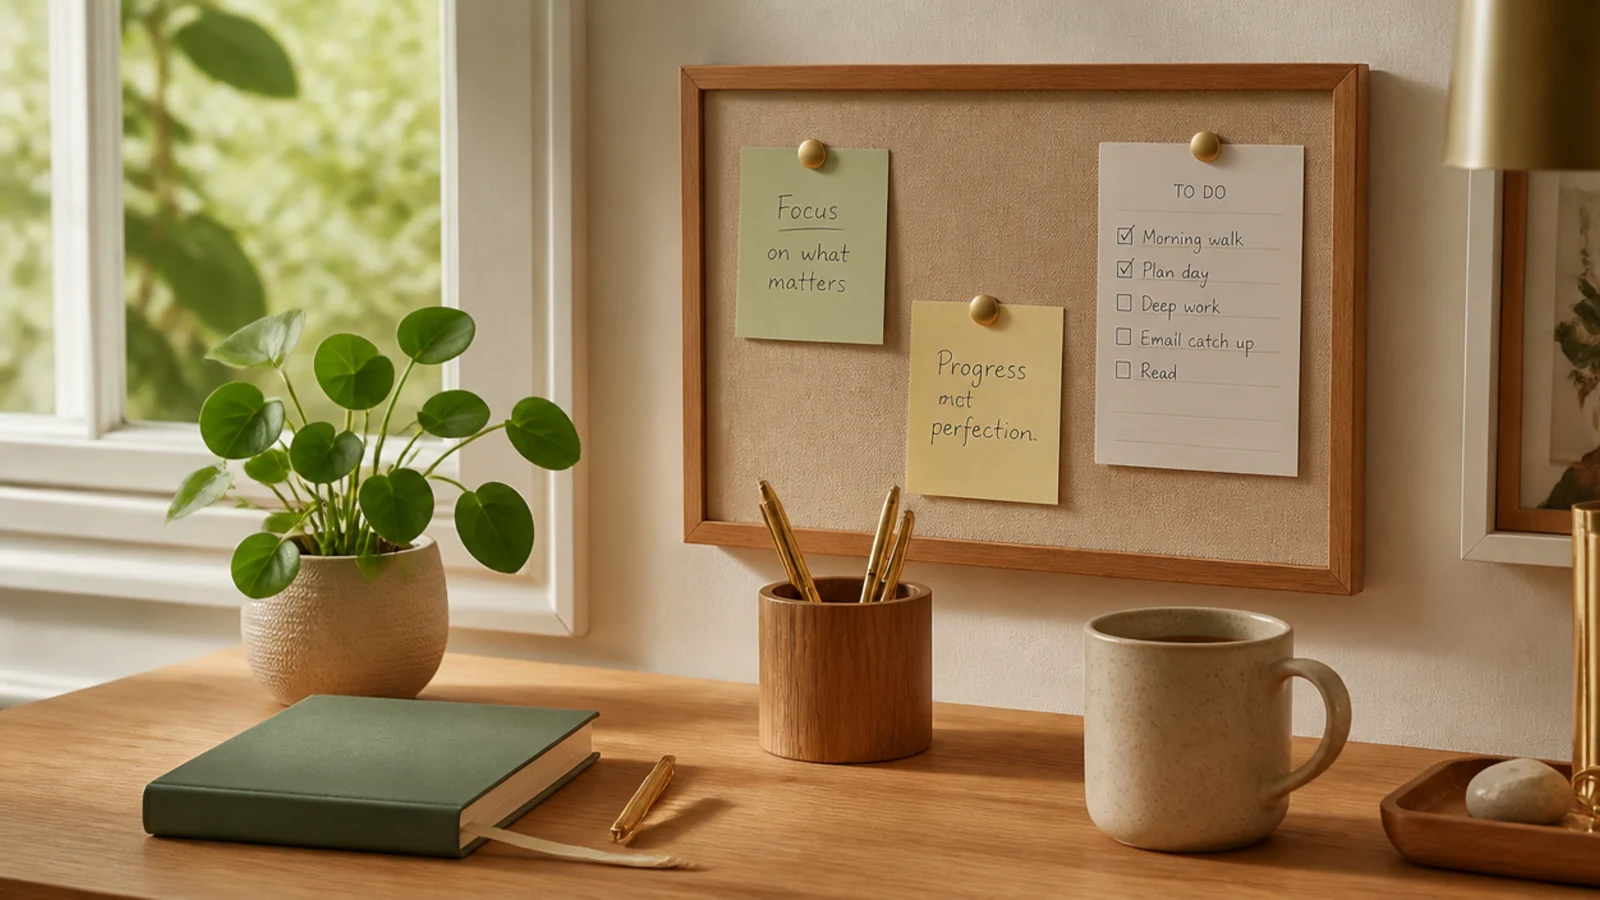
Sticky notes stuck all over your monitor and desk are visual noise. Giving them one board contains the chaos and turns scattered reminders into a single glance-able list. It keeps your screen bezel and desktop clean.
Mount a small cork or magnetic board on the wall beside the desk at eye level, roughly 12 by 16 inches. Move every stray sticky note onto it and group them — today, this week, later. Clear finished notes daily so the board stays current instead of becoming wallpaper. Keep the pad and a pen nearby so adding a note is faster than sticking it to your screen.
Draw or tape a simple three-column grid on the board (today / week / later) so notes sort themselves as you add them.
Don’t stick notes to your monitor 'temporarily' — temporary sticky notes are how the clutter starts every time.
15. Headphone Stand or Hook

Headphones left on the desk take up a surprising amount of space and get knocked around. A dedicated stand or an under-desk hook gives them a vertical home and protects the headband. It clears a big footprint with one small purchase.
Set a weighted headphone stand at the back corner of the desk, or screw a small adhesive hook under the desktop’s edge for a hidden hang. Coil the cable loosely at the base or with a velcro tie so it doesn’t dangle. Hang the headphones by the headband, not one earcup, so they keep their shape. If wireless, put the charging cable at the stand’s base so they charge while parked.
An under-desk hook keeps headphones completely off the surface and out of sight while staying within easy reach.
Don’t hang headphones off the monitor corner — it stresses the headband and they slide off onto the floor.
16. Adhesive Cable Clips
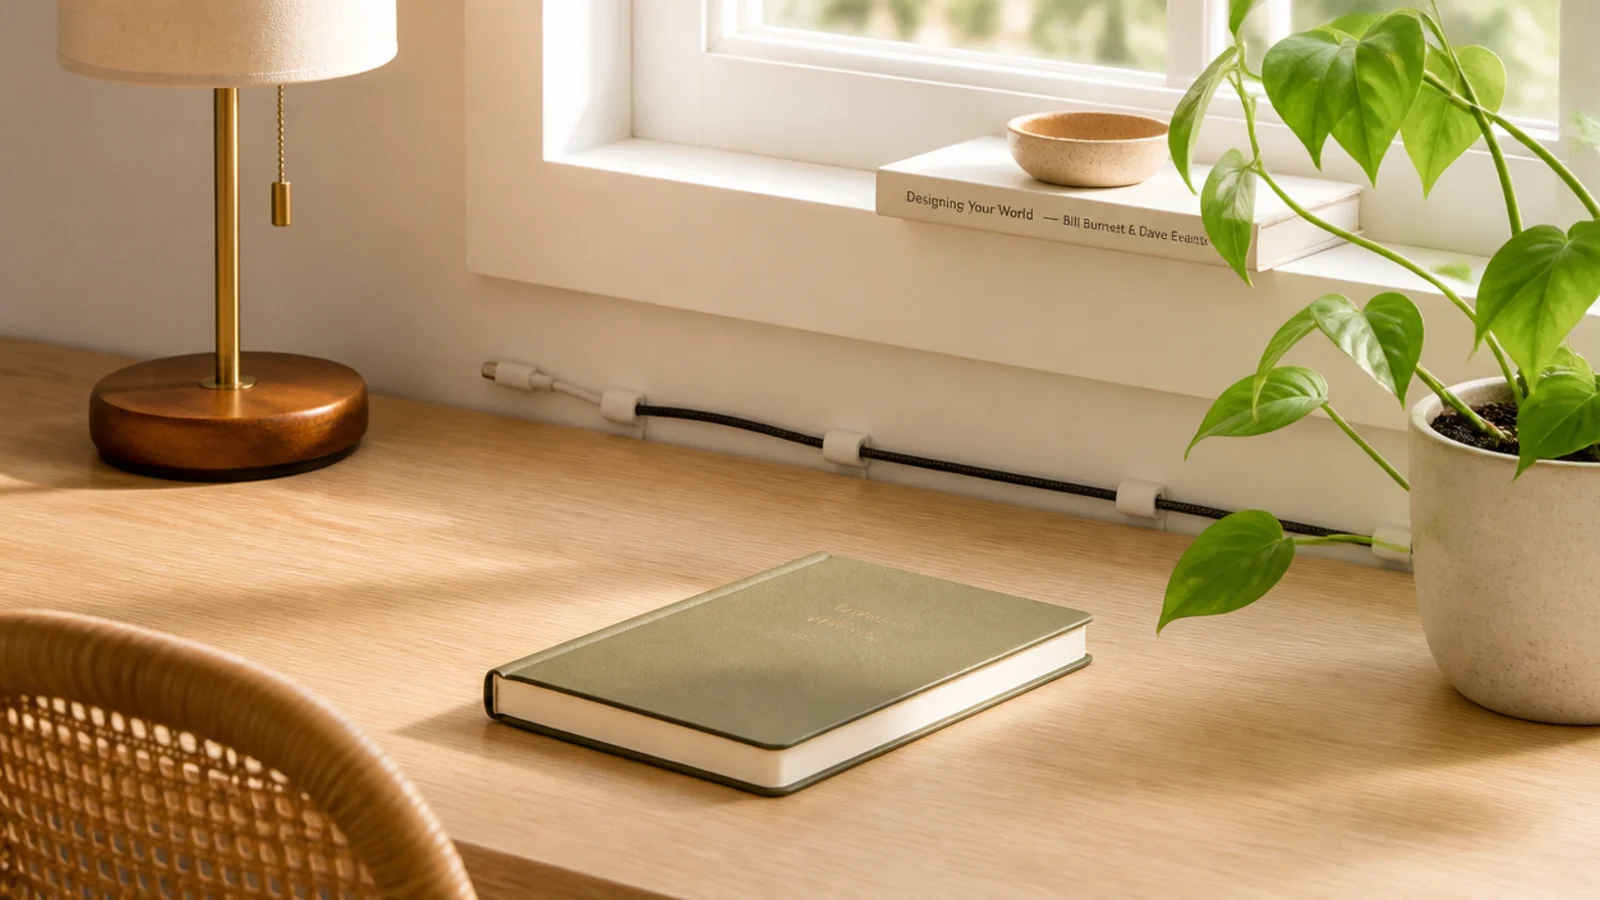
Buy a pack of adhesive cable clips sized to your cable diameter. Clean the desk edge with rubbing alcohol, then press a clip where each cable should live — usually along the back edge near where it’s used. Route the cable through the clip so the end stays on top of the desk. Leave enough slack to reach your device comfortably. Let the adhesive cure a few hours before loading.
The cables you use on the desktop — a charger, a lamp cord, a dock cable — slide off the back edge and disappear when you need them. Small adhesive clips anchor each one right where you grab it. It’s a two-dollar fix that stops the daily fishing behind the desk.
Skip thisDon’t stick clips on a dusty or oily surface; wipe with alcohol first or they’ll peel within a week.
Editor's notePlace a clip right at the front edge for your phone charger so the cable end is always sitting there ready, not fallen behind.
17. Daily Catch-All Tray

Keys, a wallet, glasses, a badge — the things you empty from your pockets need one landing spot or they scatter across the desk and get lost. A shallow tray contains them in one glance-able place. It’s the fastest way to stop the 'where are my keys' scramble.
Set a shallow tray or a small dish at the front corner of the desk, where you naturally set things down as you sit. Keep it strictly for pocket items — keys, wallet, glasses, badge — not supplies. Empty it back into your pockets or bag as you leave so it resets daily. Choose a tray with a soft base or a liner so keys don’t scratch it or slide out.
Put the tray in the exact spot your hand lands when you sit down, so dropping items in becomes automatic muscle memory.
Don’t let the catch-all collect receipts and random paper; keep it to pocket items or it becomes another clutter pile.
18. Desktop Folder Organizer
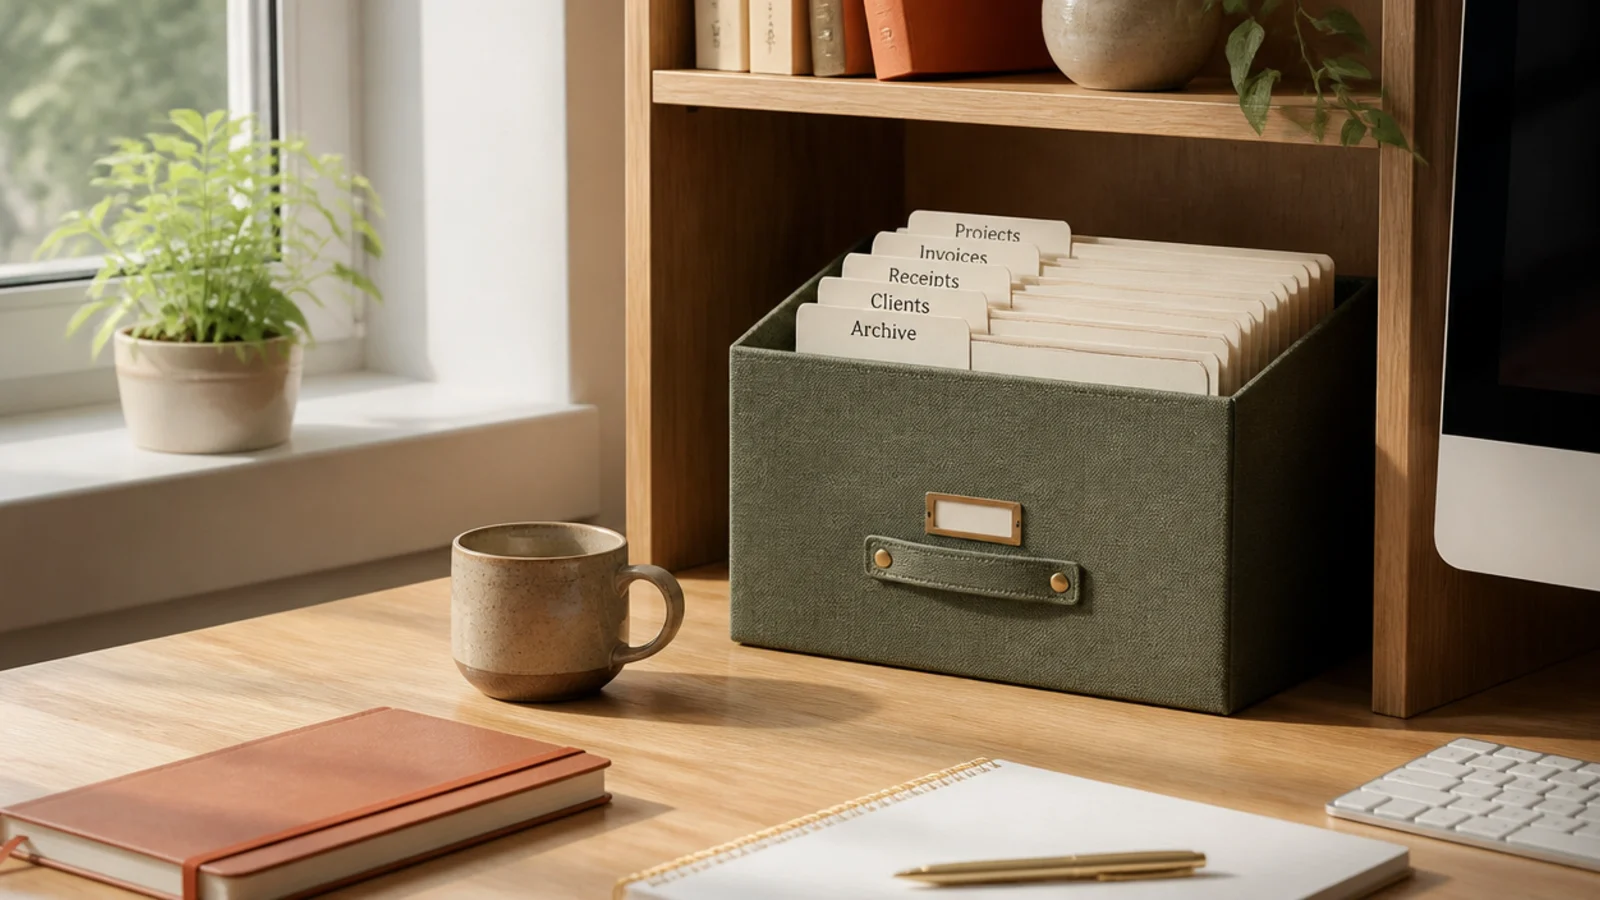
Use a compact file box that holds letter-size hanging folders. Create a folder per category — finances, warranties, current project, personal — with clearly written tabs. File paper the same week it arrives so it never stacks on the desk. Keep it on a nearby shelf or the floor beside the desk, not on the surface. Purge outdated documents once a year.
For paper you keep but rarely touch — warranties, statements, project files — a small desktop file box holds hanging folders upright and labeled. It’s an at-hand archive that keeps reference paper off the desk but still reachable. Better than a drawer for anything you file by category.
Skip thisDon’t create a 'miscellaneous' folder; vague folders swallow everything and you’ll never find anything in them again.
Editor's noteTab your folders in the same order every time (front to back by how often you use them) so filing is a reflex, not a search.
19. Hot, Warm, and Cold Zones
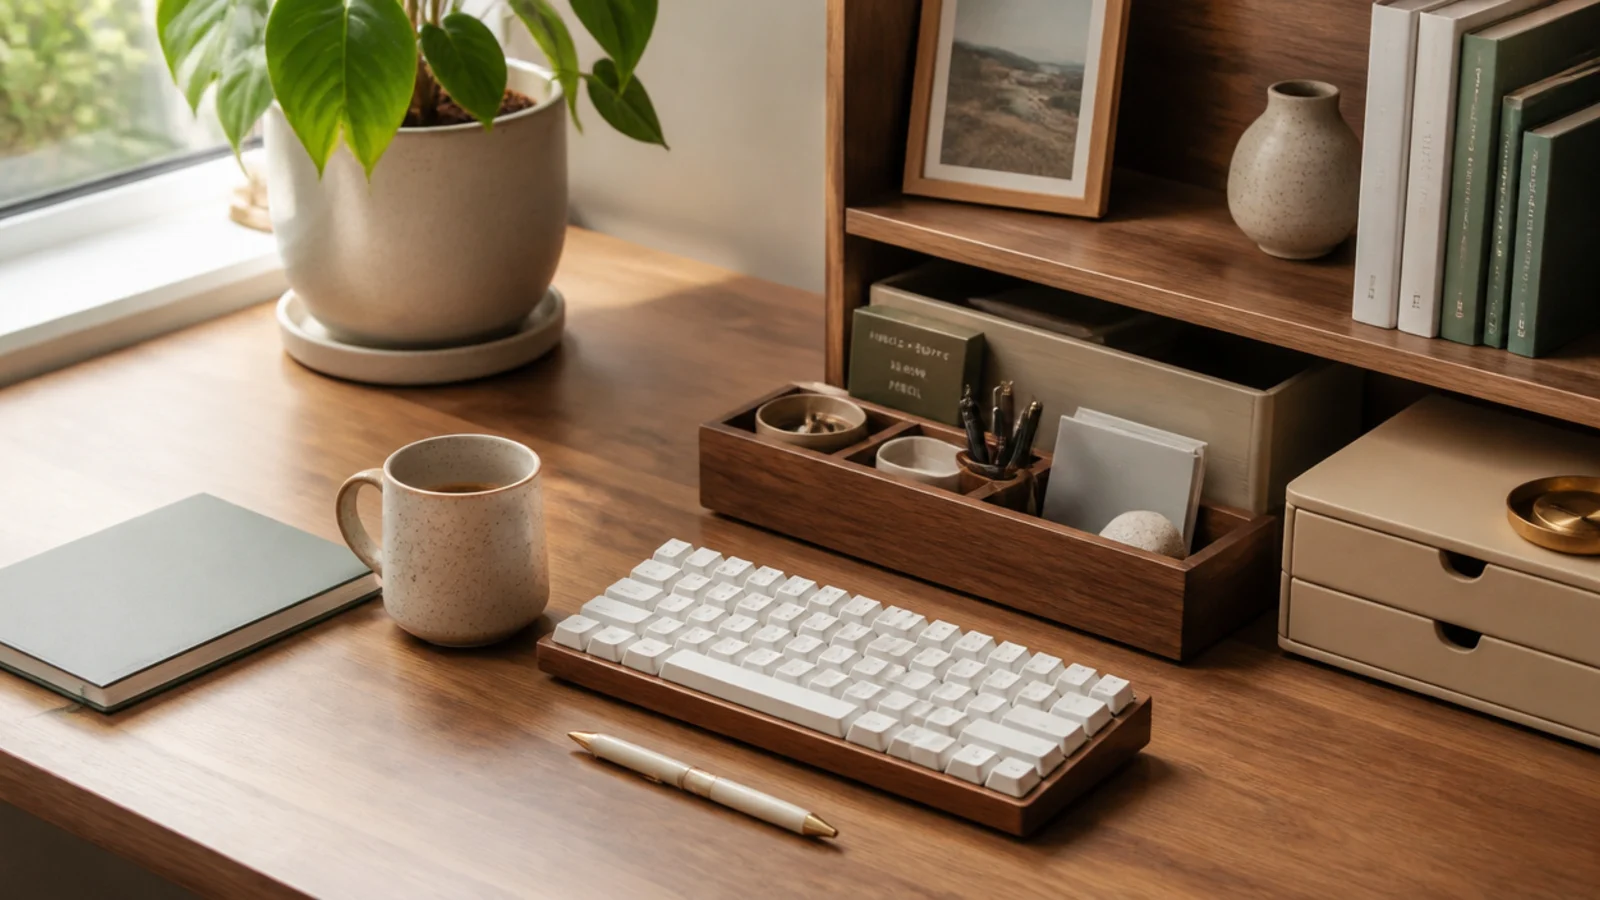
Map three rings out from where you sit. The hot zone is the arc your hand covers without leaning — keep only your monitor, keyboard, one pen, and a notebook here. The warm zone is drawers and the near shelf — chargers, weekly supplies, files. The cold zone is a closet or high shelf for stock and rarely-used gear. Re-sort anything that’s in the wrong ring during your weekly reset.
This is a way of thinking rather than a product, and it ties the whole desk together. You place items by how often you use them: hot (daily) within arm’s reach, warm (weekly) in a drawer or on the cart, cold (rarely) off the desk entirely. It’s why organized desks feel effortless — everything is exactly as close as it needs to be.
Skip thisDon’t keep rarely-used items in the hot zone out of habit; the surface is prime space and belongs to daily tools only.
Editor's noteIf you reach for something daily and it’s in a drawer, promote it to the hot zone; if a desktop item sits untouched for a week, demote it.
20. End-of-Day Reset Routine
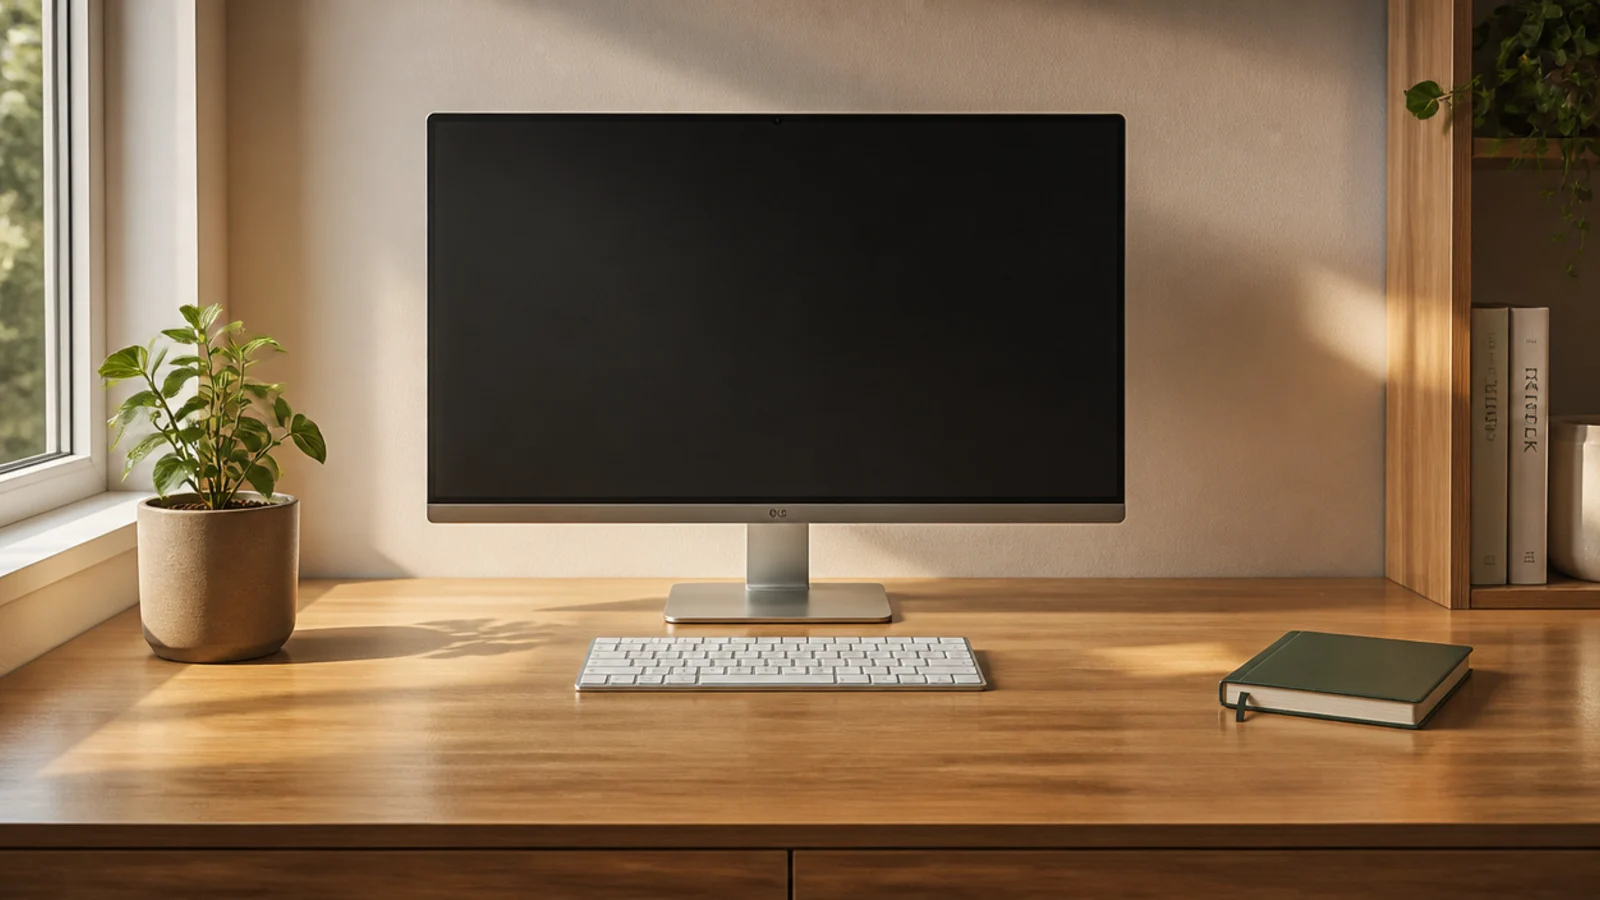
At the end of your workday, spend one minute: cap and re-cup pens, put paper in its tray or file, coil the cables, return the catch-all items to your bag, and wipe the surface with a cloth. Leave only the permanent items — monitor, keyboard, plant. Treat it as the last task of the day, not an optional extra. After a week it becomes automatic and the desk never spirals.
No product keeps a desk clear — a small daily habit does. A 60-second reset at the end of each day returns everything to its home and wipes the surface, so you start every morning at zero. It’s the single most important 'idea' here because it’s what makes all the others last.
Skip thisDon’t leave 'just one thing' out each day; one item becomes five by Friday, and the whole system quietly erodes.
Editor's noteDo the reset before you stand up for the day, not 'later' — later never comes, and the clutter compounds overnight.