1. Inbox and Outbox Tray System
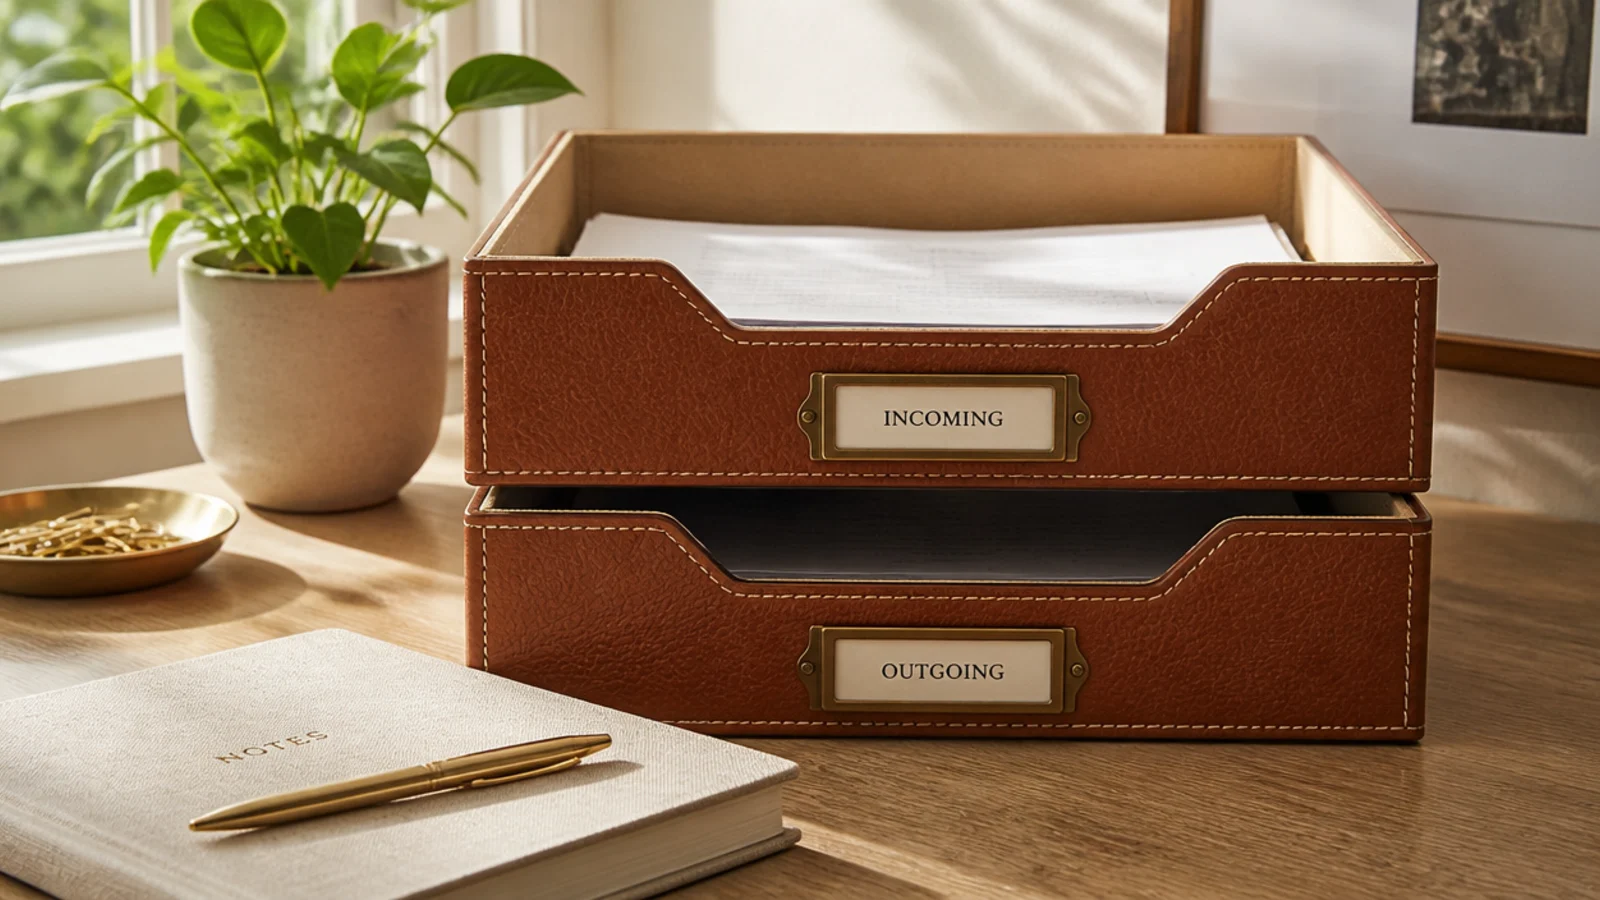
A stacked inbox/outbox is the backbone of an office desk because it gives paper a defined path. Incoming documents land in the top tray; anything to file, sign, or send goes in the bottom. It stops paper from spreading across the whole surface, which is the number-one office clutter source.
Stack two matching letter trays at a back corner. Label the top 'in' and the bottom 'out' or 'to file'. Process the in-tray on a set schedule — clearing it each morning works well — so paper doesn’t calcify. File or recycle anything that lingers more than a week. Keep it to two trays so paper can’t hide in extra layers.
Empty the in-tray to zero once a day the same way you’d clear an email inbox, so paper never accumulates a backlog.
Don’t add a third 'pending' tray; it becomes a permanent graveyard for decisions and documents you’re avoiding.
2. Monitor Arm at Camera Height
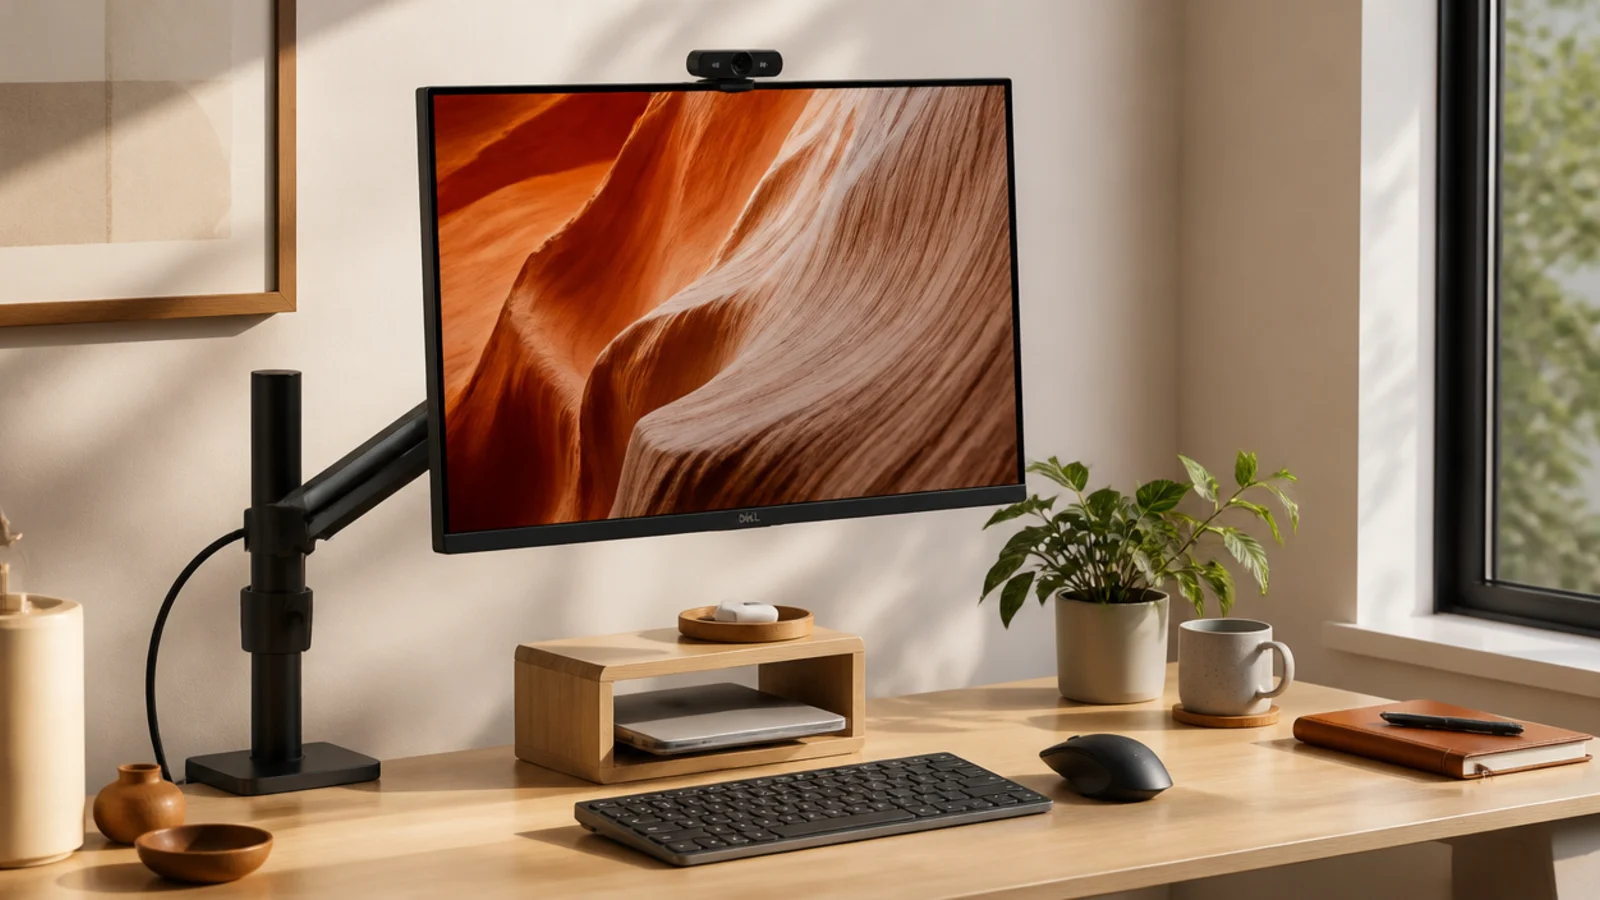
A monitor arm lets you set a precise eye-level position, which fixes both your posture and how you look on video calls. When the camera is at eye height, you appear engaged instead of looking down at everyone. It also frees the desk space a stand would use.
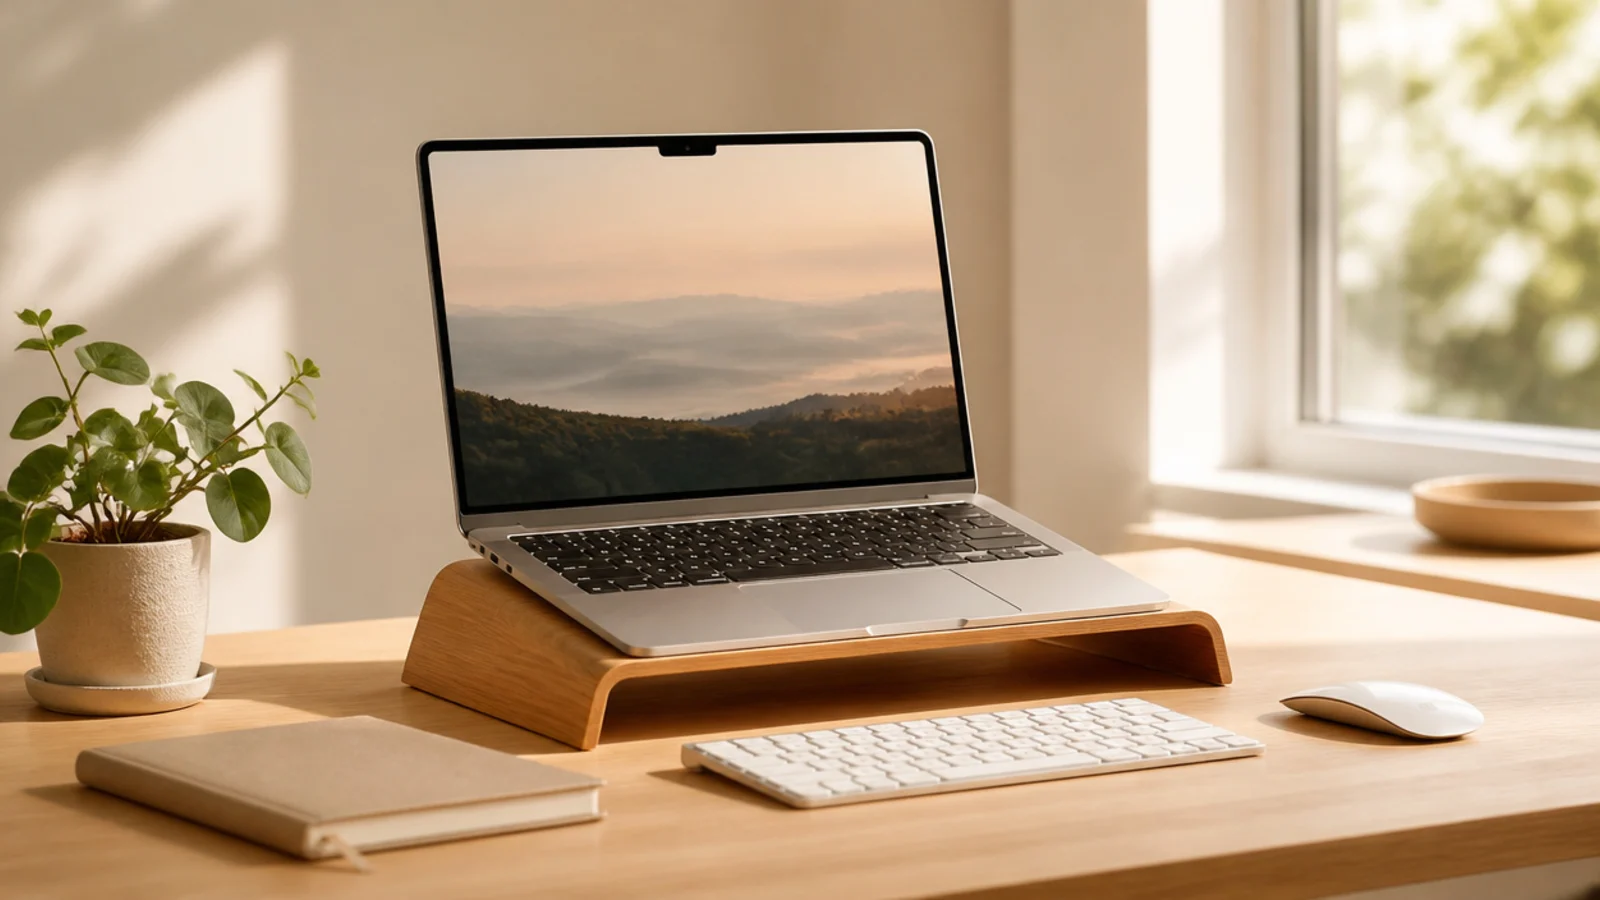
Clamp a monitor arm rated for your screen’s weight and VESA size to the back edge, and route the cable through its channel. Set the top of the screen at eye level with the webcam just above your sight line. Position the screen about an arm’s length away. If you use a laptop for calls, raise it on a stand and use an external keyboard so the camera hits eye height.
Editor's noteSet the webcam just at or slightly above your eye line so you look level with people on calls, never down at them.
Skip thisDon’t leave a laptop flat on the desk for calls; the up-the-nose angle looks unprofessional no matter the lighting.
3. Office Supply Drawer Organizer
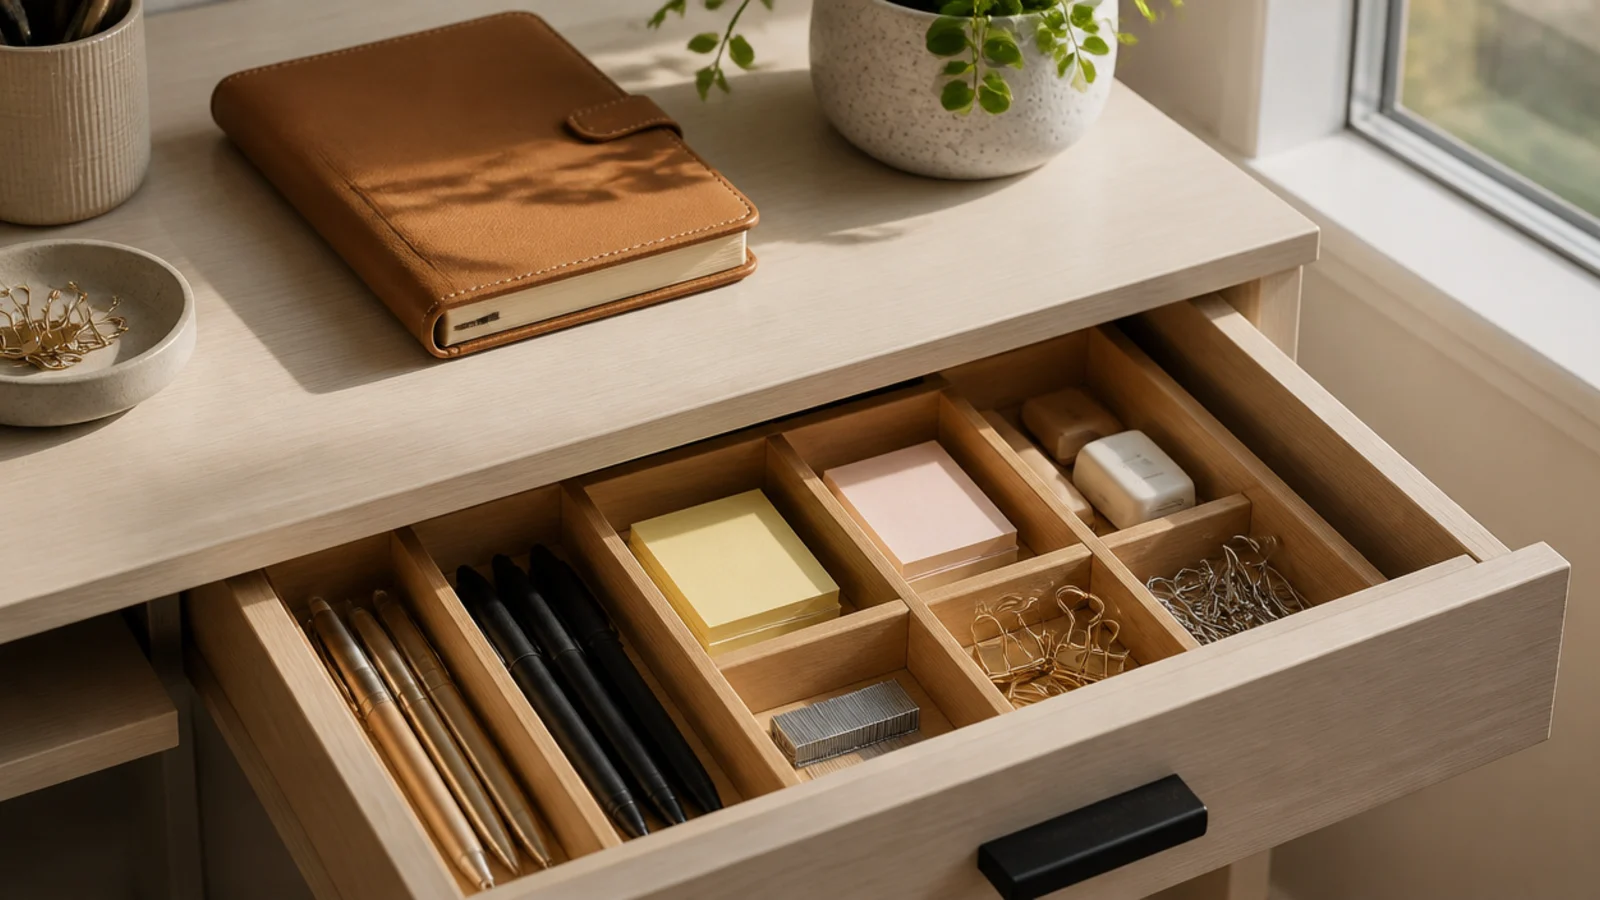
A divided supply drawer keeps the office basics sorted and off the surface. Pens, staples, clips, and sticky notes each get a section so they’re findable and out of sight. It’s what lets you keep the desktop clear while still having everything at hand.
Measure the drawer interior and fit adjustable dividers or a supply tray. Create sections for writing tools, fasteners (staples, clips, pins), sticky notes and flags, and tech bits. Keep the most-reached items toward the front. Store bulk supplies elsewhere and keep only working quantities in the drawer. Add a non-slip liner so nothing shifts when the drawer opens.
Editor's noteKeep only working quantities in the drawer and bulk stock in a cabinet, so the drawer stays easy to see into at a glance.
Skip thisDon’t tip loose supplies into one open drawer; without dividers it becomes a tangle you dig through daily.
4. Active Project File Rack
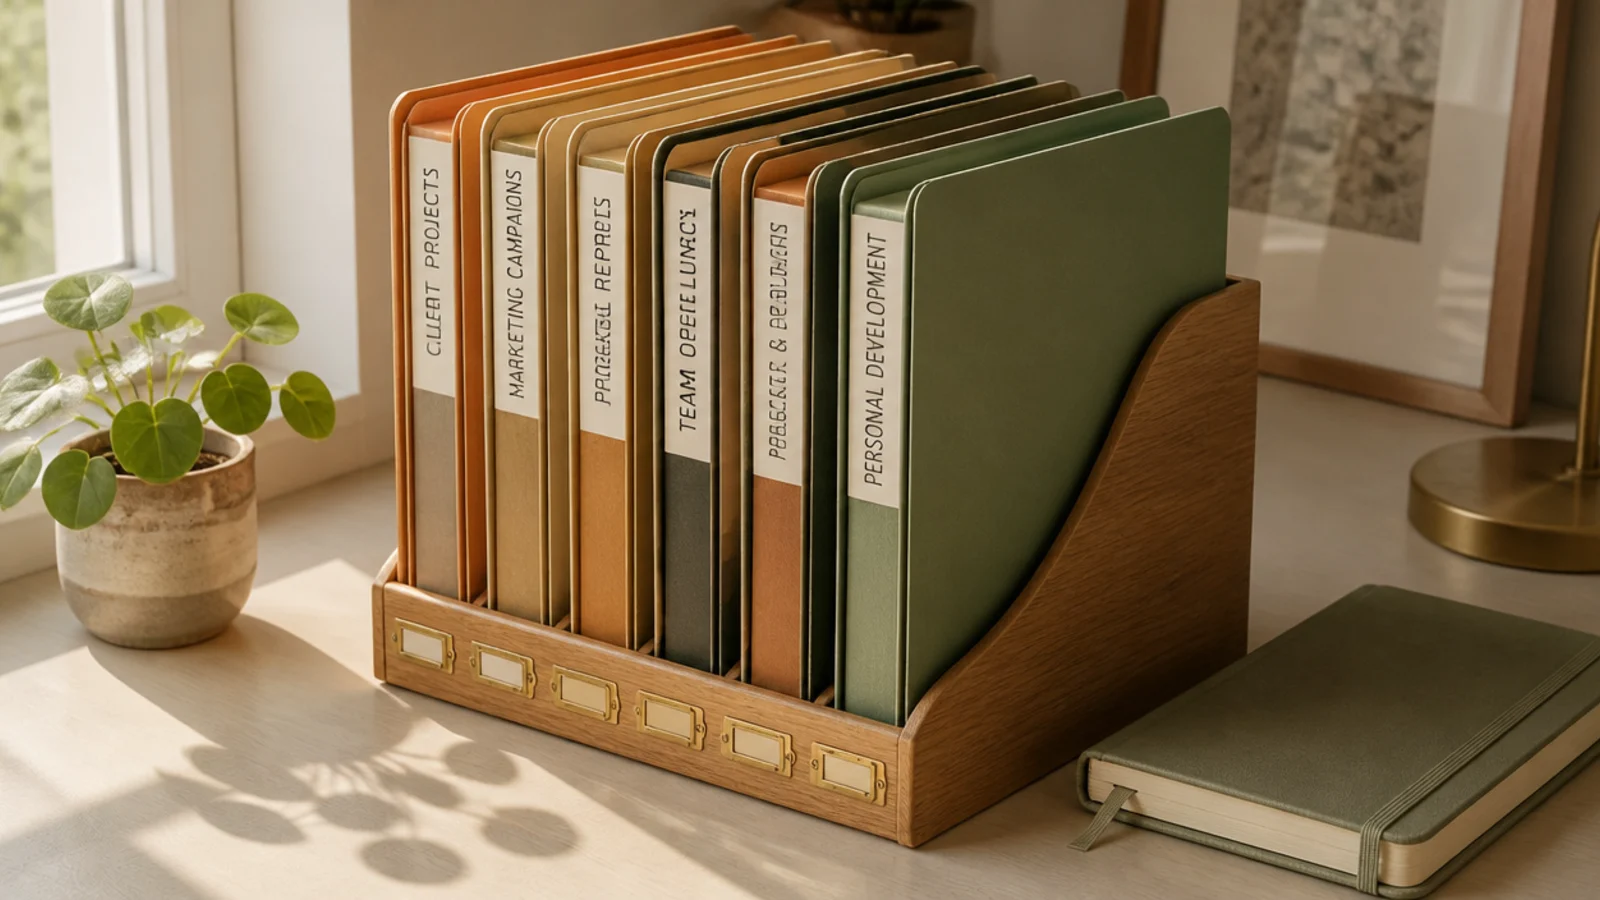
A vertical file rack keeps your current projects upright, labeled, and instantly reachable. Each active job gets a folder, so you pull exactly what you need without a flat-stack hunt. It’s the daily-driver filing that keeps live work moving.
Set a vertical rack with several slots on the desk for active projects only. Label a folder per project and keep only current documents inside. Order the folders by priority or how often you use them. Move a project’s folder to your archive filing when it wraps. Purge and re-sort the rack weekly so it reflects what’s actually live.
Editor's noteOrder folders front-to-back by priority so the project you touch most is always the easiest one to grab.
Skip thisDon’t let completed projects sit in the active rack; they crowd out live work and make the priority order meaningless.
5. Professional Cable Management
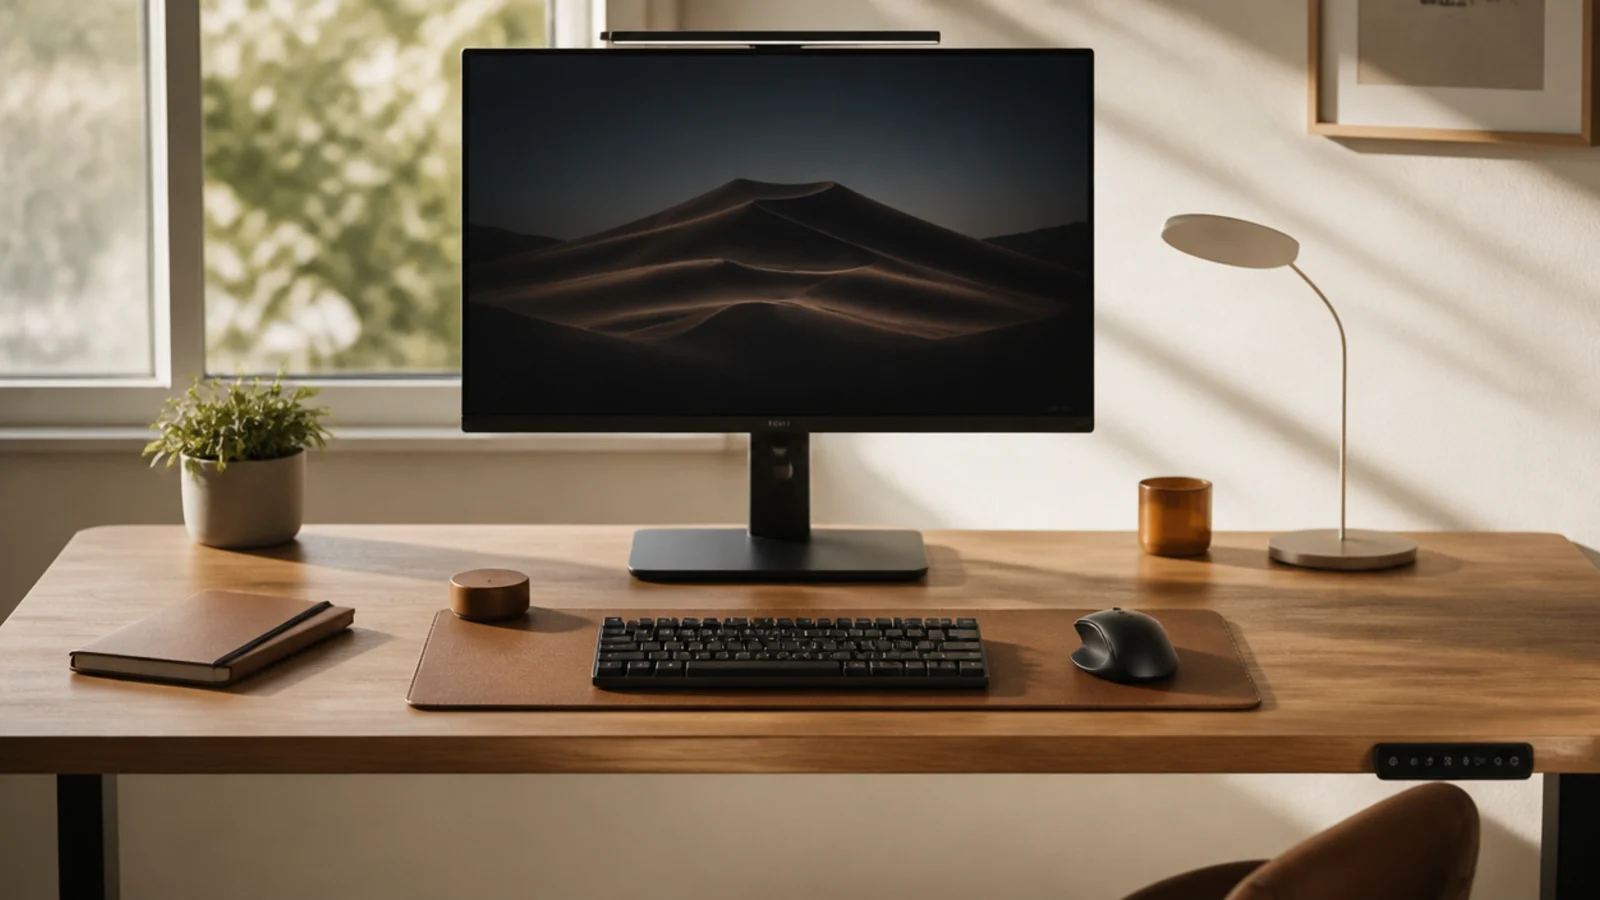
Hidden cables are what separate a professional desk from a chaotic one, in person and on camera. Routed into a tray with the power strip mounted underneath, the cords disappear entirely. It’s high-impact and mostly invisible once done.
Mount a cable tray under the back edge and set the power strip inside. Route each cable down, coil the slack, and secure it with reusable velcro ties. Clip the few desktop cables along the back edge so ends stay reachable. Feed cables through a grommet hole if your desk has one. Aim for zero visible cords from your seat and from the webcam’s view.
Use a cable sleeve to bundle the run down the desk leg into one clean line instead of loose strands on show.
Don’t use zip ties for cables you’ll swap; you’ll be cutting and re-tying every time you change a device or monitor.
6. Document Sorting Tray
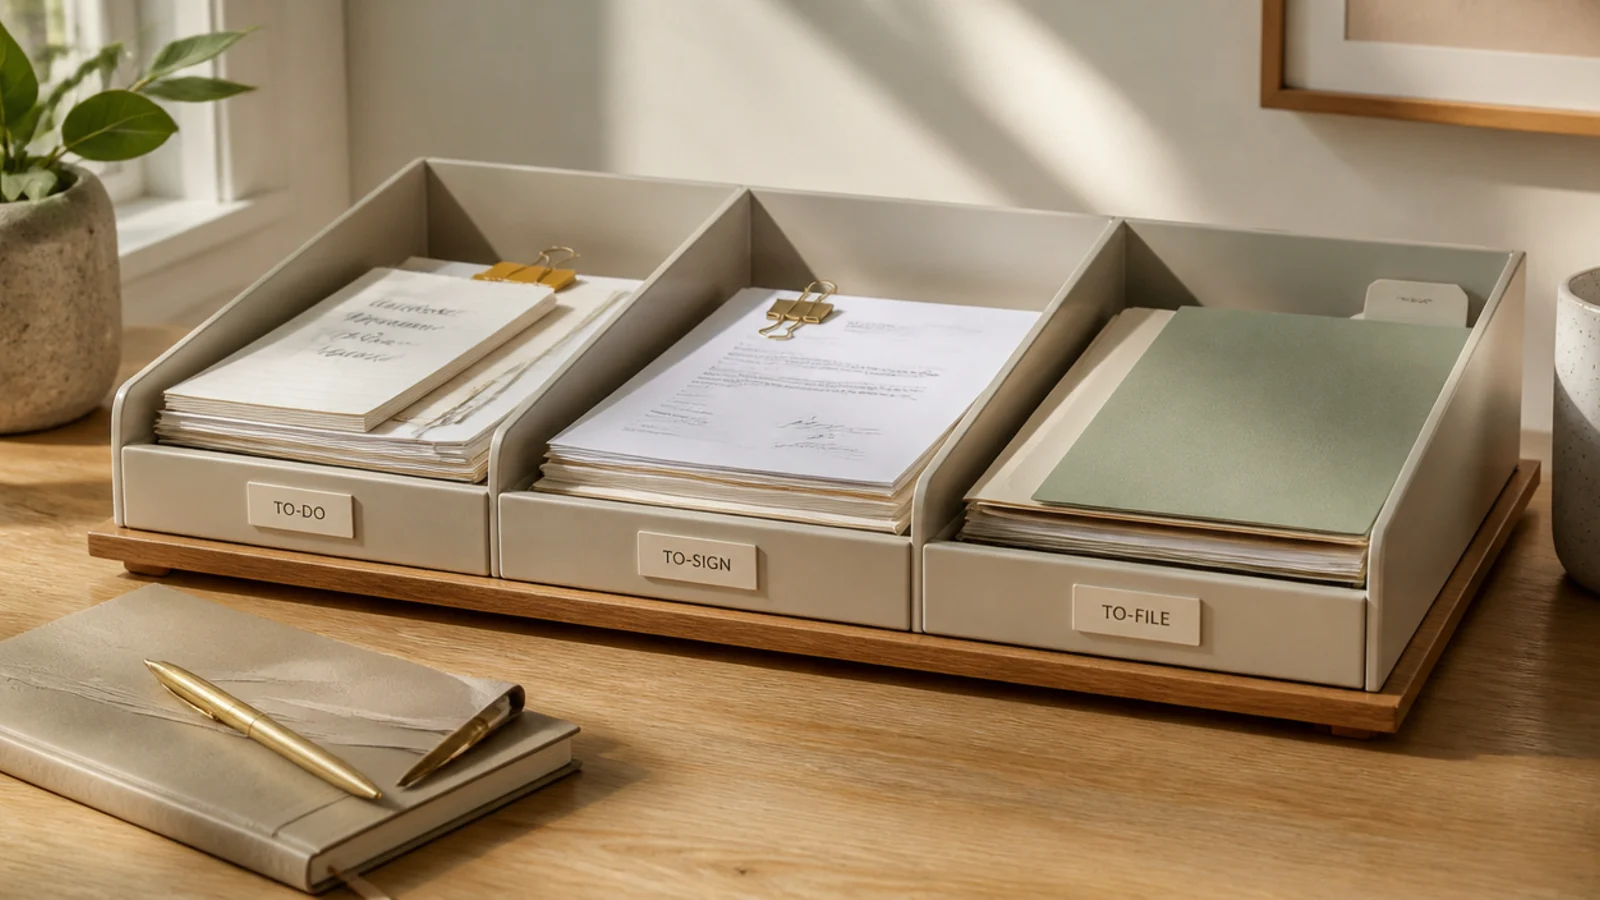
A multi-slot sorting tray handles paper that’s mid-process — things to do, to sign, to file. It’s more granular than an inbox and keeps in-progress documents from stacking into one pile. Perfect for a paper-heavy role.
Use a horizontal or stepped multi-slot tray and assign each slot a stage — to-do, to-sign, to-file, reference. Move each document forward through the slots as you handle it. Clear the 'to-file' slot into your filing weekly. Keep slots to four or fewer so the system stays simple. Position it beside your inbox as the next step for processed mail.
Editor's noteLabel each slot by action, not topic — 'to sign', 'to file' — so every paper has one obvious next step.
Skip thisDon’t create so many slots that sorting becomes its own chore; four clear stages beats ten vague categories.
7. Business Card and Contact Holder
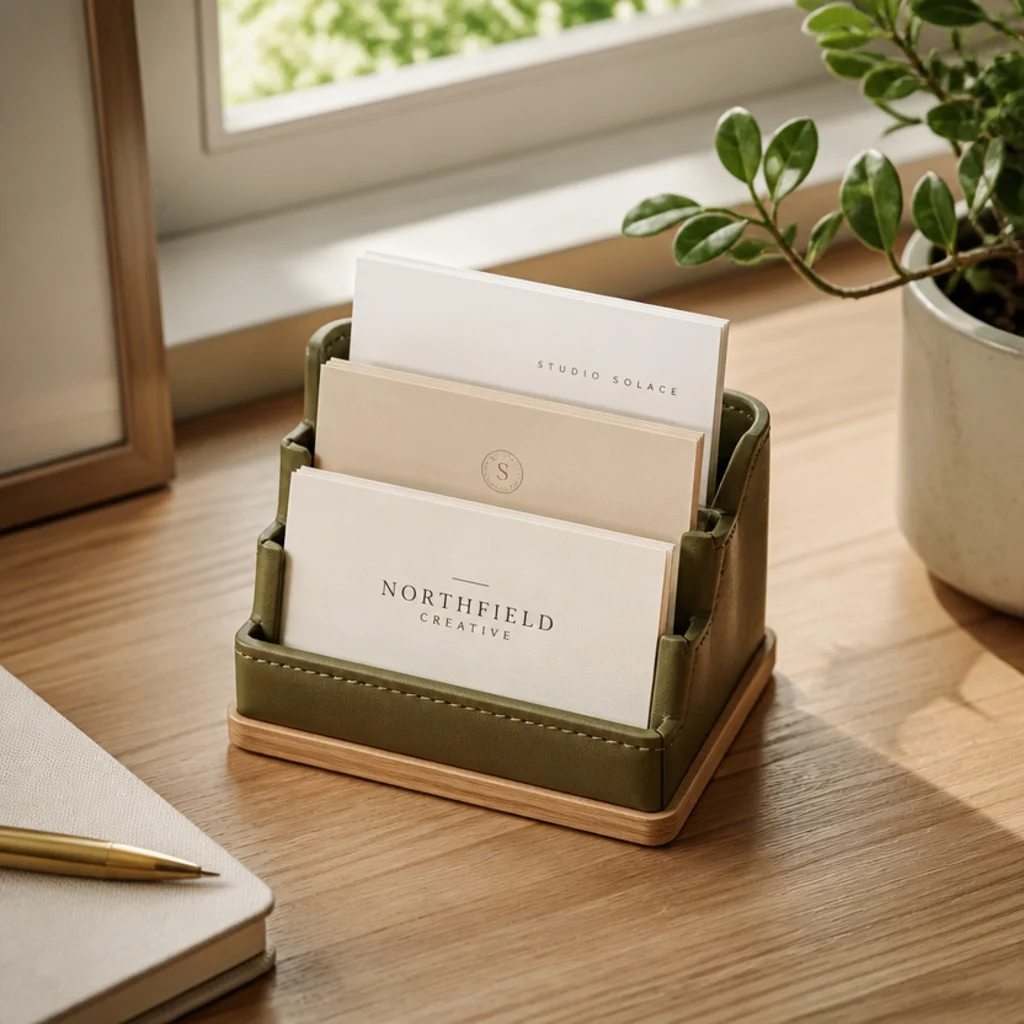
Business cards and contact notes scatter and get lost without a home. A small holder keeps them upright, visible, and sorted. It’s a niche piece, but if you collect cards it saves the frustration of hunting for a contact.
Set a small card holder or a divided box near your phone. Sort cards by category — clients, vendors, internal — or alphabetically. Digitize the important ones into your contacts and recycle duplicates so it doesn’t overflow. Keep only active contacts here; archive the rest. Add new cards the same day you get them so none pile up loose.
Editor's notePhotograph or scan key cards into your phone contacts right away, then keep only the ones you truly reference physically.
Skip thisDon’t hoard every card you’re ever handed; an overflowing holder is as useless as a loose pile in a drawer.
8. Sit-Stand Setup and Mat
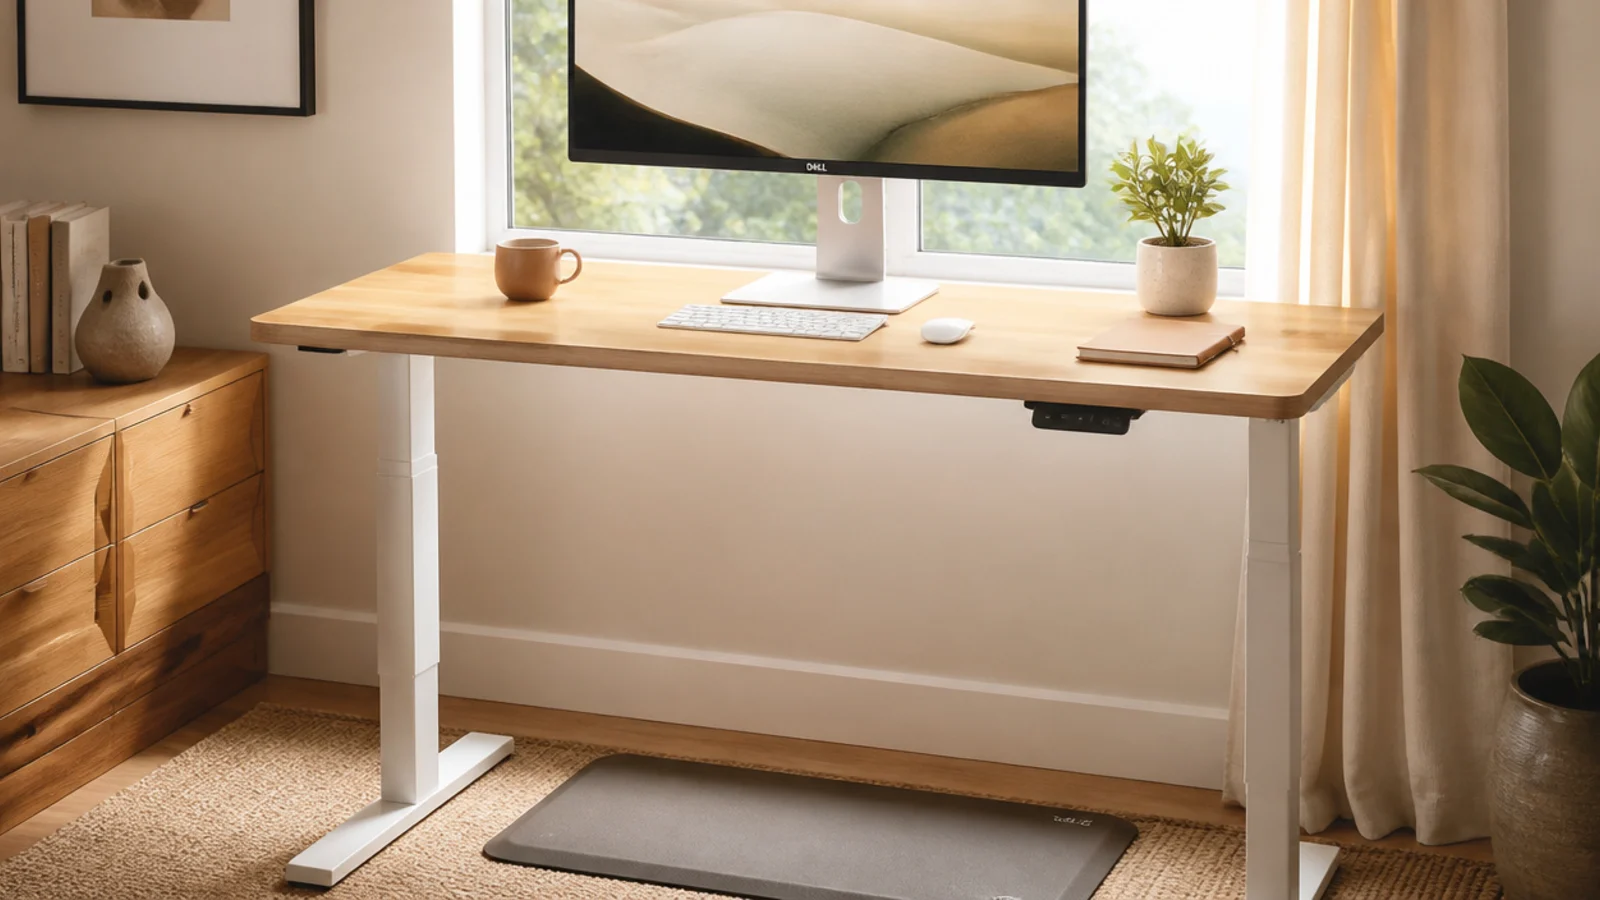
If you use a sit-stand desk, an anti-fatigue mat and a considered layout make standing sustainable. Alternating posture through the day keeps you comfortable and focused. Organizing for both heights keeps the desk usable either way.
Place an anti-fatigue mat where you stand so your feet and back stay comfortable. Set your monitor and keyboard heights for standing (elbows at about 90 degrees, screen at eye level), and note the sitting positions too. Keep frequently used items reachable from both postures. Alternate sitting and standing through the day rather than committing to one. Store the mat against the desk when sitting if it’s in the way.
Switch postures every 30-60 minutes rather than standing all day; alternating is what actually helps, not standing nonstop.
Don’t stand for hours on a hard floor without a mat; it fatigues your legs and back and you’ll abandon standing entirely.
9. Pen and Stationery Caddy
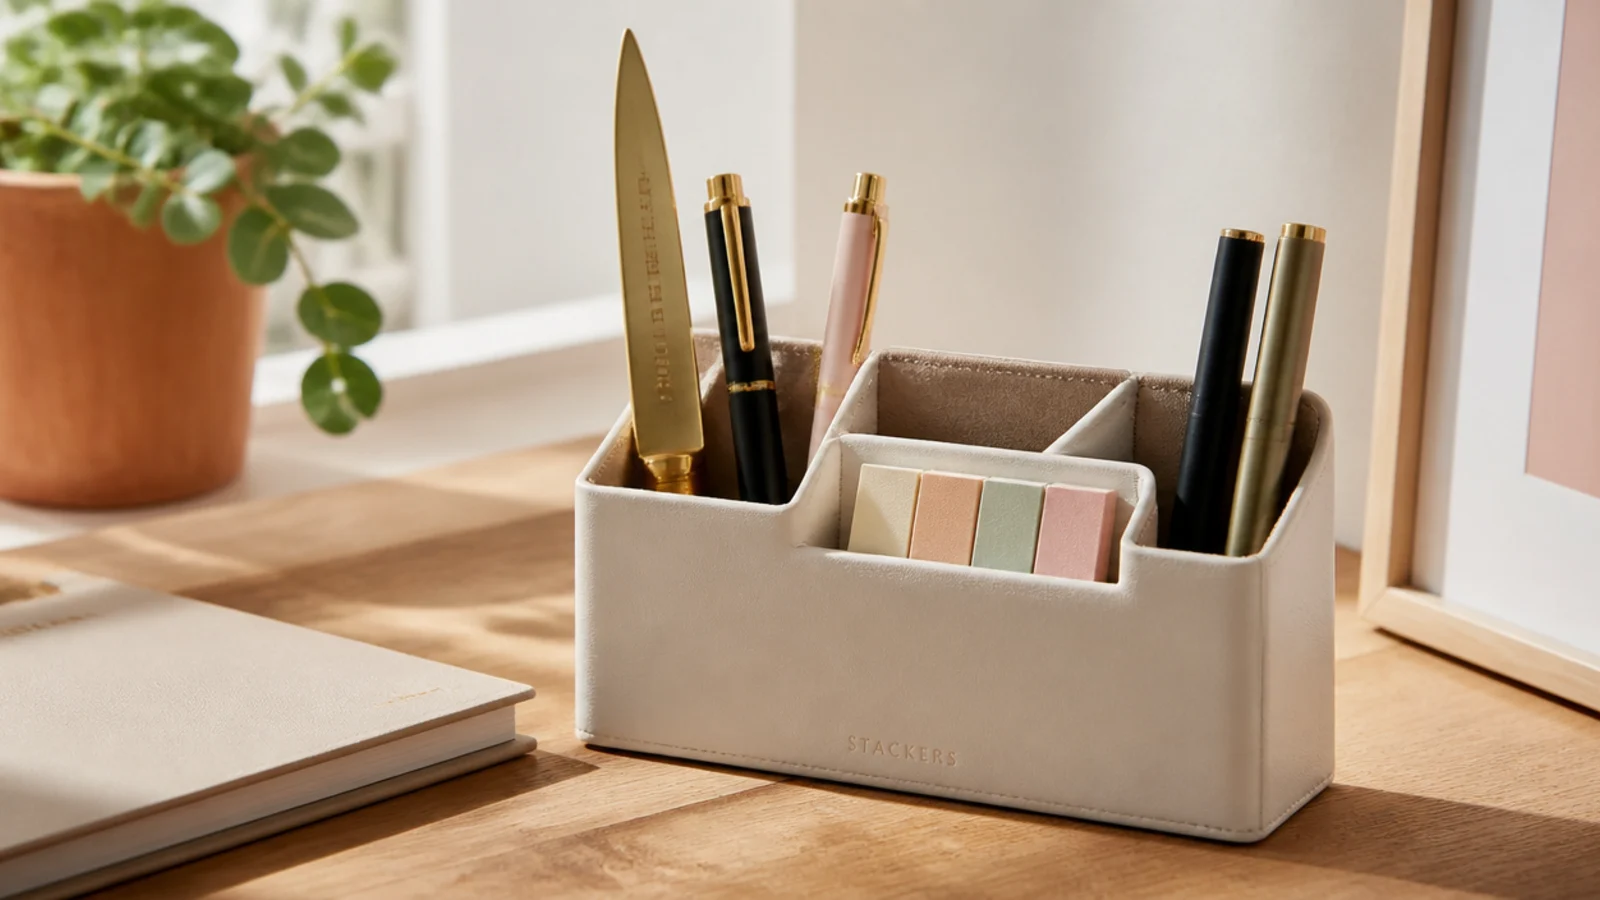
A quality caddy keeps your daily writing tools sorted and presentable on the surface. A few pens, a highlighter, a letter opener, and sticky flags in defined slots look intentional. It’s the desktop piece people see, so it’s worth keeping tidy.
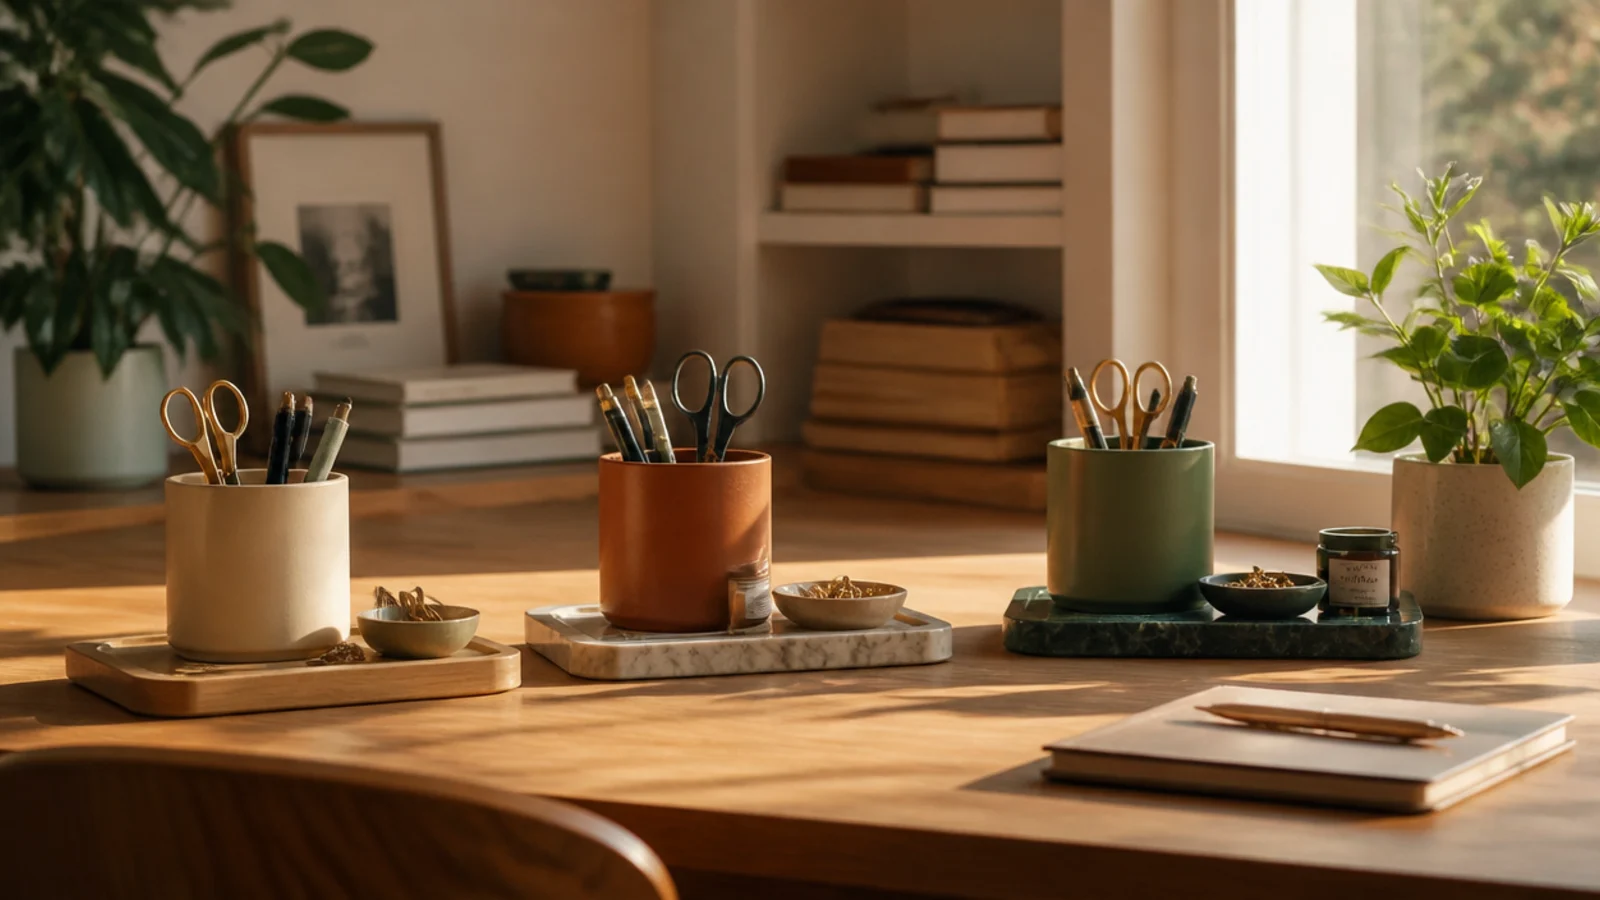
Choose a caddy with a few sections and keep it to daily tools — two or three pens, a highlighter, scissors, sticky flags. Put overflow in the supply drawer. Set it on your dominant-hand side. Test every pen so dead ones don’t linger. Wipe it out monthly. Pick a material that suits your desk’s look since it’s always in view.
Editor's noteLimit it to the two or three pens you actually use daily and drawer the rest, so the caddy always looks curated.
Skip thisDon’t let the caddy fill with dead pens and random bits; a cup of dried-out pens is the most common desk eyesore.
10. Label Maker System
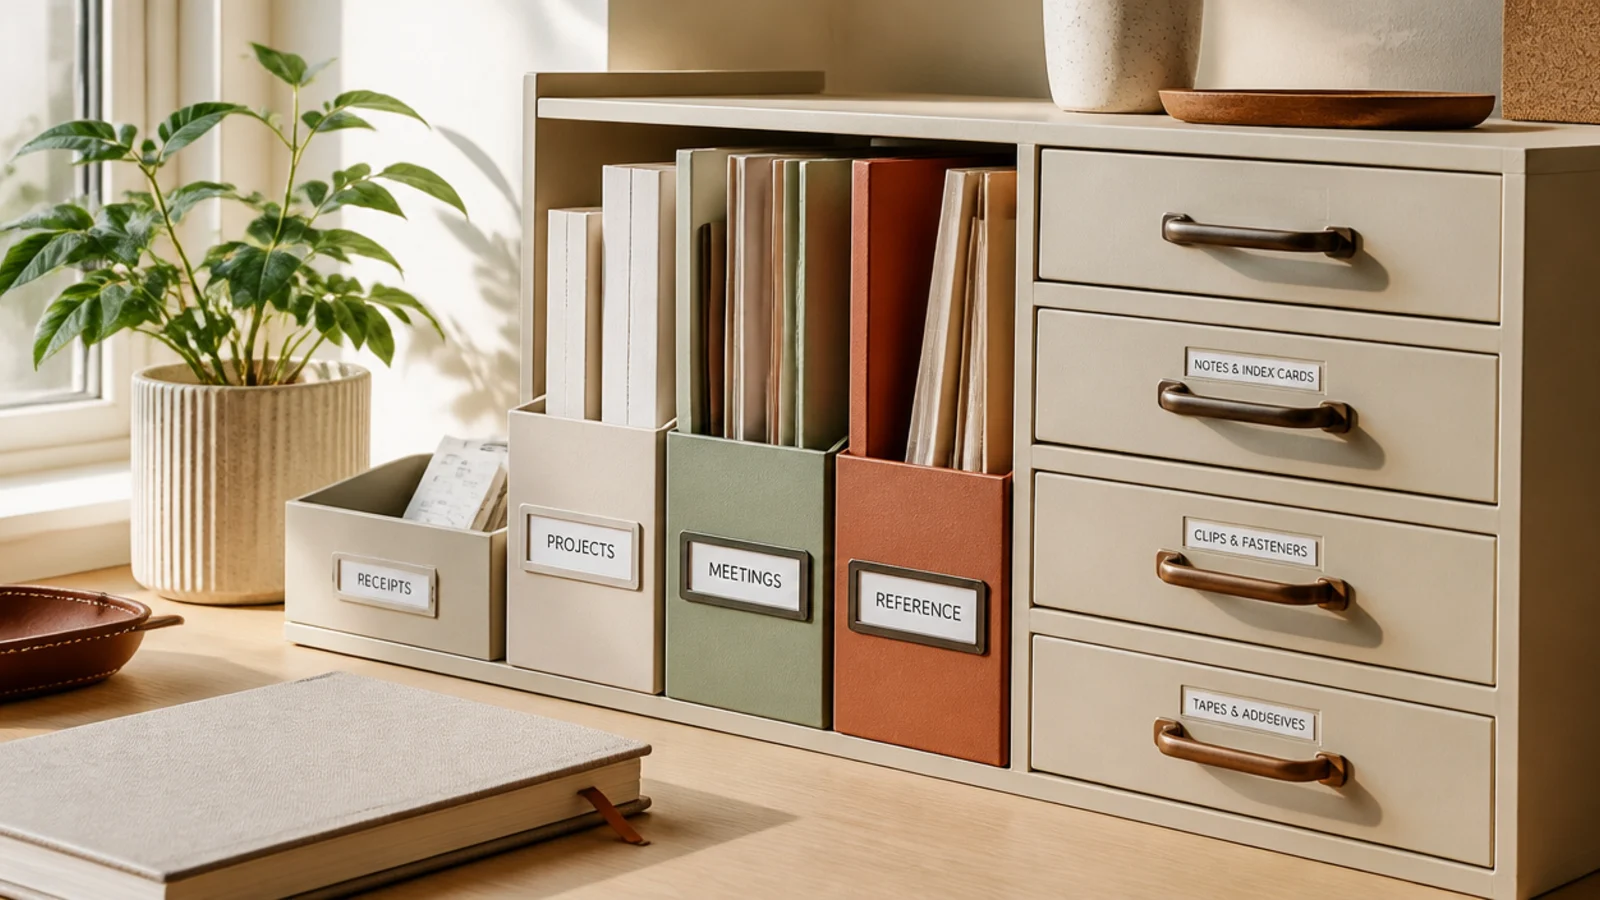
Labels are what make an office system survive daily use and shared spaces. When every drawer, folder, and bin is labeled, filing is automatic and anyone can find things. It’s the cheapest step with the biggest long-term payoff.
Use a label maker for clean, consistent labels. Label drawer fronts, every file folder, and each bin with a clear category name. Keep names broad enough to hold a category but specific enough to guide filing. Relabel when a category changes instead of forcing mismatched items under an old label. Place labels where they’re read at a glance.
Label by category rather than exact contents so the system flexes as your supplies and projects change over time.
Don’t rely on remembering what’s where; unlabeled storage drifts fast, especially in a shared or busy office.
11. Notebook and Legal Pad Station
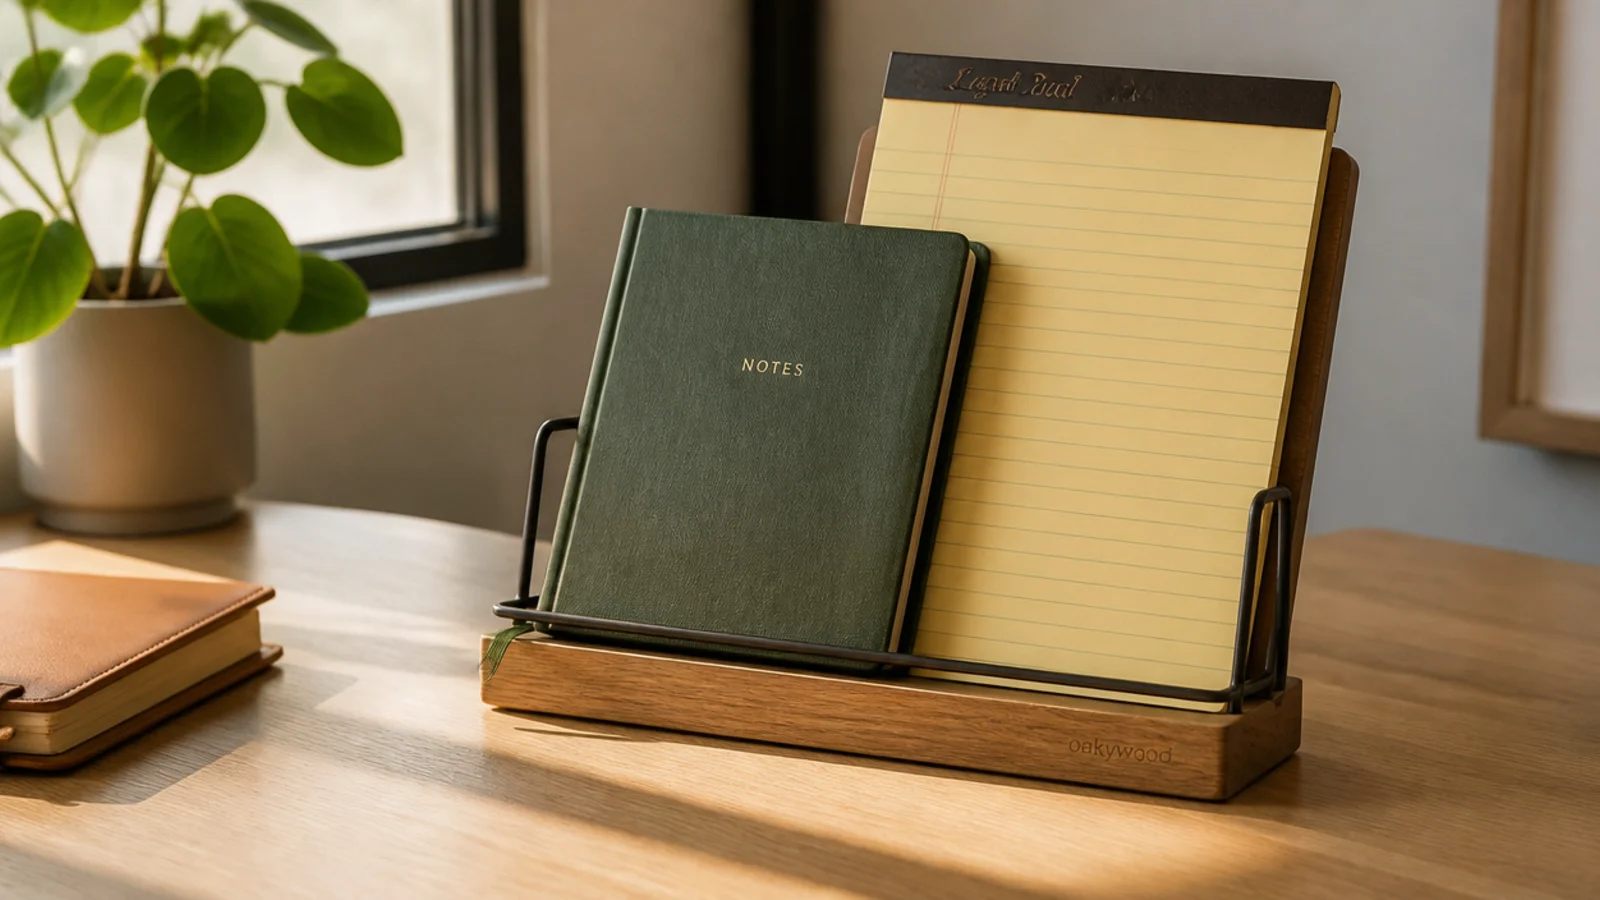
A dedicated spot for your notebook and note pads keeps them from sliding under other papers when you need to grab one fast for a call. Standing them upright in a small stand keeps them visible and ready. Small, but it saves the mid-call scramble.
Set a small stand or a slim vertical holder for your active notebook and a legal pad. Keep only current note pads here; archive filled notebooks elsewhere. Position it within reach of your calling spot so you can grab one instantly. Keep a pen with them so you’re never hunting. Replace pads before they run out so you’re never caught empty.
Editor's noteKeep a pen tucked with the pads so grabbing a notebook for a call never turns into a search for something to write with.
Skip thisDon’t stack pads flat under other paper; buried note pads mean a scramble every time a call needs quick notes.
12. Device Charging Dock

A charging dock gives your phone and earbuds a professional home instead of letting cables snake across the desk. Devices charge upright and visible, and you set them down without hunting for a cable. It ends one of the most common desktop tangles.
Set a dock with slots for the devices you carry and route its charging cables out the back to a single strip. Coil the slack behind the dock and secure with a velcro tie. Place it on your non-working side so devices charge without crowding your work area. Use short cables built for docks so there’s no excess to hide.
Editor's noteUse short 1-foot dock cables instead of the long cables devices ship with; the excess length is what tangles and shows.
Skip thisDon’t leave devices charging flat with loose cables; they slide, and the cords creep back into a visible pile.
13. Contained Personal Zone
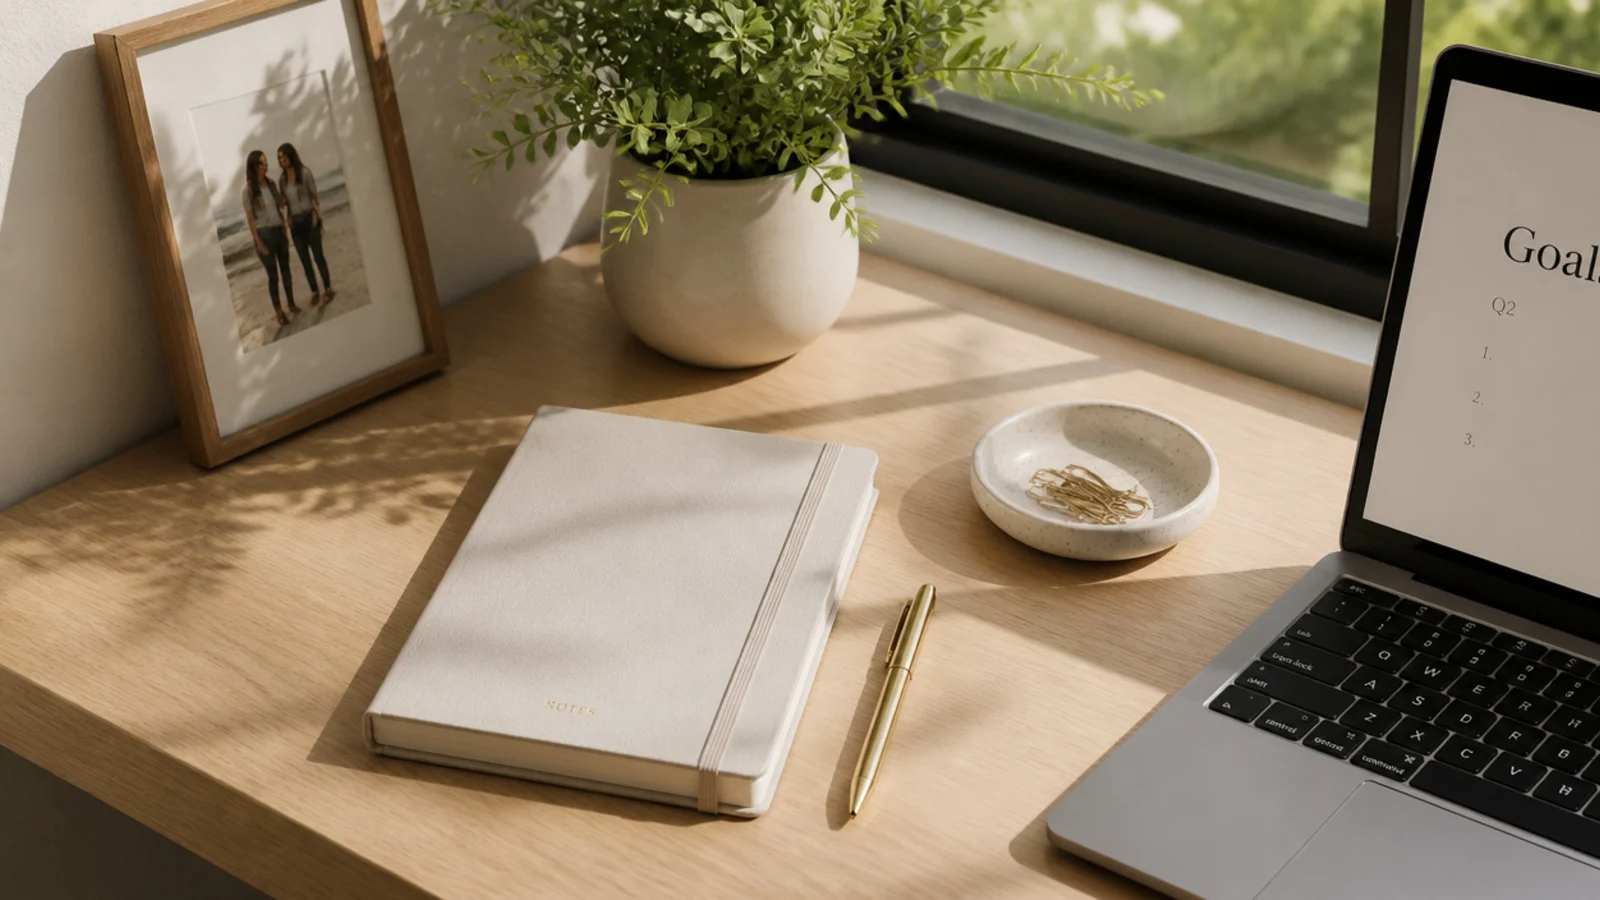
Personal touches make a desk feel human, but scattered across the surface they read as clutter. Containing them to one small zone — a photo, a plant, one object — keeps the desk warm and still professional. The working area stays all business.
Choose one corner for personal items and keep it to two or three — a framed photo, a small plant, maybe one meaningful object. Group them together rather than spreading them out. Keep the rest of the surface strictly for work. Refresh or rotate the personal pieces occasionally so the corner stays intentional, not a growing collection. Let it be a deliberate accent, not a spread.
Editor's noteGroup personal items into one corner so they read as a curated vignette rather than clutter creeping over the desk.
Skip thisDon’t dot photos and trinkets across the whole surface; scattered personal items make even a tidy desk look cluttered.
14. Reference Binder Shelf
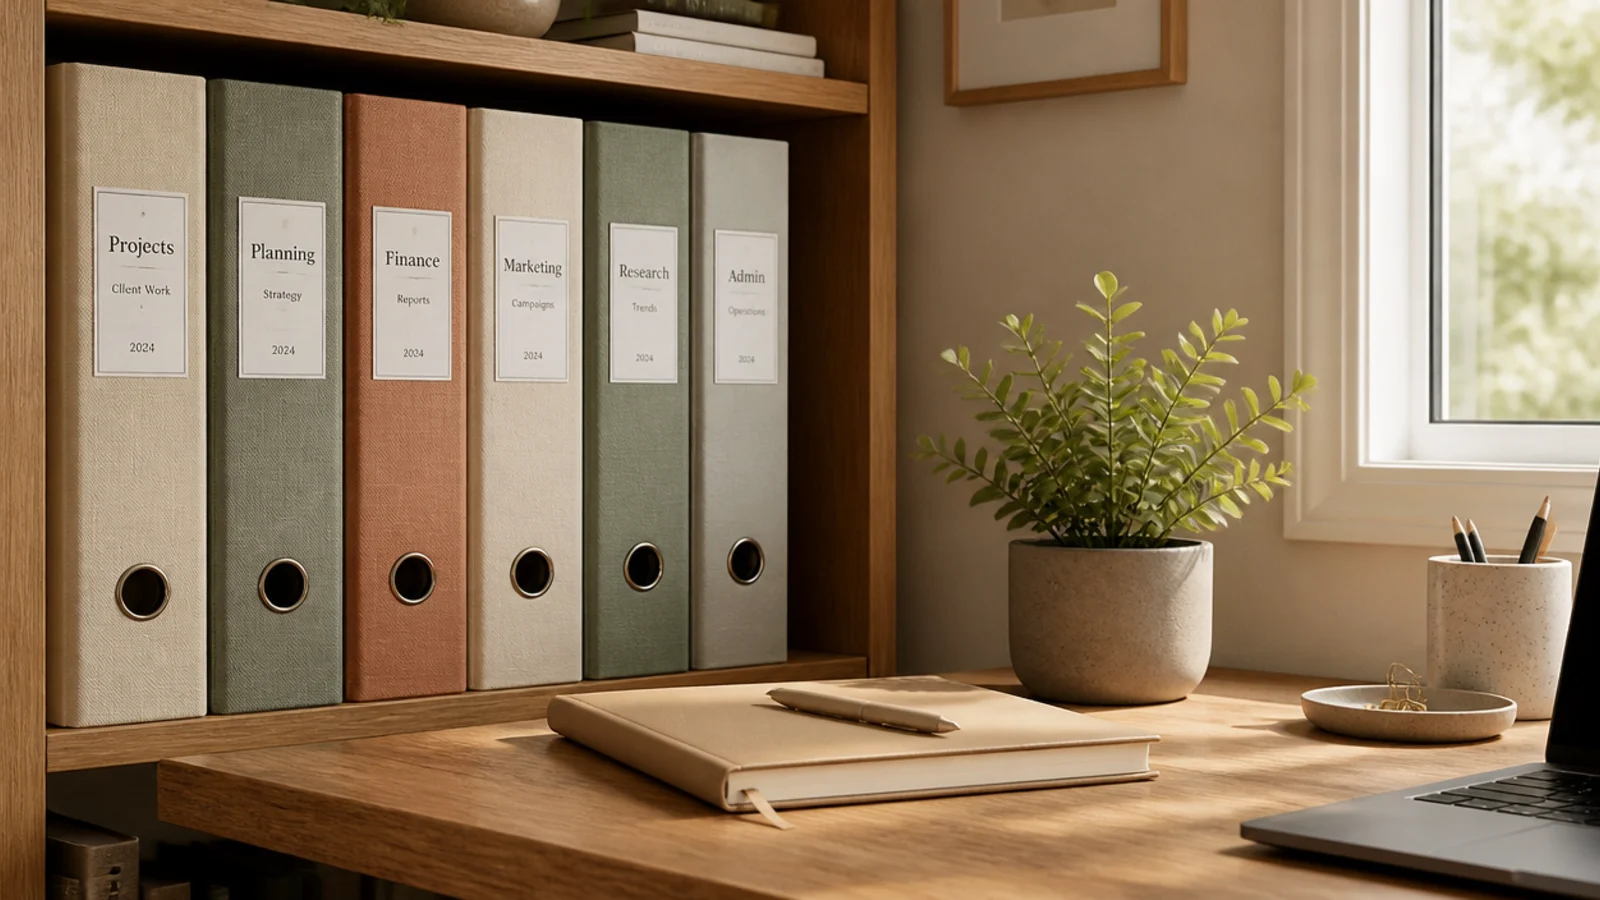
The binders and manuals you reference but don’t touch daily belong off the desk on a shelf. Standing them spine-out and labeled keeps them findable without eating desktop space. It clears the bulky reference material from your working area.
Use a shelf beside or above the desk for reference binders, manuals, and archives. Stand them upright with labeled spines, sorted by topic. Keep only genuine reference here; active project files stay in your desk rack. Bookend them so they don’t slump. Purge outdated binders annually so the shelf doesn’t fossilize.
Label the binder spines clearly and sort by topic so you pull the right one without lifting each one out to check.
Don’t keep active project files on the reference shelf; live work belongs at hand, not shelved across the room.
15. Task Board and Sticky Discipline
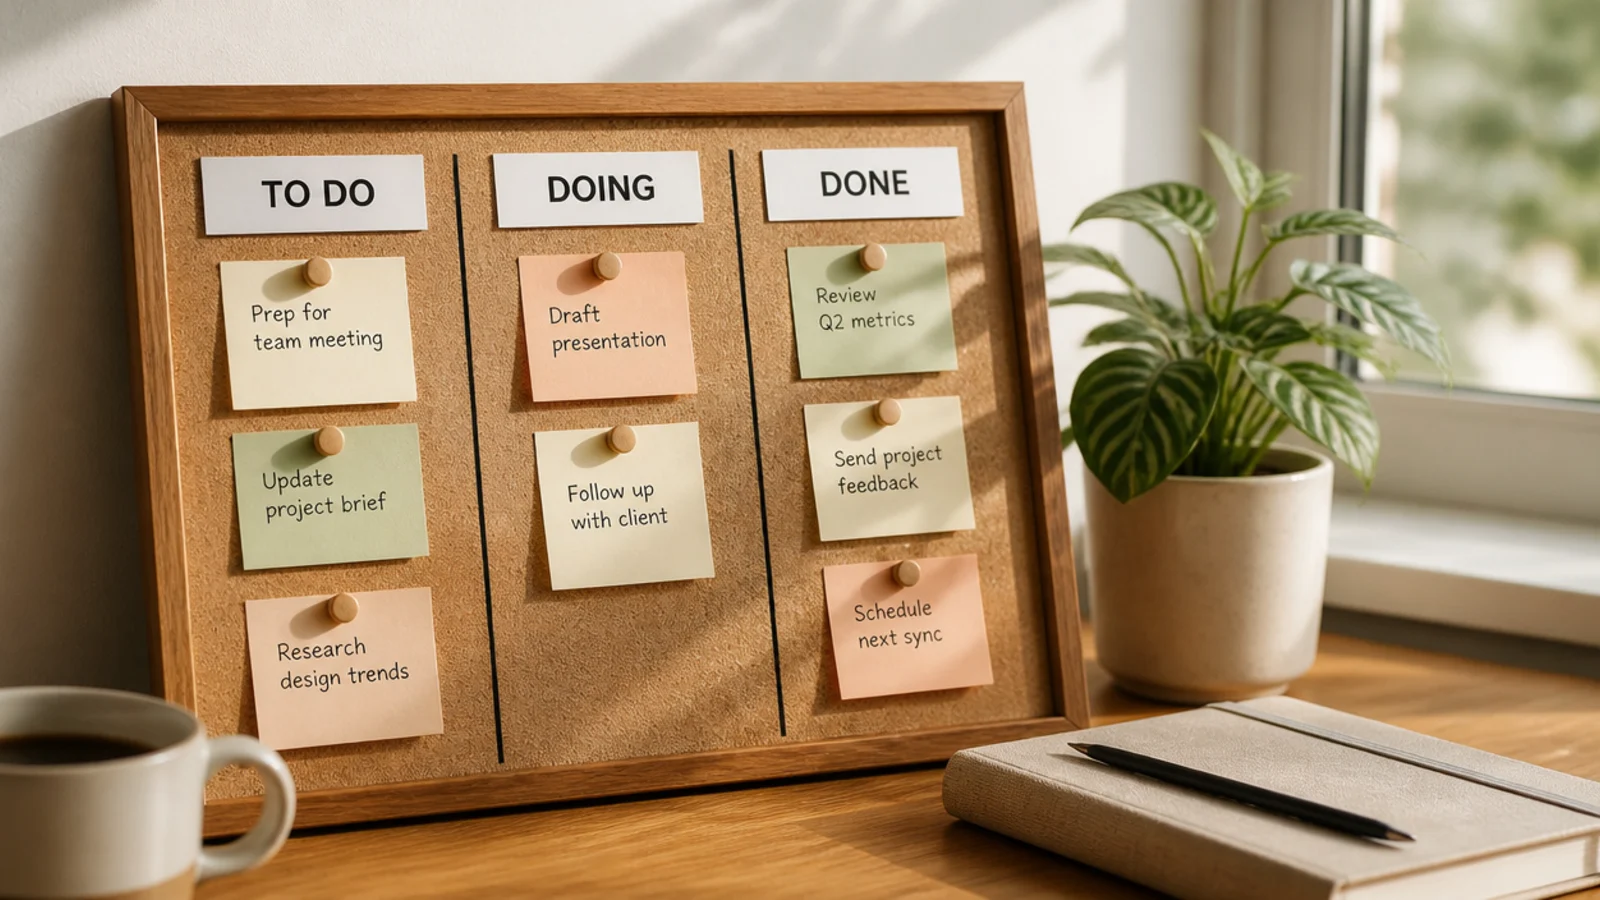
Sticky notes stuck all over your monitor and desk look chaotic and get lost. Moving them onto one task board — sorted into to-do, doing, done — turns scattered reminders into a clear system. It keeps your screen and surface clean while making progress visible.
Mount a small board beside the desk and draw or tape three columns: to-do, doing, done. Move every stray sticky note onto it and shift notes across as work progresses. Clear finished notes at the end of each day. Keep the pad and a pen nearby so adding a note is faster than sticking it on the screen. Limit 'doing' to a few items so you stay focused.
Editor's noteCap the 'doing' column at two or three notes so you finish work instead of starting everything at once.
Skip thisDon’t stick notes to your monitor bezel; they look unprofessional on camera and inevitably get lost or ignored.
16. Drink Coaster and Spill Guard
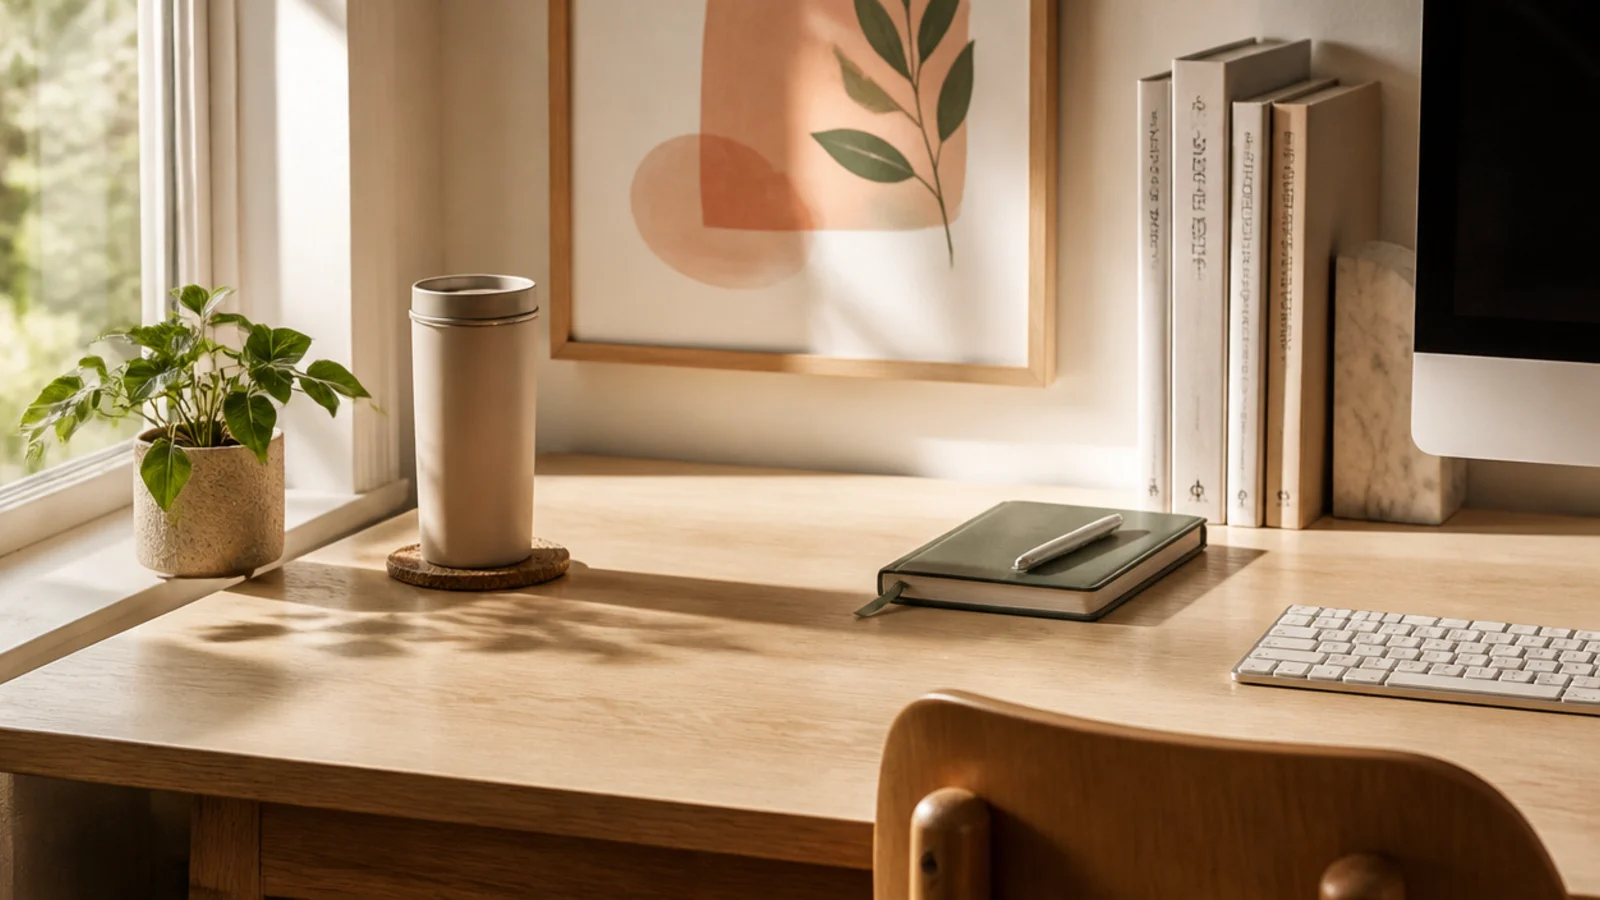
A single spill can wreck documents, a keyboard, or a laptop and a whole workday. A designated drink spot on a coaster, away from your electronics and papers, is cheap insurance. It also keeps rings and drips off the desk.
Set a coaster at the far corner, away from your keyboard, laptop, and paper trays, and keep your drink there. Use a lidded mug or bottle so a knock doesn’t spill. Refill during breaks rather than reaching across your work. Wipe the coaster area during your reset. Keep the drink on your non-dominant side so you don’t sweep it with your mouse hand.
Use a lidded mug on the far corner so an accidental elbow can’t send it across your keyboard and documents.
Don’t set an open drink among your keyboard and papers; one spill can destroy your device and a day’s work at once.
17. Under-Desk Filing Storage
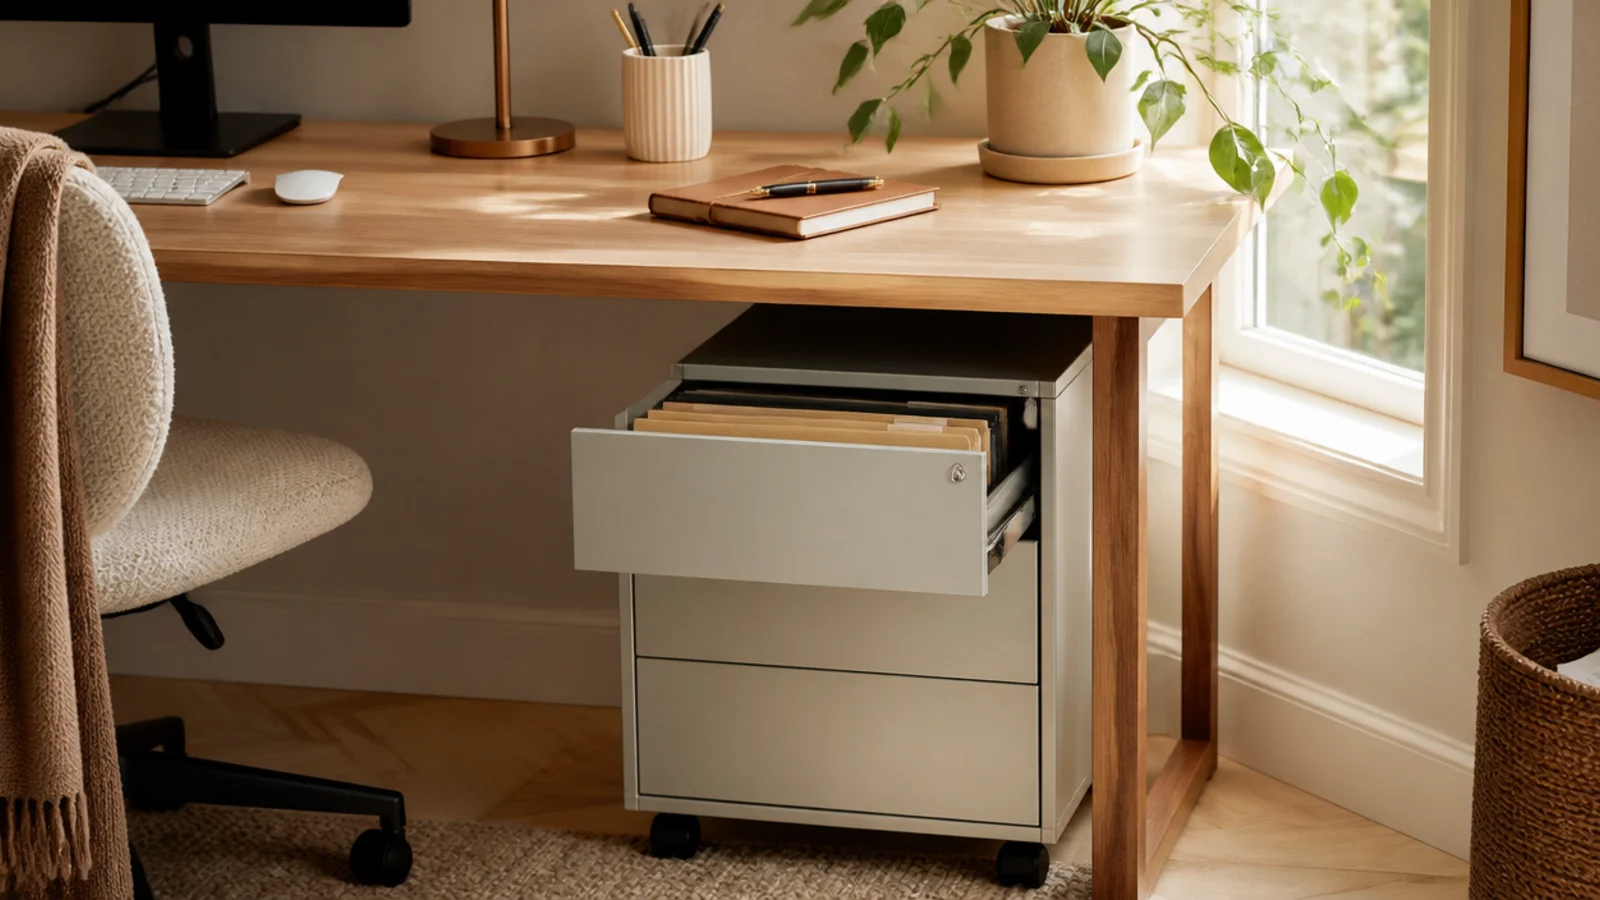
A rolling file cabinet or drawer unit under the desk holds your archive and less-active files without using any surface or wall. It keeps important paper secure and out of sight but reachable. The workhorse storage for a paper-based role.
Fit a compact filing cabinet or drawer unit under the desk. Use hanging folders sorted by category — clients, finances, HR, archived projects. Label each folder clearly. Keep active projects in your desktop rack and move them here when they close. Purge outdated files annually. Roll it out to access and tuck it back so it never blocks your legs.
Editor's noteFile closed projects here the week they wrap, so your desktop rack stays reserved for genuinely active work.
Skip thisDon’t let the under-desk unit block your leg room; size it to tuck fully under so you’re not working around it.
18. Clean Webcam Background

On video calls, what’s behind you is part of your professional image, and it’s easy to overlook. A tidy, simple background — a styled shelf or a plain wall — reads far better than a cluttered room. Organizing the background is organizing your on-camera presence.
Check what your webcam captures and clean up that zone specifically. Style any visible shelf simply — a few books, a plant, one object, with gaps — rather than packing it. Keep laundry, clutter, and busy decor out of frame. A plain wall or a single piece of art works well. Add a soft light in front of you so you’re lit, not backlit by a window behind.
Sit facing a window or a soft light so your face is evenly lit, and never with a bright window directly behind you.
Don’t leave a messy room or unmade bed in your camera’s frame; the background undercuts an otherwise sharp setup.
19. Ergonomic Keyboard and Mouse Placement
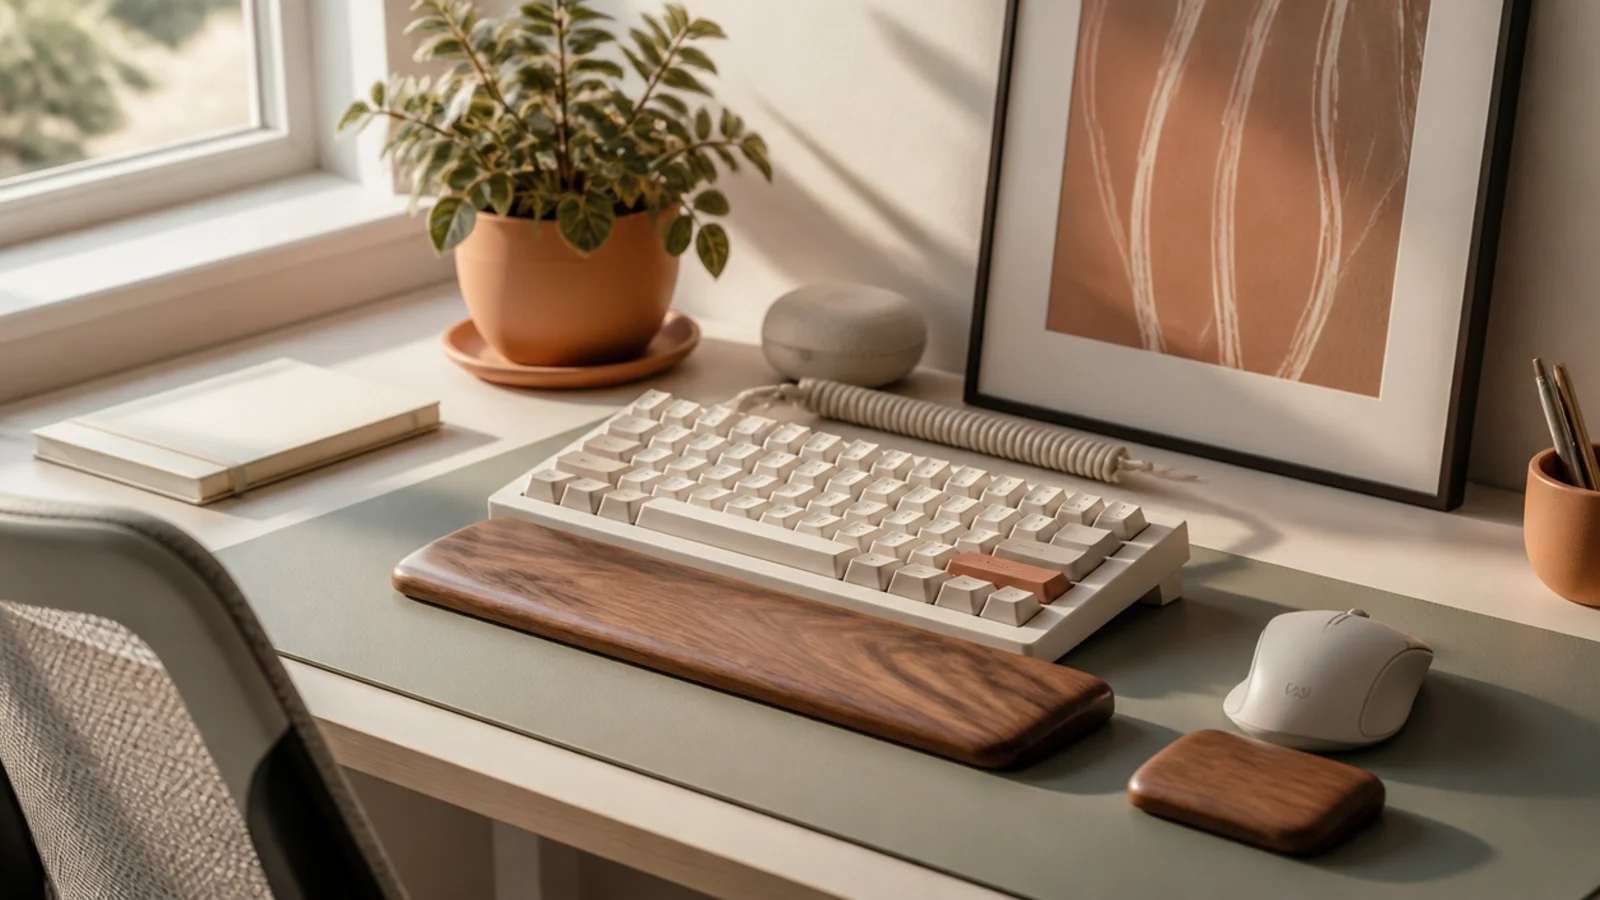
How your keyboard and mouse sit affects comfort over a full workday, and comfort keeps you productive. Placing them squarely in front with your forearms level prevents the strain that builds over hours. Organized ergonomics is part of an organized desk.
Center the keyboard directly in front of you with the mouse right beside it, both close enough that your elbows stay near your sides and forearms stay level. Add wrist rests if you type a lot. Set the chair height so your feet are flat and thighs level. Keep the space in front of the keyboard clear so your wrists have room. Adjust until nothing aches after an hour.
Keep your mouse right next to the keyboard, not out on a far corner, so your shoulder isn’t reaching all day.
Don’t push the keyboard to the desk’s back edge with clutter in front; you’ll reach and hunch, straining your shoulders.
20. End-of-Day Clean-Desk Routine
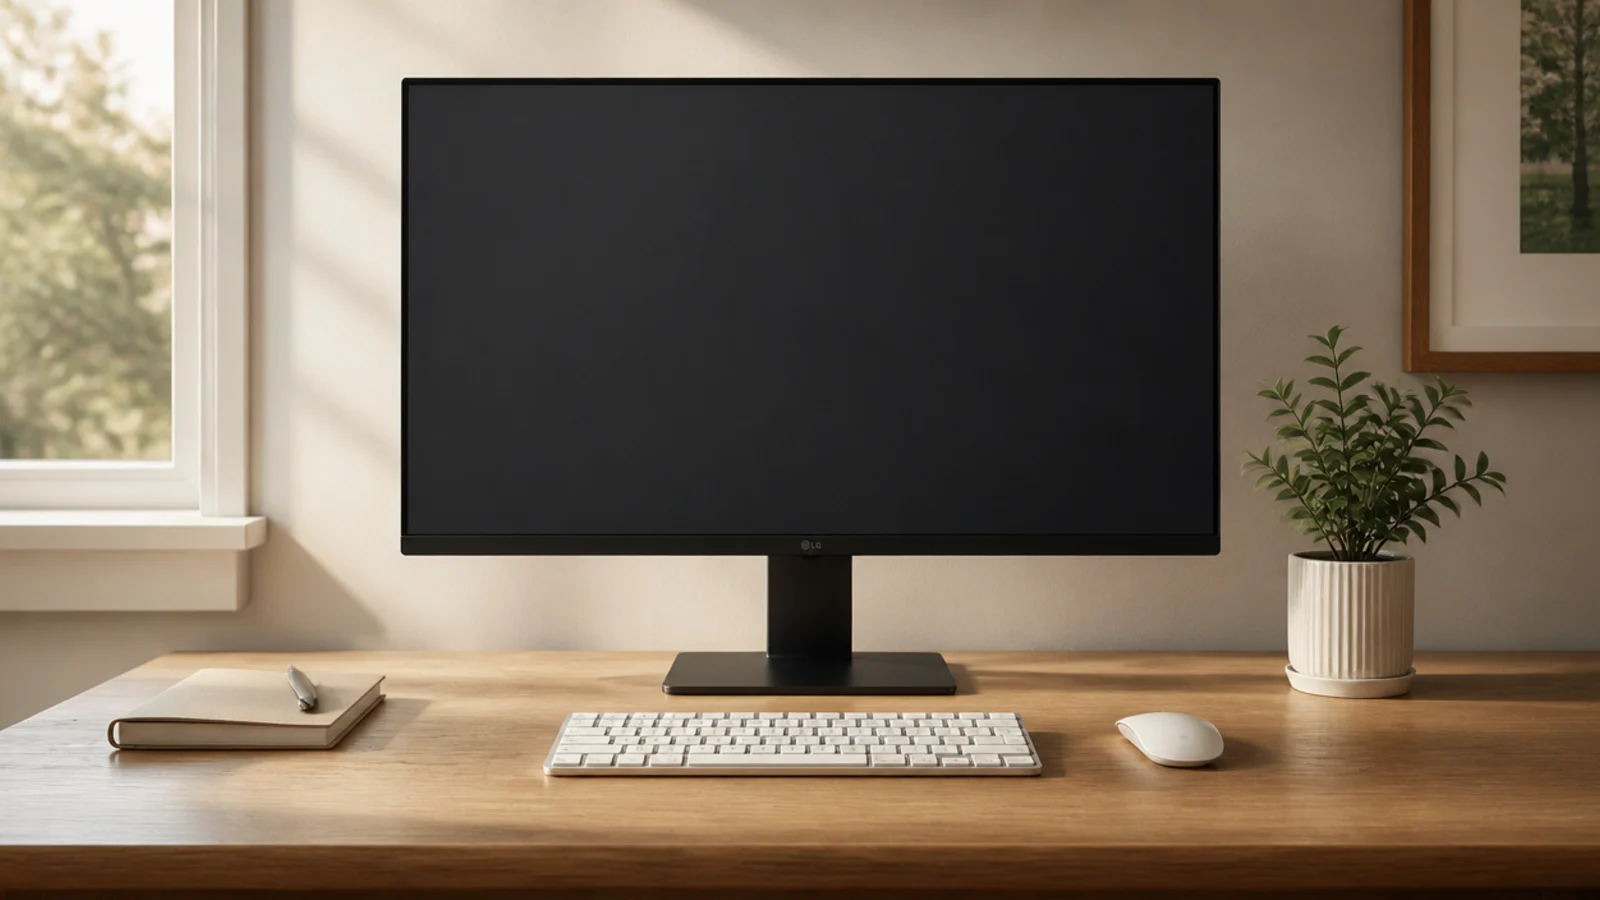
A clean-desk routine is what keeps an office setup professional day after day. Clearing paper to its path, returning supplies, and wiping the surface each evening means you start every morning sharp. No product replaces this habit.
At the end of each workday, file paper into your trays and folders, return supplies to their drawer, coil cables, and wipe the surface. Leave only the permanent items — monitor, keyboard, one plant. Do a slightly deeper purge of the inbox tray and active rack weekly. Treat the reset as the last task of the day. After a week it’s automatic and the desk never spirals.
Editor's noteDo the reset before you log off, not 'first thing tomorrow' — a clear morning desk sets the tone for the whole day.
Skip thisDon’t leave paper and clutter out overnight; it compounds, and a messy Monday desk starts the week behind.