
1. Layered Star Cube (two-tone, snap-closed)
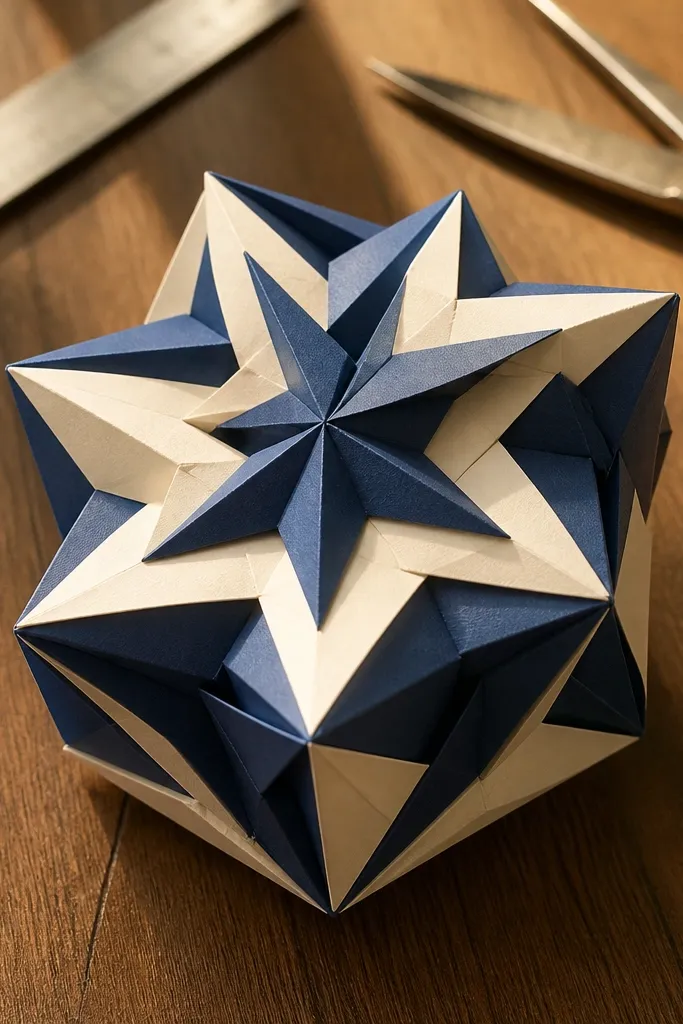
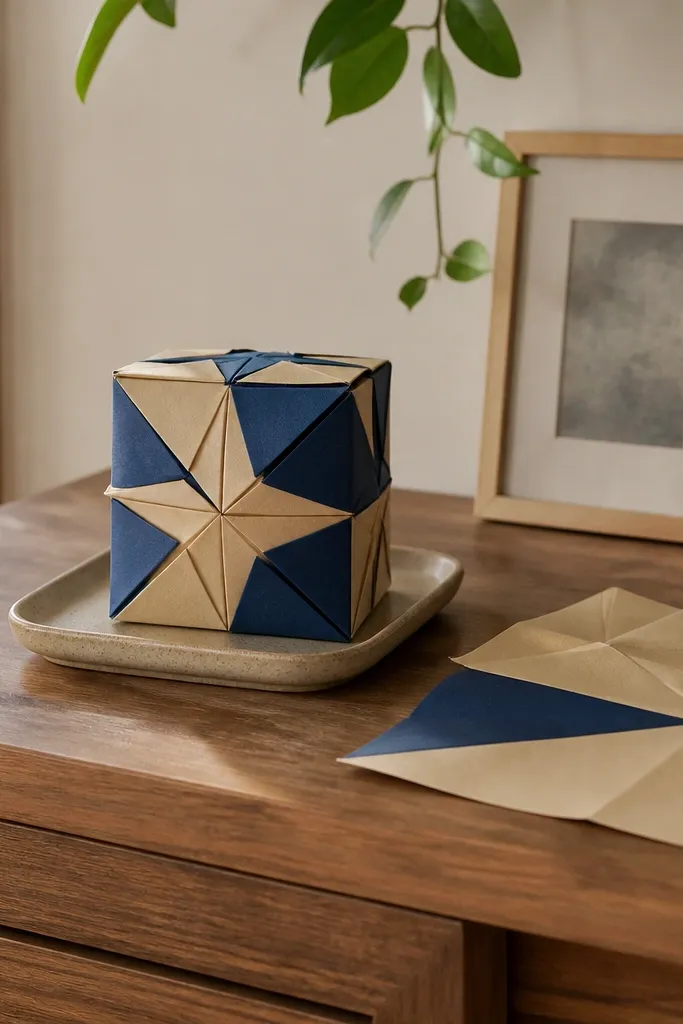
This is the 3D “wow” model that still stays low-maintenance because it’s built from repeatable folds and a simple locking structure. The star points create depth, so even a basic assembly looks styled. Use two colors so each layer reads clearly, like a handmade ornament instead of a flat craft. It’s a good project for kids because the shape is obvious — you can check alignment as you go. For a shelf or party table, it looks best in a small cluster of 3 with one color repeated.
Start with square paper in two colors (about 12-15 cm each). Fold the base into a star-like structure using repeated diagonal creases, then bring the points in to form a cube outline. Finish by inserting the last flap into the pocket/tab closure so the cube holds its shape. Press the seams with a bone folder, then let it sit flat for 5 minutes before moving it.
Use slightly different shades of the same color family for the two-tone effect — it looks intentional, not random.
Don’t use very thick cardstock; it makes the tabs fight and the cube won’t lock cleanly.
2. Crisp Paper Bloom Ball (petal shell)
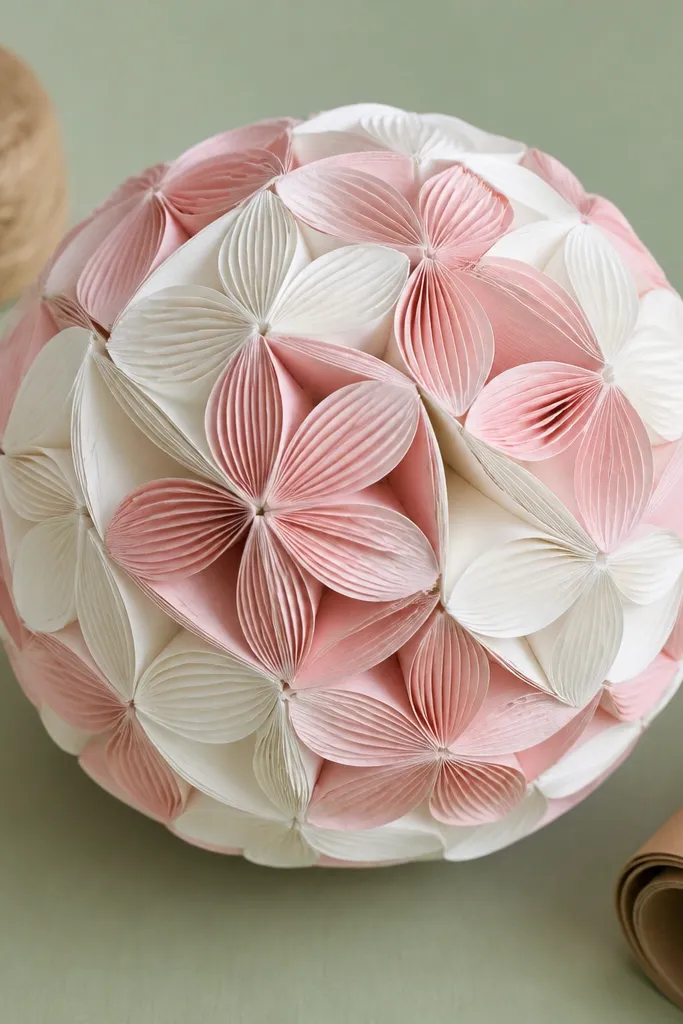
This model looks like a decorative flower ball, but the folding is straightforward because the petals are repeat units. The trick is that each petal has a clear fold line that creates a ridge, so the flower has texture even if you’re using plain paper. It’s photogenic because the round silhouette catches light on every ridge. For low-maintenance Origami Easy, it’s ideal when you want a centerpiece without complicated assembly. It also works as a room decoration since it’s sturdy enough for gentle handling.
Cut or use pre-made squares (around 10-12 cm). Fold each square into a petal shape with a strong crease down the center, then repeat until you have enough petals for a full shell. Assemble by tucking petal tips into neighboring folds or a simple ring base. Once assembled, press the outer edges lightly so the petals fan outward evenly.
Add a tiny dot of glue only at the very last tuck point per petal; skip glue on every seam.
Don’t assemble petals while the folds are creased loosely — you’ll get gaps and the ball looks lumpy.
3. Origami Mini Windmill Box (standing 3D)
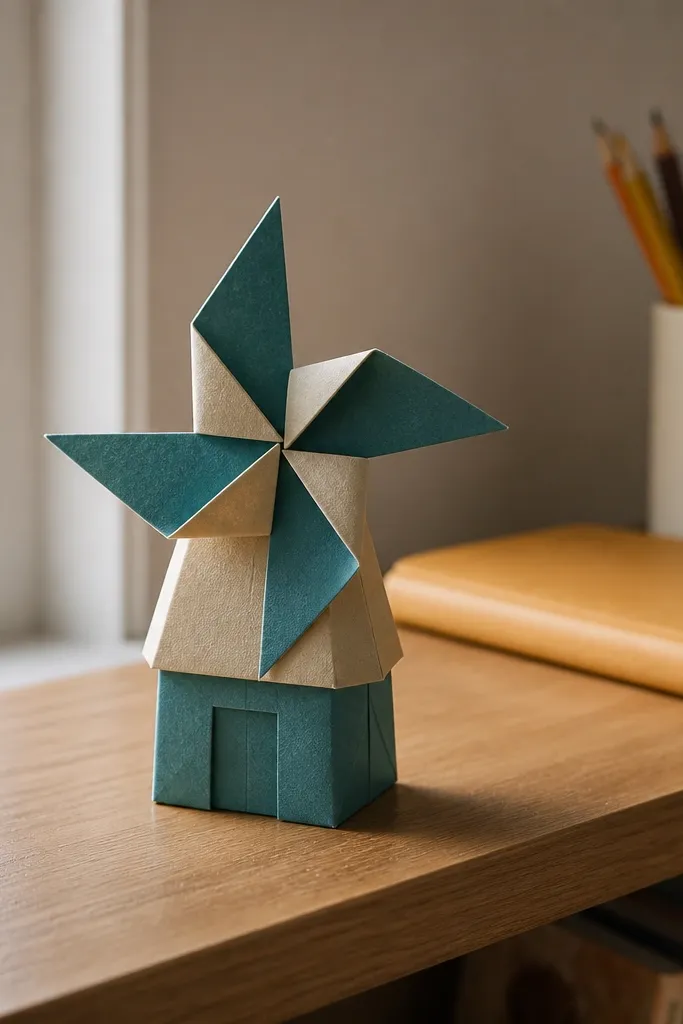
This one is a standout because it stands up on its own and reads instantly as 3D. The blade-like folds create a kinetic look even when it’s still, which makes it great for photos and kids' desks. It’s low-maintenance because the structure is simple: a box base plus repeated blade folds that all point outward. You can make it in one color for a clean modern look or in two colors for contrast. It also works as a desk organizer for tiny treats.
Start with a rectangular sheet (about 15 x 10 cm) so you get a stable base. Fold it into a box shape using two long creases and short side folds, then lock the base with a flap. Create four blade panels by folding each side segment inward and then back out to form angled blades. Stand it up, then press the blade creases so they spring outward evenly.
Use a ruler for the first long creases — straight lines make the blades look “designed,” not handmade.
Don’t skip pressing the base corners; if the box is soft, the windmill blades flop.
4. Twisted Rope Heart (3D knot heart)

A rope-heart shape looks fancy, but you don’t need fancy steps. The 3D effect comes from twisting two folded strands so the heart has a sculpted center ridge. It photographs well on a plain background because the twist creates shadow lines. For low-maintenance Origami Easy, this is a repeatable project since the strand folds follow the same direction each time. It’s perfect for Valentine’s notes, bag toppers, or as a small gift decoration.
Use two square sheets in matching colors (around 10-12 cm). Fold each into a narrow strip with sharp creases, then bring the strips together to create a heart outline. Twist the joined strips slightly before closing the bottom point so the twist stays visible. Finish by tucking the last flap underneath and pressing the seam with a bone folder.
Choose paper with a slight sheen (matte is fine too) because the ridge twist shows light better.
Don’t over-twist; if the twist is too tight, the heart edges buckle.
5. Geometric 3D Triangle Lantern (stacked facets)
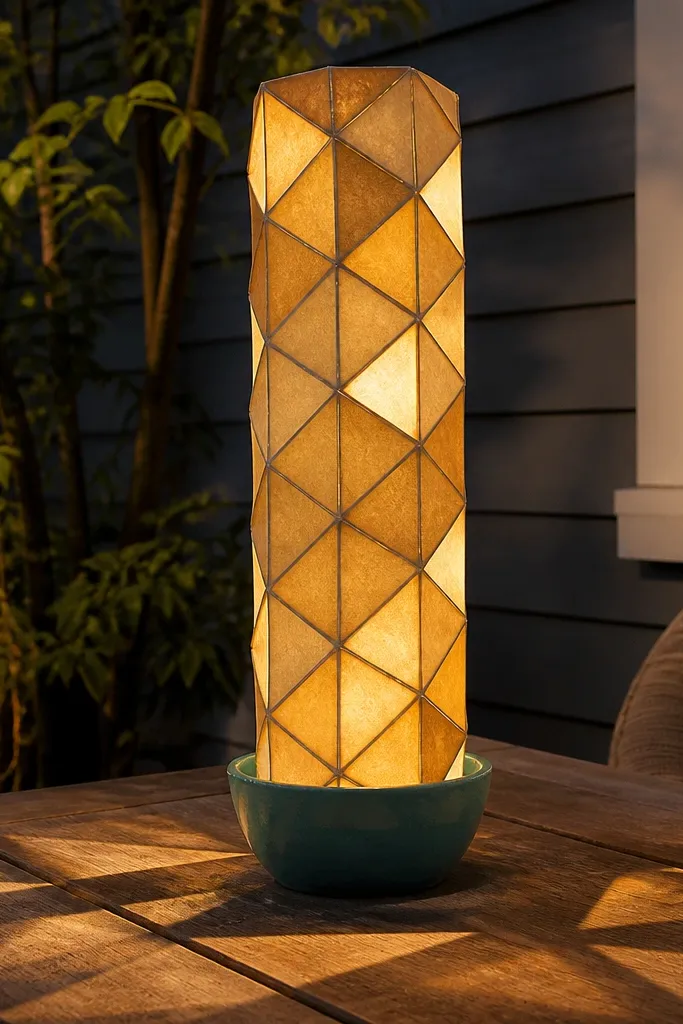
This gives you the look of stained-glass geometry without painting or cutting. The lantern is photogenic because the folded facets create crisp highlights and shadow pockets. It’s low-maintenance because you build it from a repeating unit triangle and then stack them into a tube. For kids, it’s easier than a fully complex modular model since you assemble fewer pieces with bigger folds. Use it for a shelf-and-wall combo: hang one by string or place it upright on a tray.
Start with triangles cut from paper (about 10 cm per side). Fold each triangle to create a ridge and then a small pocket edge that helps it lock. Stack triangles around a central strip to form a tube shape, then secure the seam with one tuck. Finish by pressing each ridge so the lantern keeps its faceted shape.
Editor's noteIf you want extra sturdiness, use 100-120 gsm and reinforce the top rim with a thin strip of tape on the inside.
Skip thisDon’t use wet glue; it warps the folds and the facets look messy.
6. Easy 3D Butterfly with Raised Wings (tab body)
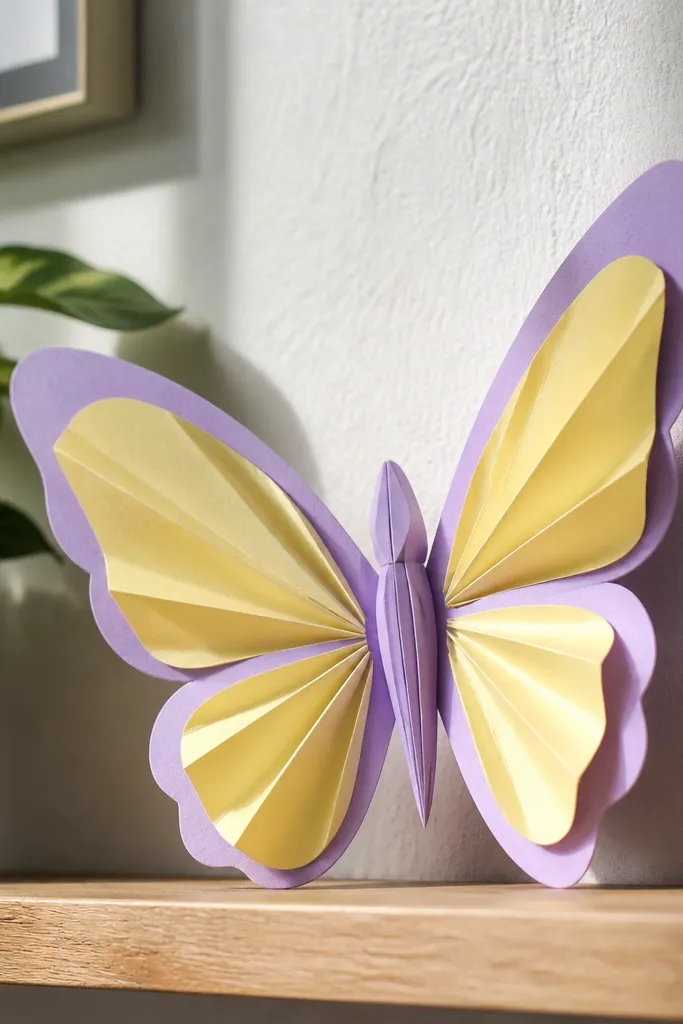
This butterfly is a sweet spot between cute and structured. The raised wings make it look like it’s mid-flutter, and you don’t need delicate paper cutting. It’s low-maintenance because the wing folds are large and symmetric, and the body uses a simple tab to hold the angle. The result looks great on a wall with a small pin or as a mobile piece. Pick patterned paper for the wings so the fold lines add depth.
Use two square pieces per butterfly (about 12 cm). Fold each square into a wing shape by creating a diagonal crease and then bringing corners in so you get a pointed wing with a ridge. Attach wings to a folded body strip using tabs, keeping the wings at a consistent angle. Press the body seam and gently spread wings so the 3D lift shows.
Choose one pattern for the top wing and a solid color for the bottom wing; it makes the silhouette read clearly.
Don’t make the wings too sharp — thin points tear when kids adjust them.
7. Mini 3D Star Ornament (fold-and-flip points)

Stars are the quickest path to that “after 100 folds” polished look because the shape is simple and the points show crease quality. This ornament uses a fold-and-flip method that creates layered tips without lots of precision. The 3D effect comes from stacking point folds so each tip casts a small shadow. It’s low-maintenance because you can repeat the same fold sequence for multiple colors and sizes. Hang them on string, tape them to gift bags, or scatter them on a table runner.
Start with a square sheet, then fold it into a star base using repeated diagonal creases. Flip and fold each point inward to create a layered tip, then tuck the final edge into a pocket on the adjacent point. Keep the layers aligned by pressing each point ridge with a bone folder. Finish by adding a string loop with a small paper strip folded into a tiny ring.
Editor's noteUse metallic or foil paper for just the inside layers — it makes the star look “store-bought” in photos.
Skip thisDon’t skip the point alignment check; uneven layers make the star look lopsided.
8. 3D Paper Sailboat (folded mast pocket)
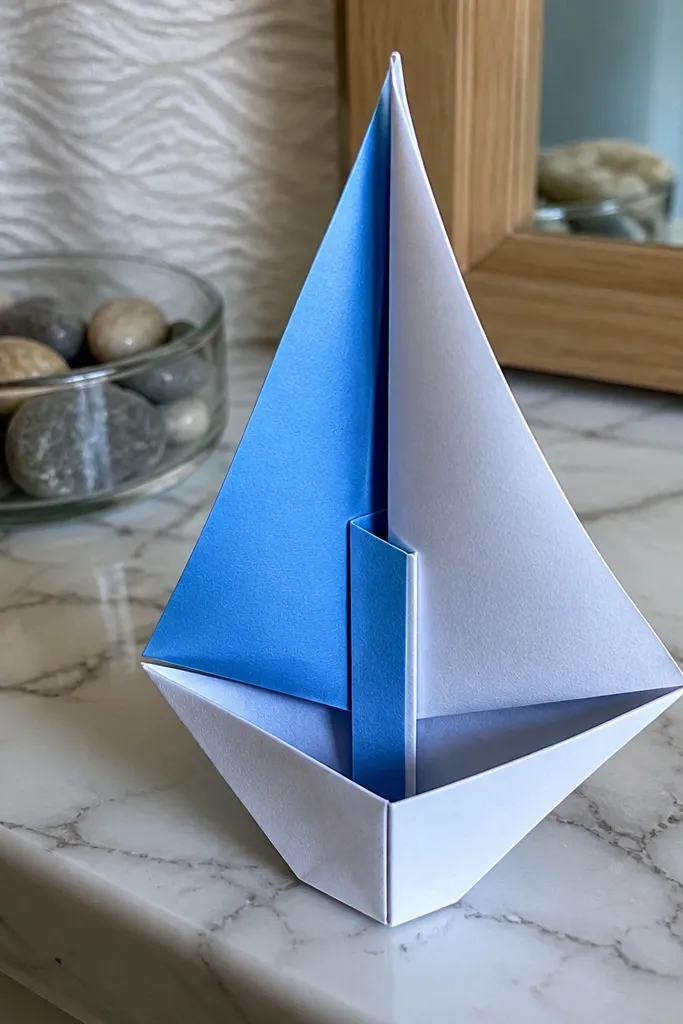
A sailboat reads instantly from a distance, which makes it perfect for kids and for decorating shelves. The 3D lift comes from a pocket fold that holds the mast and gives the sail a curved profile. It’s low-maintenance because you’re not dealing with tiny tabs all over — most folds are big and forgiving. The finished look is clean and playful, especially with blue-and-white paper. Use it as a summer theme centerpiece or as a place-card holder.
Use a rectangular sheet (about 14 x 9 cm) for the hull and sail. Fold the hull into a base with a front point and a fold-down keel, then create a pocket at the center top. Fold the sail shape separately with strong creases so it holds a curve, then slide the sail into the mast pocket. Press the pocket edges so it grips without extra glue.
If the sail droops, add a single fold reinforcement strip inside the pocket — it stiffens without bulk.
Don’t widen the pocket too much; loose pockets make the mast wobble.
9. Square-to-Circle 3D Flower Cone (stacked ridges)
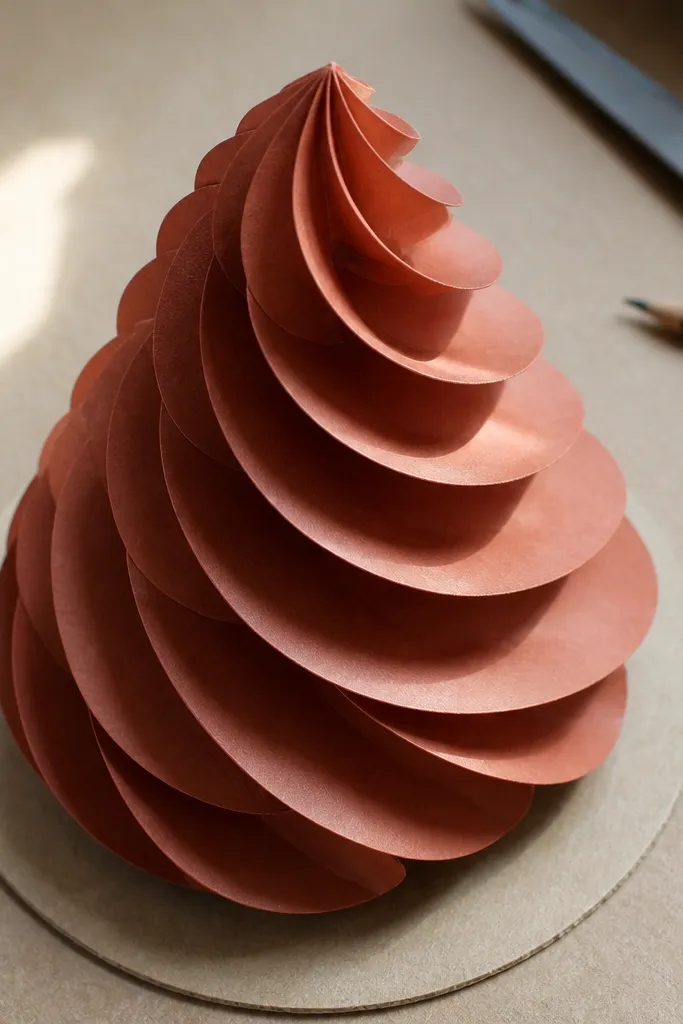
This gives you a cone flower look that’s super photogenic because the ridges make it look dimensional even with one color. The structure is basically a repeated accordion-style fold, so it’s low-maintenance once you get the rhythm. It’s great for kids because the cone shape is sturdy and easy to hold. Display it in a cup, glue it to a card, or stack a few cones for a layered bouquet. The finished texture looks intentional, not messy.
Start with a square (12-15 cm). Fold it into a cone by rolling one corner to the opposite edge, then crease firmly along the seam. Make ridges by folding the cone edges in a consistent direction, like an accordion, and lock the bottom with a tuck. Shape the top by gently opening the ridges so they form a flower-like circle.
Use matte paper for the ridges; glossy paper hides crease lines and the 3D effect looks flatter.
Don’t rush the seam crease — a sloppy seam makes the cone twist.
10. 3D Paper Frog Jumping Lily (standing pose)
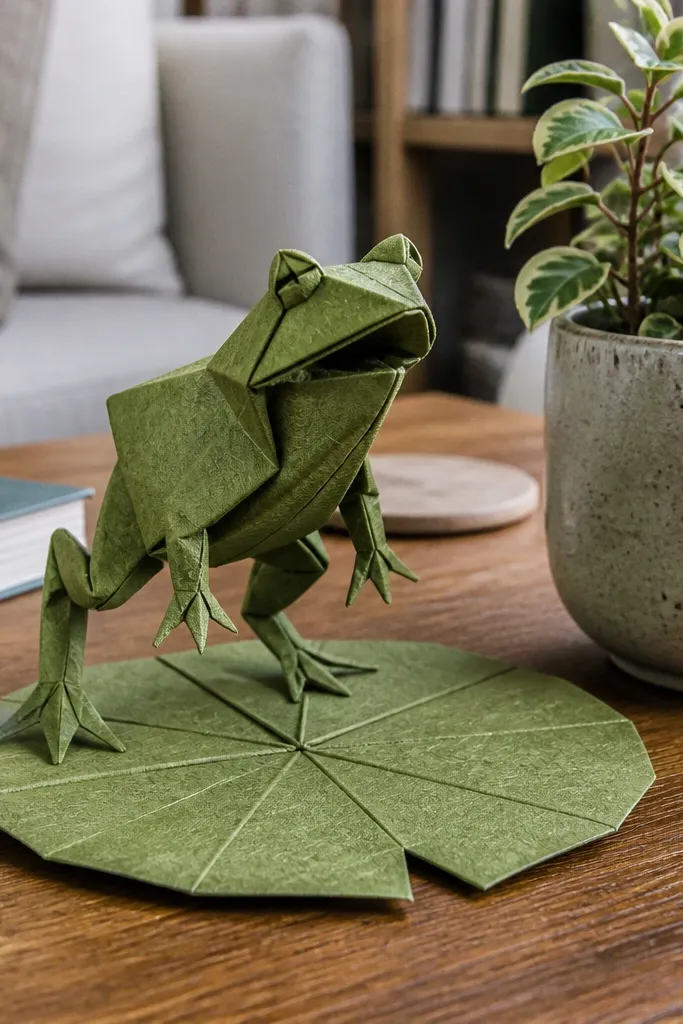
This project looks like a little sculpture, not a basic paper craft. The frog has a raised stance because the body uses layered folds, and the lily pad gives it a stable base. It’s low-maintenance Origami Easy because the lily pad folds repeat and the frog body uses thicker creases that hold their angle. Kids like it because it “stands” and the shape is recognizable. It’s also a great desk decoration — green paper makes it pop instantly.
Fold a lily pad from a square by creating a few strong creases that form a wide base, then tuck the edges to lock it. For the frog body, fold a separate small unit into a compact shape with a top ridge and two side folds. Combine them by inserting the frog base into a slot or tucking it under the lily pad’s edge. Press the joints so the frog holds its posture.
Editor's noteUse two shades of green for the lily pad: darker for the underside and lighter for the top folds.
Skip thisAvoid flimsy paper; thin sheets collapse and the frog won’t hold the standing angle.
11. Cube Rosebud (tight 3D spiral)
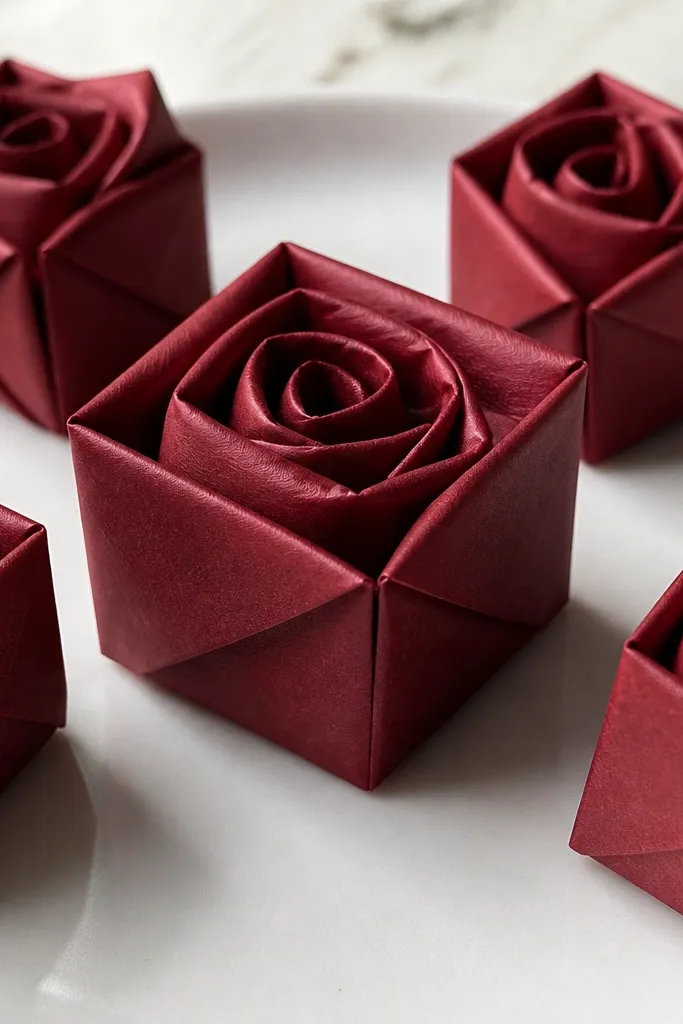
If you want a 3D rose look without complicated petal cutting, this cube rosebud is the answer. The rosebud reads as layered from every angle because the folds stack into a tight spiral. It’s low-maintenance because the build repeats a simple folding sequence and the final lock is a tuck. This one looks great in clusters and also works as a small gift topper. Choose soft pastel paper for a gentle look or deep red for a bold one.
Use square paper around 10-13 cm. Fold into a cube-like base by making a few creases that create a pocket structure. Build the rosebud by folding each face inward in the same direction, then tuck the last flap into the nearest pocket. Press edges with a bone folder so the spiral stays tight and doesn’t loosen.
Editor's notePre-score folds with a ruler for the first round — it keeps the spiral even.
Skip thisDon’t pull the layers apart after you tuck; it ruins the tight spiral silhouette.
12. 3D Paper Crown with Stackable Peaks
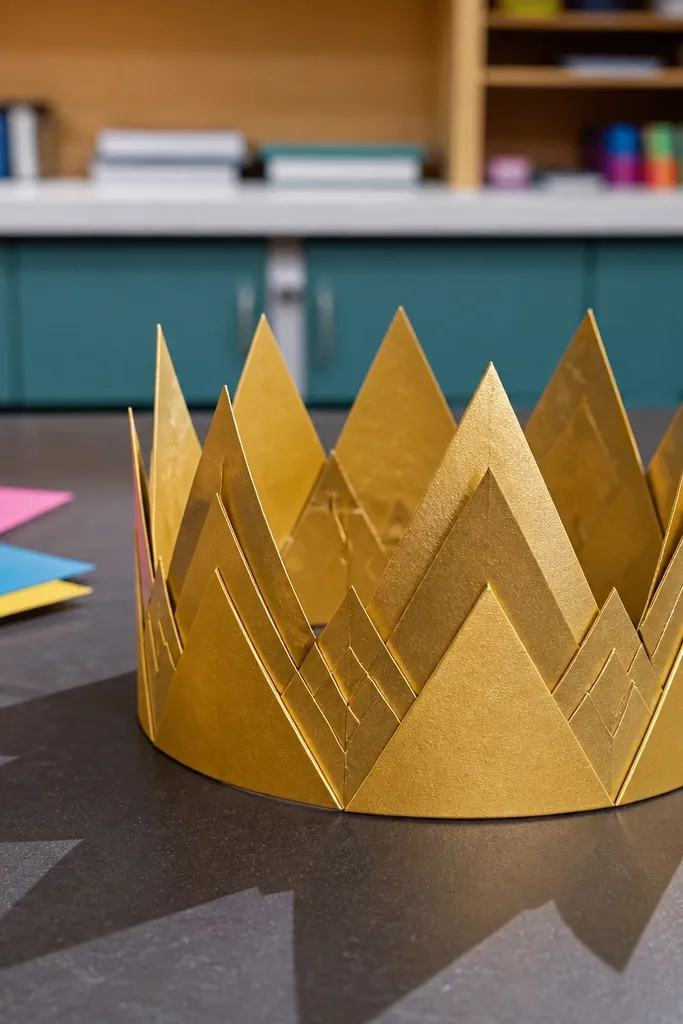
This crown is photogenic because the peaks cast shadows and the band looks crisp. It’s low-maintenance Origami Easy because the peaks are repeat units and the band uses straightforward folding and a simple closure. It’s perfect for birthday photos, dress-up bins, and classroom celebrations. The crown also holds its shape on a head better than most paper crowns because the fold structure is thicker at the band. Use it in bright colors or in gold paper for instant “party” vibes.
Start with a strip for the band (about 20 x 6 cm) and fold it into a firm rectangle band with a tab closure. Create peak units from smaller squares, then fold each into a pointed cap. Attach peaks to the band by tucking them into slits or gluing only the base edge. Press the band seam and peaks so everything lines up.
Reinforce the band with a thin paper strip inside — it stops sagging without adding bulk to the peaks.
Don’t make peaks too tall; tall peaks crease poorly when kids bend the crown.
13. 3D Paper Envelope Box (gift-ready without glue)
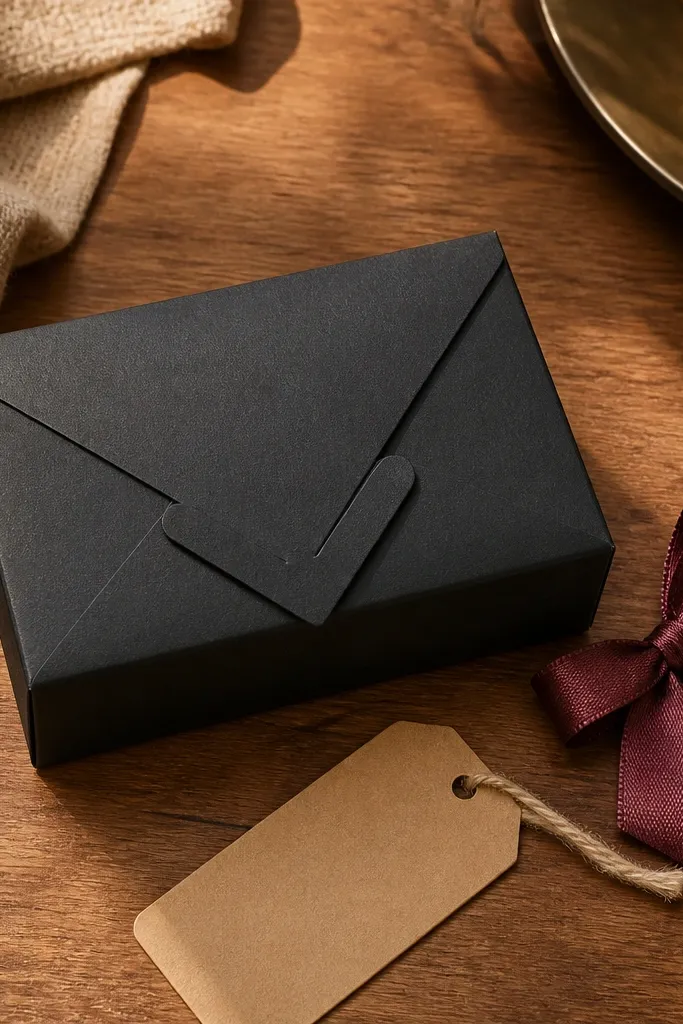
This is the “gift that looks expensive” option using only folds. The envelope box has layered edges that look like a store packaging fold, and the clasp keeps it closed without messy glue. It’s low-maintenance because the method relies on large flap folds and a repeatable tuck closure. Great for small presents, candy, or a note that needs to look neat. It photographs well because the edges form a clean frame.
Use a square or slightly rectangular sheet (around 18 x 18 cm). Fold into an envelope structure by making two side folds and a bottom fold, then crease sharply. Build the 3D depth by folding the top flap down and tucking side corners into the pocket edges. Finish with a clasp flap that locks over the front and press the closure for a tight fit.
Use patterned paper on the outside and solid paper on the inside; the fold edges look intentional.
Don’t skip burnishing the flap edges; weak creases make the box look open in photos.
14. Hexagon 3D Honeycomb Star (modular without chaos)
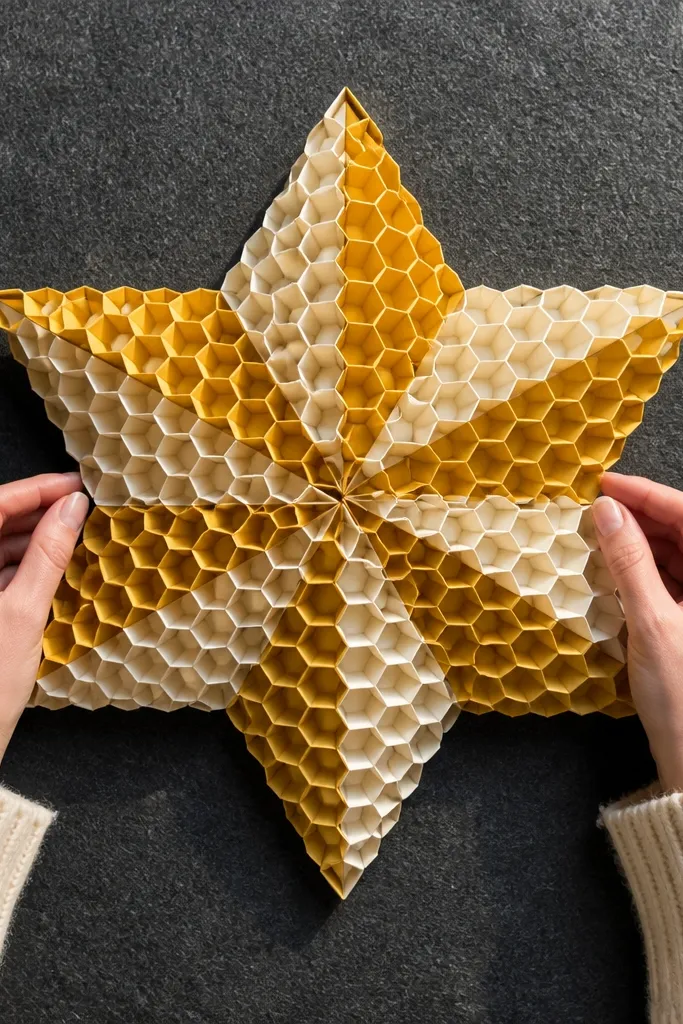
This has the best mix of “modular look” and low-maintenance building. The honeycomb cells create strong texture and depth, so it reads as 3D even in overhead shots. You build it from a small set of repeat units, so you’re not juggling a hundred tiny pieces. It’s photogenic because the star silhouette stays crisp while the cells create light-and-shadow. This works well for a wall decoration or a tabletop centerpiece.
Cut or use hexagon-friendly units from paper (about 8-10 cm across). Fold each unit into a small cell by creating a central ridge and folding sides inward to form pocket edges. Assemble cells into a hexagon star outline, then lock them by tucking one cell edge into the next. Press the outer rim and let it sit flat for 10 minutes so the shape stabilizes.
Pick one color for the outer cells and a contrasting color for inner cells so the star shape pops.
Don’t overstuff the cells; if the pockets are too tight, the hexagon star buckles.
15. 3D Paper Rocket Desk Topper (folded fins + tip pocket)
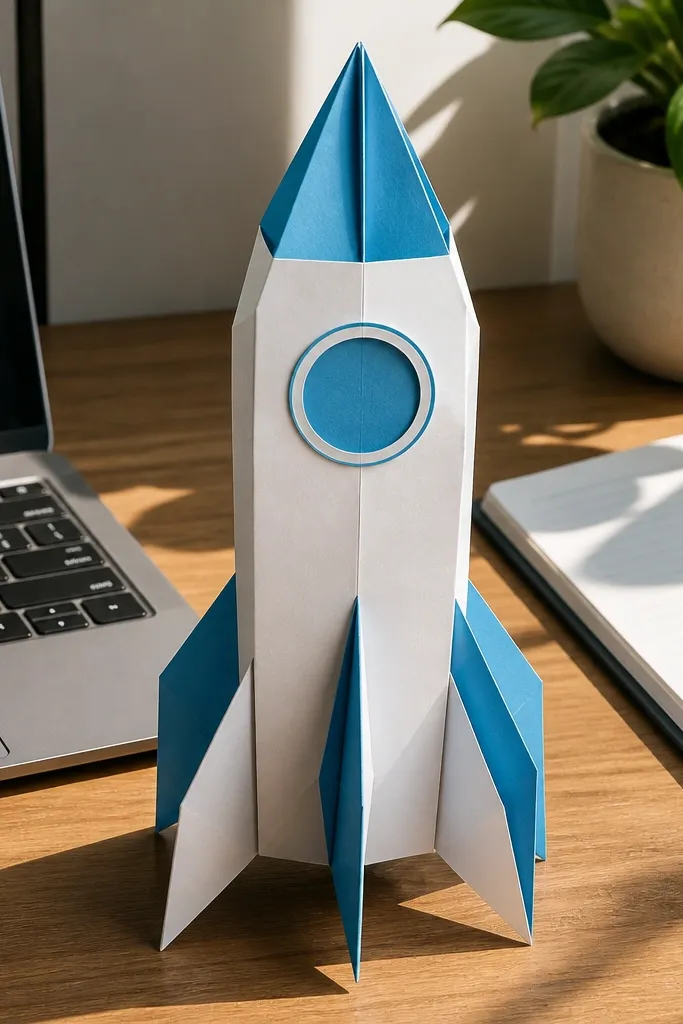
This rocket looks fun and engineered, which is exactly why it photographs well. The fins are angled with clear creases so you get a crisp silhouette, and the nose tip uses a pocket to keep it aligned. It’s low-maintenance Origami Easy because the build is mostly folding big surfaces and then tucking two or three key parts. Make it in bright paper for kids' play — it looks like a desk toy, not a fragile model. It also works as a party decoration because you can make a bunch quickly in matching colors.
Use a rectangle sheet (about 16 x 10 cm) for the body. Fold it lengthwise and then shape the nose by folding corners inward and creasing hard; create a small pocket at the very tip area. Fold fins from smaller rectangles, then crease each fin so it sits at a clear angle. Insert the fins into side slots or tuck them under the body fold, then slide the nose tip pocket closed.
Editor's noteUse a heavier paper for the body (100-120 gsm) and lighter paper for fins so they angle without tearing.
Skip thisDon’t make the pocket too deep; a deep pocket hides the nose tip and the rocket looks blunted.



