1. Clear Stackable Tote System
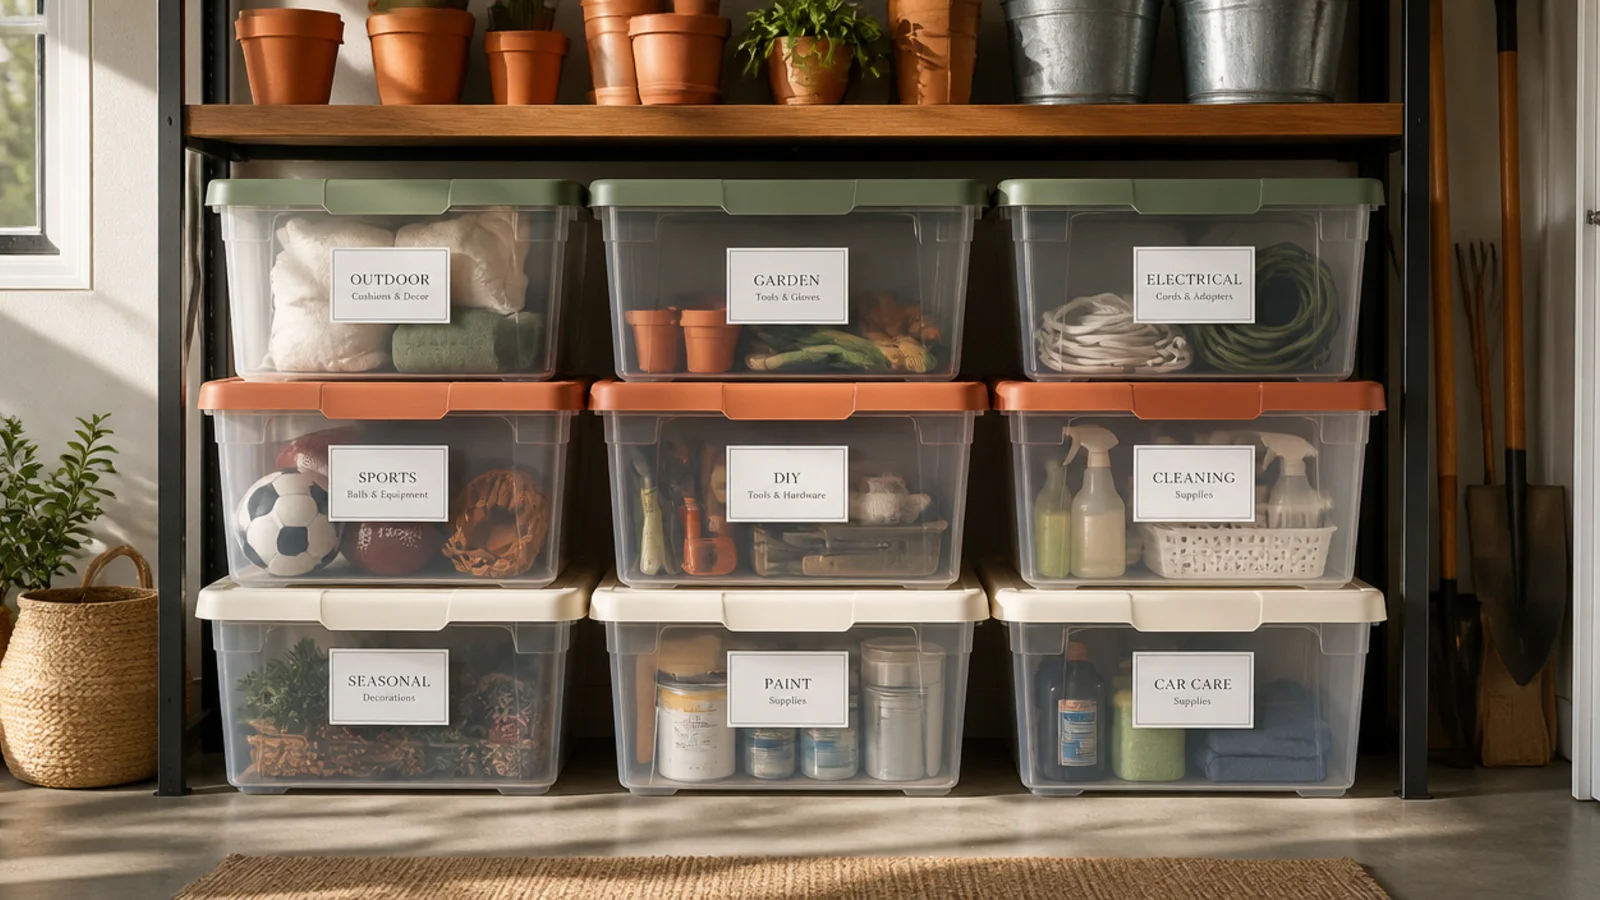
A set of matching clear, stackable totes is the easiest storage system to start with because it needs no mounting and instantly sorts loose piles. You can see contents through the clear walls, and the flat lids let them stack safely. It suits anyone whose garage is more piles than shelves right now.
Buy heavy-duty 27-gallon clear totes with lids that lock and stack (avoid thin bins that crack in cold). Sort by category — holiday, camping, auto, sports — one category per tote. Color-code the lids by zone and add a printed label to the short end that faces out. Stack no more than three high so the bottom tote isn’t crushed and you can still lift the top one down safely.
Label the short end, not the top, so you can read every tote’s contents even when they’re stacked and shelved.
Don’t buy cheap thin totes for a garage; they crack in temperature swings and collapse under stacking weight.
2. Slatwall Panel System
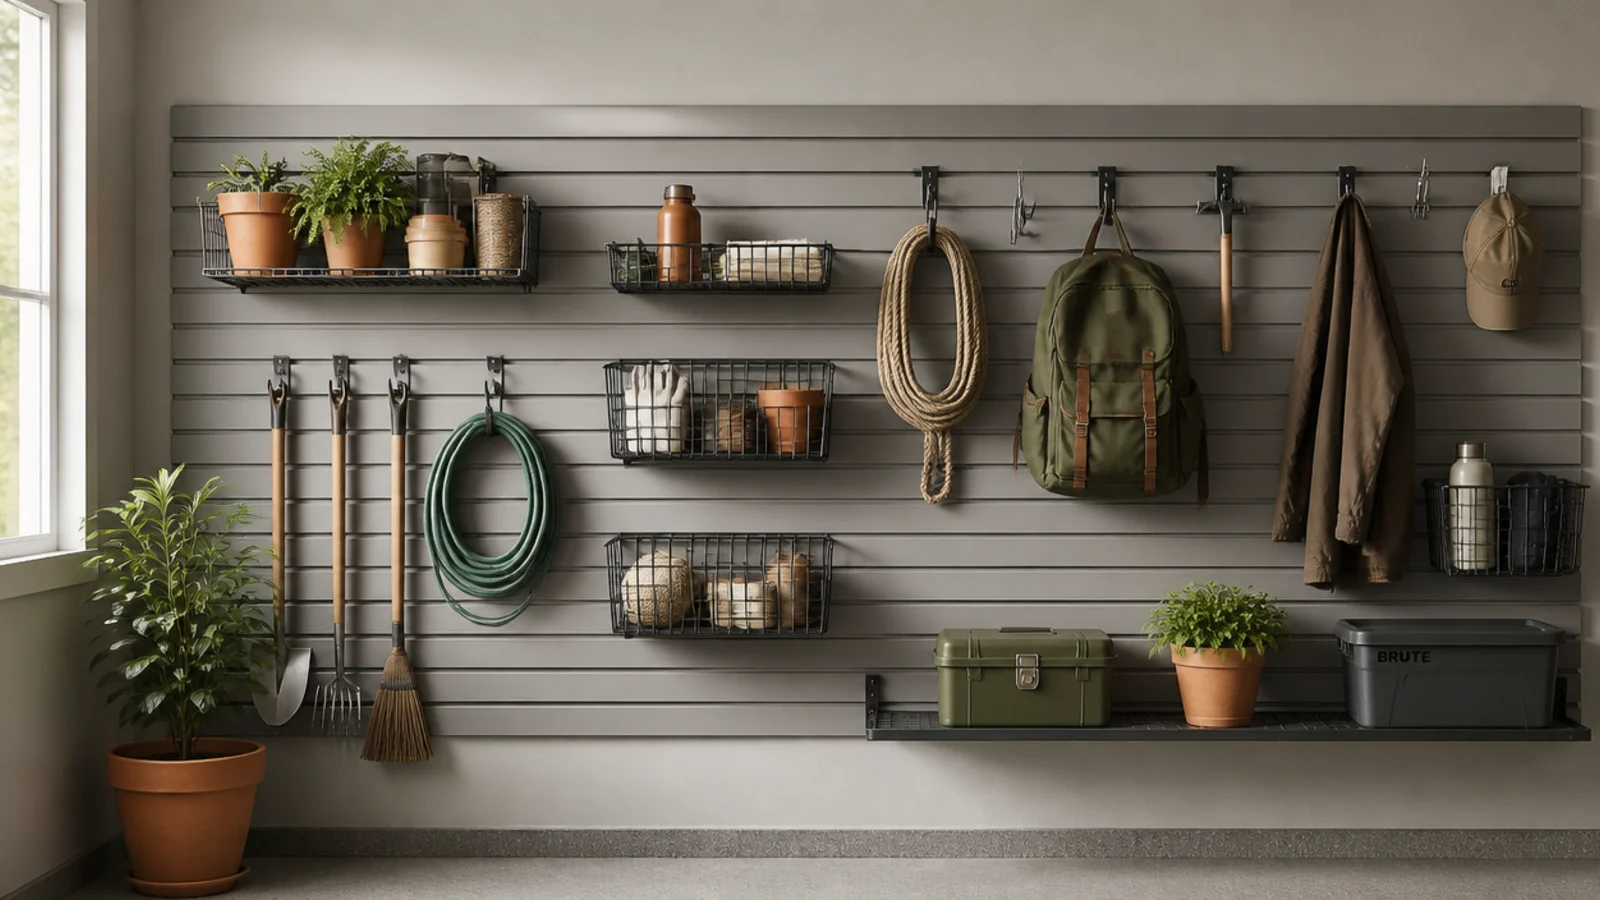
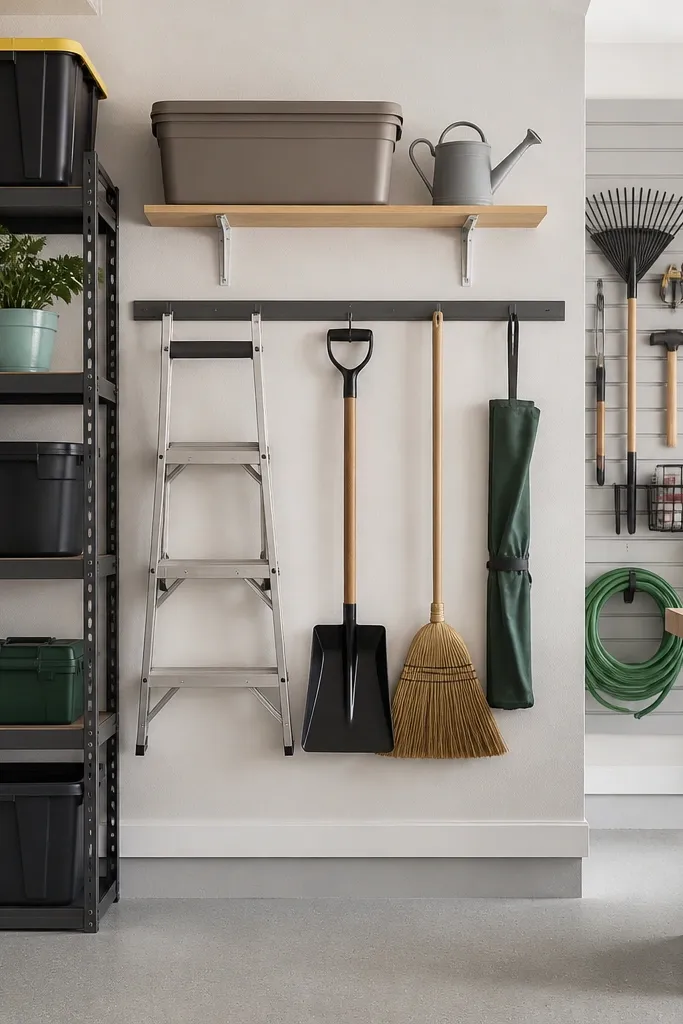
Slatwall covers a whole wall in horizontal grooves that hooks, baskets, and shelves lock into, so you can rearrange storage endlessly and hang heavier accessories than pegboard allows. It’s the most flexible daily-tool system. Great for anyone who wants a clean, adjustable wall that carries real weight.
Screw slatwall panels into every wall stud with the manufacturer’s screws, keeping rows level as you go up. Start accessories at eye level with your most-used tools, then add wire baskets for cans and bottles and bracket shelves for boxes. Distribute heavier hooks nearest the studs. Snap accessories in and slide them along the grooves to rearrange anytime.
Editor's notePlan the busiest zone at arm’s reach and leave the low and high grooves for bulky or rarely used items.
Skip thisDon’t hang slatwall on drywall between studs; loaded panels are heavy and must screw into framing to stay put.
3. Steel Wall-Track Shelving
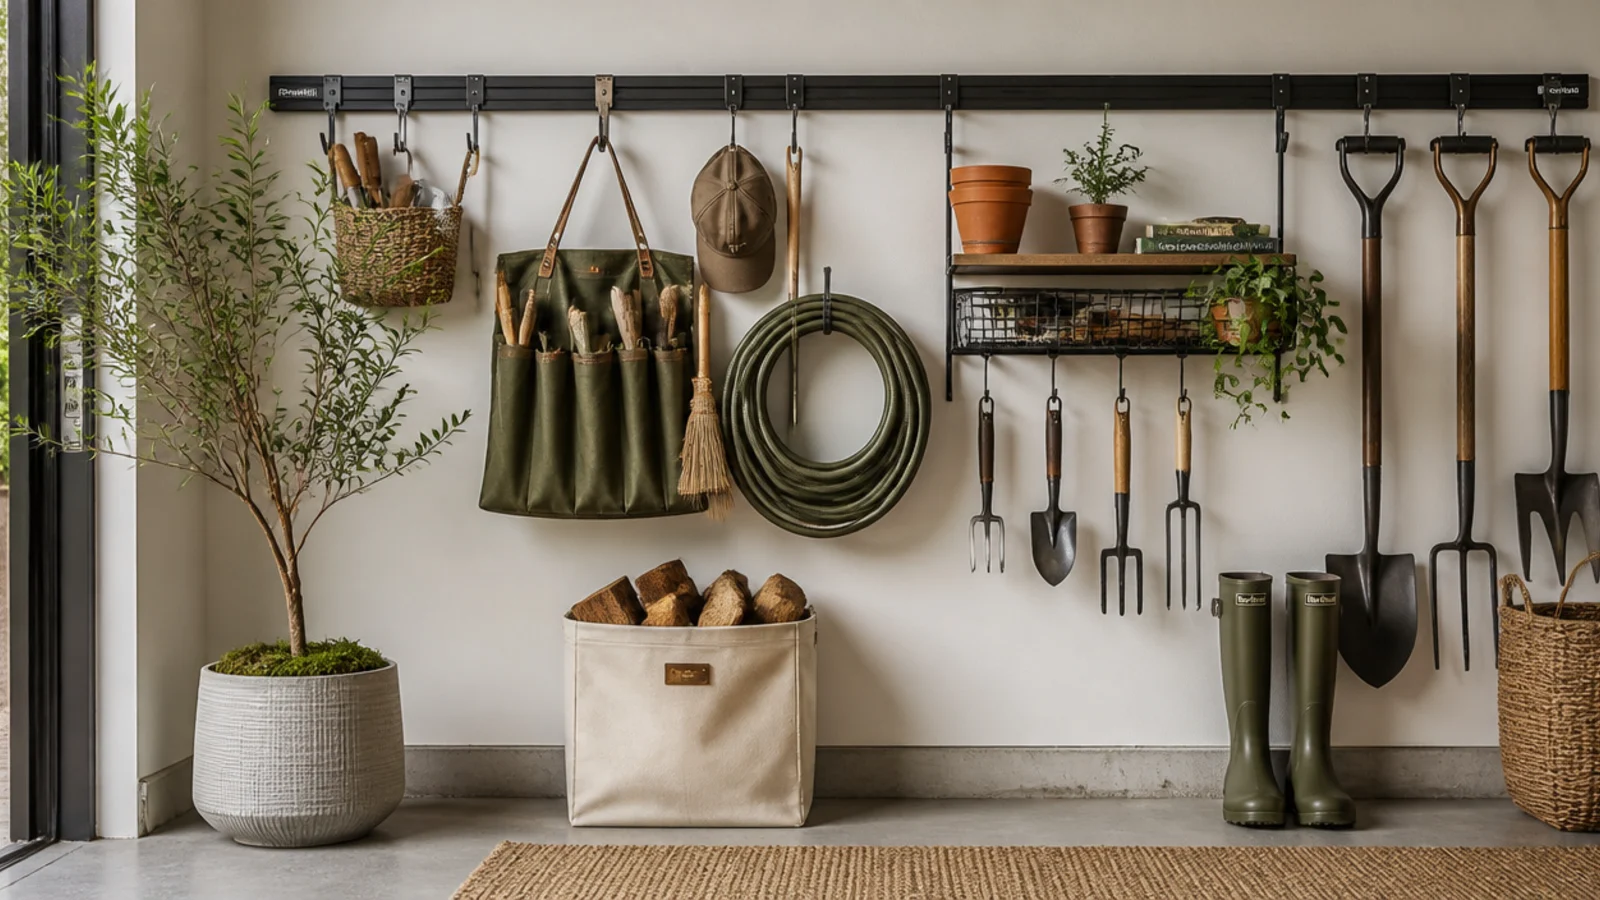
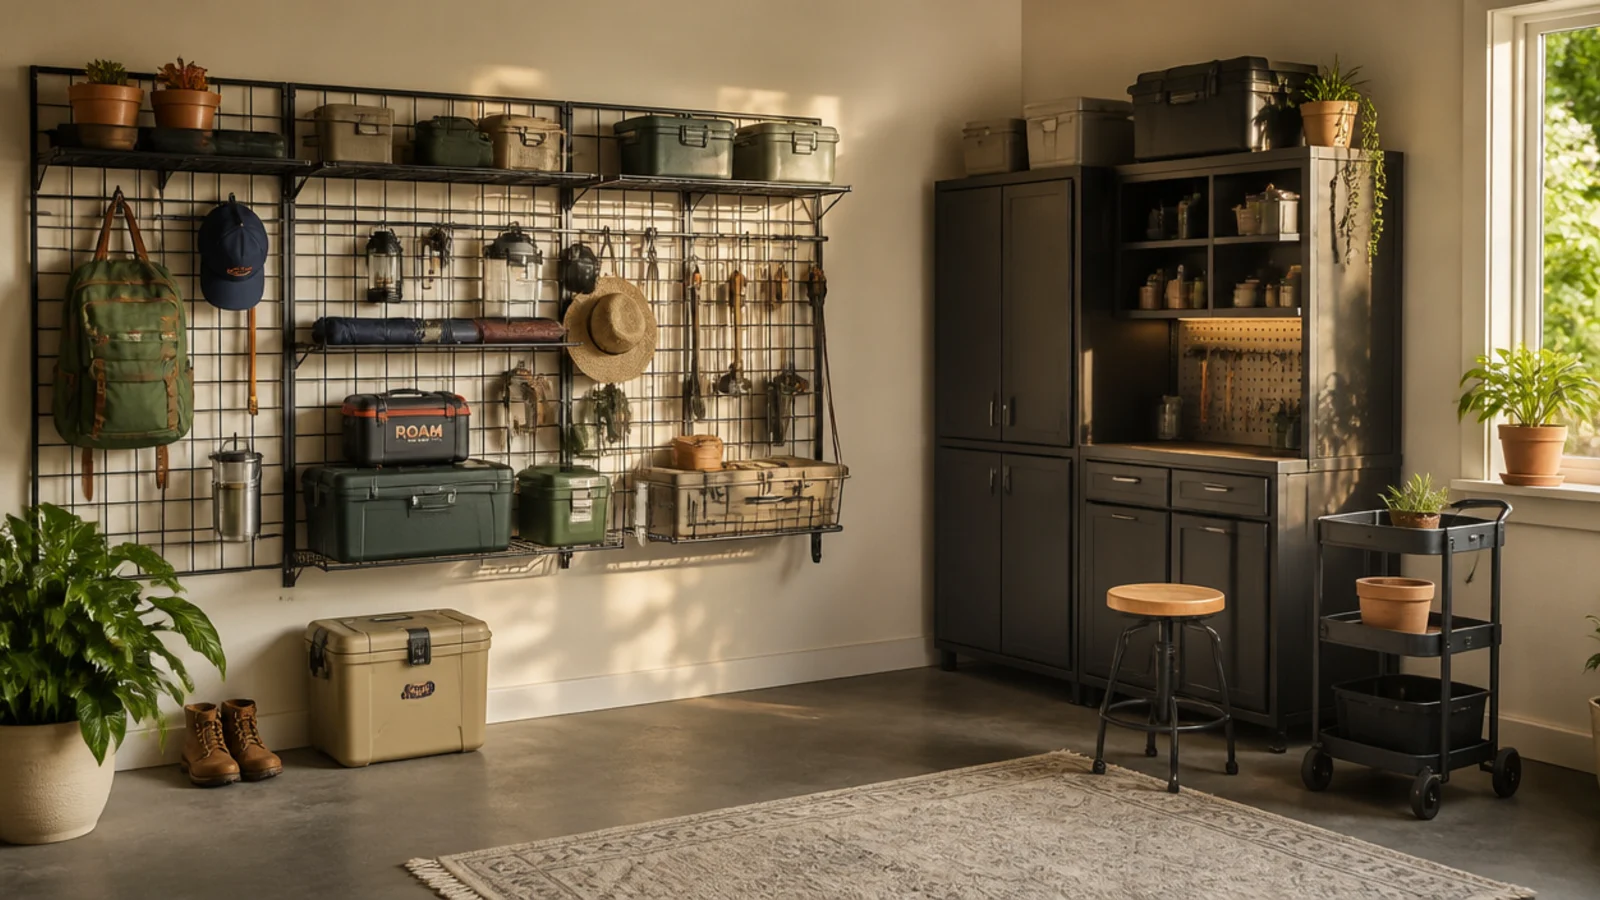
A steel wall-track system mounts one heavy rail into the studs, and every hook, basket, and shelf hangs from that single rail. It carries hundreds of pounds and moves accessories in seconds. Ideal for a garden or utility wall with a mix of heavy and awkward items.
Screw the steel rail (Rubbermaid FastTrack, Gladiator, or similar) into every stud along the wall at about shoulder height with the included lag screws. Hang the rail-compatible hooks for long-handled tools, wire baskets for balls and bottles, and a bracket shelf for bins. The rail carries the load, so accessories just clip on and slide. Rearrange as your needs change.
Editor's noteMount the rail high enough that long-handled tools hang clear of the floor but low enough to lift them off easily.
Skip thisDon’t skip screwing into every stud along the run; a partially anchored rail sags under a full load of tools.
4. Overhead Ceiling Rack
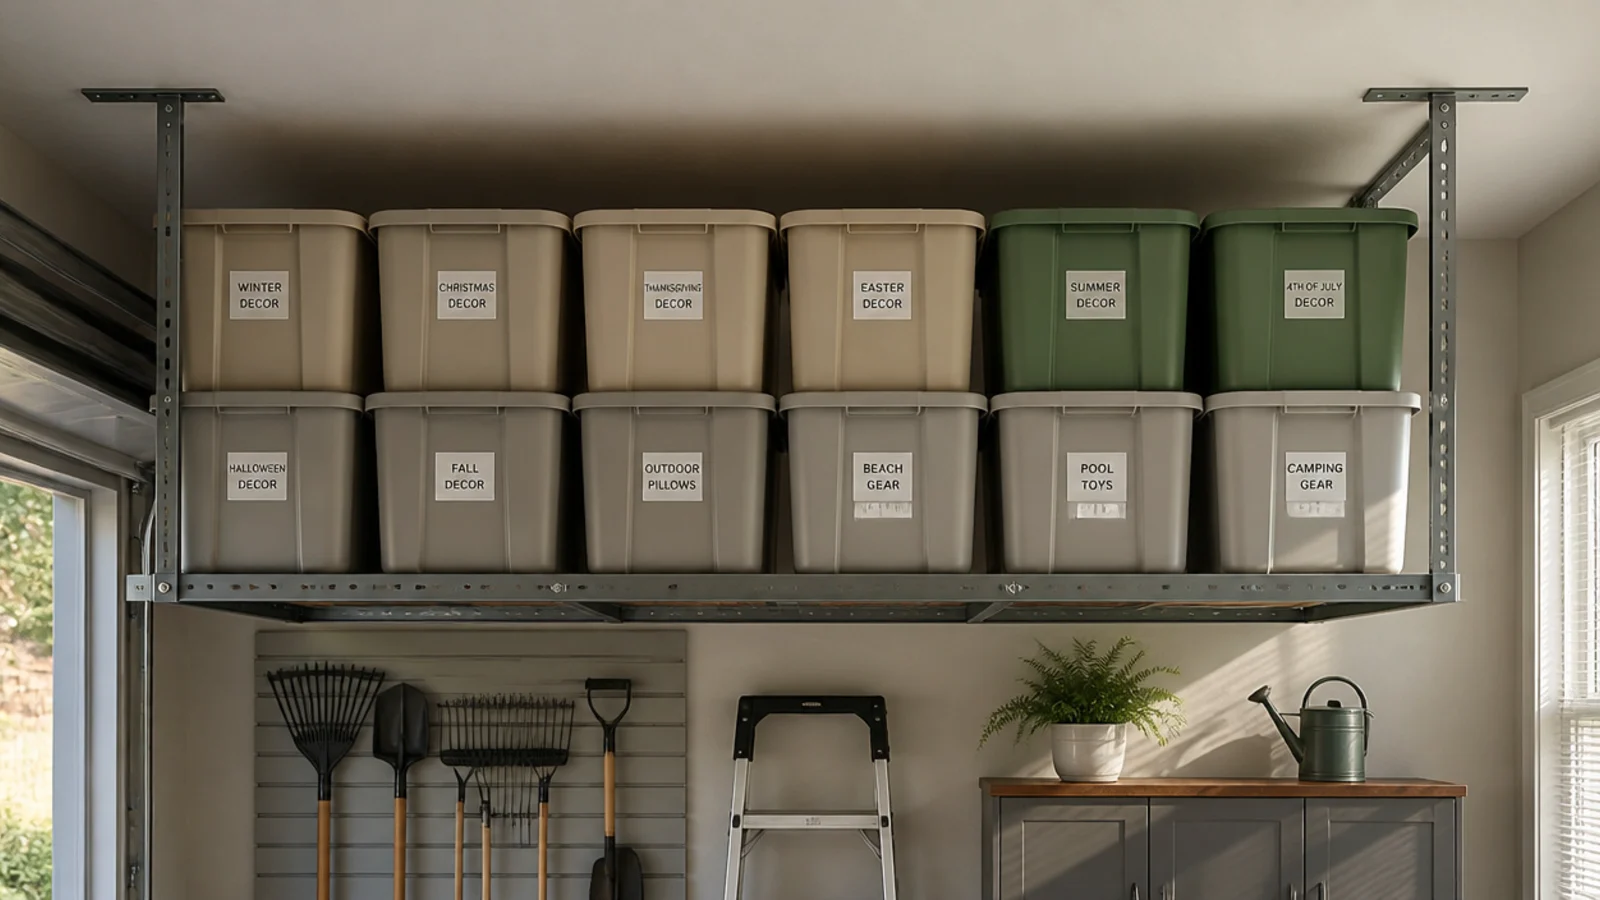
A ceiling-mounted overhead rack turns the dead air above the car into storage for seasonal totes and bulky light items. It’s the single biggest space win in most garages. Best for holiday decor, camping gear, and empty luggage you touch a few times a year.
Locate the ceiling joists and lag-bolt the rack’s uprights into them, following the rack’s stud-spacing template exactly. Set the drop height so the loaded rack clears both your car roof and the open garage door’s path. Load only light, evenly distributed totes up to the rack’s rating. Keep a sturdy step ladder nearby and never exceed the stated weight limit.
Editor's noteInstall the rack toward the back wall or over the engine bay, where clearance is easiest and you rarely stand.
Skip thisDon’t lag into drywall or a single joist; overhead loads must bolt into multiple joists or the rack can pull down.
5. Rolling Stackable Drawer Cart
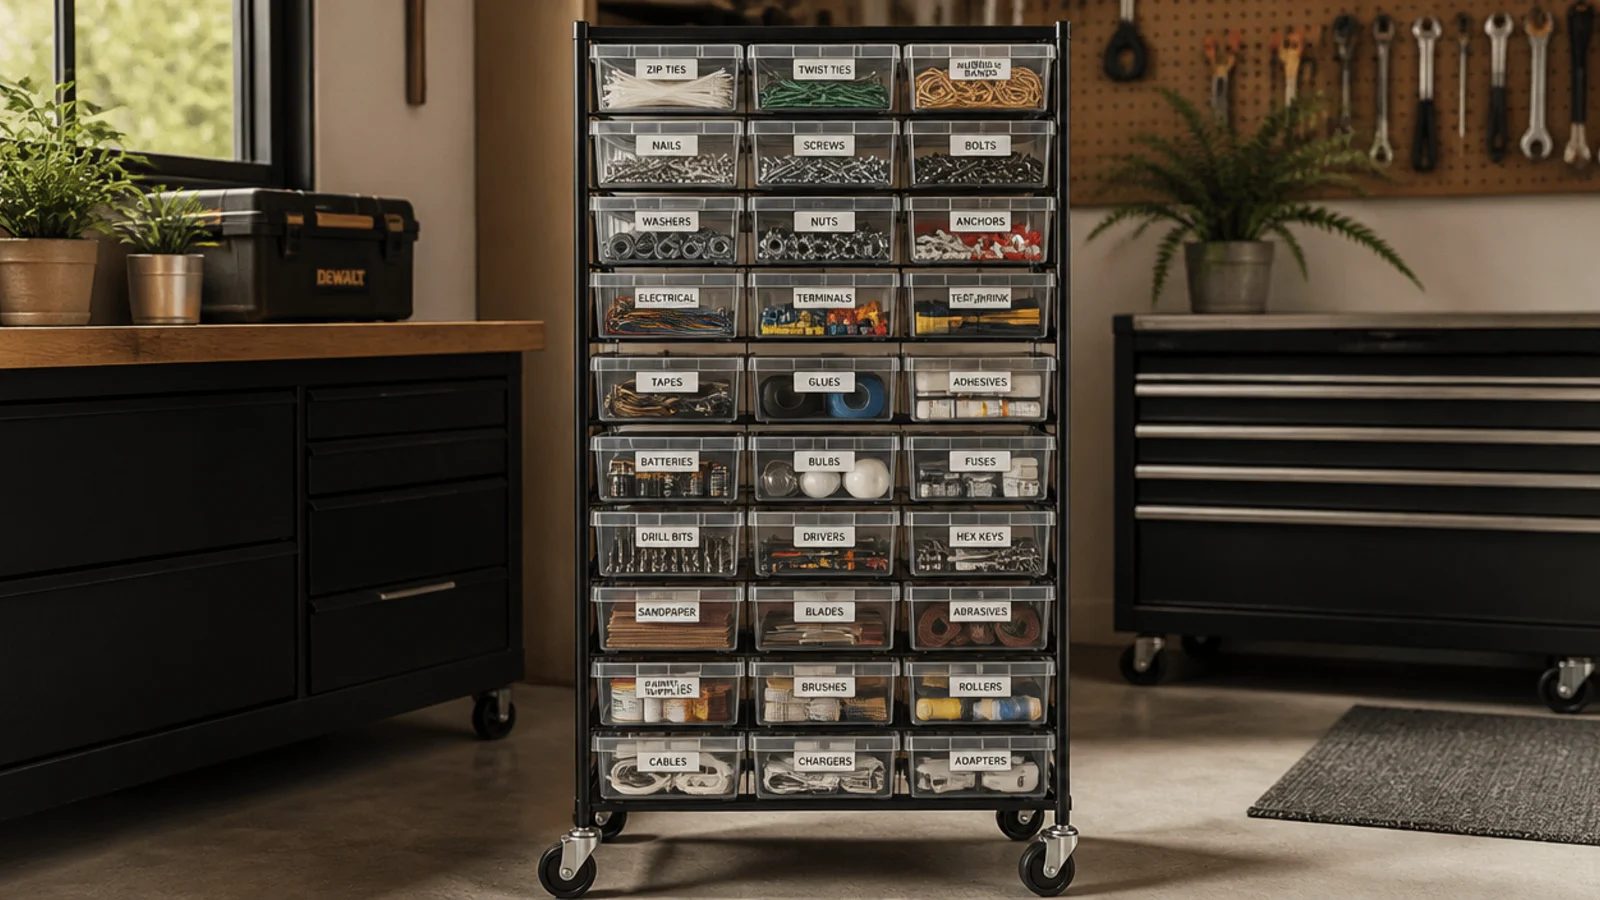
A rolling cart of stackable drawers gives you sorted, mobile storage that follows you to the project. The clear drawers show contents and the casters let you park it under a bench or roll it to the car. Perfect for small parts, craft supplies, or an auto-detailing kit.
Assemble a stackable drawer cart on locking casters and sort supplies by category into the drawers — one type per drawer. Label each drawer front with tape. Keep heavy items in the bottom drawers so the cart rolls stable and doesn’t tip. Lock the casters when parked and roll it to wherever you’re working, then tuck it under the workbench.
Put the drawers you open most at waist height and reserve the very bottom for heavy, rarely needed stock.
Don’t load the top drawers heavy; a top-heavy rolling cart tips the moment you pull a full drawer out.
6. Wall Cabinets with Doors
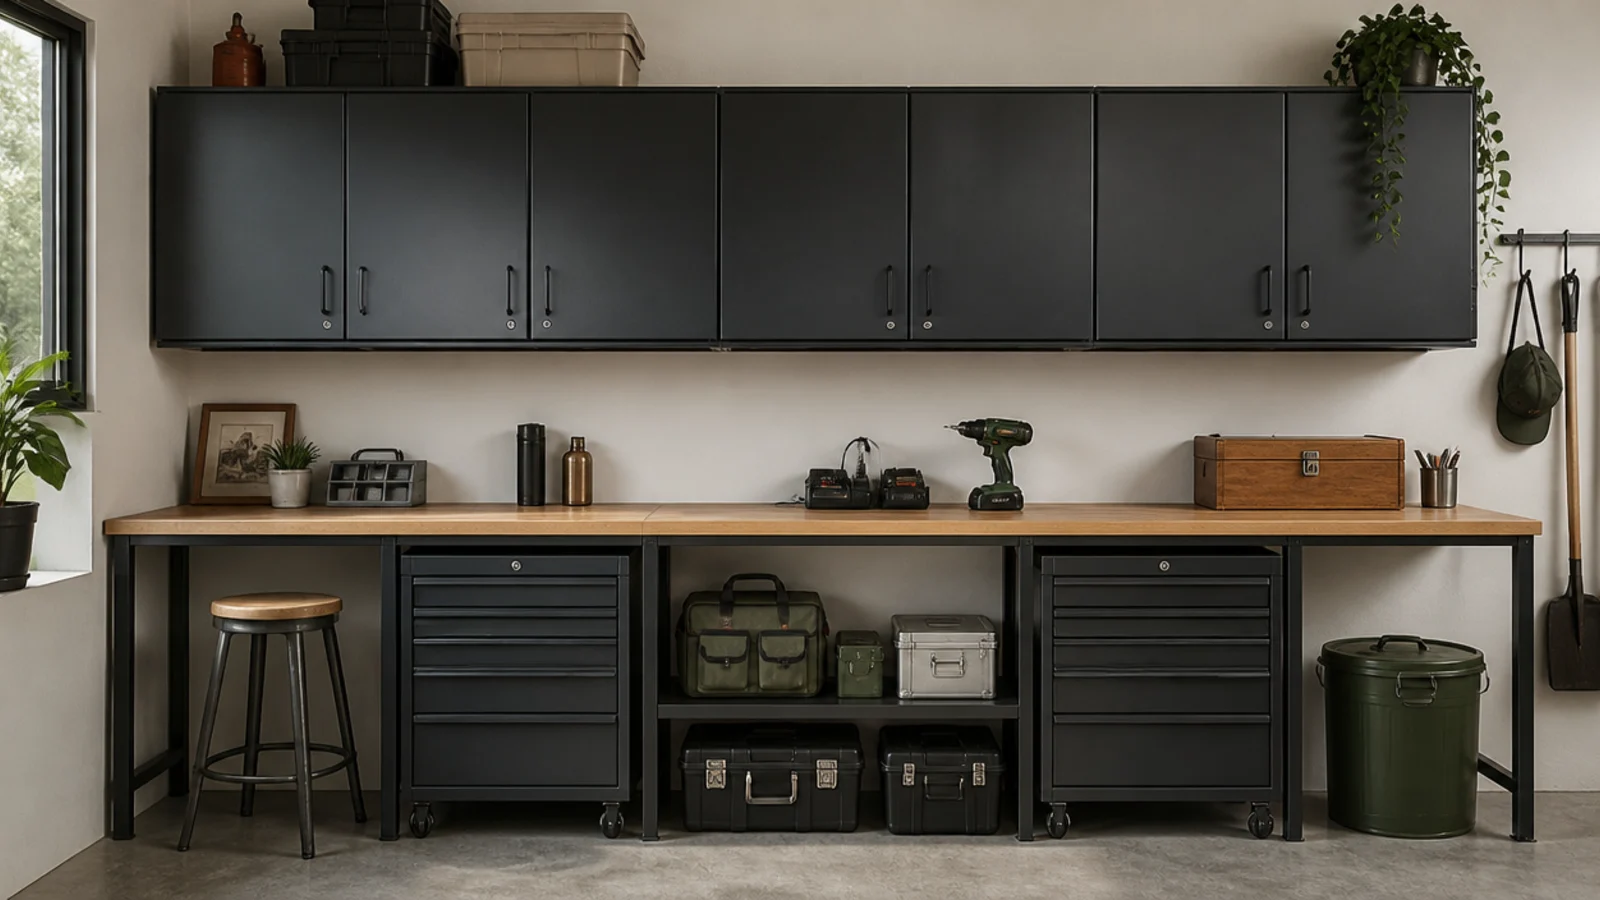
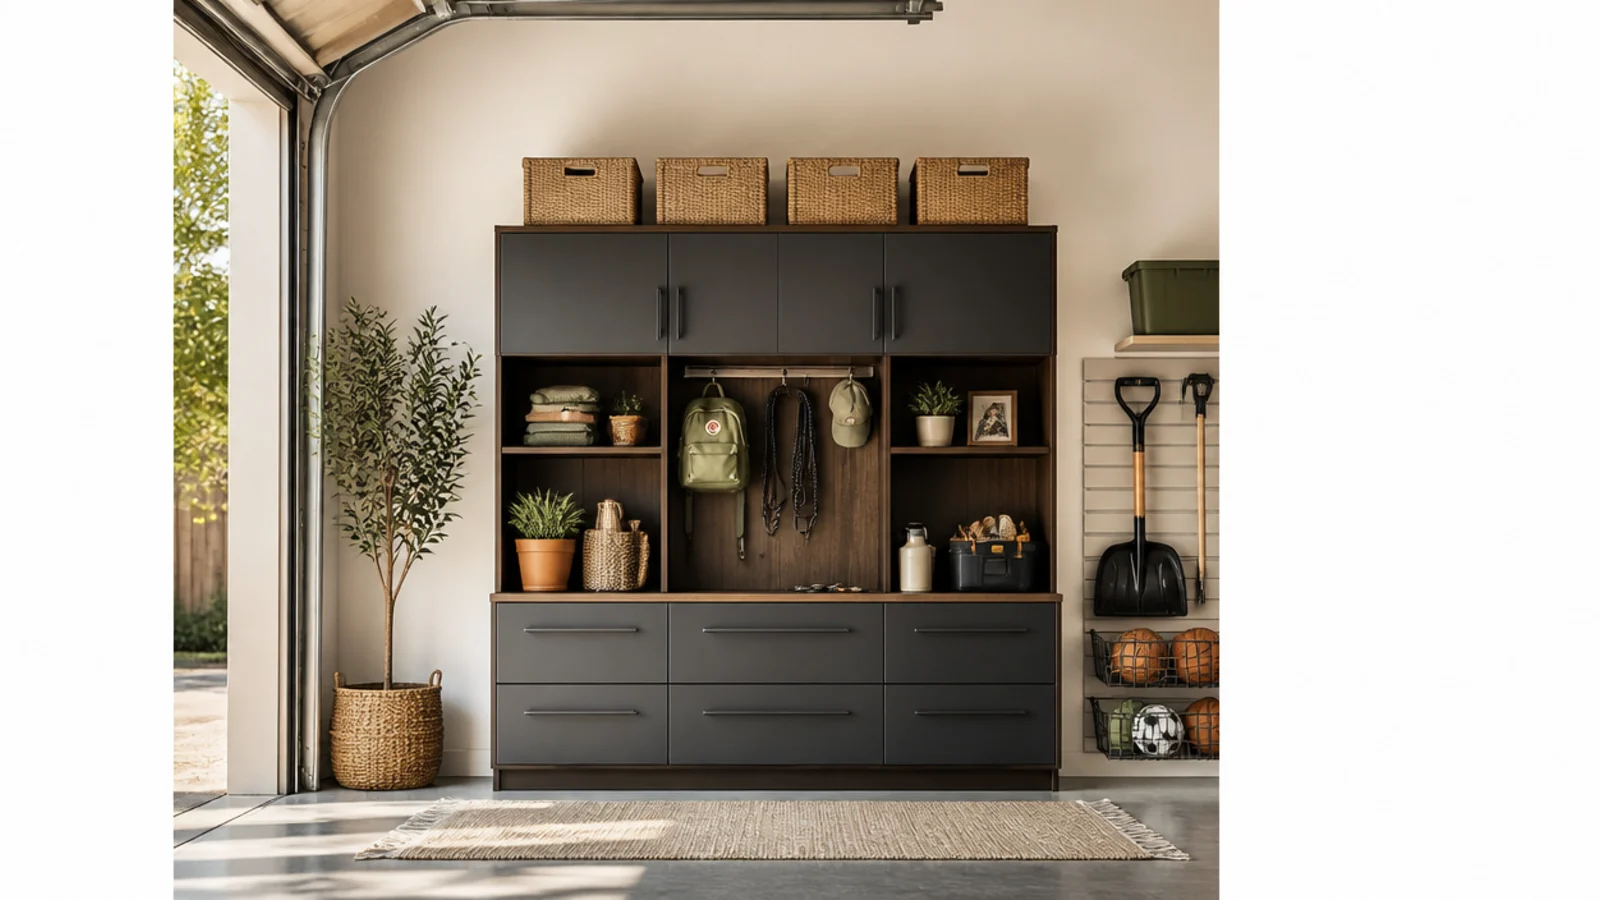
Closed wall cabinets hide clutter and keep dust and grime off what’s inside, giving the garage an instantly finished look. They’re the best home for anything you don’t want on display or within a child’s reach. Steel or heavy-duty resin units both work for a utility space.
Mount cabinets by screwing through the back rail into at least two wall studs with 3-inch screws, checking level across a run. Group contents by category behind each door and add interior shelf labels since you can’t see in. Keep chemicals and sharp tools in a high or locking cabinet. Leave the counter below clear as workspace.
Adjust interior shelves to your tallest bottles first, then space the rest — it stops wasted dead air inside the cabinet.
Don’t overload wall cabinets hung on anchors alone; loaded cabinets are heavy and need stud screws to stay up.
7. Boltless Rivet Shelving
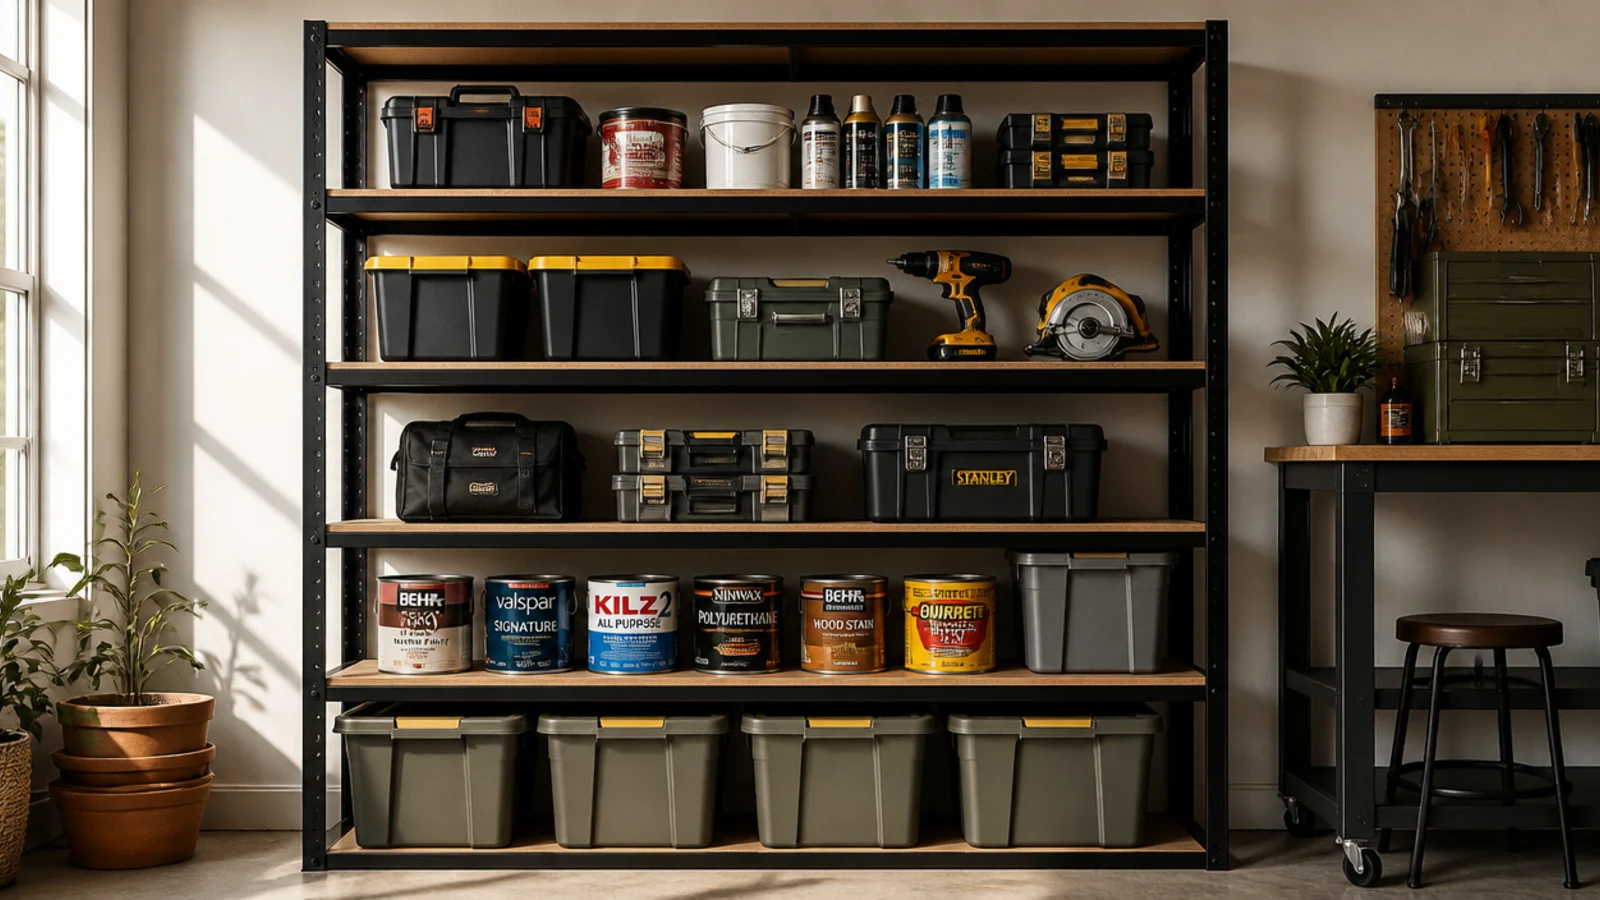
Boltless rivet shelving is the workhorse of heavy garage storage — steel uprights and particleboard decks that assemble without tools and hold hundreds of pounds per shelf. It’s the go-to for the heaviest floor storage. Ideal for paint, power tools, and bulk supplies.
Assemble the unit by tapping the rivet shelf beams into the upright slots and dropping in the decks — no bolts needed. Set shelf heights to your bins before locking beams in. Keep the heaviest items on the lower shelves and check each shelf’s per-deck rating. Anchor a tall unit to the wall with an L-bracket into a stud so it can’t tip forward.
Editor's noteBuy a taller unit than you think you need and set the top shelf high for light overflow — vertical space is nearly free.
Skip thisDon’t exceed the per-shelf weight rating; overloaded decks bow in the middle and eventually give way.
8. Corner Shelving Tower
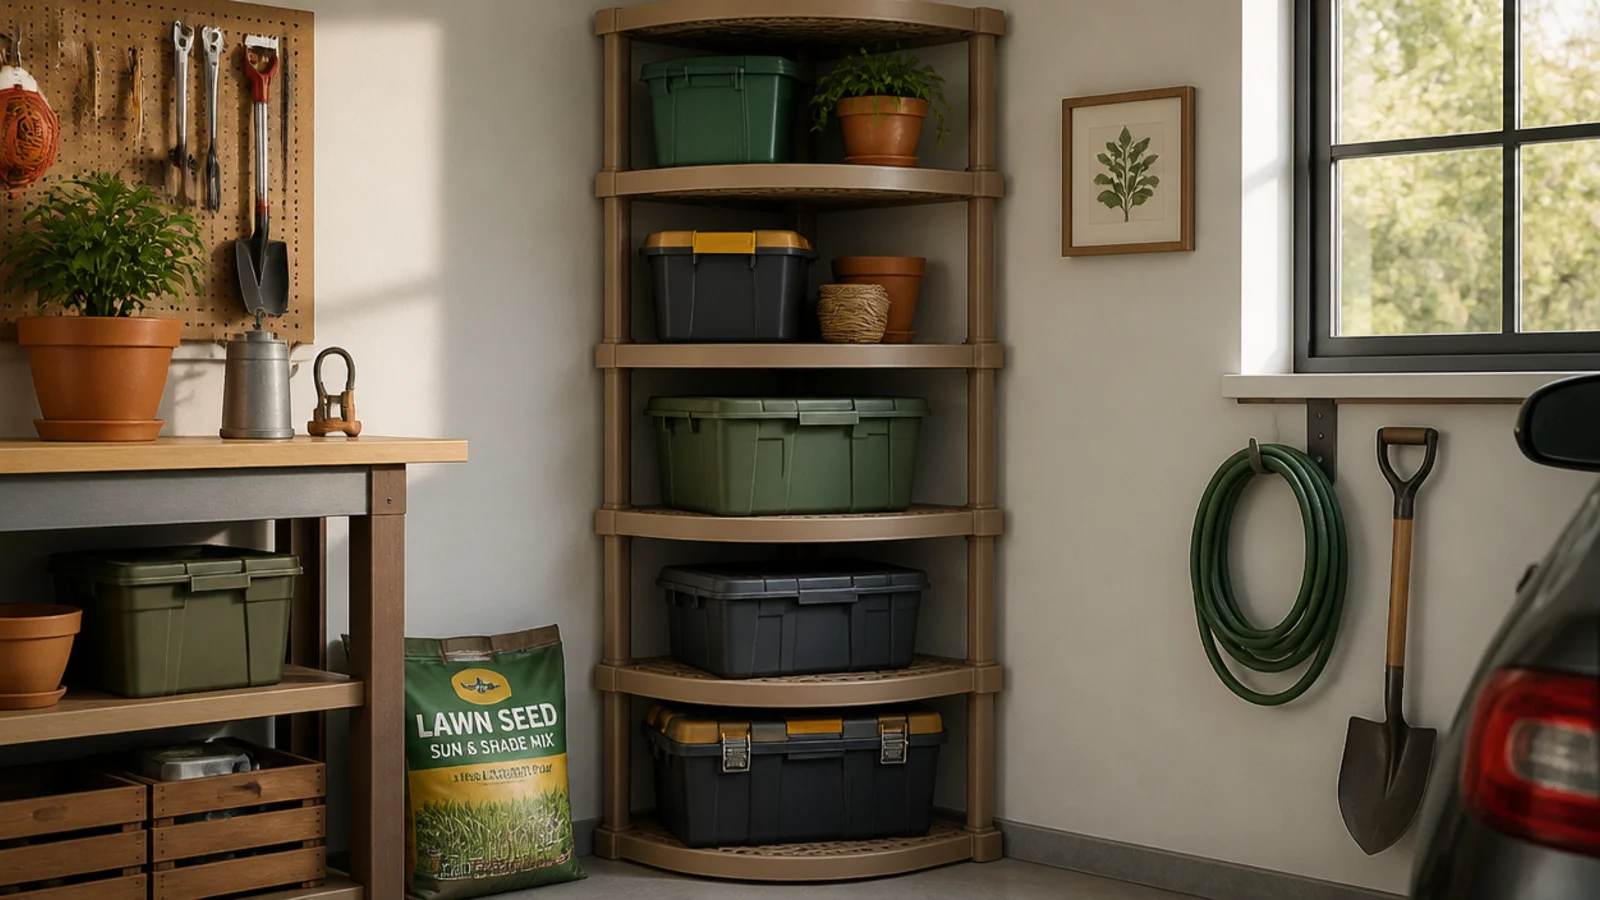
A corner tower reclaims the awkward dead corner that most garages waste. Its angled or L-shaped shelves fit where a straight unit can’t. Great for turning a useless corner into a full column of storage.
Set a corner shelving unit or two straight units meeting at 90 degrees into the corner, leveling the feet on the uneven concrete. Store medium items you reach for occasionally, keeping heavy loads low. Use round or angled bins that match the shelf shape so no space is wasted at the point. Anchor to the wall if it’s tall.
Editor's noteUse lazy-Susan turntables on corner shelves so you can spin the back items forward instead of reaching around.
Skip thisDon’t jam a square bin into the angled point; it leaves dead space — shape the container to the shelf.
9. Under-Workbench Rolling Bins
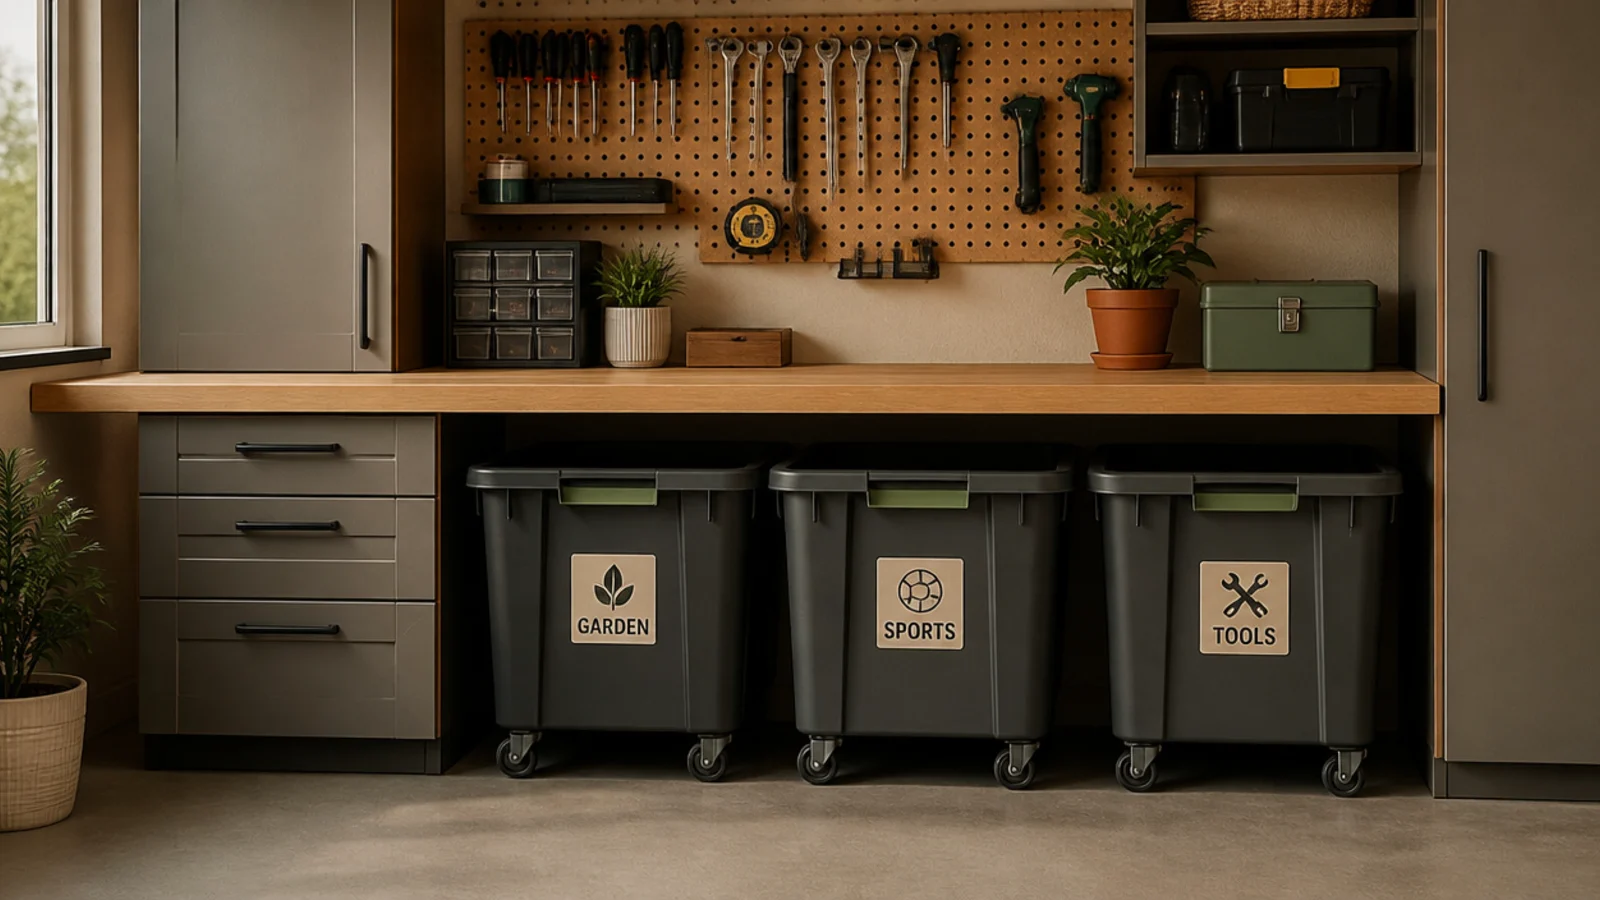
The gap under a workbench is prime storage that usually collects dust. Fitting it with rolling bins turns it into pull-out drawers for bulky supplies. Perfect for bagged goods, drop cloths, and larger tools.
Measure the clearance under your bench and buy bins on casters that roll in with a little headroom to spare. Sort bulky items by category — one bin for painting supplies, one for lawn, one for automotive. Label the fronts and roll them under the bench when not in use. Pull the whole bin out to work from it, then roll it back.
Add caster brakes or a simple wood stop so bins don’t creep out on a sloped garage floor.
Don’t use lidless bins under a bench where sawdust falls; choose covered bins or your supplies collect grit.
10. Ceiling Bike and Ladder Hoist
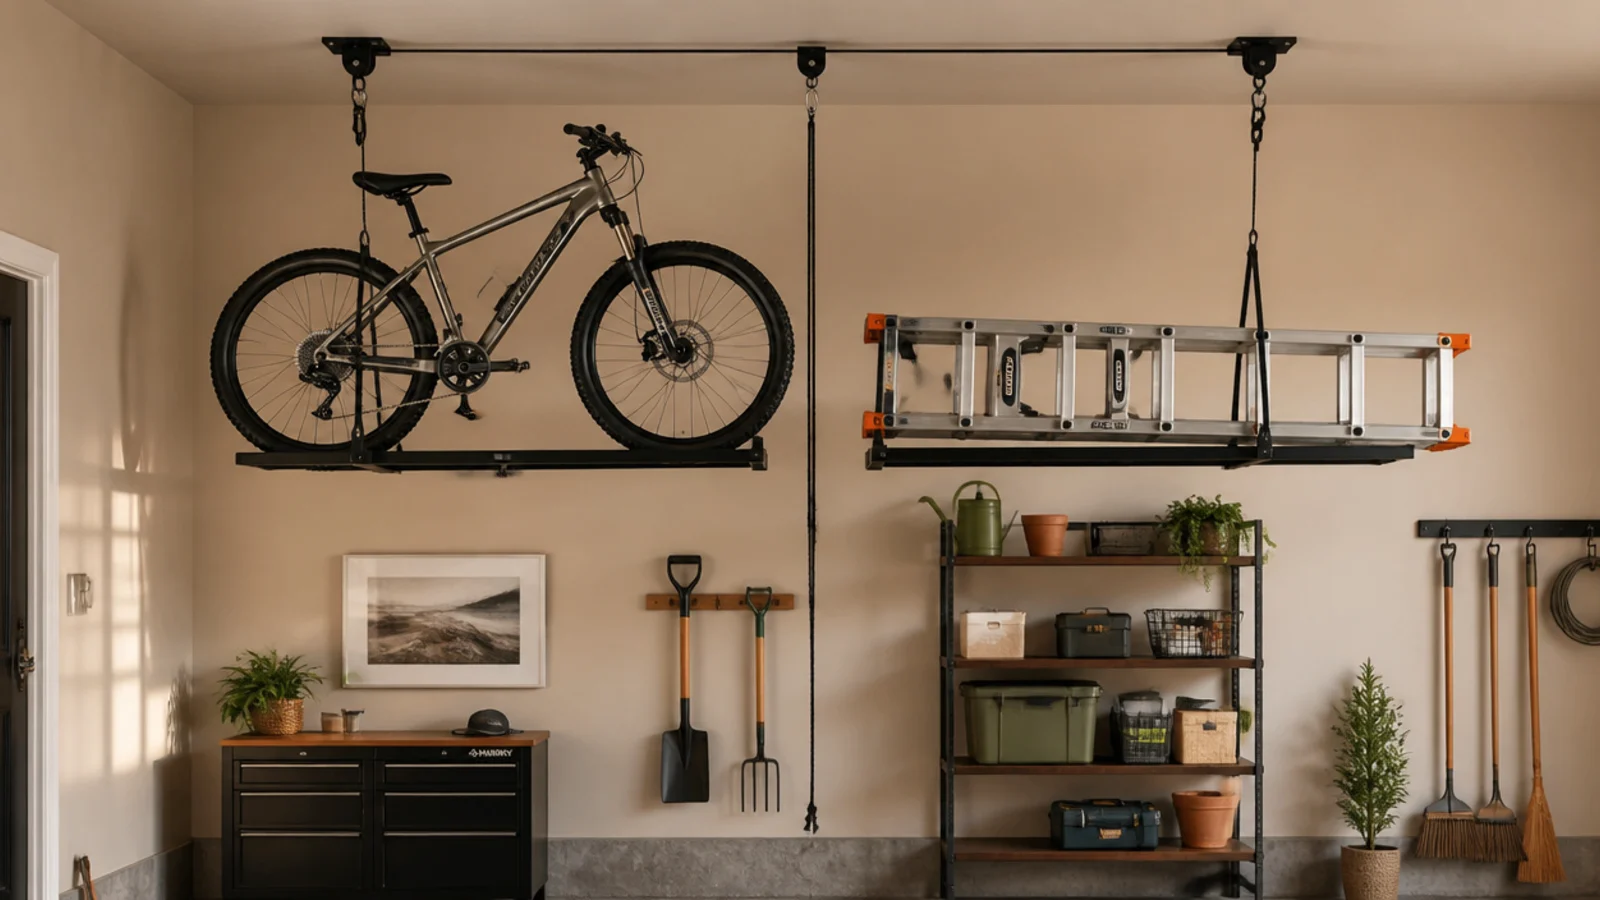
A pulley hoist lifts bikes, ladders, and kayaks flat against the ceiling, clearing the floor entirely. You haul the rope and the item rises out of the way. Ideal for tall garages with bulky recreational gear.
Screw the hoist pulleys into the ceiling joists per the template, spacing them to match the item’s mounting points. Attach the hooks to the bike frame or ladder rungs, then pull the rope through the cleat to raise it and lock the rope on the cleat. Confirm the item clears the car and door path when raised. Stick to the hoist’s weight rating.
Editor's noteRaise seasonal items like kayaks fully to the ceiling and keep bikes a bit lower if you use them weekly.
Skip thisDon’t rely on the rope cleat alone for heavy loads; use the safety lock and check the knots before walking under it.
11. Bulk Tool Track with Hooks
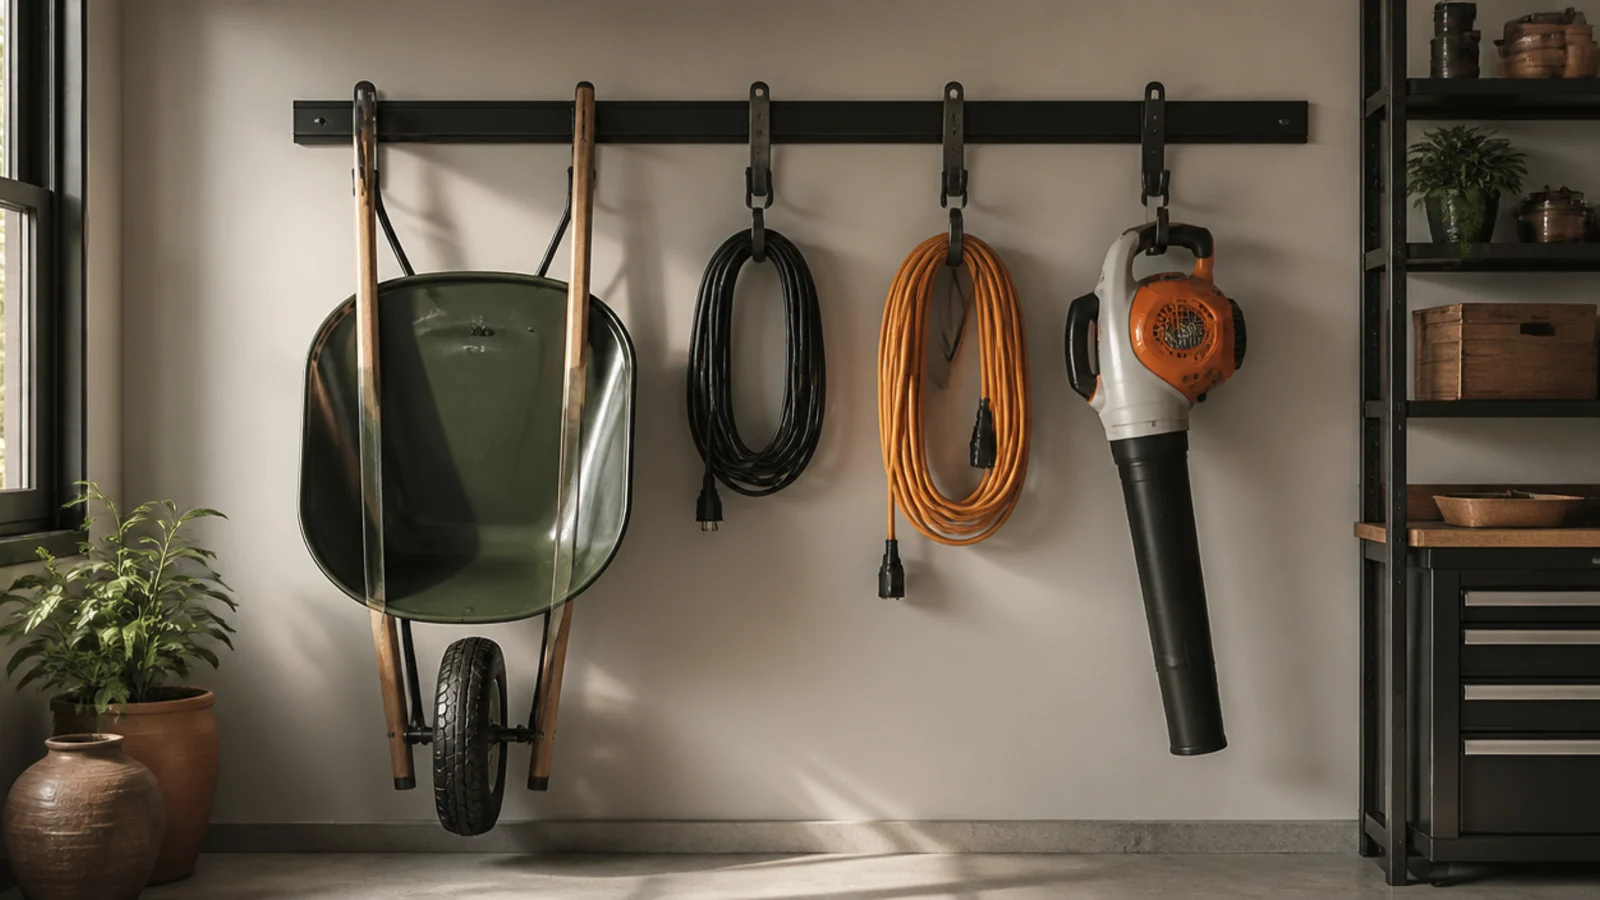
A track fitted with big, deep hooks gets the bulky awkward stuff — wheelbarrow, blower, cords — up off the floor and onto the wall. These are the items that eat the most floor space. Best for a garden or lawn-equipment wall.
Mount a heavy-duty track or a row of individual heavy hooks into the studs at varying heights to match each item. Hang the wheelbarrow by its front edge, coil cords over utility hooks, and hang the blower by its handle. Put the heaviest items closest to the studs. Leave floor clear beneath so you can sweep and walk.
Editor's noteTrace the hook layout on paper against your actual gear first, so each bulky item gets a hook the right size and height.
Skip thisDon’t hang heavy equipment on lightweight hooks; use hooks rated well above each item’s weight or they bend and drop.
12. Open-Front Stacking Bins
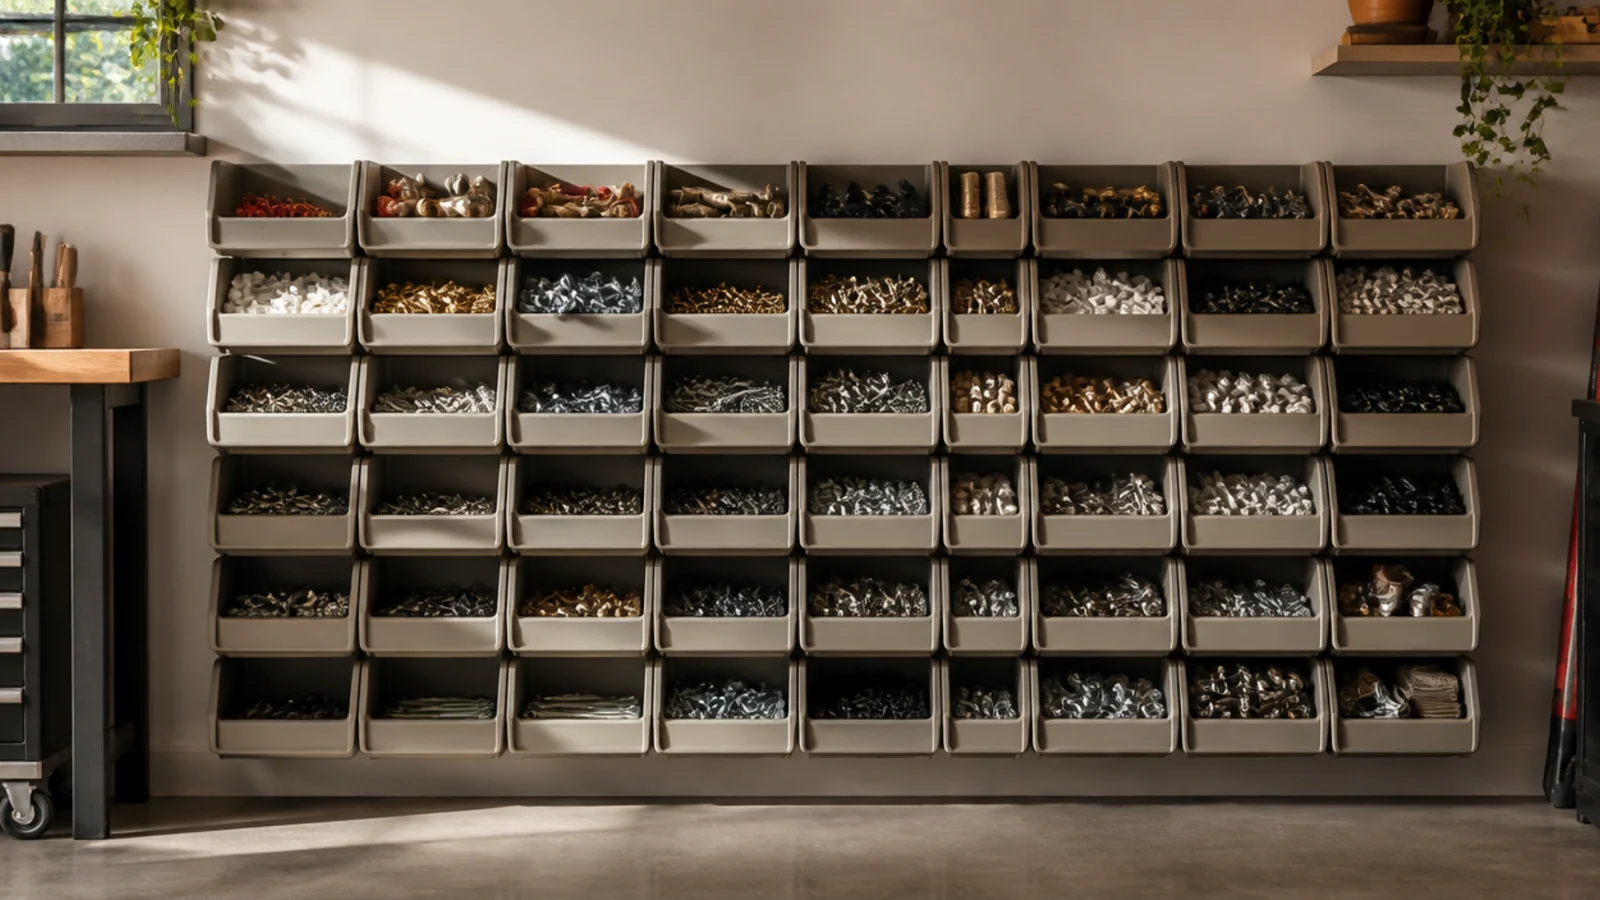
Open-front stacking bins (the hardware-store parts kind) give you grab-in access to sorted small parts without lids to open. They stack into a wall of compartments. Perfect for fasteners, fittings, and small repair parts.
Buy interlocking open-front bins (Akro-Mils style) and either stack them on a shelf or hang them on a matching louvered panel. Sort hardware by type and size into each bin. Add a small label to each bin’s front lip. Keep the most-used sizes at eye level and stack overflow above. Refill from bulk boxes stored elsewhere.
Buy a few sizes of bin so tiny parts get shallow bins and bulkier fittings get deep ones — one size wastes space.
Don’t overfill open-front bins past the lip; parts spill out the front every time you pull a bin from the stack.
13. Deep-Drawer Roller Tool Chest
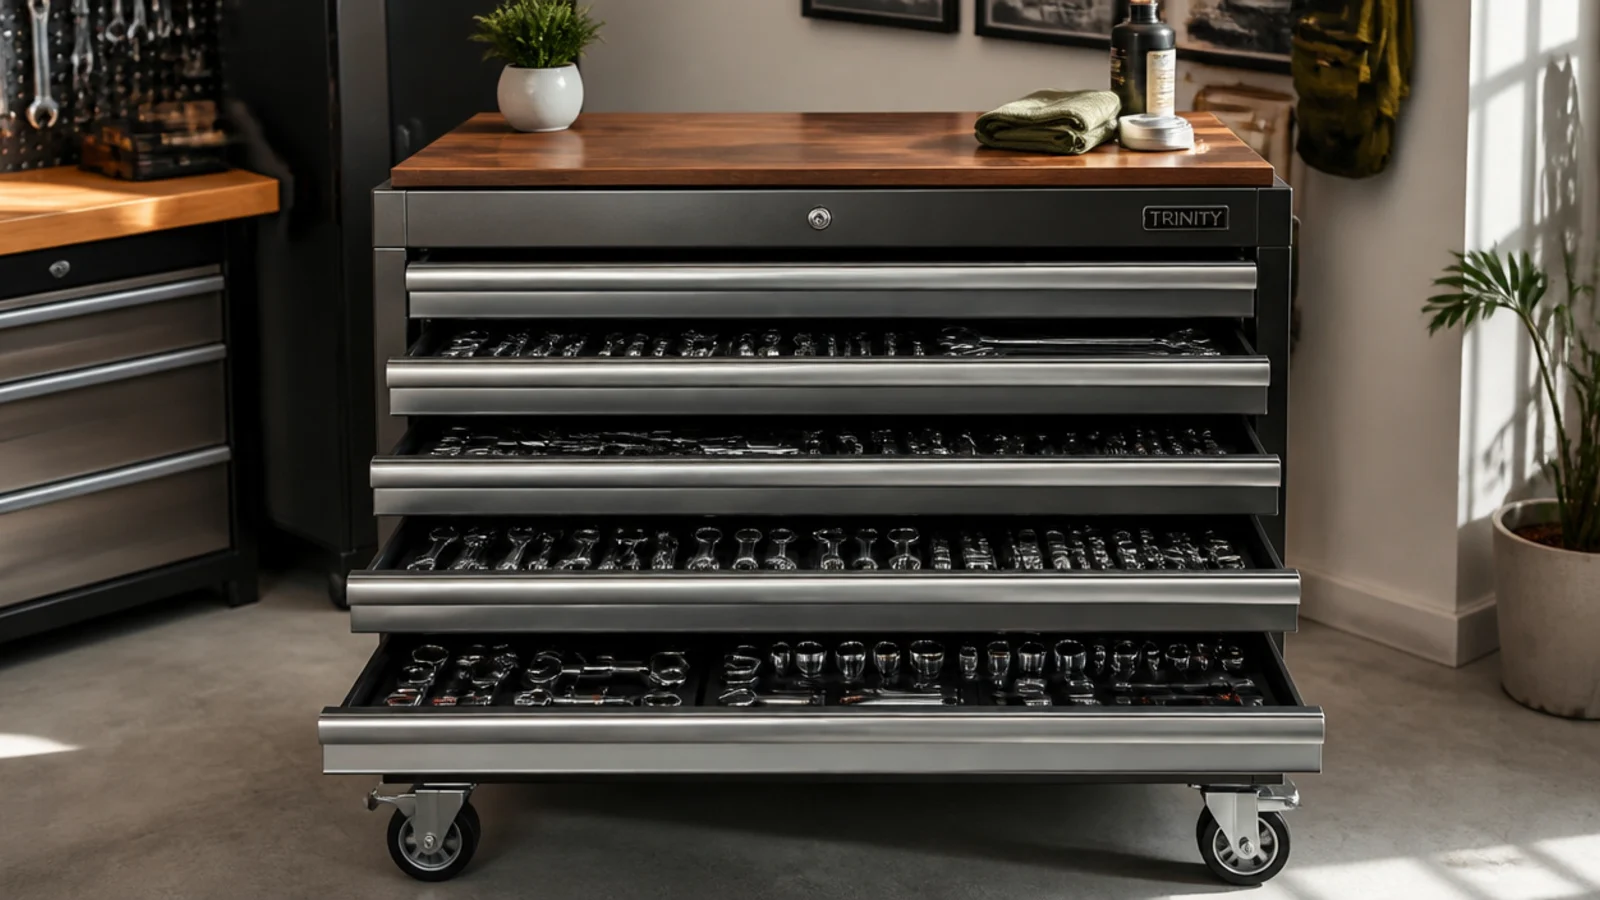
A roller tool chest keeps a full tool collection sorted in deep drawers on wheels you can roll to the work. Ball-bearing drawers hold heavy tool sets and stay organized with foam liners. Best for anyone with a serious tool collection.
Roll the chest to a permanent spot and lock the casters. Sort tools by type into drawers — sockets in one, wrenches in another, power-tool bits in another — and cut foam drawer liners so each tool has a slot. Keep the heaviest tools in the bottom drawers for stability. Label drawer fronts and lock the chest if it holds valuable tools.
Editor's noteFoam shadow-liners show at a glance which tool is missing, so nothing walks off and drawers stay sorted.
Skip thisDon’t pull more than one loaded drawer at a time; a chest with two heavy drawers open tips forward fast.
14. Loft Platform Storage
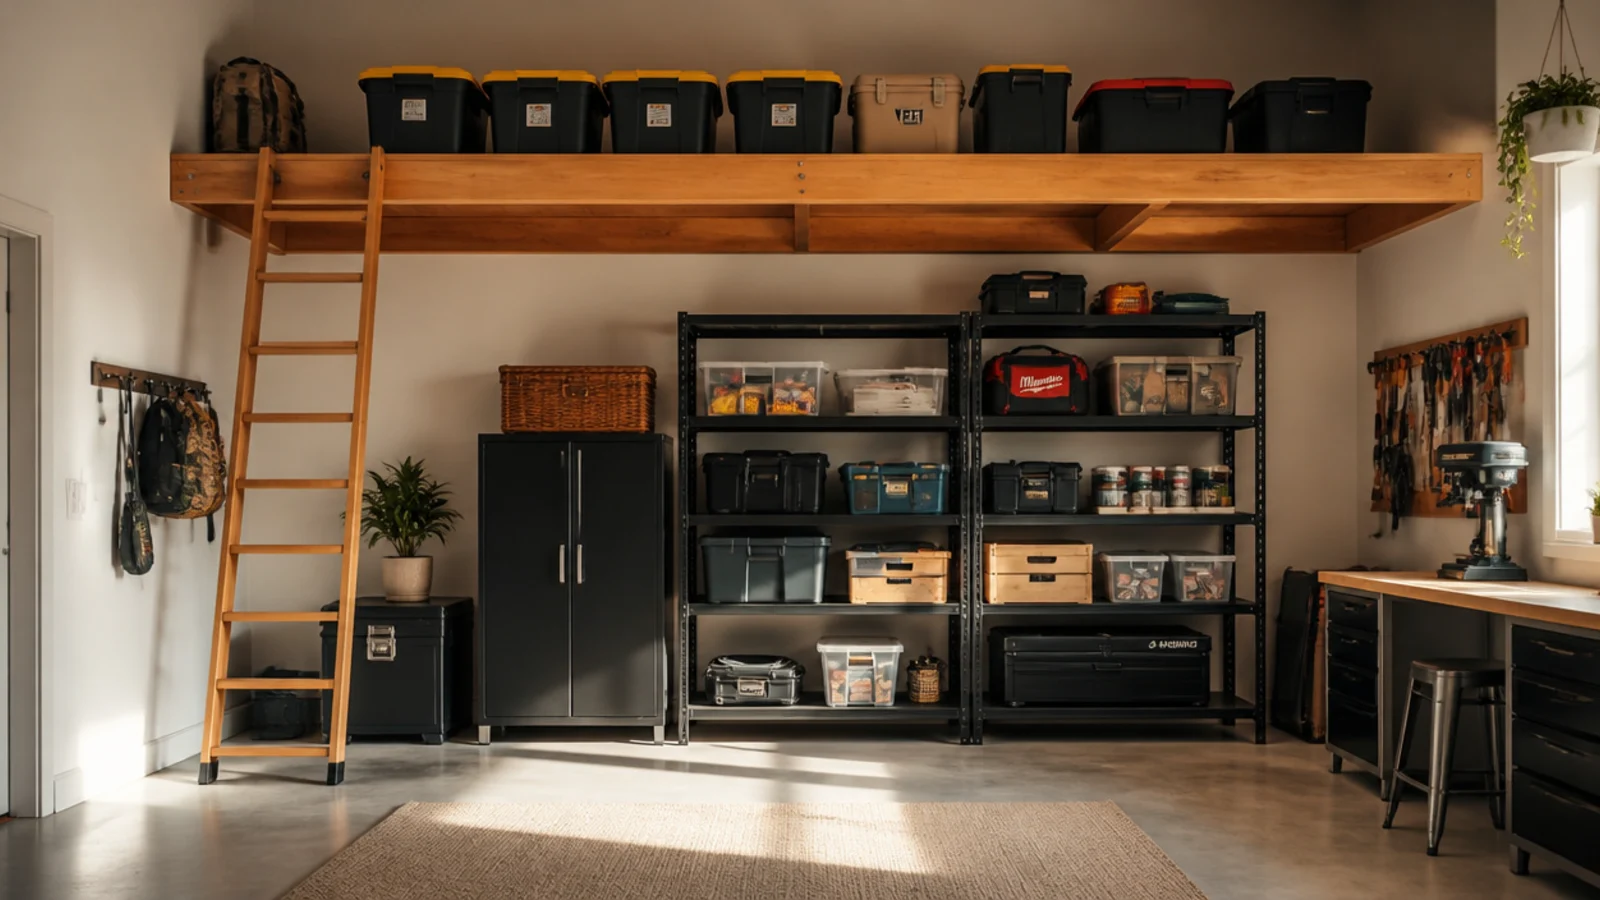
A loft platform built over part of a high garage creates a whole second level for seasonal bulk. It’s the biggest storage gain a tall garage can get. Ideal for large, light, infrequently used items like holiday bins and empty luggage.
Frame a platform from 2x6 joists tied into the wall studs and a ledger board, then deck it with plywood — or hire this out if you’re unsure of the load. Confirm the framing and fasteners are rated for the intended weight. Access it with a fixed or hooked ladder. Store only light, seasonal, evenly spread items and keep a light up there.
Editor's noteRun a power outlet and a light to the loft so it stays usable instead of becoming a black-hole storage pit.
Skip thisDon’t build a loft without confirming the wall and ceiling framing can carry it; overhead structural loads are not a guess.
15. Narrow-Gap Pull-Out Tower
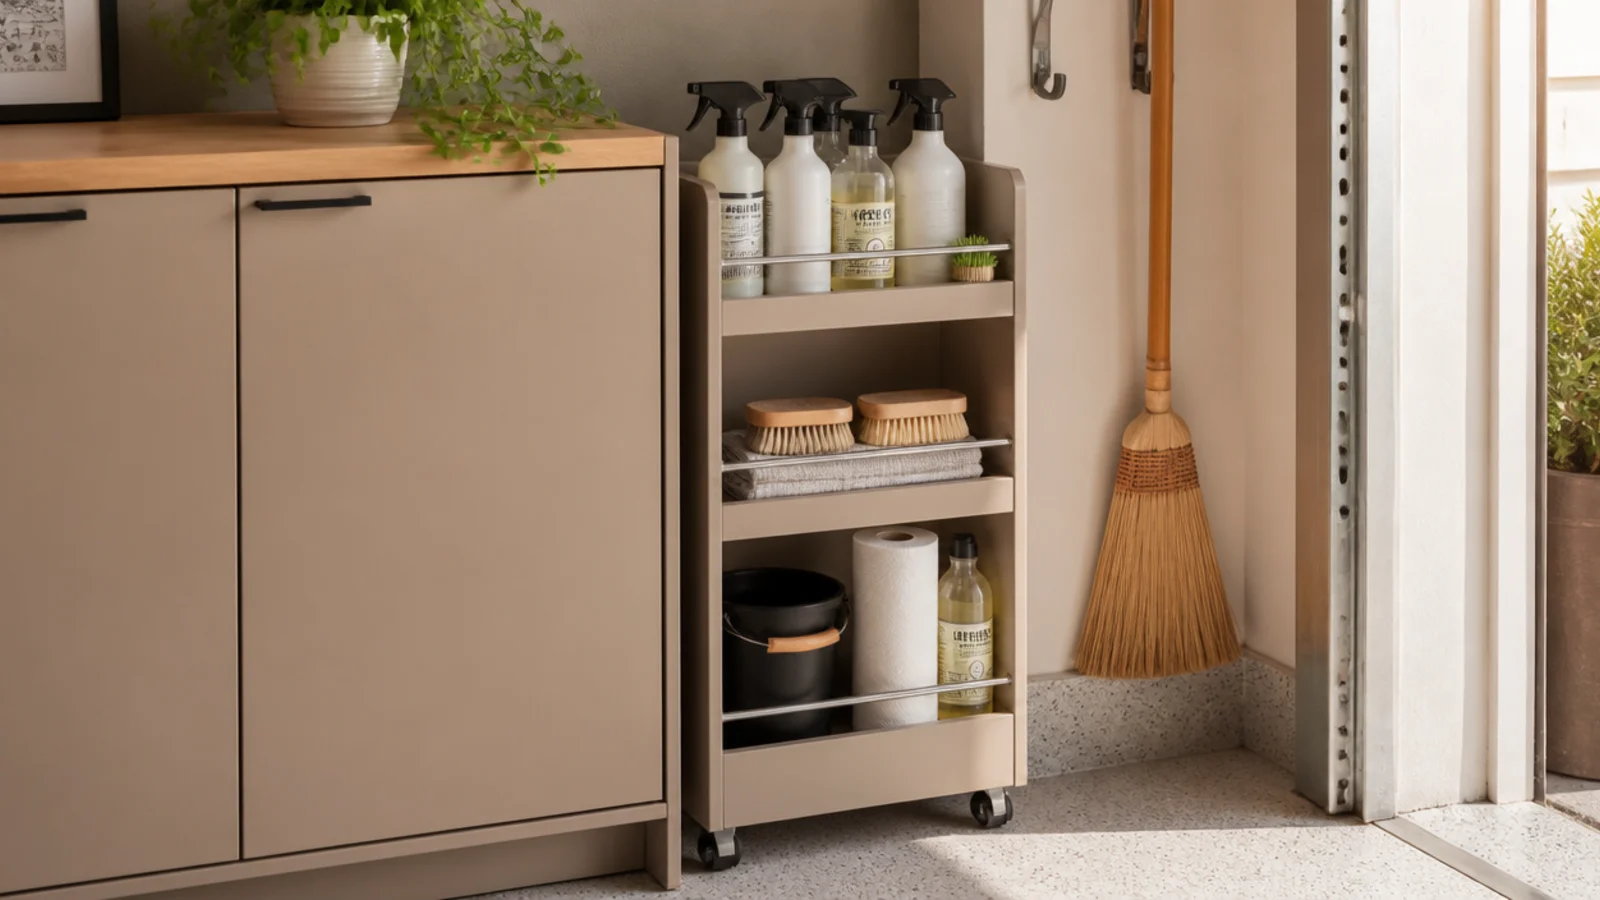
A slim pull-out tower on casters slips into the narrow gap beside a cabinet or the fridge and rolls out when you need it. It rescues the useless few inches that usually collect cobwebs. Great for tall thin items like sprays and brooms.
Measure the narrow gap’s width, height, and depth, then build or buy a slim rolling tower to fit with a little clearance. Fit it with shelves sized to spray bottles and tall thin supplies. Add a handle to the front edge and roll it out to access both sides. Tuck it back flush when done.
Editor's notePut a handle or a cut-out grip on the front so you can pull the tower out with one finger instead of scrabbling for an edge.
Skip thisDon’t build it taller than it is stable; a very tall, very narrow rolling tower tips when fully extended and loaded.
16. Weatherproof Deck Box
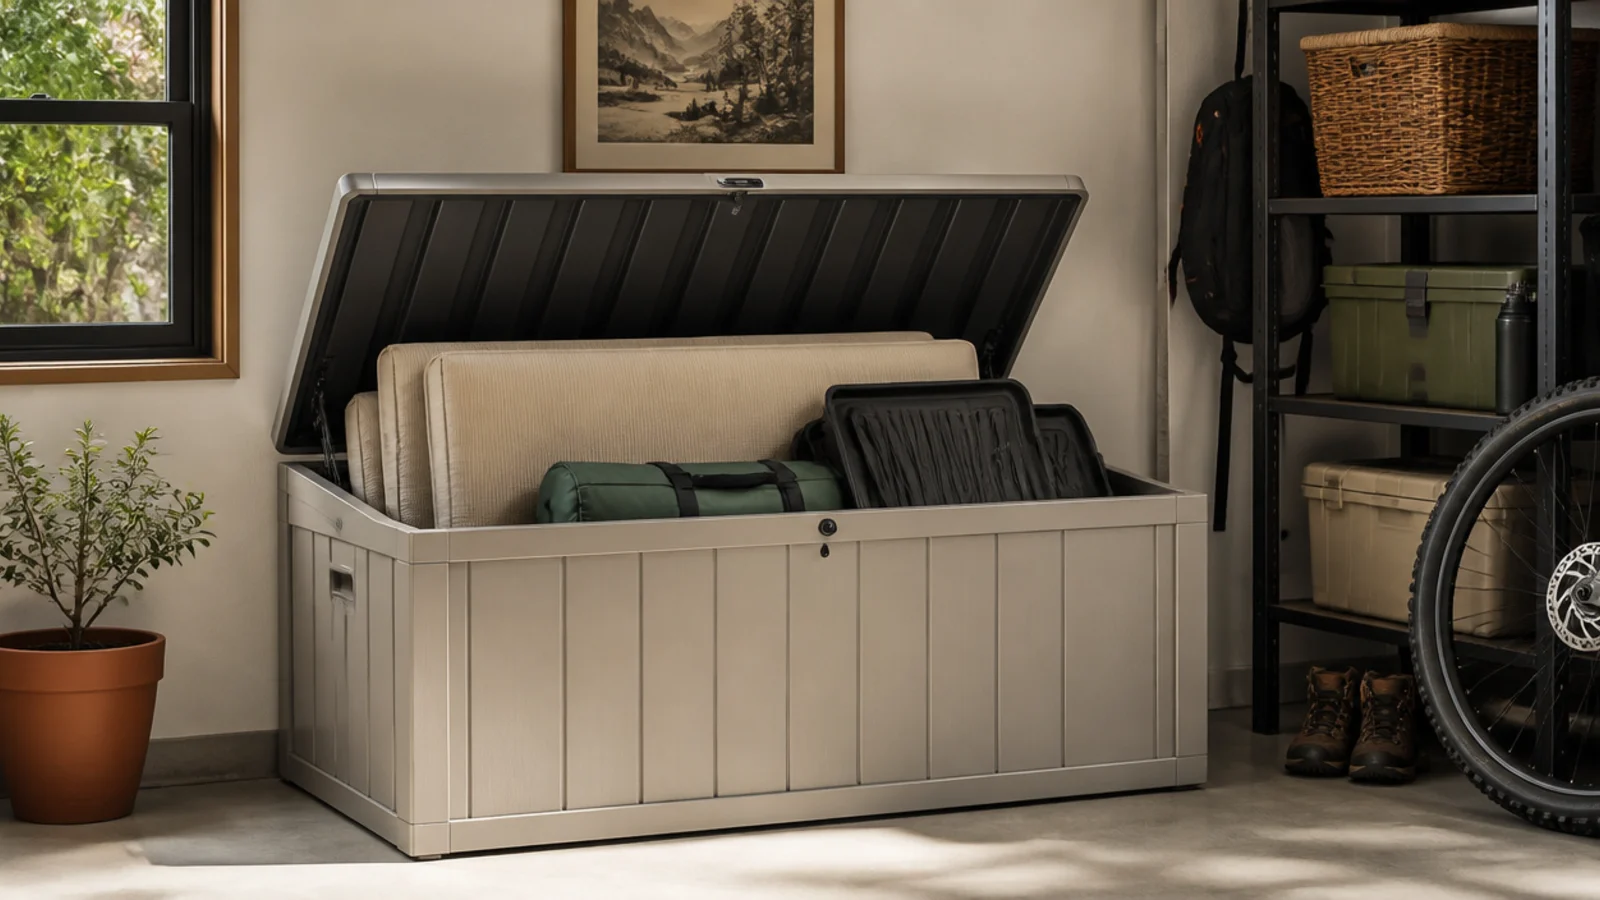
A resin deck box gives you a big, lidded, weatherproof bin for bulky soft goods that don’t stack. You toss items in and close the lid, and the flat top doubles as a surface. Best for cushions, tarps, car mats, and pool gear.
Place a resin deck box against a wall where its lid can open freely. Store bulky, non-fragile items you access seasonally — cushions, tarps, sleeping bags. Keep the lid closed to keep dust and moisture out. Use the flat lid as a staging surface or a spot to set bags. Slide it on furniture glides if you need to move it loaded.
Editor's noteLine the bottom with a cheap cargo net or a few bins so small items don’t sink to the bottom of the big box.
Skip thisDon’t store anything you need daily in a deep deck box; digging to the bottom every day gets old fast.
17. Sports Equipment Organizer Rack
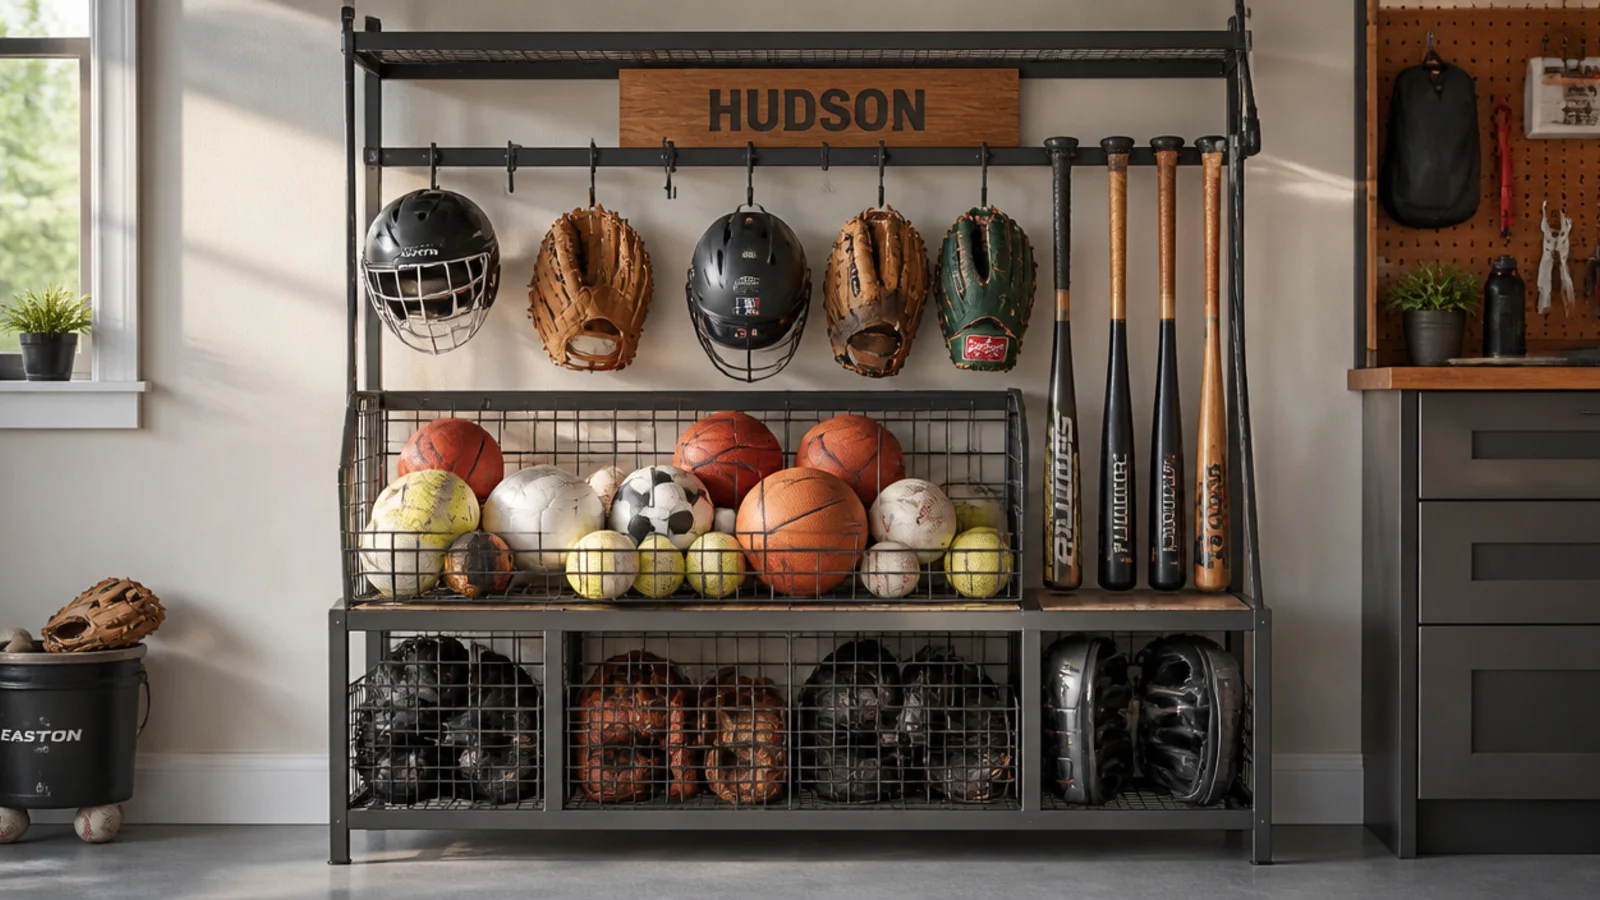
A dedicated sports rack corrals the chaos of balls, bats, helmets, and pads into one freestanding station. Everything has a slot, so kids can grab and return gear themselves. Perfect for active families with gear for several sports.
Assemble a freestanding sports organizer with a ball corral at the bottom, hooks along the frame for helmets and bats, and bins for gloves and pads. Group by sport or by kid. Put daily-use gear at kid height and off-season equipment up top. Roll or place it near the door so gear gets grabbed on the way out and dropped back on return.
Editor's noteGive each kid a labeled bin so returning gear is obvious and you stop finding cleats scattered across the floor.
Skip thisDon’t pile all balls in one open bin; use the corral or a bungee front or they roll out across the floor daily.
18. Fold-Down Wall Workbench
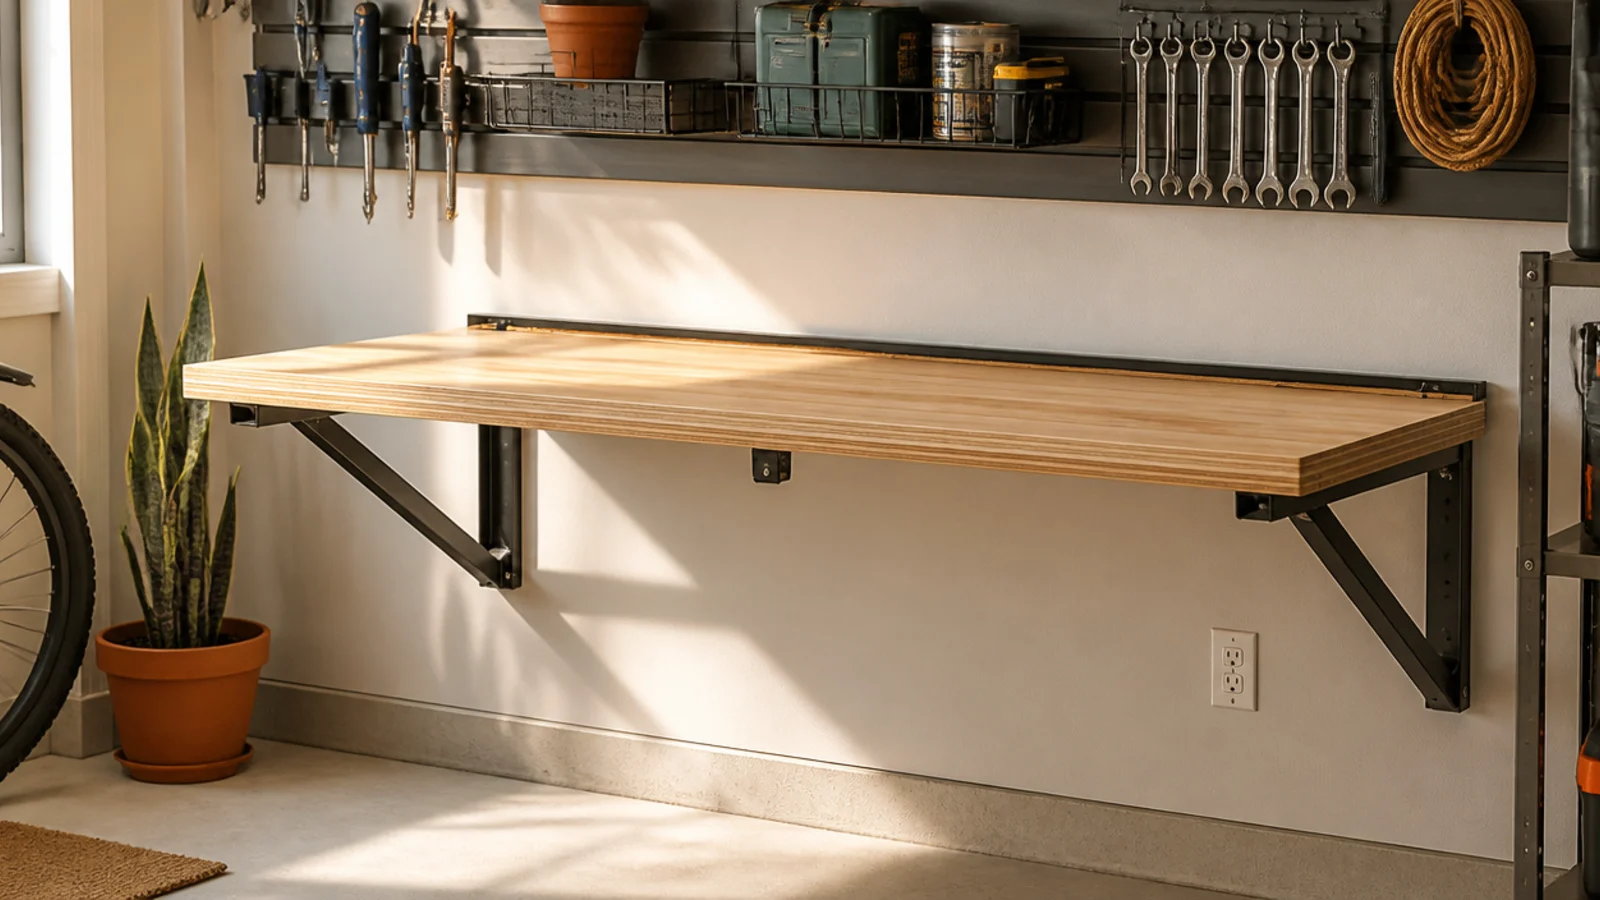
A fold-down workbench gives you a full work surface that collapses flat against the wall when you’re done, reclaiming the floor. It’s the storage-smart bench for tight garages. Ideal where you can’t spare permanent bench footprint.
Mount a hinged bench top and folding brackets to a ledger board screwed into the wall studs at counter height. The top swings down and the brackets lock to support it, then fold flat when raised. Keep a small pegboard or tool rail above it for the tools you use at the bench. Confirm the brackets are rated for your working load.
Editor's noteStore a shallow bin of your go-to bench tools on the wall above so setup is instant when you fold the top down.
Skip thisDon’t mount the ledger into drywall; a working bench takes downward force and must anchor into studs.
19. Modular Cube Shelving
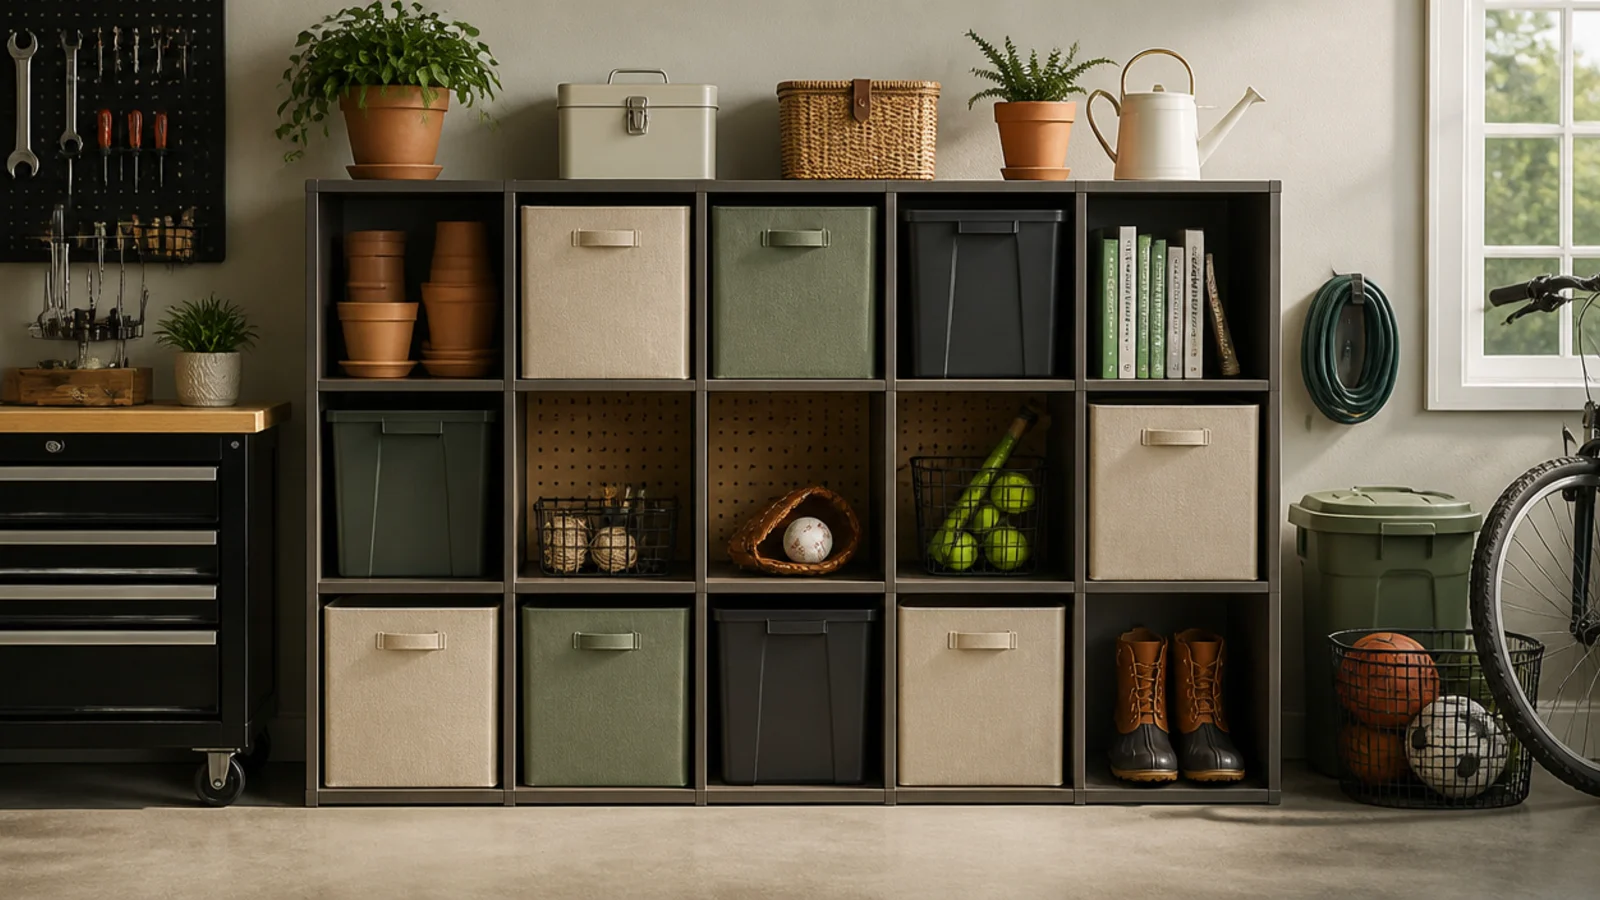
Modular cube shelving builds a clean grid of open cubbies and bin inserts that scales to any wall. It’s tidy, flexible, and easy to relabel as needs change. Good for medium supplies, kids' outdoor toys, and lighter gear.
Assemble garage-rated cube units (sturdier than the bedroom kind) and line them along a wall, anchoring tall stacks to a stud. Leave some cubes open for baskets and fit others with drawer or bin inserts. Sort by category, one category per cube, and label the bin fronts. Keep heavy items in the bottom row of cubes.
Editor's noteMix open cubes and bin inserts so you get both grab-and-go baskets and hidden storage in the same grid.
Skip thisDon’t buy lightweight decor cubes for a garage; use garage-rated units or the shelves bow under real loads.
20. Locking Chemical Cabinet
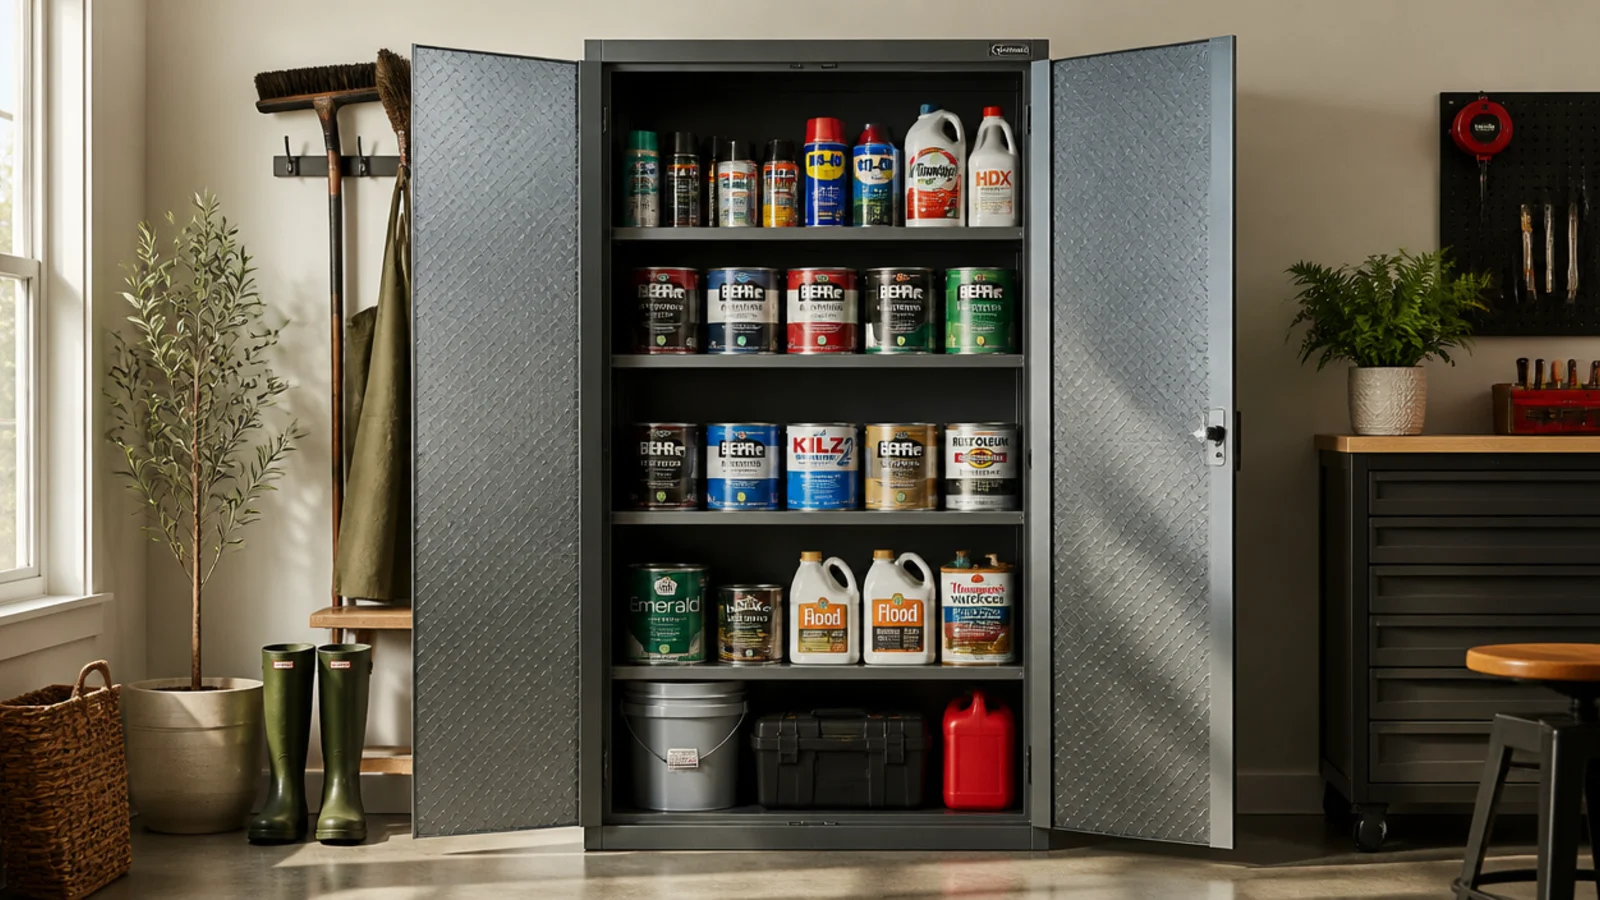
A locking cabinet keeps paints, solvents, pesticides, and pool chemicals contained, ventilated, and away from kids and pets. It’s a safety system as much as a storage one. Essential for any garage with hazardous supplies.
Place a metal cabinet away from heat sources and ignition, and store chemicals upright with labels facing out, grouped by type. Keep incompatible chemicals separated per their labels and put a drip tray under liquids. Lock the door if children are around. Keep an inventory taped inside the door and dispose of old chemicals at a hazardous-waste site.
Editor's noteSet a shallow spill tray on each shelf so a leaking can is contained instead of running across the whole shelf.
Skip thisDon’t store chemicals in a sealed, unventilated cabinet near a water heater or furnace; fumes and ignition sources don’t mix.
21. Under-Shelf Magnetic Bins
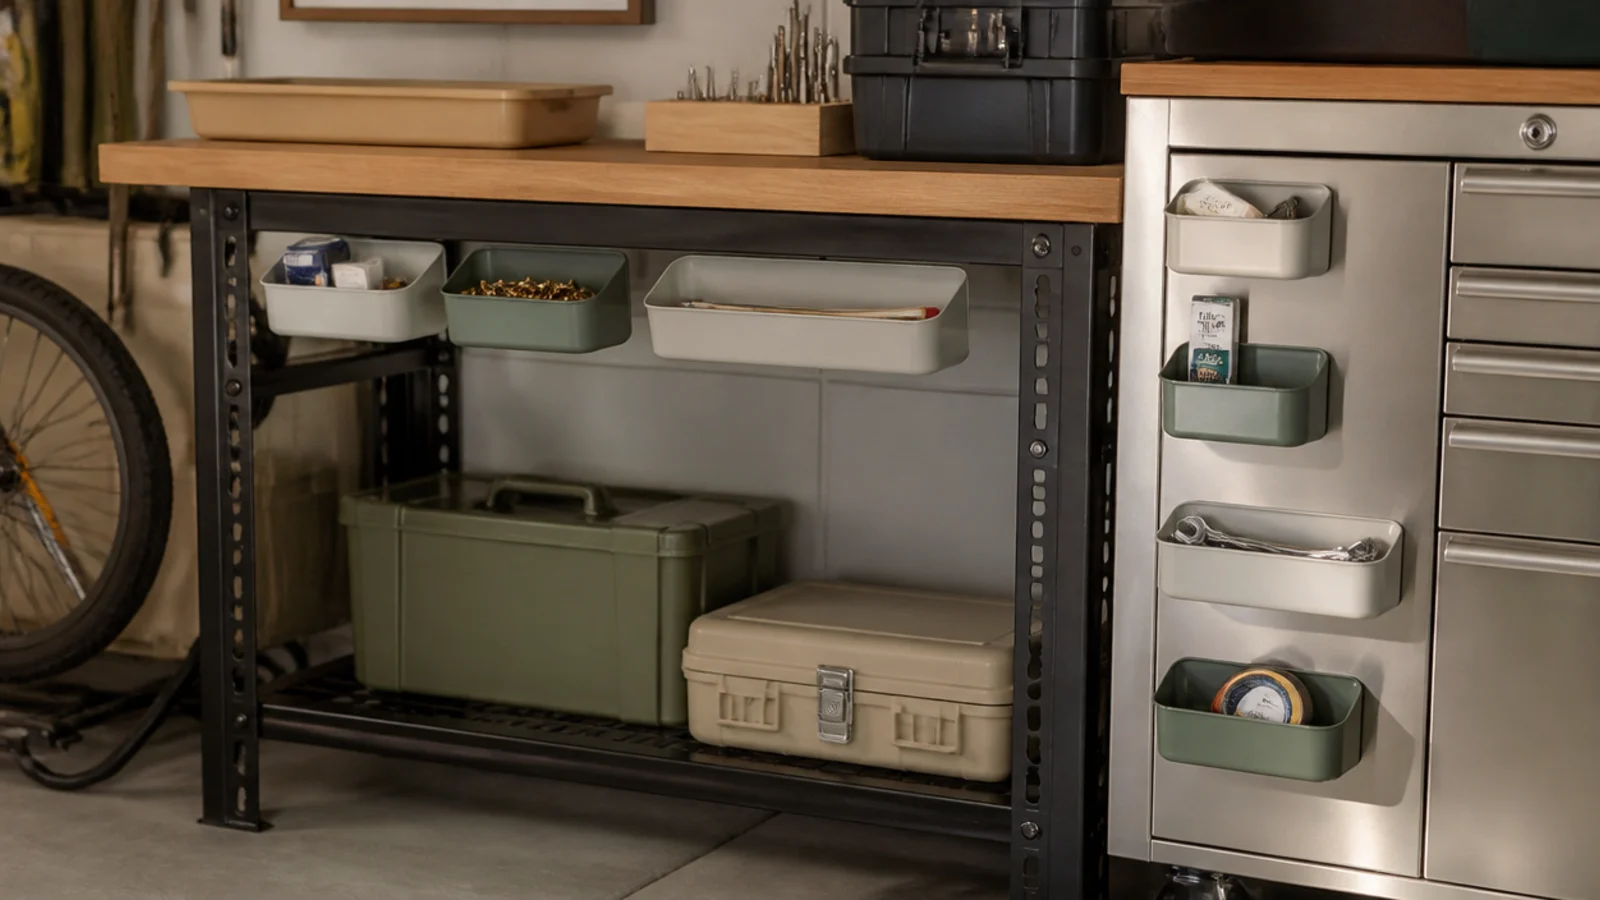
Magnetic bins and trays stick to any steel shelf or cabinet side, reclaiming surfaces you can’t screw into. They’re movable and need no tools. Great for the small parts you want right at the workbench.
Stick magnetic bins to the underside of a steel shelf or the side of a metal cabinet near where you work. Fill them with the small parts and bits you reach for constantly. Keep contents light so the magnet holds, and test each bin’s grip when loaded. Move them along the metal surface as your workflow changes.
Keep a magnetic parts tray by the bench for the screws you remove mid-project so nothing rolls off and vanishes.
Don’t overload magnetic bins with heavy hardware; too much weight and they slide down or drop off the metal.
22. Garden Hose Reel Cabinet
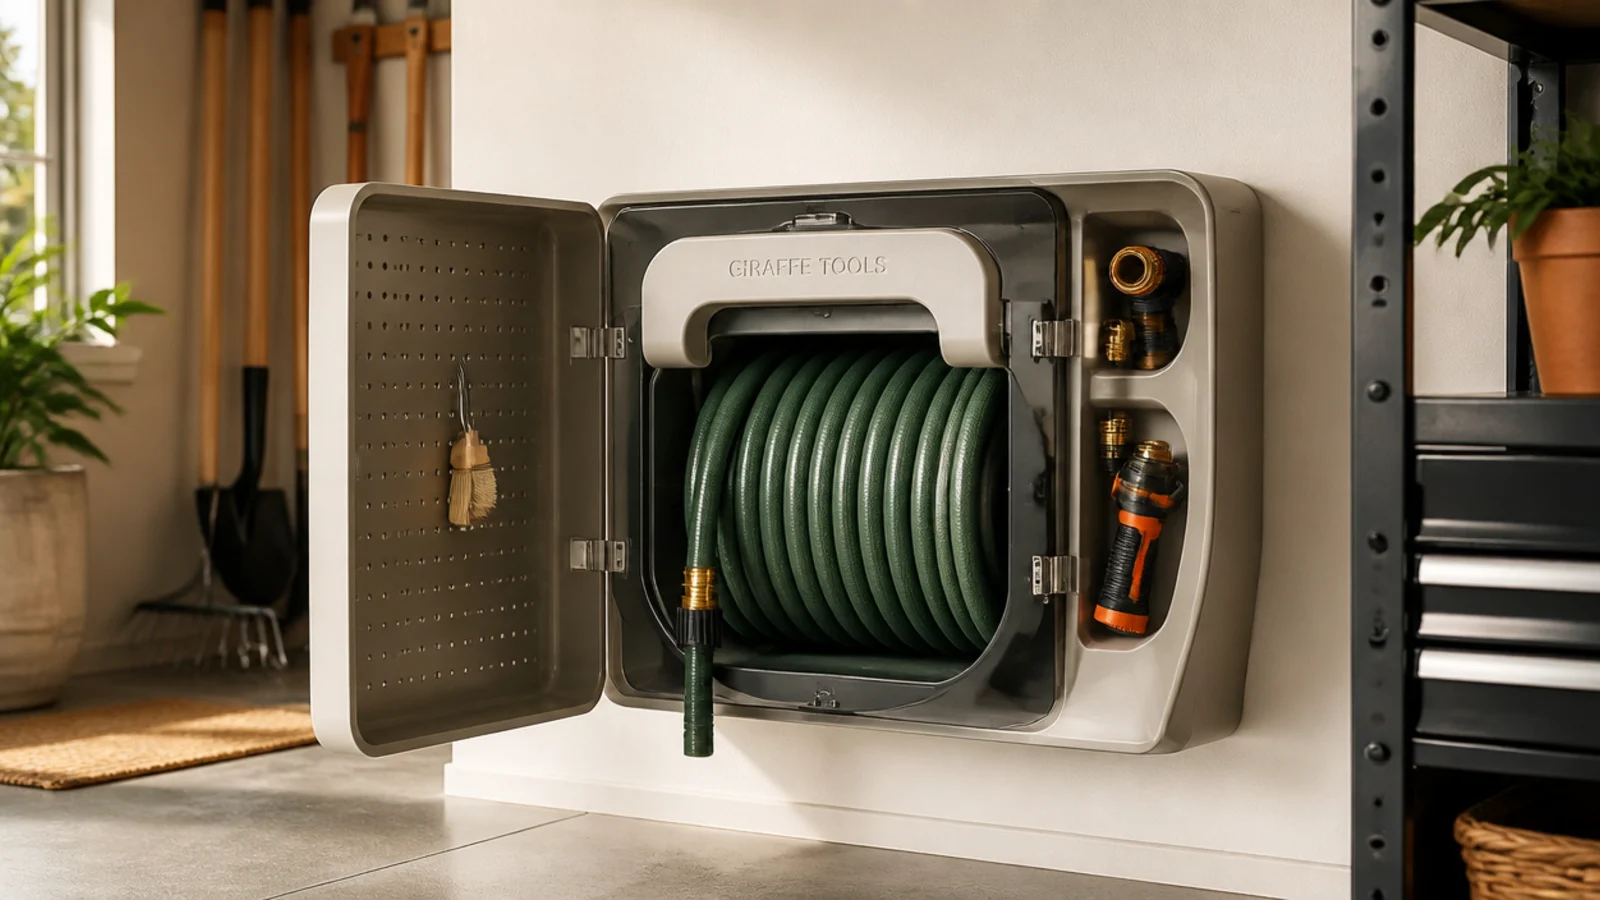
A wall hose reel cabinet winds the garden hose neatly and hides the tangle behind a housing, with a tray for nozzles and attachments. It ends the coiled-hose heap by the door. Ideal for anyone who drags a hose out every week.
Mount the reel cabinet into wall studs near the hose bib at a comfortable cranking height. Feed the hose onto the reel and connect the lead hose to the tap. Store nozzles, sprinklers, and quick-connects in the built-in tray. Crank to wind the hose fully after each use so it doesn’t kink or drag on the floor.
Mount it just inside the door nearest the tap so winding up the hose is a two-second job, not a chore you skip.
Don’t mount a loaded hose reel on drywall anchors; a full hose is heavy and the mount must hit studs.
23. Vertical Long-Item Tower
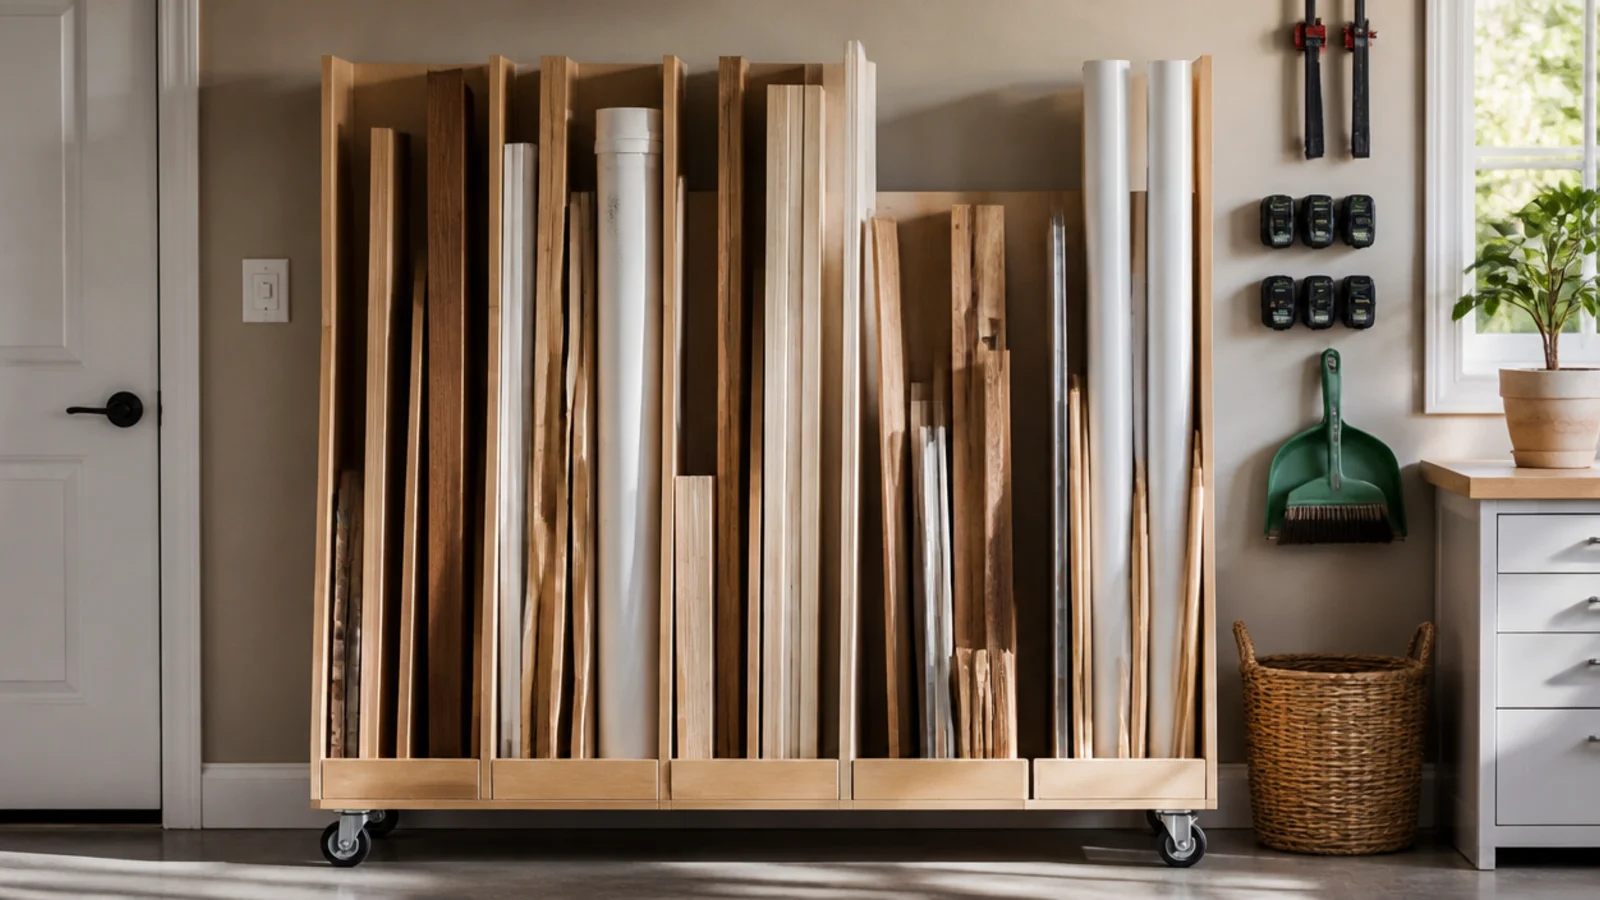
A vertical tower of tall dividers stores lumber offcuts, trim, and pipe upright in a small footprint instead of leaning in a dangerous pile. Standing long items makes them visible and grabbable. Best for anyone who keeps leftover building materials.
Build a floor-to-near-ceiling frame with vertical dividers spaced into slots, anchored to the wall studs so it can’t tip. Stand lumber, trim, and pipe in the slots grouped by type and length. Keep the heaviest, longest pieces in the back slots. Leave the front slots for shorter offcuts you grab often.
Editor's noteAdd a shallow bottom lip or tray so short offcuts don’t slide out the front of their slot onto your foot.
Skip thisDon’t free-lean long lumber against a wall as your storage; it slides, falls, and is a genuine hazard — stand it in slots.
24. Color-Coded Seasonal Rotation
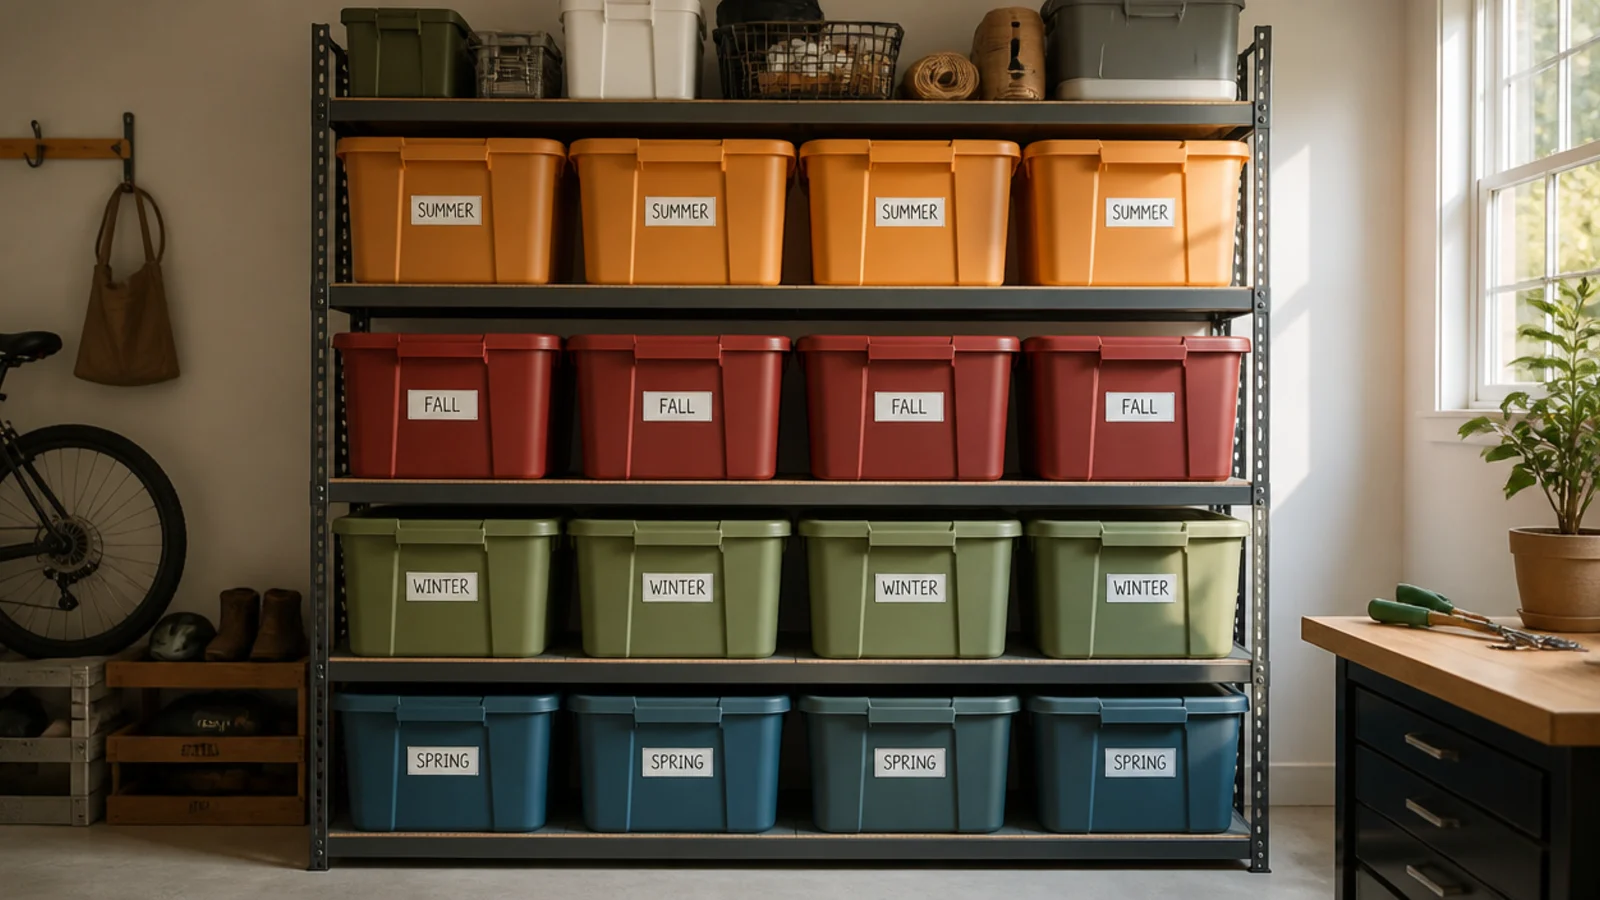
A color-coded lid system sorts seasonal storage at a glance so you grab the right bins without reading every label. Each season gets a color; you pull that color when it’s time. Perfect for households that rotate decor, clothes, and gear by season.
Assign each season a lid color — orange for fall, red for winter holidays, green for spring, blue for summer — and load matching totes. Add a printed label listing contents on the short end. Store the current and next season’s bins low and reachable, the rest higher or overhead. Rotate the colors forward each season so today’s bins are always easiest to reach.
Keep a master list taped inside a cabinet door of which color is which season, so anyone in the house can find a bin.
Don’t rely on color alone with no labels; you’ll still open three red bins looking for the one with the lights.
25. Pull-Down Overhead Tote Lift
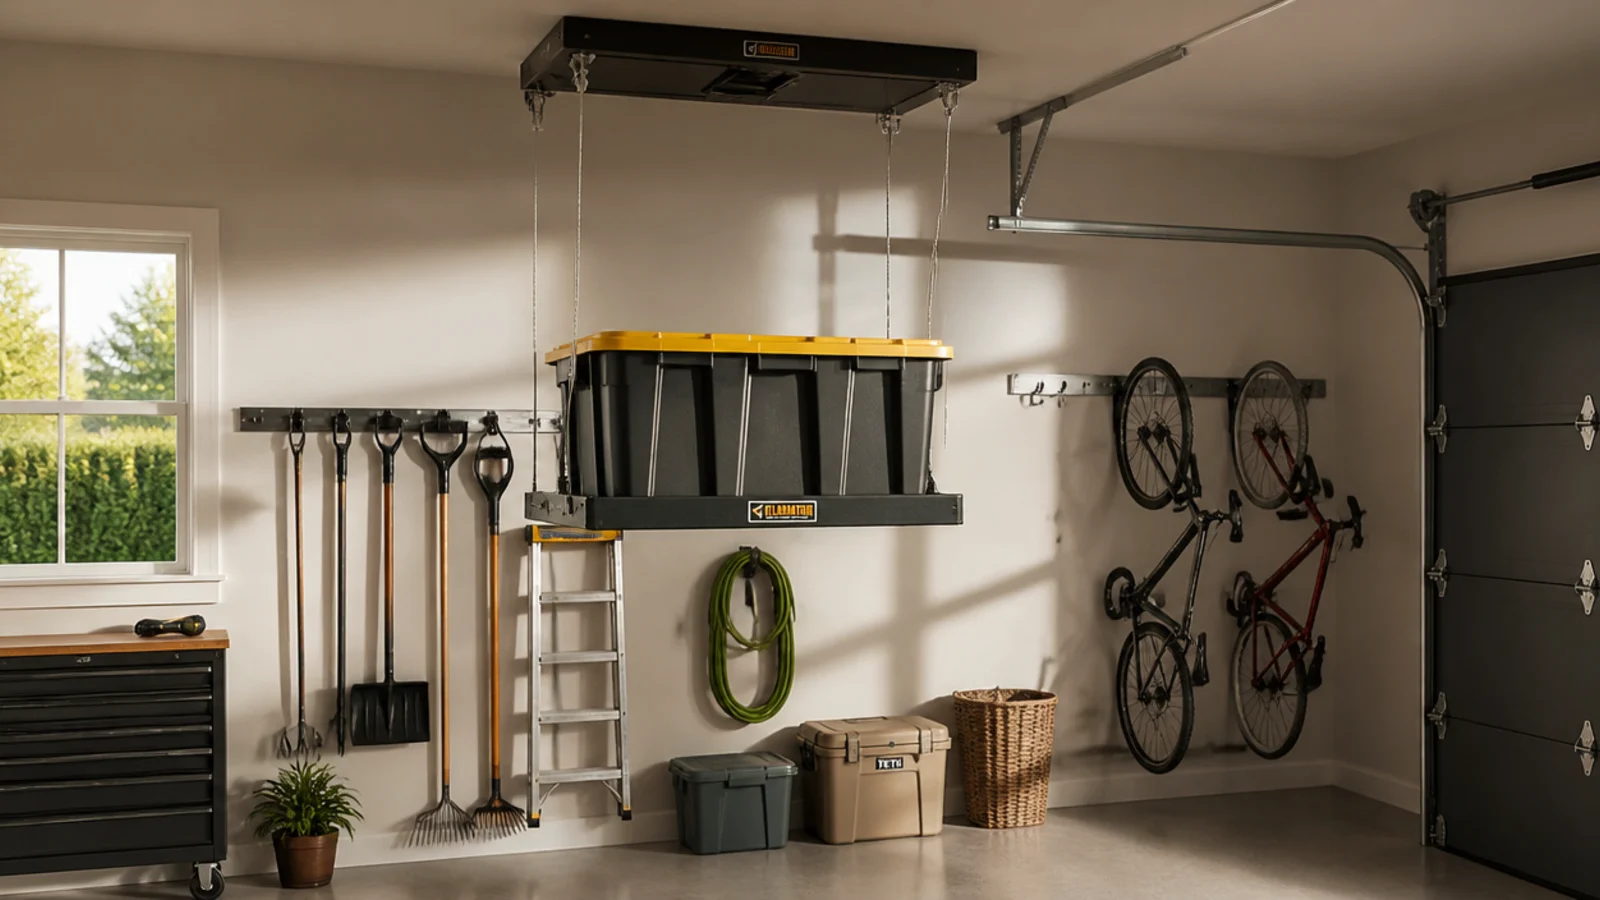
A pull-down overhead lift lowers a storage platform to chest height so you can load heavy overhead bins without a ladder, then cranks them back up to the ceiling. It makes overhead space usable for items you’d never want to lift overhead by hand. Ideal for accessible, safer high storage.
Bolt the lift’s frame into the ceiling joists per the template and confirm it clears the car and door path when raised. Lower the platform with the crank or cordless-drill drive, load your totes at chest height, then raise it back up and lock it. Stay within the rated weight and distribute totes evenly across the platform. Keep the drive mechanism clear.
Load the platform at a comfortable standing height and let the mechanism do the lifting — it’s the safe way to use overhead space.
Don’t exceed the lift’s weight rating or load it lopsided; an unbalanced platform strains the cables and jams the mechanism.