
1. Step 1 - Empty and Sort Everything Out
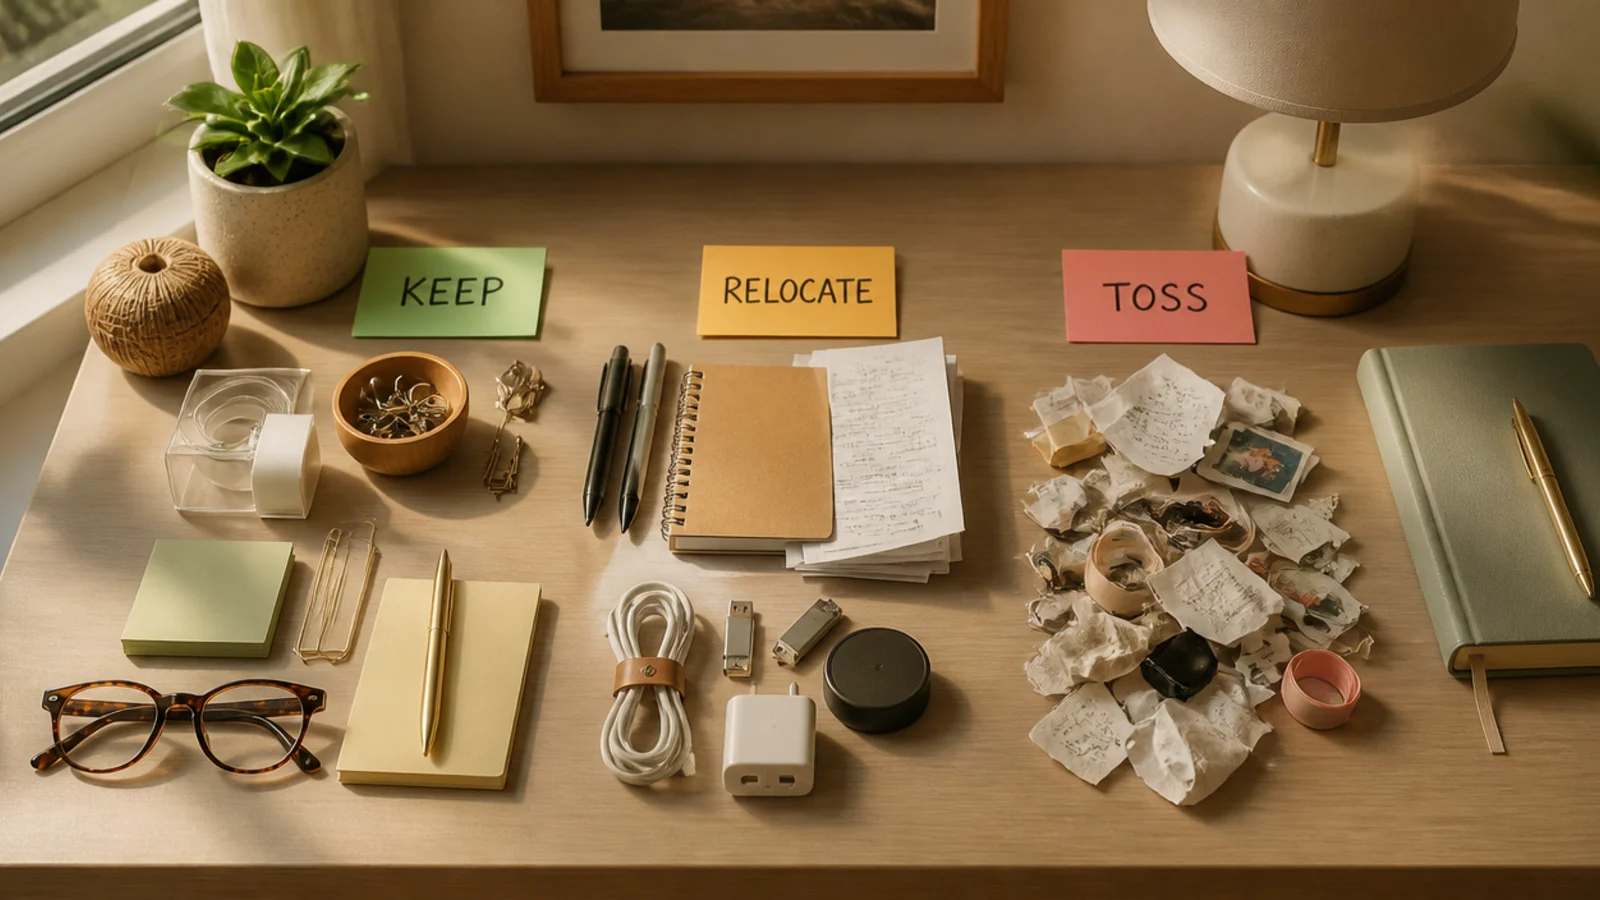
Start by taking everything out — completely. You can’t organize a drawer while its contents are still in it, and emptying it forces you to actually decide on each item. This first step does most of the real work, because it’s where the clutter leaves. Don’t skip it or shortcut it.
Tip the entire drawer’s contents onto the desktop. Sort every item into three piles: keep (things you use at this desk), relocate (things that belong elsewhere), and toss (dead pens, dried glue sticks, junk). Test every pen and marker as you go and bin the dead ones. Be honest about backups — keep a working quantity, not five of everything. Relocate the 'elsewhere' pile immediately so it doesn’t creep back.
Test every pen and marker as you sort; a drawer of dead pens is the single most common thing hiding in a desk drawer.
Don’t just shove things aside to 'organize around them'; if you don’t empty fully, you’re only rearranging the clutter.
2. Step 2 - Clean and Measure the Drawer
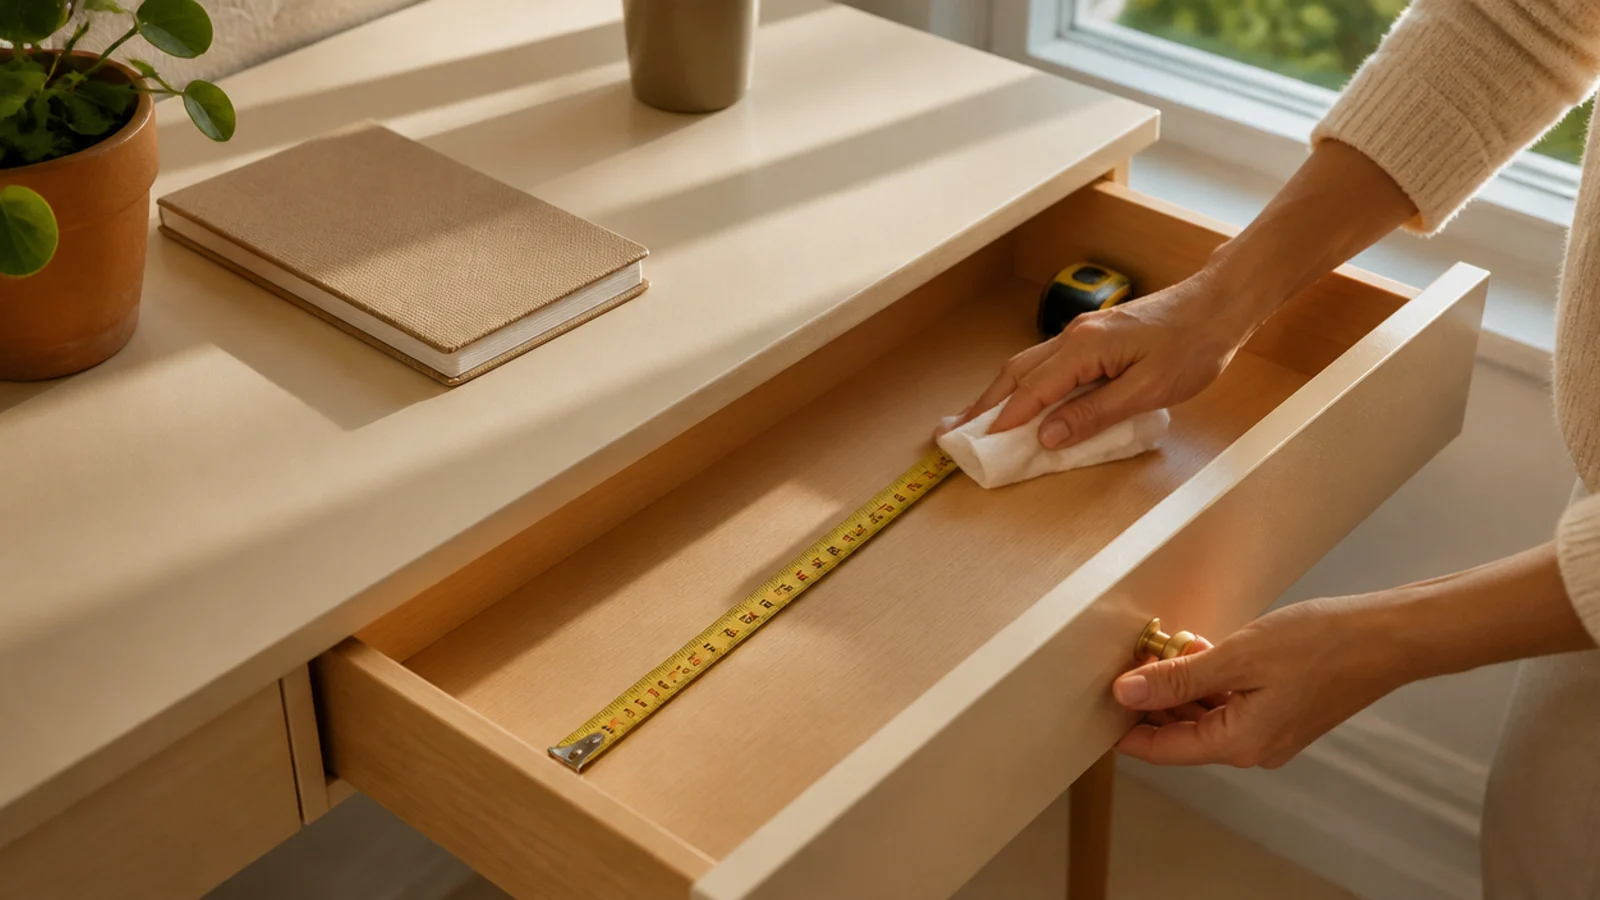
With the drawer empty, wipe it out and measure the interior — this is the quick step that makes the dividing step actually work. Cleaning gives you a fresh start, and the measurements are what let you buy or cut dividers that fit. Two minutes here saves a wasted trip for the wrong-size organizers.
Wipe the empty drawer with a damp cloth and let it dry. Measure the interior length, width, and depth with a tape measure and write the numbers down. Note the depth especially, since it determines whether dividers or bins will tip or fit. If you’re using a liner, cut it to the interior size now and lay it in. These numbers are what you’ll shop or cut dividers against.
Write the interior measurements on your phone so you have them if you shop for dividers or bins away from the desk.
Don’t guess the dimensions; a drawer that’s an inch off means dividers that don’t fit or leave awkward wasted gaps.
3. Step 3 - Add Dividers to Create Sections
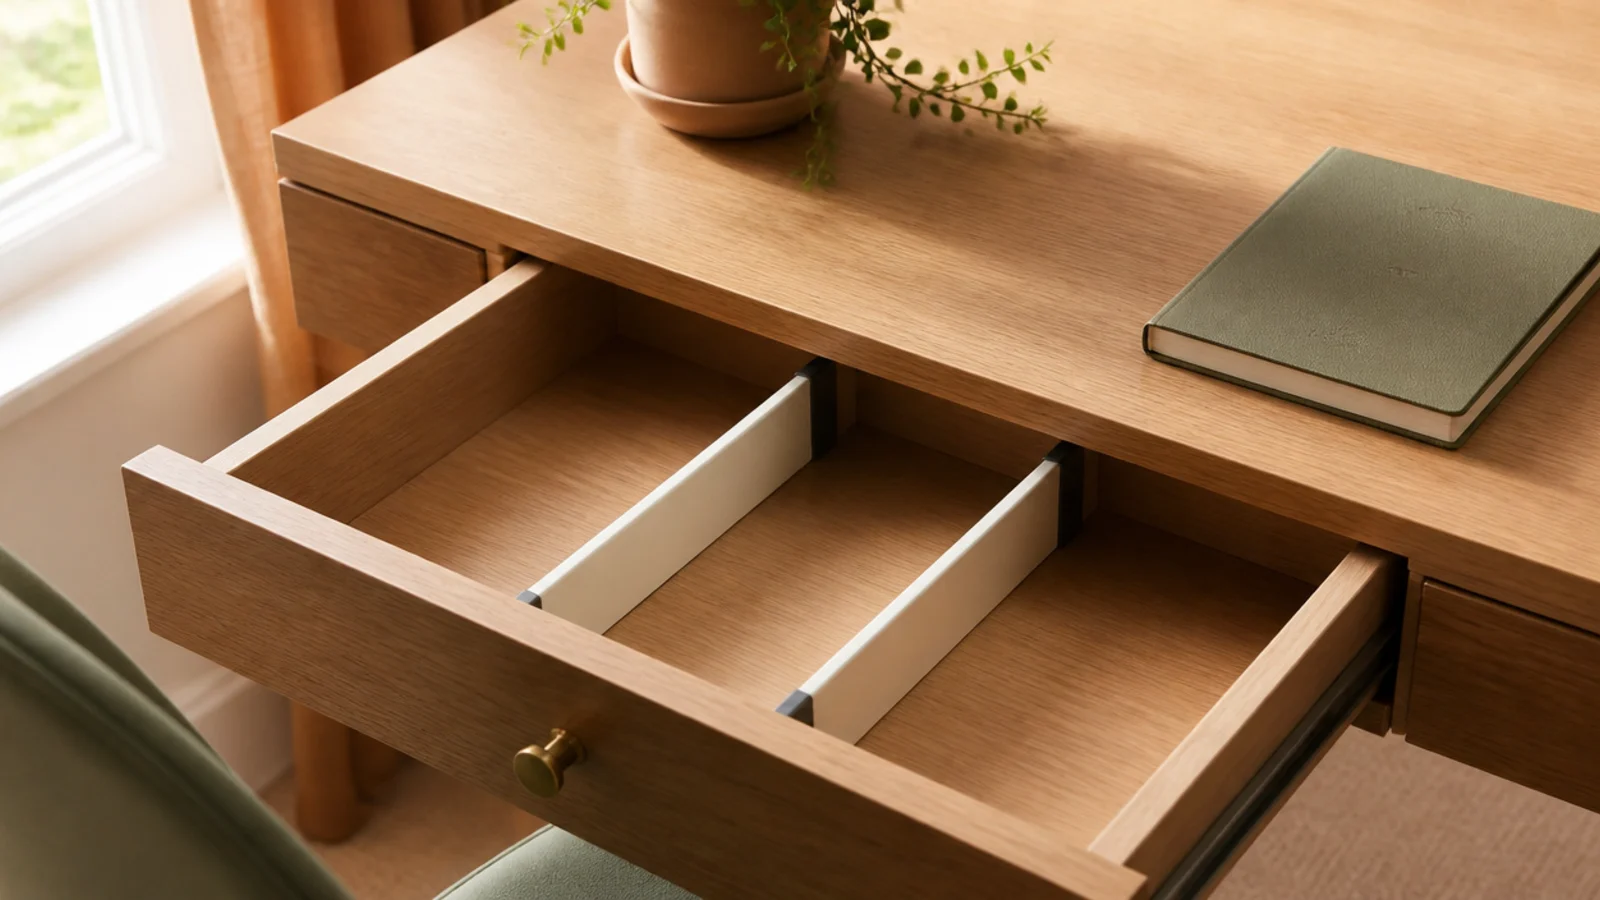
Now divide the empty, measured drawer into sections. Dividers are what turn one open space where everything mingles into fixed spots that keep items separated. This is the structural step — get it right and things stay where you put them. Do it before items go back in, not around them.
Using your measurements, fit adjustable spring-loaded dividers, drop in sized bins, or slot in DIY cardboard dividers. Create three or four sections based on how many categories you have. For a deep drawer use tall dividers or bins so items don’t tip; for a shallow one, low trays. Set the dividers on top of your non-slip liner. Test that they hold firmly and don’t shift when you slide the drawer.
Choose spring-loaded dividers for a deep drawer — they wedge to any width and adjust later without tools or glue.
Don’t cram in more sections than the drawer needs; too many tiny compartments are as frustrating as none at all.
4. Step 4 - Zone Items by How Often You Use Them
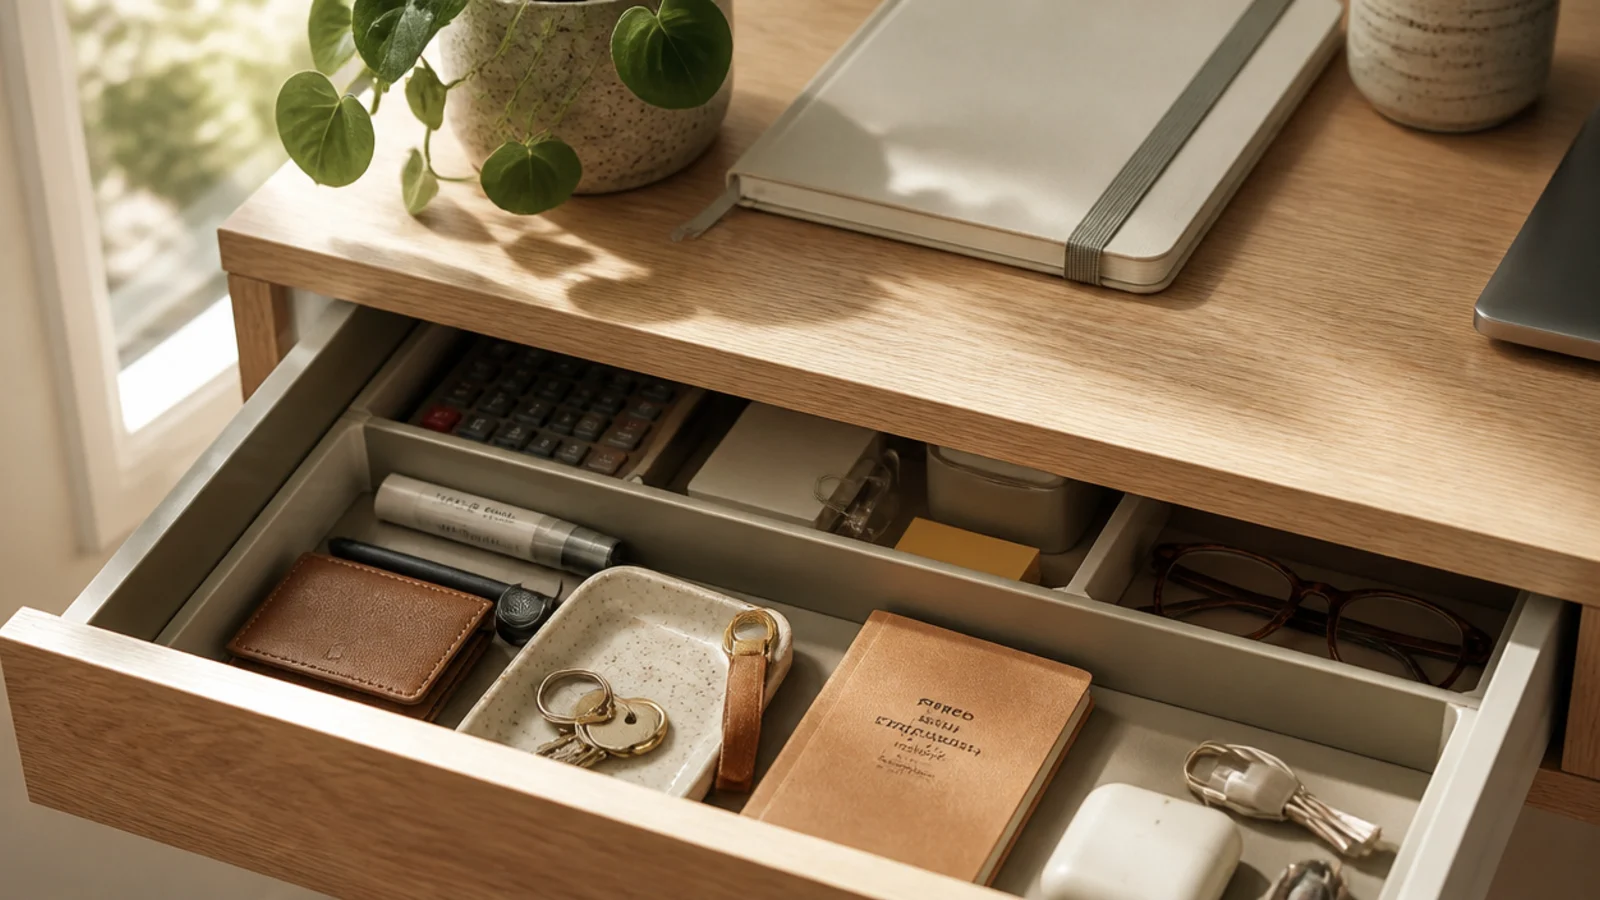
Put the things you reach for daily — your main pens, sticky notes, a charger — in the front sections where your hand naturally lands. Place weekly items in the middle and rarely-used backups toward the back. Group like with like in each section: one for writing, one for fasteners, one for tech bits. Keep each section only about two-thirds full so you can see everything at a glance.
Place your keep pile back into the sections by frequency — daily items at the front, occasional ones behind. Where you put things matters as much as dividing them, because a well-zoned drawer means your hand lands on what you need without digging. This is the step that makes the drawer genuinely fast to use.
Skip thisDon’t overfill the sections; a drawer packed to the top means you can’t see what’s there and end up digging anyway.
Editor's notePut your single most-reached item in the front-right (or front-left if left-handed) section, right where your hand opens the drawer.
5. Step 5 - Label and Keep It Up
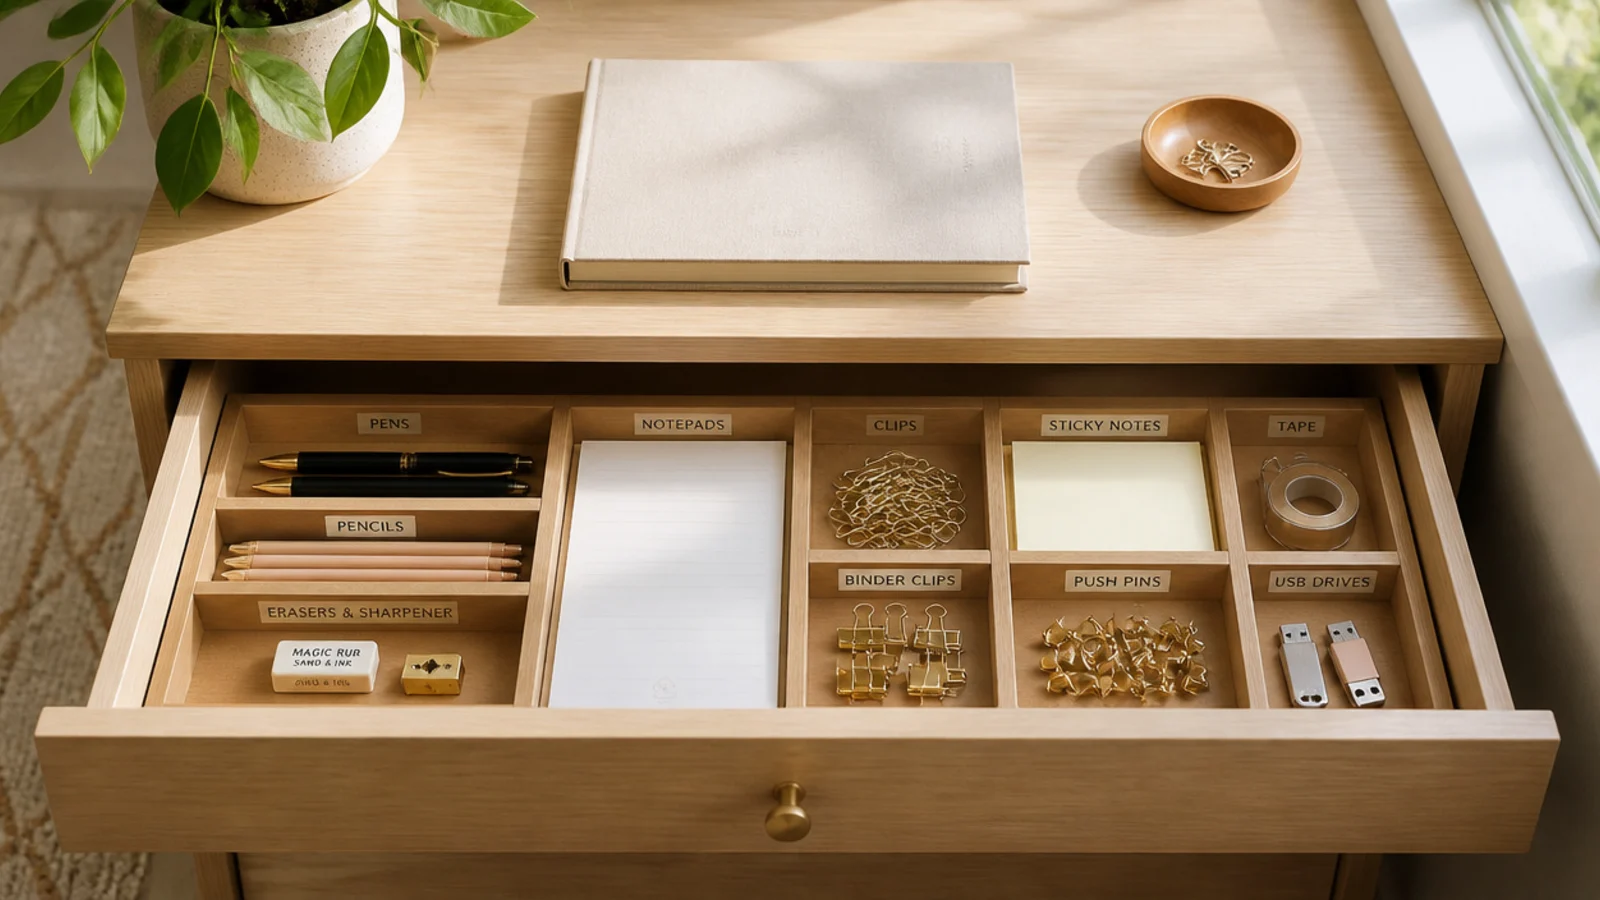
Finish by labeling the sections and setting a simple upkeep habit. Labels make putting things back automatic — for you and anyone sharing the desk — which is what makes the organization last past week one. This final step is what turns a one-time sort into a drawer that stays tidy for good.
Add a small label to each section naming its category — writing, fasteners, tech, sticky notes. Keep the names broad so the zones flex as supplies change. Then build in maintenance: during your regular desk reset, drop strays back into their labeled zone before they pile up. Do a quick check weekly and a deeper purge occasionally. A labeled, zoned drawer needs only seconds of upkeep to stay sorted.
Re-sort strays back into their zones during your daily desk reset; a few seconds then prevents the next full re-organize.
Don’t skip labeling because you’ll 'remember'; unlabeled zones drift within weeks, especially in a shared or busy desk.