
1. Crisp Paper Crane (No-Drama Version)
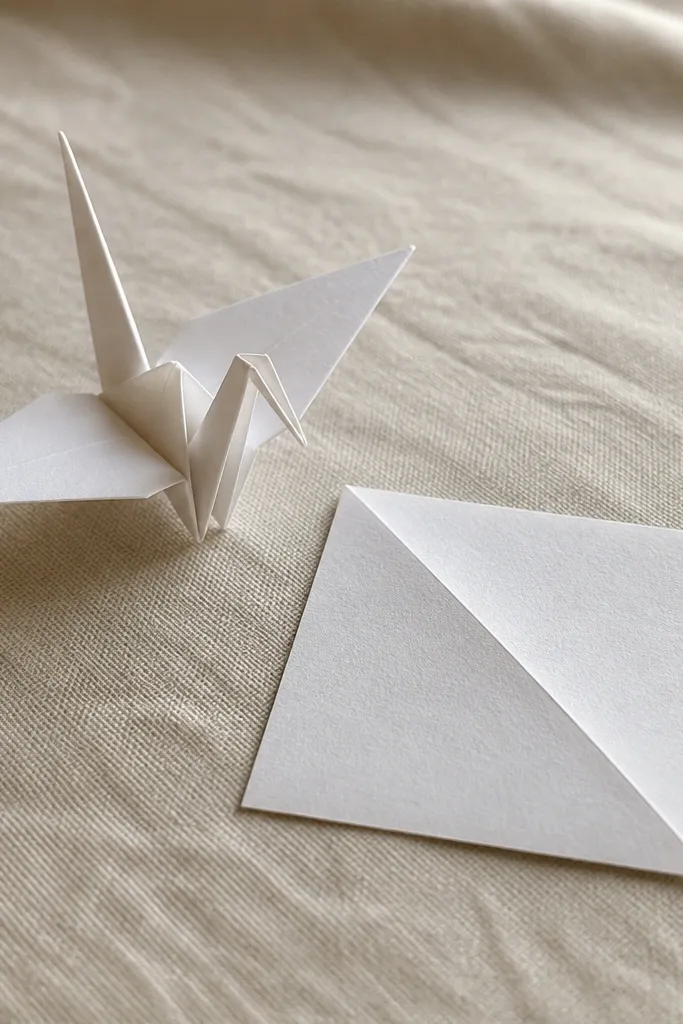
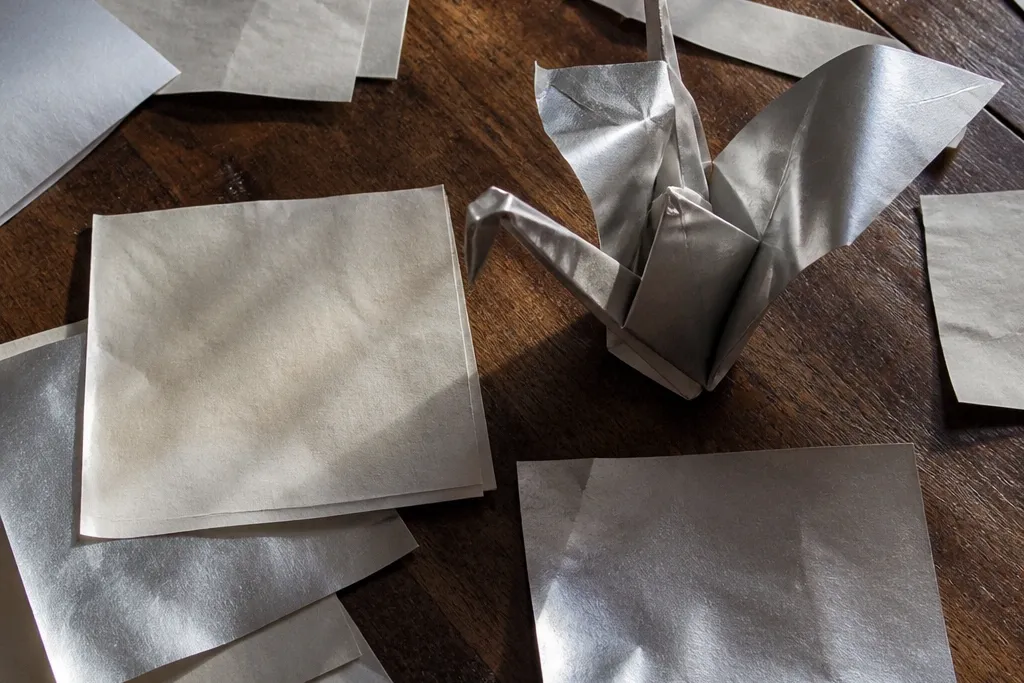
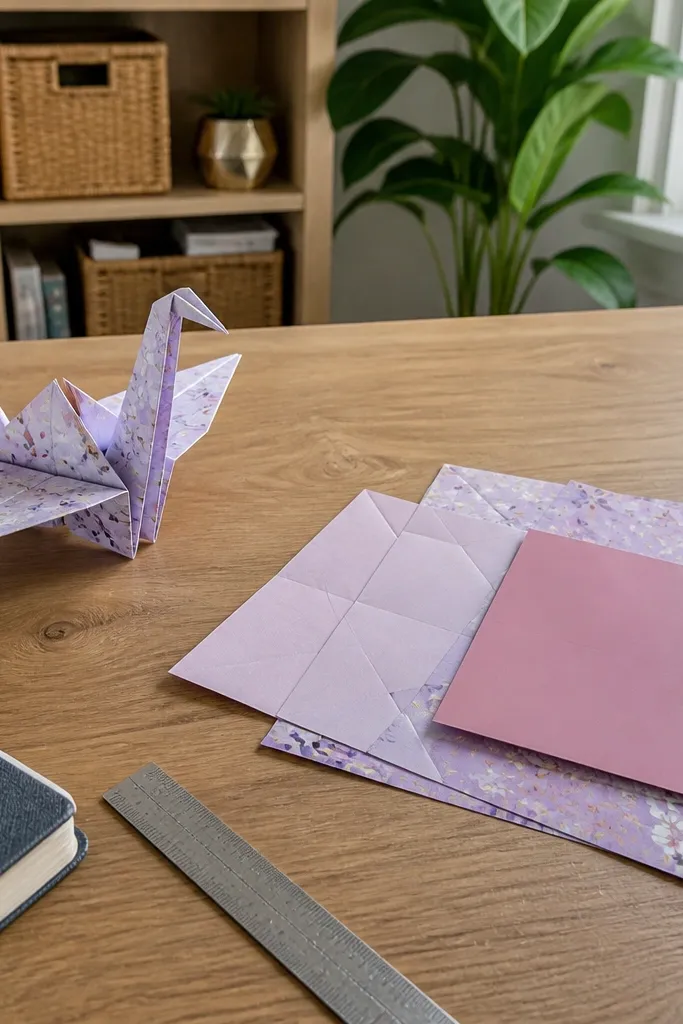
A crane is the classic because it teaches alignment. The “easy” version works when you treat each crease like a hinge: fold, press hard, then check that the points meet exactly. Use matte paper so the wings don’t look wrinkly, and choose a square that’s big enough to handle without tearing. This design is a good confidence-builder for kids who can follow 6-10 main folds. Time is usually around 20-30 minutes for a first attempt when creases are pressed properly.
Start with a 15 cm square, matte side up. Fold in half both ways (make two creases), then fold the square into a triangle and press the long edge. Bring the two bottom corners up to the top point, then fold the resulting shape in half so the center line stays sharp. Open one wing, tuck the indicated flaps, then press the wing edges so they stay crisp. Finish by pulling the head and tail outward gently, then press the neck crease with a bone folder.
Press the wing base crease twice — once right after you fold, and once after you tuck the flaps.
Rushing the crease step — a weak crease makes the wings flare and the head won’t sit cleanly.
2. Paper Fox Head Bookmark
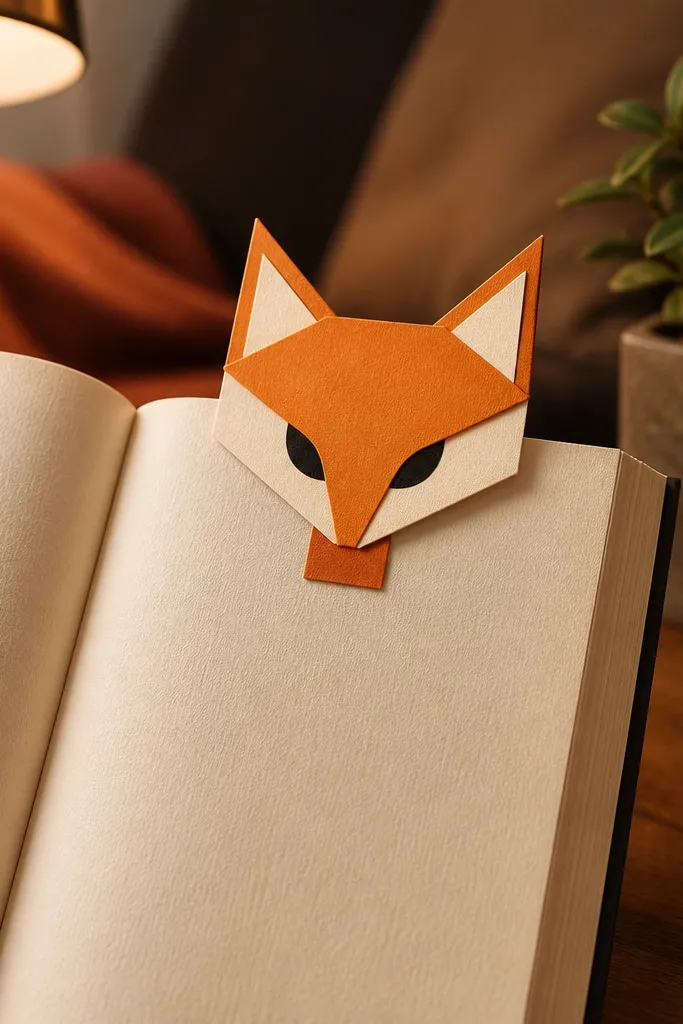
This bookmark is where origami meets daily use. It delivers a sturdy tab that slides into a book without collapsing, which is why it’s great for kids who want something they’ll actually keep using. Use square paper with an optional second color for the inner ear so it looks intentional, not messy. The finished head is small but expressive, and it teaches kids how to fold flaps neatly. Most people land it in 15-25 minutes because the steps are short and the shape is forgiving.
Use a 15 cm square and fold it diagonally to form a triangle, then unfold. Fold the two bottom corners up to the center line, then flip over and repeat on the other side. Create the ear points by folding the top corners down slightly and pressing the creases. Make the bookmark tab by folding the bottom flap upward and tucking it behind the face layer. Finally, crease along the top edge so the bookmark stays flat in the book.
Editor's noteIf your paper keeps springing open, add a tiny strip of tape to the inside tab only after the last tuck.
Skip thisCutting random “ear shapes” instead of folding — it ruins symmetry and makes the bookmark too bulky.
3. Balloon Cube (Pocket Gift Box)
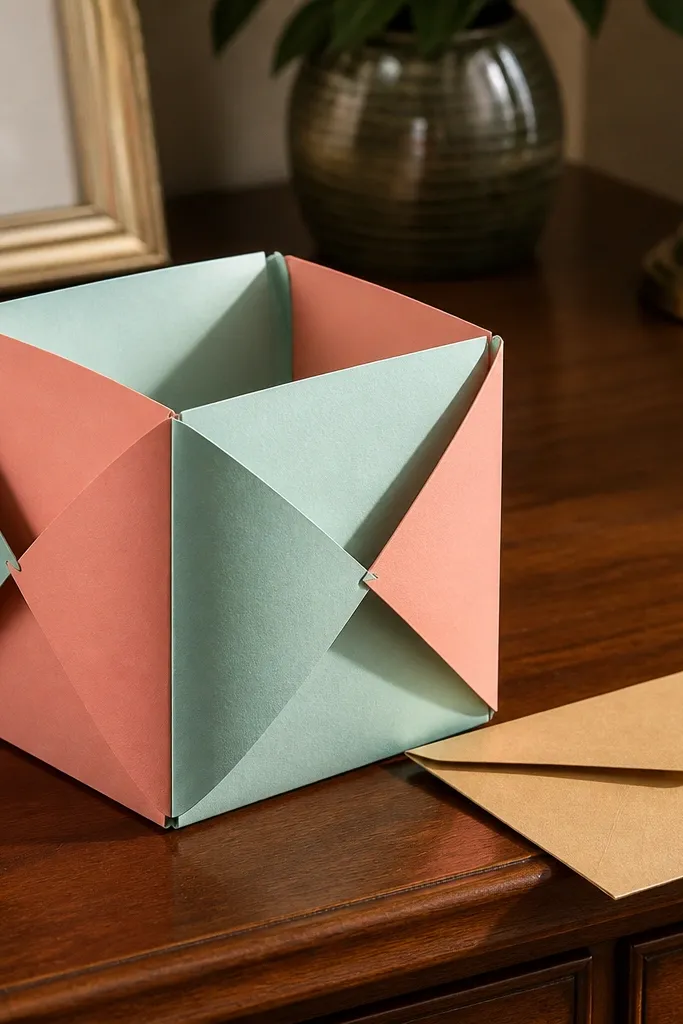
This cube fixes the most common problem with easy origami: models that don’t hold anything. It works because it’s built from repeated folds that create pockets for the walls to lock into. Choose thicker craft paper or cardstock weight so it stands up even when kids open and close it. It looks like a little balloon box, which makes it fun for tiny treats or a note. Expect 20-35 minutes for a first build depending on how hard you press the creases.
Start with a 20 x 20 cm square of craft paper. Fold it into quarters (fold in half, then in half again), then unfold so you have guide creases. Fold each corner into the center point, then fold the paper over and repeat for the other side so the pocket walls form. Tuck the corner flaps inward one at a time, pressing each tuck flat. Close the top by folding the last flap down and creasing firmly along the rim.
Use a ruler to press creases along the fold lines — it keeps all edges straight and makes the cube look “store-bought.”
Using super-thin paper — it collapses when you tuck flaps, and the cube won’t stay closed.
4. Shy Little Paper Star (Twisty No-Glue)
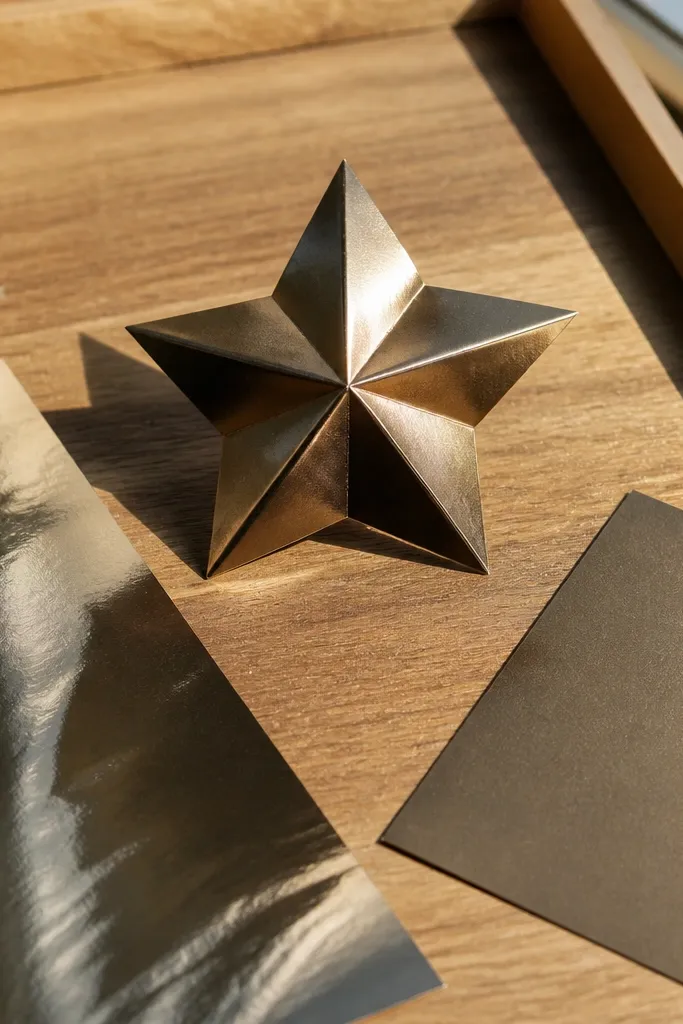
A paper star is a great “starter win” because it teaches kids how to fold layers without making it complicated. This version stays together without glue when the twist folds are pressed correctly. Matte metallic paper looks fantastic here because the creases catch light, but regular colored paper works too. It’s also flexible enough to make ornaments, hair clips, or a topper for cards. Plan for 10-20 minutes and keep one star per square so the paper thickness stays consistent.
Take a 15 cm square and fold it into a triangle, then fold again into a smaller triangle. Fold the triangle’s tip back to about halfway, then press and unfold once to create a guide. Fold each side edge toward the center using the guide, then repeat on the other layers so the star points form evenly. Twist the top layers together at the tip and press down so it locks. Finish by pinching the base and pressing the center crease.
Editor's noteMark the fold guide lightly with a pencil on the back so you don’t over-guess the midpoint.
Skip thisSkipping the unfold-and-guide step — without it, points land uneven and the star looks lopsided.
5. Paper Sailboat That Actually Sails (Wall-Fold Model)
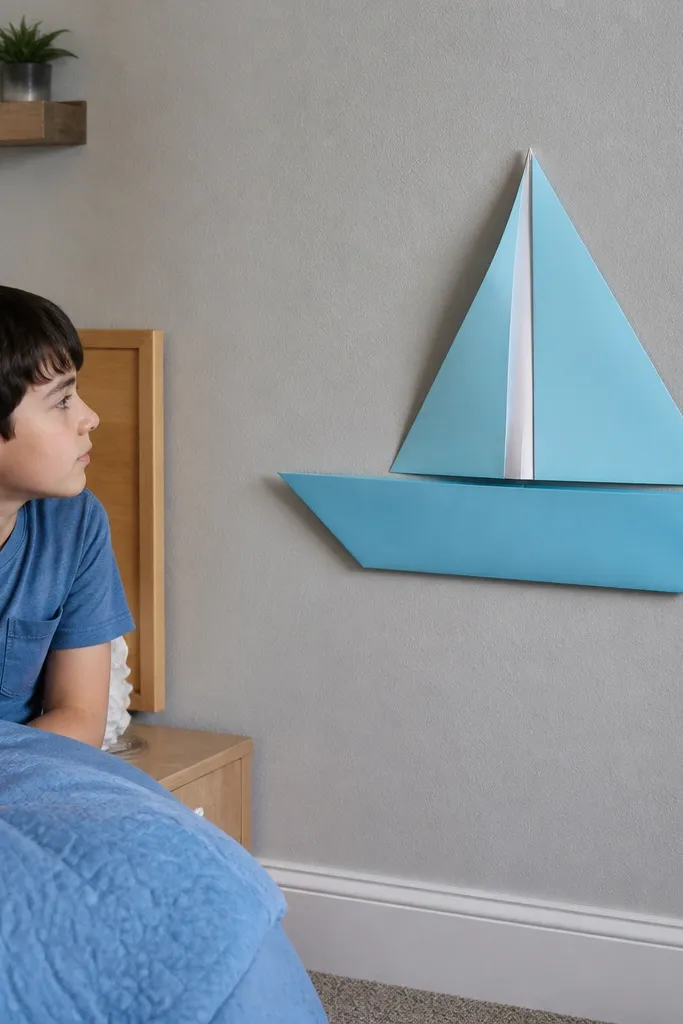
This is a paper boat design that holds its shape because the sail gets a structured fold, not just a flat flap. It’s a great choice for kids who like “3D” models but get frustrated when things collapse. Use a slightly stiffer paper so the mast stays upright. The hull is easy to flatten against a desk or attach to a wall display. Time is usually 15-25 minutes.
Start with a 20 x 20 cm square and fold it in half to form a rectangle. Fold the bottom third up, then fold again so you get a layered hull edge. Create the sail by folding one top corner down diagonally and pressing the crease hard, then fold the sail piece back to lock the angle. Make the mast by standing the folded triangle upright and creasing the base where it meets the hull. Press the bottom seam so the boat doesn’t spring open.
Editor's noteUse heavier paper for the sail only — you can stack a small cardstock square inside the sail fold for support.
Skip thisMaking a sail from a thin flap — it collapses flat and the boat loses the point.
6. Paper Panda Face (Folded Ears + Clean Center Line)
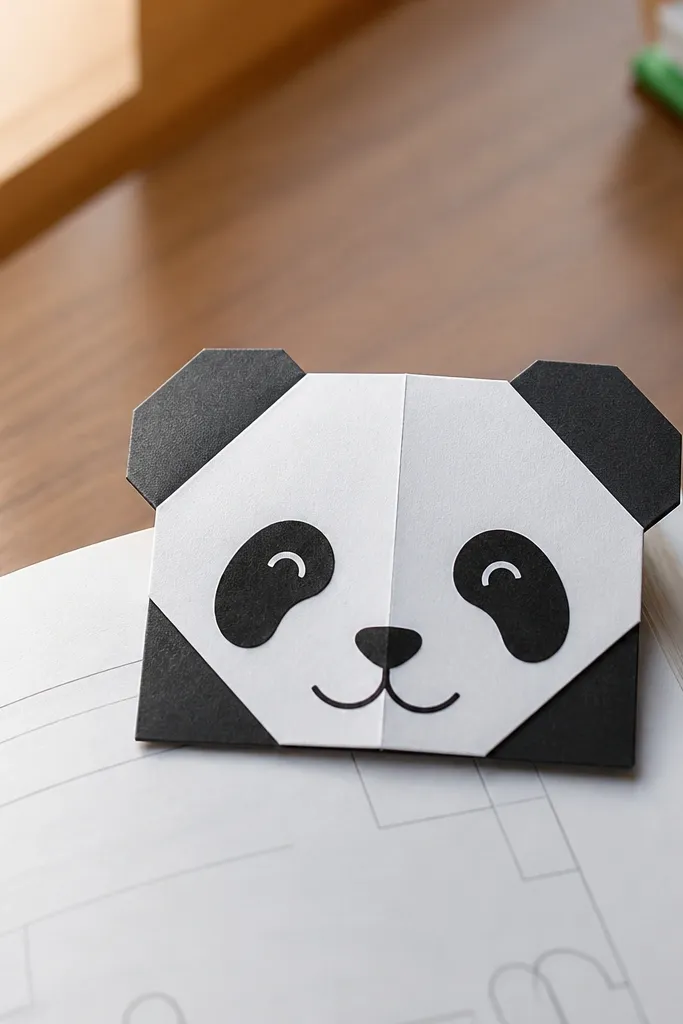
This face is small, but it teaches a super practical skill: folding on a center line so the features land where they should. It looks good even with simple materials because the black patches are created by folding layers, not drawing. Use two-sided paper if you have it, or use black construction paper with white for the snout area. It’s ideal for quick desk crafts and for building a set of “character faces” for kids. Expect 10-15 minutes per panda once you’ve got the fold sequence down.
Use a 15 cm square and fold it in half both directions to mark the center. Fold the top corners down to make ear triangles and press the edges so they stay crisp. Fold the bottom up to form the snout area, then tuck the side flaps slightly inward. Flip back to check symmetry against your center crease. Finish by pressing around the nose fold line so it holds its rounded look.
Editor's notePress the center crease with firm pressure using a bone folder so the features don’t drift when you fold corners.
Skip thisRelying on the paper’s printed design to align — always use the center crease you made.
7. Easy Paper Phone Stand (Tri-Fold Holder)
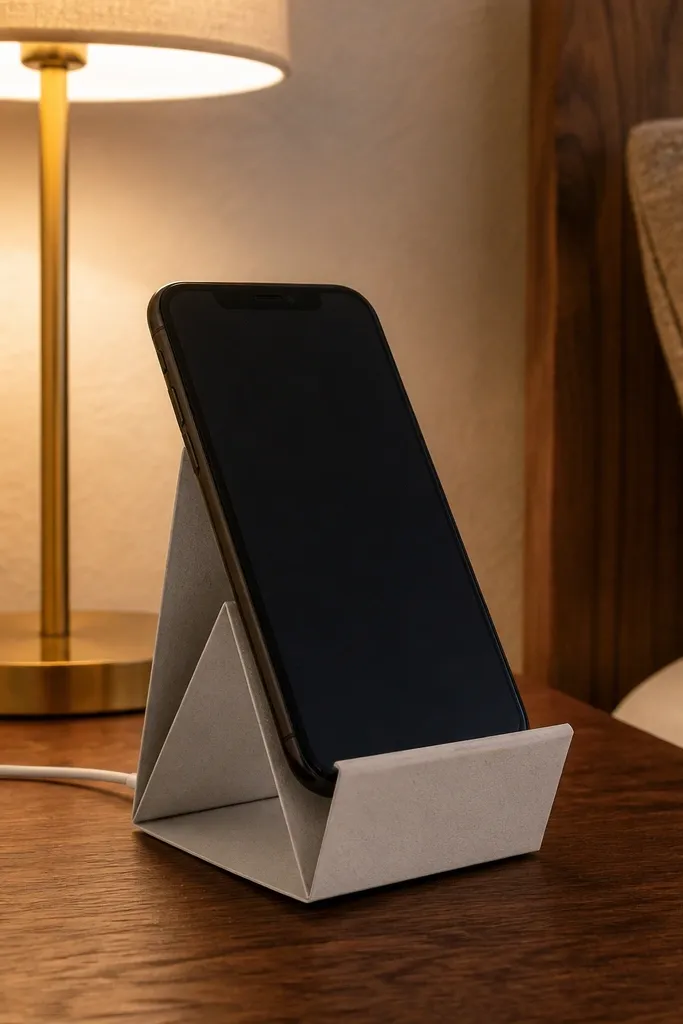
A phone stand is one of the few paper models that delivers a real function immediately. It’s also a lesson in load-bearing folds: the strength comes from a triangle structure, not from fancy shaping. Use thicker paper or lightweight cardstock so it doesn’t sag. This is a fast build — 10-20 minutes — and it’s perfect for kids who want something they can use at the table. The stand works best at a slight angle for drawing or video calls.
Start with a 20 x 20 cm square of cardstock. Fold it into thirds by marking two points at 6.7 cm from one edge (or eyeball carefully), then fold along those lines. Create a triangular support by folding the center section outward while keeping the base flat. Fold the top flap down to make the “grip” and press the crease so it locks. Test angle gently, then reinforce the base crease with a second press.
If it sags, fold a second identical base sheet and tape them together at the back only.
Using flimsy paper — it collapses under the phone’s weight and feels like a failure.
8. Paper Butterfly With Symmetry Check
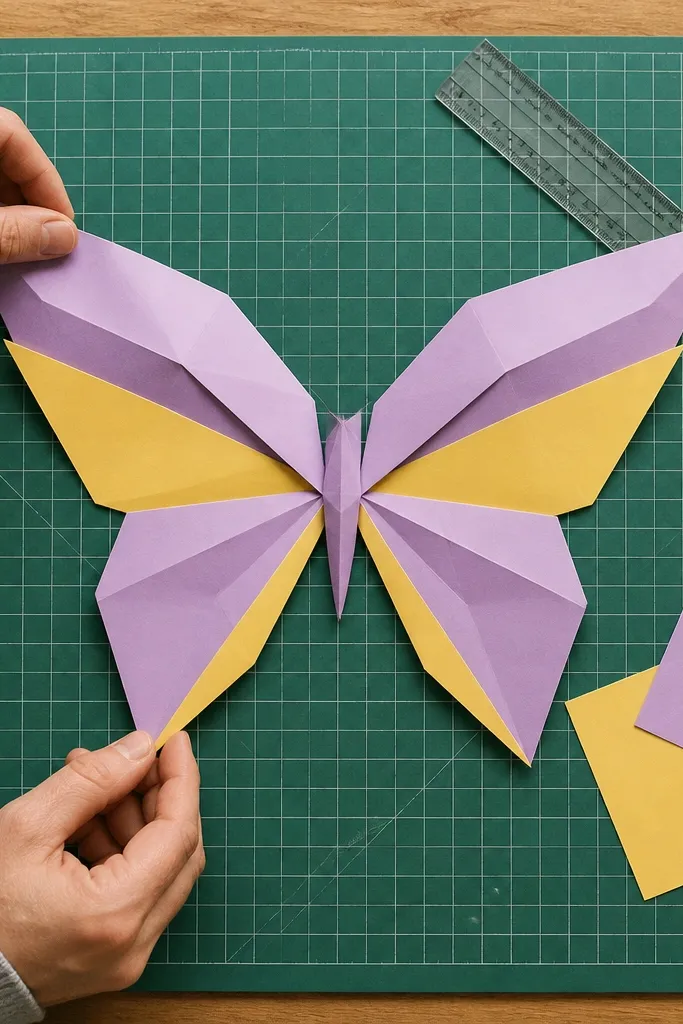
Butterflies look harder than they are, but the secret is symmetry. This design gives you a built-in check because both wings come from the same fold line. Choose paper that is easy to crease and not too glossy; matte works best for clean edges. It’s a good project for kids who want something pretty without complicated box-building. Time is usually 15-25 minutes depending on how carefully they press the wing folds.
Use a 15 cm square and fold it in half to create a rectangle, then unfold. Fold the top corners toward the center line so they meet at the center crease, press, then repeat on the other side. Fold the bottom up slightly to form the body ridge. Bring the wings into shape by folding each side out along its crease, then press so the wing edges stay sharp. Finish by pinching the center to create a slight body pinch.
Editor's noteDo a quick symmetry check by holding it up to a window — misaligned wing folds show instantly.
Skip thisForgetting to press both sides of each fold — one side soft makes the butterfly twist.
9. Square Paper Drawer (Tiny Origami Storage)
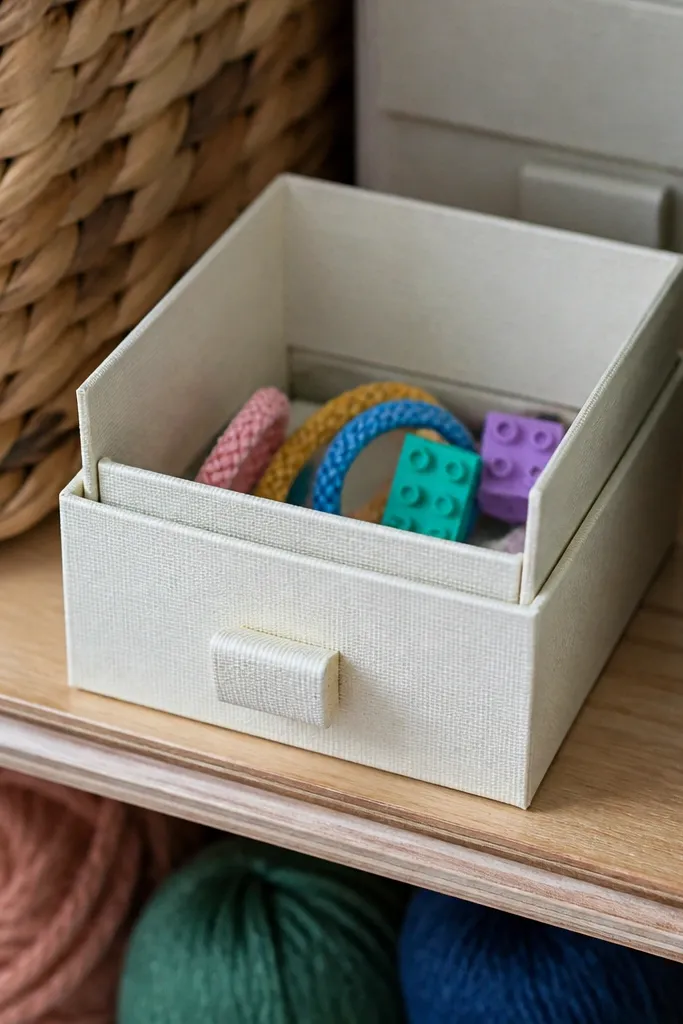
This one is practical storage for small stuff: hair ties, LEGO pieces, or a tiny note. It works because the walls are folded into overlapping layers that hold shape. Use thicker paper so the drawer slides without buckling. Kids like it because it feels like a real mini furniture piece. It takes about 25-40 minutes for a first attempt since it has more folds than a face or animal.
Start with a 20 x 20 cm square. Fold it into quarters, then unfold to use the creases as guides. Fold the sides inward so the edges meet the center line, then crease hard. Build the front opening by folding the bottom flap upward and leaving a gap for the drawer to slide. Tuck the remaining flaps behind the side walls, then press all seams flat.
Use a ruler to keep the drawer front opening the same width on both sides.
Making the opening too small — then the drawer won’t slide and it tears at the rim.
10. Paper Heart Envelope Note Holder
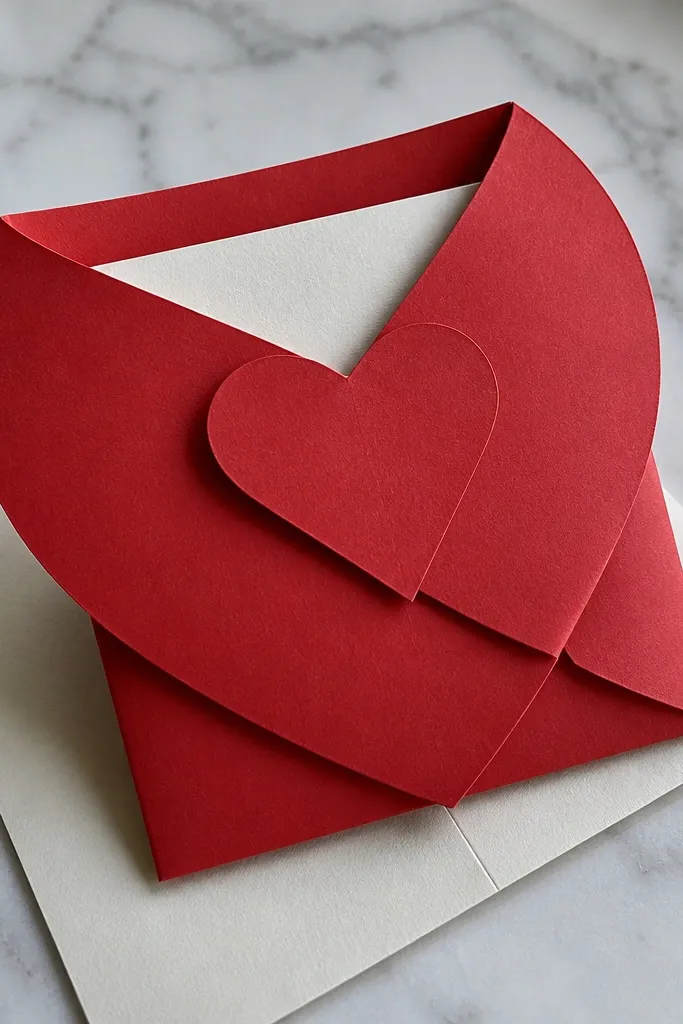
A heart note holder is a sweet craft that also teaches a real origami skill: forming a seal that stays shut. This design holds a small folded slip because it uses layered flaps that lock into place. Use 20 x 20 cm paper so the heart has enough space for the note. Matte red or pink looks best because glossy paper shows creases as shiny streaks. It takes around 15-25 minutes and is perfect for last-minute gifts.
Start with a 20 x 20 cm square, fold it diagonally to make a triangle, then unfold. Fold the left and right corners toward the center crease so you form a kite-like shape, press hard. Fold the bottom point up to create the heart base, then tuck the side flaps inward to form the envelope pockets. Insert a small note slip, then fold the top flap down and press the seal crease. Keep the heart flat for 30 seconds so the edges set.
Fold the note slip to about 7 x 10 cm so it slides in without fighting the pockets.
Using a note that’s too wide — it forces the heart seal open and ruins the shape.
11. Paper Water Drop (Good for Keychains)
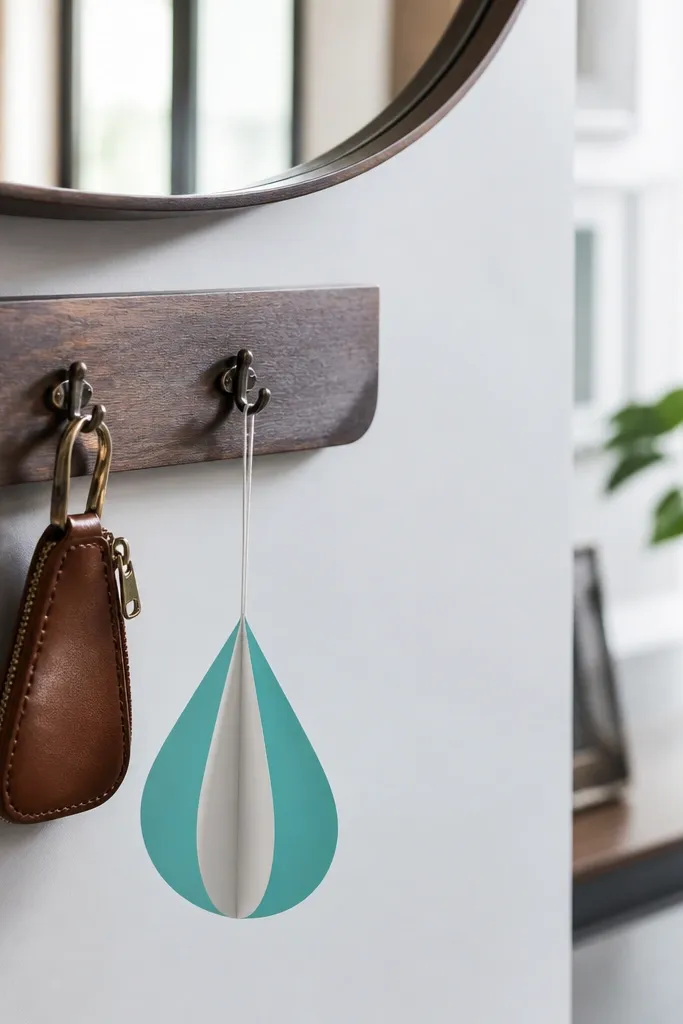
This teardrop shape looks clean and hangs nicely, which is why it’s a solid kid craft for keychains or party decor. It’s stable because the folds create a narrow “spine” in the center. Use medium-weight paper so it doesn’t collapse when you thread string through. You can make it in one color or two-tone for a slightly more finished look. Time is usually 10-20 minutes.
Start with a 15 cm square and fold it in half diagonally. Fold the point down to about one-third from the tip, press, then unfold to use that line. Fold the edges toward the center crease on both sides to form the teardrop outline. Tuck the top flap into the pocket you created near the base. Punch a small hole at the top point and thread ribbon or string.
Editor's noteUse a hole punch, not scissors, so the top point doesn’t tear.
Skip thisPunching too close to the crease — the tear spreads and the teardrop goes limp.
12. Paper Penguin Feet (Fast Desk Sculpture)
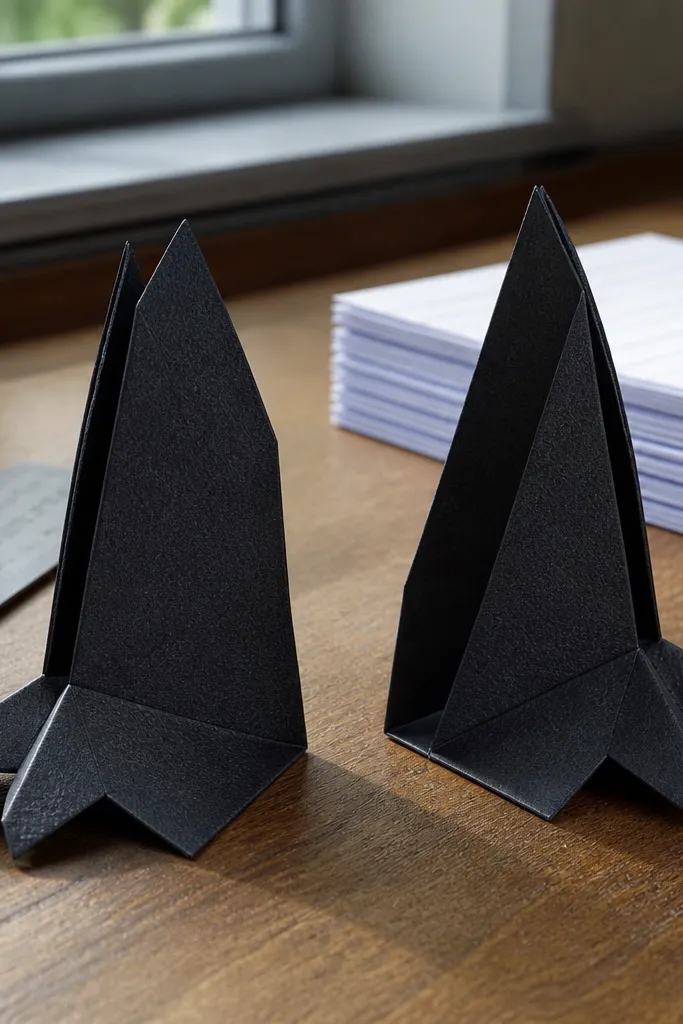
Penguin feet are a sneaky win because kids learn layered folds without needing a full animal body. This model is stable on a desk because it has a flat base and two side flaps that create “toes.” Use black paper with a slightly textured surface so the folds look crisp. It’s also great for counting games or stacking displays. Time is about 10-15 minutes.
Use a 15 cm square and fold it in half to make a rectangle, then fold the bottom third upward. Fold the left and right corners toward the center line, then press. Create the toe shape by folding the top flap down in two steps — first a small fold, then a second fold for a sharper toe. Flip it over and tuck one side flap behind the other to lock the base. Press the bottom seam so it stays flat.
Make two identical feet before you start — it helps you spot uneven creases quickly.
Trying to freestyle the toe folds — the shape looks messy unless you stick to two-step folds.
13. Paper Dog Ears Bookmark (Folded Flap Face)
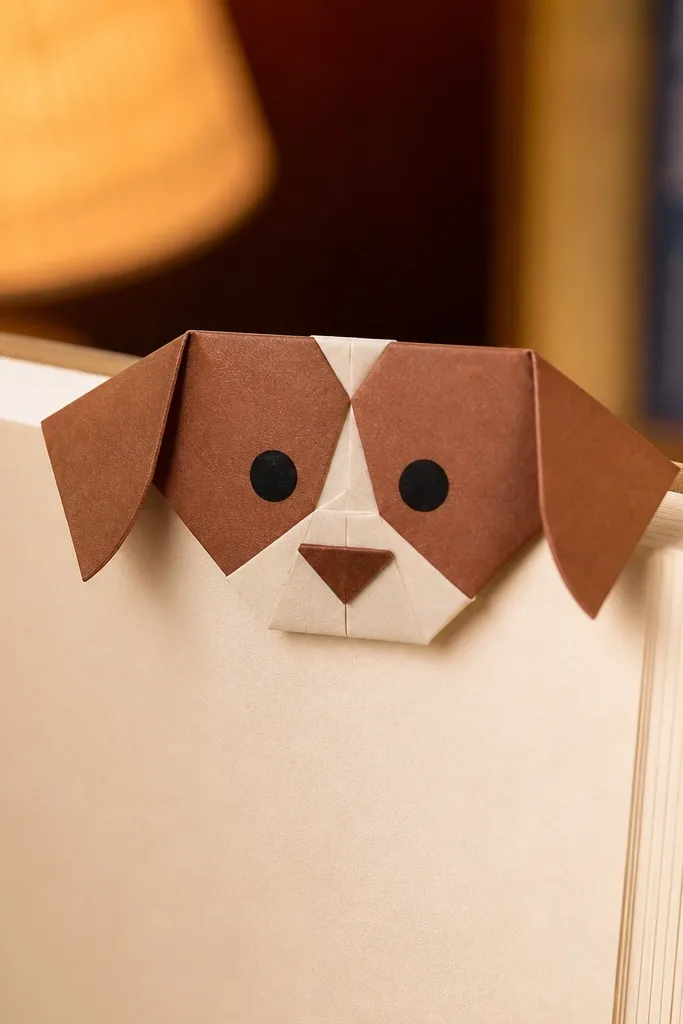
This bookmark is like a face and a tab in one, so it teaches both flap folding and pocket tucking. It looks cute, but it also holds up in a real book because the bottom tab locks behind layers. Use 15 cm squares and slightly thicker paper so the ears don’t sag. It’s a good project for mixed ages because the steps are simple, and you can stop early if needed. Plan for 15-25 minutes.
Start with a 15 cm square and fold it into a triangle, then unfold. Fold the top corners down to form ears, then press along the crease. Fold the bottom point up to create the snout, then tuck the sides inward so the face stays centered. Make the bookmark tab by folding the bottom flap up and tucking it behind the face layer. Press the edges with a bone folder so it doesn’t pop open.
If the ears flop, fold them a second time along the same line for extra stiffness.
Skipping the tuck behind the face layer — it turns into a loose bookmark that falls out.
14. Paper Pentagon Box (Holds Small Candy)
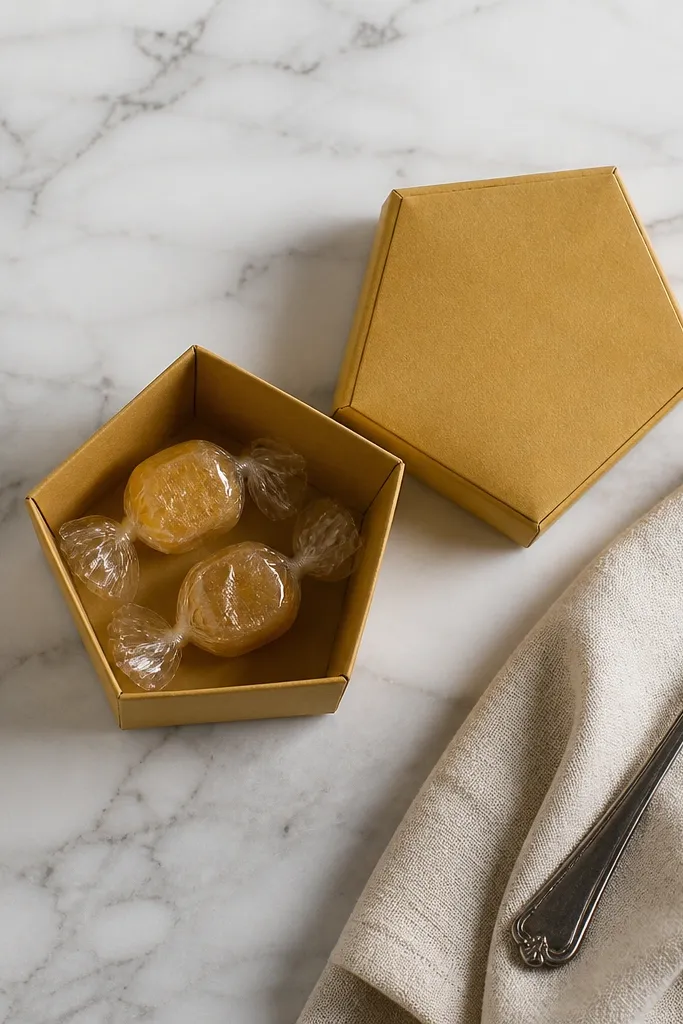
A pentagon box feels fancier than it is, and it teaches kids how to handle multiple identical edges. It’s strong when the folds are repeated and pressed evenly. Use 20 cm paper squares or slightly larger sheets so the lid and base have enough room. This is a great option when you want something that looks like a real container, not a flat craft. Time is about 30-45 minutes the first time because it has more seams to lock.
Start with a square sheet and fold it into a pentagon guide by making five equal-ish points toward the center — the goal is even creases. Fold each corner toward the center to form the base walls, pressing every fold. Tuck each flap inside to lock the pentagon shape, then reinforce the seams by pressing along the edges. For the lid, repeat the fold steps on a slightly smaller piece or fold down the top walls to create a snug cover. Fit the lid by pressing gently, then check it opens without tearing.
Editor's noteCut a second base sheet identical in size; stacking two layers makes the box much more durable.
Skip thisUneven wall folds — one loose seam makes the whole box tilt and it won’t close.
15. Paper Rocket (Standing With a Center Spine)
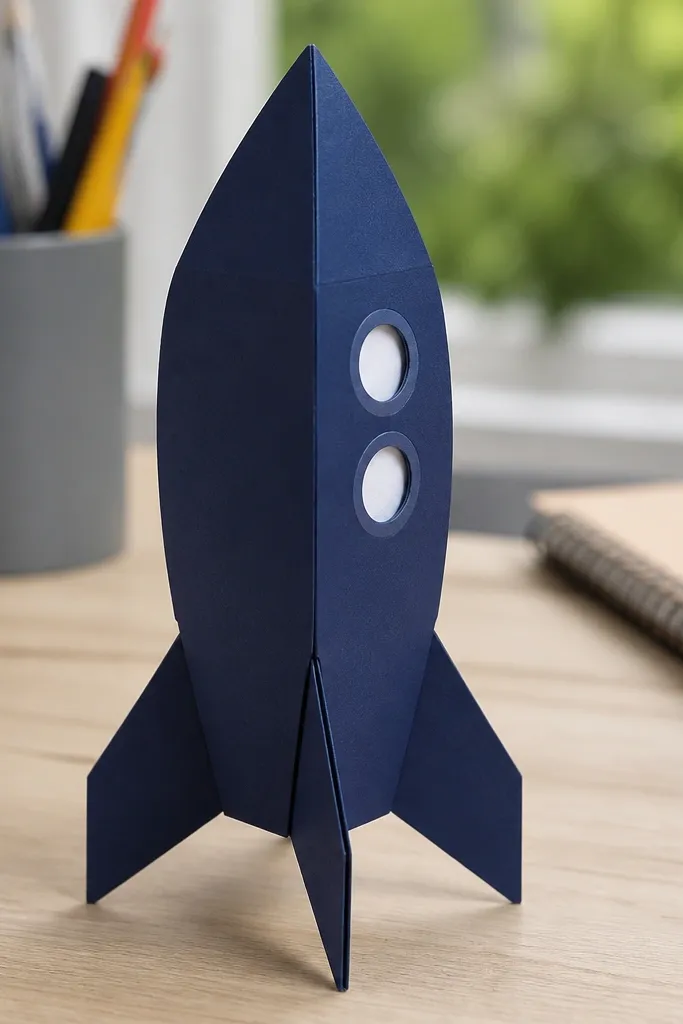
A standing rocket is a morale booster because kids can put it on the desk and it stays upright. The stability comes from a center spine fold that creates a firm “backbone.” Use slightly thicker paper so the fins don’t bend over time. This model also trains kids to fold flaps in the correct order so the rocket doesn’t collapse inward. Expect 15-30 minutes depending on how patient they are with fin creases.
Start with a 20 x 20 cm square and fold it diagonally to make a triangle, then unfold. Fold the left and right corners toward the center crease to create a pointed front, pressing hard. Build the spine by folding the shape in half lengthwise and pressing the center seam. Create fins by folding two side flaps outward and creasing them sharply at the base. Stand the rocket up and press the bottom seam flat so it doesn’t rock.
Editor's noteUse a pencil to lightly mark where the fins meet the spine so they fold to the same angle.
Skip thisFolding fins without pressing the base crease — they flop and the rocket won’t stand.
16. Paper Star Wand (Folded Handle + Spiky Tip)
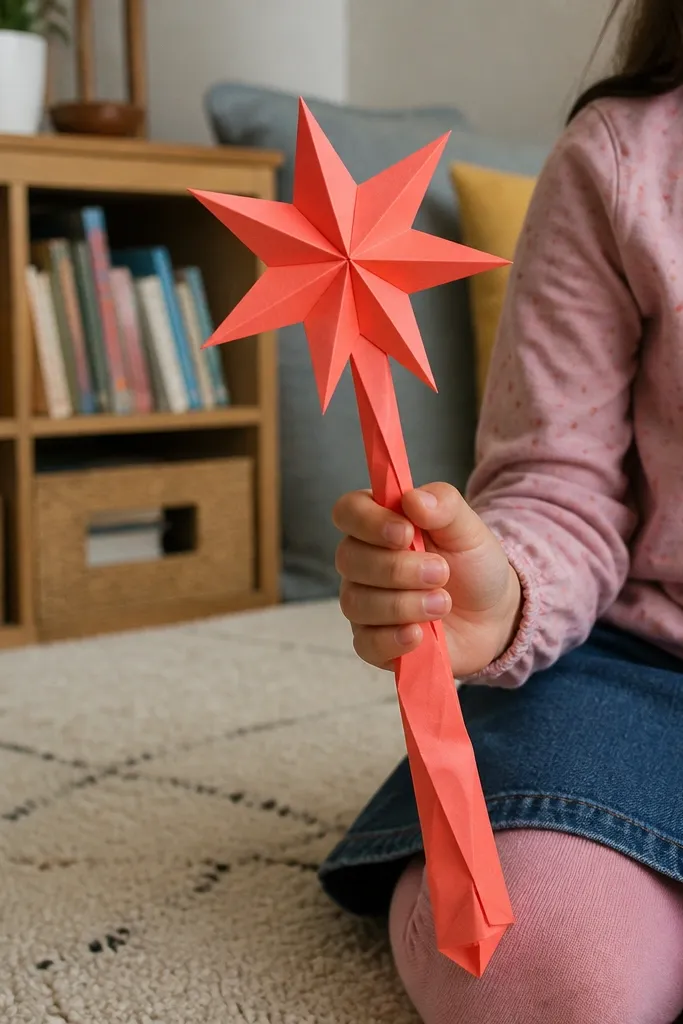
This is a “play craft” that still looks neat because the handle is structured and the star tip is folded from a single square. It works well for kids because it’s interactive, but it doesn’t require glue. Choose paper that holds a crease, like matte construction paper. The finished wand is light, and it’s easy to make in a batch for a classroom. Time is about 10-20 minutes per wand.
Start with a 15 cm square for the star tip and a smaller strip for the handle (about 3 x 15 cm). Fold the square into a triangle, then fold the triangle into a smaller triangle. Fold the edges toward the center to create points, then tuck the last flap behind the layer to lock. For the handle, roll the strip tightly and crease along the length so it stays rolled. Insert the star base into the rolled handle and press the connection.
Roll the handle around a thin marker, then remove it — you get a consistent tube shape.
Using a loose handle roll — the star tip slides off and the wand feels flimsy.
17. Paper Cat Whiskers (Minimal Folds, Big Cuteness)
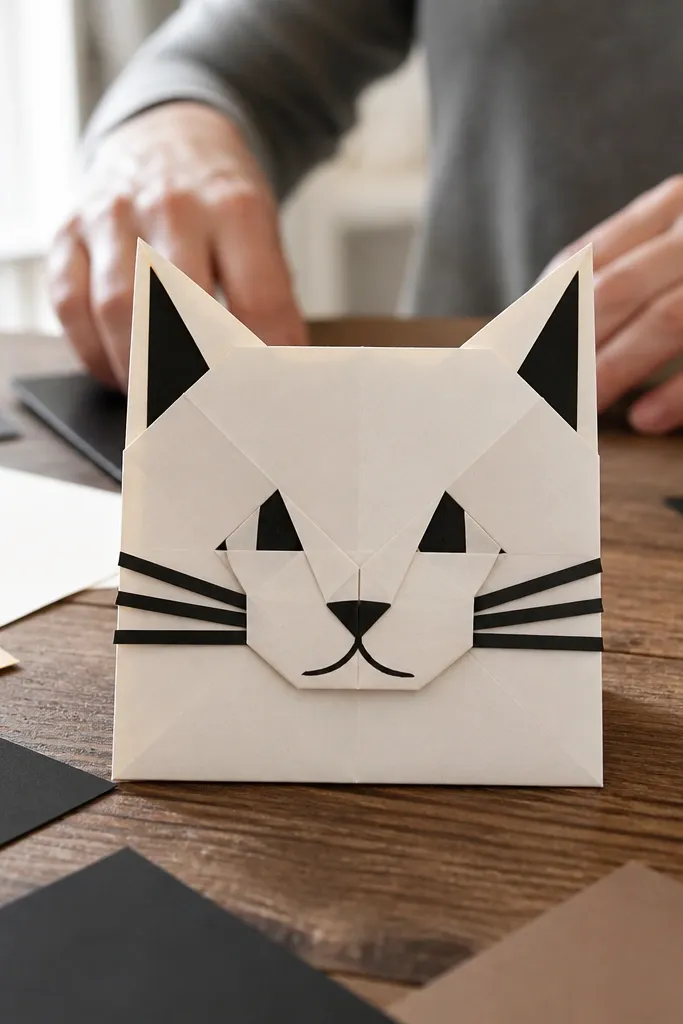
This cat is a great option when kids get bored by long step lists. The structure is simple, but the face looks intentional because the whisker shape comes from a folded edge, not random drawing. Use a square around 15 cm and keep the folds crisp so the face stays centered. It’s also a good “practice model” for learning how to fold only the top layer when you need that layered look. Time is usually 10-15 minutes.
Start with a 15 cm square and fold it in half, then unfold to reveal a center crease. Fold the top corners down to make ears, pressing the creases firmly. Fold the bottom up slightly to form the mouth area. Create whiskers by folding the left and right edges inward just a few millimeters, then press so they stay. Finally, fold the top flap down a little and crease it so the ears don’t flare.
Fold only the top layer for whiskers — it keeps the face flat and prevents bulk.
Folding all layers for the whiskers — it makes the paper too thick and the cat looks lumpy.
18. Paper Crown (Fit Test Included)
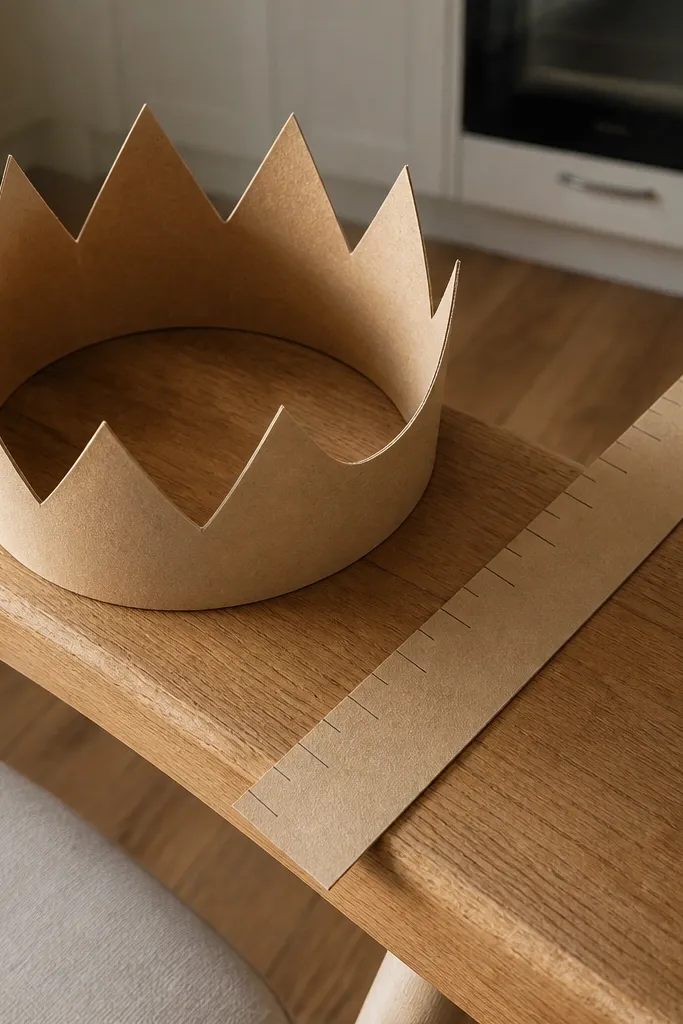
A crown is the easiest way to get real “wow” reactions from kids, because it’s instantly wearable. This design is built around a fit test so it doesn’t end up too tight or too loose. Use cardstock for the band so it holds its shape during play. You’ll also get practice with parallel folds, which helps all future origami. Time is about 10-20 minutes, and you can scale it for different head sizes.
Start with a strip of paper about 6 cm tall and long enough to wrap the head (measure around the head and add 1 cm overlap). Fold the strip to create the band, then crease the fold to lock it. Mark evenly spaced points along the top edge (about 2 cm apart for small crowns) and fold each point upward into a triangle. Fold the base of each triangle down slightly so it locks against the band. Fit the crown, then adjust overlap by folding the last 1 cm seam.
Editor's noteMake the band from cardstock and the points from regular paper — it stays sturdy without getting bulky.
Skip thisSkipping the wrap measurement — the crown ends up uncomfortable and kids won’t wear it.
19. Paper Flower Cup (Holds a Tiny Treat)
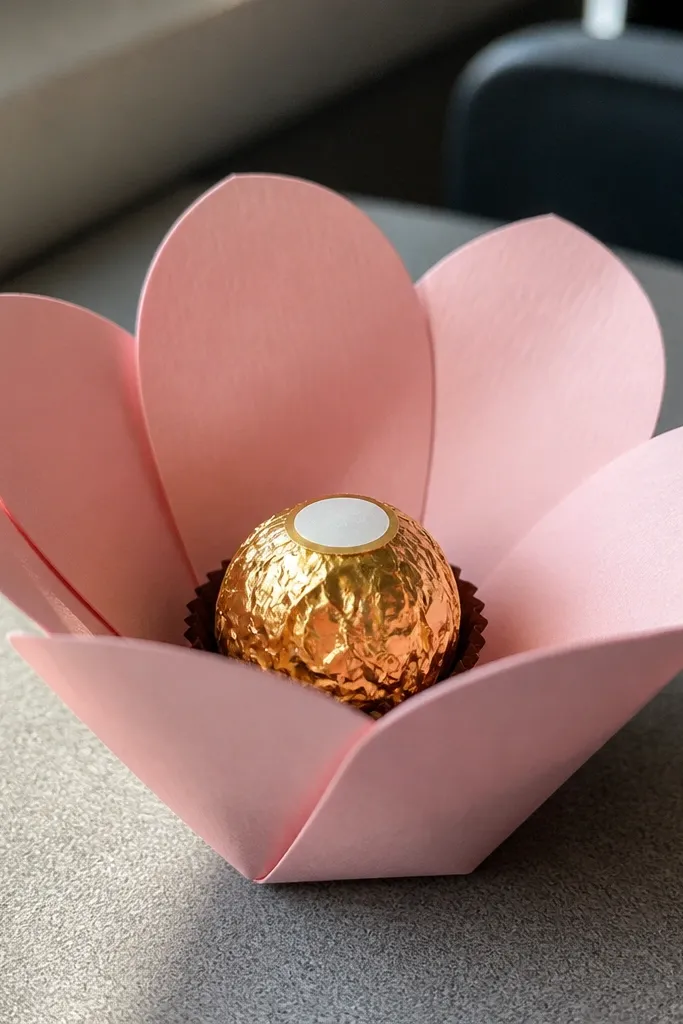
This flower cup is a crafty upgrade from flat origami because it holds something small. It works because the petals are folded outward while the base stays tucked inward, creating a bowl shape. Use medium-weight paper so it holds the cup without collapsing. It’s a great classroom craft for Valentine’s Day or birthdays because each kid gets a usable container. Time is about 20-30 minutes.
Start with a 20 x 20 cm square. Fold it into quarters (two folds), then unfold. Bring all four corners to the center point and press hard, forming a pinwheel base. Fold the top layers outward to create petals, then tuck each petal slightly under its neighbor. Finish by folding the rim down a hair so the cup holds its shape and the treat sits inside.
Editor's notePress the center point crease hard — that single spot controls whether the petals open evenly.
Skip thisMaking petals too tall — they tip the cup and spill the treat.



