
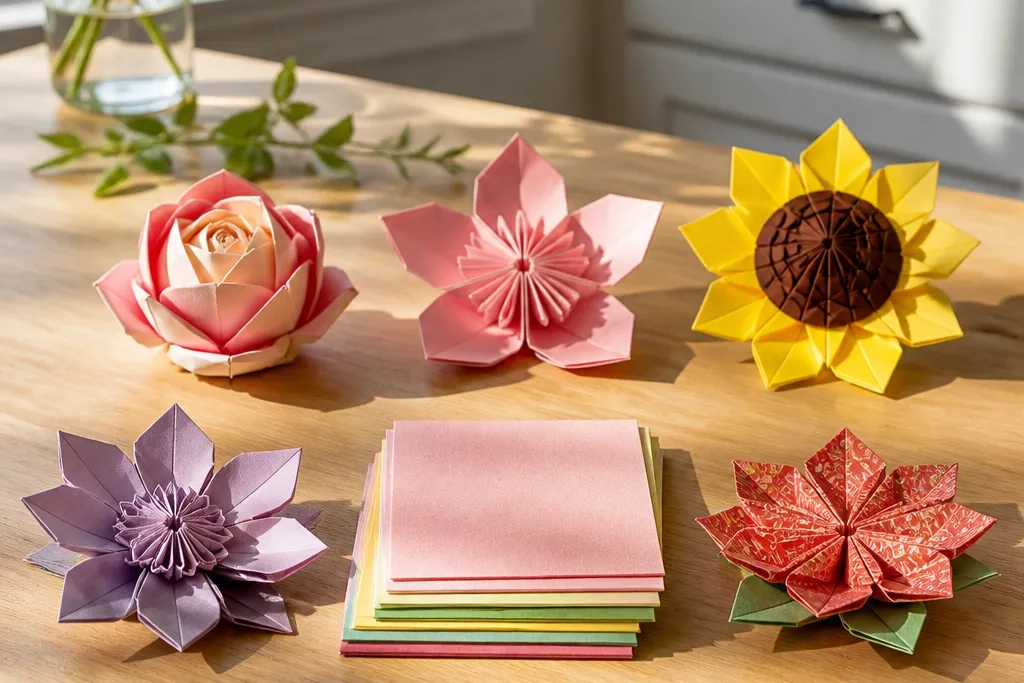
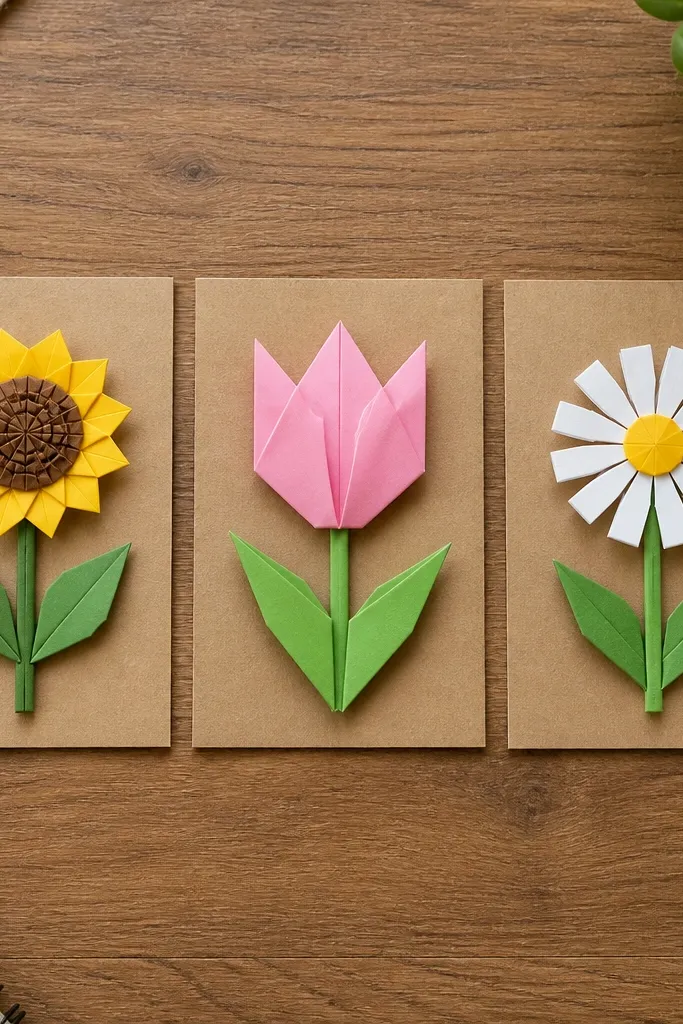
1. Two-Tone Rosebud With Rolled Petals
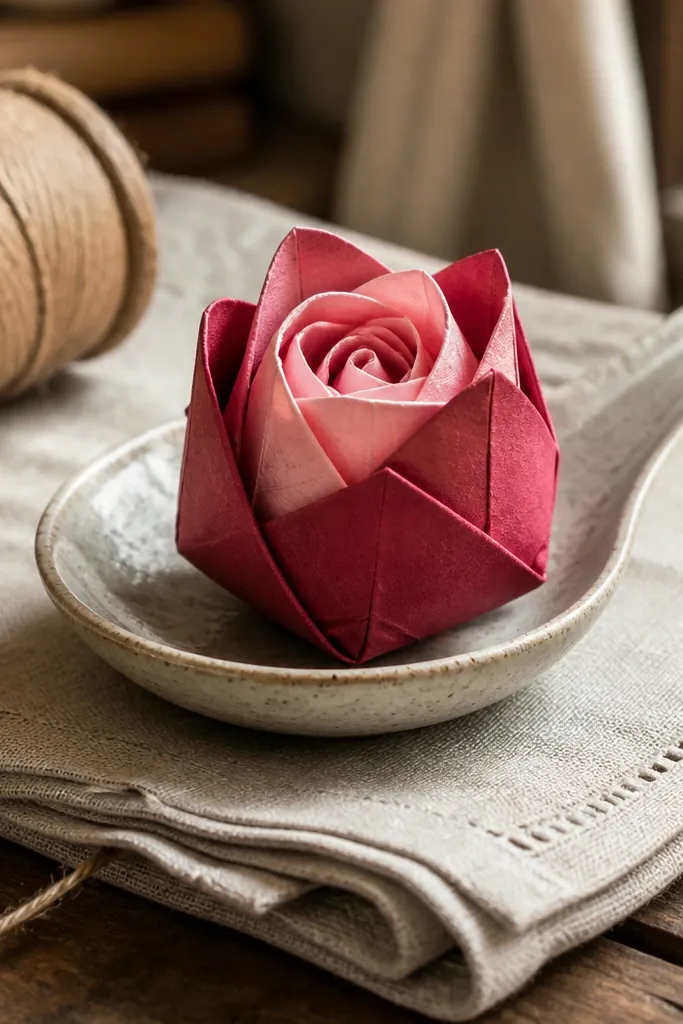
This rosebud looks “real” because the petals curl inward instead of sitting flat. The two-tone paper makes the outer edge darker and the inner folds lighter, so the flower has depth even with basic origami paper. It’s a good pick for a budget craft because it uses a small square and doesn’t need extra decorations. The finished bud also stays compact, which helps it photograph well on a table or glued to a card. Skill level is beginner, but you’ll get better results if you press every crease firmly before you assemble.
Start with a square sheet in your darker petal color (6x6 inch is ideal). Make the base creases, then fold and tuck the petal sections so each one rolls toward the center. Use the lighter paper for the inner fold panels so the center shows a distinct color. Finish by pinching the base flat and shaping the rolled petals with your fingertips to point slightly upward.
Burnish creases with a ruler edge before you roll the petals; it stops the bud from looking wrinkled.
Don’t skip the crease pressing step — soft folds make the bud look collapsed.
2. Crisp Cherry Blossom Pop-Out
This model gives you that soft spring look without needing complicated petal shaping. The trick is the pop-out layer: the petals sit slightly forward, so the flower has a 3D silhouette. Use pink paper for the petals and a tiny yellow or gold square for the center so it reads clearly in photos. It also works well for kids because each petal is a repeat of the same fold direction. The flower looks delicate but it’s sturdy enough to be used as a gift tag topper or a small room decoration.
Fold your square paper to create the symmetry lines, then form the petal sections by folding corners inward. Keep the petal folds tight so the layers pop instead of flattening. Add a contrasting center by attaching a small folded strip or tiny folded square to the middle. Finally, adjust each petal so all five point outward at the same angle.
If your paper is thick, slightly soften the folds with gentle finger pressure before shaping petals outward.
Don’t let one petal sit lower than the others; it makes the whole blossom look lopsided.
3. Easy Sunflower With Textured Center
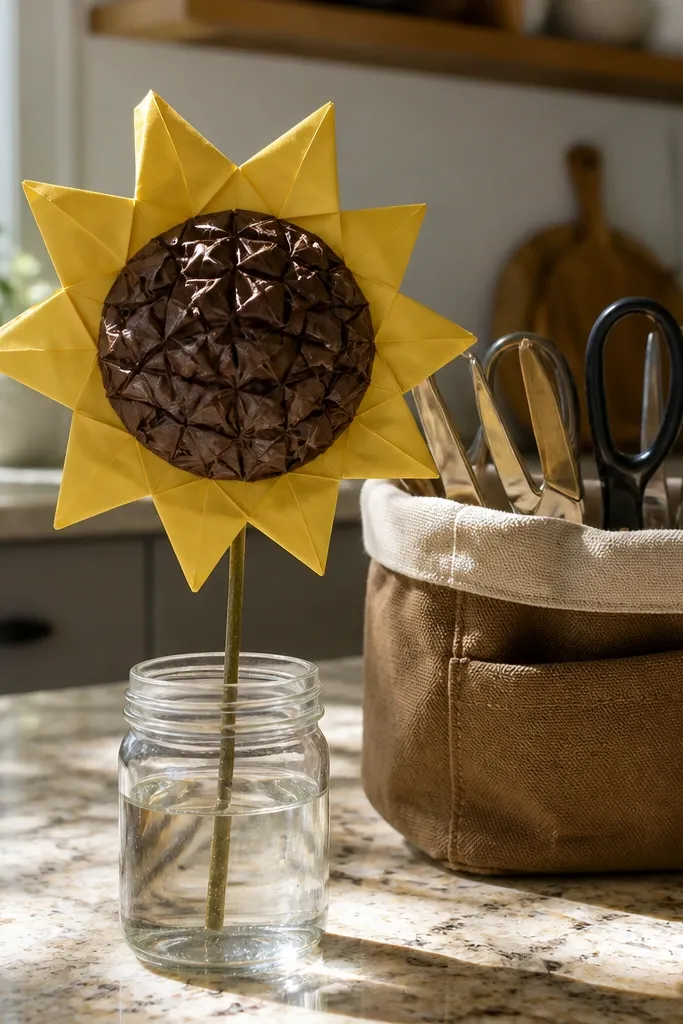
A sunflower is forgiving because the center can hide small imperfections. This version looks polished by using a darker center made from folded or crumpled paper texture, then surrounded by clean yellow petals. The result is a flower that looks bold and cheerful without needing tiny seed details. It’s also great for DIY decor because it reads from a distance — perfect for kids' crafts on bulletin boards. Expect a slightly longer build than the simplest flowers, but the petal folds stay straightforward.
Start with a yellow square for the outer petal structure and fold along the symmetry lines. Form the petal tips by folding corners outward in a consistent pattern around the base. For the center, create a small dark paper circle and add texture with tight folds or a gentle crumple, then flatten it slightly. Attach the center to the middle and press the base so the sunflower sits flat.
Editor's noteUse matte yellow paper for petals and a darker matte paper for the center so the texture stands out.
Skip thisDon’t make the center too big; if it overpowers the petals, the flower looks like a blob.
4. Lotus Bloom With Layered Fan Petals
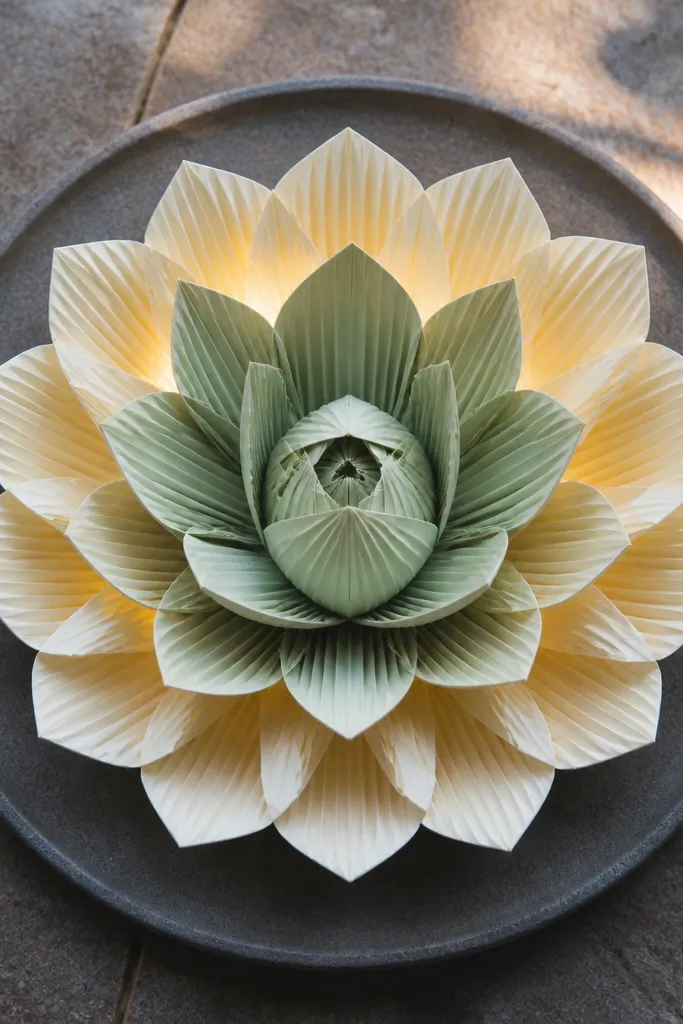
Lotus flowers look hard, but this easy version gets the look with fan-shaped layers. The layered fans create a scalloped rim that photographs beautifully from above. Use white or cream for the outer layer and pale green for the inner layer so the petals look like they’re lit from within. This is the best choice if you want a calm, decorative flower for centerpieces or wall garlands. It takes a bit of careful folding, but you’re repeating the same fan idea, not learning a new fold each step.
Fold squares for two layers: one in cream and one in pale green. Create the fan folds by folding the paper back and forth into narrow sections, then open it into petal panels. Assemble the inner layer first, then add the outer layer so the rims alternate. Finish by pinching each fan tip to shape a smooth, curved lotus edge.
Editor's noteUse two different paper weights: lighter for outer petals and slightly stiffer for inner layer so it holds the rim shape.
Skip thisDon’t rush the fan alignment; uneven fans make the lotus edge jagged.
5. Minimal Tulip With Sharp Petal Points
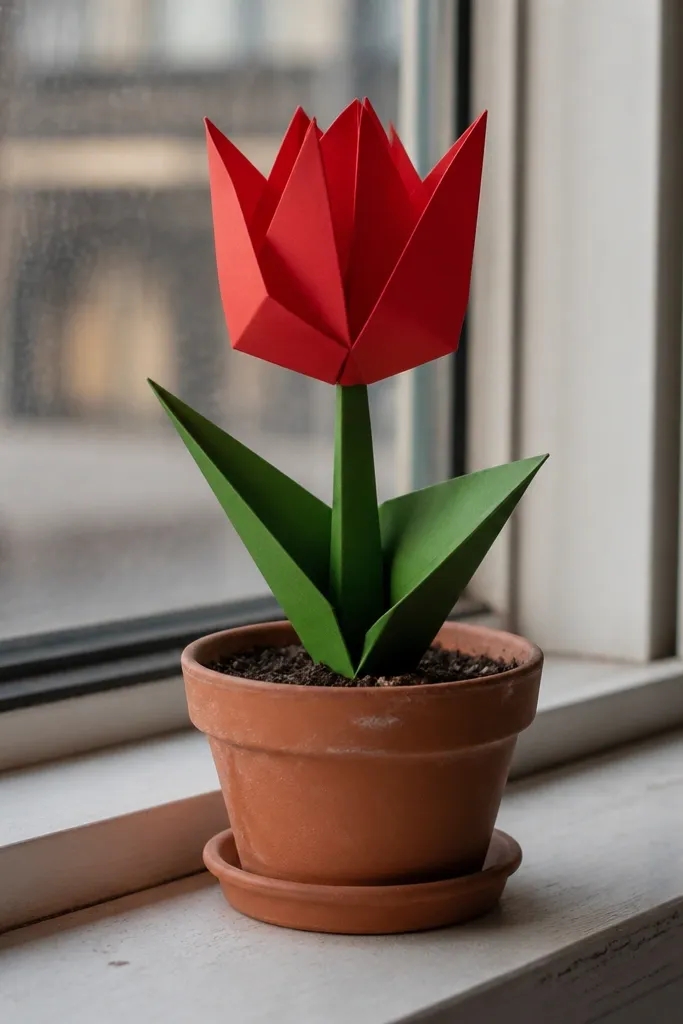
If you like modern, clean crafts, this tulip is the one. It looks great because the petal tips are sharp and the cup shape holds its form. Red or orange paper makes the flower feel bold, while pastel paper makes it feel delicate without extra decoration. The model is easy enough for kids, but the finished silhouette looks “designed,” not handmade-by-accident. It also pairs well with simple leaf additions, so you can make a whole mini plant set quickly.
Start with a square sheet and fold to build the base cup shape, keeping edges aligned. Fold the top sections into pointed petal tips by bringing corners in and then smoothing the edges flat. Shape the cup opening by gently lifting the front panel so it faces upward. Add a small leaf by folding a green strip into a simple angled shape and tucking it under the base.
Editor's noteUse a ruler to press the fold lines at the top cup; it keeps the tulip points crisp.
Skip thisDon’t over-open the cup; too much opening makes the petals look thin and weak.
6. Paper Daisy With Sunburst Center Tabs
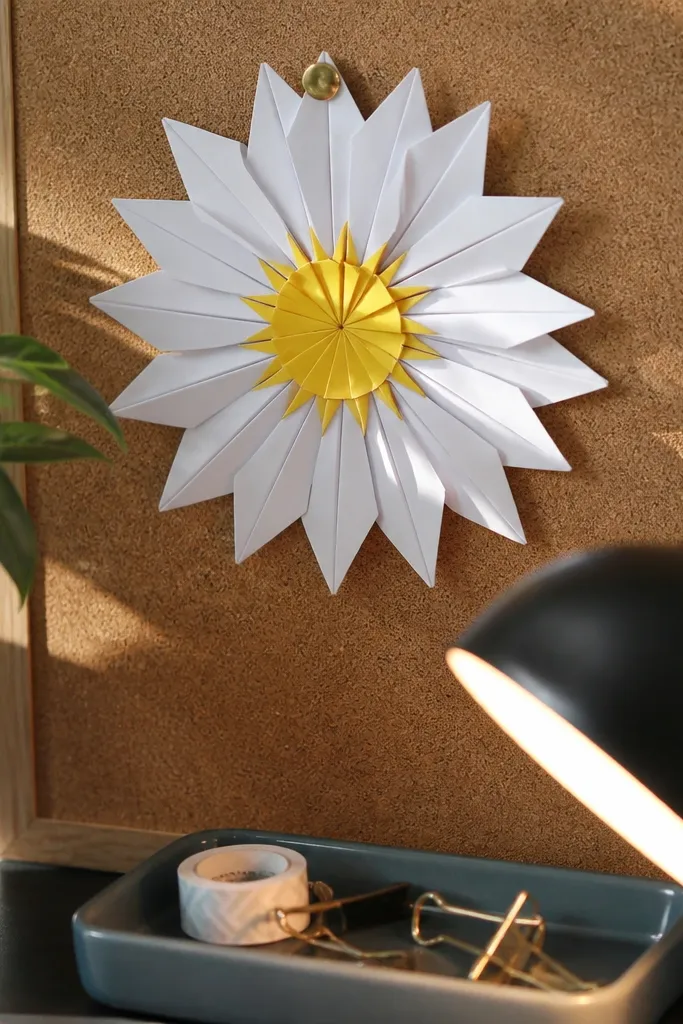
This daisy looks bright because the center has starburst tabs, not a flat circle. That extra structure catches light and makes the flower look more complex than it is. White petals with a yellow center look classic, but you can flip it with black petals and a neon center for a more graphic look. It works as a single flower ornament or a repeating pattern on a craft banner. Kids will like it because the petal folds repeat and the center has a satisfying “click” shape when you tuck tabs.
Fold a base that creates the daisy petal positions, then fold each petal outward to form uniform teardrop shapes. For the center, cut or fold a small strip into tabs that radiate from the middle. Attach the tabs so they stand slightly above the base. Press the middle flat last so the petals stay evenly spaced.
Trim the petal tips by 1-2 mm after folding if your paper is thick; it sharpens the daisy look.
Don’t glue the center too early — you need to check petal spacing before it sets.
7. Tiny Five-Petal Flower for Gift Tags
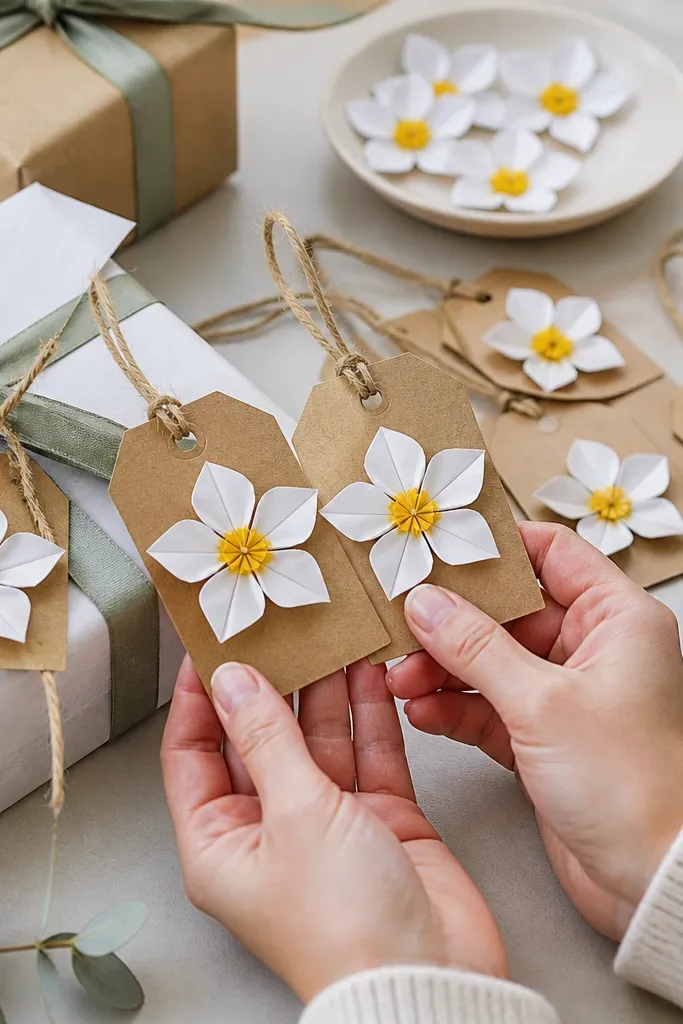
This is the flower you make when you need something cute fast. It has five clear petals and a center that reads even when the flower is small. Use a 4x4 inch square if you’re adding it to a gift tag so it stays proportionate. The look is clean and symmetrical, which is what makes it photogenic — the petals don’t drift or overlap. It’s also a great practice model for kids because the folds are simple and the final shape is easy to judge.
Use a small square paper and fold to create the petal symmetry lines. Form each petal by folding corners into a consistent pocket shape, then open the flower slightly so petals separate. Add a tiny center by folding a small square and tucking it into the middle. Finish by bending each petal outward by the same amount for a balanced silhouette.
Use double-sided decorative paper so the inside looks good too when the petals separate.
Don’t make the center bulky; tiny flowers need a thin center to stay flat.
8. Layered Heart Flower With Blush Center
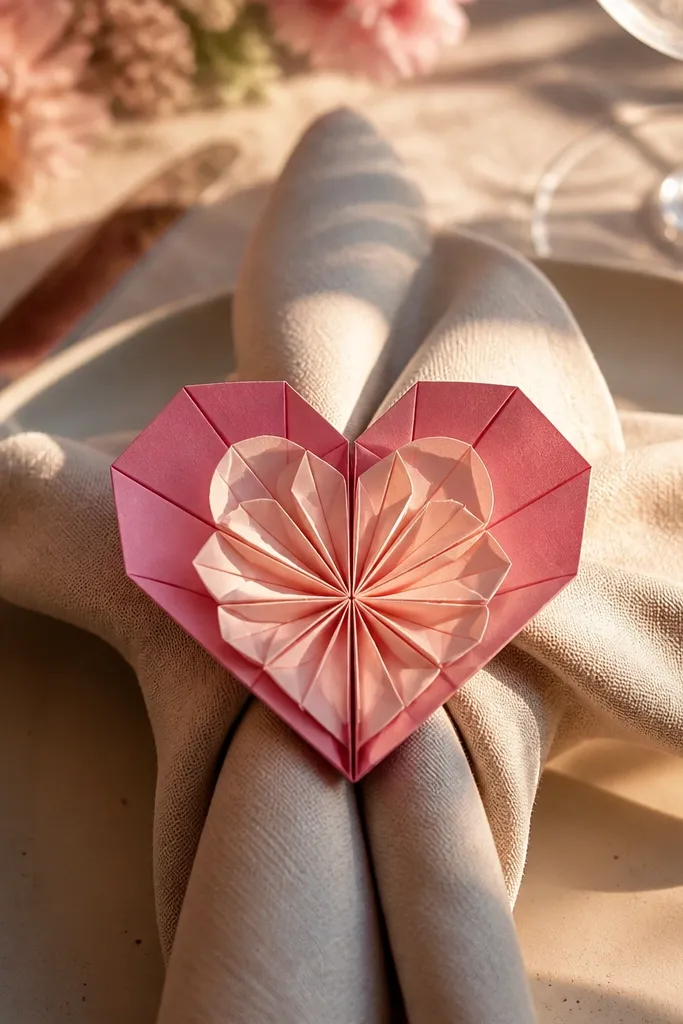
Heart-shaped petal layers look sweet and romantic without extra drawing. This one is photogenic because the heart outline creates a clear shape even at arm’s length. Use two pink shades so the inner heart layer looks like a soft highlight. The blush center keeps attention on the middle and makes the petals feel intentional. It’s a good pick for Valentine crafts, teacher gifts, and kids' party decorations where you want something cute and tidy.
Fold the base to create the heart petal structure, then shape each petal by folding the top into a pointed heart tip. Build the first layer, then repeat for a second layer in a lighter pink. Stack the second layer so it peeks out evenly around the edges. Press the base flat, then gently curve the heart tips outward for a fuller look.
Editor's noteUse thin origami paper for the top layer so it curls naturally and doesn’t fight you.
Skip thisDon’t stack layers unevenly — one offset layer ruins the symmetry.
9. Paper Orchid With Side-Petal Wings
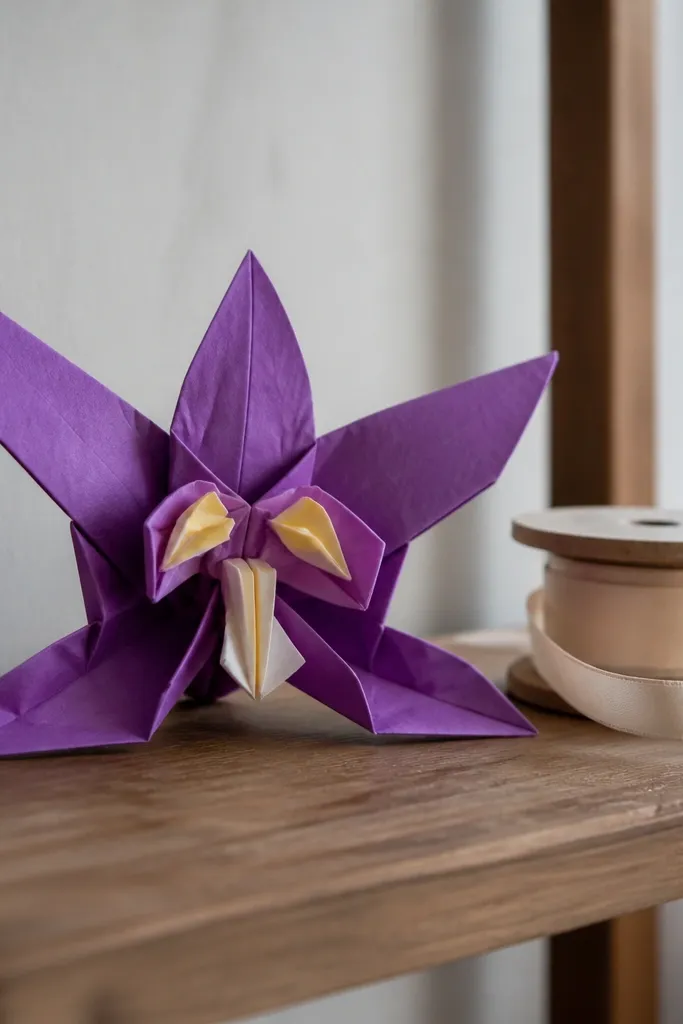
Orchids look fancy because the petals extend sideways. This easy orchid uses side-petal wings that create a dramatic silhouette without needing lots of tiny folds. Choose a main color like purple and a contrasting lip color like white or pale yellow so the center looks like a “growing” shape. The model is great for making a small cluster on a wall or for dressing up a plain vase. It’s not the fastest option, but the results look upscale on camera.
Start with a square in your main orchid color and fold the base into a simple flower platform. Fold the side petals outward using corner folds, then create a central lip by tucking a small section inward. Add the contrasting lip color by attaching a small folded piece at the center. Finish by adjusting the wings so both sides mirror each other.
Editor's noteUse a bone folder or the back of a spoon to sharpen the wing creases; it keeps the orchid edges clean.
Skip thisDon’t leave the wings floppy — flat wings look like a star, not an orchid.
10. Aster Flower With Folded Fringe Petals
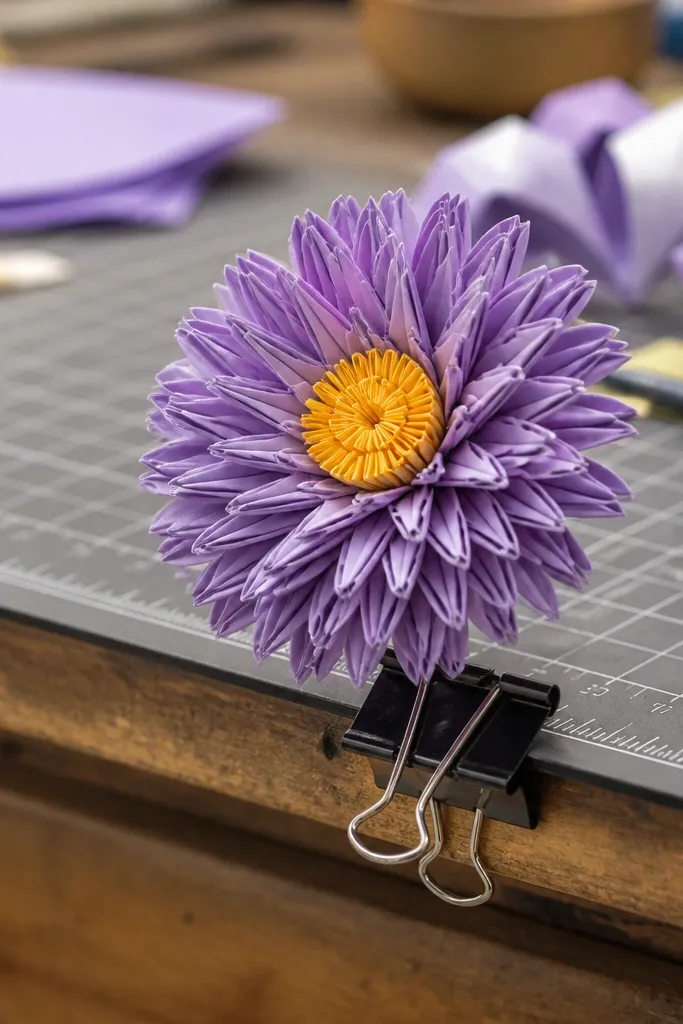
This aster looks soft and airy because the petals have a fringe effect. Instead of smooth points, you create tiny folded segments that give a textured look. That texture is what makes it photogenic — it catches light and looks fluffy without actual fabric. Use lavender for the petals and a warm yellow center so the flower has contrast. It’s a satisfying intermediate-easy model because the folds are straightforward but you do more of them to create the fringe.
Start with a square paper in lavender and fold into a grid-like structure so you can create segmented petal edges. Fold the petal edges into small repeated folds, keeping each segment tight. Form the flower base so the fringe segments fan outward. Add a small yellow center circle and press the middle to lock everything in place.
Keep your segments the same width by measuring with a ruler once, then fold by eye the rest of the way.
Don’t mix segment sizes; the fringe will look uneven and messy.
11. Paper Poppy With Black Center Pinwheel
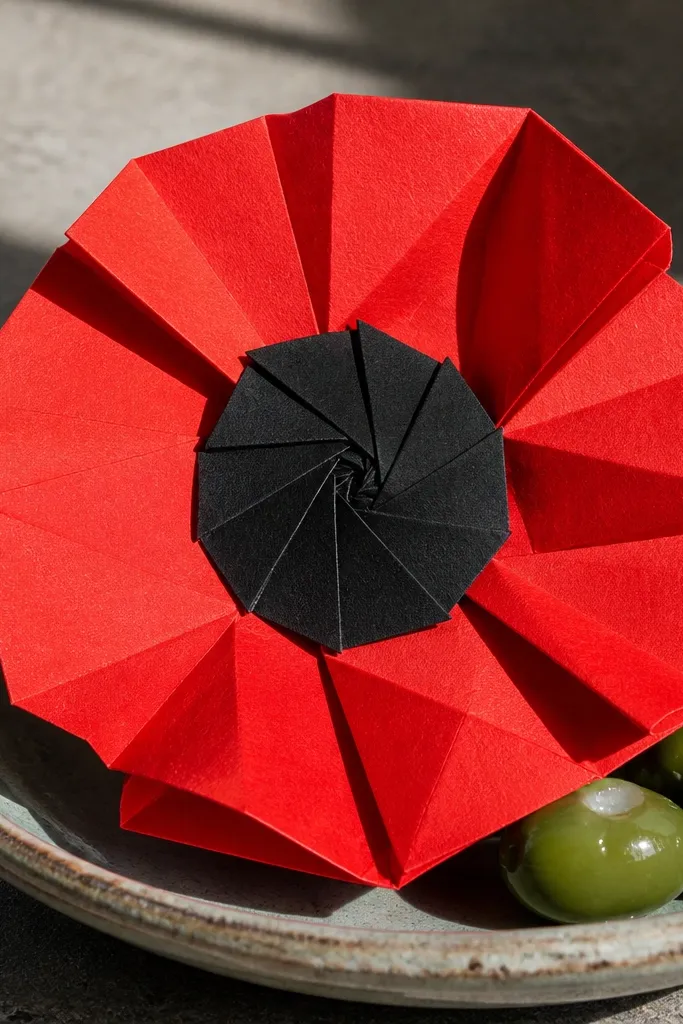
Poppies are dramatic, and this easy version hits that drama through one thing: a pinwheel center. Red petals give the main color, while the black center adds contrast that reads instantly in photos. The petal folds are simple enough for kids, but the center makes it look like a real flower head. It also works well as a single statement craft on a wall or as a set where each flower points in a slightly different direction.
Fold the red paper to create petal sections, then shape each petal outward so the flower opens like a cup. Build the black center as a small pinwheel by folding thin strips and connecting them at the middle. Attach the pinwheel into the flower center and press gently so it stays centered. Adjust the petal angles to create a natural “open poppy” look.
Use matte black for the center; shiny black reflects and can hide the pinwheel shape in photos.
Don’t glue the pinwheel off-center — it throws off the whole flower’s symmetry.
12. Origami Daisy Chain Flower (No-Sew Garland)
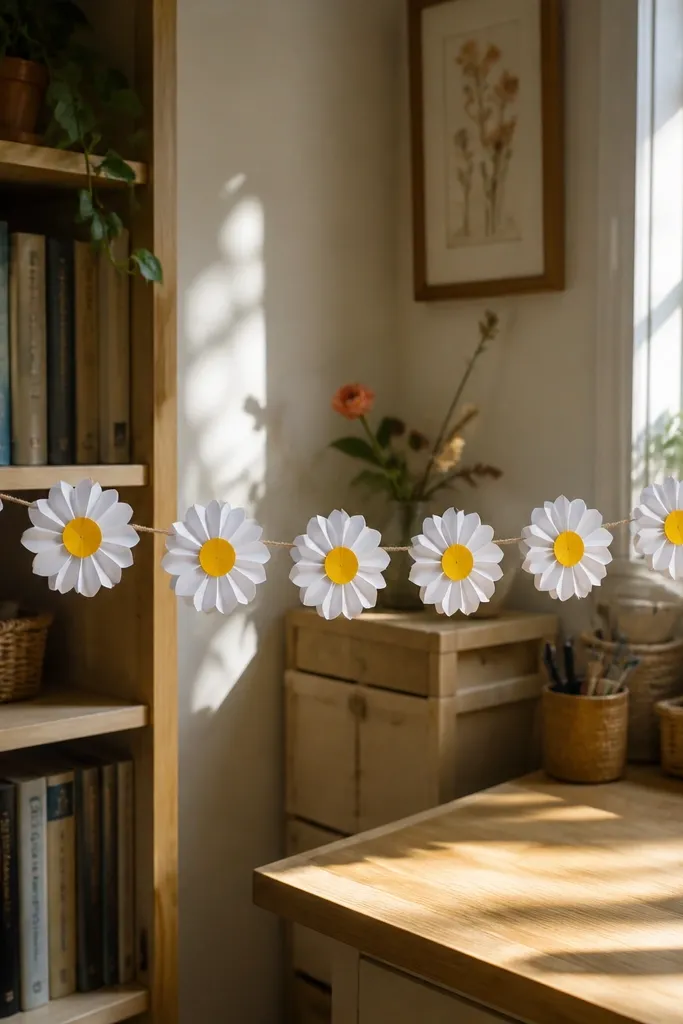
This isn’t just one flower — it’s a garland concept that still fits the easy category. Each daisy is fast, but the chain connection makes it look like a real decoration instead of a single craft. The aesthetic win is repetition: matching white petals and bright yellow centers create a clean rhythm. You can hang it on a kid’s room shelf, wrap it around a mirror, or attach it to a paper lantern. It’s also forgiving, because tiny variations in petals look like charm instead of mistakes.
Make a small daisy model using a consistent square size for every flower. Instead of finishing each flower with a totally closed base, leave a small connector flap at the back. When you finish each daisy, slide the connector into the next flower’s pocket before pressing it shut. Continue until you reach your desired length, then straighten the chain by gently pinching each flower base.
Editor's noteUse two slightly different yellows for centers if you want a “handmade garden” look without losing the clean pattern.
Skip thisDon’t make connectors too thick; thick connectors make the garland stiff and hard to hang.
13. Five-Petal Star Flower With Metallic Edges
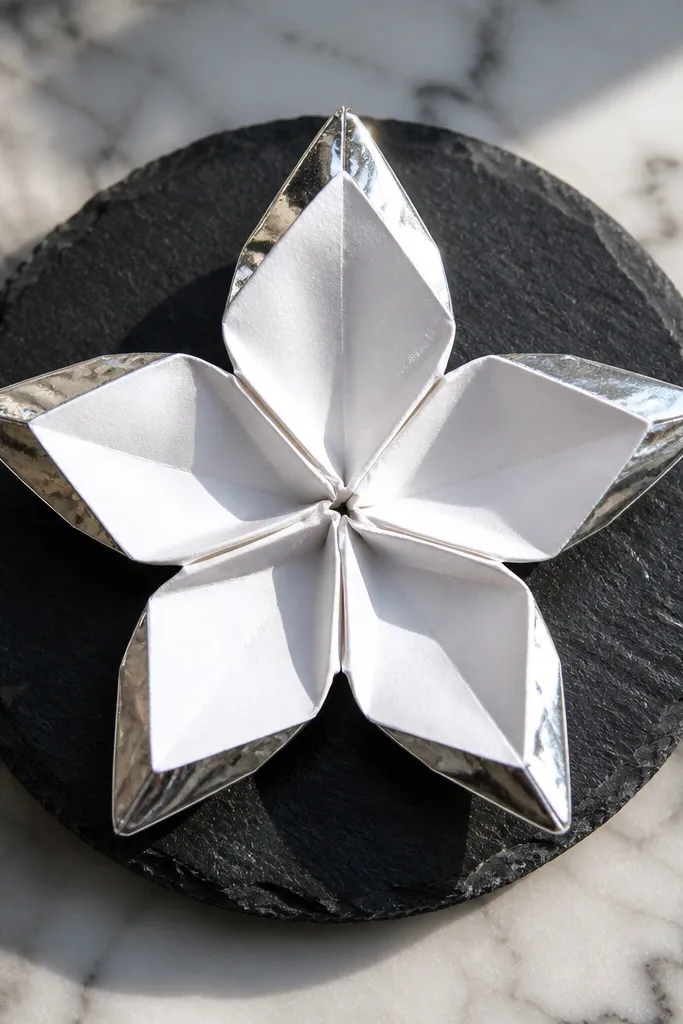
This flower looks like a starburst because the petals point outward evenly. It’s photogenic even with plain paper because the geometry is bold and symmetrical. Use metallic craft paper or foil paper for just the petal edges — the shimmer adds that “wow” look without making the whole project complicated. It’s a great pick for kids because it’s easy to check: if the petals line up, the flower looks right immediately. Hang them as ornaments or attach to a birthday banner.
Fold a square into a star-like base using symmetry folds so the petal points land evenly. Create five outward petal points by folding corners into consistent angles around the center. Add metallic paper by using it as the outer layer or by trimming the outer petal shape from metallic paper and layering it. Finish by pressing the base flat and adjusting each petal so it points outward at the same height.
Use a sharp craft knife or scissors to trim metallic paper — it tears less cleanly than regular paper.
Don’t press too hard on metallic paper; it can crack along the fold.
14. Peony With Rolled Outer Petal Bands
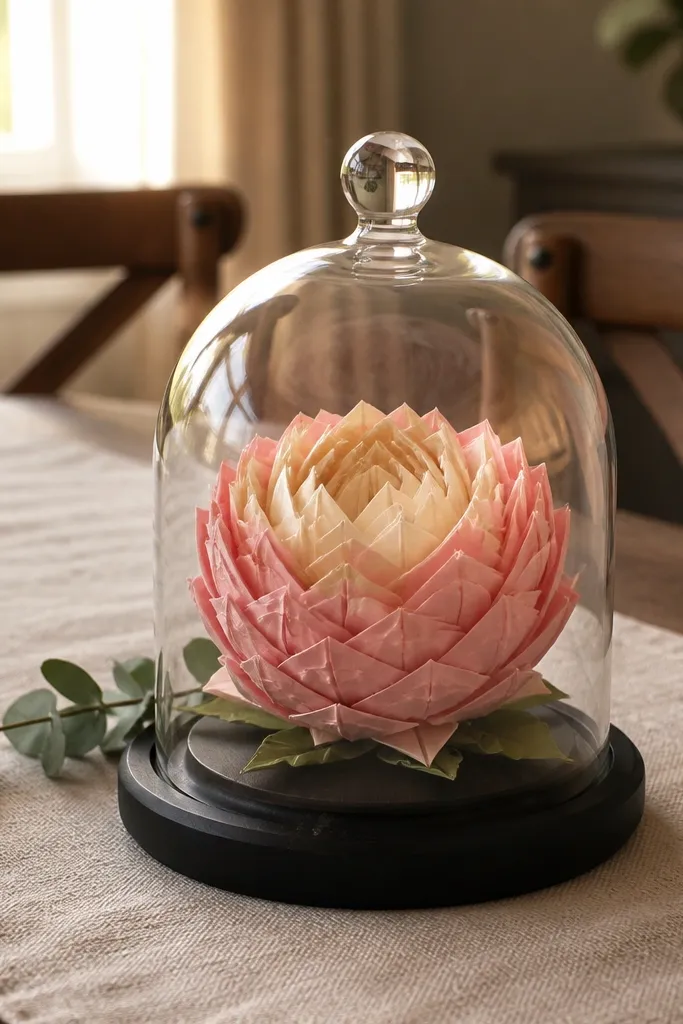
Peony looks lush, and this easy version gives you that fullness through rolled outer bands. The outer petals look layered because the folds create a thick rim. Use blush pink for the outer band and cream for the inner so the flower has a warm glow. It’s a strong choice for centerpieces because the flower has a big, round silhouette that reads from across a table. You’ll spend more time shaping than folding, but the folding steps stay manageable.
Start with a square in blush and fold to create a base that can support a rolled rim. Roll the outer sections inward as bands, keeping the roll tight and even. Build an inner layer with a lighter cream square and tuck it behind the rolled rim. Finish by fluffing the rolled petals gently outward so the peony looks round instead of flat.
Editor's noteRoll with a pencil or chopstick to keep the curl consistent across bands.
Skip thisDon’t over-fluff at the start; roll first, then shape the fluff at the end.
15. Four-Leaf Clover Flower Hybrid
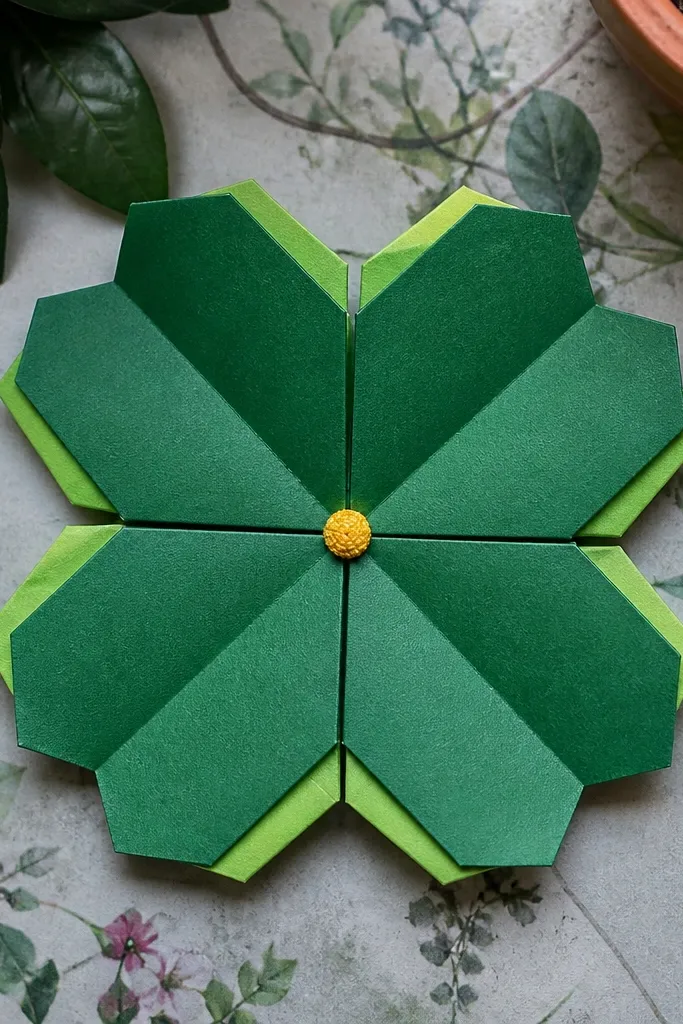
This hybrid looks playful and photogenic because it has a clover-like layout that’s instantly recognizable. It’s not a complex flower, and that’s the point: the silhouette does the work. Use two green tones so the top layer looks slightly darker and the underside looks lighter. Add a tiny contrasting center, like yellow or white, so the middle doesn’t blend into the leaves. It’s perfect for St. Patrick’s Day crafts, but it also works year-round as a cute hanging decoration.
Fold a green square into a base with four symmetry sections. Shape each section into a leaf-like petal by folding the corners inward and then smoothing the edges outward. Add a small center folded square and tuck it into the middle. Press the base so all four petals sit at the same angle and the clover shape looks balanced.
Editor's noteCut tiny notches at the leaf tips after folding for a sharper clover outline.
Skip thisDon’t make all four petals the same exact size if your folding is uneven; slightly varying sizes hide small mistakes.
16. Paper Forget-Me-Not With Tiny Center Dot
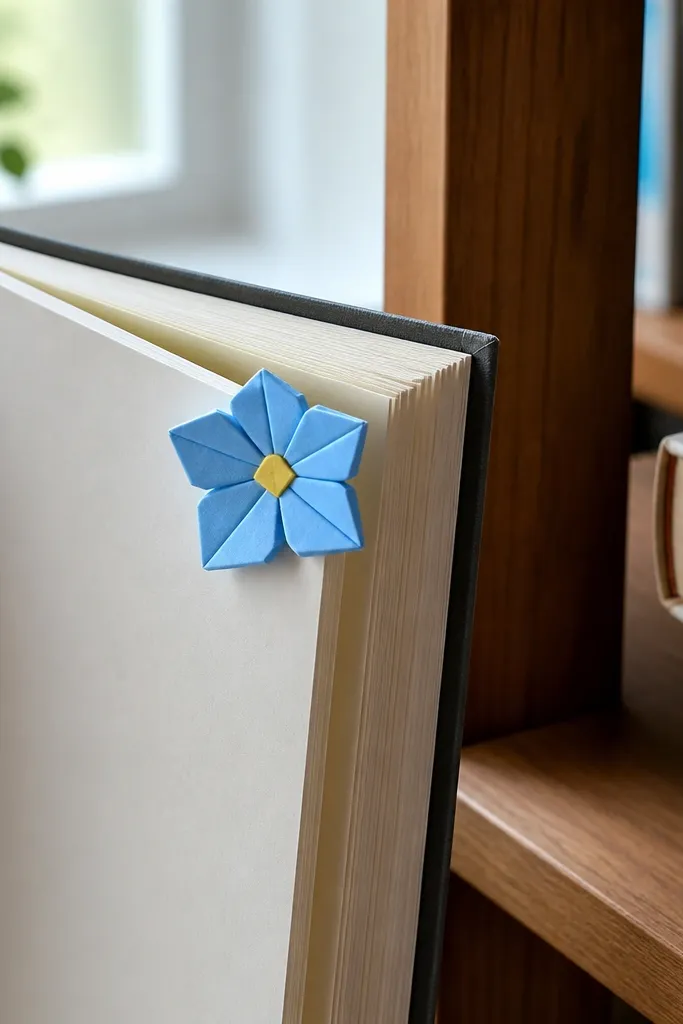
Forget-me-nots look delicate, and the photogenic part is the tiny center dot. This model keeps the petals simple but makes the center crisp, so the flower reads as a real bloom. Use light blue paper for petals and a tiny yellow square for the center dot. It’s a good choice for kids because the flower is small, takes little paper, and the result looks neat even when you’re still learning fold accuracy. Pair them into a mini bouquet or scatter them on a craft table.
Fold the blue square to form the five petal sections using symmetry lines. Shape each petal outward with corner folds so they separate slightly. Create the center dot by using a tiny yellow folded square or a small rolled paper bead. Tuck or glue the center dot into the middle, then adjust petal spacing so all five petals show.
Use a toothpick to place the center dot precisely without tearing the petals.
Don’t use a large center — tiny flowers need a tiny middle.
17. Open Hydrangea With Puffy Center Rings
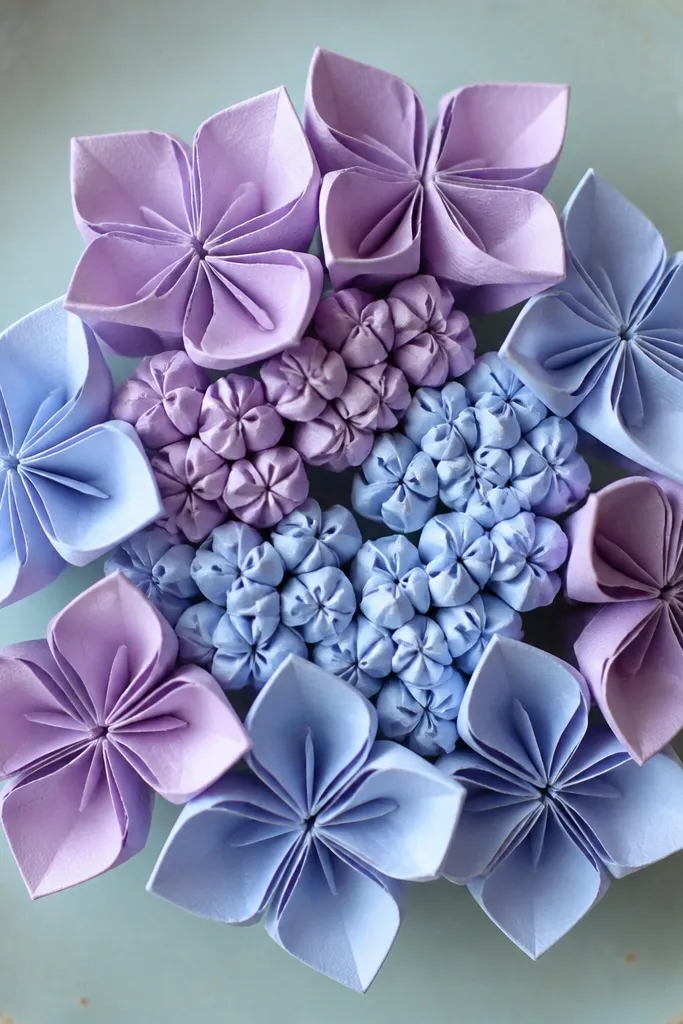
Hydrangea looks like a cluster, and this easy model mimics that through puffy center rings. The petals look soft because the folds create round, layered rings instead of flat points. Use pastel purple and blue combinations so the flower looks airy and gentle. This is one of the best “looks expensive” projects for the effort — the puffiness makes it feel like a real flower head even with paper. It’s also great for making a group of flowers that look cohesive.
Use two or three pastel colors in separate squares for different ring layers. Fold each square into a ring-like petal shape by creating repeated folds that open into a rounded center. Assemble rings from smallest to largest, tucking each ring behind the previous one. Finish by fluffing the rings outward slightly so they form a layered hydrangea dome.
Press the ring edges lightly, then puff — too much pressing flattens the dome.
Don’t stack rings too tightly; tight stacking removes the puffy look.
18. Glowing Paper Rose With Gradient Petals

A gradient rose reads as “glowing” because the petal edges shift color across folds. Even if your folds aren’t perfect, the gradient hides small asymmetry and makes the shape look intentional. The center should be tight and the outer petals should open slightly to show the gradient layers. This project is a great use for leftover paper scraps or craft paper with pre-painted gradients. It’s still easy because the model depends on a simple roll-and-tuck structure, not complex tiny petals.
Cut or use gradient paper squares so each petal layer has a slightly different shade. Fold and roll the base to create a tight center, then tuck the outer sections outward. Shape each outer petal with your fingers so the gradient edge shows at the top. Finish by pressing the base and lightly fanning the outer petals so the rose opens without collapsing.
If your gradient paper has obvious streaks, rotate the square so the darkest shade sits at the outer rim.
Don’t use a gradient that’s all one tone — you need light-to-dark contrast across layers.
19. Origami Lily With Curved Petal Edges
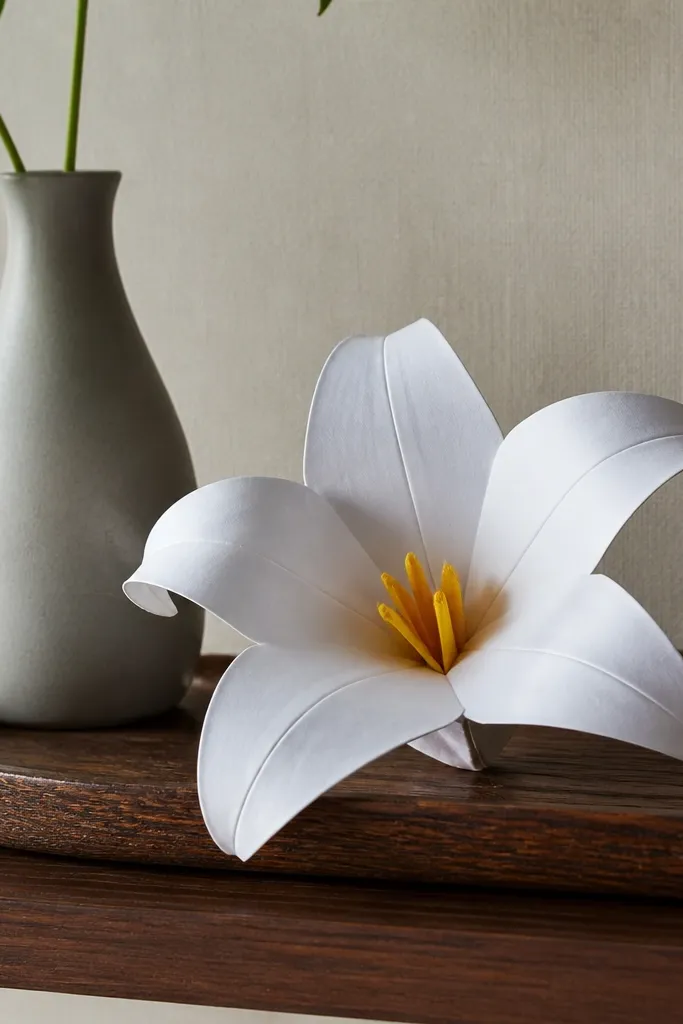
Lilies look elegant because their petals curve back slightly. This easy lily model focuses on curved edges so the flower has a graceful shape instead of a flat star. White paper makes it feel crisp, and a yellow center gives the flower a clear focal point. It’s also a good “step up” model for beginners who can handle a few extra folds but still want an easy build. The final shape looks great on cards, gift boxes, and as a small bouquet accent.
Fold the base to create a petal structure, then shape each petal by folding the edges inward and pinching to create a curve. Build the center by folding a small yellow piece and attaching it in the middle. Adjust the petal curves so they sweep backward slightly, not straight outward. Press the base flat once the petals are shaped so the lily stays stable.
Editor's noteUse thicker paper for lilies so the petal curves hold without springing back.
Skip thisDon’t flatten the petals after shaping; you lose the lily curve.
20. Paper Blossom Bow Flower
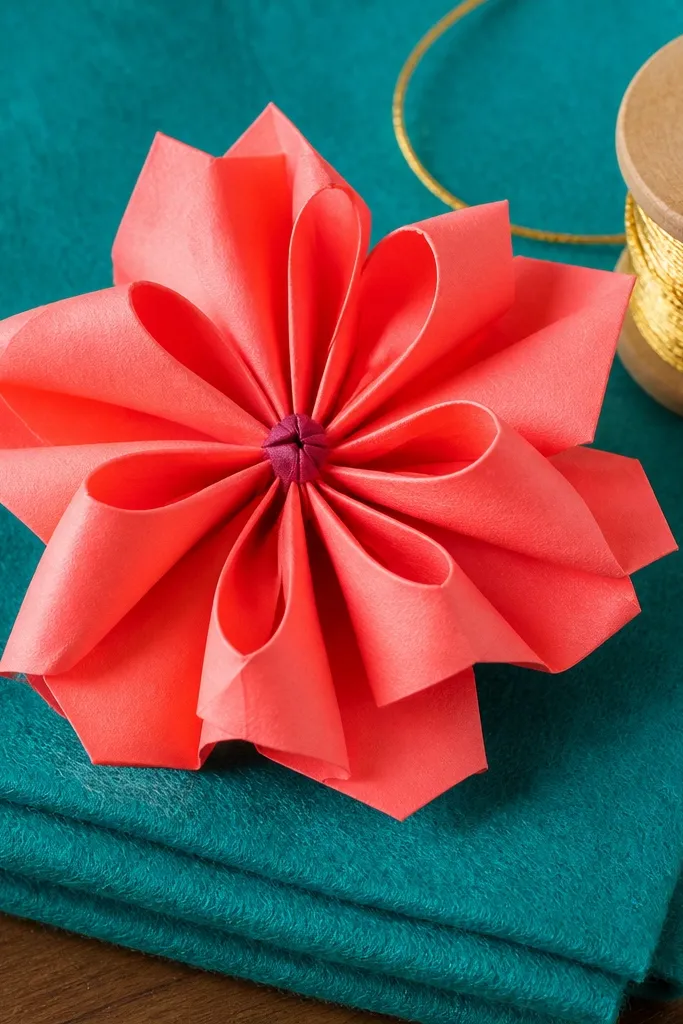
This flower looks like a bow and a blossom at the same time, which is why it photographs so well. The petal folds create a looped effect that looks playful and dimensional. Use bright solid colors like coral or teal for a clean pop, then add a small darker center knot for contrast. It’s a fun choice for kids because it feels like a craft accessory, not just paper folding. The finished flower looks great attached to a headband, a gift wrap ribbon, or a classroom door decoration.
Fold a square to form a bow-like base with two sides that fold toward the center. Create looped petal sections by folding corners and tucking them so they sit like small bows. Attach a small folded center knot in a darker shade. Finish by fluffing the loops slightly and pressing the base so it stays attached to a ribbon or clip.
Reinforce the center knot with a tiny dab of glue on the underside only.
Don’t glue the loops — it makes the flower look stiff and flat.
21. Butterfly Flower With Petal Butterflying
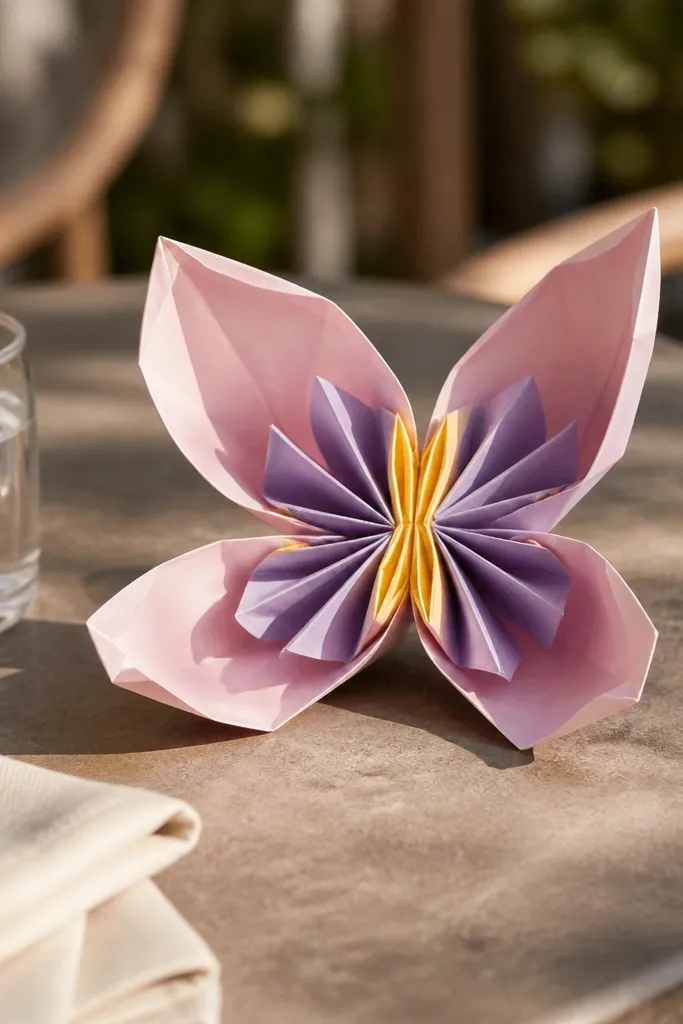
This one is photogenic because the petals open sideways like wings. That shape makes the flower look dynamic even when it’s sitting still. Use pastel paper so the wings look soft, then choose a contrasting center so the middle stays readable. It’s great for spring-themed crafts and for kids who like imaginative designs. The fold pattern is manageable because the main work is shaping a base and then opening the petal wings to the same angle.
Fold the square into a base that supports four or five petal wings. Shape each wing by folding edges inward and then opening them outward to a consistent angle. Add a small center piece by folding a tiny square and inserting it into the middle. Adjust wing symmetry by comparing both sides — small differences show up fast in photos.
Use a straightedge to set the wing angle — press both sides at the same time.
Don’t leave one wing folded too tightly; it will look like a mistake, not style.
22. Origami Rose With Cup-and-Swirl Center
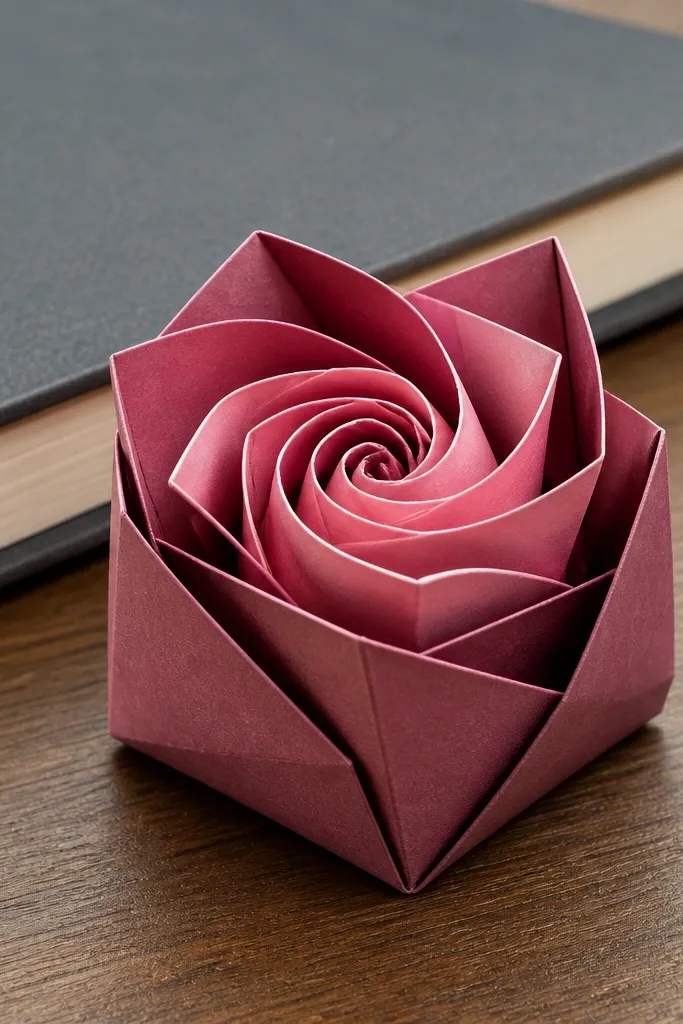
This rose looks good because the center has a swirl instead of a flat dot. The cup base makes it feel layered, and the swirl draws the eye straight to the middle. Choose a darker outer color and a lighter inner color to show the swirl depth. It’s an excellent “first rose” for beginners because the model uses a small number of fold types but you still get that classic rose silhouette. Plan to spend a little extra time shaping the swirl — that’s where the beauty comes from.
Start with a square in your outer rose color and fold the base creases that form the cup. Create the swirl by rolling a small inner section and tucking it into place inside the cup. Add a lighter paper panel for the inner swirl so it shows clearly. Finish by pressing the base and adjusting the outer petals so they curve outward slightly.
Roll the swirl around a toothpick for tighter curls and cleaner edges.
Don’t make the swirl too tight; if it’s too compact it won’t sit inside the cup.
23. Open Star Daisy With Layered Ridges
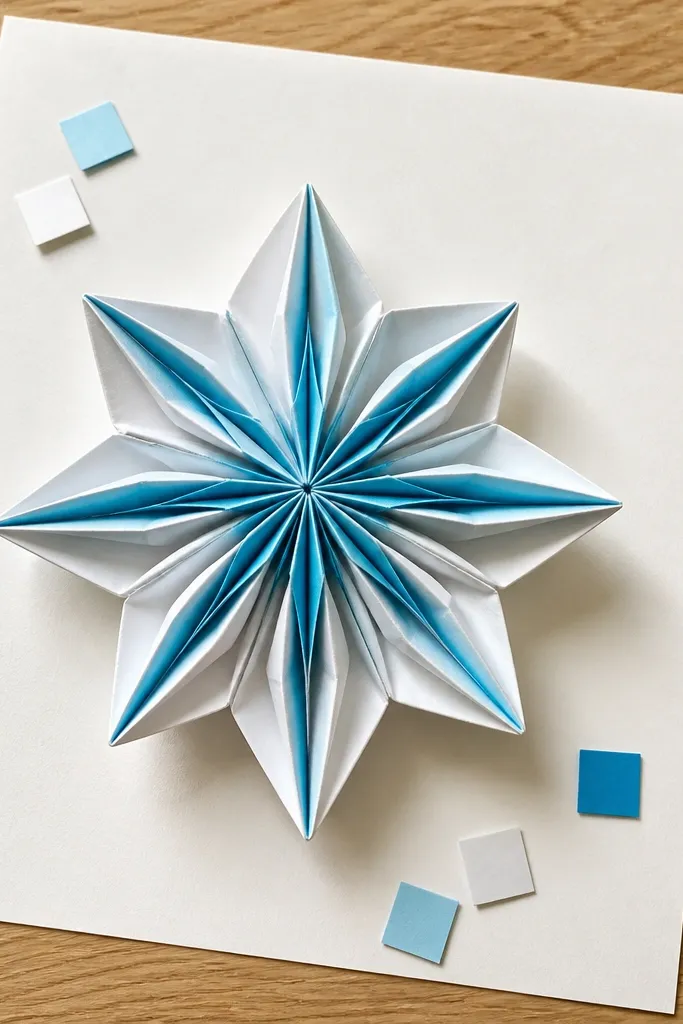
This flower looks like a starburst daisy because the petals have visible ridges. Those ridges come from folded layers that create a striped look when light hits the paper. Use white petals with a teal or light blue accent so the ridges stand out. It’s great for making a set of matching flowers — the repeated star silhouette looks clean on a wall or table. The build is easy enough for kids, but the ridges need careful pressing so the texture shows.
Fold the base to define the star petal directions, then create ridges by folding small sections back and forth before opening them into petals. Assemble the petals so ridges face outward and line up around the star. Add an accent center by using a contrasting small folded circle. Press each petal ridge with your fingernail or a ruler edge.
Editor's noteIf your paper won’t hold ridge shape, switch to thicker origami paper or craft paper.
Skip thisDon’t skip ridge pressing; unpressed ridges flatten and lose the starburst look.
24. Paper Rosebud With Side-Shadow Petals
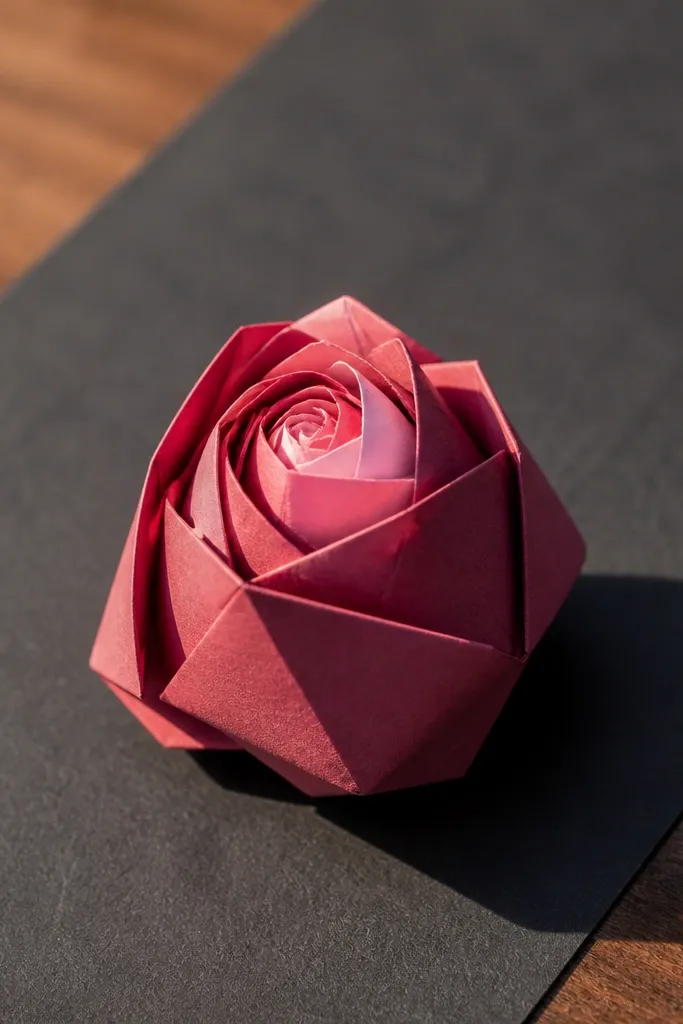
This rosebud is all about shadow — the petals fold in a way that creates darker side planes. That means it looks dimensional even on a simple background. Use mauve or deep pink for the outer paper and a lighter pink for the inner folds. The flower stays small and tidy, so it’s a strong choice for classroom crafts and gift toppers. It’s also forgiving if you’re not perfect with symmetry because the shadow planes add depth that hides slight differences.
Fold the base to create petal sections, then fold each petal inward so one side plane sits slightly higher than the other. Use the lighter paper for the inner fold panels so the shadow boundary is visible. Tuck and secure the base so the bud stays compact. Finish by shaping the top edges so the bud points upward, not sideways.
Editor's noteUse two-tone paper where the colors are clearly different — subtle color shifts don’t show shadow depth.
Skip thisDon’t use thin tissue-like paper; the planes collapse and kill the shadow effect.
25. Candy-Striped Paper Carnation
Carnations look like they have lots of petals, and this easy version gives that look with striped folded layers. The stripes make each folded petal section readable, so the flower looks fuller even when it’s simple. Red-and-white stripes are the classic candy look, but you can swap to pastel stripes for a softer vibe. This is a great option for kids because it’s basically repeat folds and then a final shaping step. It photographs well because the stripes create texture and highlight the petal edges.
Use stripy paper or create stripes by drawing lines on both sides of your paper square. Fold the base to create petal sections, then fold the petal edges outward in repeated steps so the striped layers fan around the center. Attach or fold a small center piece in a solid color to calm the busy stripes. Press the petal edges so the stripes stay aligned and don’t blur together.
Editor's noteCut your stripes with a ruler if you’re marking by hand; straight stripes look much cleaner on camera.
Skip thisDon’t pick stripes that are too thin — they disappear when folds compress the paper.



