
1. Inkjet matte white sticker paper for vintage journaling
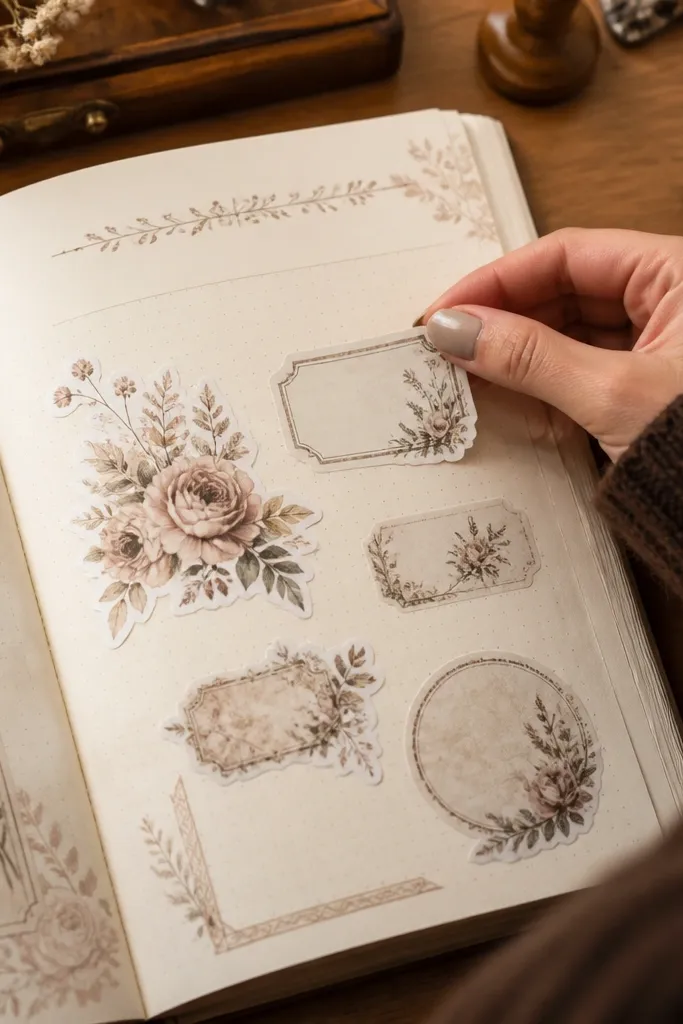
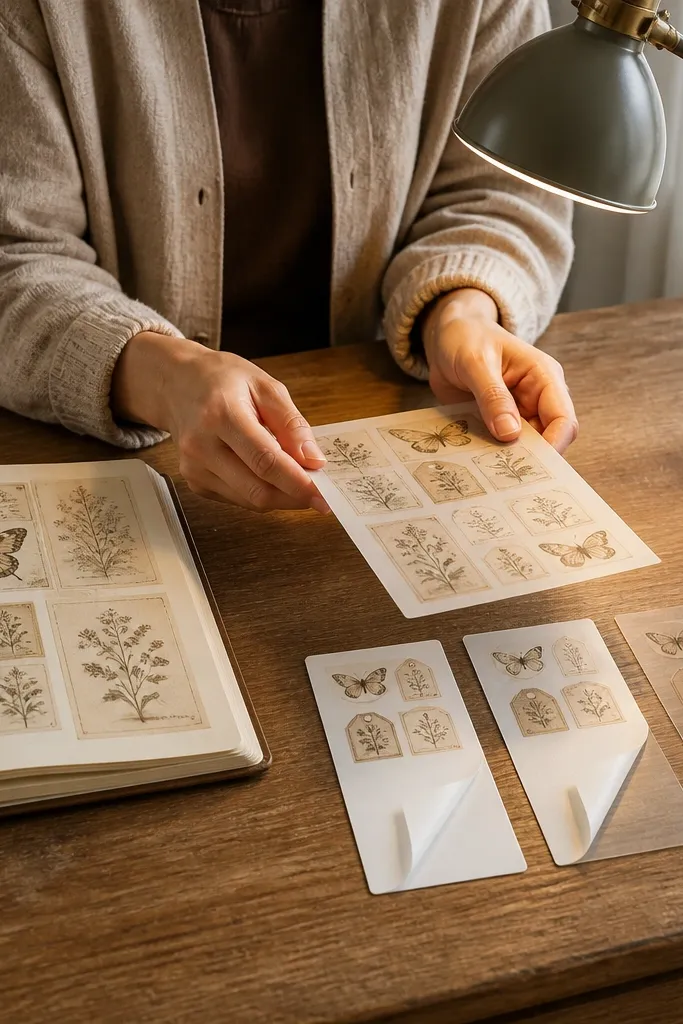
Print at 100% scale on your inkjet using the paper type set to “Matte” or “Plain paper” (match the product recommendation). Let the sheet dry flat for at least 15-30 minutes, then cut with a sharp craft knife or scissors. If you use a cutting machine, do a kiss-cut test with one small corner first, then run the full sheet. Peel from the backing slowly at a low angle to prevent the film from lifting as you work.
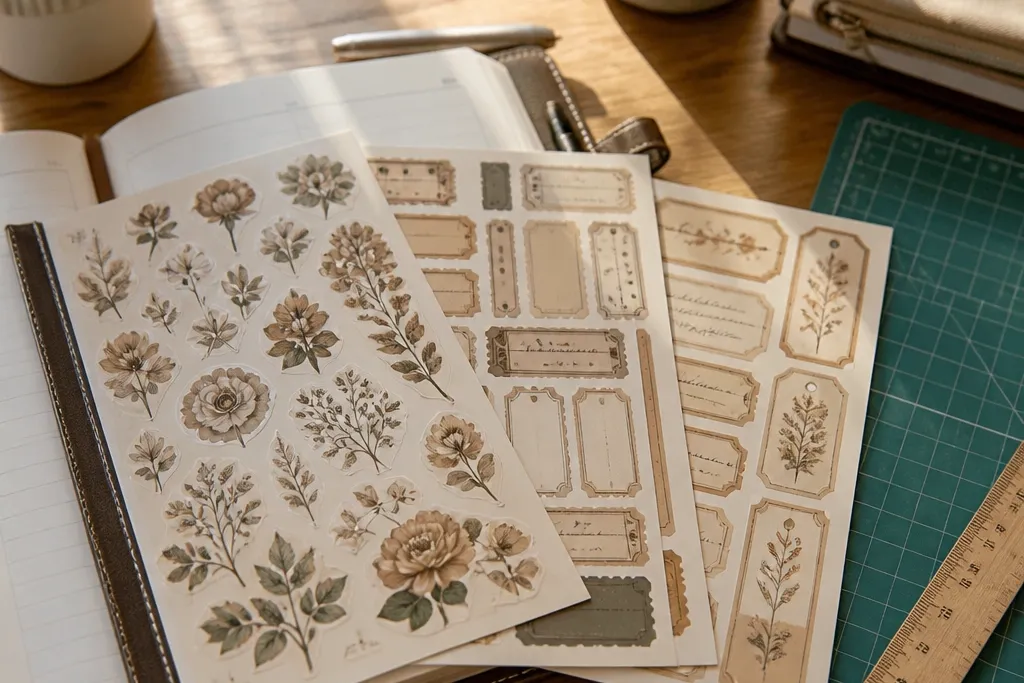
This is the beginner-friendly pick when you want vintage printables to look like they belong in a planner page. Matte white keeps colors softer, which flatters sepia tones and faded inks. The adhesive is usually strong enough for paper crafts but not so aggressive that it rips notebook covers. You’ll get clean-looking edges after trimming because the surface is designed for ink to dry into the matte coating rather than sitting glossy on top.
Skip thisDon’t laminate or seal too early; wet ink under a film causes smears.
Editor's noteUse a fresh blade for hand-cutting — a dull blade makes matte edges look fuzzy.
2. Inkjet matte thicker sticker paper for crisp hand-cut edges
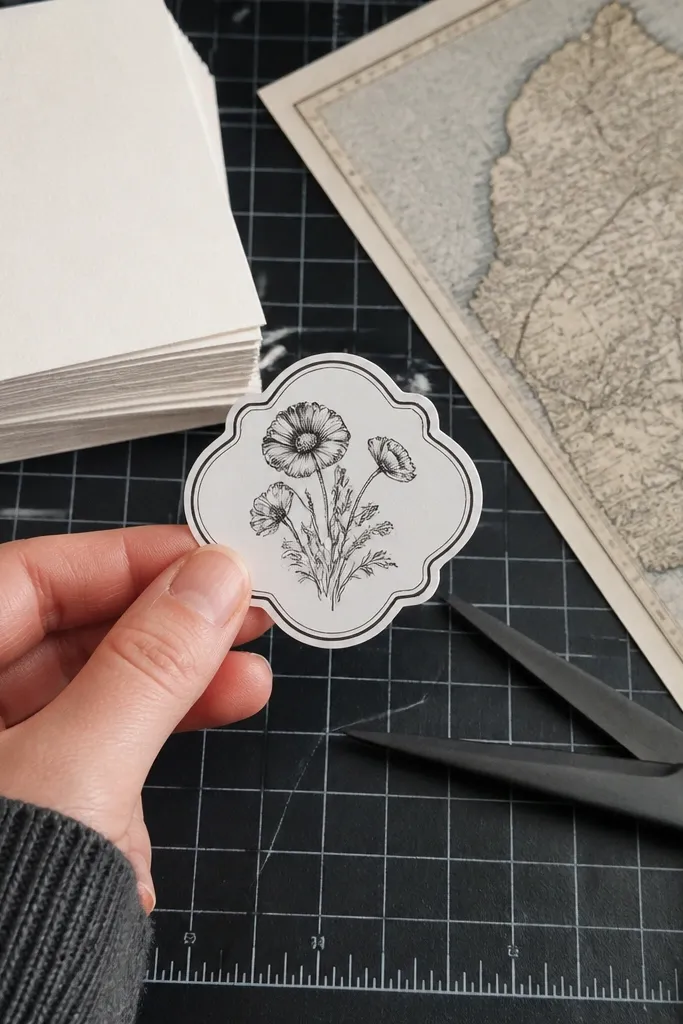
If your biggest frustration is edges that look ragged, go thicker. This type has a heavier face layer and holds its shape better when you trim around small script or thin borders. It also stands up to minor miscuts, which matters when you’re making vintage stickers for kids or quick gift tags. Matte finish still gives that aged-paper look, but the thicker face keeps it from curling as quickly.
Print your sheet, then dry flat for 30 minutes before trimming. Cut using a metal ruler and craft knife for straight lines, or use micro-tip scissors for curves. For kiss-cut machines, reduce blade depth slightly and run a one-sticker test to confirm the backing peels cleanly. After cutting, store unused sheets flat under a book so the corners don’t lift.
If you see white edge lift, press the sticker down firmly for 20 seconds before peeling the backing further.
Avoid cutting immediately — thin, freshly printed ink can drag.
3. Inkjet white printable sticker film for bright vintage backgrounds
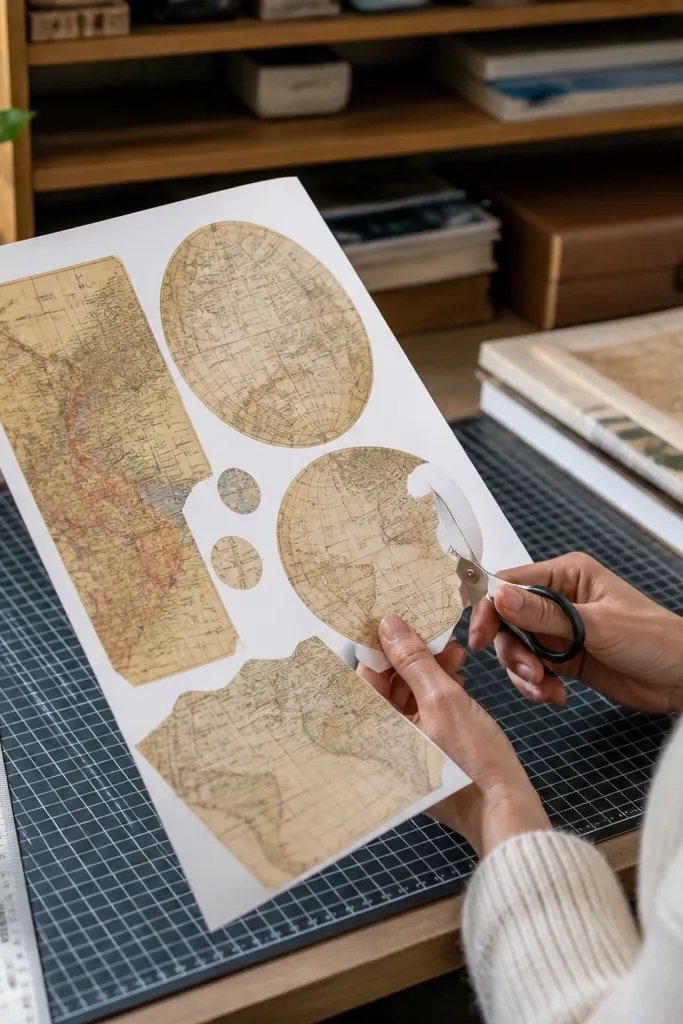
Print using the film setting in your inkjet driver, and keep the sheet flat while it dries. For best results, wait at least 45 minutes if your printer runs humid or the room is cool. Cut with a cutting machine for clean edges, or use a fresh blade and slow, controlled passes for hand-cutting. Peel the backing gently and apply the sticker using a scraper card so the film doesn’t trap bubbles.
Vintage designs often use cream paper tones, but standard sticker paper can make them look gray or washed out. White printable film solves that by giving you a more uniform white base under your print. It also keeps pale backgrounds readable, especially for vintage maps, ticket stubs, and light parchment textures. The trade-off is that film edges can be more noticeable if you hand-cut badly, so this is best when you can trim carefully or use kiss-cut.
Skip thisDon’t rely on scissors for tiny borders — film shows uneven cuts.
Editor's notePress with a burnishing tool (old credit card edge) to lock down the film at the corners.
4. Inkjet clear printable sticker film for vintage labels on bottles
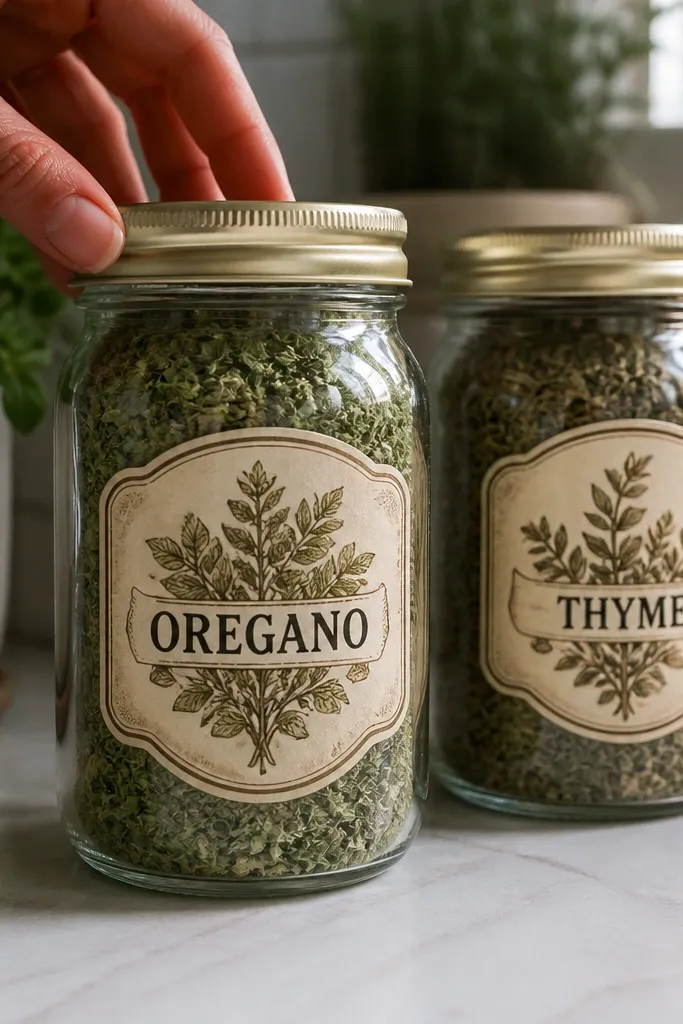
Clear film is a great way to make vintage printables look like they’re printed on the container itself. It’s especially good for labels on glass jars, clear organizers, and kids' drink bottles where you want the background to show through. The finish is usually smooth, so colors look more saturated than matte paper. Just know that clear film doesn’t magically make your vintage yellows look cream — your print still needs good color and a clean, well-dried output.
Print your design, then let it cure longer than matte paper — clear film shows smears more easily. For durability, add a light sealing topcoat made for inkjet prints if the label will get handled. Cut by kiss-cut if possible so you get clean edges without a thick outline. Apply on clean, dry surfaces and burnish slowly from the center outward.
For readable vintage text on dark jars, add a white rectangle behind the text in your design file.
Don’t apply to dusty surfaces; clear film shows grit and makes lifting worse.
5. Inkjet water-resistant clear sticker film for outdoor vintage tags

If your vintage stickers are going on planters, garden stakes, or outdoor gift labels, you want water-resistant behavior. This paper/film type is built to resist smudging from light moisture and to hold up to handling. Matte versions exist too, but the most forgiving are satin or clear water-resistant films. The look stays vintage, but the practical win is that ink doesn’t smear as quickly when kids touch the tags or when humidity hits.
Print with the correct inkjet settings and dry flat until fully matte-looking and not tacky. Cut carefully with a blade designed for sticker film, or use kiss-cut with a test to confirm you’re cutting the face only. Apply with firm pressure and seal edges if the sticker will get wet often. Store leftover sheets flat to avoid curled corners that can pull at the adhesive.
Seal only after full drying; sealing too early locks in moisture and causes cloudy finish.
Avoid thin, cheap clear film — it wrinkles when humidity rises.
6. Inkjet permanent adhesive matte sticker paper for long-wear labels
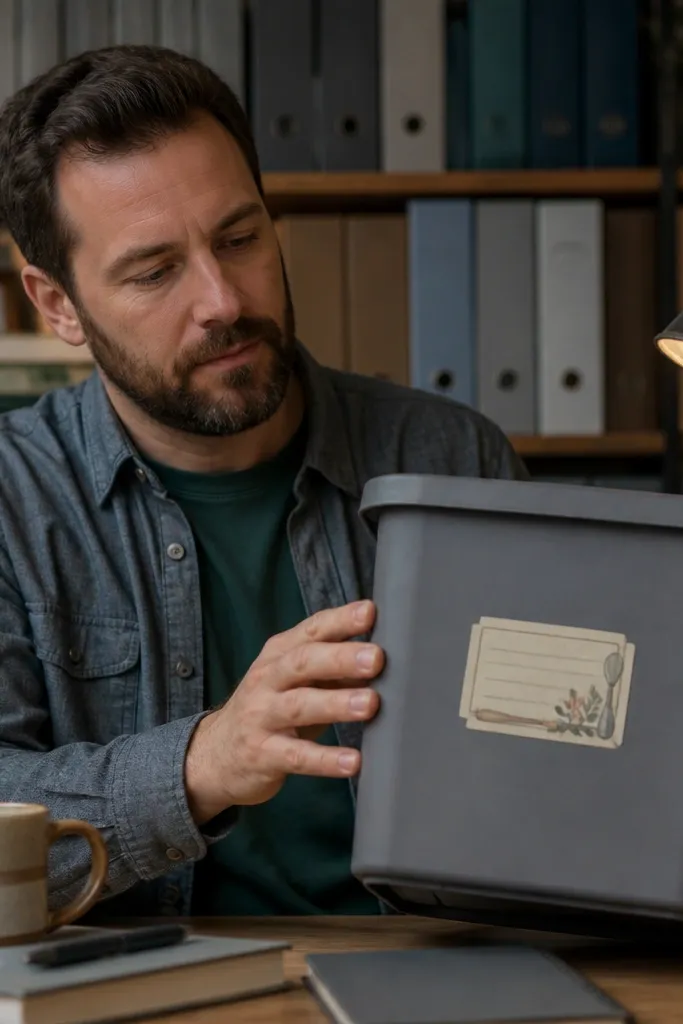
Print and dry flat, then cut using a sharp blade or kiss-cut. Apply to clean surfaces and press from the center outward to remove trapped air. If you’re sticking to smooth plastic, wipe with rubbing alcohol first and let it fully evaporate. For curved surfaces, warm the sticker slightly with a hair dryer on low and press while it’s flexible.
Permanent adhesive is the right call when you’re making labels that should stay put on notebooks, organizers, or storage bins. Matte finish keeps vintage prints from looking like modern brand labels. The adhesive bond is strong enough that minor repositioning doesn’t ruin it, but you should still apply once and press thoroughly. This is a good match for kids' supply bins where stickers get rubbed, carried, and handled daily.
Skip thisDon’t apply over dust — permanent adhesive turns dust into a visible ridge.
Editor's noteWarm application on plastic reduces silvering at the edges.
7. Repositionable inkjet printable sticker paper for kids crafts
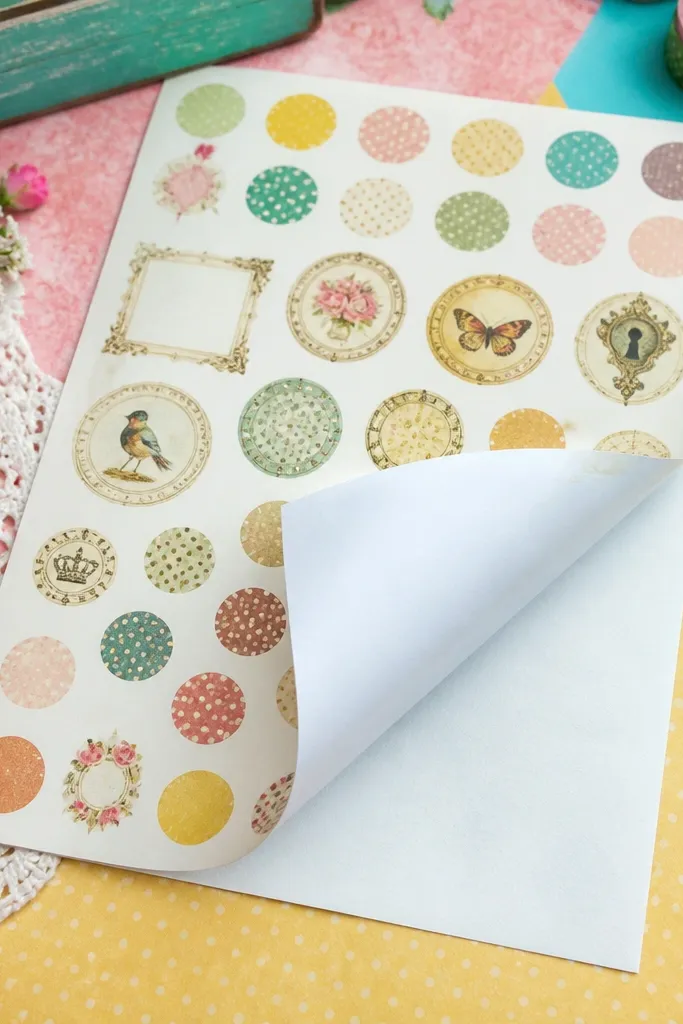
For Budget & Kids, repositionable adhesive is a lifesaver. Kids will move stickers while they’re deciding where things go, and repositionable paper tolerates that without tearing the sticker face. Matte finish hides small print imperfections and keeps vintage colors from looking too glossy. The downside is that repositionable adhesive can fail on porous surfaces like unsealed cardboard if you wait too long, so plan to apply soon after printing.
Print on your inkjet using the correct paper setting and dry flat for at least 20 minutes. Cut shapes and leave the backing on until you’re ready to stick. Place the sticker, press lightly, then lift and reposition if needed by pulling from a corner slowly. For best hold, press with a flat palm for 10-15 seconds once you’re done moving it.
Use repositionable for practice runs and then switch to permanent for final labeling.
Don’t expect it to survive outdoor moisture.
8. Laser matte printable sticker paper for crisp vintage typography
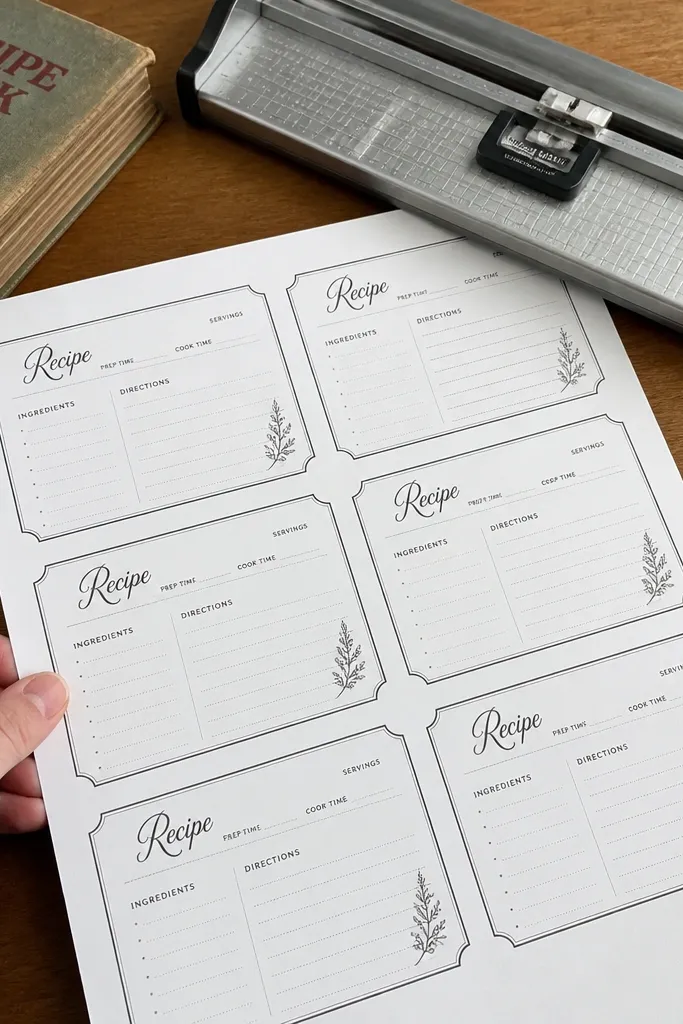
Laser printers handle black text cleanly, and matte laser sticker paper keeps that vintage typography looking sharp. The finish is great for labels, recipe cards, and small script borders where inkjet sometimes looks soft. Matte also reduces glare, which helps when stickers get photographed or used in scrapbooks. The big win is that laser prints usually resist smearing once they cool and settle, so you spend less time babying drying time.
Print on the sheet using the laser driver’s media type set to matte or plain paper as recommended by the product. Let sheets cool fully before cutting to avoid toner smudge. Cut with a sharp craft knife for details or use kiss-cut with a test that cuts through the face without chewing the backing. Apply to a clean surface and press firmly along the edges so the adhesive bonds evenly.
If your laser paper curls, stack it under a heavy book for 10 minutes after printing.
Don’t touch toner immediately after printing — fingerprints smear it.
9. Laser clear printable sticker film for window vintage scenes

Clear laser film is ideal when you want vintage prints on windows, clear planners, or glass-style covers. Laser toner bonds well to film, so the ink tends to look bold and stable. The finish is smoother than matte paper, which makes line art and vintage border graphics pop. The trade-off is cleanup: edges show more if you hand-cut poorly, so kiss-cut or precision cutting matters.
Print with the correct media type for film and let the sheet cool. Use a cutting machine set for kiss-cut, then peel the film carefully from the backing. Apply on clean glass — wipe with glass cleaner or rubbing alcohol and dry completely. Burnish from the center outward to avoid trapped air that makes the vintage print look hazy.
For best readability, add an opaque white layer behind light text in your design.
Don’t apply on foggy or oily glass; clear film highlights it.
10. Inkjet sticker paper with printable liner for clean peel
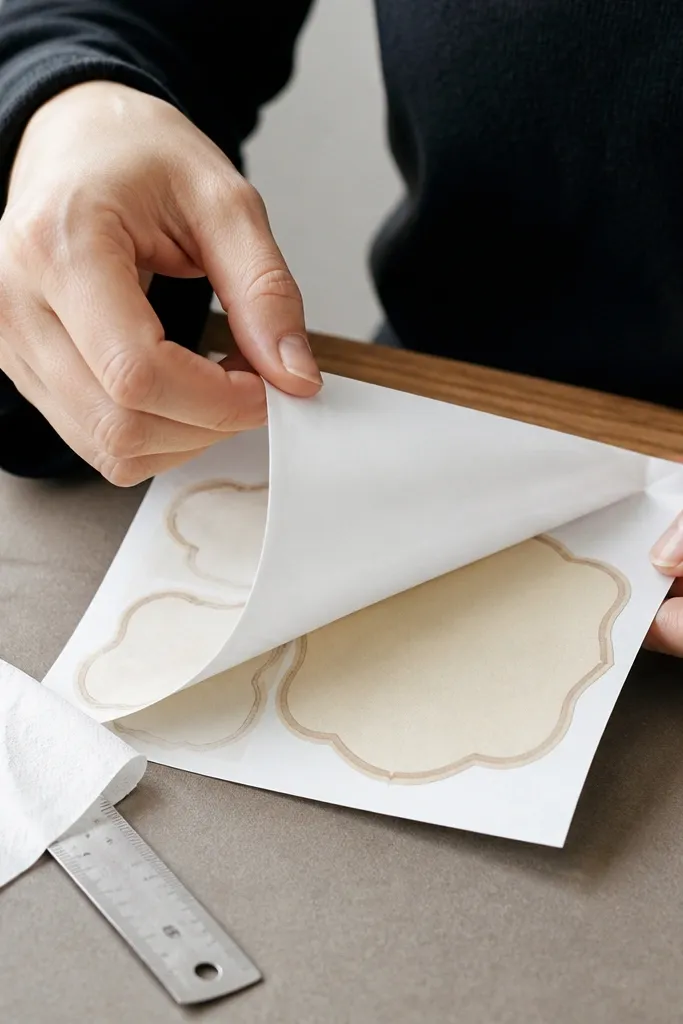
This category is for people who hate fighting the backing. The liner is engineered so it releases cleanly and doesn’t tear when you peel, which is the difference between a beginner-friendly project and a frustrating one. Matte finish keeps vintage designs looking soft and paper-like. It also helps when you’re doing lots of small stickers because consistent peel behavior reduces edge damage.
Print your sheet, then dry flat until the surface looks fully set. Cut using kiss-cut if your machine supports it, then peel the liner slowly at a low angle. If you hand-cut, use a ruler and cut in short passes so the adhesive layer doesn’t grab. Apply by aligning one edge first, then smoothing the sticker down as you go.
If the liner resists, pause and pull slower — yanking causes micro-tears.
Don’t cut too deep; cutting into the liner makes peeling messy.
11. Inkjet matte sticker paper with easy-weed backing for Cricut
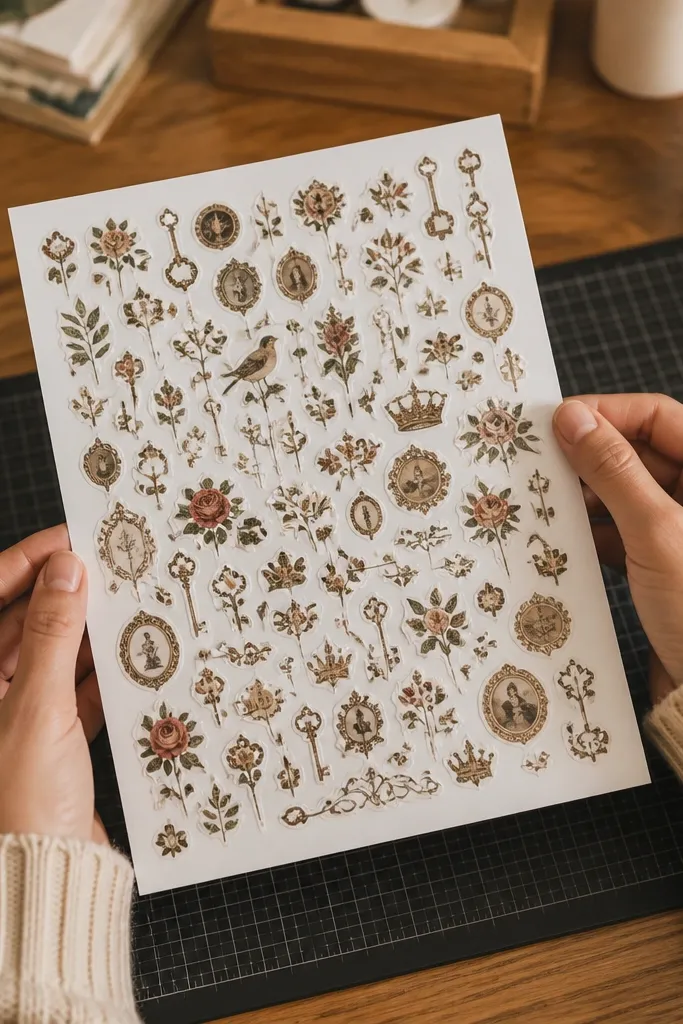
Print, dry, and then run a kiss-cut test with a single icon. Set your blade to a light cut and increase only if the face isn’t releasing cleanly. After cutting, weed the negative space slowly, keeping the sticker sheet flat to prevent curl. Peel and apply each sticker with a scraper card for smooth edges.
If your vintage printable has lots of tiny pieces, you want weeding that doesn’t punish you. This type is designed so the negative space peels away cleanly, which makes small labels, dots, and ornamental frames much easier. Matte finish keeps the vintage vibe and reduces glare during crafting. Beginners like it because the process is less fiddly and you spend more time sticking than fixing.
Skip thisAvoid cutting heavy; deep cuts make tiny pieces detach from the backing.
Editor's noteUse a light grip mat or the backing type recommended for the paper — too much stick makes weeding harder.
12. Inkjet matte sticker paper for scrapbook pages and cards
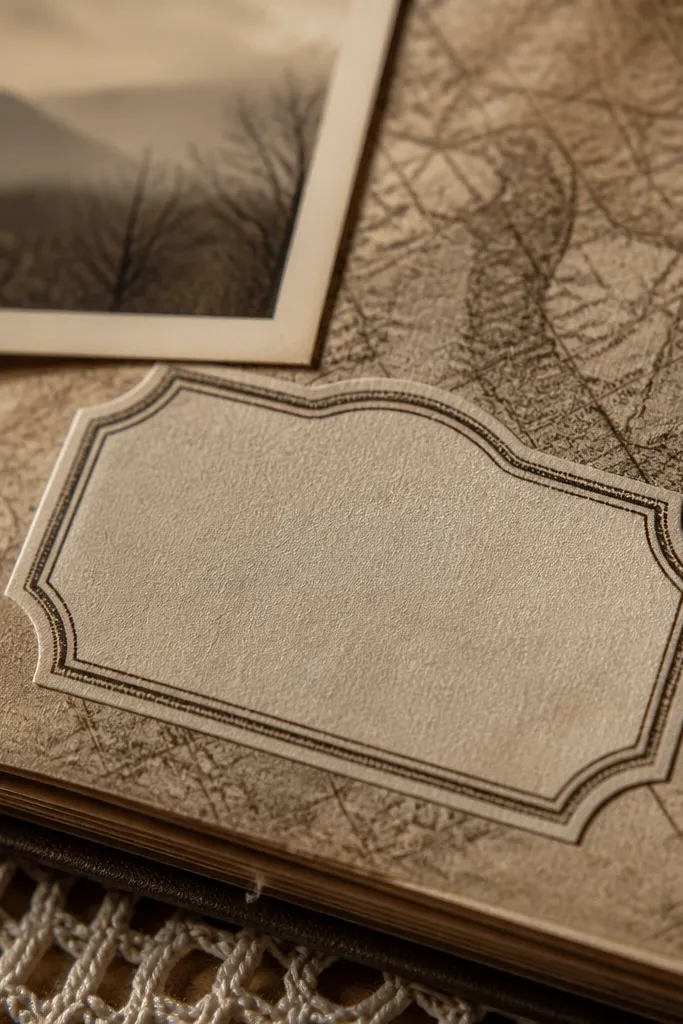
This is the paper choice when the sticker stays indoors and you want it to blend with scrapbook textures. Matte ink absorption gives a paper-like look that matches aged backgrounds and vintage map prints. Adhesive is usually moderate, so it won’t fight you when you place it on cardstock. The finish also hides minor print banding better than glossy film, which is helpful when you’re working with budget ink.
Print using matte settings and let it dry flat. Cut with scissors or a craft knife depending on your design thickness. Apply to clean cardstock and press for 10 seconds so the matte coating contacts the paper evenly. If you’re making cards, let the sheet sit a few hours after application before folding so edges don’t lift.
If your card stock is textured, press with a silicone craft spatula for even contact.
Don’t fold immediately — matte stickers can lift at the crease.
13. Clear sticker film with matte overlay for vintage labels
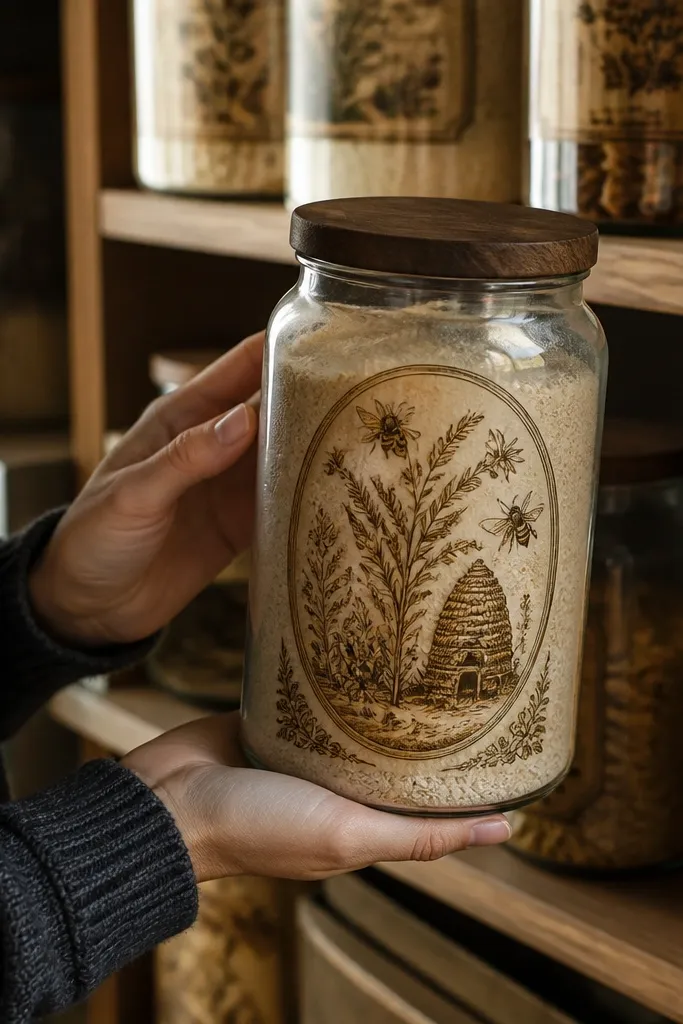
This is a smart middle ground when you want clear film durability but a vintage matte look. The surface reduces glare, so your vintage illustrations don’t look like modern decals under bright lights. It’s a good choice for labels on clear containers where you want the container to show but still want the sticker to look like printed paper. Expect a slightly more complex cut and apply process than basic matte sticker paper.
Print and dry fully, then cut with kiss-cut or precision trimming. Peel slowly and keep the sticker flat so it doesn’t crease. Apply on clean surfaces and burnish carefully, especially around thin borders. For heavy handling, seal the sticker edges with a thin, water-safe sealer made for inkjet or toner prints depending on your printer.
Use a fine-tip spatula to set thin border stickers without stretching the film.
Don’t skip burnishing; matte-over-clear can trap air and look patchy.
14. Laser matte sticker paper with extra hold for storage bins
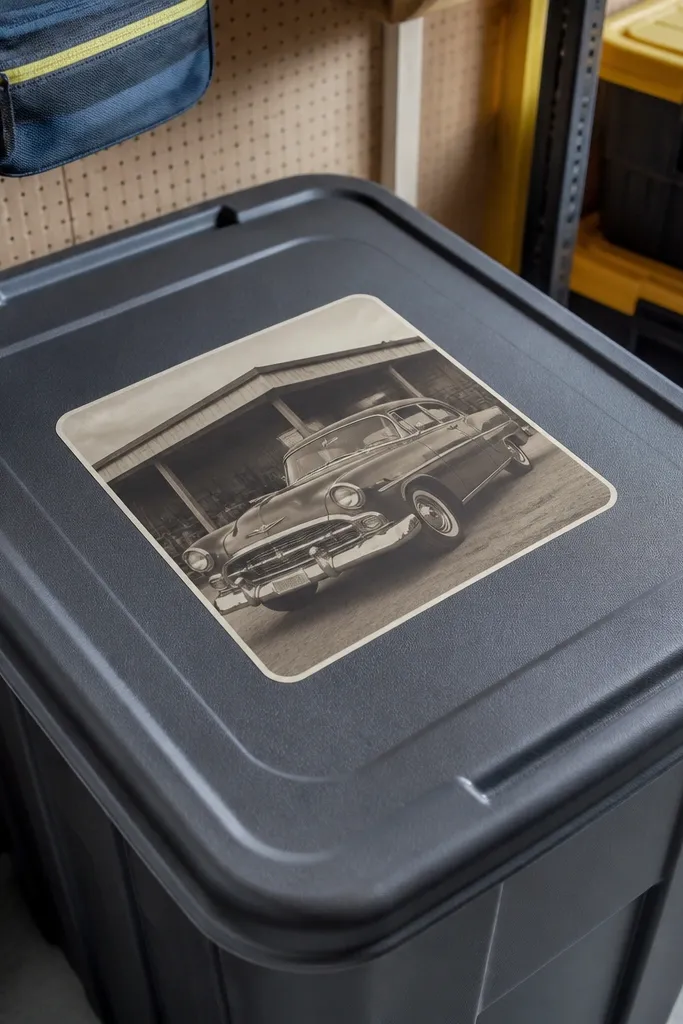
Print and cool fully before cutting. Apply to cleaned, dry plastic and press along edges for a full 20 seconds. If you’re labeling curved bins, warm the sticker lightly and smooth while it’s flexible. Let it sit undisturbed for an hour before heavy handling so the adhesive cures.
When stickers live on storage bins and get handled daily, the adhesive strength matters more than people think. Laser matte paper with extra hold grips smooth plastic and reduces lifting at corners. Matte finish keeps the vintage tone from looking too glossy, which matters for sepia photos and muted icons. This is also a strong choice for classrooms because it stays readable even after lots of touching.
Skip thisAvoid applying on cold plastic directly from a fridge; condensation ruins the bond.
Editor's noteWipe plastic with rubbing alcohol, not just water — it improves edge adhesion a lot.



