
1. Classic Kami Sheets for Sharp Creases
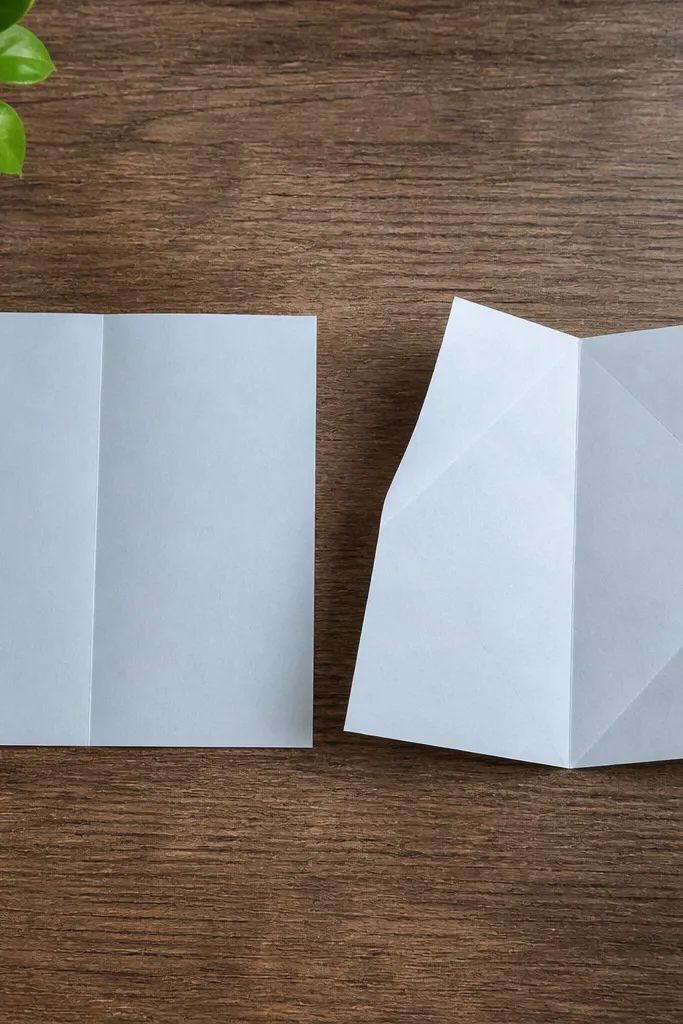
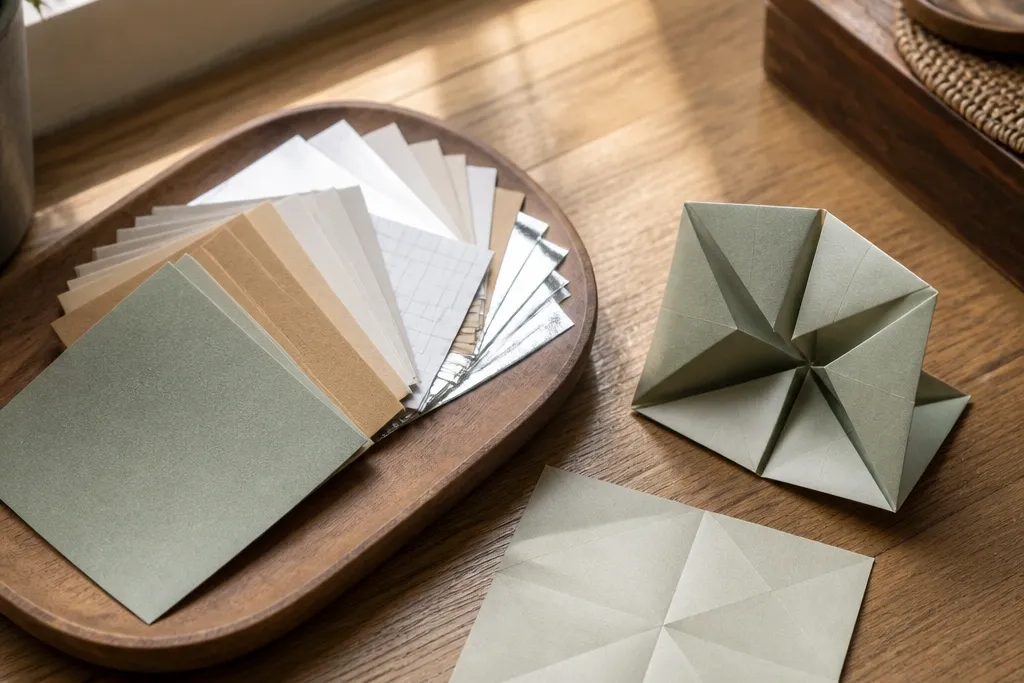
This is the paper I’d start with for beginner-friendly Origami Easy 2 because it’s built for crease control. Kami-style sheets usually have a smooth face and a thin, even body, so corners meet cleanly and the fold line stays visible after you open the model. The look is simple — matte, not glossy — which helps kids see where they already folded. It also forgives small mistakes because the paper doesn’t crack or fight you when you press a crease again.
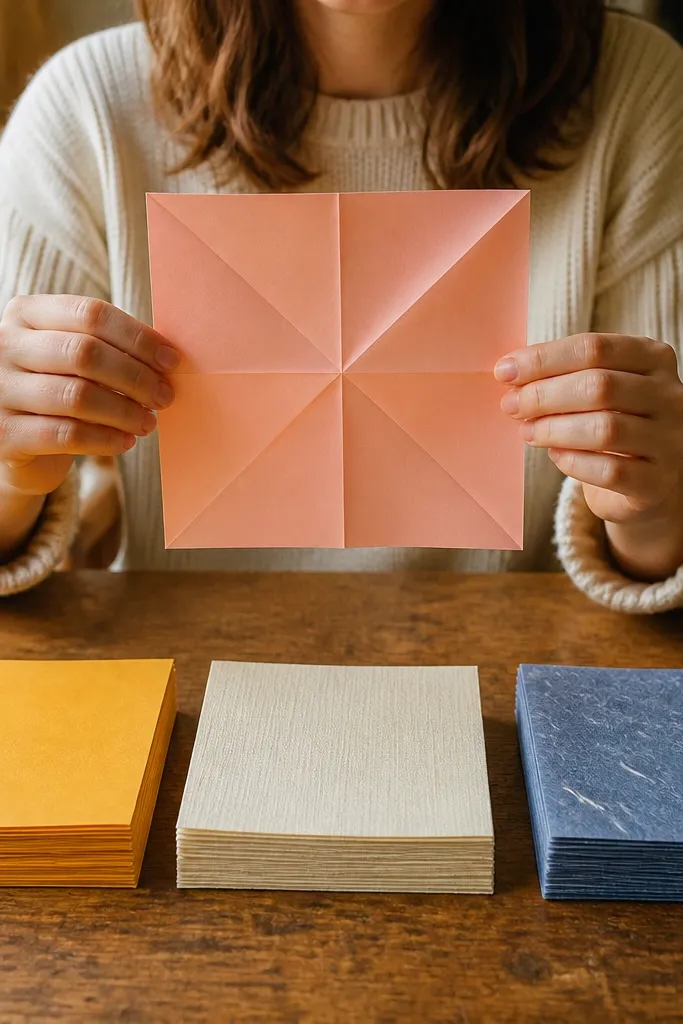
Start by buying squares in the 15-20 cm range so kids don’t have to pinch tiny corners. Fold one reference crease first: take two opposite corners, align them perfectly, then press along the edge with a plastic ruler for 5-8 passes. Unfold and check the crease — if it’s dark and straight, you’re set. Finish by doing each next fold with the same ruler pressure before you move to the next step.
Use a ruler for creasing. Fingertips can leave uneven pressure that shows up as wonky edges.
Don’t choose glossy “photo paper” for Easy 2 folds — the surface makes creases look faint and uneven.
2. Double-Sided Non-Gloss Color Paper (No Coating)
If your goal is clean folds that still look fun, double-sided matte craft paper is a strong pick. It keeps the crease line visible while staying flexible enough for quick practice rounds, which matters when kids open and redo folds. Because both sides match, you don’t get that “wrong side” moment when a model turns outward. The surface is usually smooth enough for crisp edges, and the color helps you track symmetry.
Pick sheets that are evenly colored on both sides and feel matte, not slick. Cut squares to size if needed, aiming for 18 cm for most kids' hands. Make every crease using the same method: align corners, press with a ruler, then hold the fold for 10 seconds before opening. If the paper smears color when you press, switch papers — that coating will ruin long-term neatness.
Editor's noteStore sheets flat with a heavy book on top so edges stay square and folds don’t start offset.
Skip thisSkip paper that feels waxy or slick — it folds, but the crease looks soft and disappears fast.
3. Foil-Backed Origami Paper for High Contrast Models
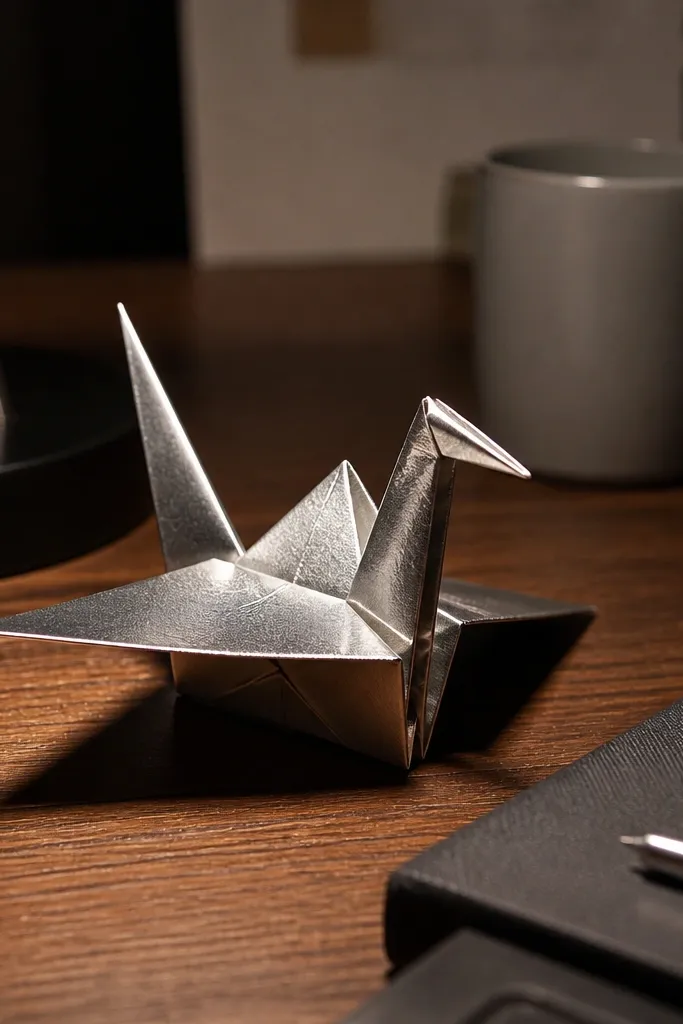
Foil-backed origami paper gives that crisp, high-contrast look that makes easy models look intentional. The metal side catches light, so even simple folds read clearly. For beginner-friendly Origami Easy 2, it’s workable when the foil is thin and the base paper is smooth. The trade-off is that foil can crack if you over-bend, so you need clean alignment the first time and firm, controlled creasing.
Choose foil paper that stays flexible when you fold it once — if it feels stiff, it’s going to crack. Use a lighter pressure for the first crease, then reinforce with ruler pressure along the fold line. Avoid multiple open-close cycles on the same crease; commit after you press. When you finish, keep the model flat for a minute so the crease sets before kids pick it up.
Do one test fold on a scrap square to check for cracking before you commit to the full model.
Don’t crease with your nails hard — foil edges can chip and leave ugly white marks.
4. Washi Sheets That Hold Creases Without Feeling Plasticky
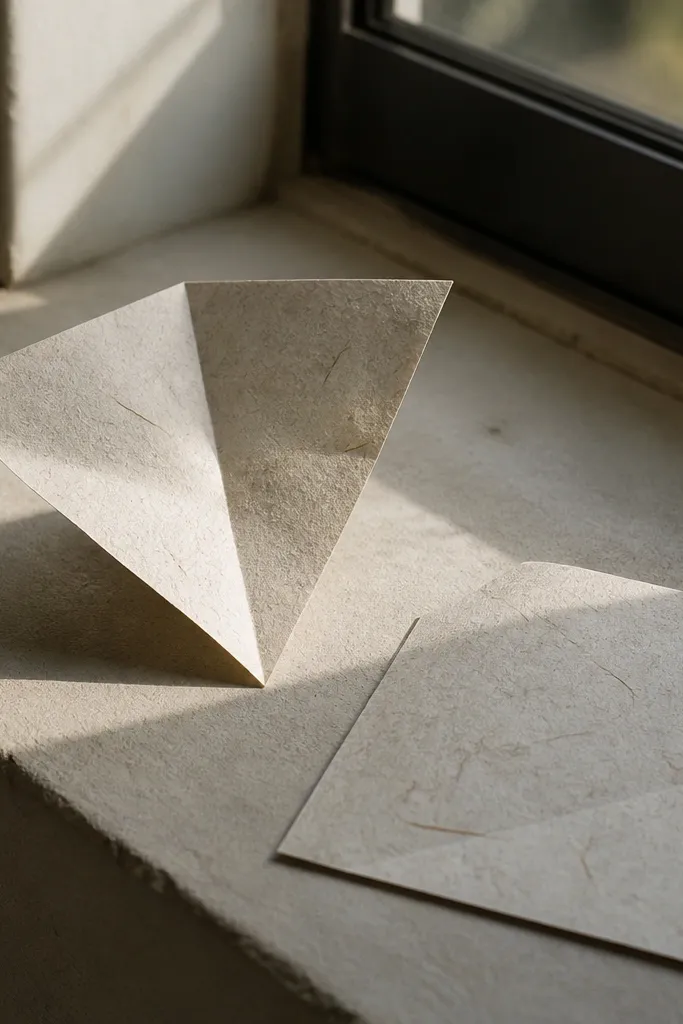
Washi is a good option when you want clean folds but also want the paper to feel natural and not too stiff. Many washi papers crease well and keep a sharp line, especially when they’re made for origami rather than general crafts. The fibers can be visible, and that texture helps models look handmade instead of flat. For Easy 2-style folds, the best washi is smooth-faced and not too thick.
Look for washi marketed for origami, not just “decorative washi.” Start with 15-17 cm squares so kids can manage alignment. Press each crease with a ruler and then flatten the fold with your palm for 5 seconds. If the crease fades after you unfold, the paper is too soft for clean lines — switch to kami or a matte craft paper.
If your washi has visible fibers, crease longer: 8-10 passes with the ruler makes a big difference.
Avoid deckle-edge washi for Easy 2 — irregular edges throw off corner matching.
5. Kraft Origami Sheets for Sturdy, Slightly Softer Creases
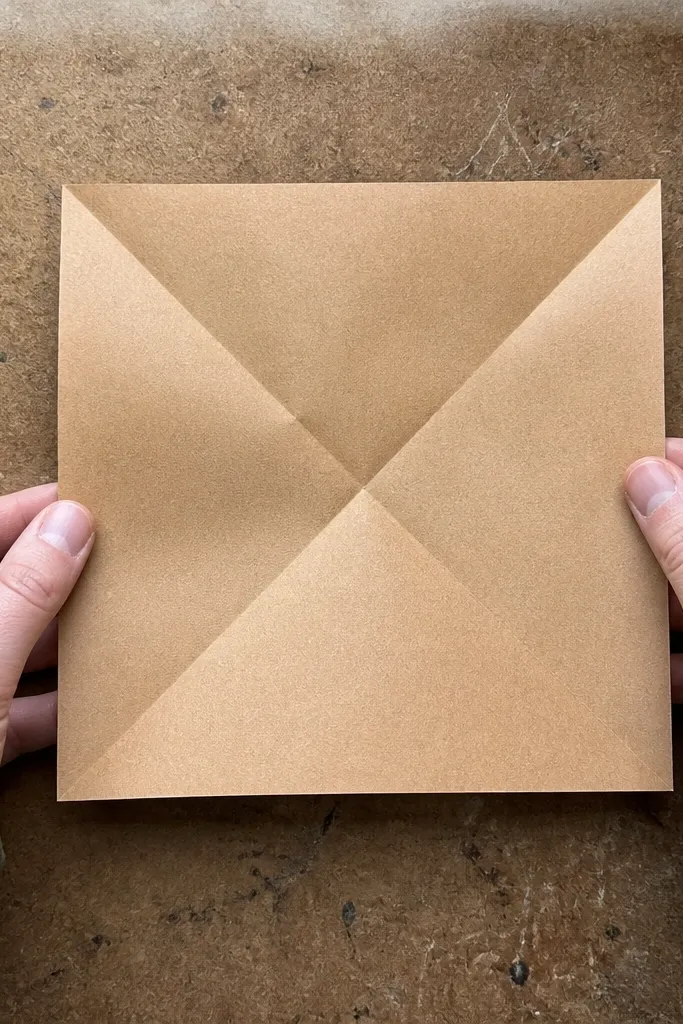
Kraft paper is sturdy, and that helps when kids are learning how to fold without tearing. It’s also great for models that need shape after folding because the paper holds form. The drawback is that kraft can produce a softer crease line unless you press hard. For beginner-friendly Origami Easy 2, it works best when the paper is smooth kraft and you’re willing to use ruler pressure for every crease.
Buy kraft origami sheets labeled smooth or fine-grain if you can find that info. Use 18 cm squares so the model doesn’t feel cramped. Align corners carefully, then press the crease with a ruler for 10 passes. Let the crease set for 15 seconds before you unfold, so the paper remembers the line.
Use a bone folder or plastic burnisher if you have one — it makes kraft creases look crisp without extra force.
Don’t use thick, rough kraft for Easy 2 — it resists folding and the model ends up crooked.
6. Linen-Textured Paper for Looks That Still Fold Neatly
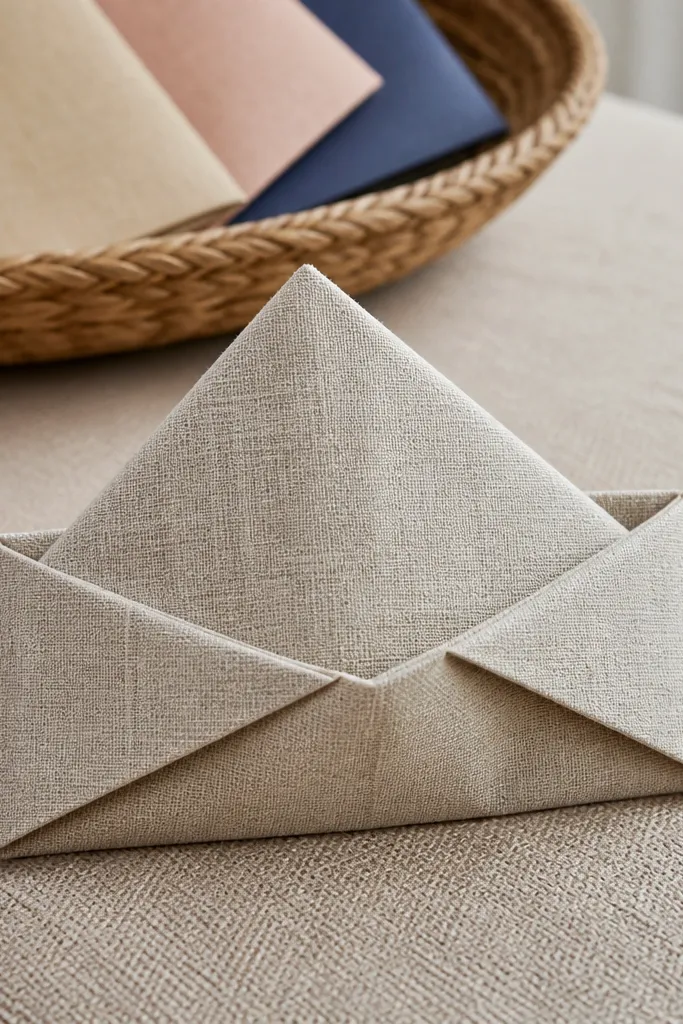
Linen-textured paper gives a classy surface and hides small wrinkles that show up on cheaper paper. The texture can be a problem for ultra-sharp creases, but linen origami paper made for folding usually balances texture with crease ability. For Easy 2, it’s a good choice when you want the finished model to look special even if it’s simple. The key is picking linen that feels smooth when you run a finger across the fold area.
Choose linen paper that’s thin enough to fold without fighting you. Cut or buy 16-18 cm squares for kid-friendly handling. Make each fold slowly, then press with a ruler using firm, even pressure. After folding, flatten the model under a book for 1-2 minutes so the texture doesn’t keep lifting the crease.
Editor's notePress creases from both directions — flip the paper and run the ruler again for a cleaner line.
Skip thisSkip heavy linen blends — the texture makes the fold line look dull and uneven.
7. Cotton Rag Paper for Premium Feel (Use for Finished Pieces)
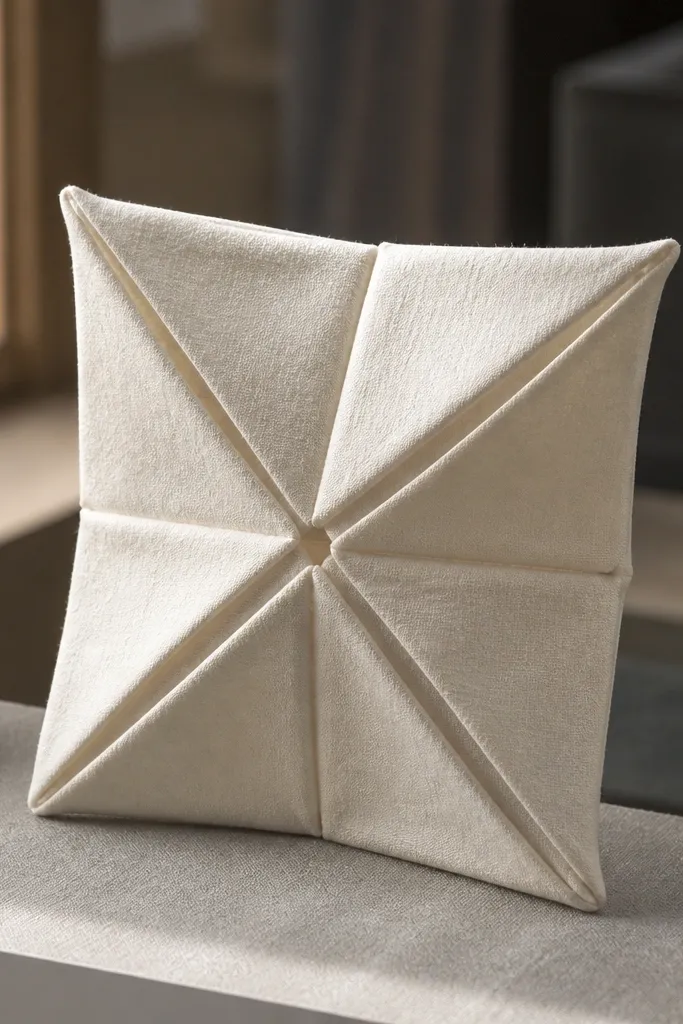
Cotton rag looks gorgeous and feels substantial in the hand, but it’s not the easiest paper for clean folds. The fibers can hold a crease for a bit, then relax, so your Easy 2 model may look slightly soft at the edges. I’d treat cotton rag as a “display model” paper, not the first-choice practice paper for kids. If you use it, you’ll get a beautiful outcome, but you’ll need extra pressing and more patience.
Pick thinner cotton rag sheets meant for paper crafts, not thick art stock. Use bigger squares around 20 cm so alignment is easier. Crease with a ruler and then burnish the fold edge with a bone folder or the back of a spoon. Give each crease time to set by leaving the folded model under a flat weight for 10 minutes before shaping further.
Make one “practice pass” on scrap first so you don’t waste the nicer sheet on mistakes.
Avoid cotton rag for quick classroom-style folding — it slows down learning and makes kids redo more.
8. Recycled School-Craft Squares for Budget Practice
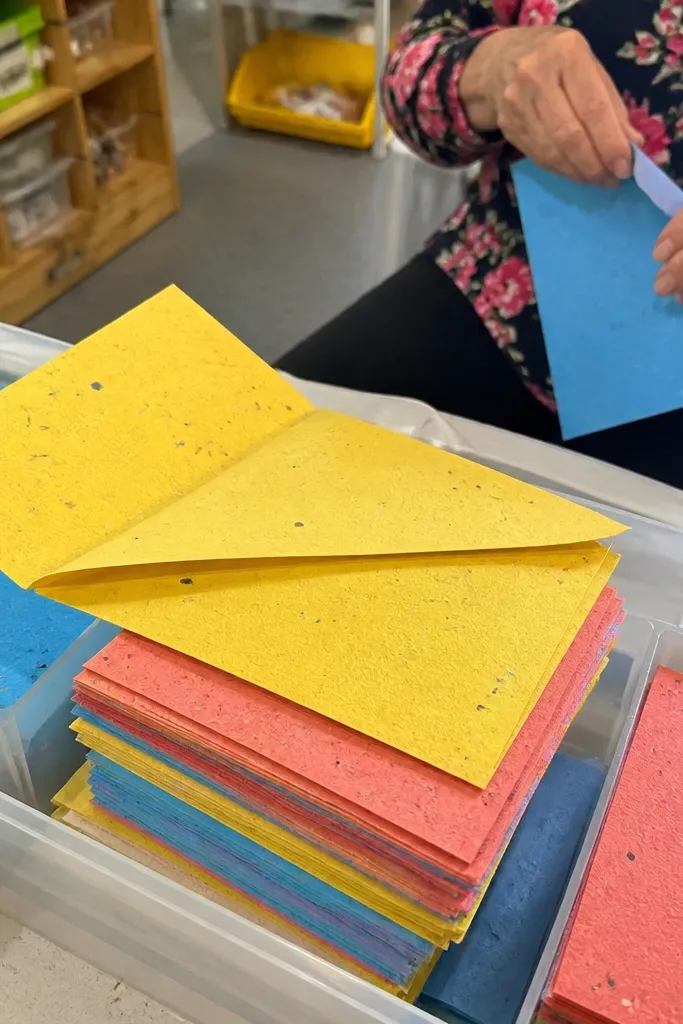
If you’re buying for a pile of practice attempts, recycled craft squares are the pragmatic choice. They’re cheap, colorful, and kids can experiment without guilt. Clean folds depend on the specific batch, though: some recycled paper creases crisp, and some gives you fuzzy fold lines. For beginner-friendly Origami Easy 2, you want recycled paper that feels smooth and doesn’t shed fibers when you press it.
Buy a small pack first and test two creases on a scrap square. Align corners, press with a ruler, then unfold and check if the crease line is still sharp. If it looks cloudy, don’t use it for the main model. For best results, do your folds in a sequence where you keep pressing each step before moving on.
Keep a damp cloth nearby and wipe the ruler — dusty recycled paper can reduce clean crease definition.
Don’t use recycled paper that feels gritty — it creates messy, weak creases.
9. Printer Paper Squares for Emergency Folding (Last Resort)
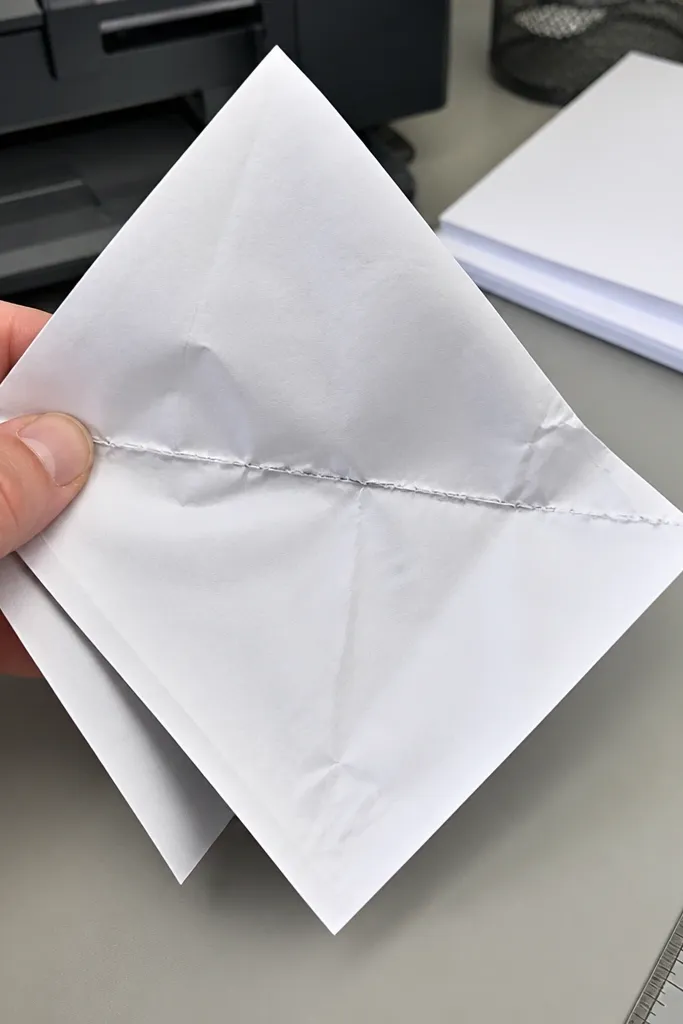
Printer paper can work when you’re out of options, but it’s not the paper that gives clean Easy 2 folds. It’s thin, it waves, and it tears if kids crease too hard at the same line multiple times. The upside is that it’s everywhere and easy to cut into squares. If you use it, you have to accept that some models will look a little soft and creases won’t stay crisp.
Cut squares carefully using a ruler and a paper cutter if possible — uneven squares cause uneven models. For creasing, press firmly with a ruler, then hold each fold for 20 seconds. Avoid unfolding and re-folding repeatedly; printer paper weakens at the crease. Store the finished model flat under a book so it doesn’t relax back into a wavy shape.
Use a thicker cutting tool and cut clean edges — rough edges make corners harder to align.
Avoid cheap copy paper that’s slightly damp or curled — it ruins crease sharpness immediately.
10. Origami Paper With Grid on the Back for Accuracy Training
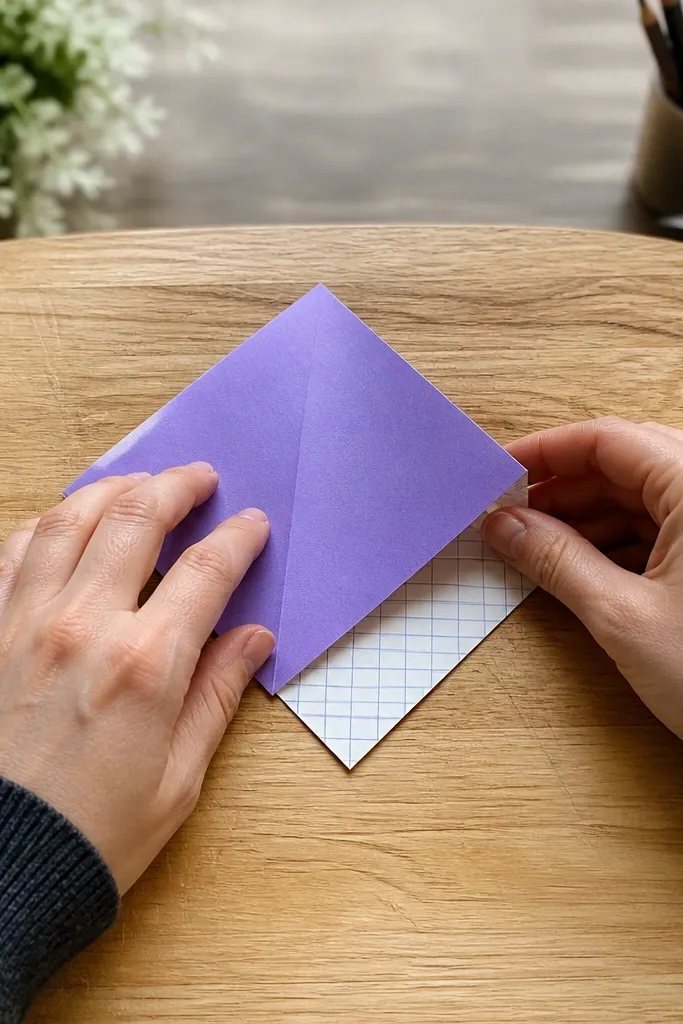
Grid-backed origami paper is a smart training tool when kids struggle with matching corners and keeping angles consistent. The front can stay plain, while the back grid guides placement during early steps. For beginner-friendly Origami Easy 2, this helps reduce the common “almost aligned” folds that turn into lopsided models. The finished look is still clean because the grid stays on the back.
Choose a grid-backed sheet where the grid is faint, not raised. Start by doing dry alignment first: hold corners to the grid lines, then fold. Crease with a ruler for consistent pressure and unfold only if the fold line is clearly straight. After you confirm the first crease is correct, continue with the model without changing your method.
Editor's noteKeep the grid side facing you during folding so you don’t lose alignment mid-step.
Skip thisDon’t pick grid paper where the grid bleeds or smears when pressed hard.
11. Chiyogami Pattern Paper for Fun Color (Watch Stiffness)
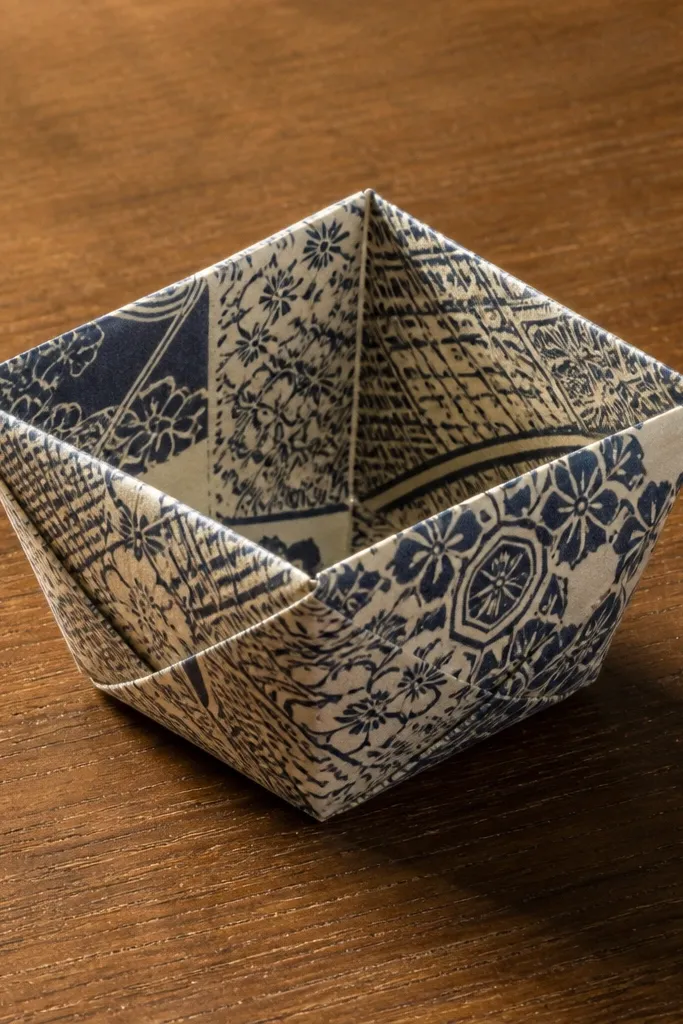
Chiyogami is gorgeous for kids because patterns make simple models look like real crafts. It usually holds creases better than random patterned craft paper, but some chiyogami sheets feel stiffer than kami. For Easy 2, that stiffness can be the difference between a crisp fold and a stubborn, slightly off crease. If the sheet flexes easily and creases cleanly on a test, it’s a great “practice to pretty” option.
Pick chiyogami sheets sold for origami or paper crafts, not thick scrapbook stock. Use 16-18 cm squares for easier corner alignment. Test one crease on scrap: fold, press with a ruler, unfold, and check if the line is sharp. If it’s sharp, proceed; if it springs back hard, switch to kami or matte craft paper.
Editor's noteDo your folds in a calm pace — rushing stiff patterned paper causes misalignment that patterns make obvious.
Skip thisAvoid very thick patterned paper — it looks good at first, then creases crack or stay dull.
12. Washi-Style Sheets With Matte Coating for Cleaner Lines
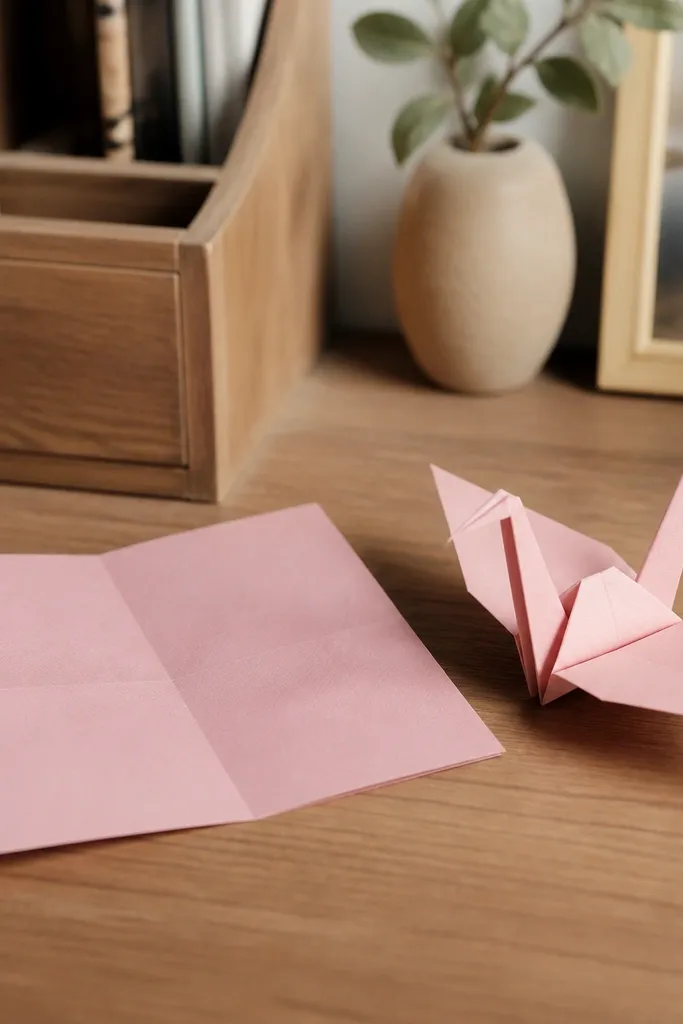
Matte coated washi-style paper is a sweet spot when you want crisp folds and less “fibers showing” than uncoated washi. The coating helps the paper crease evenly and keeps edges from fraying when kids press. It also looks clean in finished models because the surface doesn’t shine or glare. For beginner-friendly Origami Easy 2, it’s a strong pick if you want the crease to stay visible after unfolding and re-folding.
Choose sheets labeled matte or coated for crafts, not plastic-coated. Use 15-19 cm squares depending on the model size. Crease with a ruler using consistent pressure, then burnish the fold edge once more with a bone folder. Let the paper sit flat for a minute so the coating sets the crease.
Editor's noteIf the paper feels slippery, it’s probably too coated — test before you buy a full stack.
Skip thisDon’t use glossy coated paper — creases look cloudy and kids lose the fold line visually.
13. Thin Tissue-Style Paper for Practice Fails (Skip)
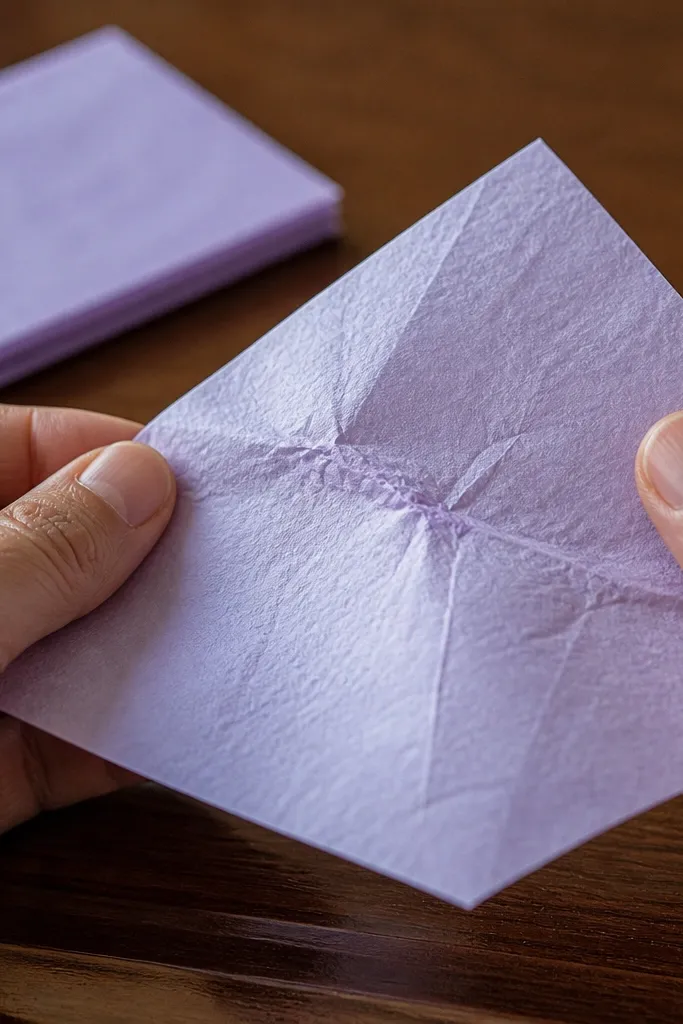
Tissue-style paper is light and pretty, but it fights clean folds. It wrinkles where it should crease, and the fold line never looks sharp — it looks like a crease-shaped bruise. For beginner-friendly Origami Easy 2, this paper makes kids blame their hands instead of learning technique. If you want tissue paper, use it for decoration after the model is done, not for the folding steps.
If you’re tempted to try it, do a scrap test first: fold once, press hard with a ruler, unfold, and check if the crease holds. If it turns into wrinkles instead of a straight line, stop. For tissue, the only workable approach is layering or using it as an outer wrap over a sturdier inner model, which defeats the goal of easy clean folds.
Use tissue for hanging ornaments after you finish a sturdier origami base.
Avoid tissue paper as the main folding sheet for Easy 2 — it will look messy no matter how careful the fold is.
14. Thick Bookbinding Craft Paper for Harder Creases
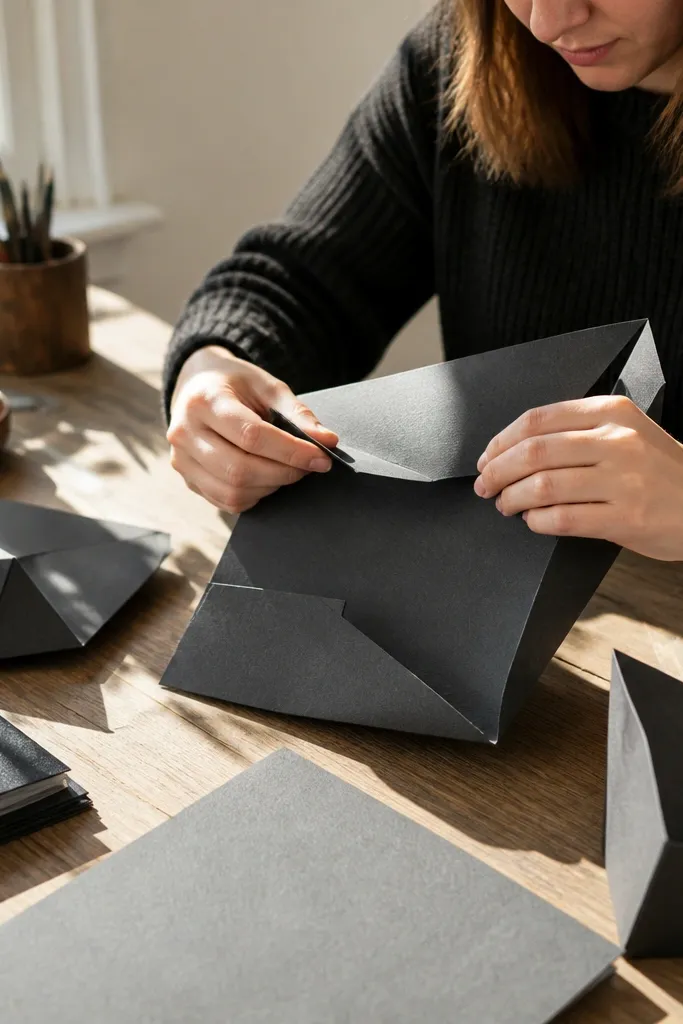
Thick craft paper can hold shape and make finished models stand up, which is tempting for kids who want a “real” structure. The catch is that thickness changes the learning curve: creases need more force and kids can misalign corners because the paper resists bending. For beginner-friendly Origami Easy 2, I’d only pick this if your version of the model is forgiving and you’re working with older kids who can press firmly.
Select a thickness that still folds by hand without cracking — do a test crease on scrap. Use larger squares, around 20-22 cm, so alignment is easier. Crease with a ruler and apply steady pressure along the fold line, then burnish the edge. Let the model rest under a book for a few minutes so the crease sets before you fold the next section.
Pre-score lightly with a ruler edge on the first crease if the paper resists; don’t cut through.
Avoid very thick paper for younger kids — they’ll fight the fold and the model comes out crooked.



