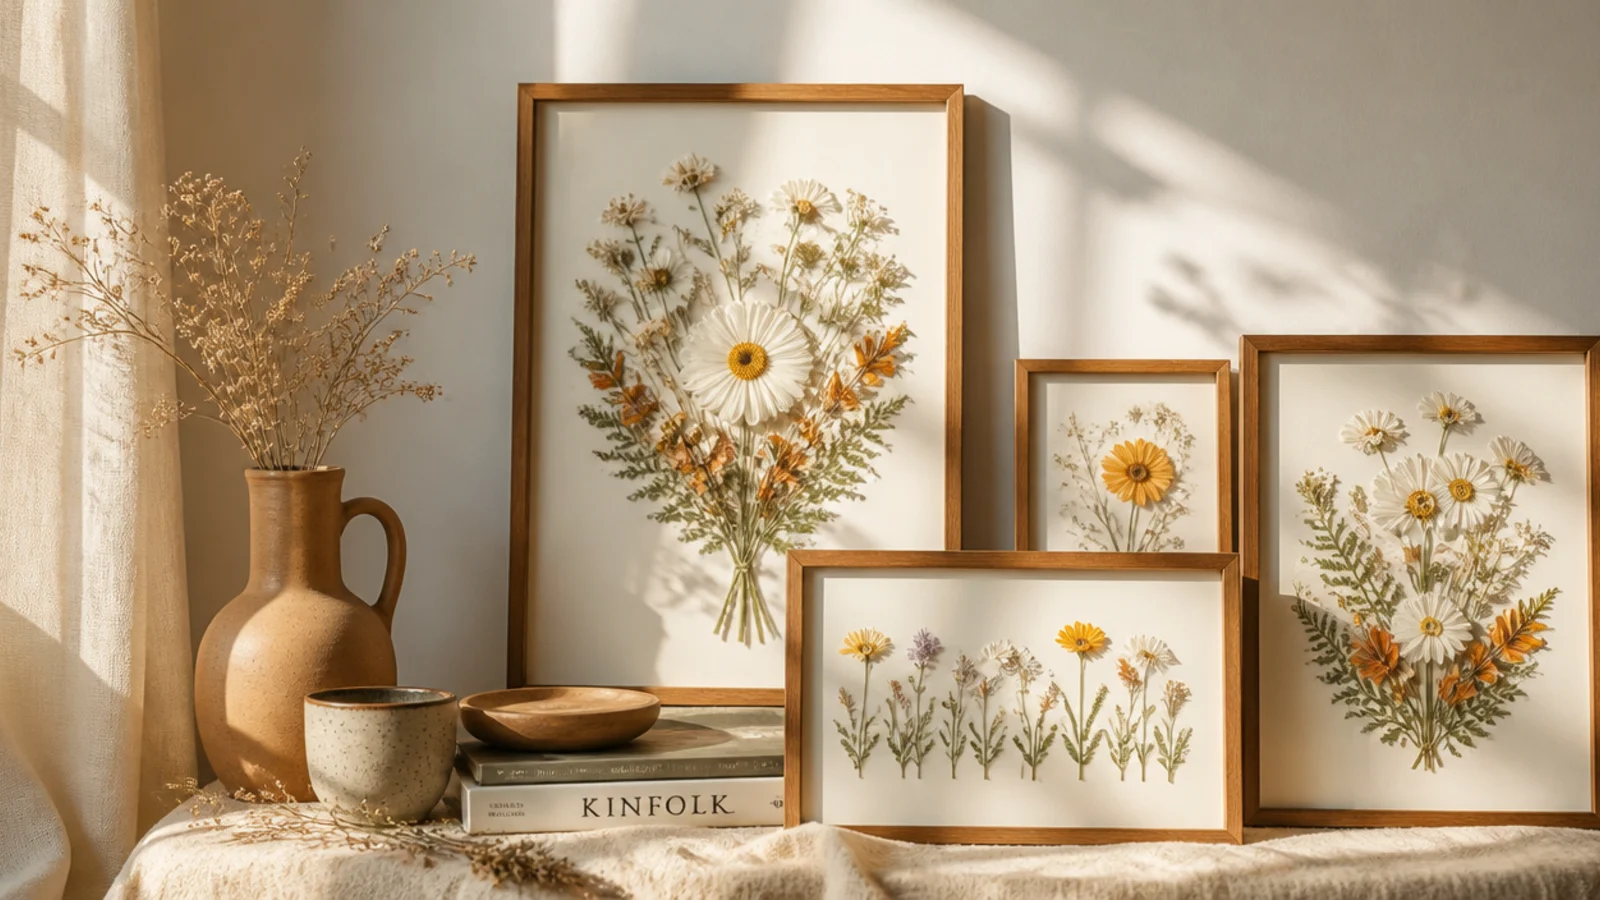
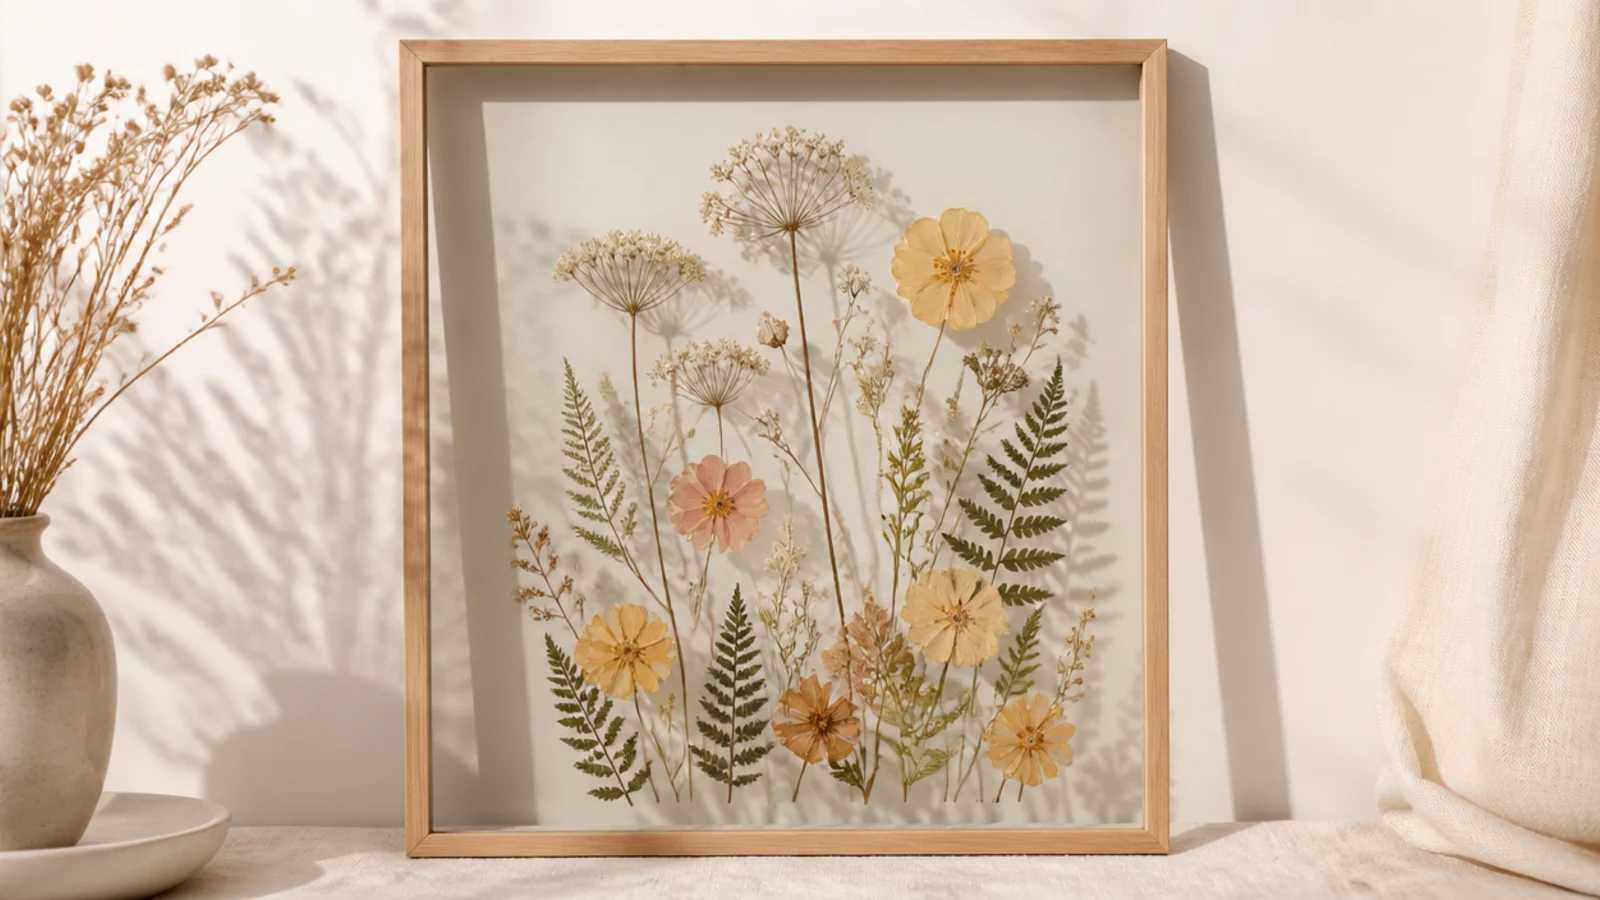
1. Single Stem Minimalist Frame
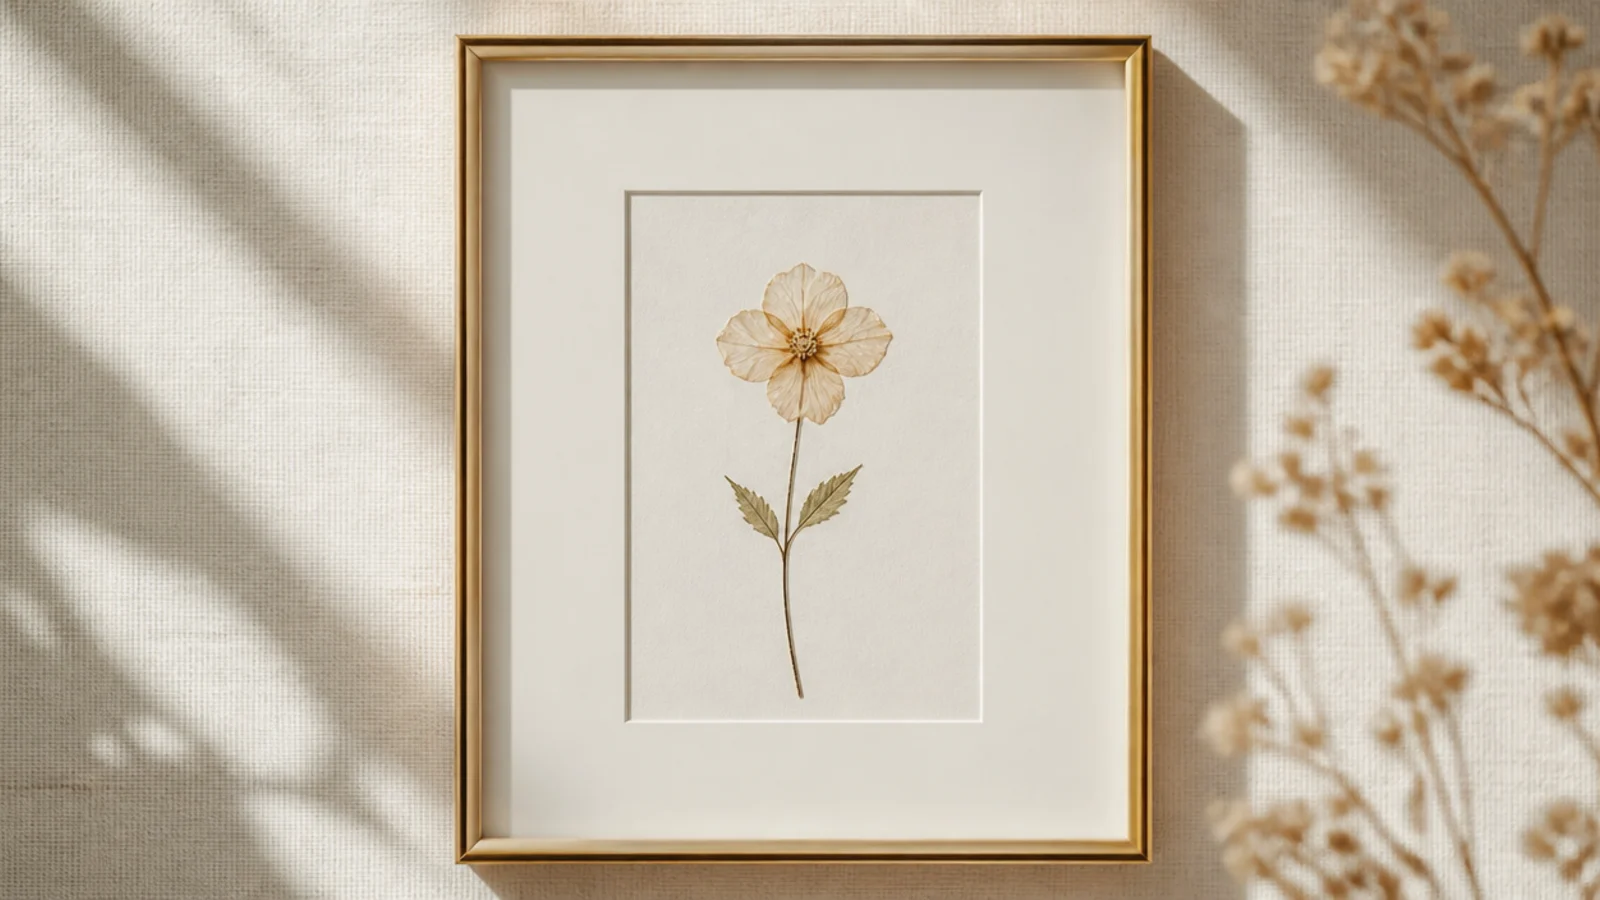
This is the simplest pressed flower frame and the one I recommend first. A single stem placed a touch off-center on a wide white mat looks calm and modern, and one flower means nothing to overthink. Choose a flower with a graceful stem — larkspur, a single daisy, or a slim wildflower — so the line carries the whole frame.
Press one flower with its full stem flat for two to three weeks. Cut or buy an acid-free white mat with a tall window. Place the stem slightly off-center and mark its position lightly. Apply tiny PVA dots at the flower center and one or two points along the stem, press gently, and weight flat for an hour. Set the mat on top and close under real glass.
Place the stem off-center rather than dead middle — a little asymmetry reads intentional and modern instead of stiff and clinical.
Don’t crowd a minimalist frame with extra leaves 'to fill it'; the empty space is the design, and clutter ruins the calm.
2. Mirrored Symmetrical Pair
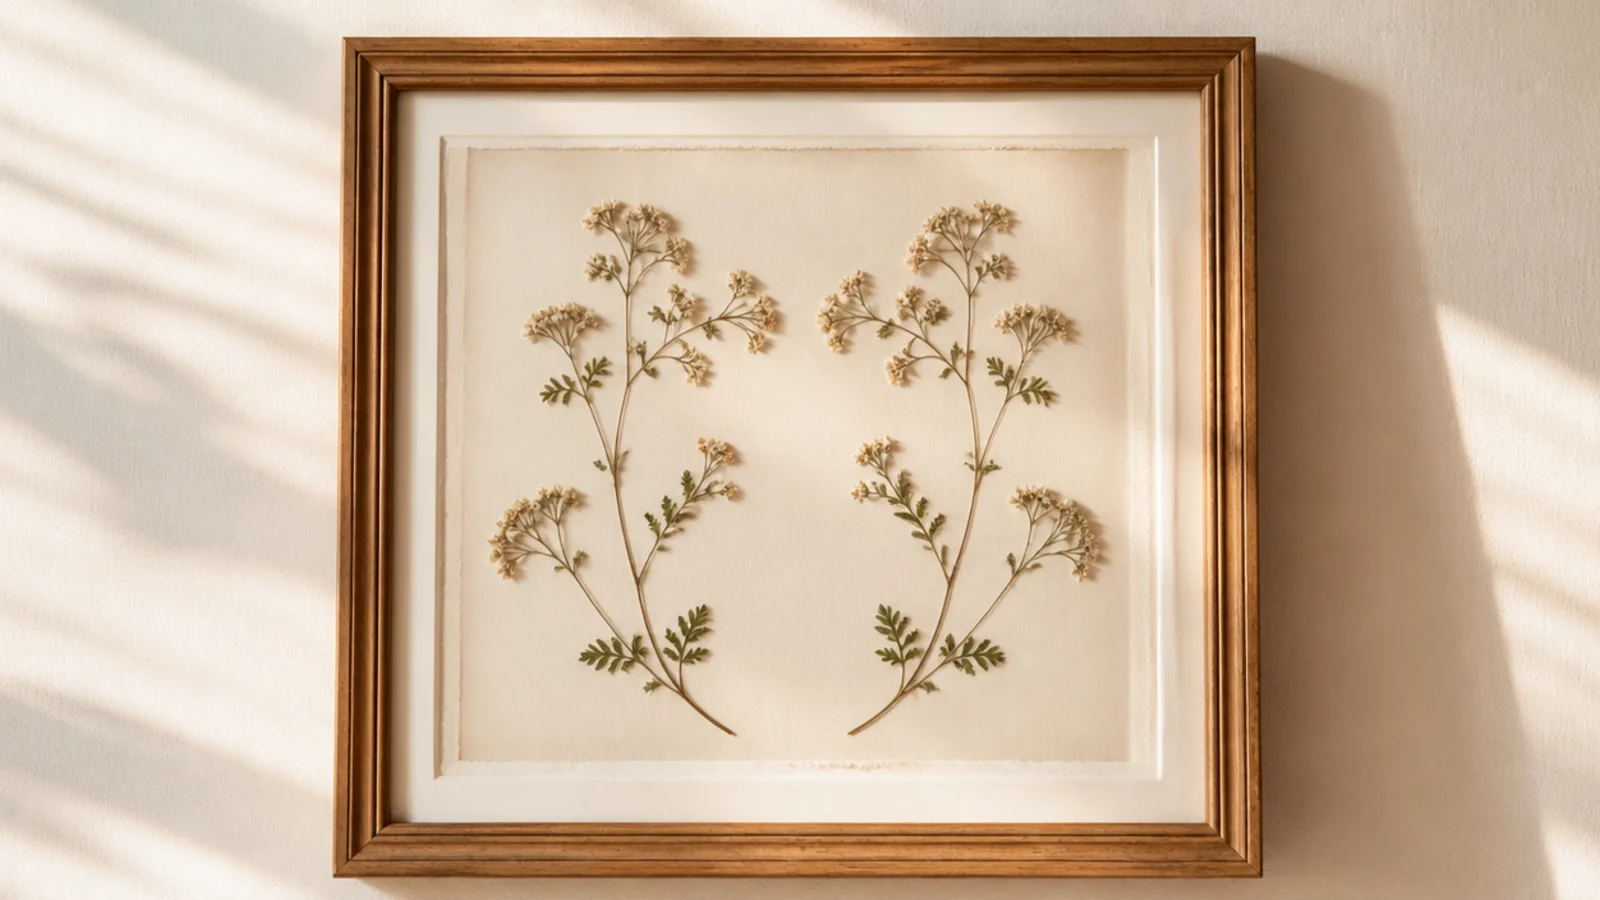
Two matching stems arranged as mirror images look balanced and formal in the best way. The symmetry feels deliberate and calm, and it’s easy because one side simply copies the other. Pick two similar stems and face them toward each other for a tidy, botanical-plate look.
Editor's noteChoose two stems that curve naturally in opposite directions so the mirror effect looks organic rather than forced or stiff.
Press two similar flowers with stems flat. On cream acid-free backing, draw a faint center line. Place one stem on each side, curving toward the center as mirror images, matching their heights. Anchor each with PVA dots at center and stem. Erase the guide line, weight flat overnight, and frame under glass.
Skip thisDon’t use two mismatched flowers; the whole point is symmetry, and different shapes on each side break the mirrored balance.
3. Vertical Stem Strip
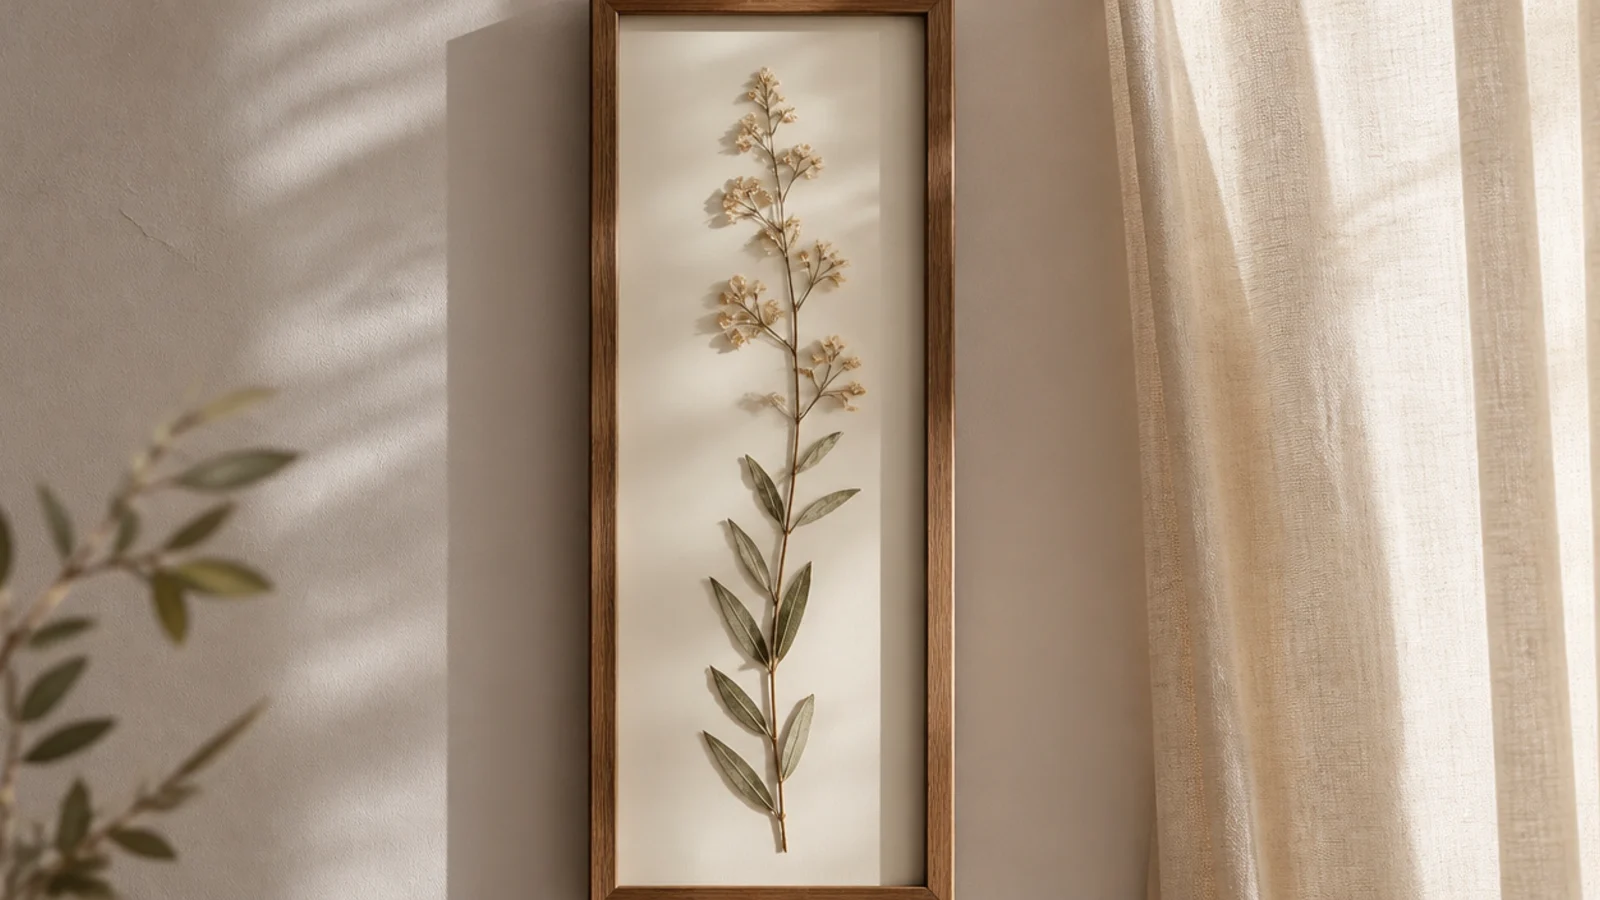
A tall, narrow frame with one long stem running its full height suits skinny wall gaps and looks architectural. The vertical line draws the eye up and fits spaces a square frame can’t. Long grasses, larkspur, or trailing stems are perfect for this stretched format.
Editor's noteChoose a stem slightly shorter than the frame so there’s a clean margin top and bottom, which stops it looking cramped.
Press one long stem or grass flat, keeping it as tall as possible. Use a tall, narrow frame and cut acid-free backing to fit. Center the stem vertically down the length. Anchor it with PVA dots every few inches along the stem so it stays straight. Weight flat overnight, then frame the strip under glass.
Skip thisDon’t let the stem drift diagonally; in a tall strip, a crooked line is very obvious and undoes the clean vertical effect.
4. Pressed Pansy Face Row
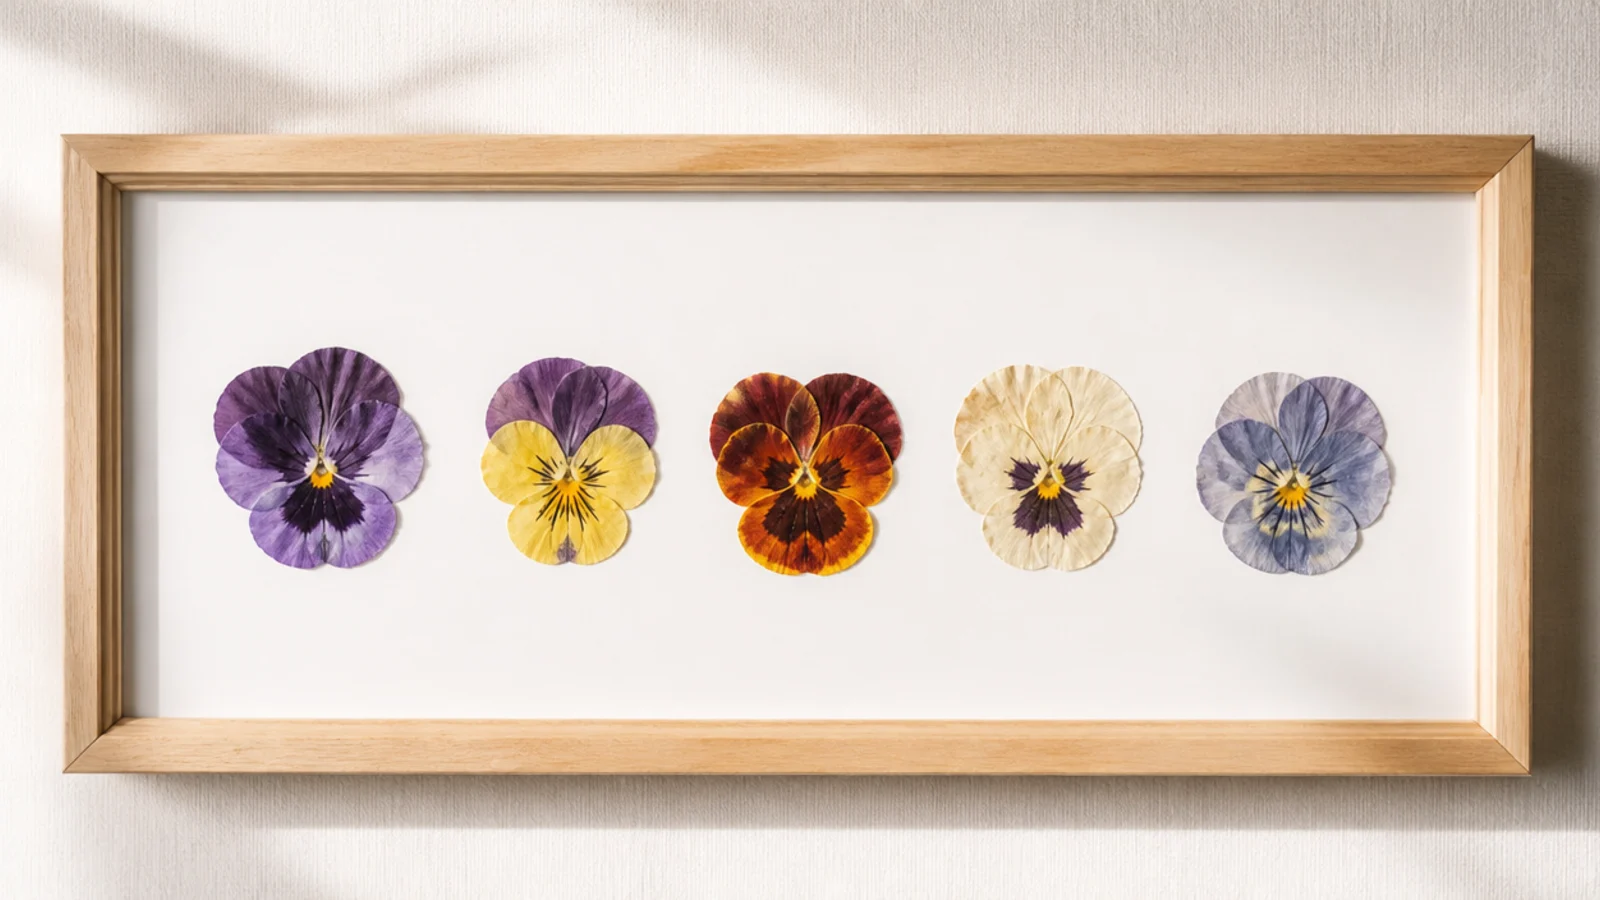
Pansies press with their little 'faces' intact, and a row of them is cheerful and characterful. Each pansy is slightly different, so the row feels alive while staying orderly. Five evenly spaced faces in a line make a happy, foolproof frame.
Editor's noteMix pansy colors along the row for variety, but keep them all the same size so the line stays even and rhythmic.
Press five pansies flat and face-up. On white acid-free backing, mark five evenly spaced points in a horizontal line. Place each pansy at a point, all facing forward, and anchor with a PVA dot at the center. Keep the spacing exact, erase marks, weight flat overnight, and frame under glass.
Skip thisDon’t press pansies folded or tilted; their charm is the flat, forward face, and a curled one looks like a mistake in the row.
5. Overlapping Petal Collage
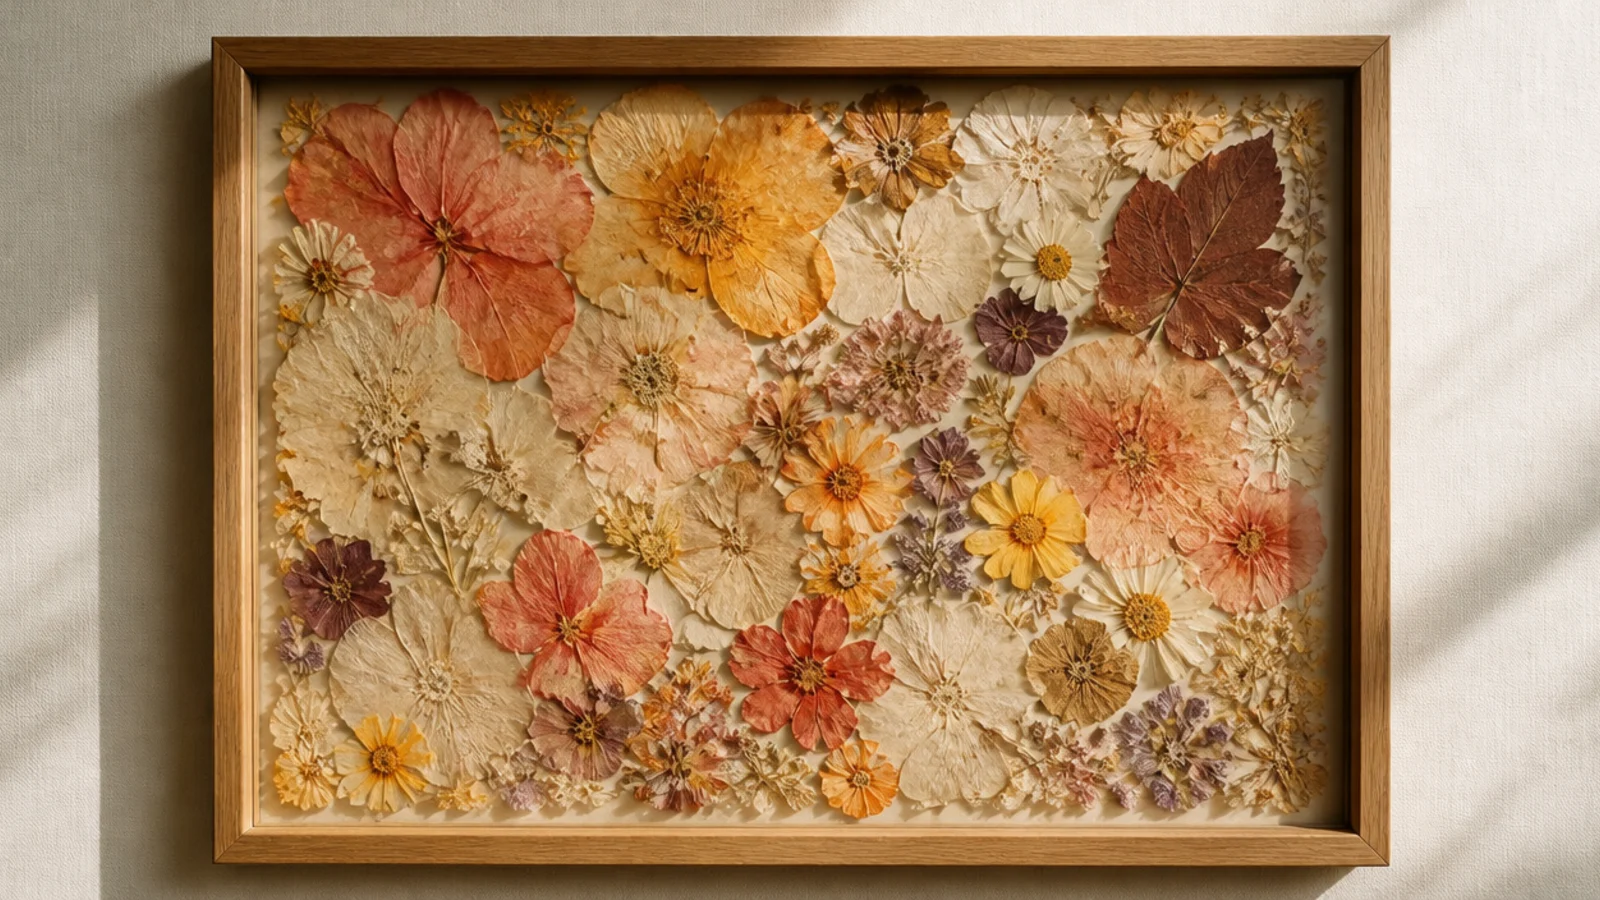
Layering many pressed petals and small flowers into an overlapping collage fills a frame with rich color and texture. It’s forgiving because there’s no single arrangement to nail — abundance is the look. Warm mixed tones or a tight color story both work as long as the coverage feels lush.
Editor's noteOverlap petals slightly like fish scales so the collage reads as continuous color rather than separate scattered pieces.
Press a big batch of petals and small flowers flat. On acid-free backing, build up a layered collage, overlapping pieces so no backing shows in the covered area. Work from back layers to front, anchoring each with a PVA dot. Press the whole sheet flat under weight overnight so nothing lifts, then frame under glass.
Skip thisDon’t leave random bare gaps in a collage; patchy coverage looks unfinished, so fill the whole intended area fully.
6. Negative-Space Asymmetric Frame
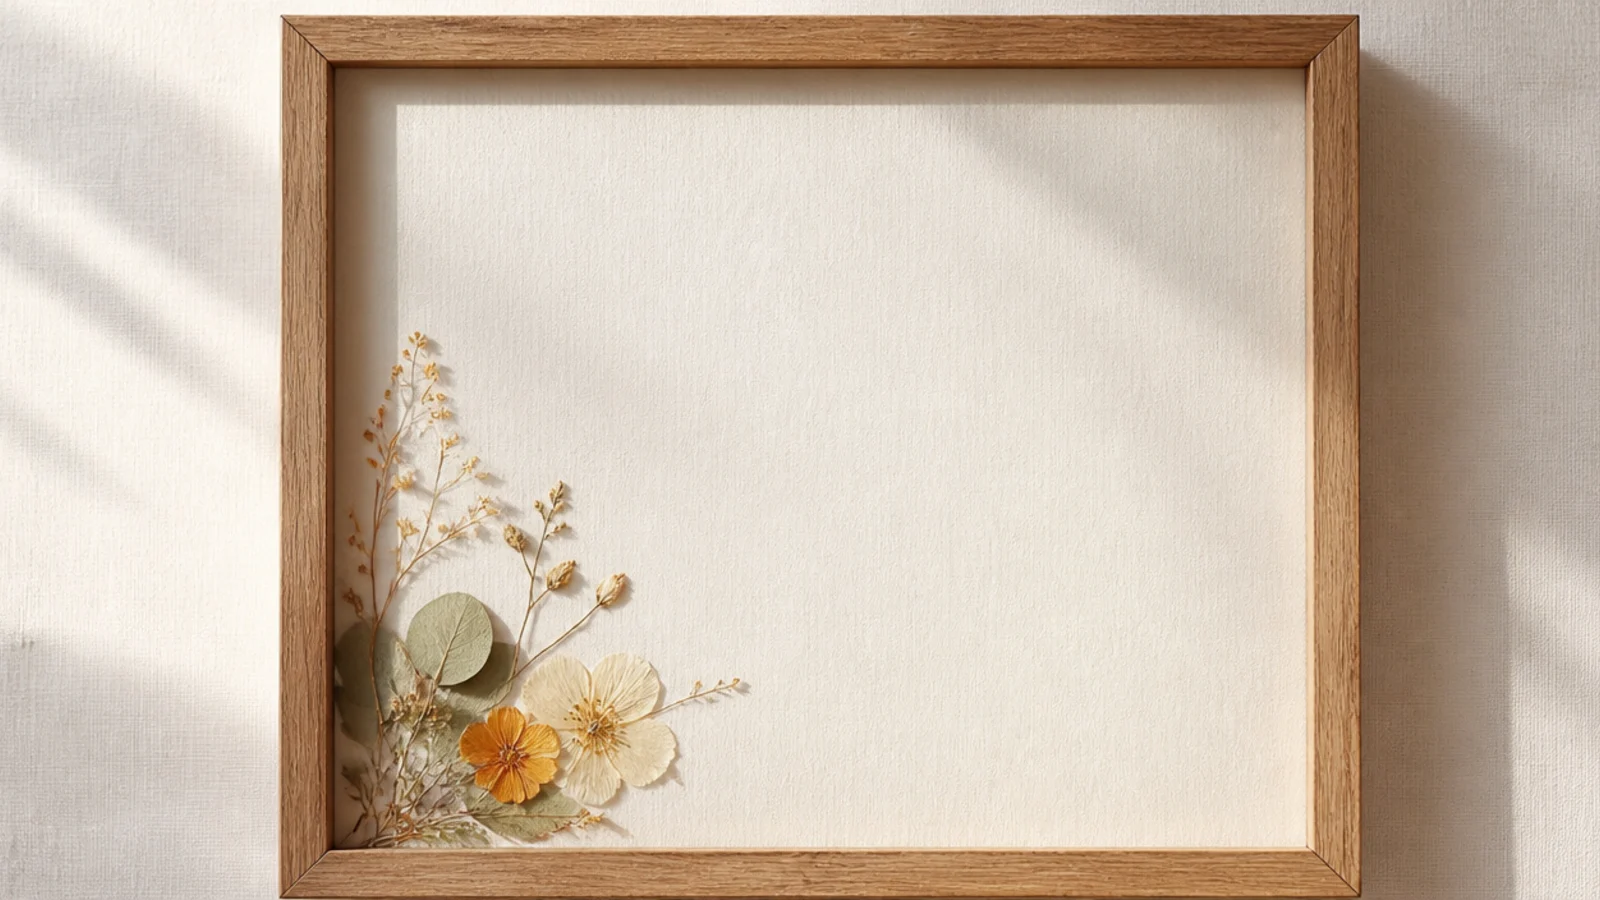
Placing a small arrangement low in one corner and leaving the rest empty is a gallery trick that reads expensive. The generous negative space makes even a few flowers feel intentional and modern. It’s ideal when you have only a handful of nice pressed blooms.
Press a few flowers and stems flat. On white acid-free backing, place a small, loose arrangement in one lower corner, letting a stem or two reach toward the empty space. Anchor each with a PVA dot. Leave the majority of the frame open, weight flat overnight, and frame under glass with a generous surround.
Let one fine stem extend out into the empty space; that single line stops the emptiness feeling accidental and ties it together.
Don’t be tempted to fill the empty area later; the negative space is the design, and adding flowers ruins the effect.
7. Fern Frond Trio
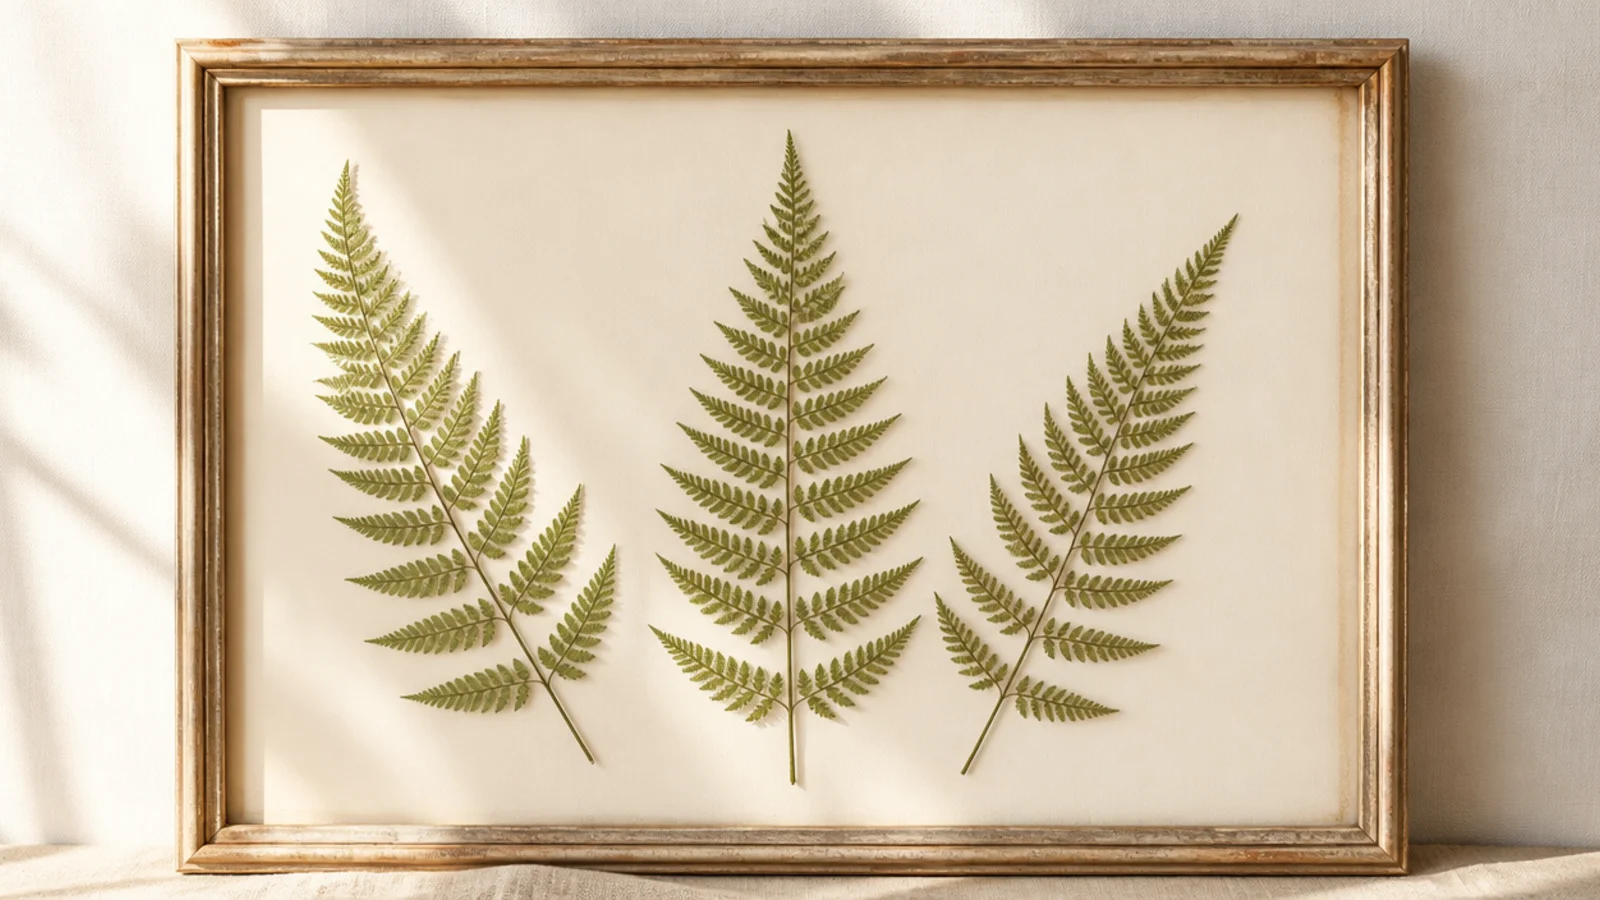
Three pressed ferns fanned together are elegant, calm, and almost impossible to get wrong. Their fine, feathery shape reads sophisticated with zero color needed. It’s a great greenery-only frame for a neutral room.
Press three ferns flat, keeping their fronds intact. On cream acid-free backing, fan them from a shared base point, like a small bouquet, with the middle frond upright and the outer two angled. Anchor each frond at its base and a mid-point with PVA dots. Weight flat overnight and frame under glass.
Choose ferns of slightly different lengths so the fan has a natural, graduated shape rather than three identical fronds.
Don’t press ferns while curled; lay them out fully flat so every frond makes contact and no tips lift under the glass.
8. Circular Wreath Ring
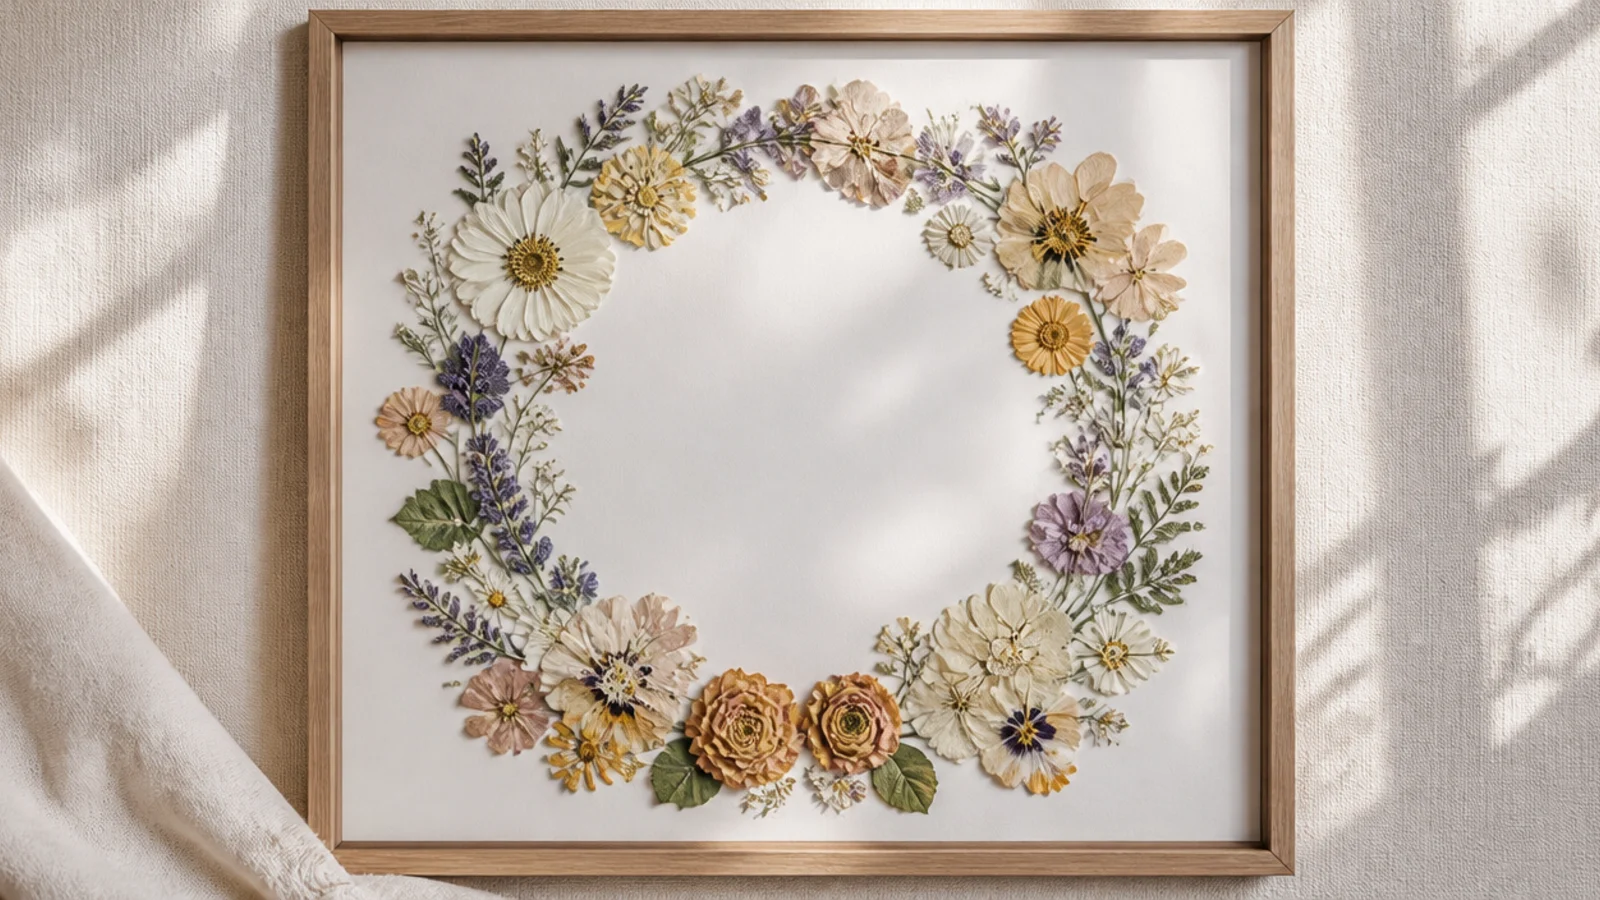
Arranging pressed flowers in a ring makes a delicate wreath with an open, empty center. The circle feels complete and celebratory, perfect for a name, a date, or just as art. Small flowers and buds work best because they follow the curve smoothly.
Press many small flowers, buds, and leaves flat. On white acid-free backing, lightly pencil a circle as a guide. Place flowers along the line, overlapping slightly and all flowing the same direction around the ring. Anchor each with a PVA dot, keep the center empty, erase the guide, weight flat, and frame under glass.
Work all the flowers in one direction around the ring, like hands on a clock, so the wreath has flow instead of looking random.
Don’t let the ring wobble in width; an uneven, lumpy circle looks messy, so keep the band a consistent thickness all around.
9. Falling Confetti Petals
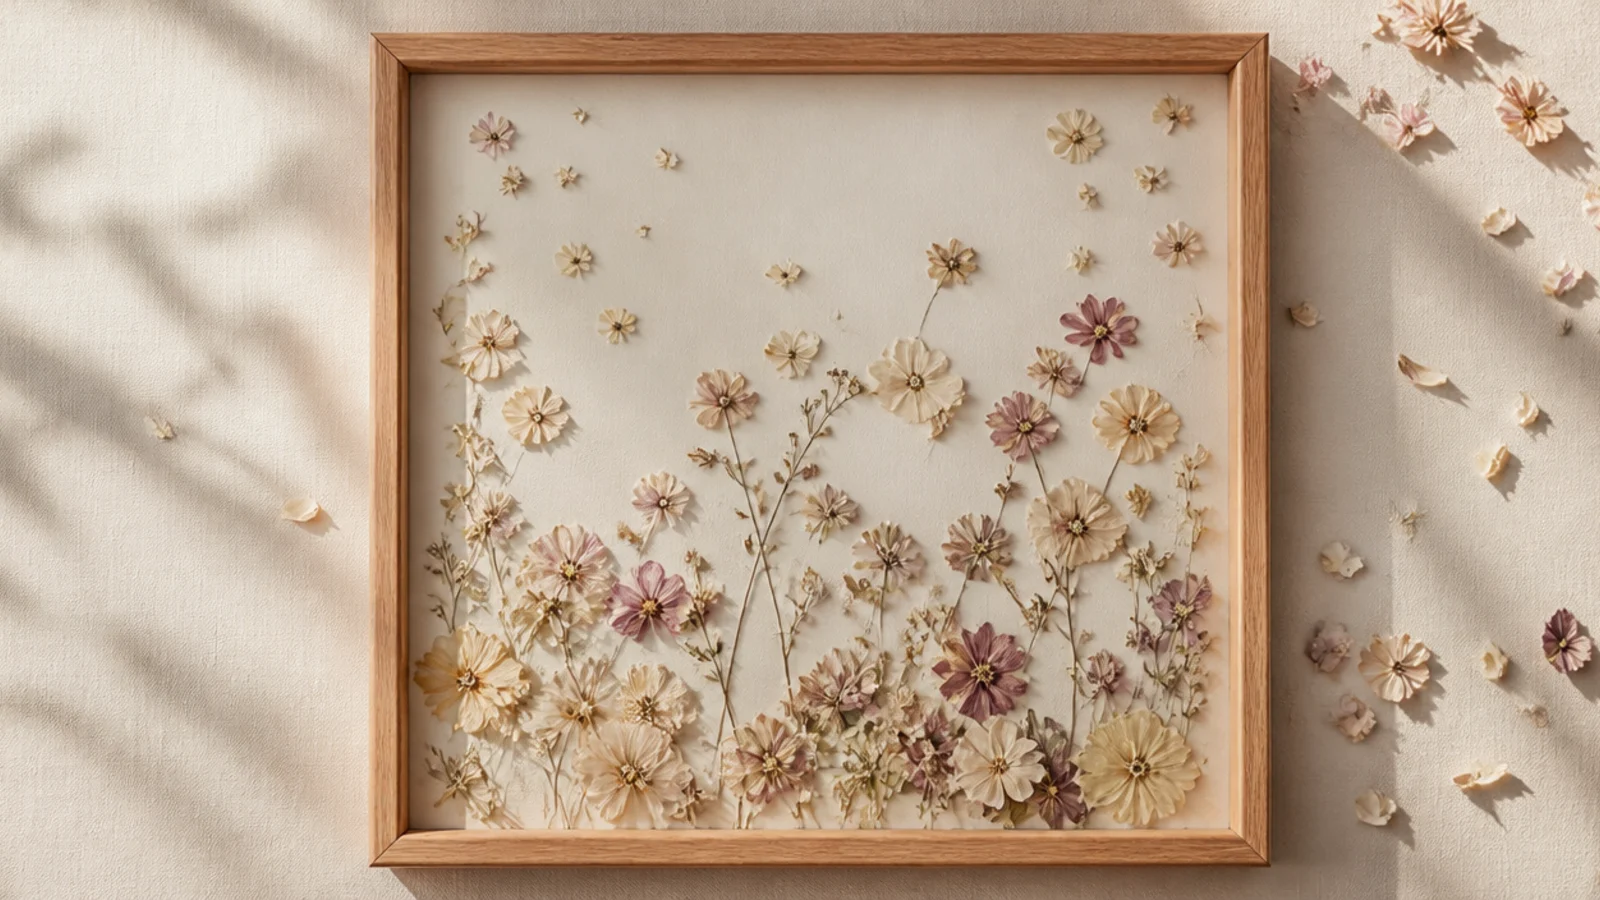
Scattering loose pressed petals as if they’re drifting down creates a light, playful confetti effect. The motion makes a simple frame feel joyful and airy. Bright mixed petals or a single color both work — it’s all about the sense of falling.
Press a handful of individual petals flat. On acid-free backing, place them denser near the top corner and sparser toward the opposite bottom, angling them so they read as falling. Anchor each with a tiny PVA dot. Vary their tilt for movement, weight flat overnight, and frame under glass.
Tilt each petal at a slightly different angle; uniform petals look placed, while varied angles read as natural drifting motion.
Don’t space the petals evenly like a grid; the falling effect needs them clustered and thinning, not spread out uniformly.
10. Heart-Shaped Petal Arrangement
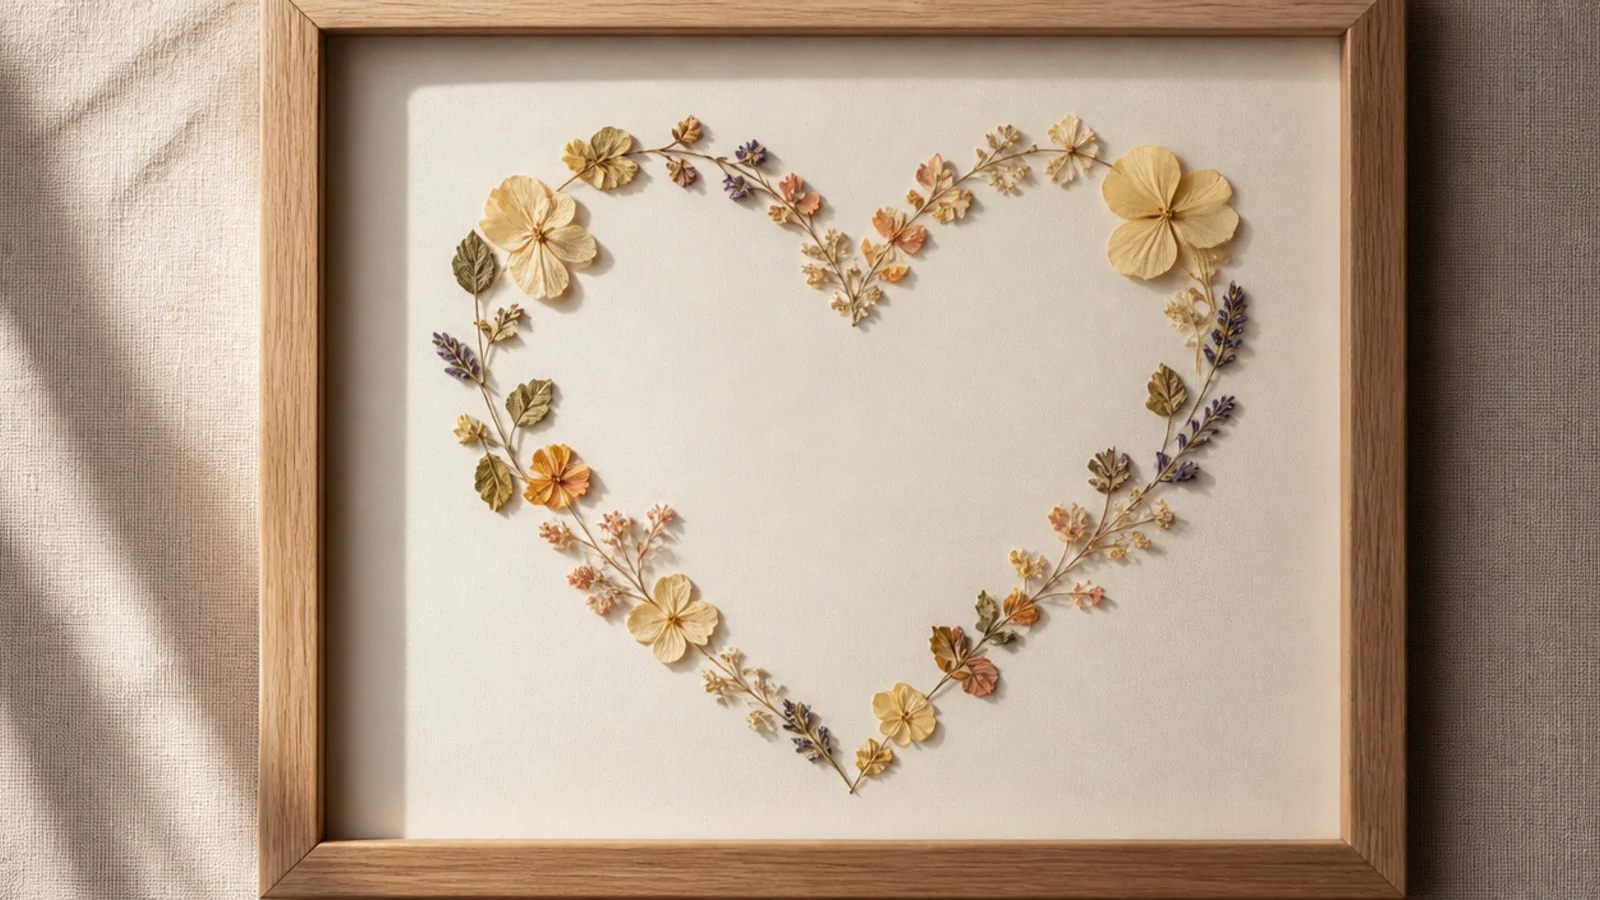
Pressed flowers arranged into a heart shape make a sweet frame for anniversaries, weddings, or a child’s room. The recognizable shape gives even scattered petals instant meaning. Small blooms in soft pinks and reds suit it, though any color works.
Editor's noteMake the two top curves of the heart symmetrical first; if the top matches, the point at the bottom is easy and the shape reads instantly.
Press many small flowers and petals flat. On cream acid-free backing, lightly pencil a heart outline. Fill or outline the heart with flowers, keeping the shape clear, and anchor each with a PVA dot. For a solid heart, pack flowers densely; for an outline, follow the line only. Erase the guide, weight flat, and frame under glass.
Skip thisDon’t let the heart get lopsided; an uneven heart looks like a blob, so check both halves match before gluing anything down.
11. Pressed Flower Letter
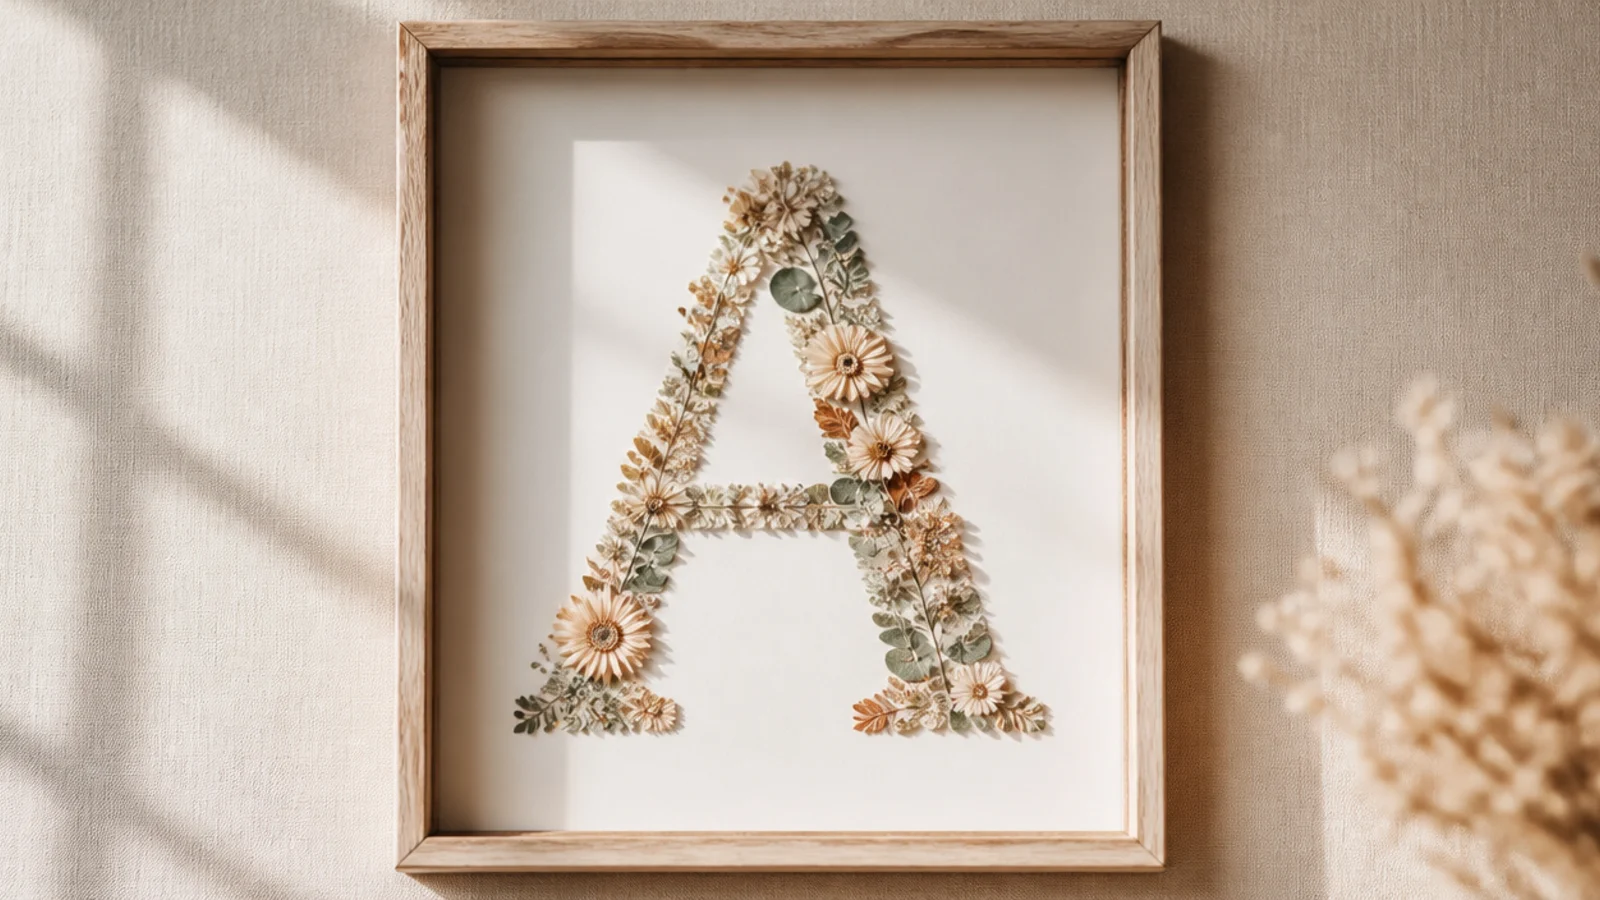
Building a single large initial out of tiny pressed flowers makes a personalized frame that’s a favorite for gifts and nurseries. The letter spells out a name in blooms and looks impressive but is just careful placement. A bold, simple letter reads best.
Lightly pencil a large, simple block or serif letter on white acid-free backing. Press many small flowers and buds flat. Fill the letter shape by placing blooms along and within the pencil lines, keeping the outline crisp, and anchor each with a PVA dot. Erase visible pencil, weight flat overnight, and frame under glass.
Outline the letter edges first with your smallest, neatest flowers, then fill the middle; a clean edge makes the letter readable.
Don’t attempt thin script; rounded flowers can’t hold fine strokes, so a bold block or serif letter is the only readable choice.
12. Moody Dark Background Frame
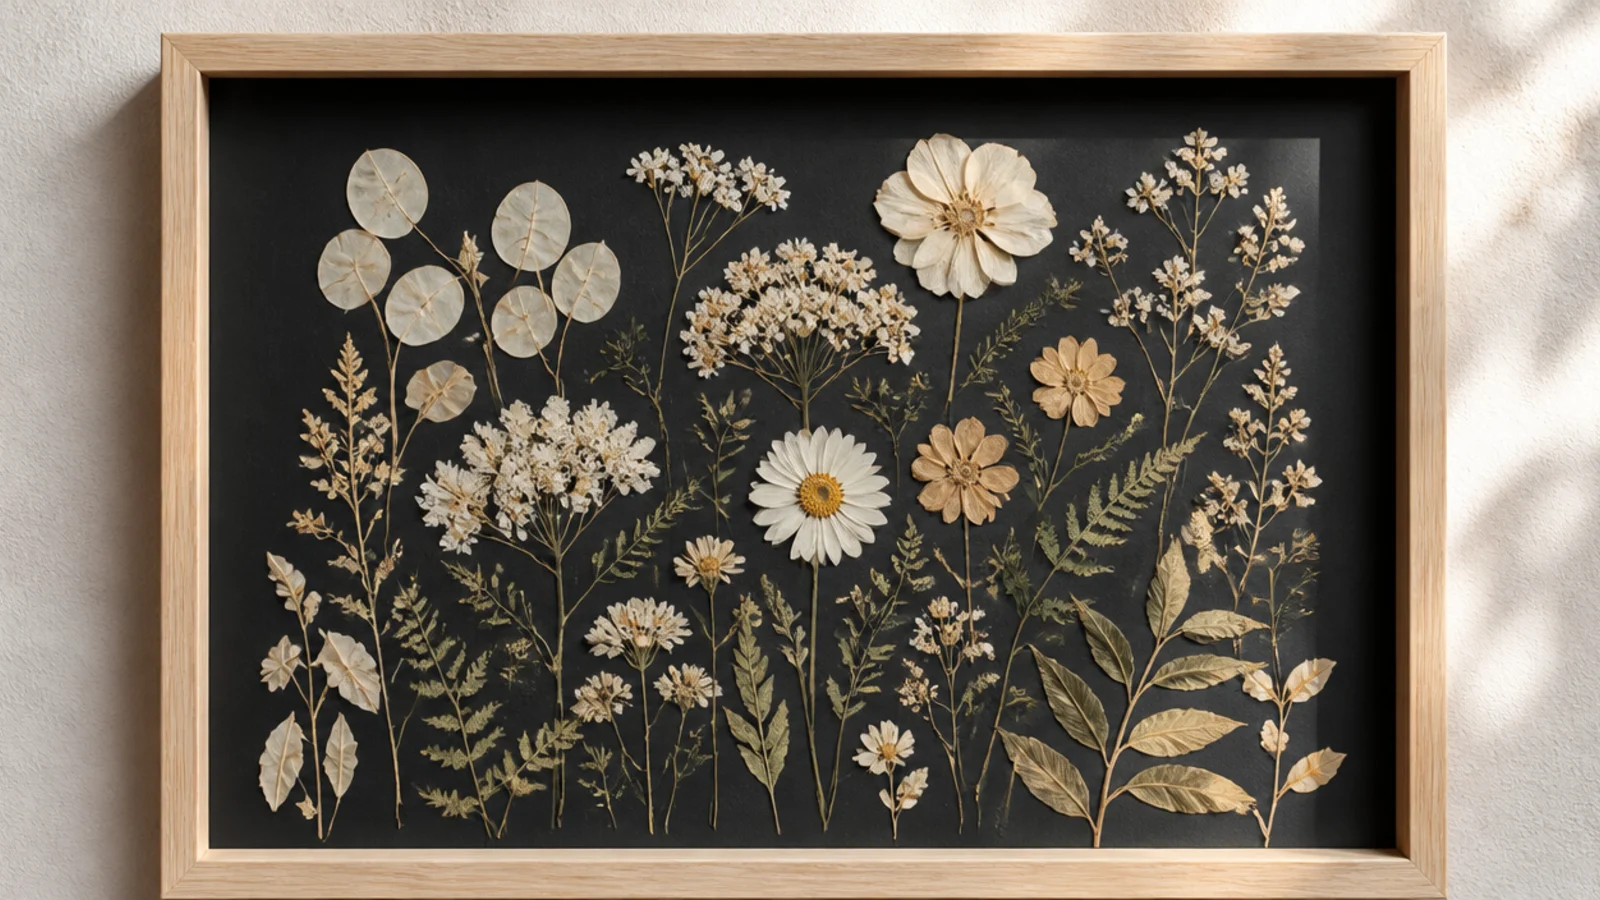
Mounting pale pressed flowers on a dark background flips the usual look and feels dramatic and modern. White and light flowers seem to glow against charcoal or black. It’s a striking choice for a moody room and makes delicate blooms pop.
Press pale or white flowers flat. Use dark charcoal or black acid-free backing or mat board. Arrange the light flowers in a loose cluster or drift, anchoring each with a PVA dot (use a dot small enough to hide behind the flower). Weight flat overnight and frame under glass with a dark or brass frame to match the mood.
Choose flowers that are genuinely pale or white; mid-tone flowers get lost on black, while truly light ones seem to glow.
Don’t use visible white glue on dark backing; keep dots tiny and hidden, since any glue smear shows badly against black.
13. Botanical Color Wheel Frame
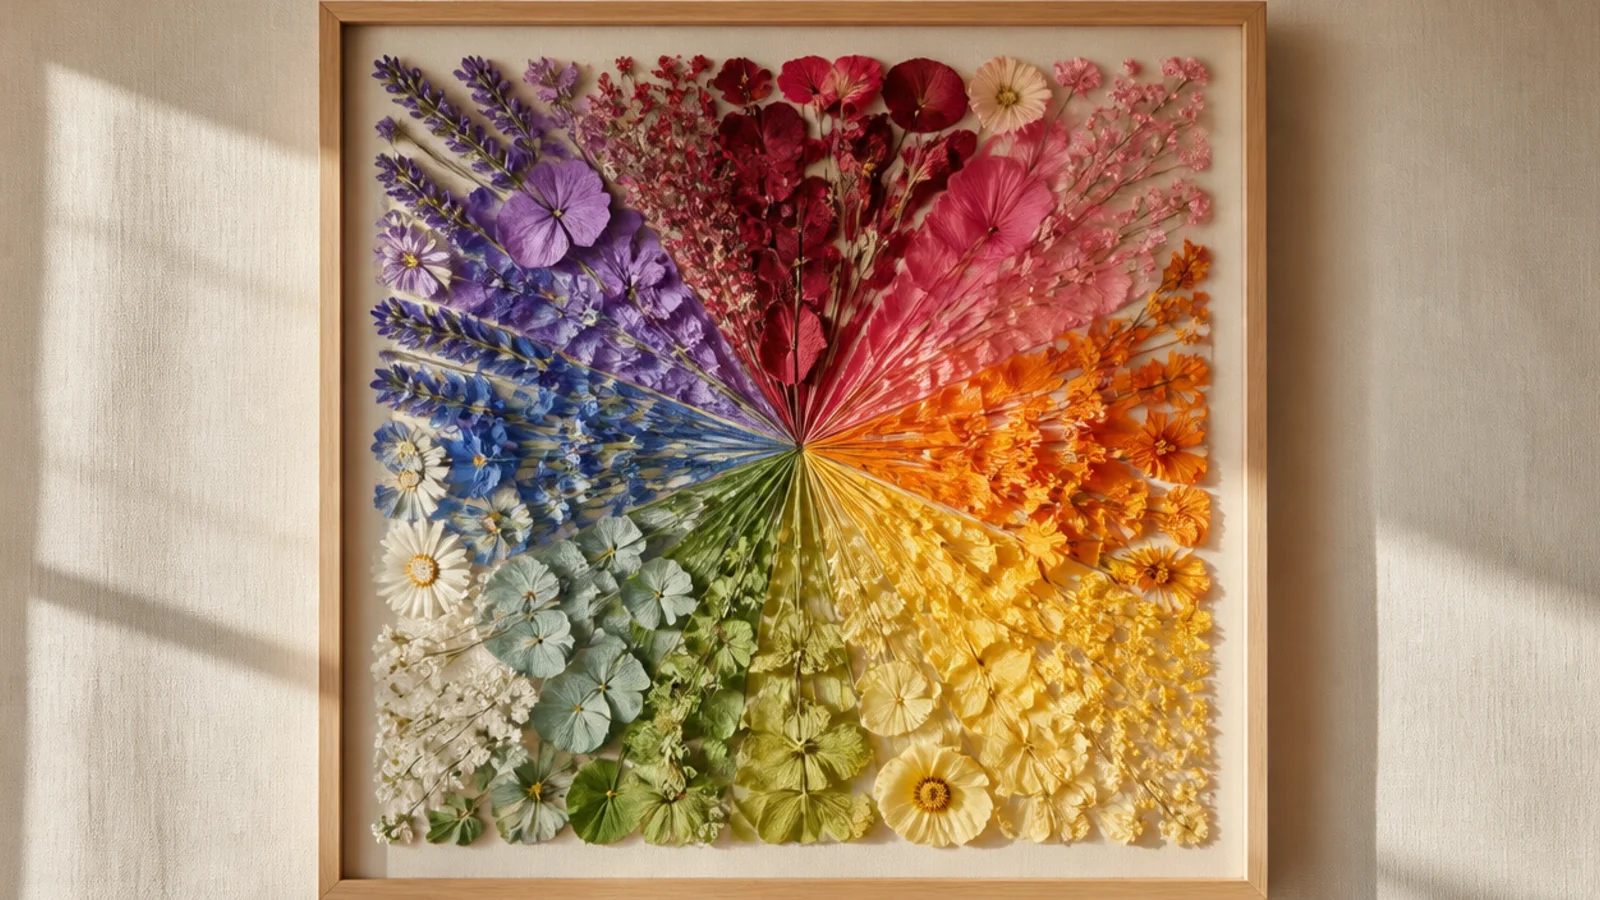
Sorting pressed flowers by color into a circular wheel is a showstopper that looks like a design-school project. Each color wedge flows into the next around the ring. It rewards a big, varied flower collection and always draws comments.
Editor's notePlace a few in-between shades where two wedges meet so the colors flow into each other instead of stopping in hard lines.
Press a wide range of flowers in every color, flat. On acid-free backing, pencil a large circle divided into wedges. Fill each wedge with flowers of one color, ordering the wedges as a rainbow (red, orange, yellow, green, blue, violet). Anchor each with a PVA dot, blend colors slightly at the wedge borders, erase the guide, weight flat, and frame.
Skip thisDon’t leave big gaps in a wheel; it needs to read as a full, dense circle, so collect plenty of flowers in each color first.
14. Spectrum Rainbow Row
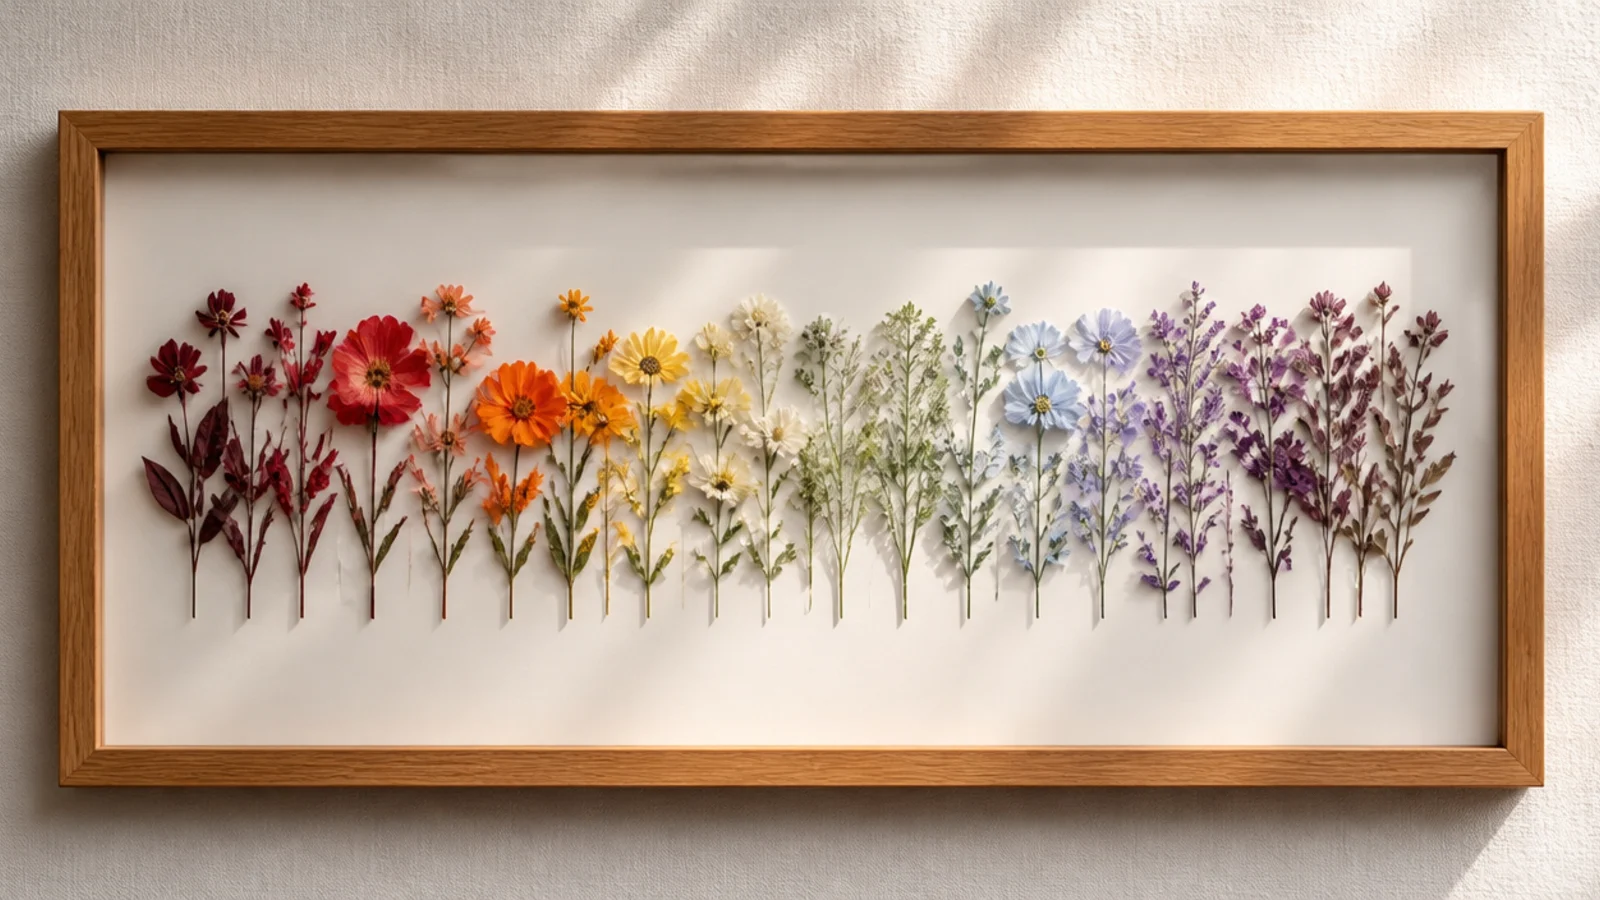
A single horizontal line of pressed flowers moving through the rainbow is a simpler cousin of the color wheel. The straight spectrum is easier to arrange and suits a wide frame over a bed or sofa. It’s orderly, colorful, and reads as one clean gradient.
Press flowers across the full color range, flat. Use a wide frame and acid-free backing. Lay the flowers in one horizontal row, ordered by color from red through violet, sizing them evenly. Anchor each with a PVA dot, keep the baseline straight, weight flat overnight, and frame under glass.
Keep every flower roughly the same size so the row reads as a clean band; wildly different sizes make the line look bumpy.
Don’t jump colors out of spectrum order; the whole appeal is the smooth rainbow flow, and a stray color breaks the sequence.
15. Translucent Tissue-Layer Frame
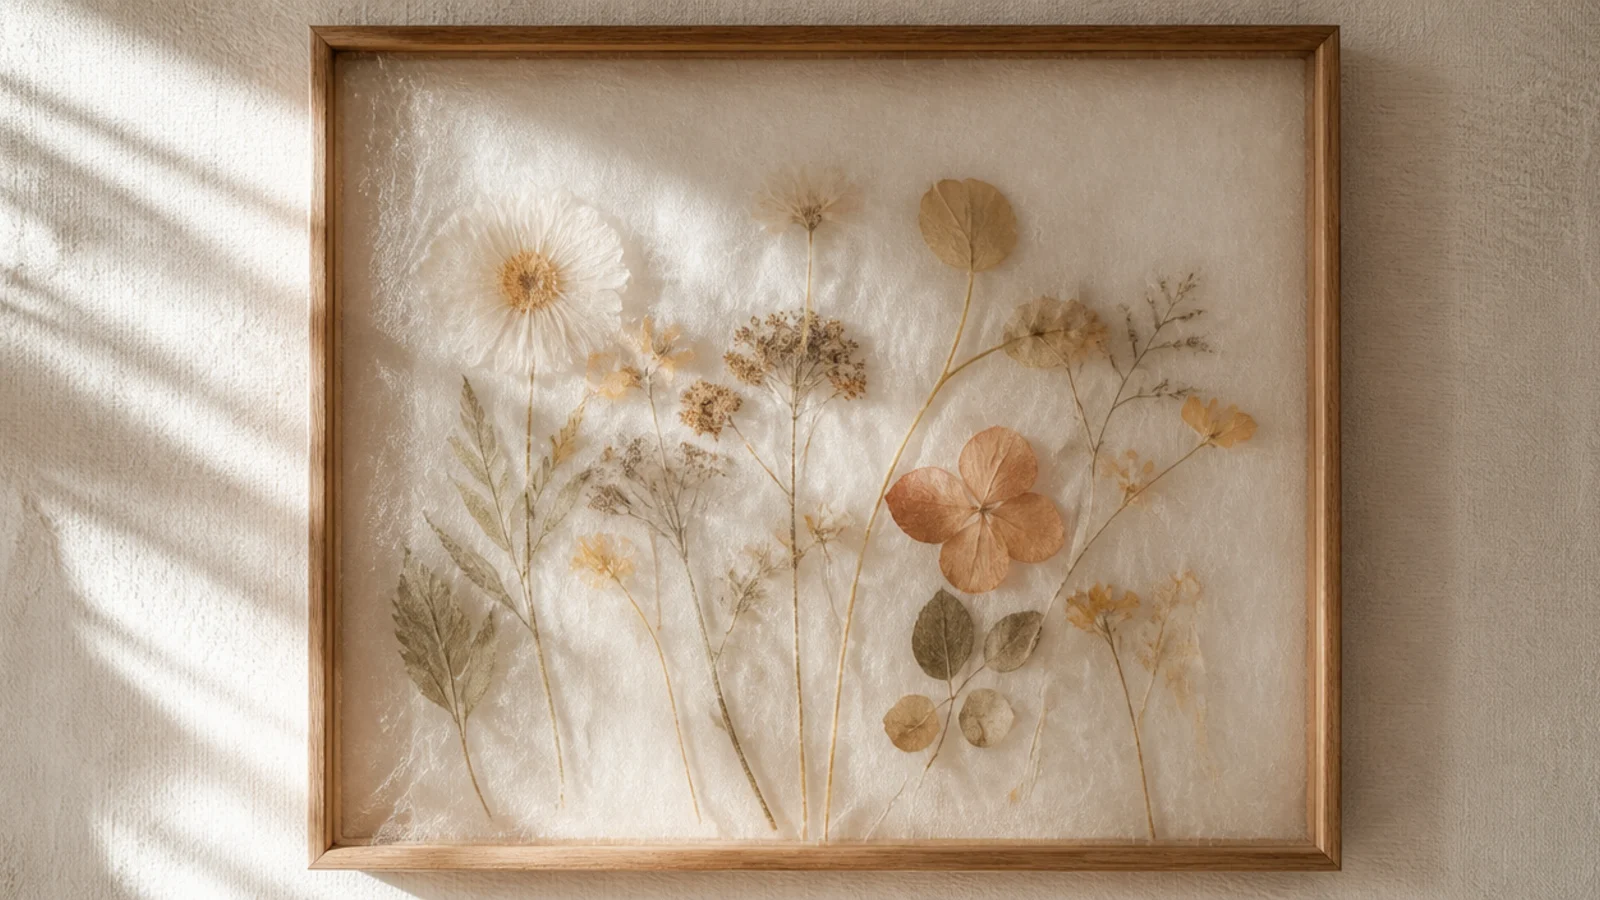
Placing a sheet of thin translucent paper over pressed flowers gives a soft, dreamy, veiled effect. The haze makes the frame feel gentle and romantic. It suits soft-colored blooms and hides small imperfections beautifully.
Press flowers flat and arrange them on acid-free backing, anchored with PVA dots. Lay a single sheet of thin glassine or tissue paper smoothly over the whole arrangement. Trim it to fit, tack the edges down out of sight, weight flat overnight, and frame under glass so the tissue stays smooth.
Use only one thin layer of tissue; a single veil softens the flowers, while two or more layers muddy them into a grey blur.
Don’t let the tissue wrinkle; smooth it fully before framing, since creases catch light and ruin the soft, even haze.
16. Butterfly Silhouette from Petals
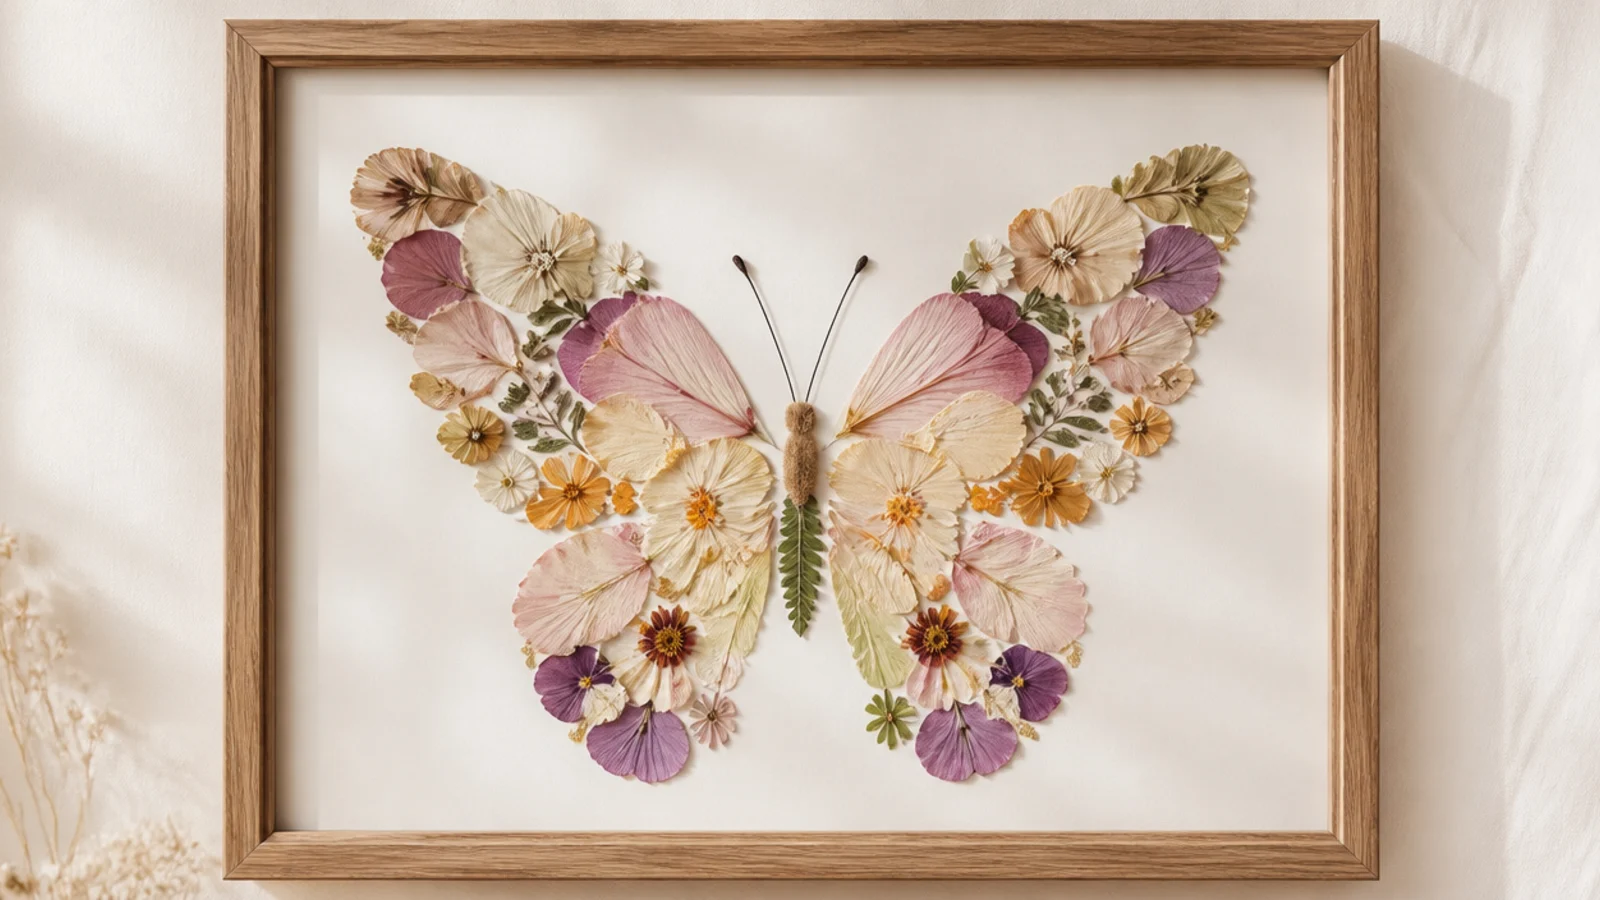
Arranging pressed petals into a butterfly shape turns simple petals into a playful figure. The symmetrical wings look intricate but are just mirrored petal placement. It’s a whimsical frame that children and gift recipients love.
Press many petals flat, including some patterned ones for the wings. On white acid-free backing, pencil a simple butterfly outline. Fill the wings with mirrored petals — matching each petal on one wing with an identical one on the other — and use a slim stem or seed for the body. Anchor with PVA dots, erase the guide, weight flat, and frame.
Build both wings at once, placing each matching pair together, so the butterfly stays truly symmetrical as you go.
Don’t mismatch the two wings; a butterfly’s charm is its symmetry, and uneven wings make it look like a random petal blob.
17. Line-Drawing Vase with Pressed Blooms
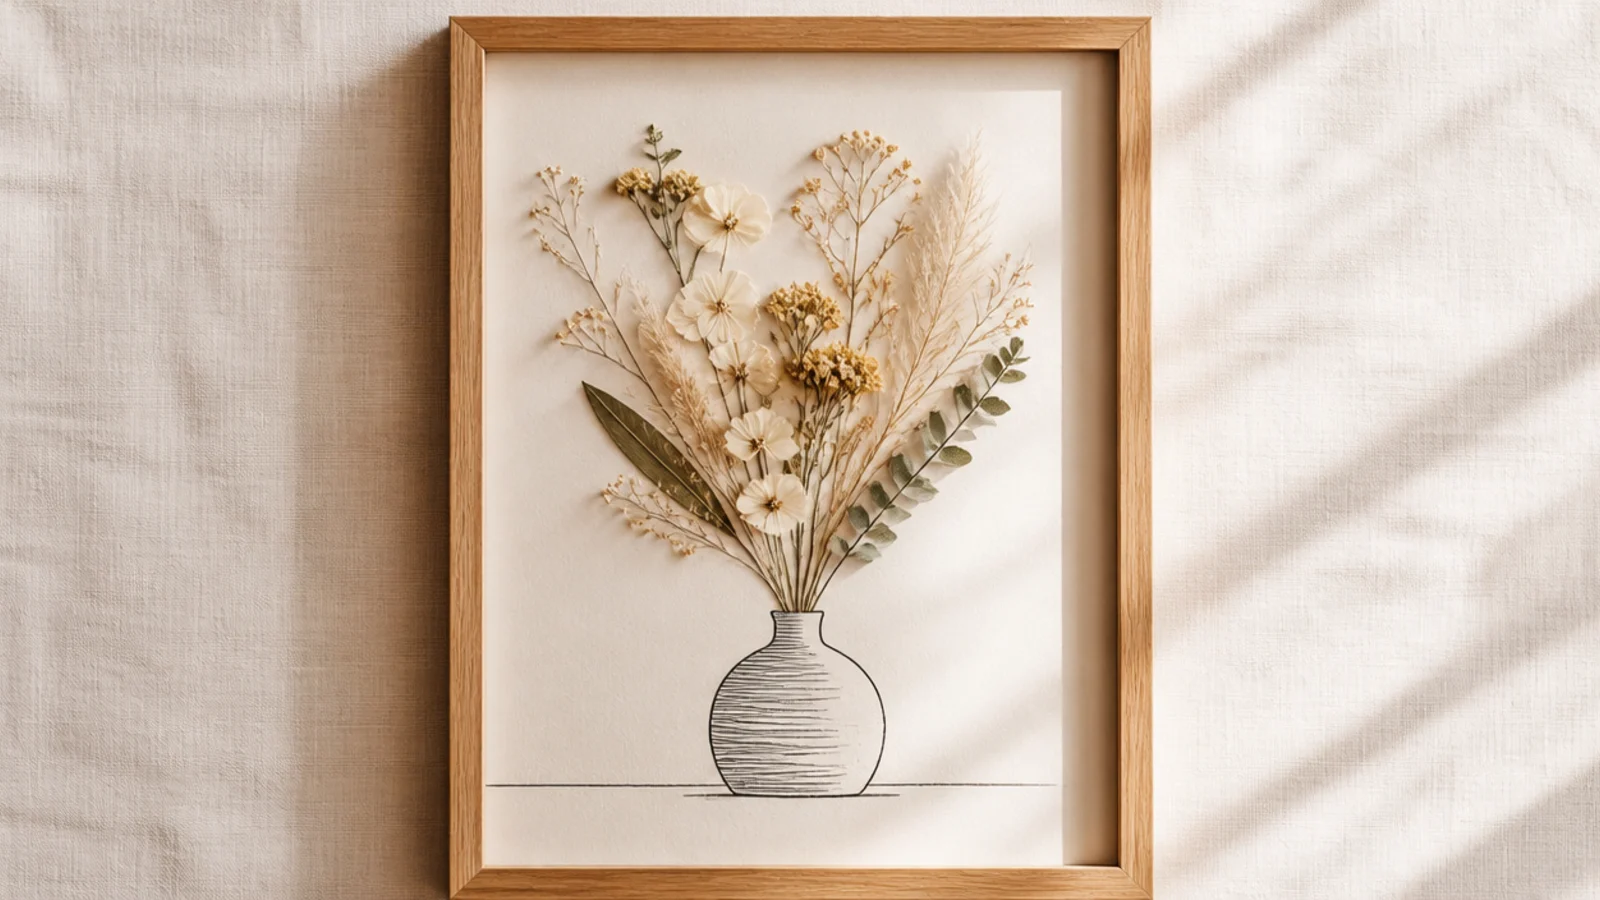
Drawing a simple line-art vase and adding real pressed flowers rising from it mixes illustration with botanicals. The minimalist ink vase grounds the flowers and adds a graphic, arty touch. It’s charming and only needs a few good blooms.
Editor's noteKeep the drawn vase minimal — a single clean outline — so the real flowers stay the star and the ink stays a quiet frame for them.
On acid-free backing, draw a simple one-line vase outline in fine archival ink and let it dry. Press a few flowers with stems flat. Arrange the stems so they appear to emerge from the vase’s opening, fanning naturally. Anchor each with PVA dots at stem and center, weight flat overnight, and frame under glass.
Skip thisDon’t overfill the vase; a few well-placed stems look like an arrangement, while a packed one hides the drawing entirely.
18. Culinary Herb Frame
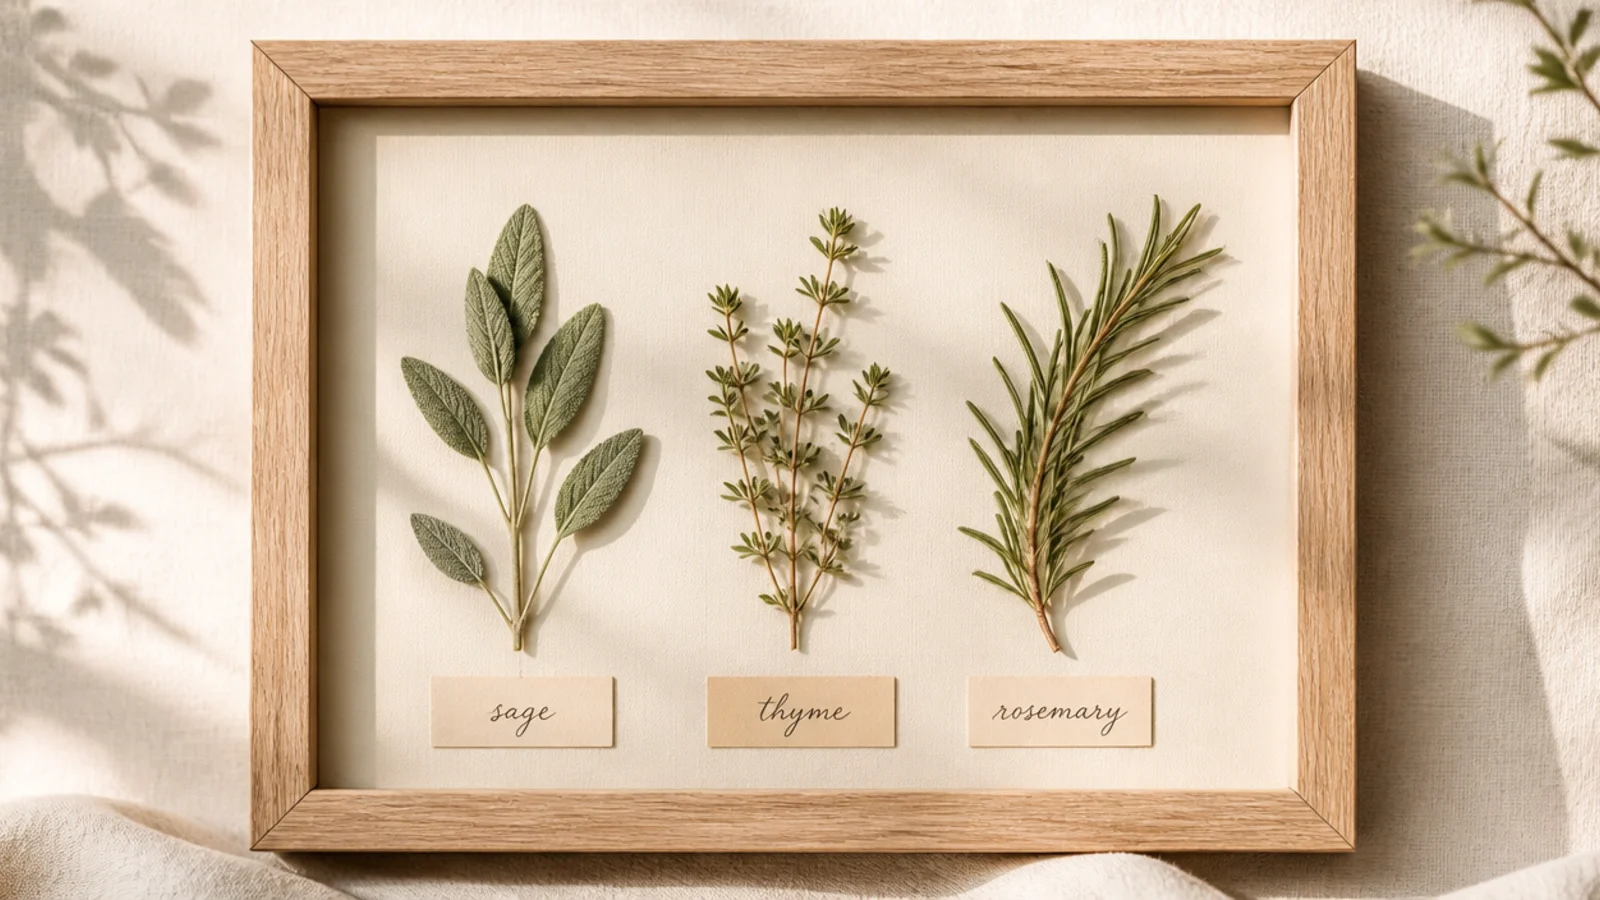
Pressed culinary herbs make a fitting, aromatic-looking frame for a kitchen. Sage, thyme, oregano, and rosemary press well and look handsome with small name labels. It’s practical charm that suits a cooking space better than showy flowers.
Editor's notePress herbs with woody stems (rosemary, thyme) between extra weight; their stems are stubborn and need firm pressure to flatten.
Press herb sprigs flat for two to three weeks. On cream acid-free backing, arrange three or four different herbs in a row or grid, each with room around it. Add a small printed name label beneath each herb. Anchor sprigs with PVA dots at the stem, erase any marks, weight flat, and frame under glass for the kitchen wall.
Skip thisDon’t hang an herb frame right over the stove; grease and steam fog the glass and dull the pressed herbs over time.
19. Panoramic Wildflower Field Frame
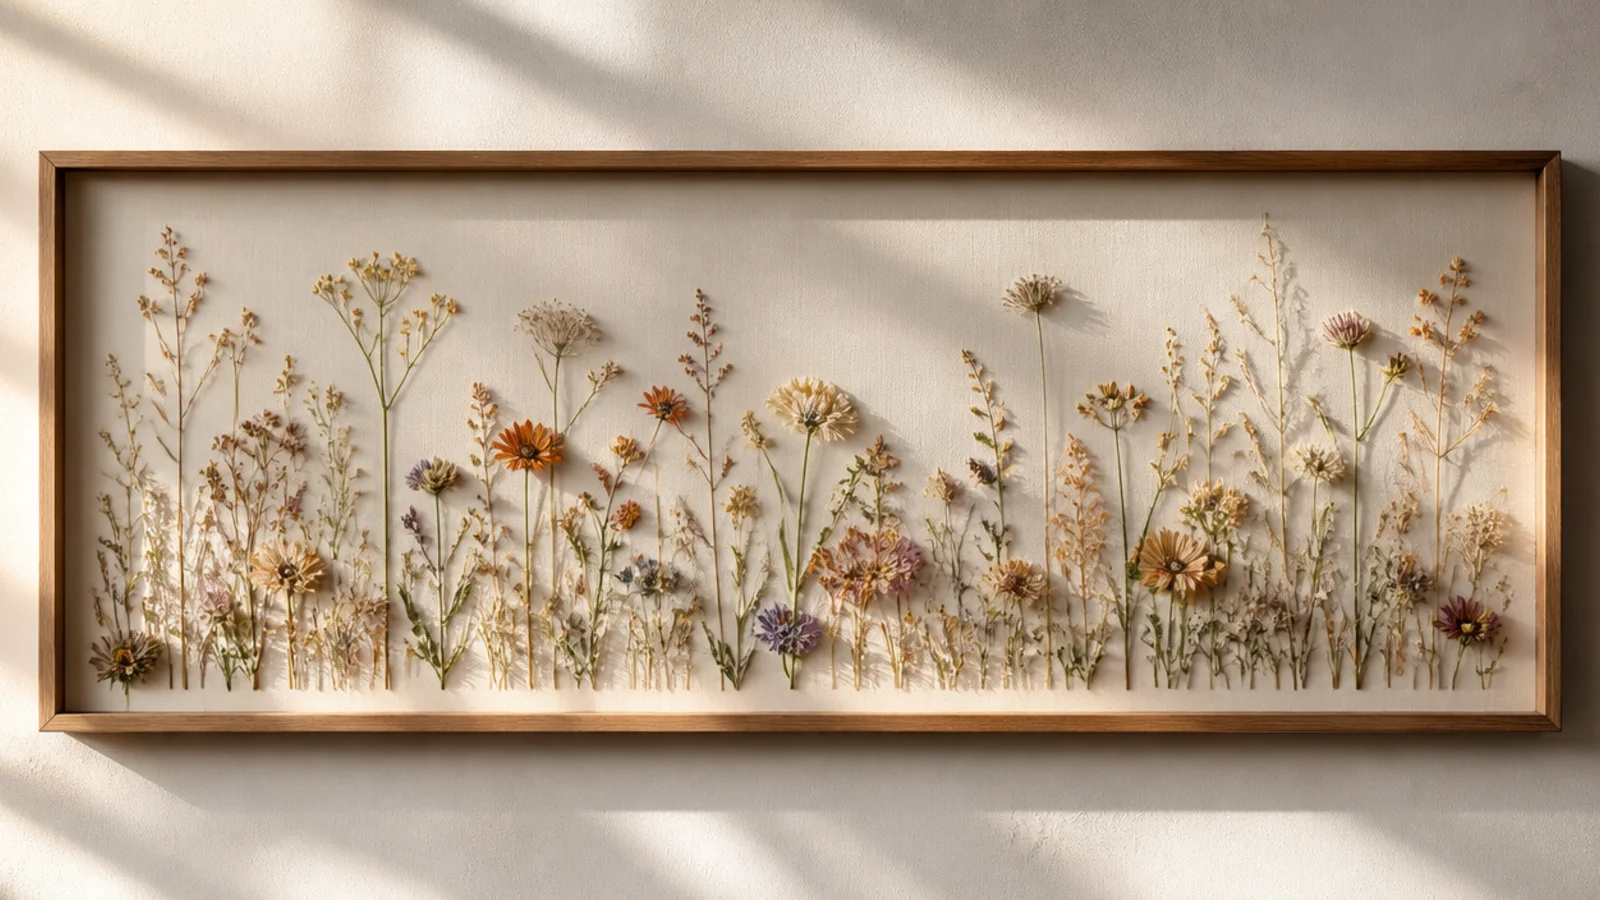
A wide panoramic frame filled with a low band of pressed wildflowers reads like a real field. The stretched format suits a long wall and tells a landscape story. Grasses and mixed wildflowers along the bottom create natural depth and sweep.
Editor's noteCluster the flowers into a few loose drifts rather than an even row, the way wildflowers actually grow in patches across a field.
Press many wildflowers and grasses of varying heights, flat. Use a wide panoramic frame with acid-free backing. Arrange them as a field standing from the bottom edge, taller grasses toward the back, shorter blooms in front, spread across the whole width. Anchor stems with PVA dots, leave open sky above, weight flat, and frame.
Skip thisDon’t make the field a uniform height; a flat-topped row looks like a fence, while varied heights look like a real meadow.
20. Watercolor-Wash Background Frame
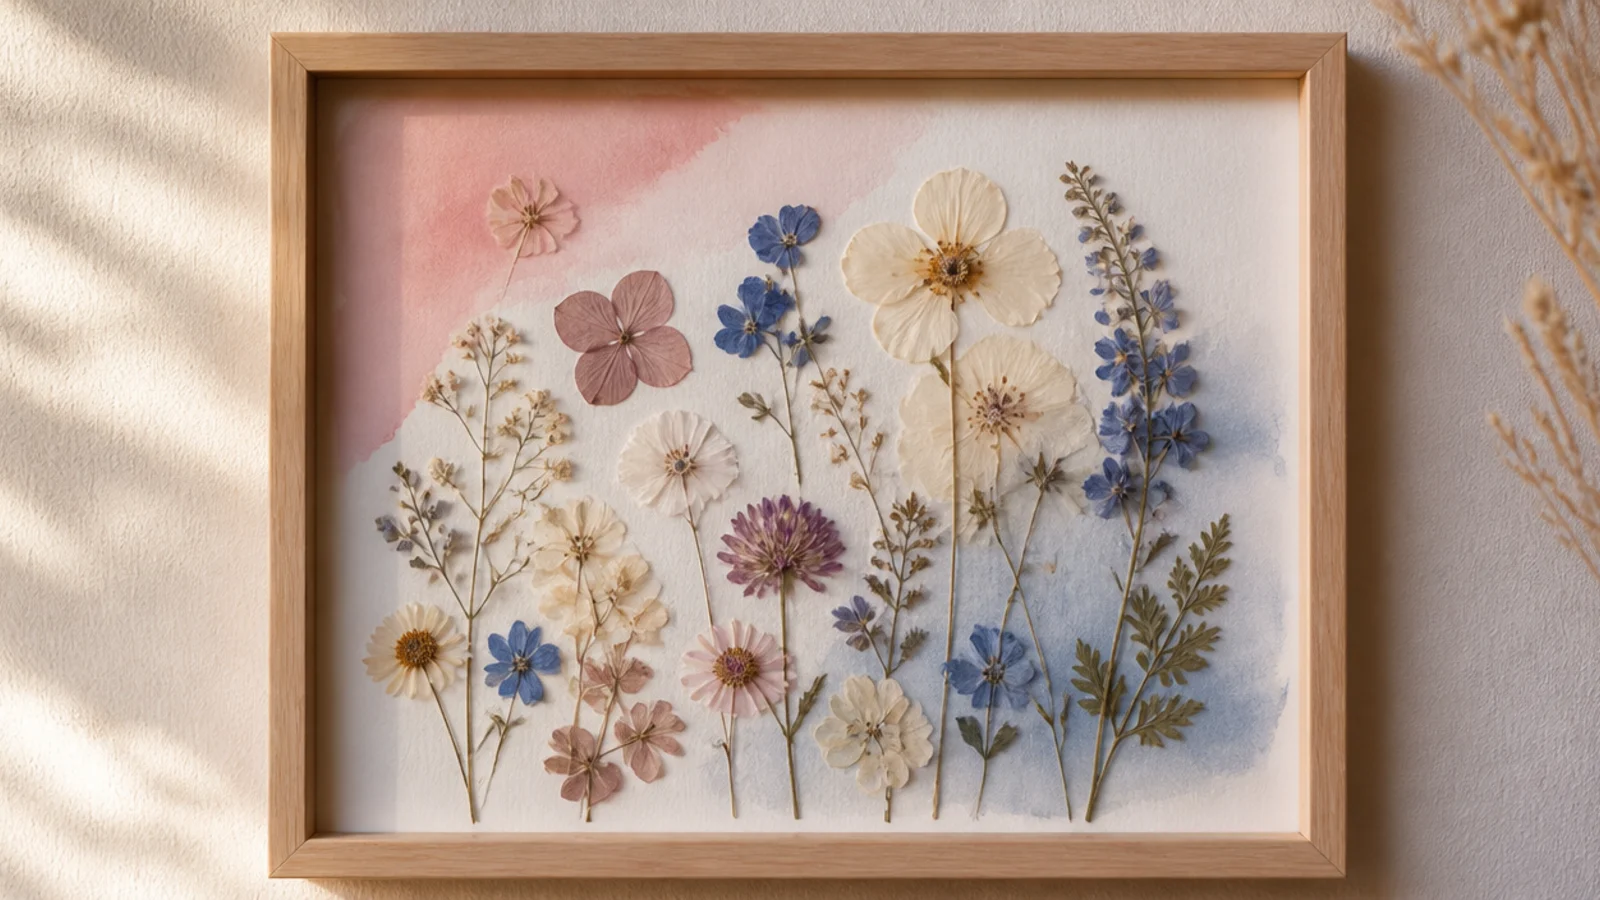
Mounting pressed flowers over a soft watercolor wash adds gentle color and artistry behind the blooms. The painted background gives depth that plain paper can’t. Pale, blended washes in blush, blue, or sage complement the flowers without overpowering them.
Editor's noteKeep the wash pale and blended; a soft background flatters the flowers, while a bold, saturated painting competes with them.
Paint a soft, pale watercolor wash on acid-free watercolor paper and let it dry completely flat (press it under weight if it buckles). Press flowers flat. Arrange them over the wash, anchoring with PVA dots, choosing flower colors that harmonize with the background. Weight flat overnight and frame under glass.
Skip thisDon’t mount flowers on a wash that dried buckled; a wavy background shows through the glass and lifts the flowers unevenly.
21. Four-Season Panel Set
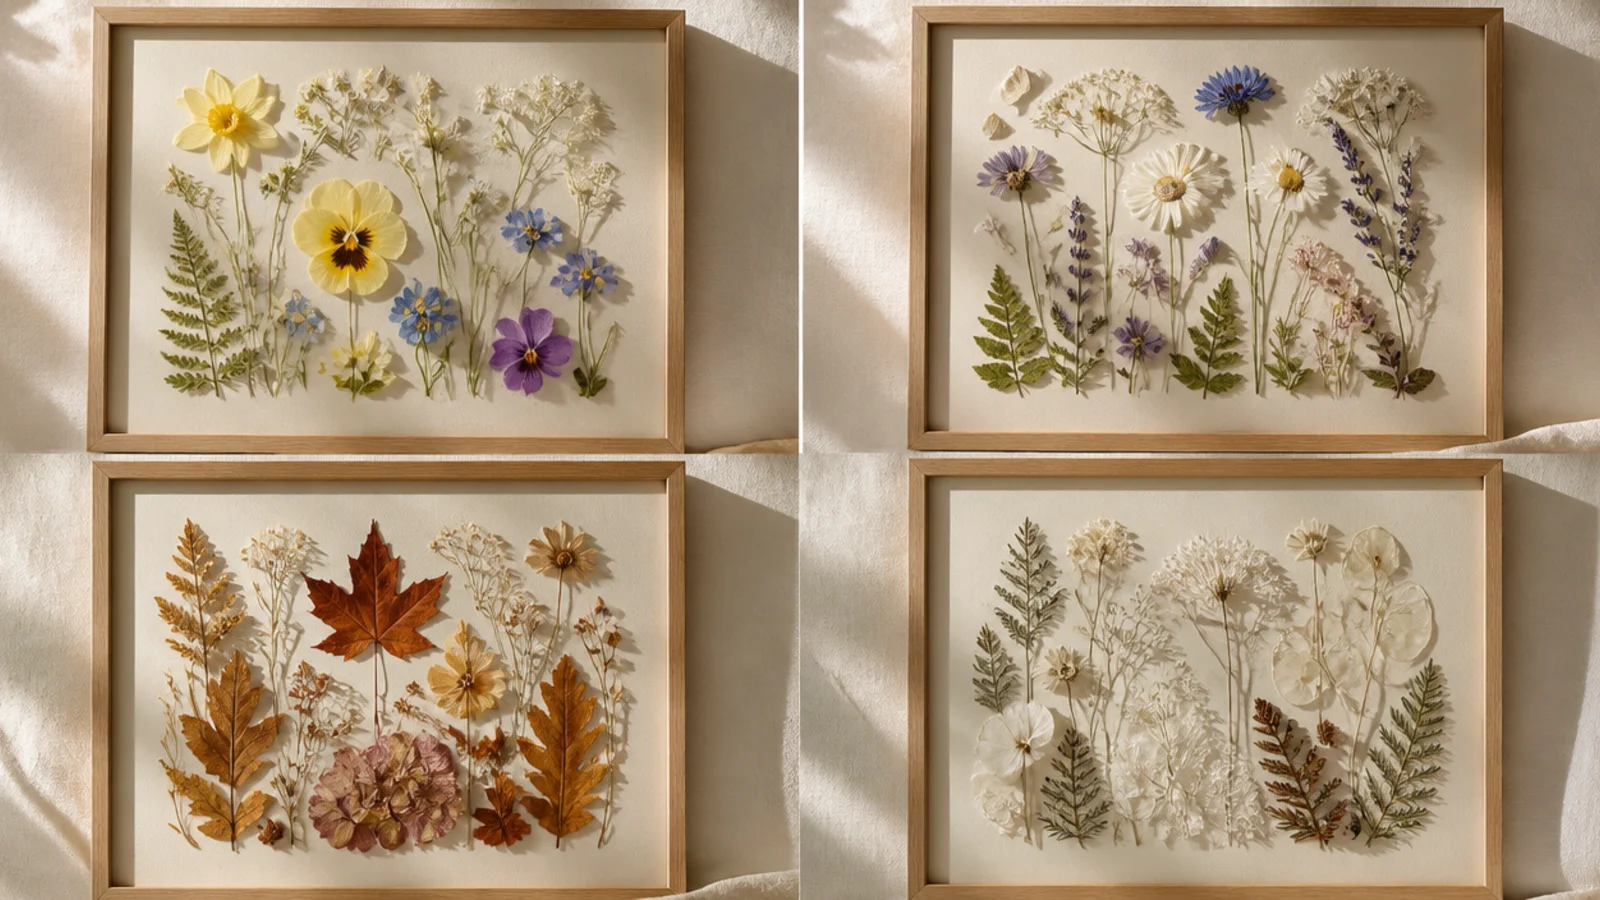
Four matching frames, each capturing one season’s flowers, make a meaningful set that fills a wall. Spring blossoms, summer blooms, autumn leaves, and winter sprigs tell a year-round story. The repetition of identical frames makes it read as a designed series.
Editor's noteKeep the arrangement style identical across all four panels so the seasons read as a series, not four unrelated frames.
Press seasonal material through the year — or all at once from a mixed collection. Mount each season’s flowers on identical acid-free backing in identical frames, keeping the arrangement style consistent across all four. Add a small season label if you like. Frame each under glass and hang them in a two-by-two grid or a straight row, evenly spaced.
Skip thisDon’t vary the frames or mats between panels; the set effect depends on everything matching except the flowers themselves.
22. Double-Sided Hanging Glass Frame
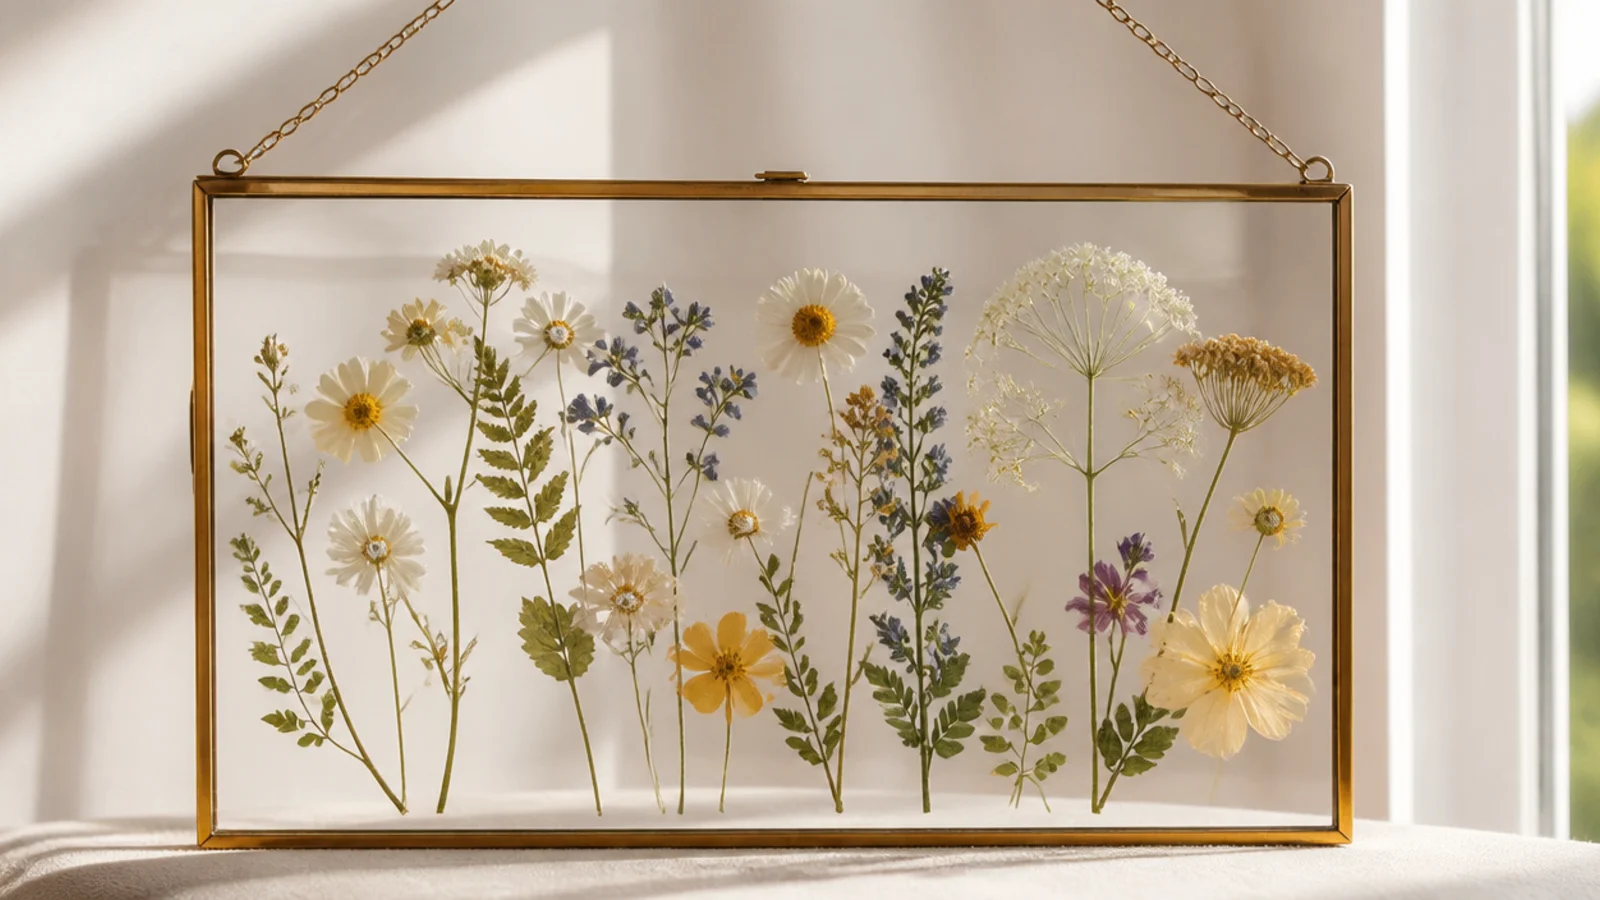
A double-glass frame hung in a window lets light stream through the pressed flowers from behind. Suspended rather than wall-mounted, it becomes a piece of living light. Thin, translucent flowers glow beautifully with daylight behind them.
Editor's noteHang it in an east or north window rather than a blazing south one; gentle daylight glows through the flowers without fast fading.
Press thin, translucent flowers flat. Arrange them between the panes of a hanging double-glass frame, held by pressure, no glue. Close the frame securely. Hang it in a window using its chain or cord, or a suction hook, so daylight passes through the flowers. Reposition seasonally to catch the best light.
Skip thisDon’t hang delicate pressed flowers in harsh direct sun all day; strong UV through a window fades them within weeks.
23. Gold-Leaf Accent Pressed Frame
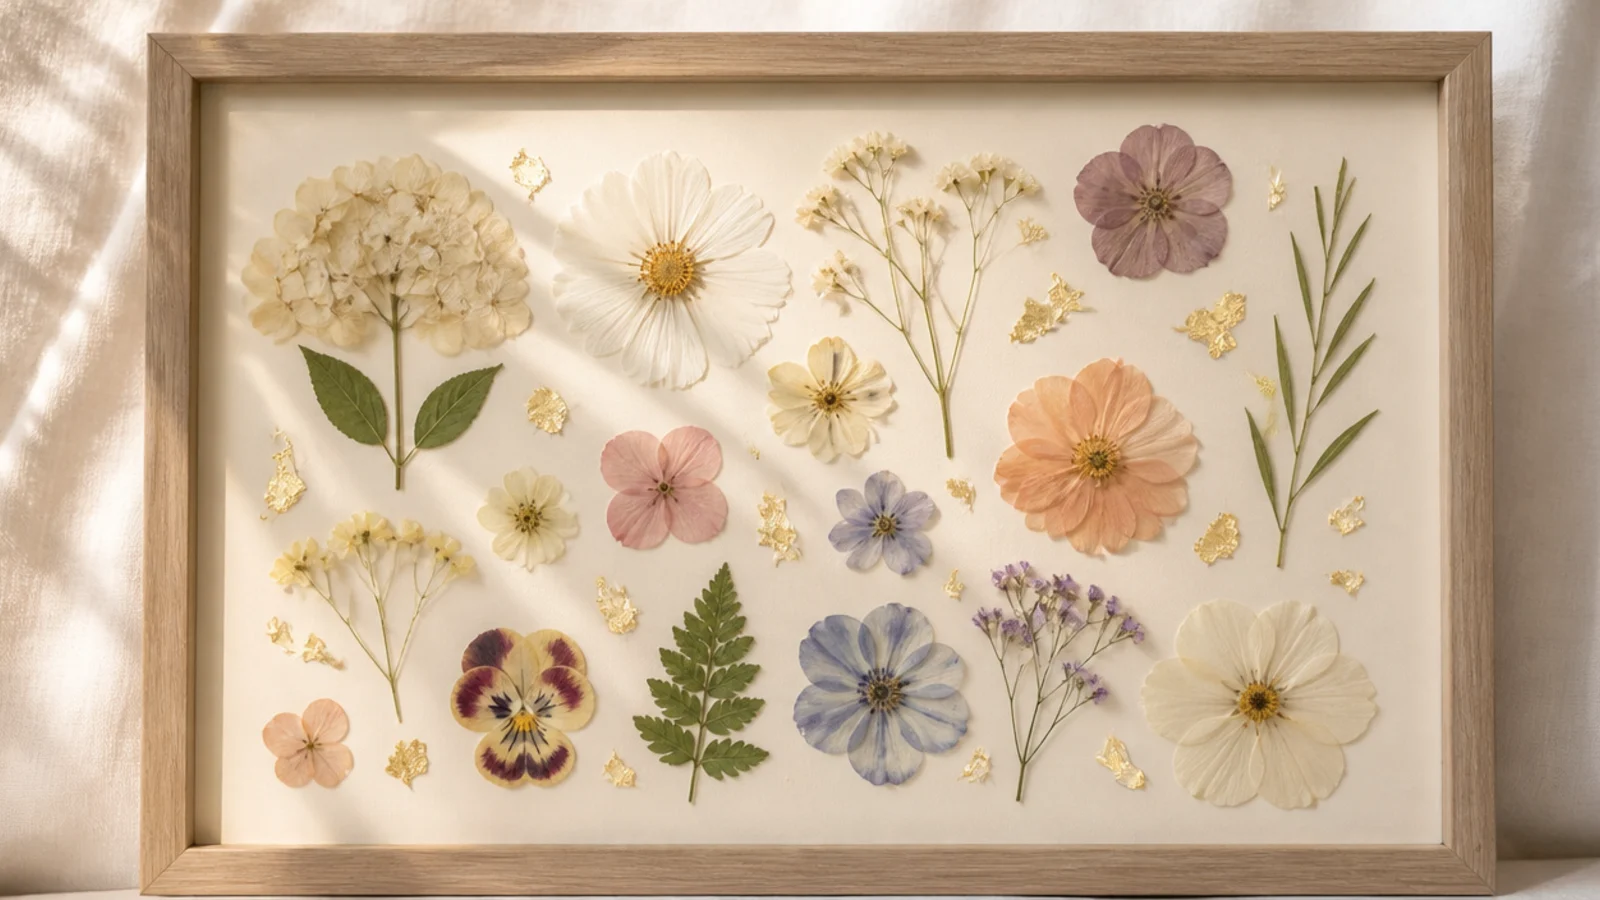
Adding tiny flecks of gold leaf among pressed flowers gives a frame a subtle, luxe shimmer. The gold catches light and lifts a simple arrangement into something special. A few small flecks are all it takes — restraint keeps it elegant.
Editor's notePlace gold flecks in the negative space between flowers, not on the petals; scattered in the gaps, they read as intentional sparkle.
Press flowers flat and arrange them on cream acid-free backing, anchored with PVA dots. Brush a few tiny spots of gilding size (adhesive) into the gaps between blooms, then press small pieces of gold leaf on and gently brush away the excess. Keep the gold sparse, weight flat, and frame under glass.
Skip thisDon’t over-gild; a few flecks look luxe, but heavy gold leaf overwhelms the flowers and tips into looking cheap and busy.
24. Full-Bleed Petal Carpet Frame
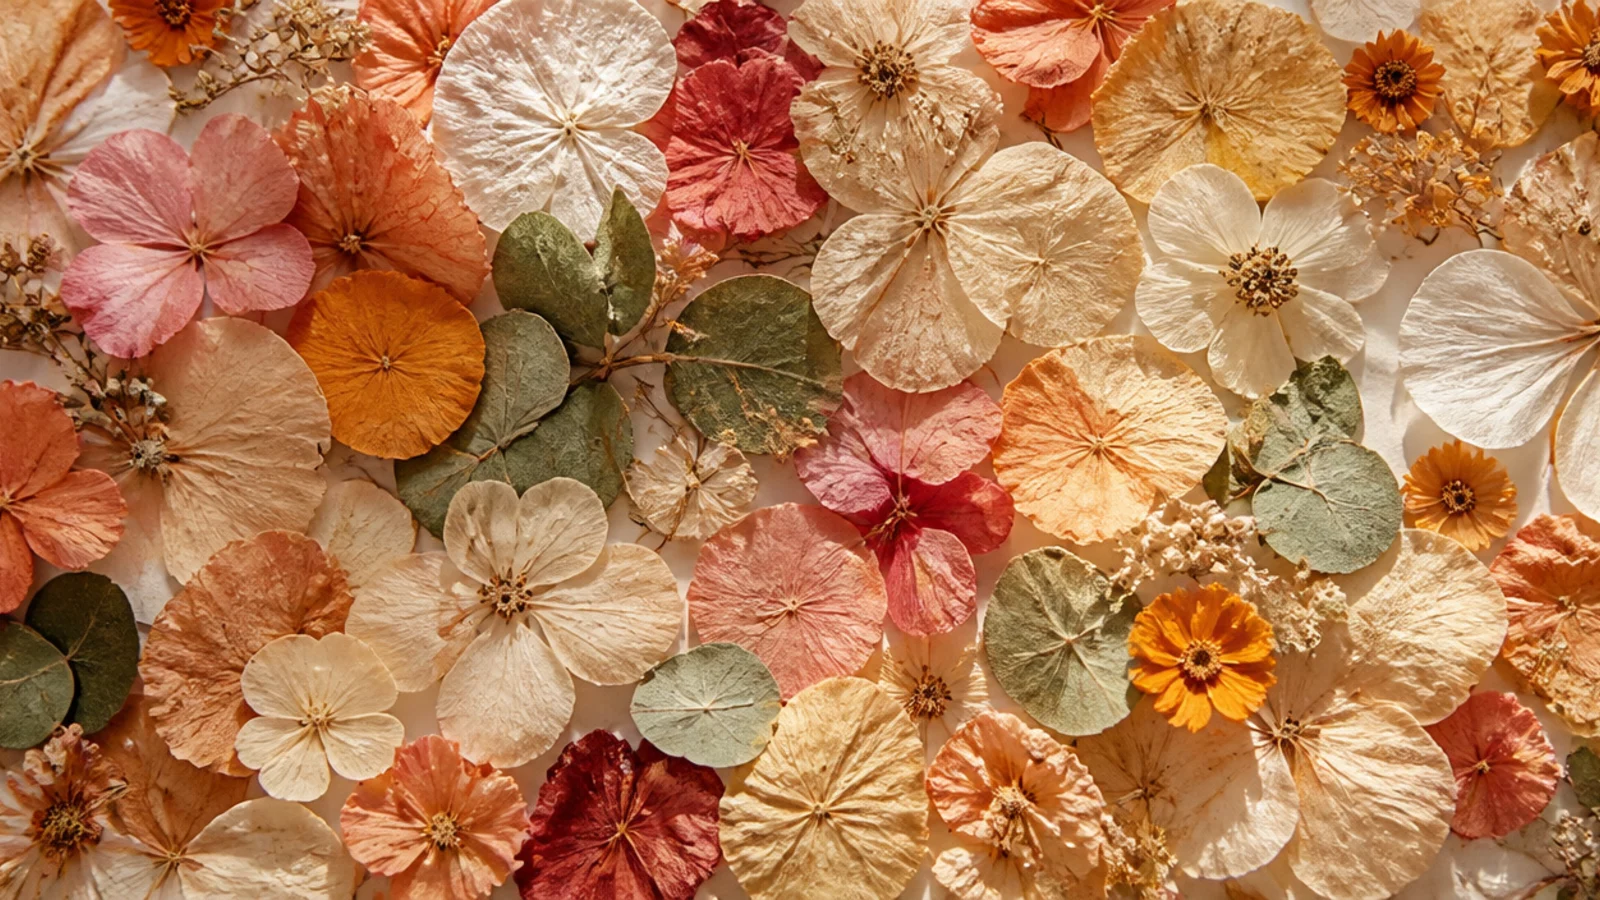
Covering the entire frame edge to edge with a dense carpet of pressed petals makes a rich, immersive block of color. No backing shows, so it reads as pure texture and hue. It uses a lot of petals but the impact is bold and modern.
Editor's noteWork edge to edge and slightly past the frame’s window line, so no bare backing peeks out at the borders once it’s framed.
Press a large quantity of petals flat. On acid-free backing cut to the frame’s full size, lay petals overlapping like tiles from edge to edge, blending colors gradually if you want a gradient. Anchor each with a PVA dot and press the whole sheet firmly flat under weight overnight so nothing lifts, then frame under glass.
Skip thisDon’t leave thin or patchy spots; a carpet needs full, even coverage, so keep pressing extra petals until it’s completely dense.
25. Salon Gallery Wall
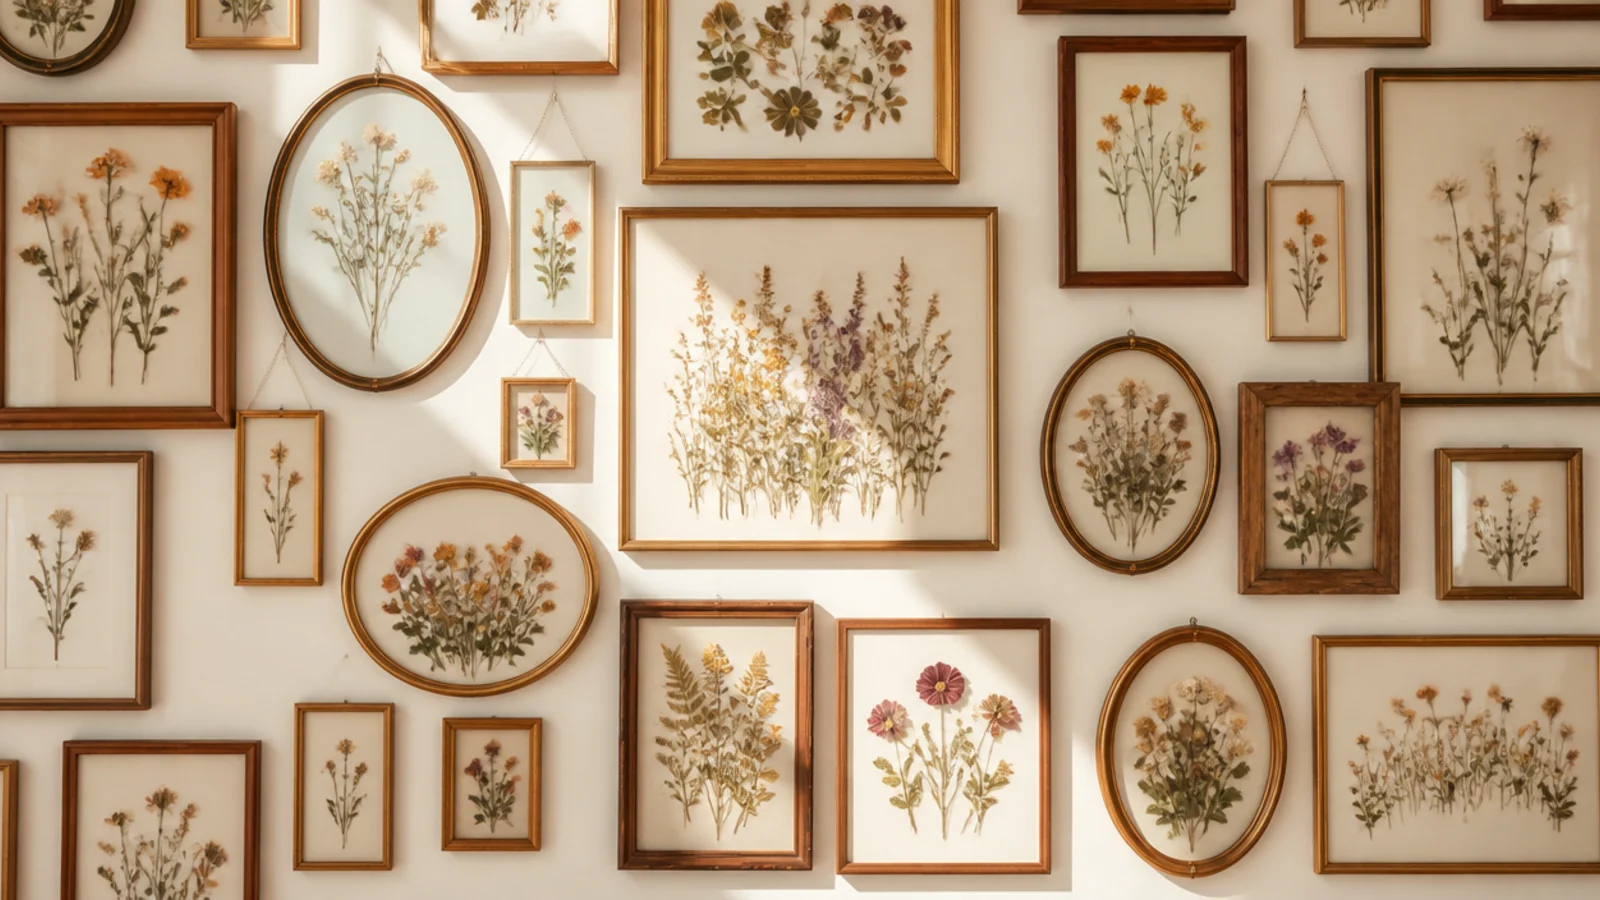
Grouping many pressed flower frames tightly in a salon-style cluster turns a whole wall into a botanical statement. Mixed sizes and shapes hung close together look collected and lush. It’s the grand finale of pressed flower framing and pulls all your other frames into one display.
Editor's notePlan the whole layout on the floor and with paper templates first; rearranging on paper saves a wall full of extra nail holes.
Gather a mix of your pressed flower frames in different sizes and shapes. Lay them out on the floor first to plan the arrangement, keeping gaps between frames even (about two inches). Trace each frame on paper and tape the templates to the wall to test placement. Hang from the center outward, using a level, until the cluster fills the wall.
Skip thisDon’t space the frames far apart; a salon wall reads as one rich display only when the frames hang close together with tight gaps.