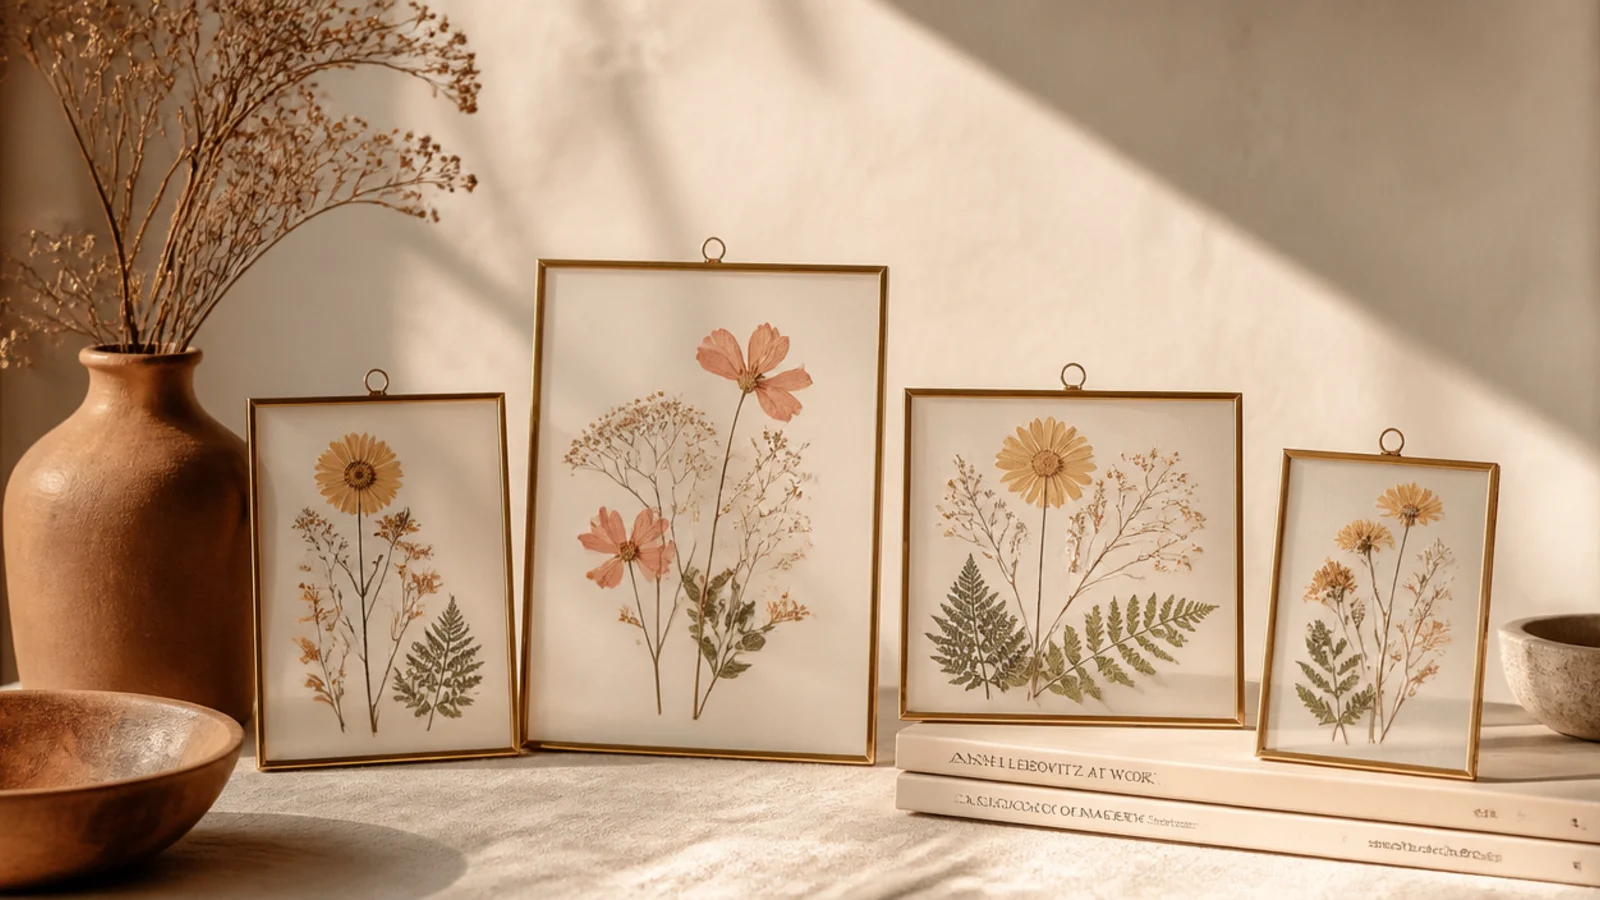
1. Single Pressed Bloom on a Cream Mat
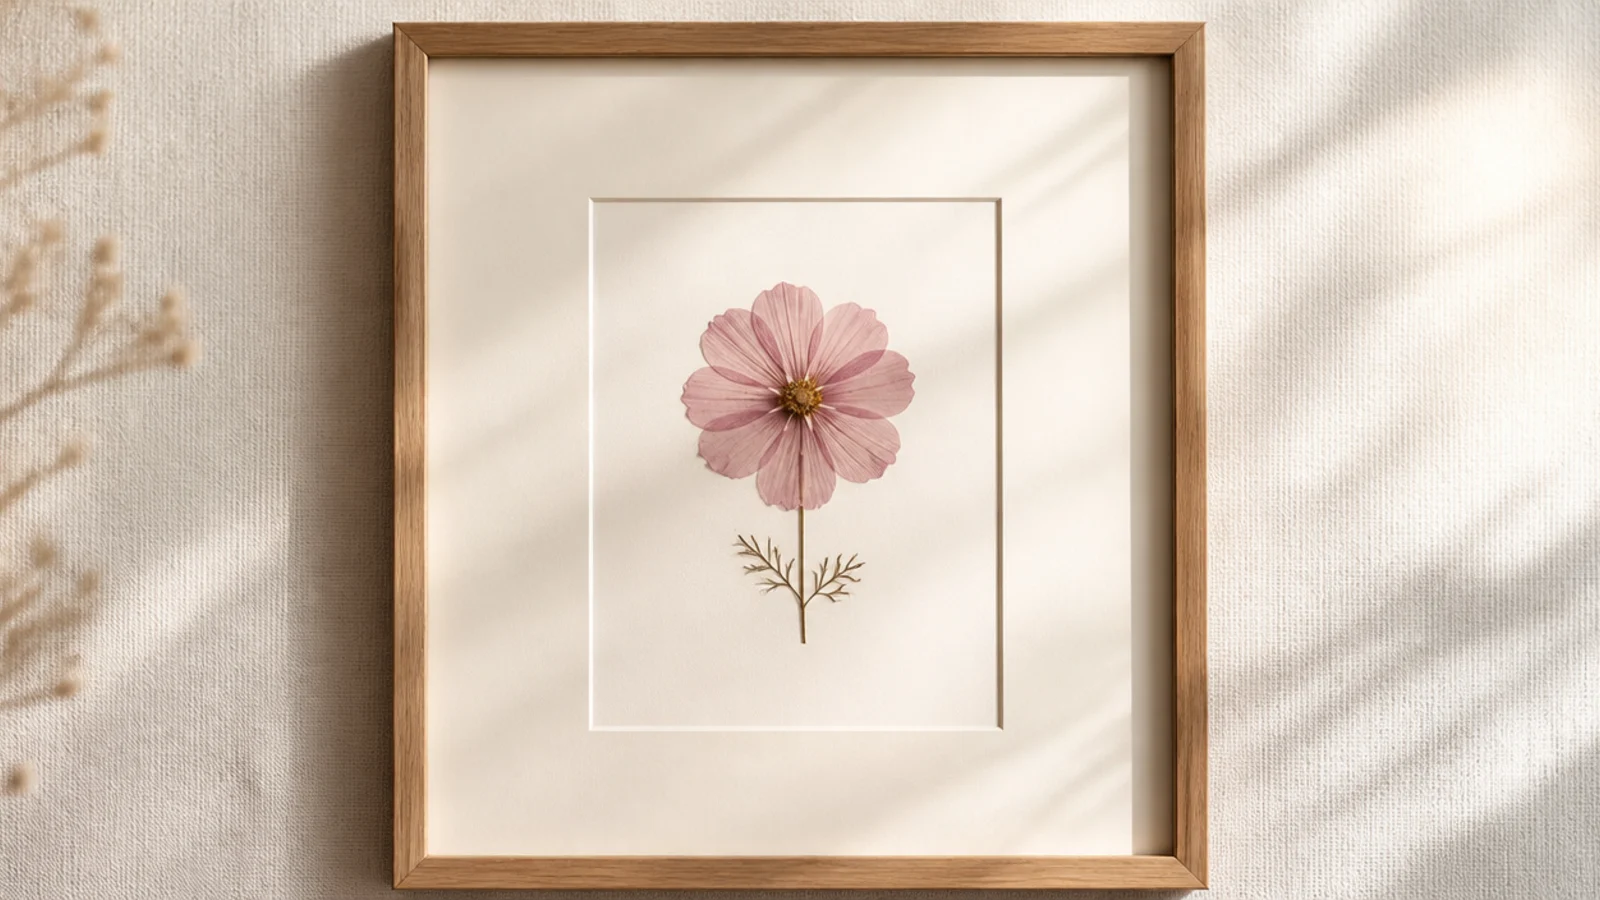
This is the easiest flower frame that still looks gallery-worthy. You center a single pressed bloom on a wide cream mat, letting the empty space do the styling. One flower means one decision, and the generous margin reads modern and intentional. Pick a flower with a strong silhouette — a cosmos, viola, or single daisy — so it holds the whole frame on its own.
Editor's noteChoose a mat opening much larger than the flower — the wider the margin, the more the single bloom reads as art rather than a leftover.
Press one flat flower between parchment in a heavy book for two to three weeks until paper-dry. Cut an acid-free cream mat with a window, or use a pre-cut mat from a craft frame. Place a tiny dot of archival PVA on the flower’s center and a leaf base, then press it gently onto the backing, centered in the window. Weight it flat for an hour, set the mat on top, and close the frame with real glass.
Skip thisDon’t glue the whole flower down flat; a spot of glue at the center only keeps the petals naturally lifted and lifelike.
2. Pressed Flower Grid
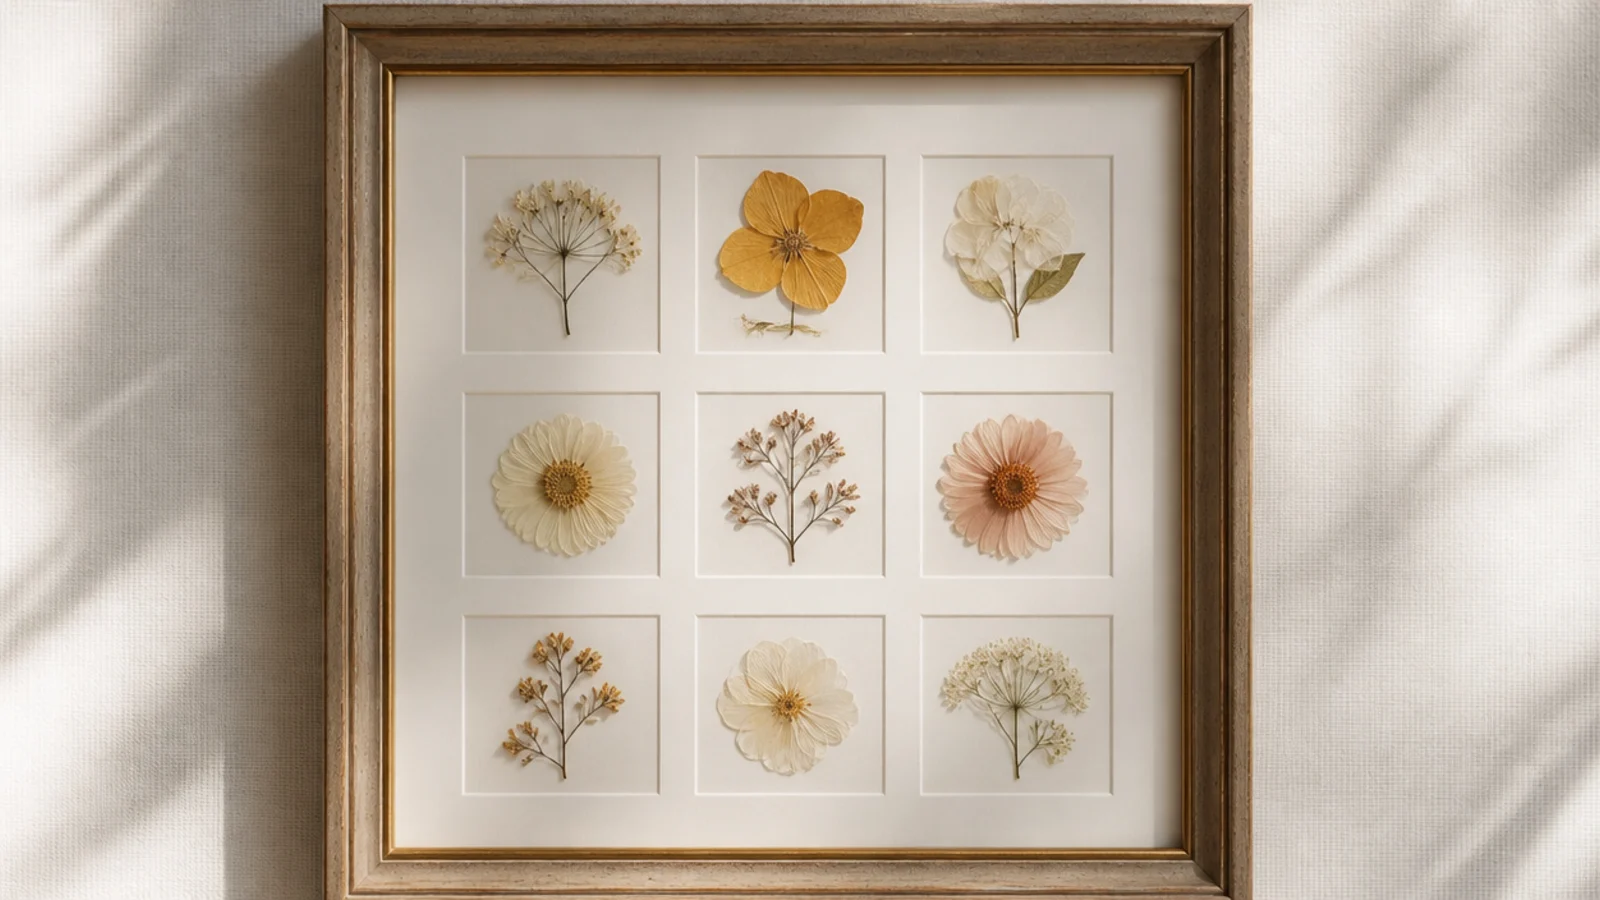
A tidy grid of small pressed flowers looks like a specimen collection and is far easier than it appears. Even spacing does all the visual work, so wobbly petals disappear into the pattern. Use one flower type in different colors, or a mix of small blooms, kept to a strict grid for that calm, collected look.
Press eight or nine small flowers flat. Lightly pencil a grid on acid-free white backing using a ruler so the spacing is exact. Place each bloom at a grid intersection and anchor it with a single PVA dot on its center. Erase any stray pencil marks, weight the sheet flat overnight, then frame under glass in a square frame.
Mark your grid points with faint pencil ticks first, not full lines, so nothing shows through around the flowers after framing.
Don’t crowd the grid — equal, generous gaps between blooms are what make it read as a designed specimen sheet, not a scrapbook.
3. Floating Glass Frame with Pressed Ferns
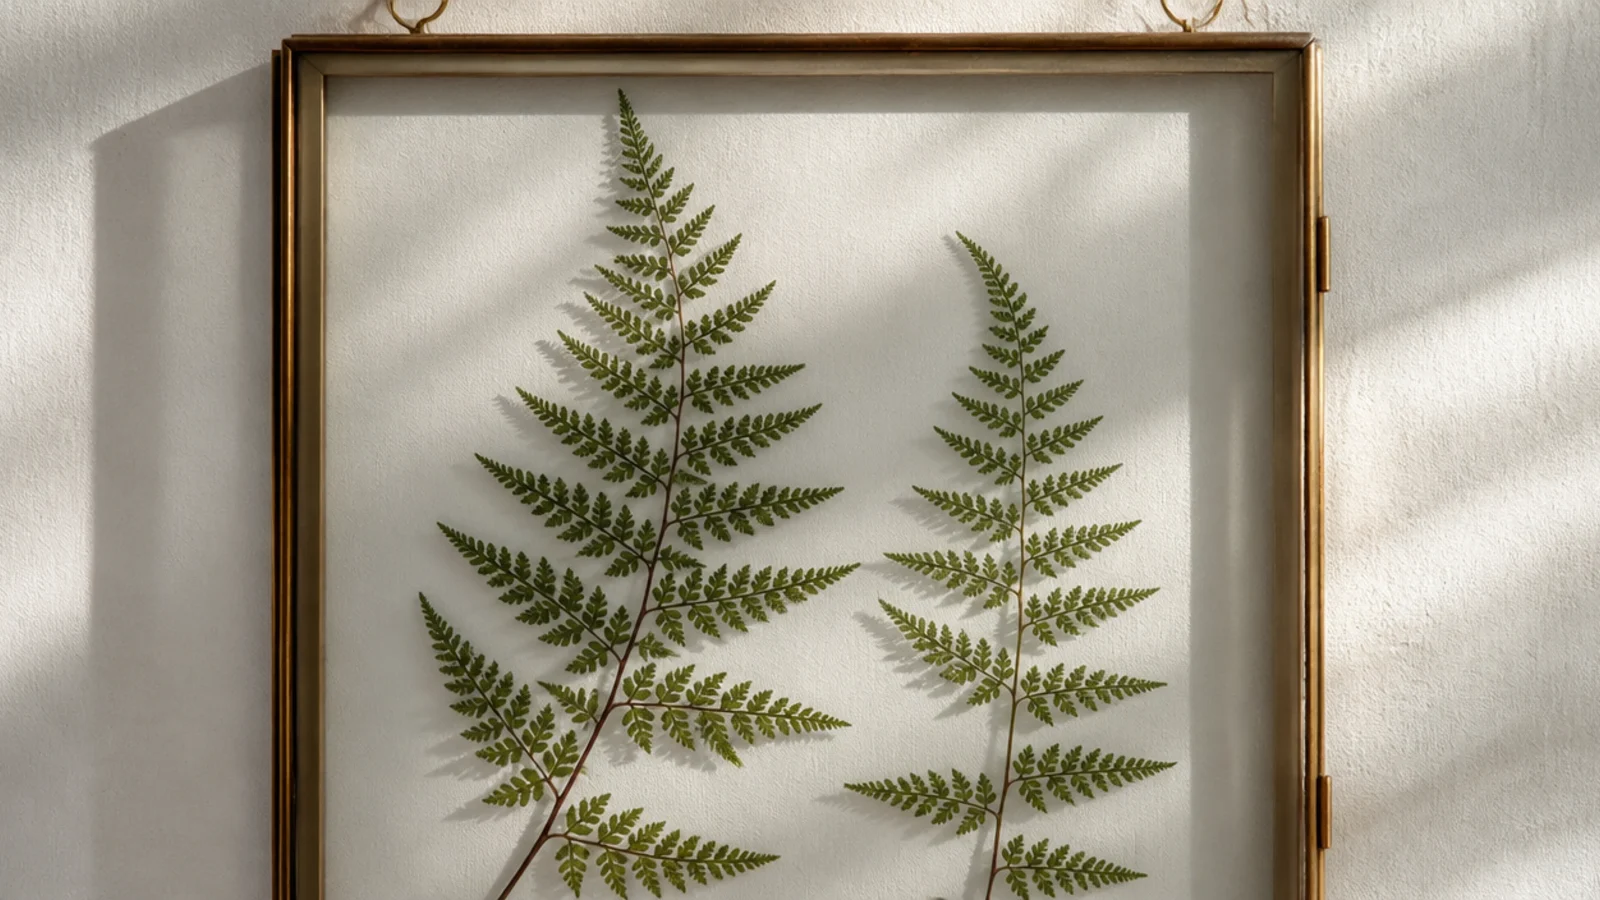
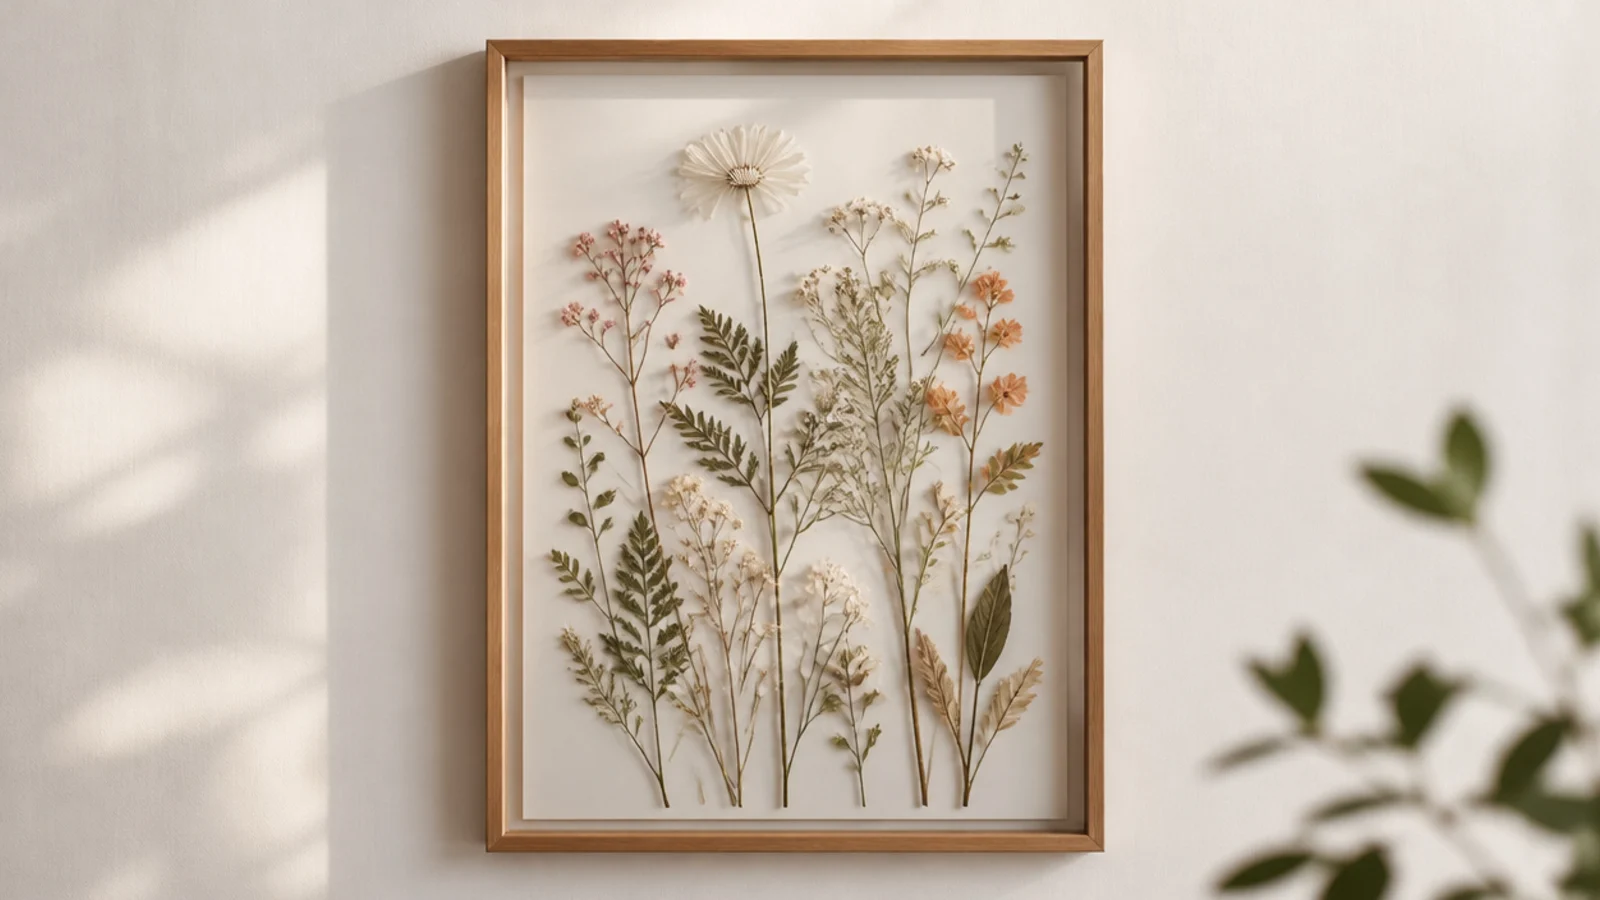
A float frame sandwiches pressed flowers between two panes of glass so they seem to hover with the wall showing through. It looks strikingly modern and needs no backing or mat. Ferns and delicate stems suit it best because their fine shapes read beautifully against an open, see-through background.
Editor's noteWork in a still room with no fan or breeze — even a light draft slides delicate ferns out of place as you lower the top pane.
Press two or three ferns or slim stems completely flat. Open a double-glass float frame and clean both panes. Arrange the pressed pieces directly on the bottom pane — no glue needed, the panes hold them by pressure. Lay the top pane over gently without shifting the ferns, then close the frame clips so the glass presses everything flat and still.
Skip thisDon’t use thick or lumpy flowers in a float frame; only truly flat pieces stay put, and thick ones let the panes gap and shift.
4. Dried Bud Shadow Box
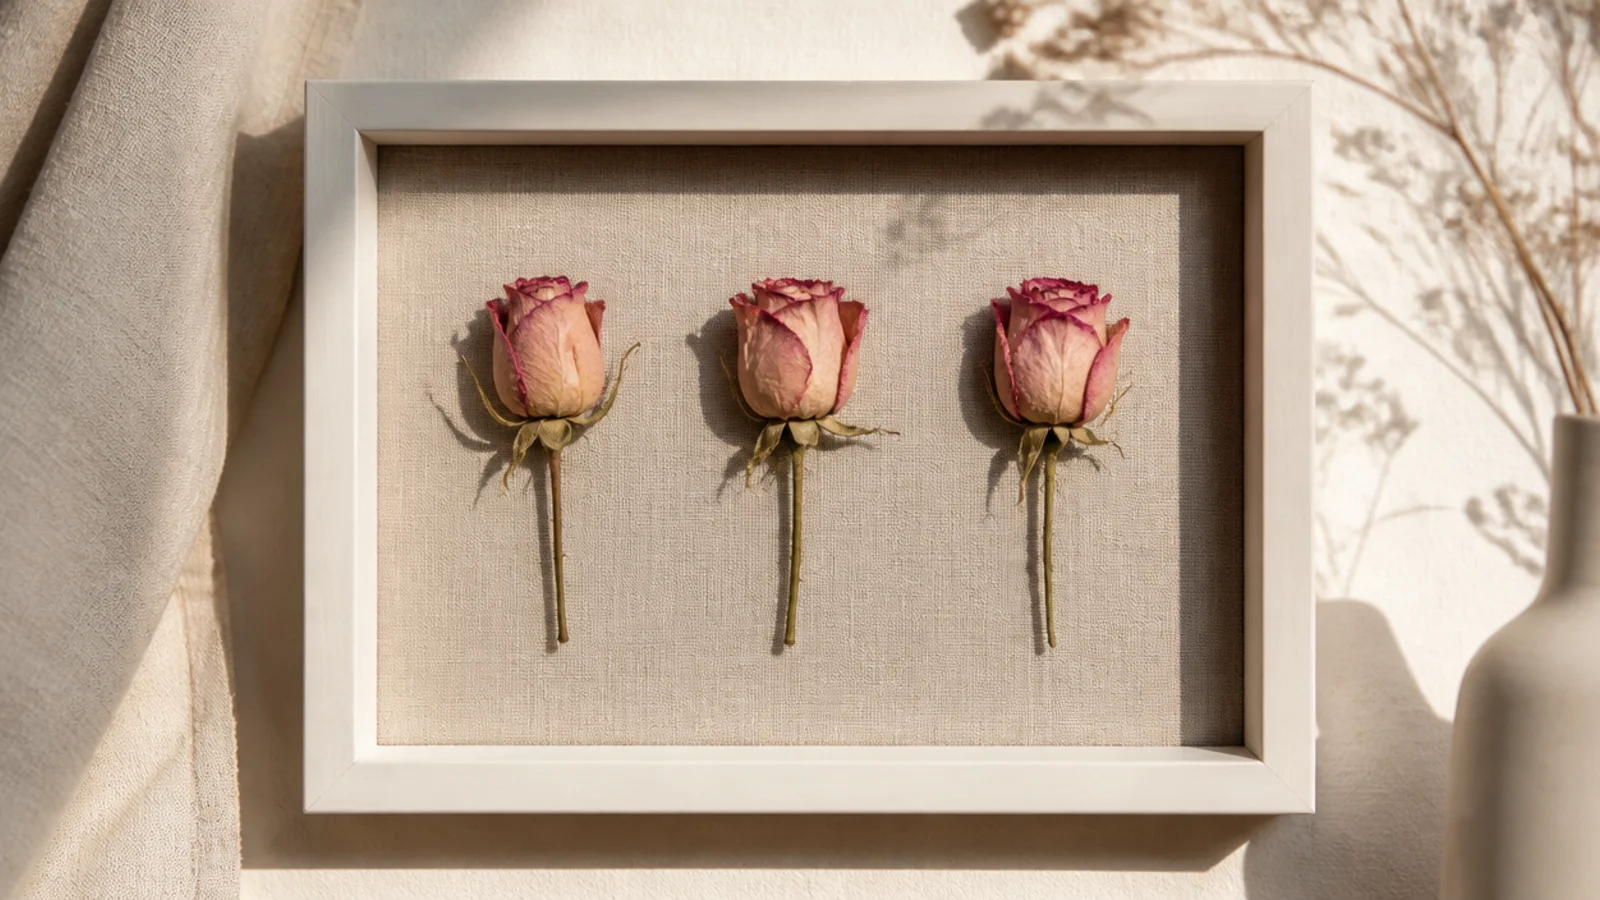
A shadow box gives whole, three-dimensional dried buds room to keep their shape instead of being crushed flat. Three small dried roses or ranunculus in a row look sculptural and hold their color for years. The deep frame turns rounded blooms into a real object, not a pressed silhouette.
Editor's noteSilica-dry the buds instead of air-drying if you want them to keep bright color and full, rounded shape rather than shrinking.
Air-dry or silica-dry three small buds until fully firm. Line the shadow box back with linen or acid-free cardstock. Attach each bud with a dab of archival PVA or a clear glue dot on its base, spacing them evenly in a row. Let the glue cure fully so nothing rattles, then close the deep glass front, which sits well above the blooms.
Skip thisDon’t use a flat frame for whole buds; a shallow frame crushes them against the glass and flattens the whole point of the piece.
5. Botanical Specimen Label Frame
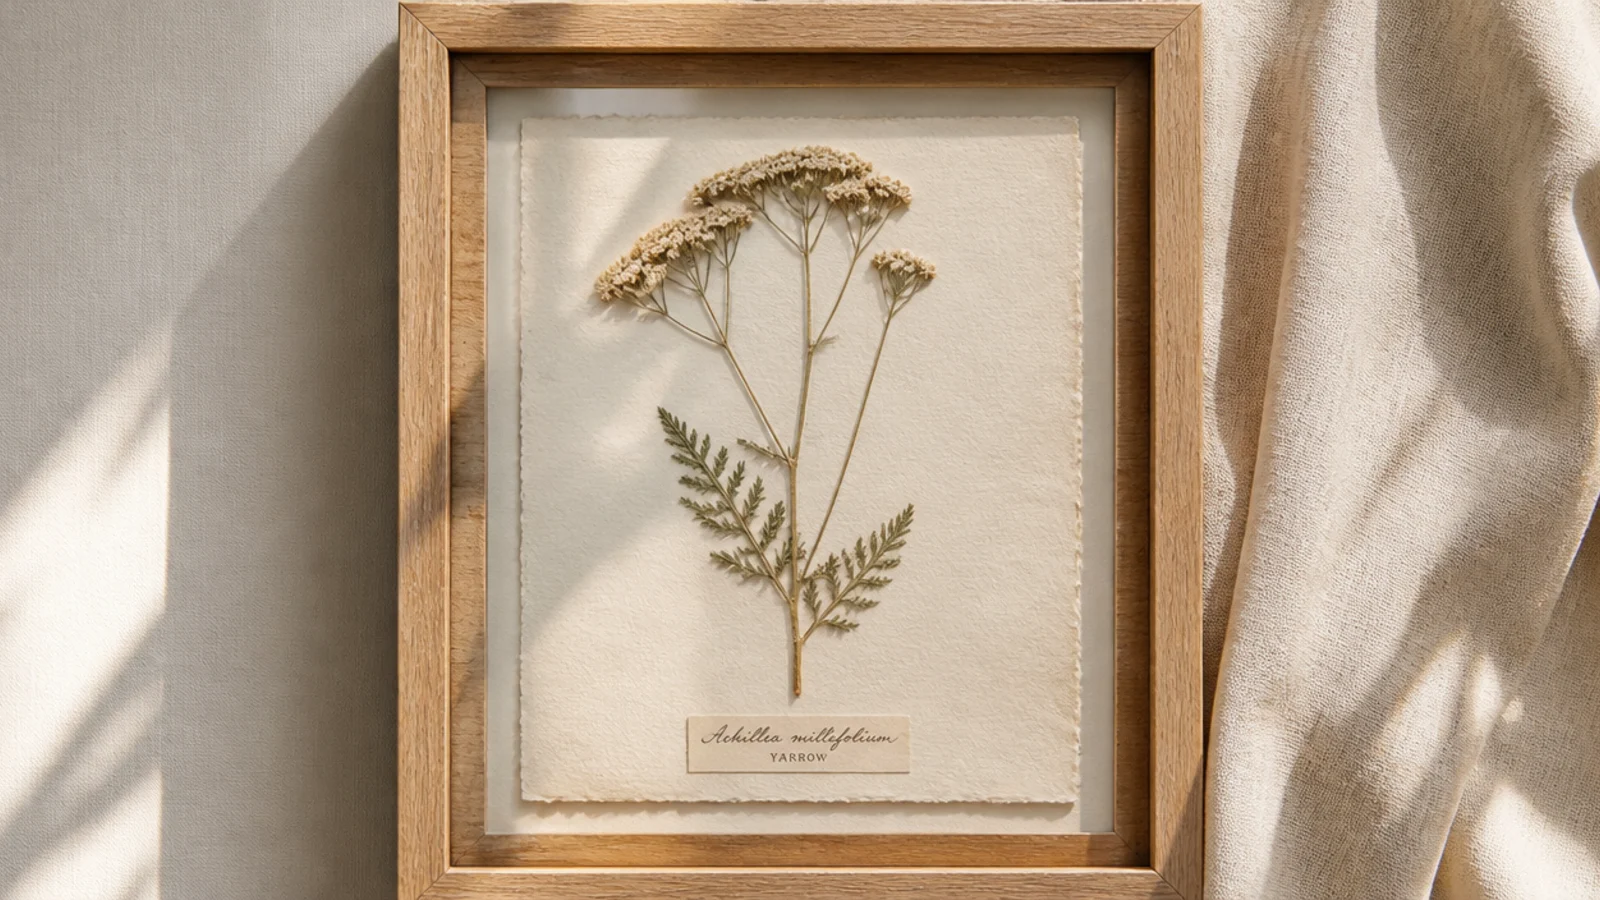
Adding a small handwritten or printed name label turns a pressed flower into a vintage herbarium specimen. The little label instantly makes it look scholarly and collected. One flower with its full stem and leaves, plus its name in neat script, is a whole frame’s worth of charm.
Press one flower with its stem and a couple of leaves attached, keeping it flat. Mount it on aged or cream acid-free paper with PVA dots at the stem and leaf bases. Write or print the flower’s common and Latin name on a small strip and glue it below the specimen. Add a faint pencil 'collected' date if you like, then frame under glass.
Print the label in a small serif font on off-white paper for an authentic old-herbarium feel that beats modern handwriting for legibility.
Don’t center the label too close to the flower; leave clear breathing space so the specimen and its name each read on their own.
6. Circular Hoop Flower Frame
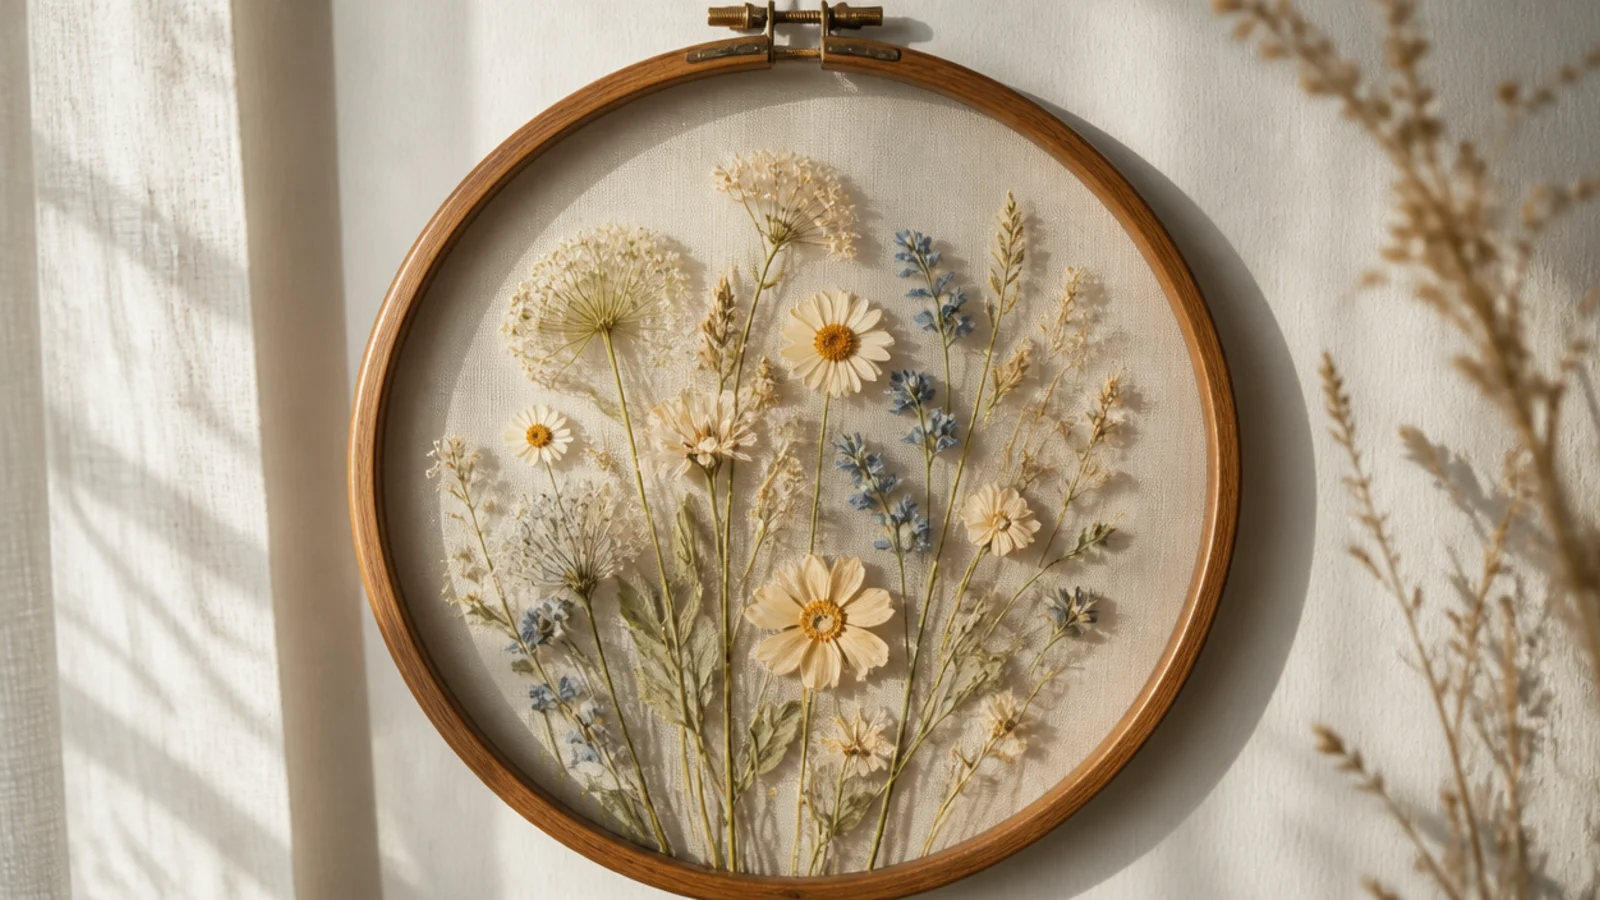
A wooden embroidery hoop makes a soft, round frame that feels organic against square art. Pressed flowers arranged on sheer fabric inside the hoop let light pass through for an airy look. The circle shape suits loose, scattered arrangements that would feel awkward in a rectangle.
Stretch sheer fabric (organza or fine muslin) taut inside a wooden embroidery hoop and tighten the screw. Arrange pressed flowers on the fabric and fix each with a tiny dot of fabric-safe glue. Trim the excess fabric close behind the hoop. Hang it directly by the hoop’s screw hook so light shows through the sheer background.
Pull the fabric drum-tight before gluing — any slack sags over time and warps the flower arrangement inside the hoop.
Don’t use heavy or opaque fabric; the whole appeal is light passing through the sheer backing behind the pressed flowers.
7. Ombre Petal Gradient Frame
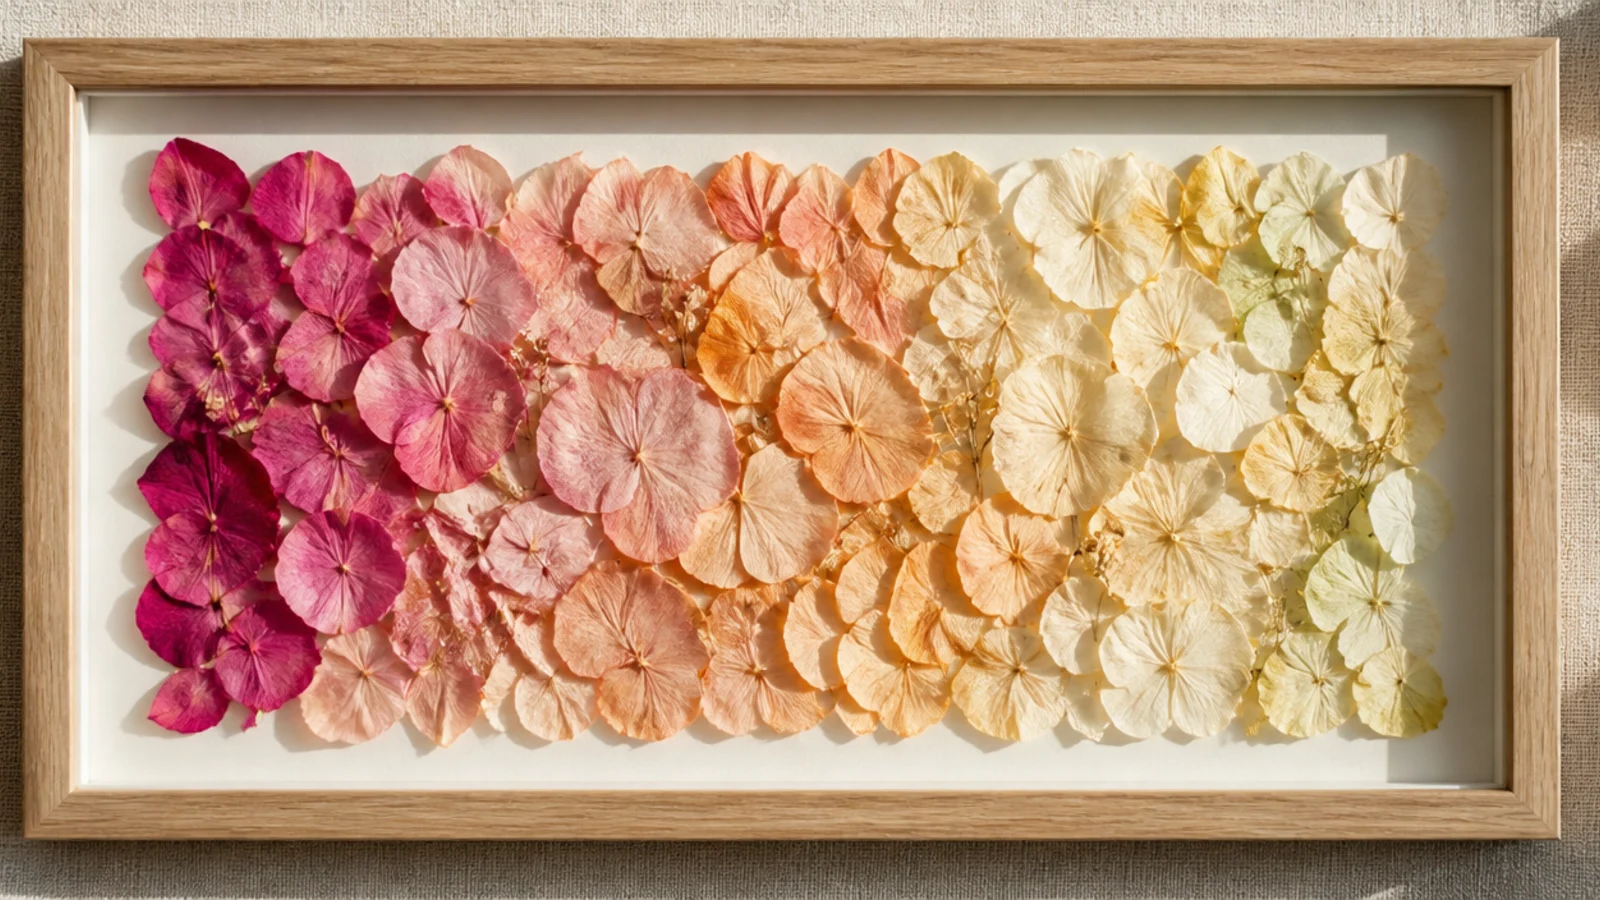
Arranging loose pressed petals in a color gradient turns simple petals into a designed piece of art. You sort petals by shade and lay them in a fading row or block, from deep to pale. It’s forgiving because there’s no flower shape to get right — just color, flowing across the frame.
Editor's noteCollect more petals than you think you need in the mid-tones — a smooth fade depends on having enough steps between your darkest and lightest.
Press a range of petals in tones of one color family — deep pink through blush to cream. Sort them by shade into a gradient order. On acid-free backing, lay them in a band or block that fades from dark to light, overlapping slightly. Anchor each with a PVA dot, weight flat overnight, and frame under glass.
Skip thisDon’t jump straight from your darkest to your lightest petals; a hard color break kills the gradient — keep the steps gradual.
8. Pressed Wildflower Meadow Scene
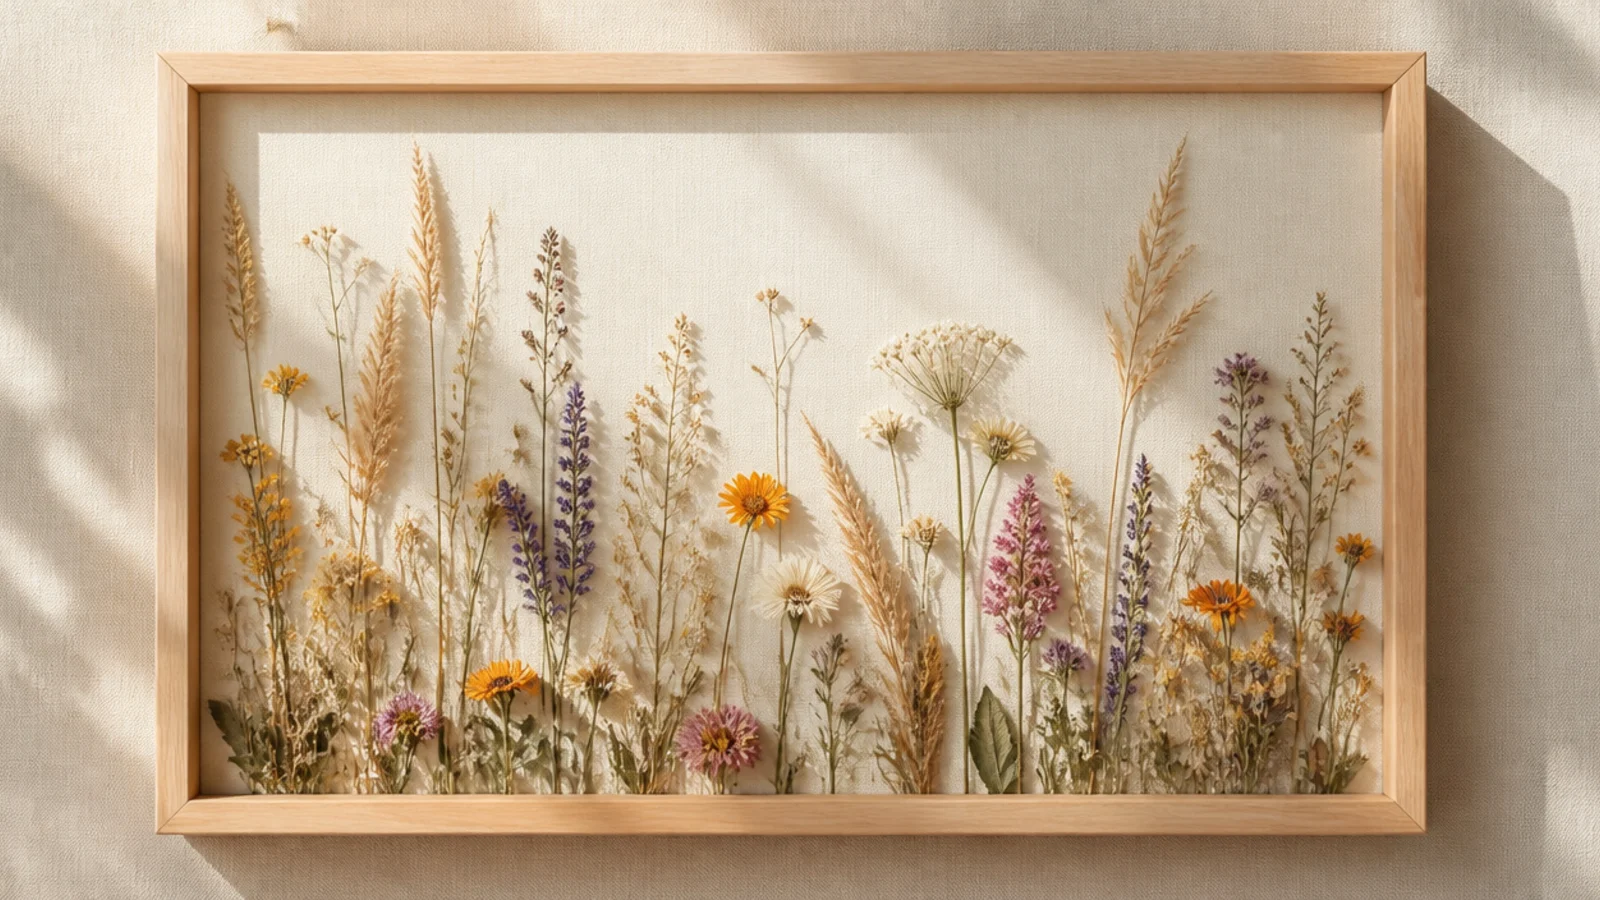
Arranging pressed grasses and wildflowers as if growing from the bottom edge creates a tiny meadow scene inside the frame. It tells a little story instead of just displaying specimens. Tall grasses at the back and low flowers in front give it natural depth and movement.
Editor's noteVary the heights and let a few stems lean slightly; a perfectly even row looks stiff, while staggered heights look like a real meadow.
Press an assortment of grasses, stems, and small wildflowers, keeping stems long. On acid-free backing, arrange them standing upright from the bottom edge — tallest grasses behind, shorter blooms in front — like a growing meadow. Anchor each stem base and a mid-point with PVA dots. Weight flat overnight, then frame under glass.
Skip thisDon’t overfill the scene; leave open 'sky' above the flowers so the meadow has somewhere to breathe and reads as a landscape.
9. Monochrome Single-Color Frame
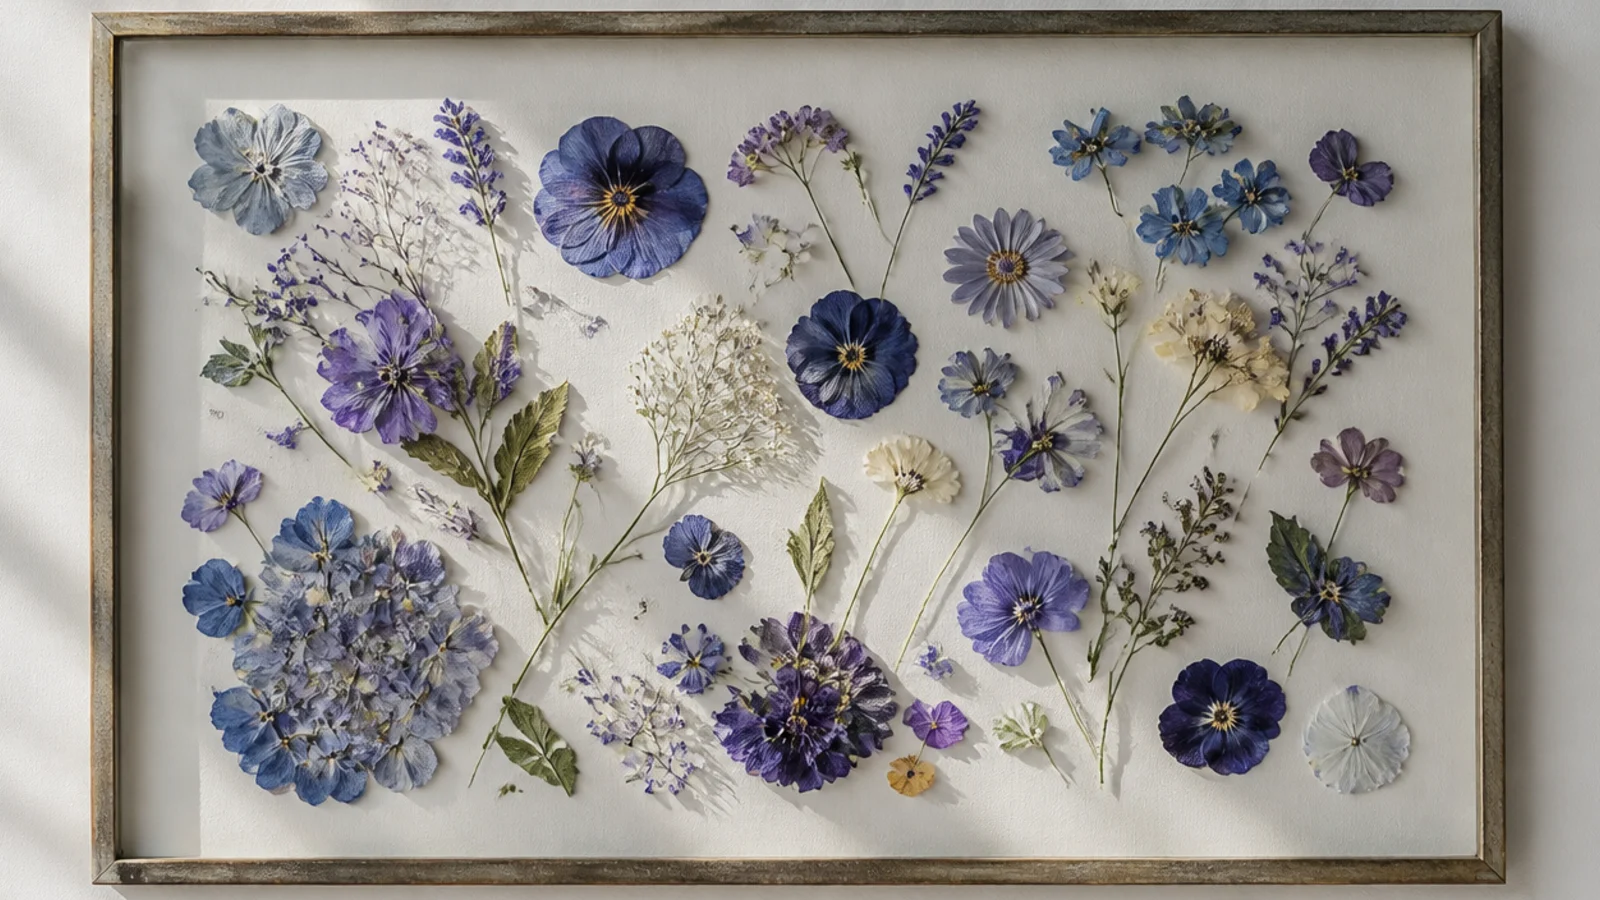
Choosing pressed flowers in just one color family gives a frame instant designer polish. All-blue, all-yellow, or all-white blooms look curated even when the arrangement is loose. The single-color rule does the styling, so you can scatter freely and still look intentional.
Editor's noteMix different flower shapes within your single color; the variety of forms keeps a one-color frame interesting rather than flat.
Press a variety of flowers that all sit in one color family — for example larkspur, cornflower, and forget-me-not for blues. On white acid-free backing, arrange them in a loose, asymmetric cluster or drift. Anchor each with a PVA dot at the center. Weight flat overnight and frame under glass, keeping the mat white so the color pops.
Skip thisDon’t sneak in one off-color bloom to 'fill a gap'; a single wrong shade breaks the monochrome effect that makes it look designed.
10. Wedding Bouquet Preservation Frame
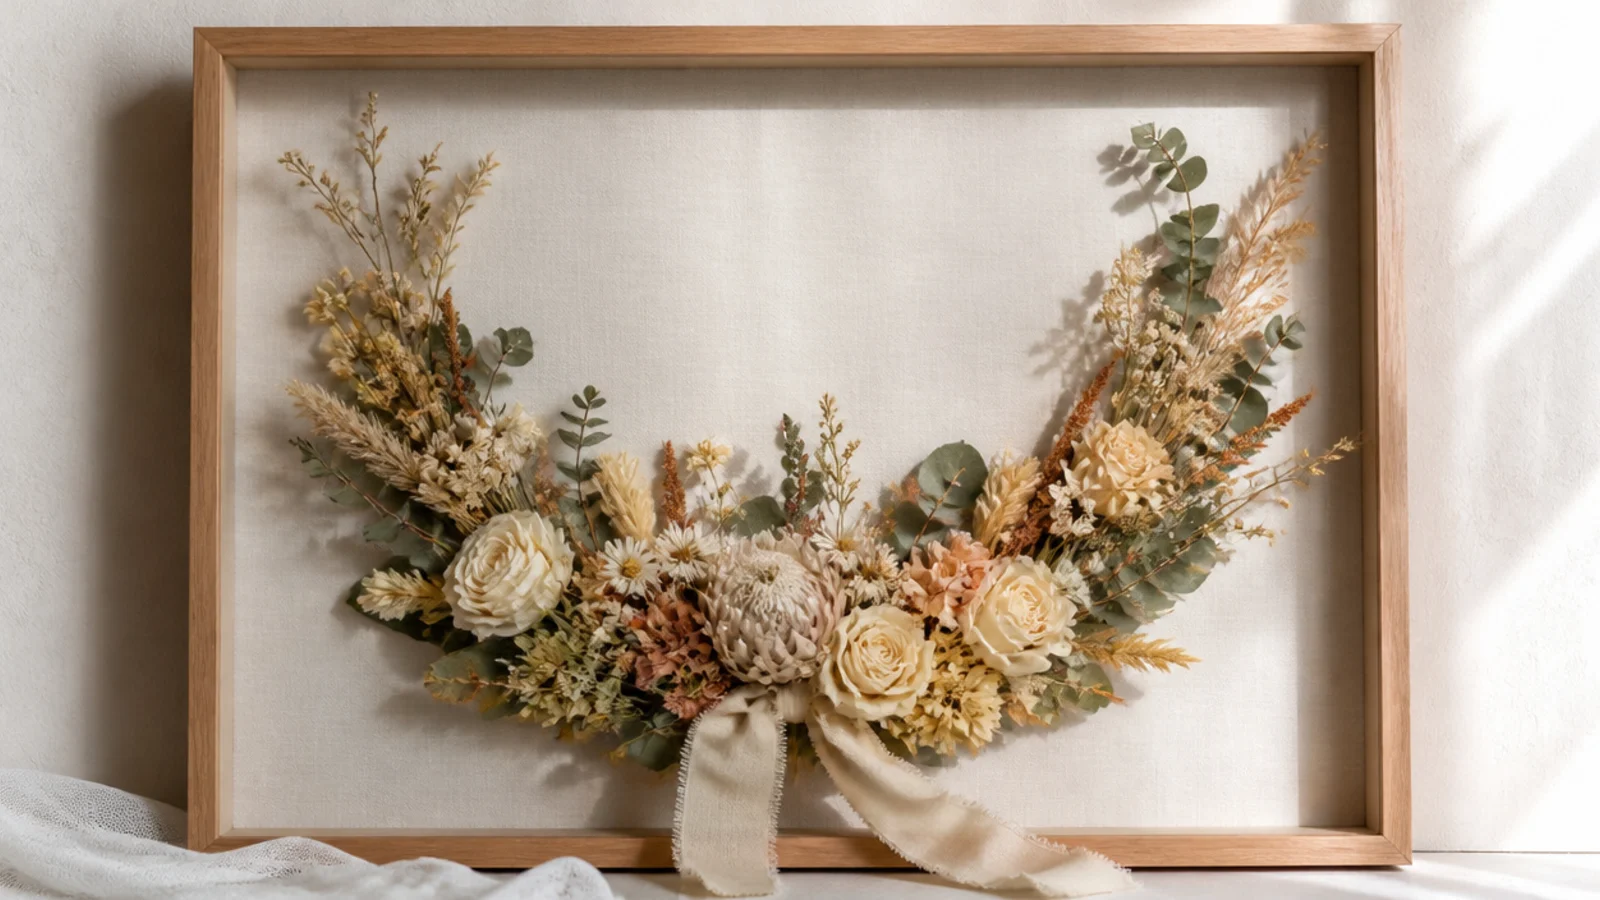
Framing the dried flowers from a wedding or special bouquet keeps the memory on the wall instead of in a box. It’s the most meaningful flower frame you can make and a genuine keepsake. A soft crescent arrangement of the actual blooms, with a bit of the original ribbon, holds the whole moment.
Editor's notePhotograph the original bouquet before you take it apart, so you can recreate its shape and proportions in the frame.
Dry the bouquet blooms with silica gel soon after the event to hold color and shape. Use a deep shadow box. Line it with a neutral fabric, then arrange the dried flowers in a loose crescent, anchoring each with archival glue on its base. Tuck in a short piece of the original ribbon, let everything cure, and close the deep glass front.
Skip thisDon’t wait days to start drying wedding flowers; the sooner they go into silica gel, the better they hold their color and form.
11. Layered Double-Glass Frame
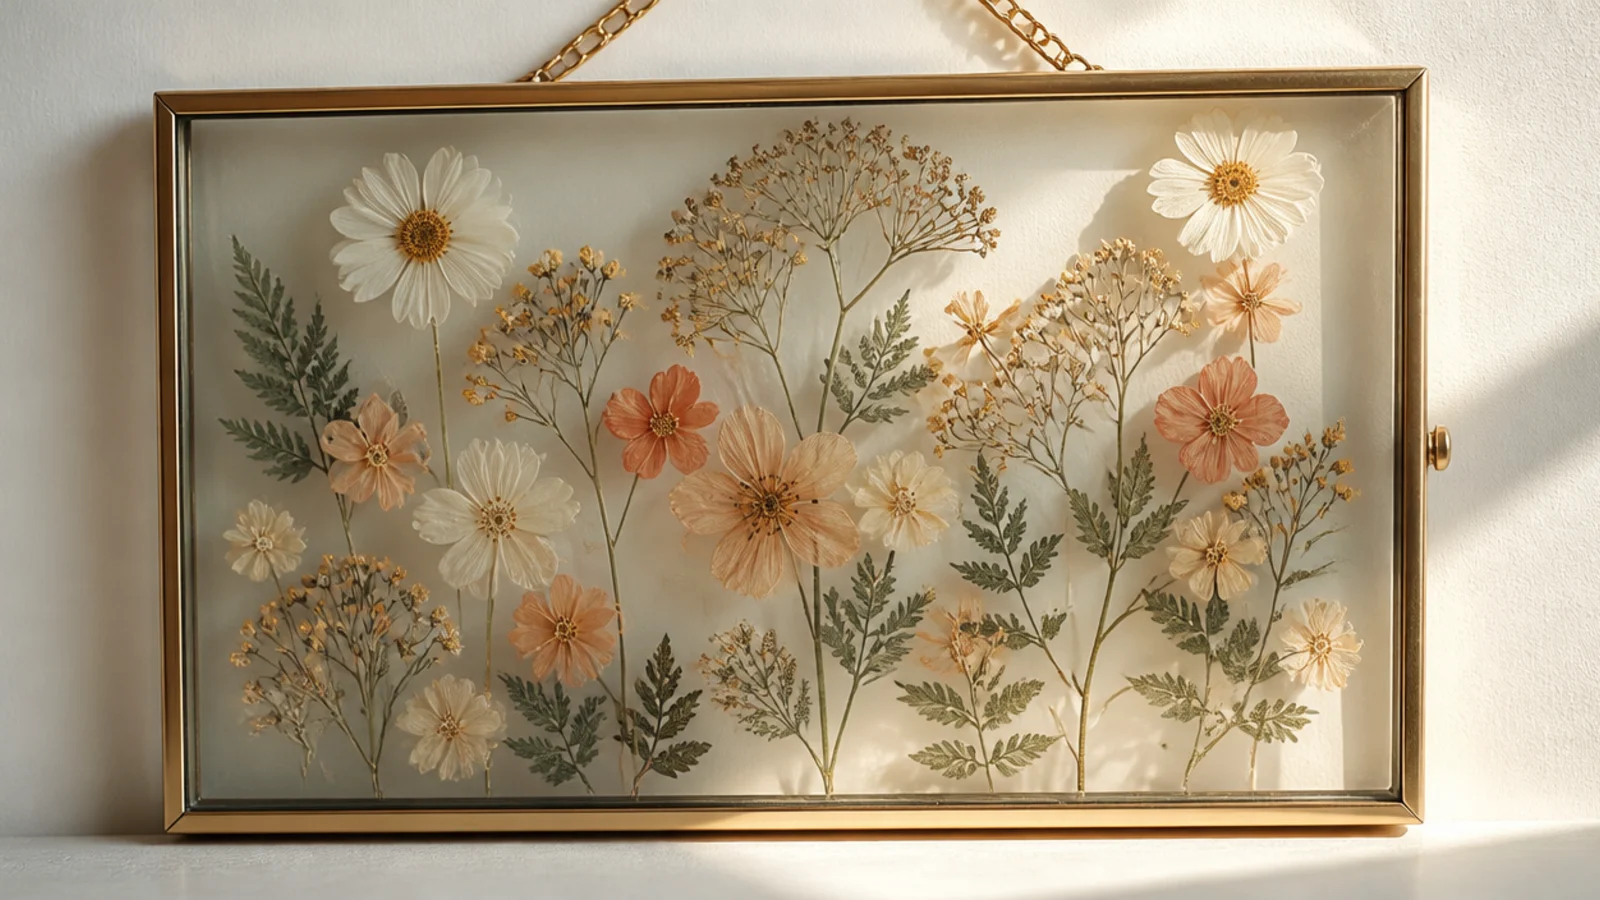
Placing pressed flowers on both panes of a double-glass frame creates gentle depth, with some blooms nearer the front and some behind. The slight layering gives a floating, dimensional look flat mounting can’t match. It suits airy arrangements where a little overlap adds interest.
Editor's noteKeep the front-pane layer sparse — just a few accent blooms — so it adds depth without hiding the main arrangement behind it.
Press flat flowers. Open a double-glass float frame and arrange a first layer directly on the back pane. Position a second, smaller set of flowers on the underside of the front pane so they’ll sit just in front of the first layer. Close the frame carefully so both layers stay put, held by the panes without glue.
Skip thisDon’t overload both panes; too many flowers on the front layer flattens the depth effect and turns it into a cluttered jumble.
12. Resin-Cast Flower Block Frame
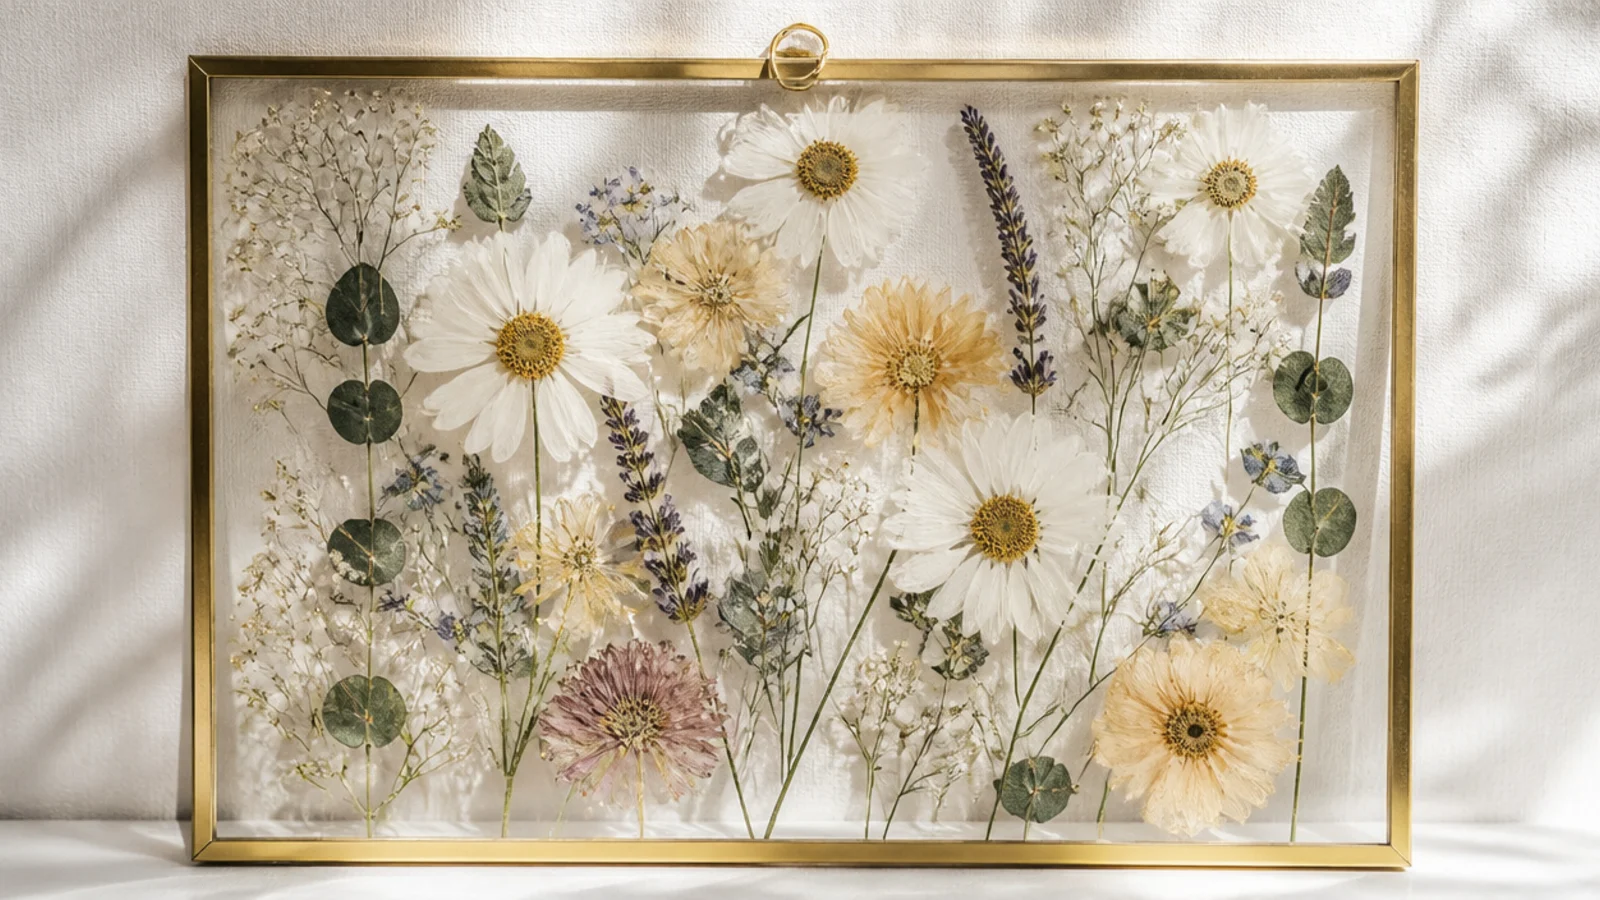
Casting a pressed flower in clear resin makes a glossy, glass-like panel that shows the bloom from every angle. It’s more advanced but the result looks high-end and lasts indefinitely. A single flower or a small cluster suspended in clear resin, set in a slim frame, looks like a jewel.
Editor's noteSeal the pressed flower with a light coat of spray sealant before casting, so the resin doesn’t soak in and make petals translucent.
Fully dry and press your flower — any moisture clouds resin. Mix two-part clear casting resin per its instructions and pour a thin base layer into a flat mold. Once tacky, lay the flower face-down, then pour a second layer to cover it. Pop bubbles with a heat gun, cure fully, demold, and set the panel in a slim frame.
Skip thisDon’t rush the cure or skip bubble removal; trapped bubbles and soft, undercured resin ruin the clear, jewel-like finish.
13. Herbarium-Style Multi-Panel Set
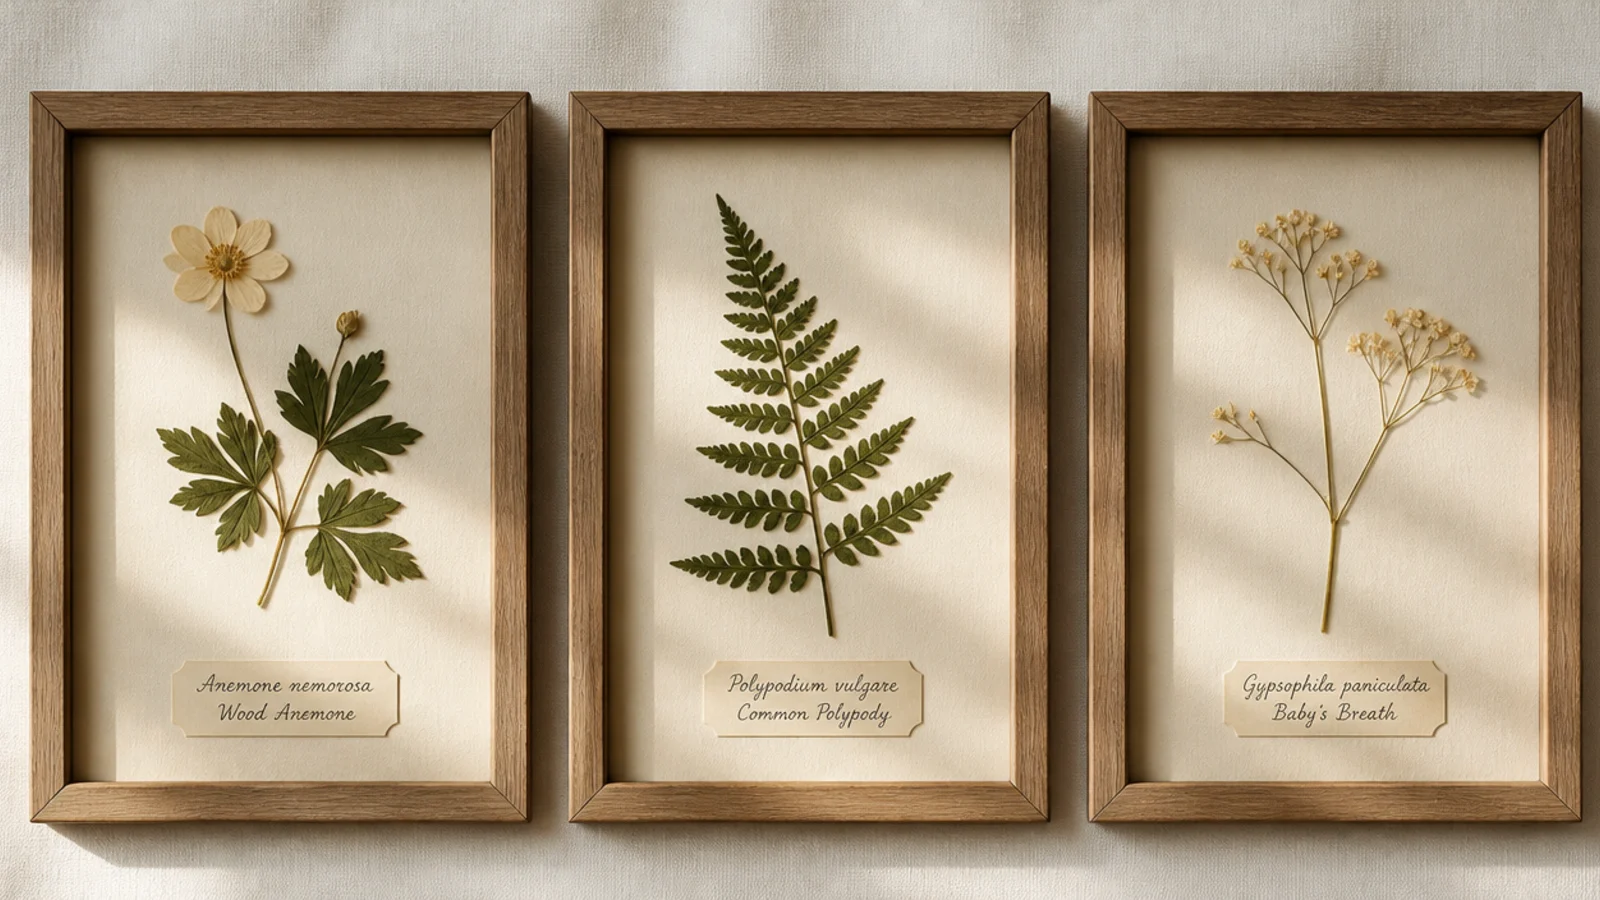
A row of matching frames, each holding one labeled specimen, makes a striking herbarium wall. The repetition looks like a museum collection and fills a wide space with calm rhythm. Three or four identical frames with one flower each read as a set far more than a single frame ever could.
Editor's noteUse a paper spacing template cut to your gap width so every frame hangs exactly the same distance apart in the row.
Press three or four flowers with stems and leaves. Mount each one centered on identical cream acid-free backing with PVA dots, and add a small printed name label beneath each. Frame them in identical slim frames under glass. Hang them in a straight, evenly spaced row using a level and a paper template for consistent gaps.
Skip thisDon’t mix frame styles or mat colors across the set; the whole herbarium effect depends on the frames being truly identical.
14. Gilded-Edge Pressed Rose Frame
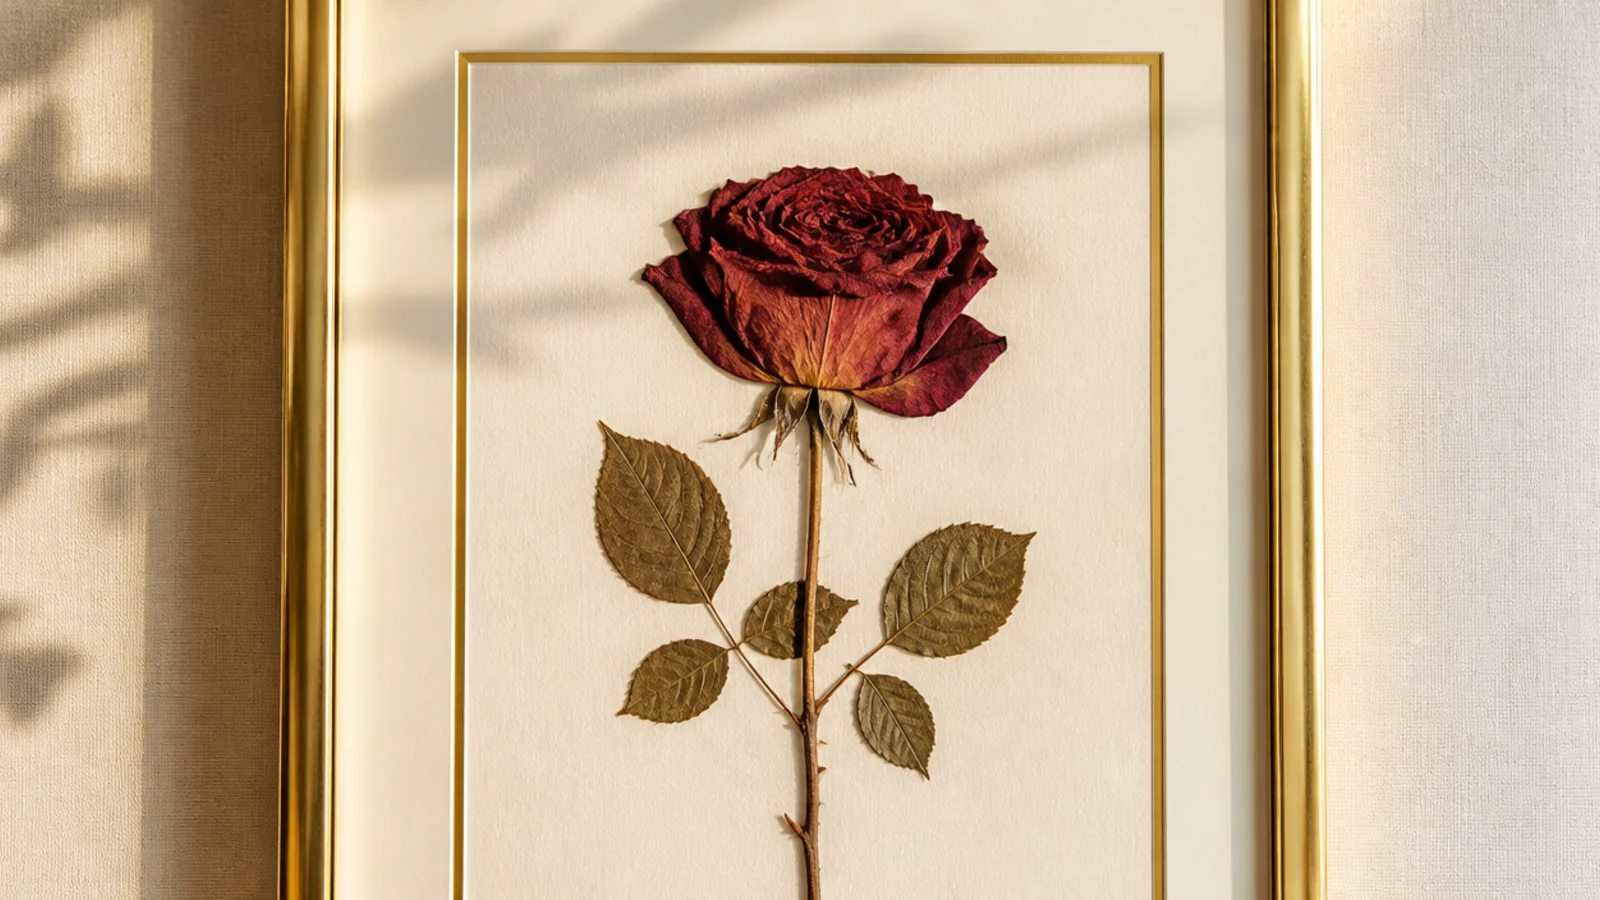
A pressed rose framed with a touch of gold reads romantic and a little luxe. A slim gold frame plus a fine gilded line on the mat lifts a single bloom into something special. It suits deep-colored roses and works beautifully as a gift or an anniversary keepsake.
Editor's noteSplit a thick rose down the middle before pressing so it dries flat and crisp instead of bulging and browning in the center.
Press a rose flat — split thick roses in half first so they dry evenly. Mount it centered on ivory acid-free backing with PVA dots. Run a fine line of gold leaf or a metallic paint pen just inside the mat window edge for a gilded border. Set the mat over the rose and frame in a slim gold frame under glass.
Skip thisDon’t overdo the gold; one fine line reads elegant, while a heavy gilded border competes with the rose and looks gaudy.
15. Dried Flower Corner Spray Frame
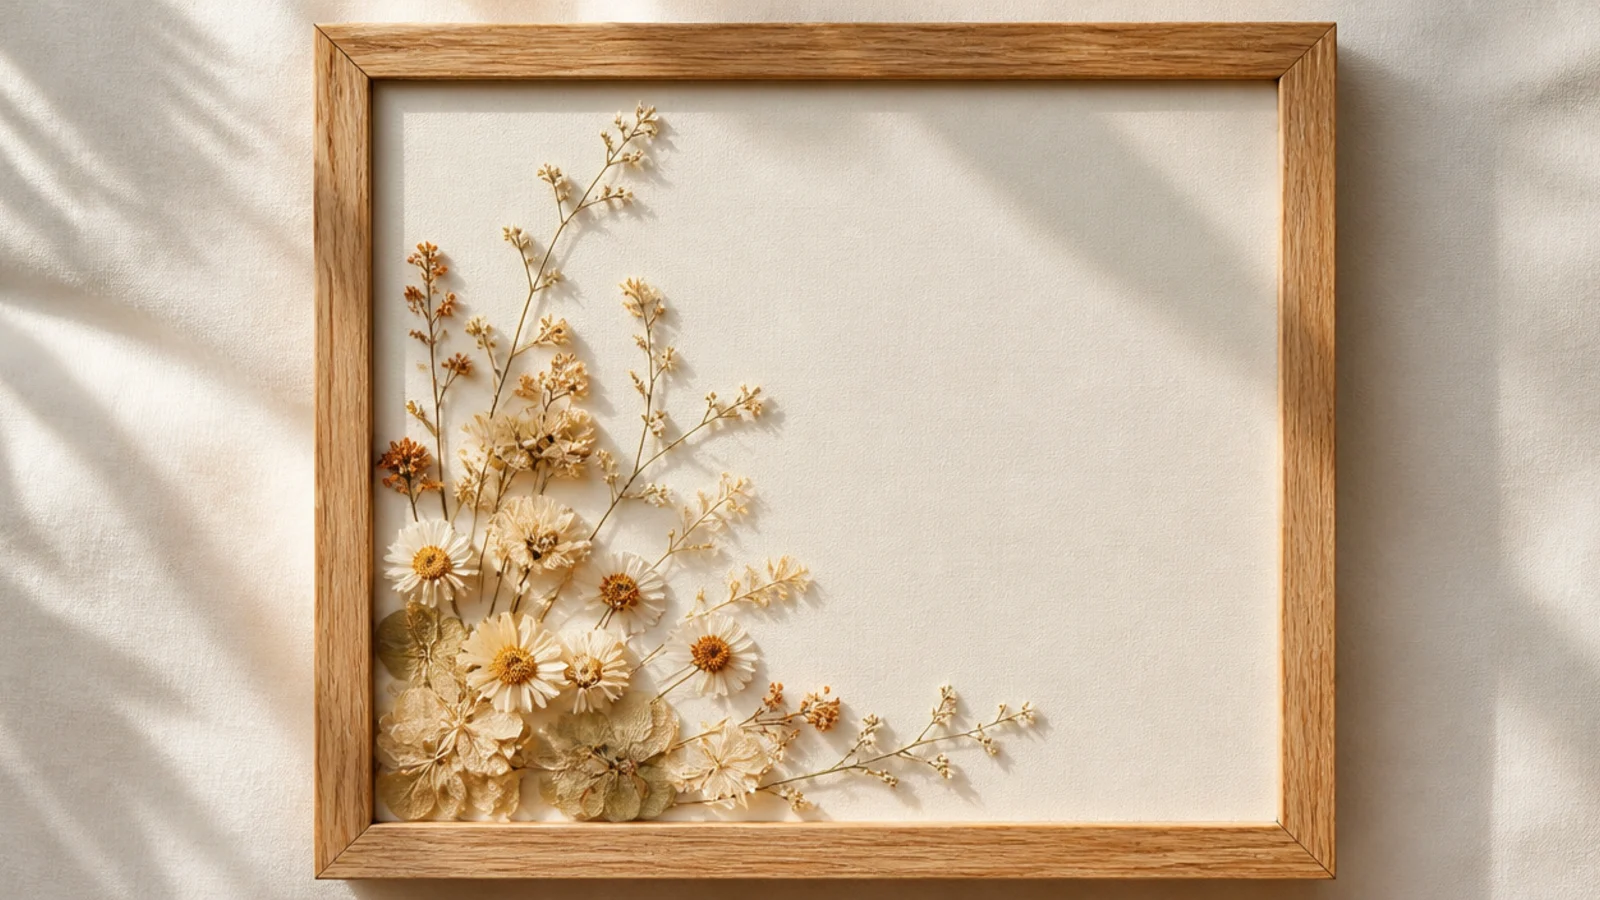
A small spray of dried flowers tucked into one corner leaves most of the frame open and airy. The off-center arrangement feels modern and gives the eye room to rest. A diagonal sweep of a few stems in one corner does more with less and never looks crowded.
Editor's noteLet the spray taper to one or two fine stems at its tip; a fading, tapering end looks far more natural than a blunt cut-off.
Dry a few slim stems and small blooms flat or semi-flat. On acid-free backing, arrange them as a spray sweeping in from one corner along a diagonal, tapering to single stems. Anchor each with a PVA dot at its base and mid-point. Leave the opposite corner completely empty, weight flat, and frame under glass.
Skip thisDon’t center the spray or balance it with a second corner arrangement; the asymmetry and empty space are what make it modern.
16. Backlit Floating Flower Frame
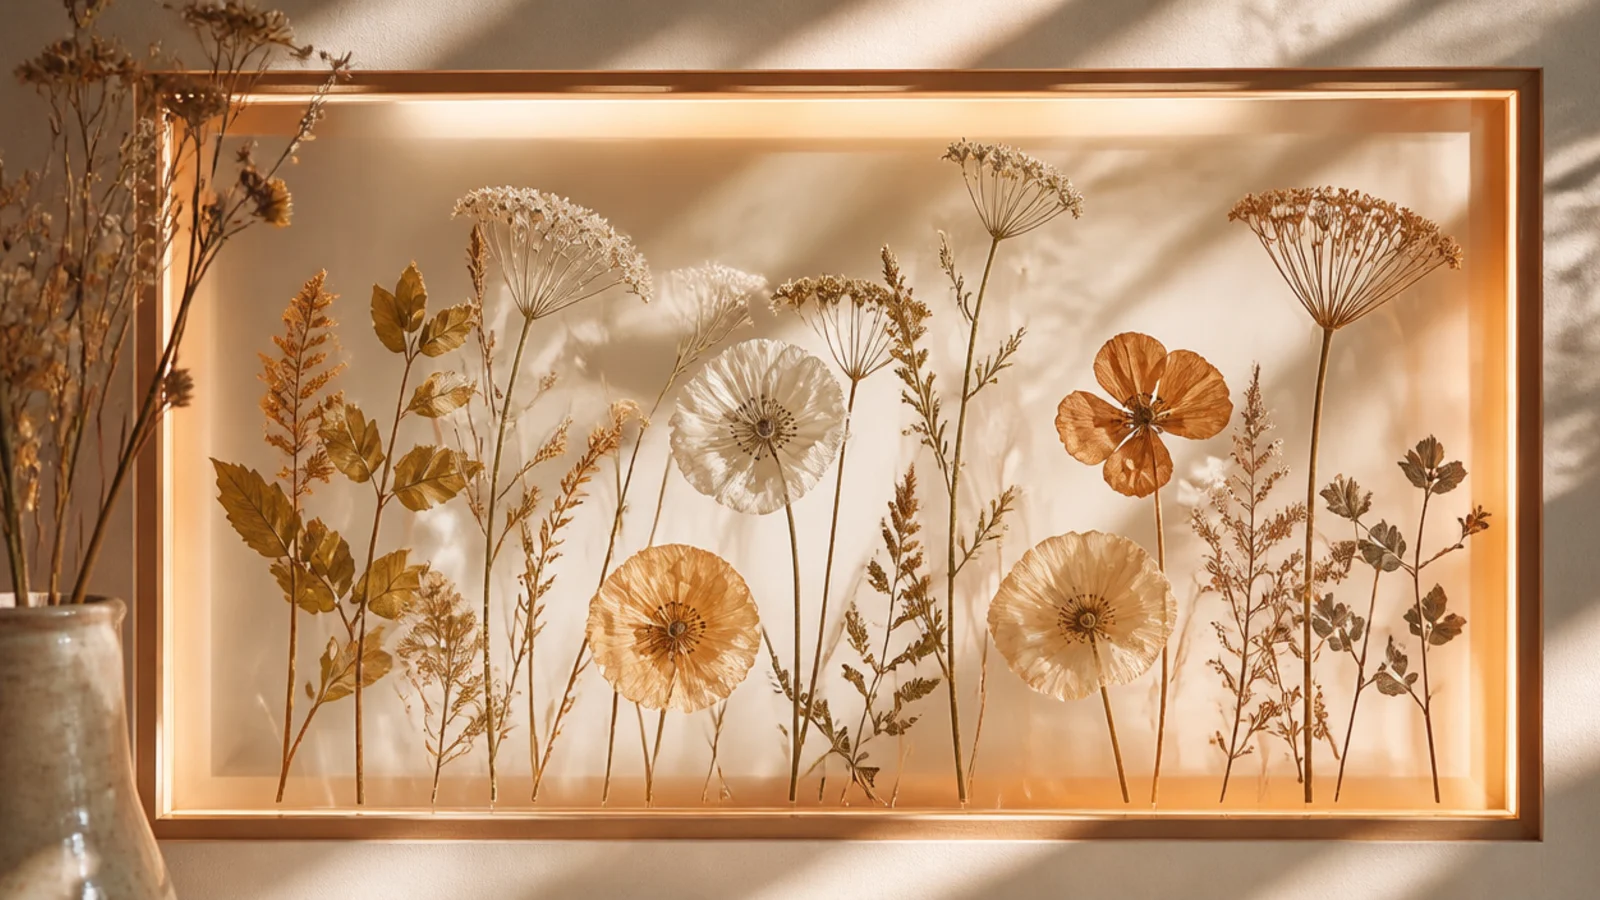
Adding a warm light behind a float-glass frame makes pressed flowers glow from within. The backlight turns translucent petals luminous and gives the piece real drama at night. It works best with thin, light-passing flowers and a see-through float frame.
Editor's noteChoose warm-white LEDs, not cool blue; warm light flatters dried petal tones, while cool light makes them look grey and dead.
Arrange thin pressed flowers in a double-glass float frame so light can pass through the petals. Mount the frame slightly off the wall using small standoffs or a thin spacer behind it. Fix a warm-white LED strip or a small puck light on the wall directly behind the frame, hidden by the frame’s shadow, and run it to a nearby outlet.
Skip thisDon’t press thick flowers for this; only thin, translucent petals actually glow when lit from behind — dense blooms just block the light.
17. Fabric-Backed Pressed Flower Frame
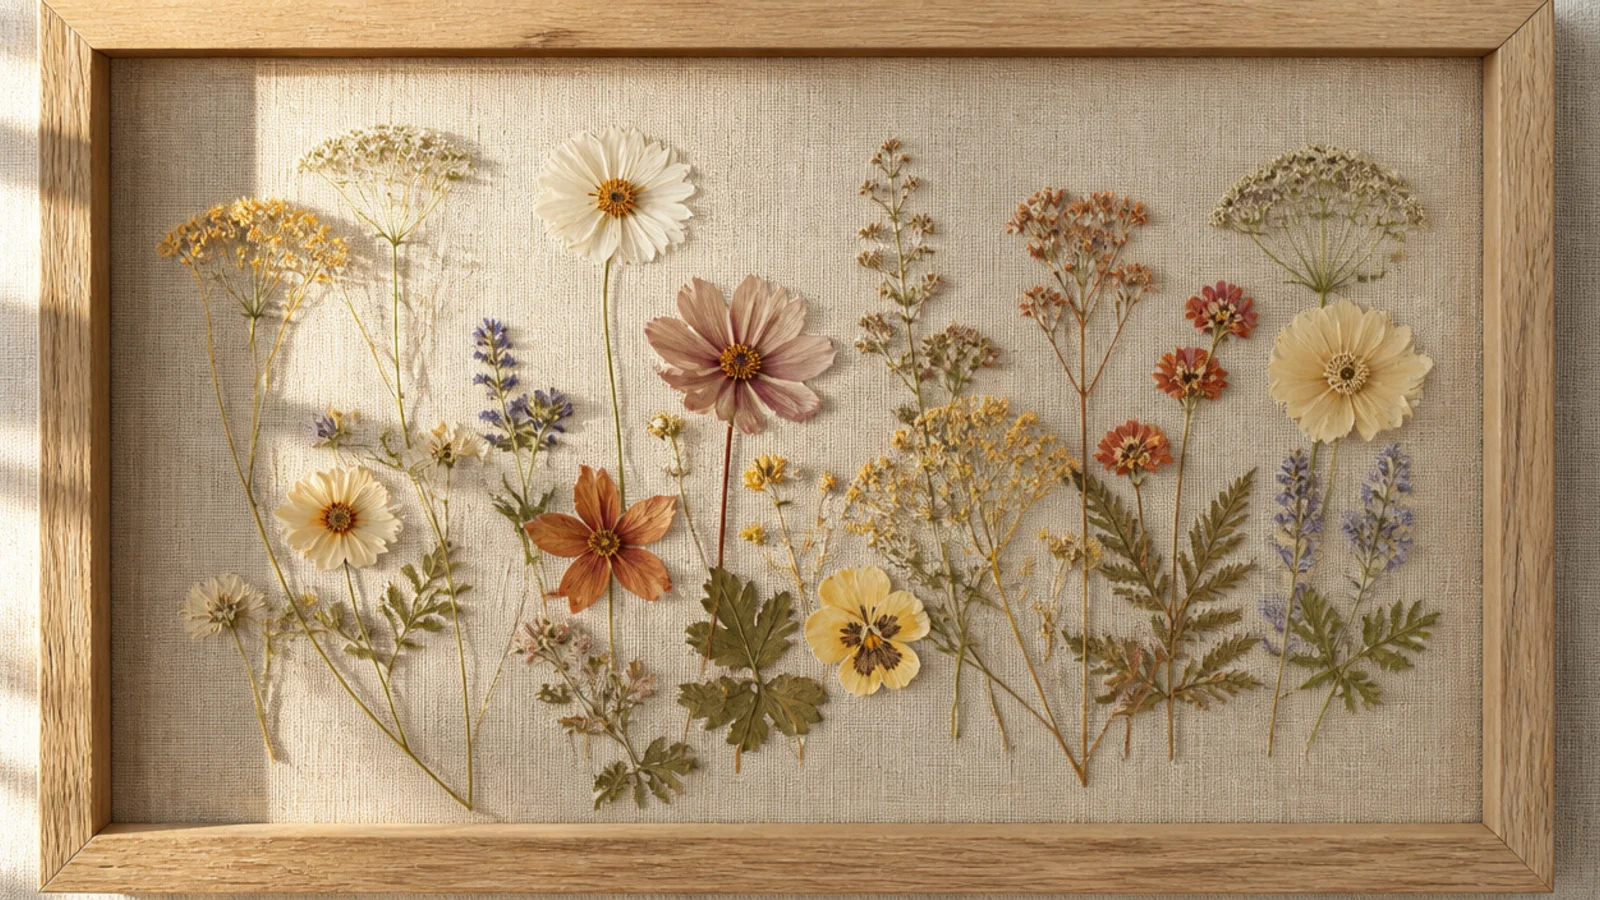
Swapping paper backing for natural linen or muslin gives a pressed flower frame warmth and texture. The soft fabric base feels organic and cozy against plain paper. It suits earthy dried tones and reads handmade in the best way, especially in a natural wood frame.
Editor's noteIron the fabric smooth and wrap it drum-tight before mounting flowers; any wrinkle or sag shows up clearly behind the glass.
Cut acid-free mount board and wrap it tightly with linen or muslin, taping the fabric smoothly on the back. Arrange pressed flowers on the fabric and anchor each with a fabric-safe glue dot at the center. Set the flower-covered board into a natural wood frame under glass, making sure the fabric stays taut and wrinkle-free.
Skip thisDon’t use a busy patterned fabric; a plain, textured neutral lets the flowers stand out, while a print fights them for attention.
18. Vintage Book-Page Botanical Frame
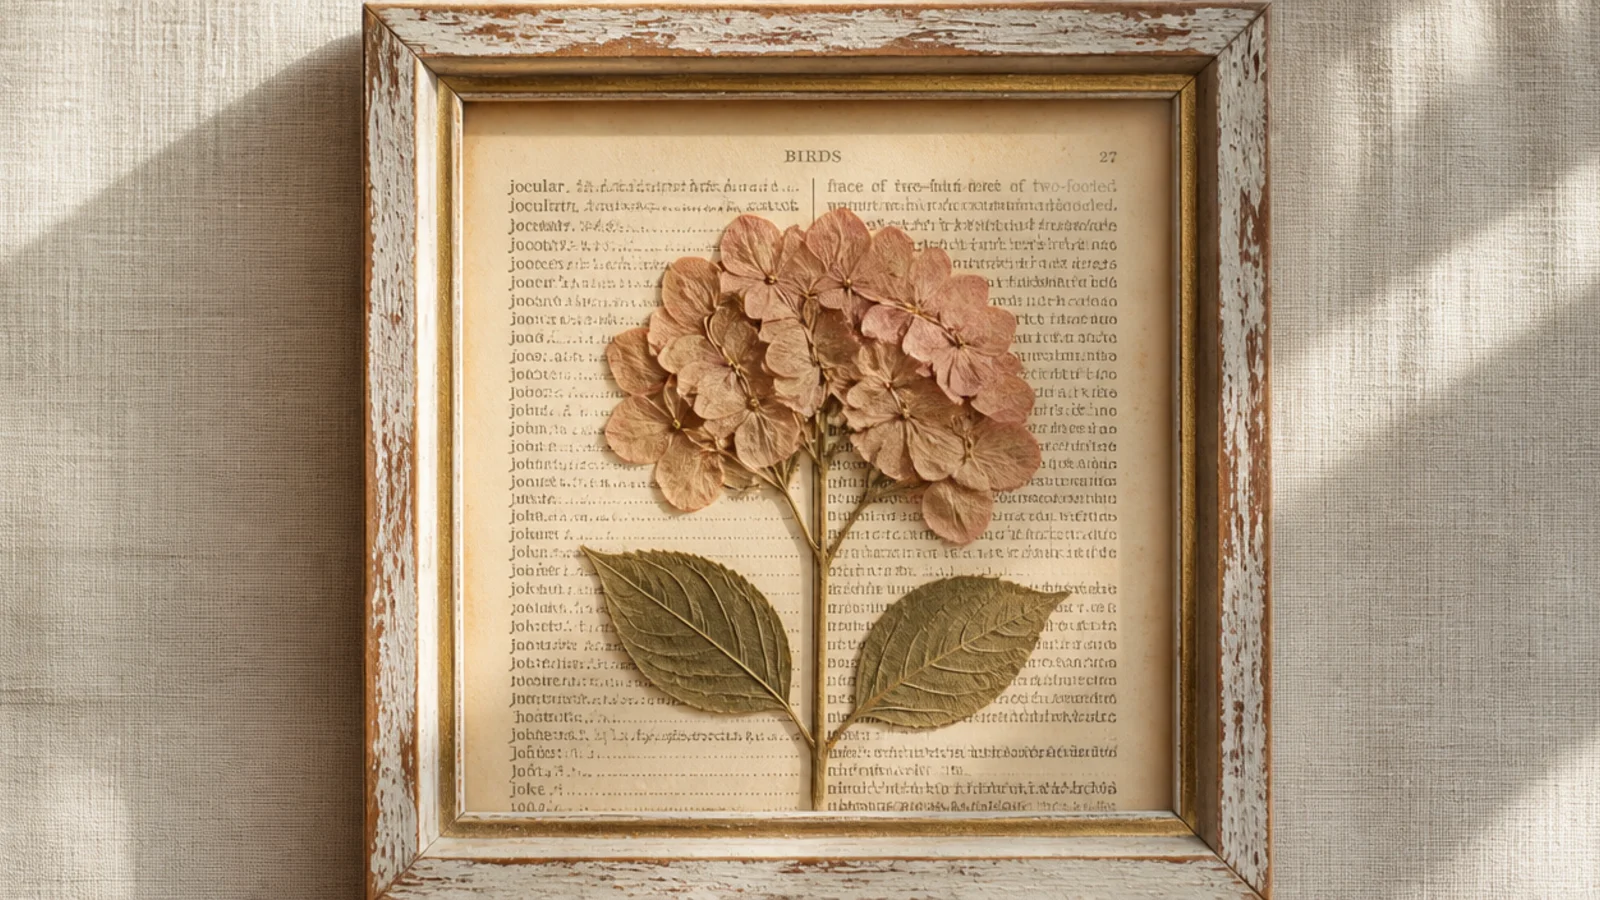
Mounting a pressed flower over an old book or dictionary page adds instant vintage character. The printed text behind the bloom reads literary and warm without any extra decorating. A single flower over a yellowed page in a distressed frame looks like it came from an antique shop.
Editor's notePick a page whose text relates to flowers or nature if you can; the tiny detail makes the piece feel deliberately composed.
Choose an aged book or dictionary page — old, acid-neutral paper works, or seal a modern page with archival spray to slow yellowing. Mount the page on acid-free backing. Place a single pressed flower over the text with PVA dots at the center and stem. Frame it in a distressed or aged-wood frame under glass.
Skip thisDon’t use a bright white modern page; the whole vintage effect depends on the warm, aged tone of old or toned paper.
19. Pressed Flower Monogram Frame
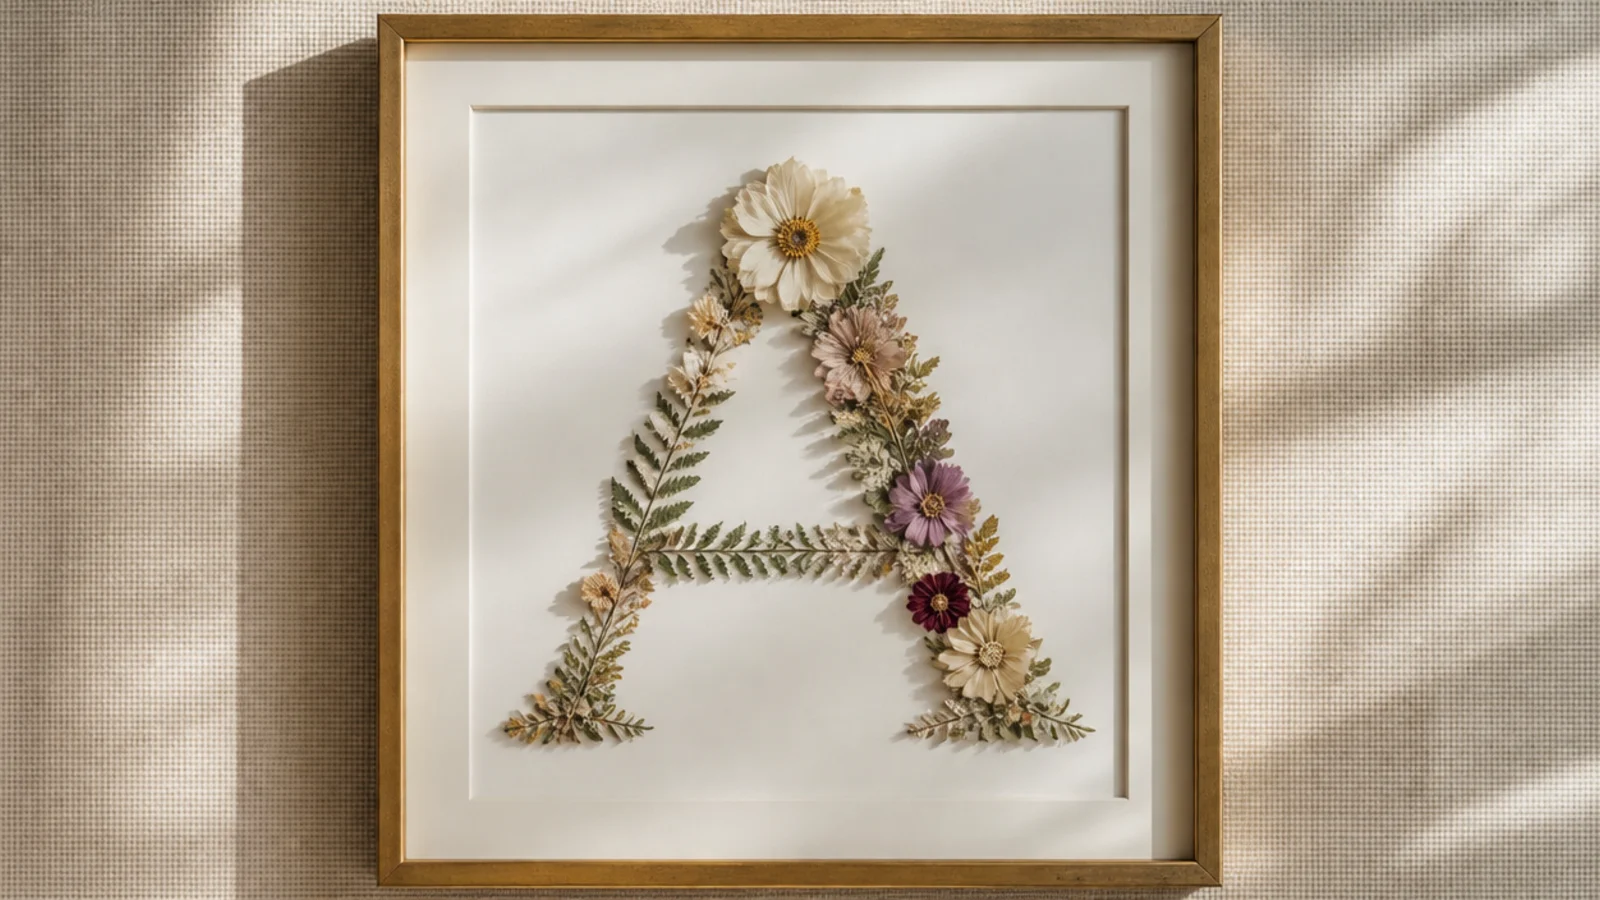
Arranging tiny pressed flowers into the shape of a letter makes a personalized floral monogram. It’s a favorite for gifts, nurseries, and weddings because it spells out a name in blooms. A single large initial built from small flowers is striking and surprisingly readable.
Editor's noteChoose a bold, simple block or serif letter — thin script is nearly impossible to read once it’s built out of rounded flowers.
Lightly pencil a large, simple letter on acid-free backing as a guide. Press many small flowers and buds. Fill the letter shape by placing blooms along the pencil lines, anchoring each with a tiny PVA dot and keeping the outline clean. Erase visible pencil, weight flat overnight, then frame under glass.
Skip thisDon’t let flowers drift outside the letter shape; a fuzzy, spilling outline makes the initial hard to read and looks unplanned.
20. Full-Bloom Dried Hydrangea Statement Frame
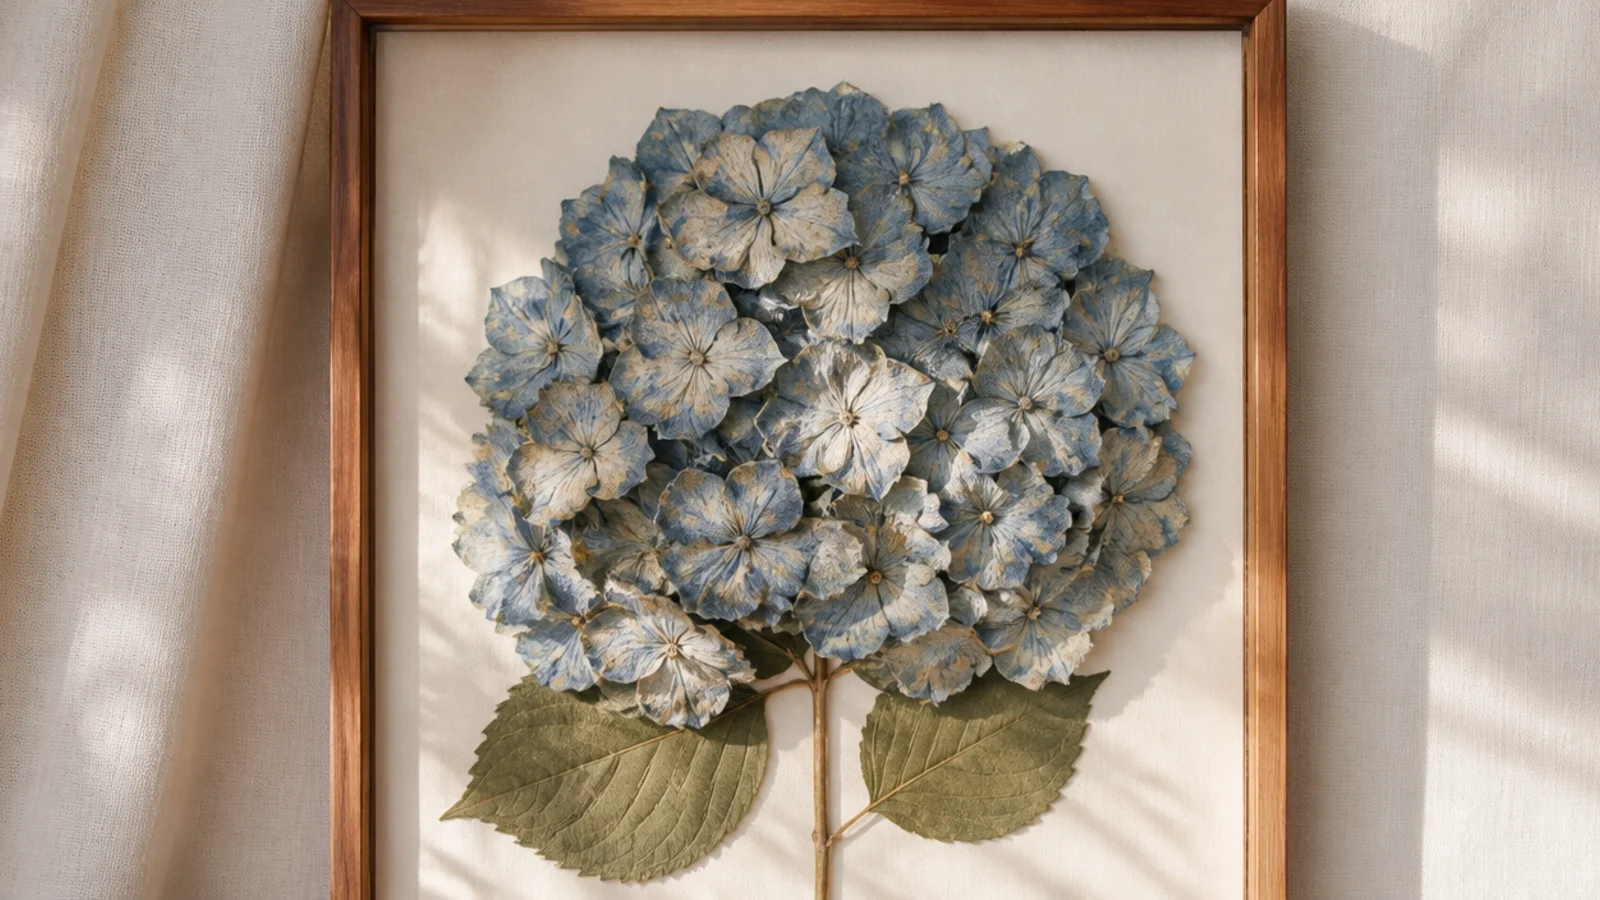
A single dried hydrangea head fills a whole frame with dense, textured florets for a bold statement piece. One big bloom does the work of a dozen small ones and commands a wall on its own. Dried hydrangea holds its papery texture and soft color for years, making it ideal for a large frame.
Air-dry a full hydrangea head slowly until the florets feel papery and firm. Use a deep shadow box so the rounded head isn’t crushed. Line the box with a neutral back panel, then mount the hydrangea by its stem base with strong archival glue, fanning the florets to fill the frame. Let it cure fully and close the deep glass front.
Dry hydrangea slowly in a vase with just an inch of water that’s left to evaporate; this keeps the florets full instead of shrivelled.
Don’t flatten a hydrangea into a shallow frame; its beauty is the three-dimensional cloud of florets, which a flat frame destroys.