1. Skipping Primer on Terracotta
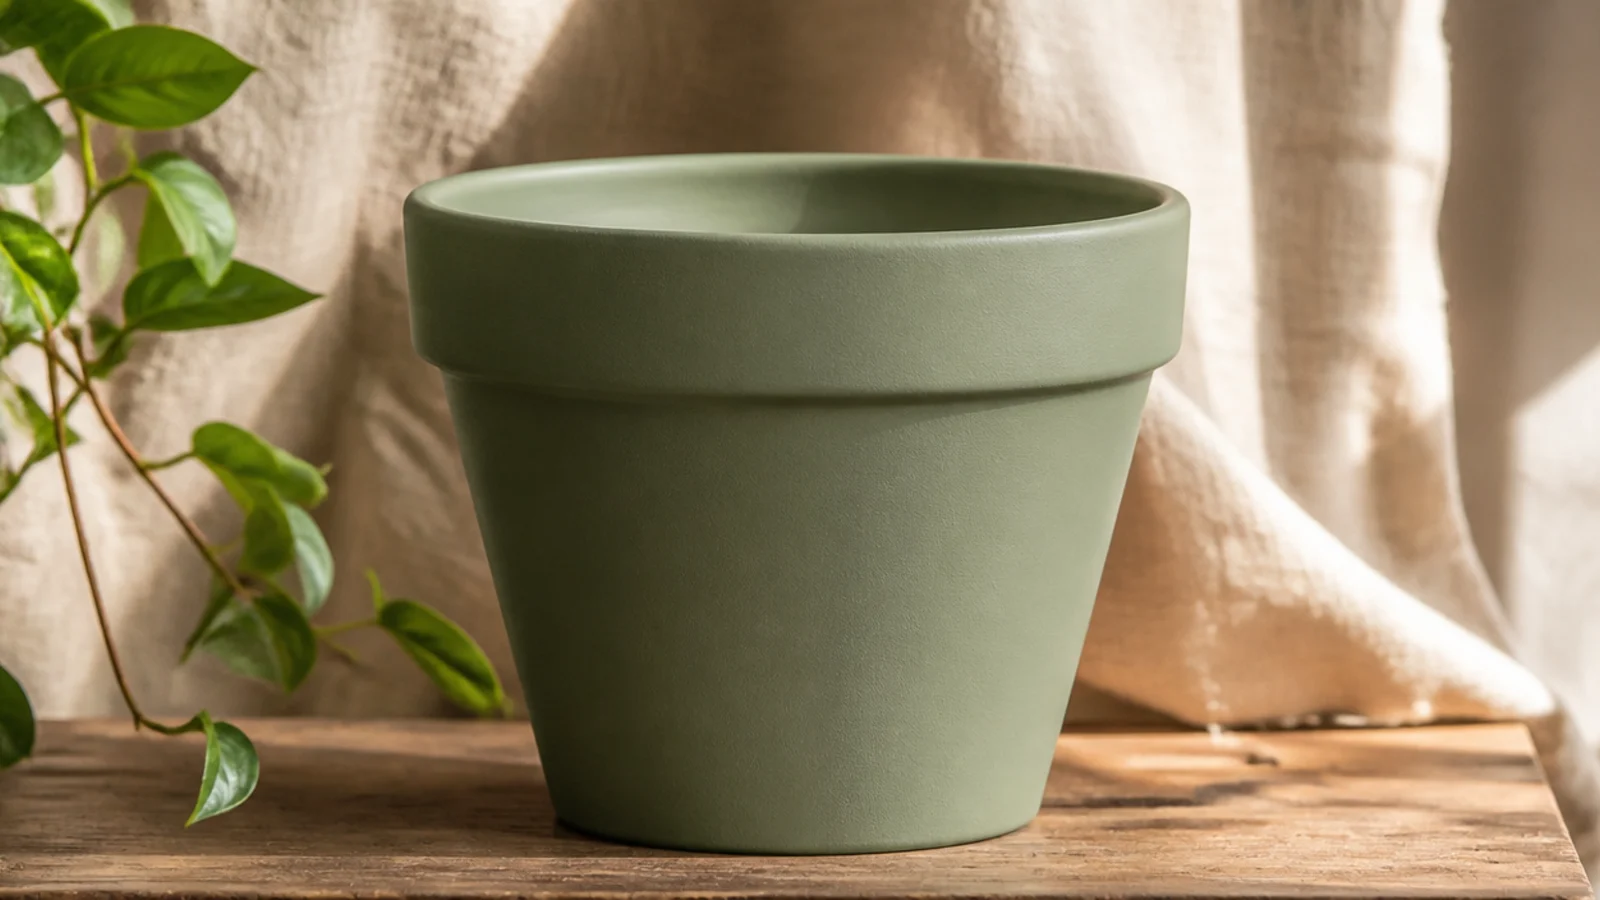
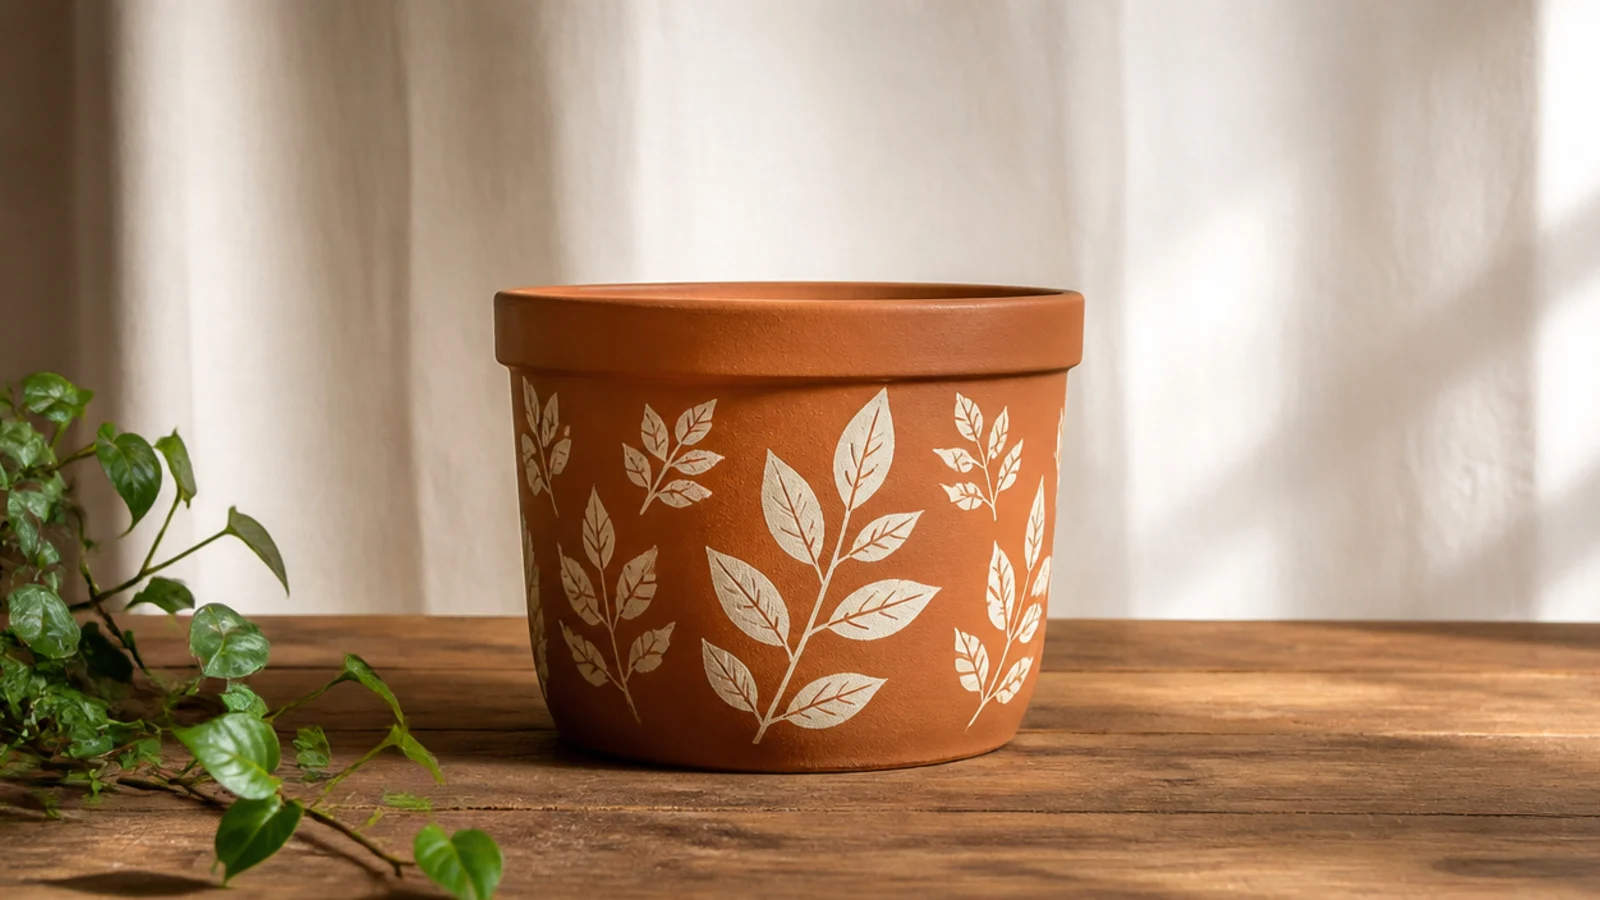
This was my very first mistake and it’s the one almost every beginner makes. I painted straight onto raw terracotta, and the porous clay drank the paint so unevenly that even four coats looked blotchy and dull. It happens because terracotta looks solid but acts like a sponge, pulling moisture and pigment out of the paint before it can level. Anyone starting with cheap garden-center pots will hit this.
Wash the pot with warm water and a stiff brush, then let it dry a full day so no moisture is trapped inside. Brush on one even coat of multi-surface or masonry bonding primer with a flat 1-inch brush and let it cure for a few hours or overnight. Then base-coat your color in two thin acrylic coats over the primer — you’ll get smooth, full coverage with less paint. Finish with a clear matte or satin sealer once your design is done.
Editor's notePrime the inside top inch of the rim too, so no raw, thirsty clay shows when you look down into the pot.
Skip thisDon’t paint raw terracotta directly — unprimed clay soaks up color unevenly and no number of coats will fully fix the blotch.
2. Using the Wrong Paint
I painted a lovely pot for my porch with indoor craft acrylic and watched it fade and flake within one summer. The mistake is assuming all acrylic is the same — it isn’t, and where the pot lives decides what paint survives. Watercolor and tempera are even worse; I tried tempera once and it rubbed off on my hands. This trips up anyone who grabs whatever paint is already in the drawer.
Decide indoor or outdoor before you buy paint. For indoor pots, standard acrylic craft paint is perfect and cheap. For outdoor pots, use an outdoor-rated acrylic or patio paint, and no matter what, finish with the matching sealer — a matte or satin interior clear indoors, an exterior UV-resistant clear outside. Apply the paint in two thin coats and let each dry fully before sealing so the topcoat bonds properly.
Keep one bottle of outdoor-rated white on hand to mix into craft colors — it boosts durability for pots that live on a windowsill or step.
Don’t use indoor craft acrylic on an outdoor pot without an exterior sealer — sun and water will fade and lift it within a season.
3. Painting Coats Too Thick
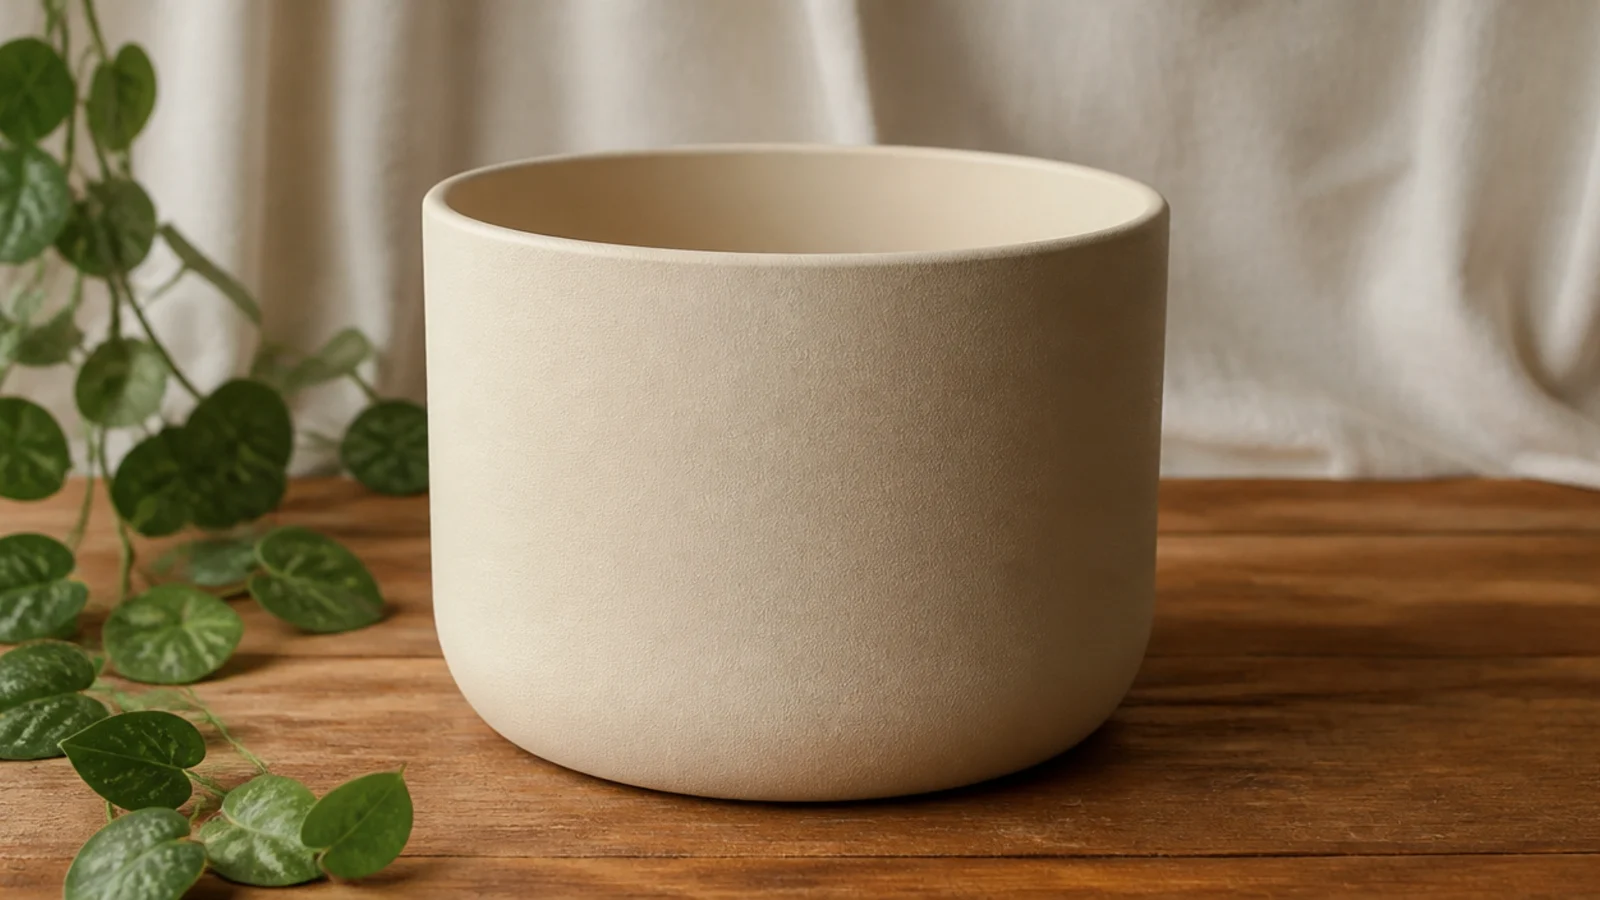
Trying to cover in one heavy coat was my impatient-beginner mistake. Thick paint left brush ridges, drips down the side, and cracks as the pot flexed with temperature changes. It happens because one thick coat feels faster than two thin ones — but it dries slower, streakier, and weaker. Anyone in a hurry to finish in one sitting falls into this.
Load your brush lightly and wipe off the excess before each pass. Apply a thin first coat, let it dry to the touch (about 20-40 minutes indoors), then apply a second thin coat for full, even color. If a grainy texture shows through, sand lightly with 400-grit between coats and wipe the dust before continuing. Two thin coats plus a clear sealer give a smooth, durable finish that one thick coat never will.
Editor's noteIf paint pools at the base of the pot, catch it with a dry brush right away — drips set fast and are obvious once dry.
Skip thisDon’t glob on one thick coat to save time — it dries with ridges and drips and cracks off far sooner than thin layers.
4. Not Sealing the Finished Pot
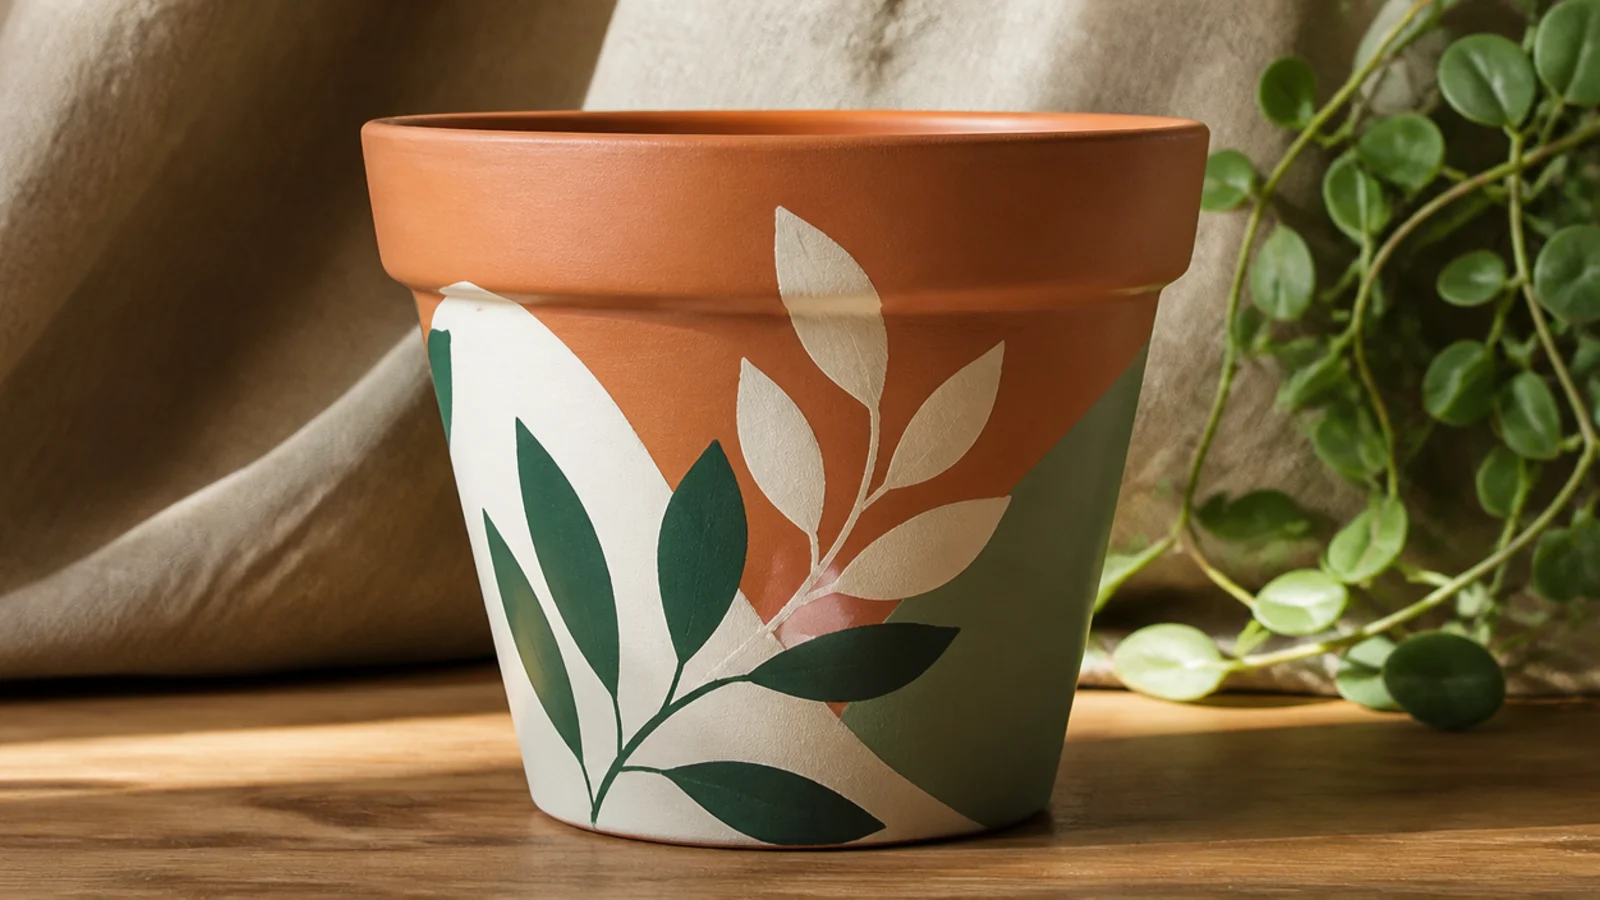
I spent an afternoon on a dotted pot, set it on the sill, and within weeks the watering line had worn the paint away. Skipping the sealer was the mistake — I thought dry paint was finished paint. Acrylic on its own scuffs with handling and lifts where water hits it, especially around the rim and base. Every beginner who admires a fresh pot and stops there learns this the hard way.
Let your design cure at least an hour (longer for thick areas) so the sealer doesn’t drag it. Apply a clear topcoat — a matte or satin brush-on or spray for indoors, an exterior UV clear for outdoors — in one thin, even coat, then a second after it dries. Coat the rim and the lower few inches well, since that’s where water and handling wear hardest. Reseal outdoor pots at the start of each season to keep colors bright.
Editor's noteA light spray clear is safest over dots, metallic pen, and fine details — a heavy brushed varnish can drag delicate marks.
Skip thisDon’t skip the sealer — unsealed acrylic scuffs off with handling and washes away at the watering line within weeks.
5. Sloppy Tape Lines That Bleed
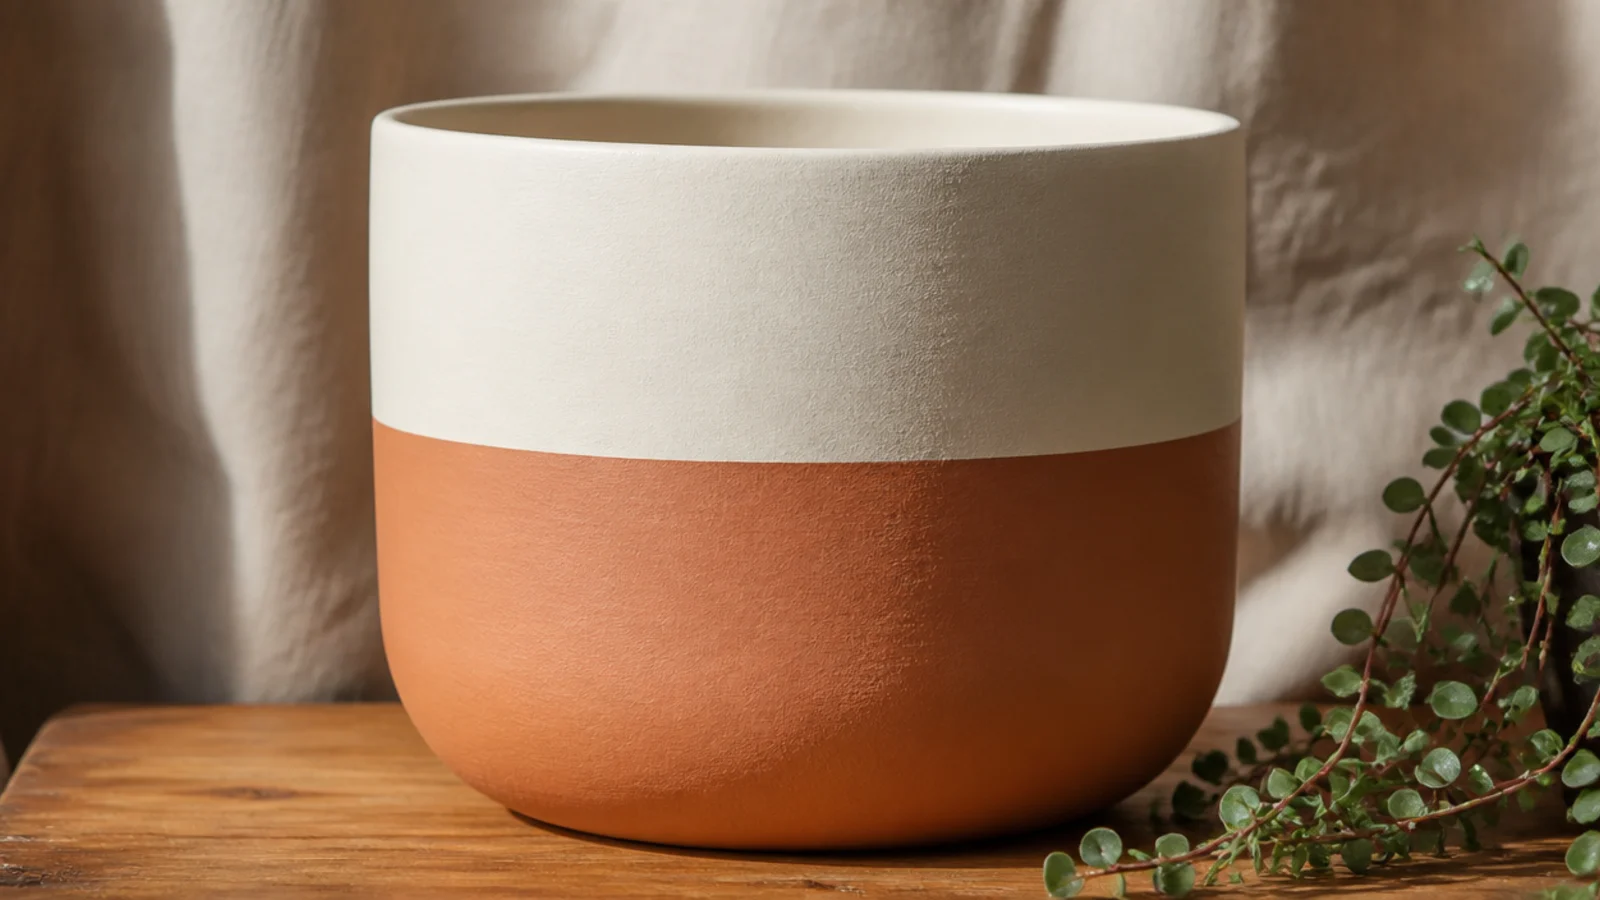
My first color-block pot had a fuzzy, bleeding line because I just laid tape down and painted over it. The mistake is trusting the tape to seal itself — it doesn’t, and paint creeps under any loose edge. It also happens when you peel the tape after the paint is bone dry, so it tears the edge. This gets anyone attempting stripes, color blocks, or geometric designs.
Lay quality painter’s tape exactly where you want the line and press it down, then burnish the edge hard with a fingernail or an old gift card so it’s fully sealed. Paint a thin first pass right over the edge and let it set — this seals any gaps with your base color. Add your real color in a thin coat, then peel the tape slowly while the paint is still slightly wet, pulling back on itself. Touch up any tiny gaps with a small brush and seal.
Editor's noteSet the pot on a jar lid or lazy Susan so you can spin it and keep a taped line perfectly level as you wrap it.
Skip thisDon’t skip burnishing the tape edge or peel it bone-dry — loose tape bleeds and dry tape tears your clean line.
6. Overcrowding the Design
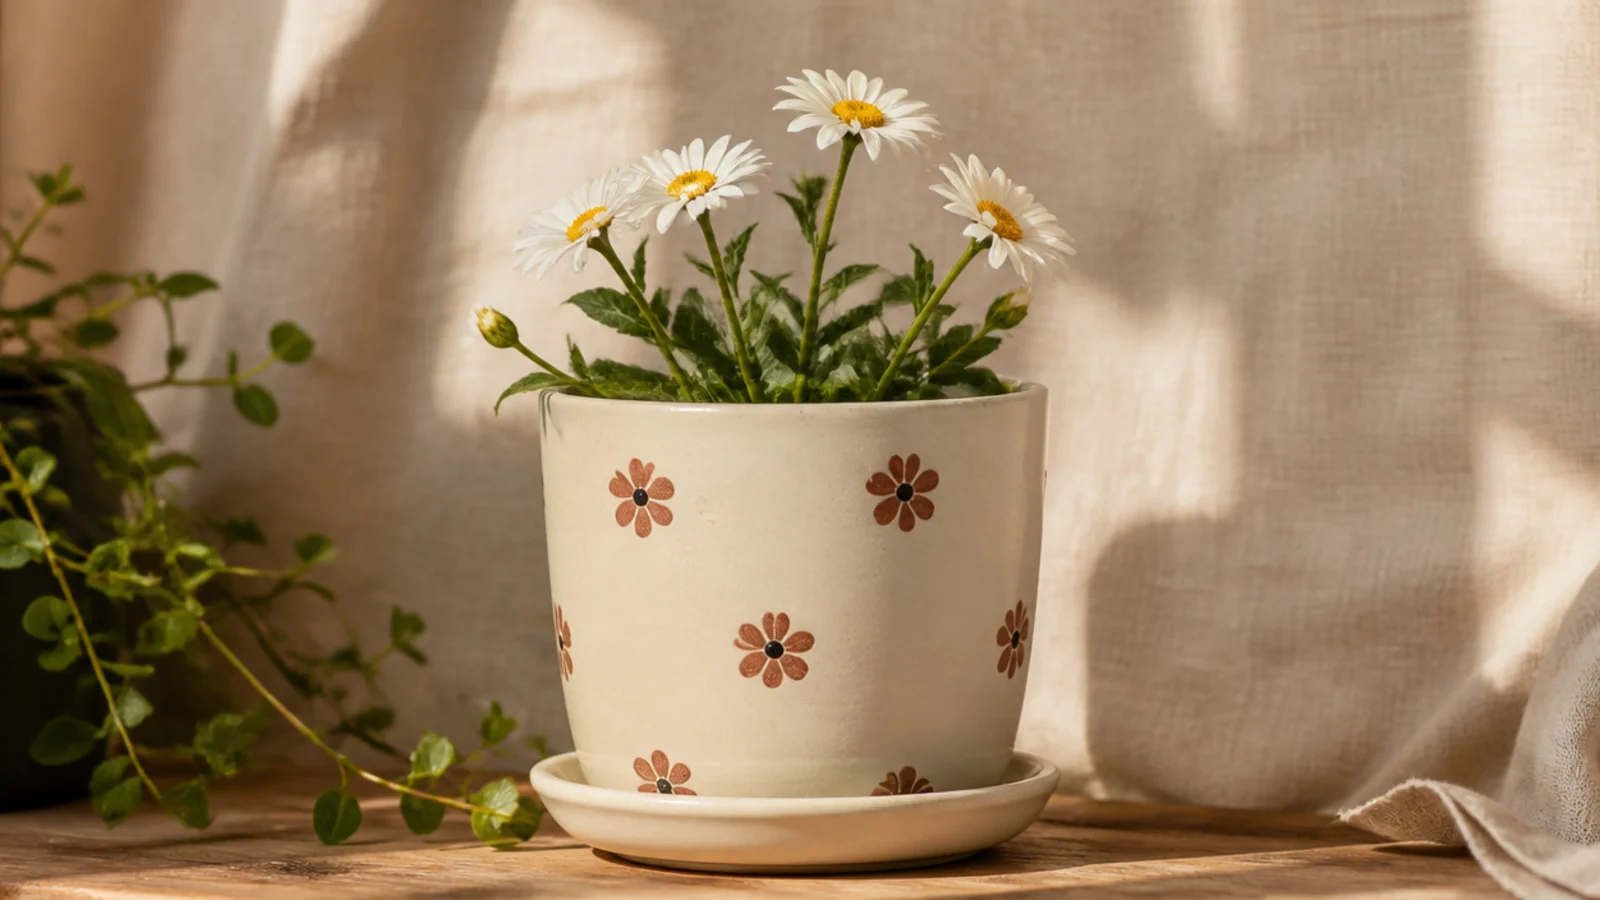
I thought more pattern meant more effort meant a better pot, so I crammed flowers, dots, and stripes onto one poor planter. It looked busy and homemade. The mistake is filling every inch out of enthusiasm, when negative space is what makes a design look designed. Beginners who are excited (I was) almost always overdo the first few pots.
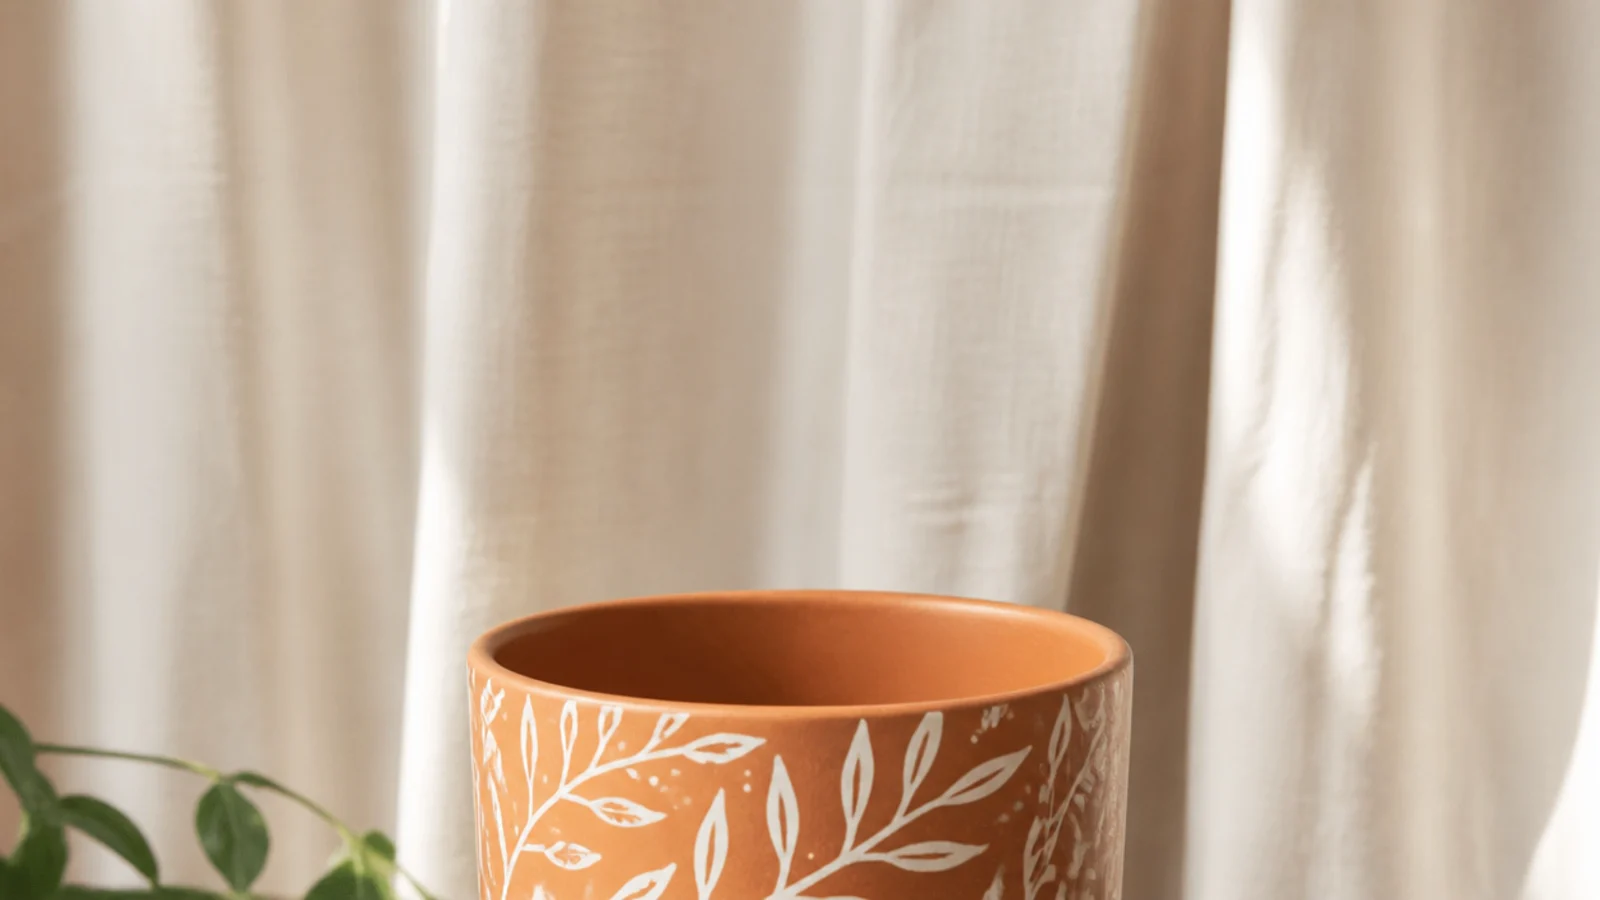
Pick one motif and repeat it with breathing room — a scatter of a few daisies, a single dot border, or one stripe band. Lightly pencil placement first and leave at least as much bare surface as painted. Paint the design in thin coats with a small round brush, then stop before you’re tempted to add more. Erase stray pencil and seal. Restraint is the finishing move here.
When you think you’re done, resist adding 'one more' element — photograph the pot instead, and you’ll usually see it’s already complete.
Don’t fill every inch with pattern — a crowded pot reads as busy and homemade, while spaced-out motifs look intentional.
7. Painting the Whole Pot Instead of Accenting
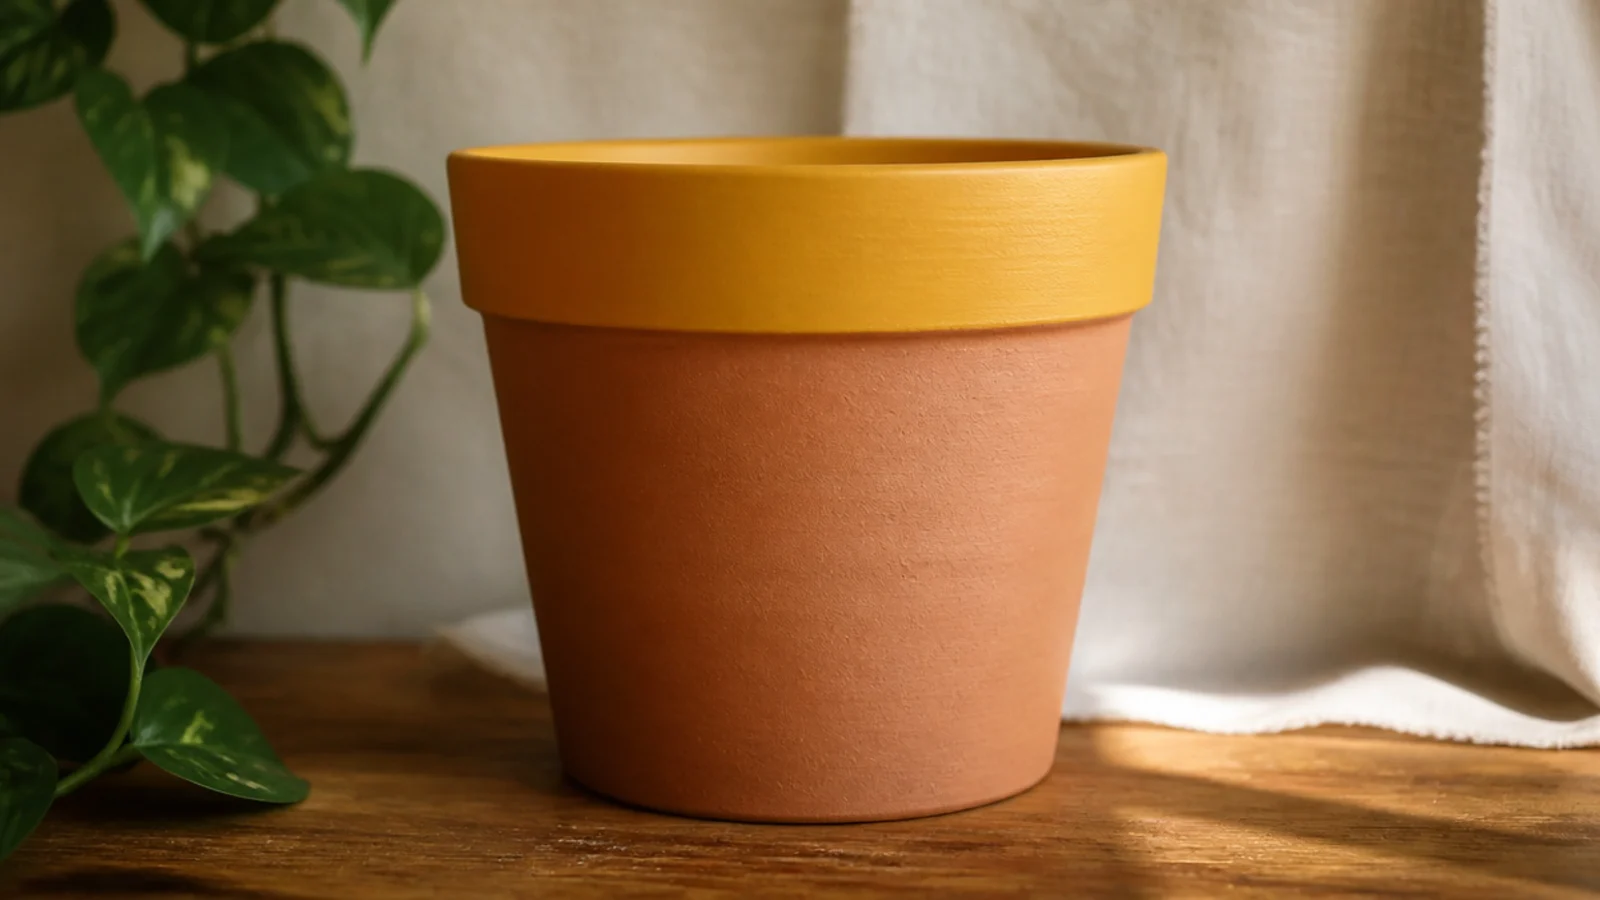
Early on I coated entire pots edge to edge, which meant every drip, thin patch, and uneven area was on full display. The mistake is assuming a painted pot means a fully covered pot. Covering everything is more work and shows more flaws, while the natural clay is already a beautiful color. Beginners who want maximum impact reach for full coverage and get maximum problems.
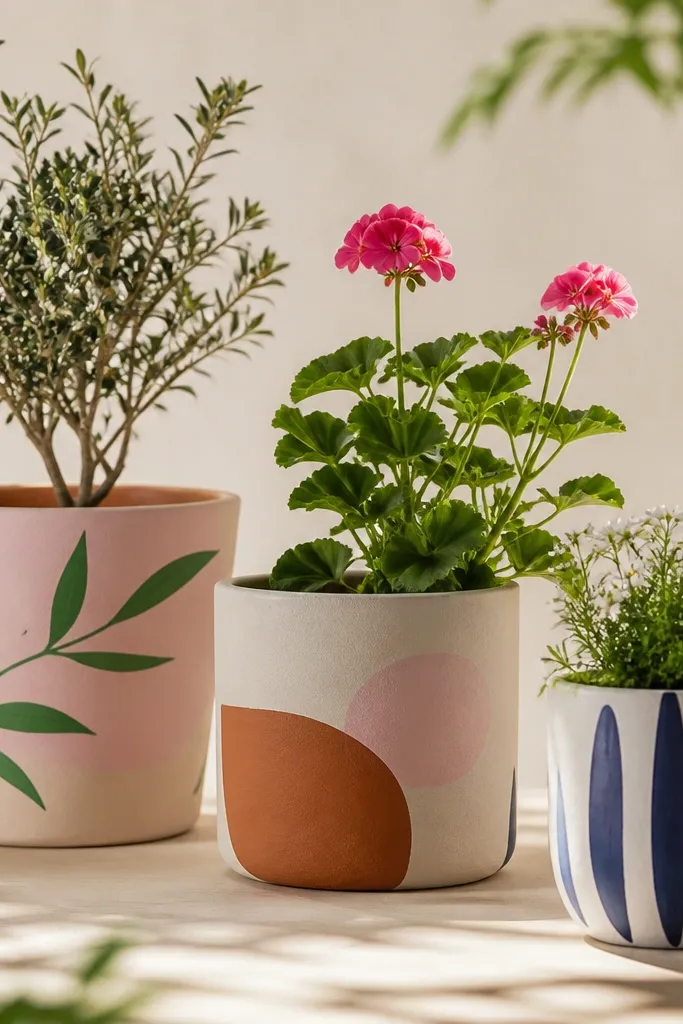
Choose an accent instead — paint just the rim, dip the bottom third, or add one motif, and leave the rest raw terracotta (still prime the areas you paint). Tape a clean edge where paint meets clay, then apply two thin coats. Carry rim color slightly over the inside lip so no raw edge peeks out. Peel tape while slightly wet, touch up, and seal the painted area. Less surface means fewer flaws and a more modern look.
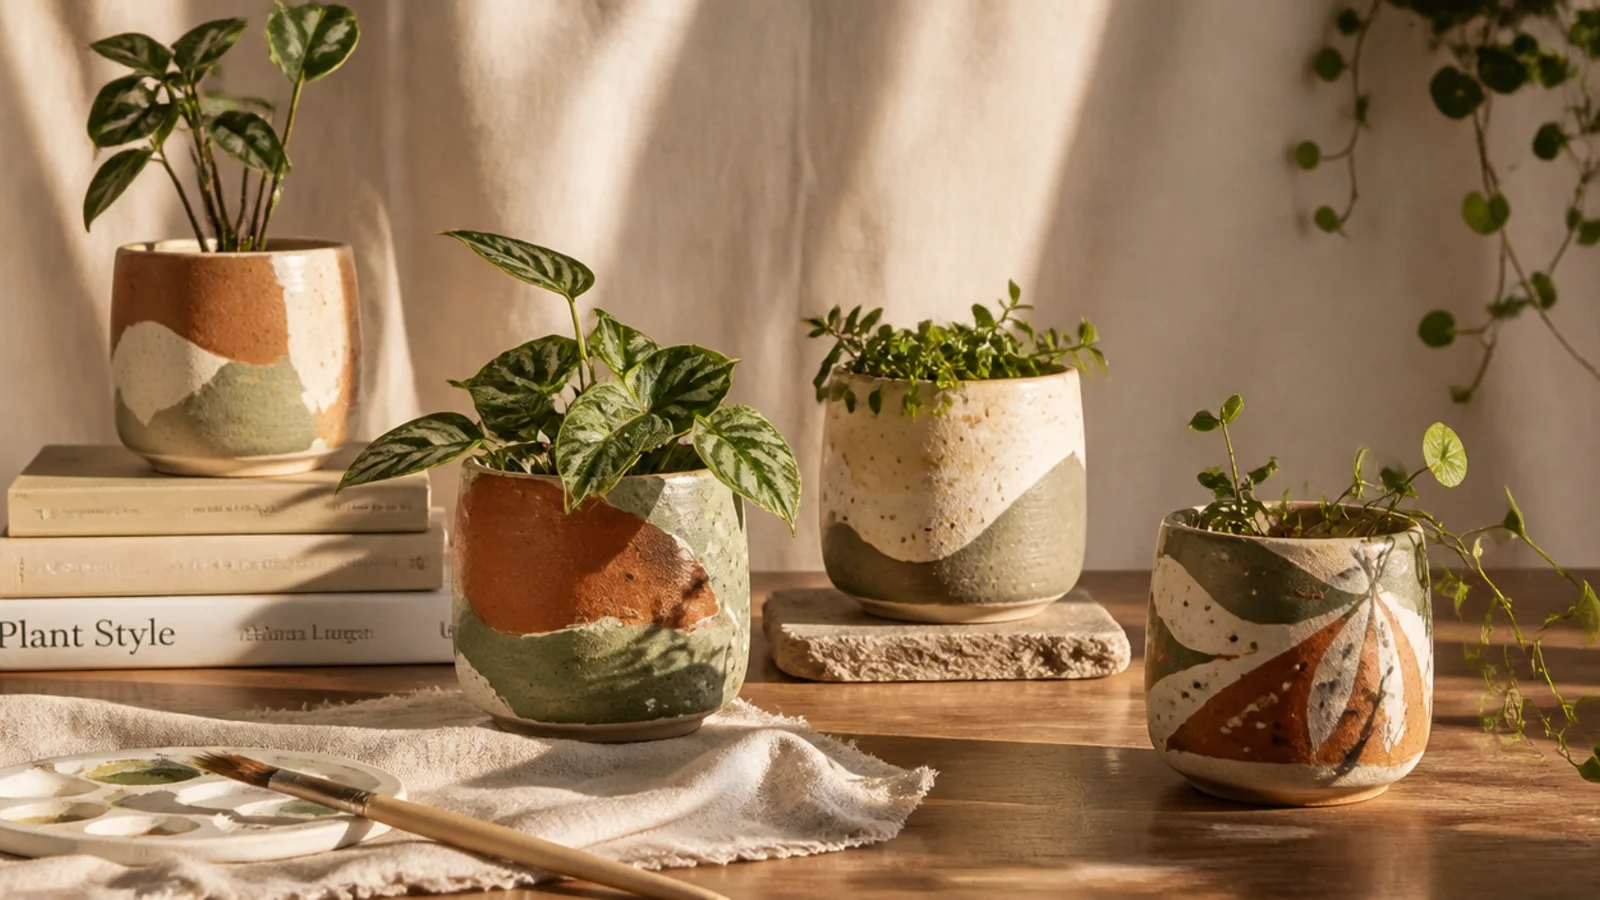
Repeat one accent color across several pots — a shared mustard rim or sage dip — and a mismatched shelf instantly looks like a set.
Don’t fully coat every pot as a beginner — full coverage is more work and puts every drip and patch on display.
8. Not Planning My Colors First
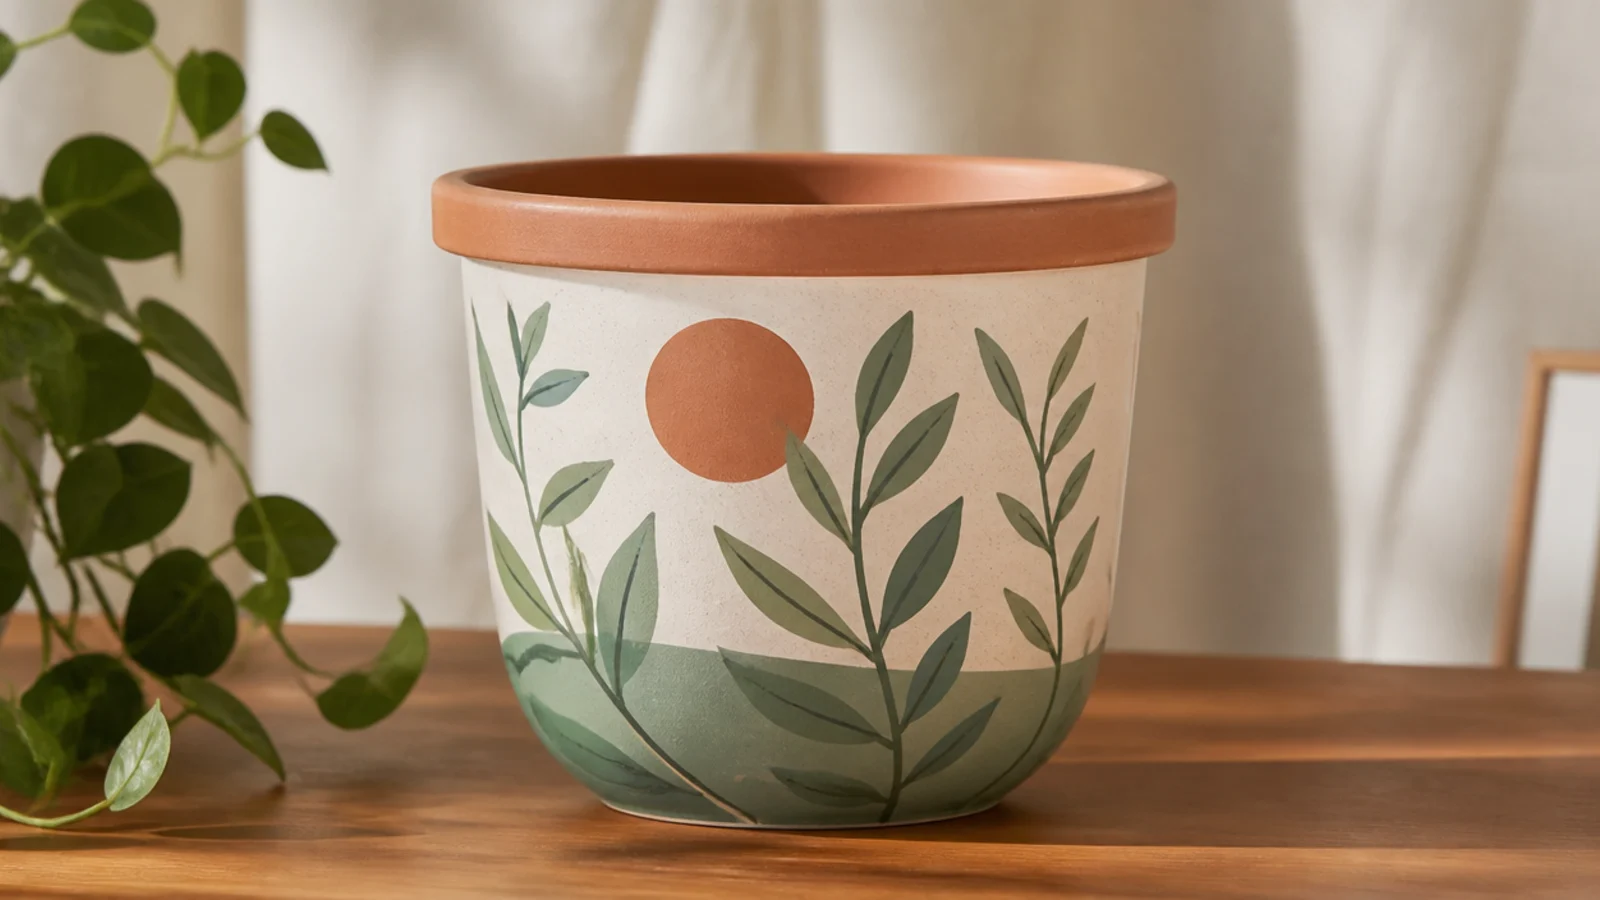
For a long time I grabbed whatever bottle looked fun mid-project, and I ended up with a shelf of clashing one-off pots that never looked like they belonged together. The mistake is treating color as a spontaneous decision instead of a plan. It happens because painting is exciting and the paint drawer is right there. Anyone building more than one pot runs into this.
Before you open a bottle, choose two or three colors that repeat something already in the room — a cushion, a mug, a piece of art — and write them down. Test each on a scrap of primed clay or a paint chip so you know how they dry, since acrylic darkens slightly. Use those same colors across every pot in the group, varying only which is dominant. Base-coat, add your one design, and seal — a shared palette is what turns single pots into a collection.
Editor's noteLimit yourself to three colors plus the natural terracotta for a whole set — constraint is what makes a group look styled, not random.
Skip thisDon’t pick colors bottle-by-bottle as you go — unplanned palettes give you a shelf of clashing pots instead of a cohesive set.