
1. 8x10 Foam Board Spring Cluster Frame
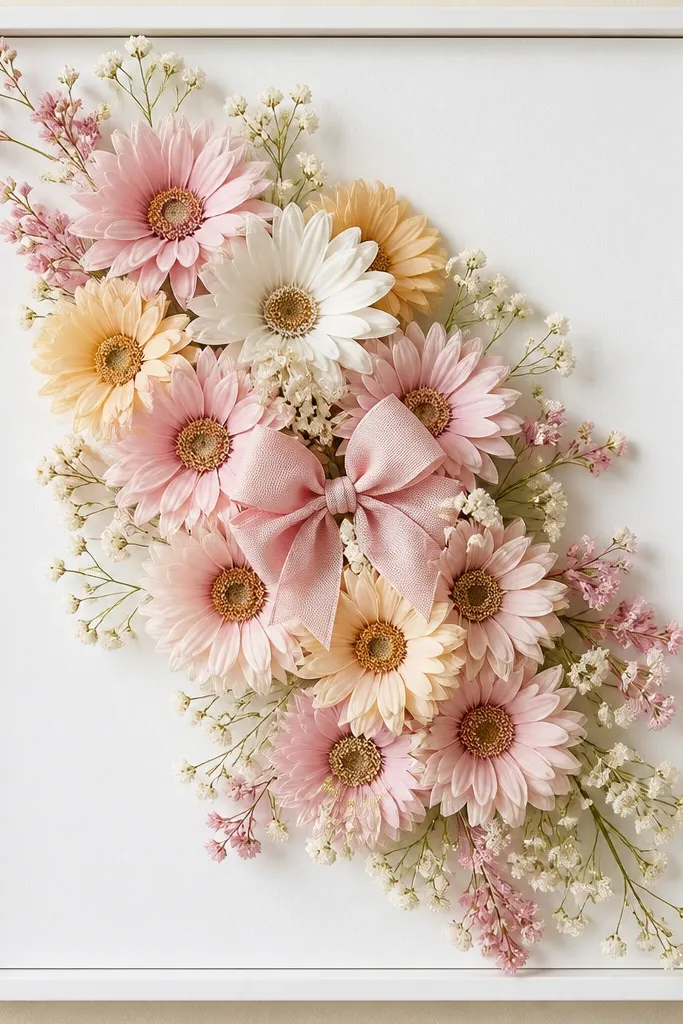
This is the "starter win" frame I make when someone wants easy flower frame for beginners results fast. The foam board keeps everything flat, and the faux daisies give you consistent petal shapes. I like a diagonal cluster because it fills the frame without forcing you to copy a perfect wreath. The blush bow in the middle makes the glue lines disappear and gives the whole piece a focal point.
Use 1/2 inch foam board cut to 8x10, then cover it with matte cardstock or painted craft foam. Hot glue works best for faux stems; trim each stem so you can tuck overlaps under the cluster. Add a 1-inch wide ribbon bow and glue it centered over the densest part of the stems.
Pro tipBefore gluing, dry-fit the stems on the board for 3 minutes and take a photo - you'll catch awkward spacing fast.
AvoidAvoid gluing stems flat on top of each other without overlap - it makes the center look thin and messy.
2. Pressed Petal Frame with Kraft Backing
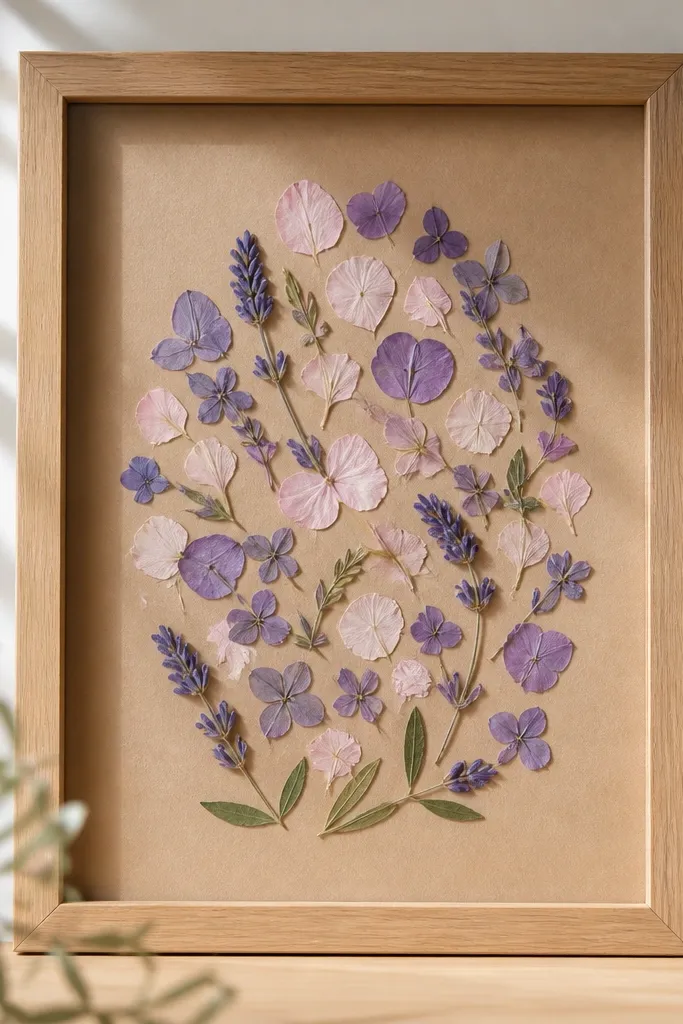
Pressed petals look high-end because they're delicate and flat - no bulky stems to hide. Kraft brown makes pale petals pop and keeps the look warm. I like an oval layout because it feels intentional and easy to copy. A thin layer of clear sealer keeps petals from shedding and helps them look evenly toned.
Press petals between heavy books for 1-2 weeks, then trim the stems off completely. Cut kraft paper to fit the inner frame opening and glue petals with a tiny dot of craft glue or acid-free glue. Spray a light coat of clear matte sealer from 10-12 inches away after placement dries.
Pro tipUse tweezers and place petals in pairs - mirror-like shapes fill gaps better than single petals.
AvoidSkip thick glue under petals - it creates shiny bumps that show through and look cheap.
3. Rustic Mini Wreath Frame for a Front Door
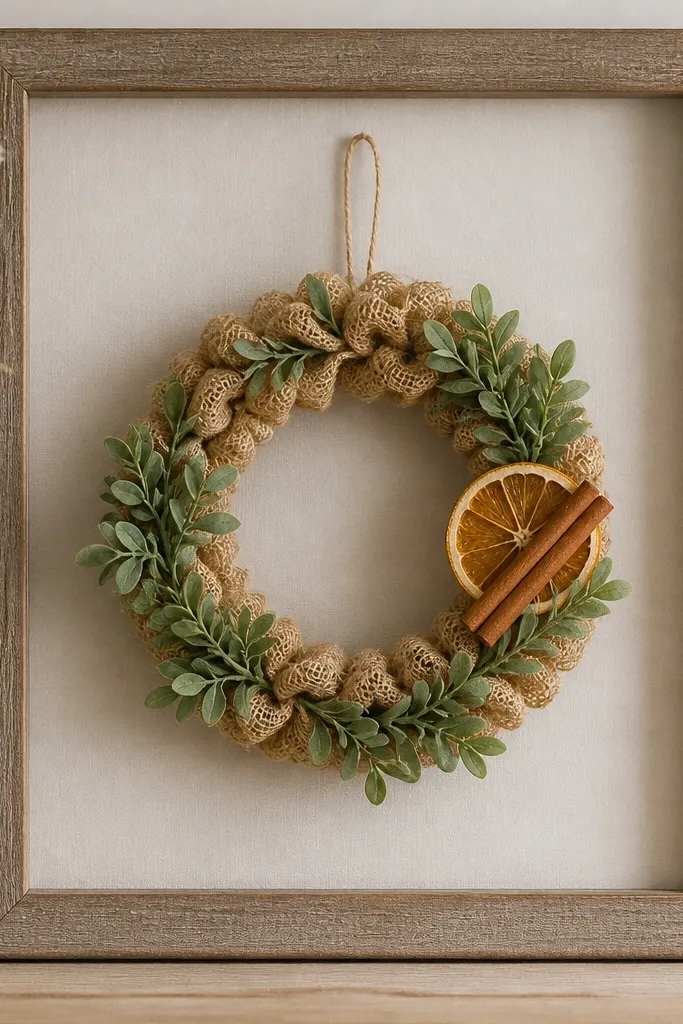
This one is for holiday-season walls where you want texture without heavy craft work. Burlap gives you instant rustic depth, and faux greenery keeps it neat year after year. A mini wreath inside a rectangular frame looks charming because it reads like a "door piece" even on a living room wall. The cinnamon stick and dried orange slice add that warm seasonal smell and color contrast.
Start with a 6-7 inch foam wreath ring (or tightly coil burlap around a ring). Wrap with burlap strips, then hot glue faux greenery around the ring. Place everything into a 10x20 or 8x12 frame with a backing board; add a dried orange slice and cinnamon stick with hot glue.
Pro tipSpritz burlap lightly with diluted fabric stiffener so it holds shape instead of flopping.
AvoidDon't use slippery satin ribbon on burlap - it slides and the wreath looks loose.
4. Black Frame with Monochrome Ranunculus Paper Flowers
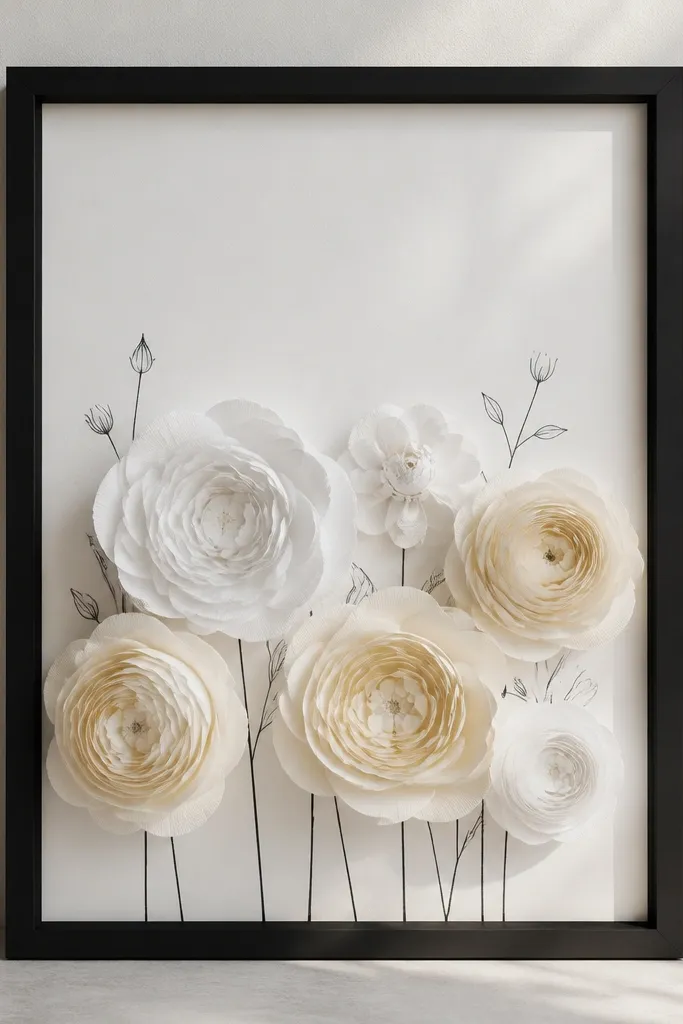
Monochrome looks clean because the eye reads shape first, color second. Paper ranunculus-style blooms are easy if you use pre-cut petal layers or you trace one petal pattern and repeat it. The black frame makes the whites feel crisp, and the sketched stems give you movement without adding bulk. I also like leaving a little negative space so the flowers don't feel crowded.
Use white foam board, then cut paper petals in 3 sizes per flower (about 2 inches, 1.5 inches, 1 inch for a small cluster). Layer with a brad fastener or glue dot in the center. Glue flowers at the bottom and sketch thin stems with a fine-tip paint marker behind them.
Pro tipLightly curl petals upward with your fingers while the glue is still tacky so the bloom looks dimensional.
AvoidAvoid using glossy paper - it reflects and can look plastic under indoor lighting.
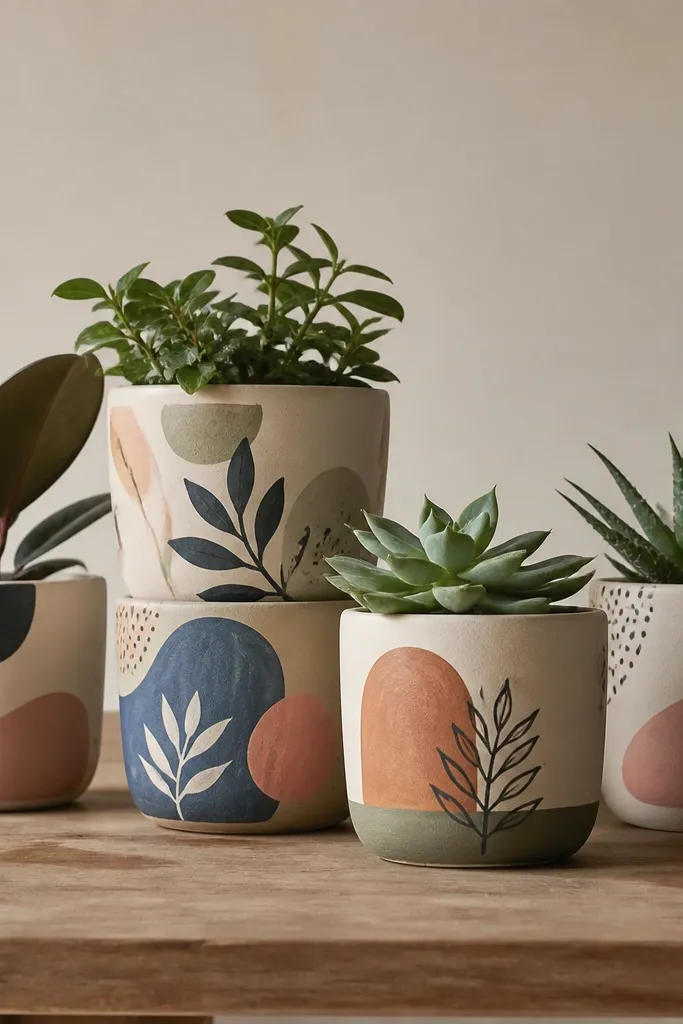
5. Terracotta and Sage Desert Flower Frame
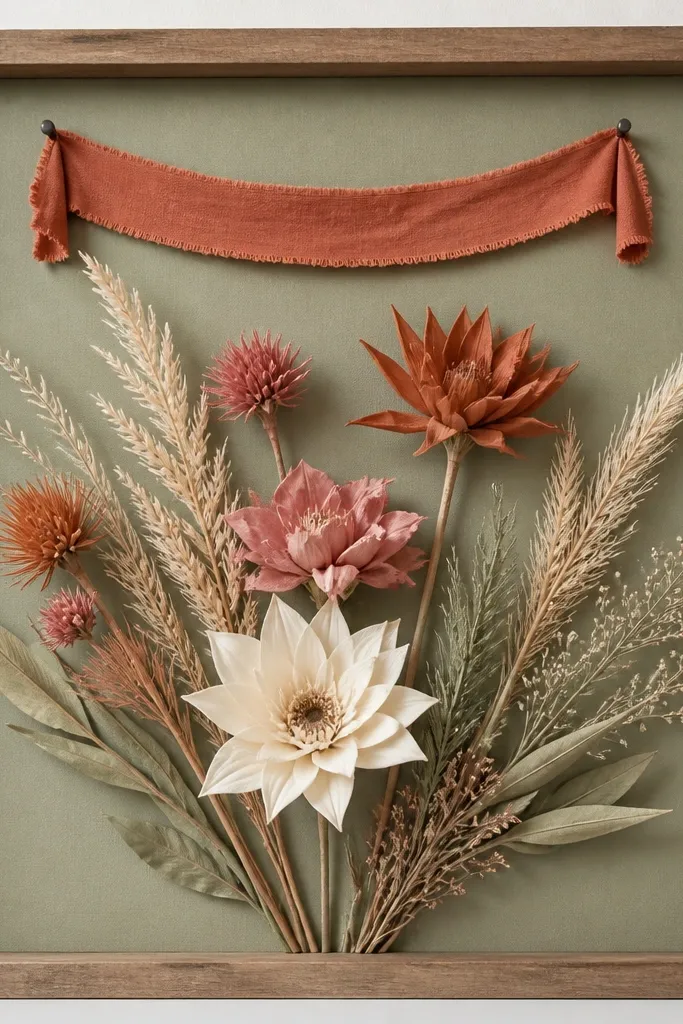
If you like earthy decor, this color combo looks intentional even when your flowers aren't perfect. Sage backing makes terracotta feel warmer, and the fan layout feels modern. Faux desert stems tend to be wiry, which helps you position them without bulky glue. The tiny fabric banner adds a finished touch without lettering.
Paint or cover the backing with sage craft paper. Use 3-5 stems of faux desert flowers, trimming them so the tips sit at staggered heights. Add a short terracotta fabric strip (about 2 inches tall) across the top and glue it behind the stems.
Pro tipChoose one terracotta flower as the hero and keep the rest lighter - it prevents the frame from looking flat.
AvoidSkip too many colors - if you use more than three flower tones, the frame looks chaotic.
6. Dried Lavender + Yellow Ribbon Frame
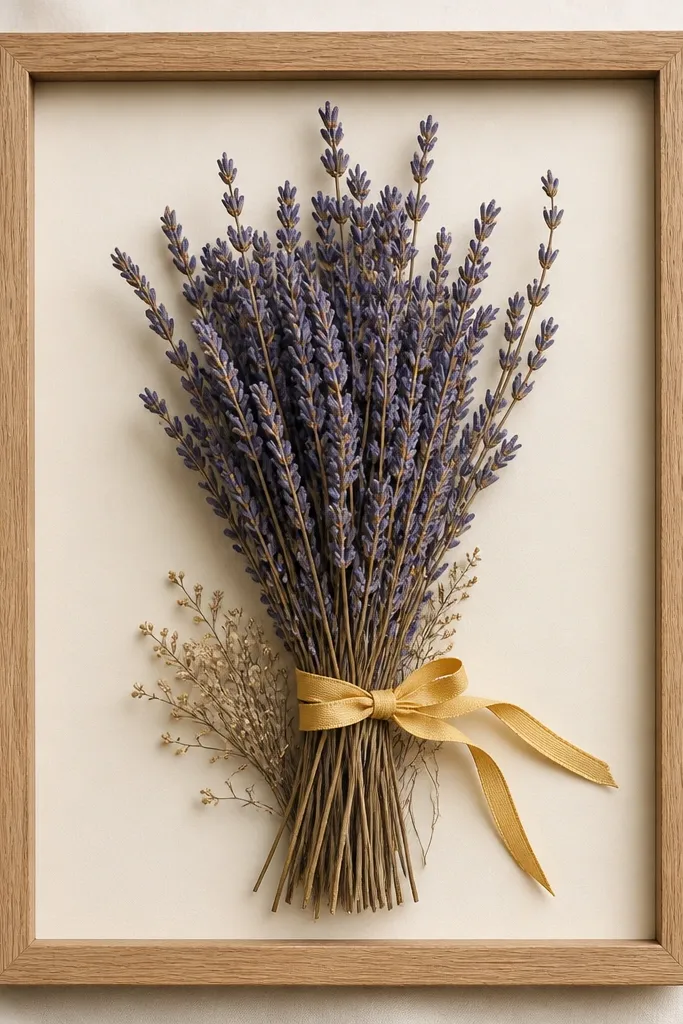
This frame smells good and looks calm. Dried lavender is easy to arrange because it's already bundled and naturally directional. Yellow ribbon gives you a pop that reads cheerful without being loud. The vertical layout makes it easy for beginners because you only have to place one main line and fill around it.
Use off-white paper backing and glue lavender bundle at the center with hot glue or fabric glue along the stems. Trim small dried sprigs to tuck around the base. Tie a bow from 1/2 inch yellow ribbon and glue it over the stem bundle.
Pro tipSeal lavender with a light matte spray after you glue it - it reduces dust and helps the colors last.
AvoidDon't press lavender too hard when gluing - it breaks and sheds petals onto the backing.
7. Twine + Vintage Button Flower Frame
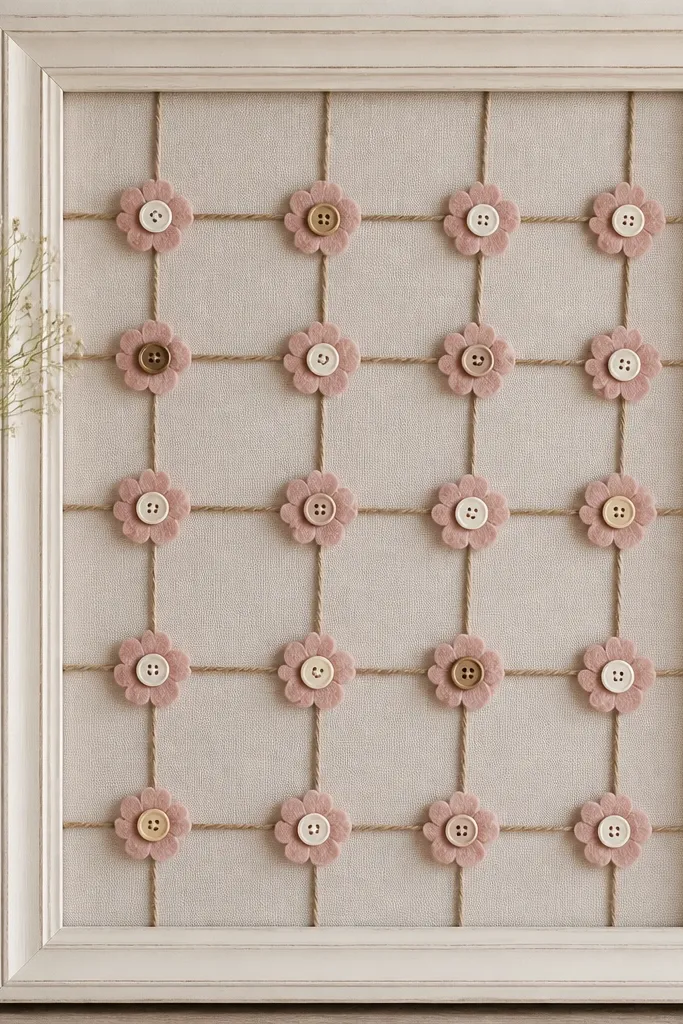
This is the "texture craft" version that looks cute even if you're not confident with flowers yet. The twine grid hides messy glue spots, and buttons give you a defined center shape. Felt petals are forgiving because you can cut irregular shapes and still make it look charming. The result reads handmade, not store-bought, which is the point.
Cut felt petals in simple teardrops (about 1 inch each), then glue 5-7 around a button. Wrap twine across the backing in a grid with small drops of glue to hold tension. Glue the button flowers onto the grid intersections so the twine lines frame the centers.
Pro tipUse a hot glue dot for the button only, then tack felt petals with small glue dabs so they don't seep.
AvoidAvoid loose twine - sagging grid lines make the whole frame look crooked.
8. Monogramless Floral Banner Frame
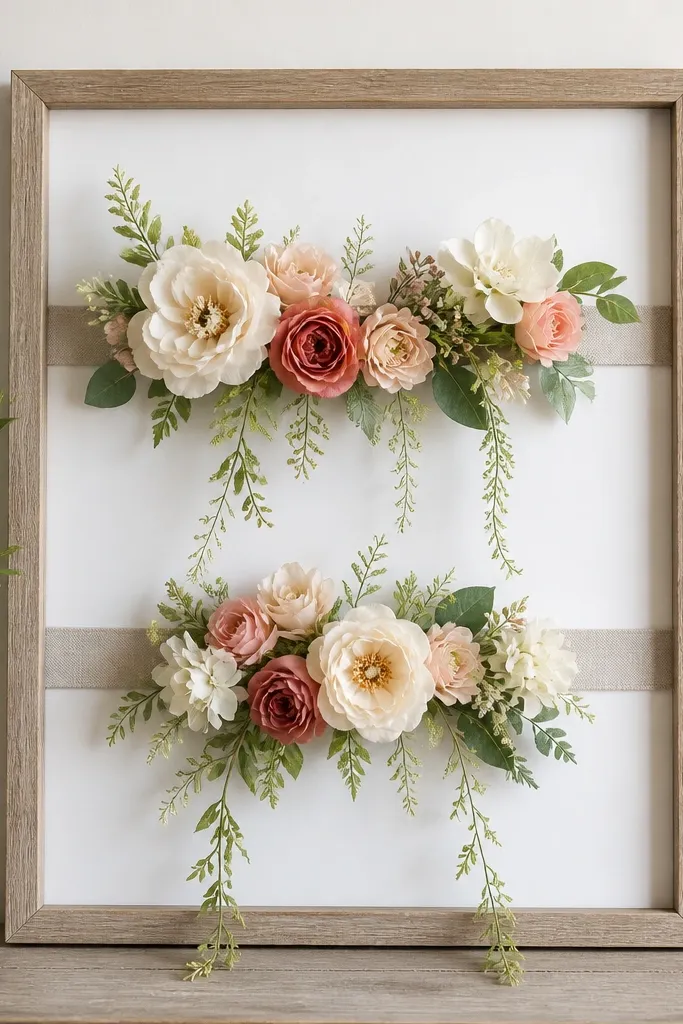
This frame looks like a styled seasonal sign but without any text. The horizontal ribbon anchors the flowers and keeps the layout from drifting. I like using two ribbon tones - one cream and one muted green - because it adds depth without extra colors. Trailing strands at the bottom make it feel fuller than a flat cluster.
Cut two ribbon strips to the inner width, leaving about 1 inch margin on both sides. Glue ribbons first, then tuck faux flower stems over and under the ribbon edges. Add trailing greenery by cutting stems shorter and placing them so tips land near the bottom center.
Pro tipFold the ribbon ends inward before gluing so you don't see frayed edges.
AvoidDon't glue flowers only on top of ribbon - the frame looks pasted on instead of layered.
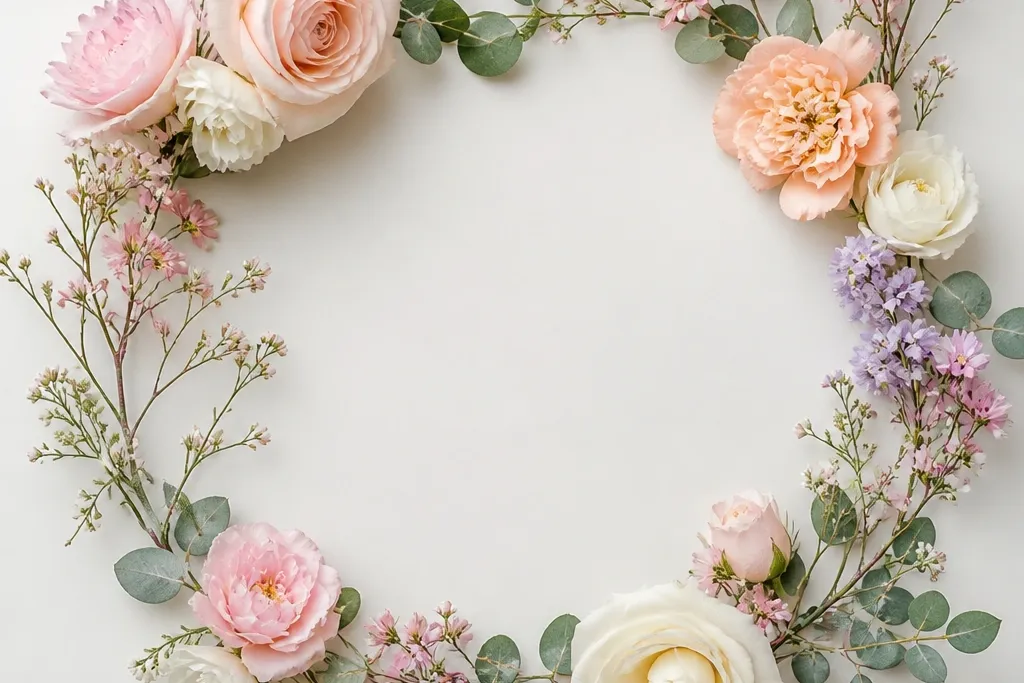
9. Greenery Only Frame with Tiny White Blooms
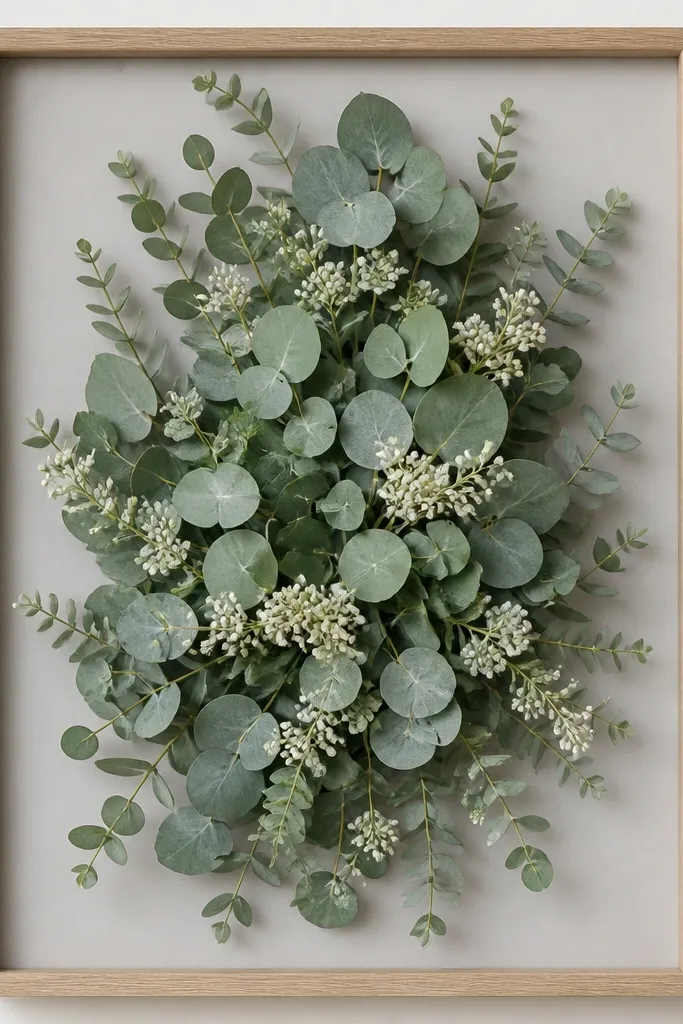
This one is for people who want a calmer look and don't want big flowers. Greenery-only arrangements can still look full because leaves overlap and create texture. Tiny white blooms act like punctuation, so the eye knows where to land. The gray backing keeps everything grounded and modern.
Use gray cardstock or painted foam board backing. Arrange eucalyptus stems in an oval, then tuck 8-12 small white buds into the leaf gaps. Glue tips first, then add mid-stems so you get a natural layering gradient.
Pro tipCut stems at different lengths before you start so you don't end up with one tall spike.
AvoidAvoid sparse leaf spacing - if you can see the backing too much, it reads unfinished.
10. Layered Fabric Flower Medallion Frame
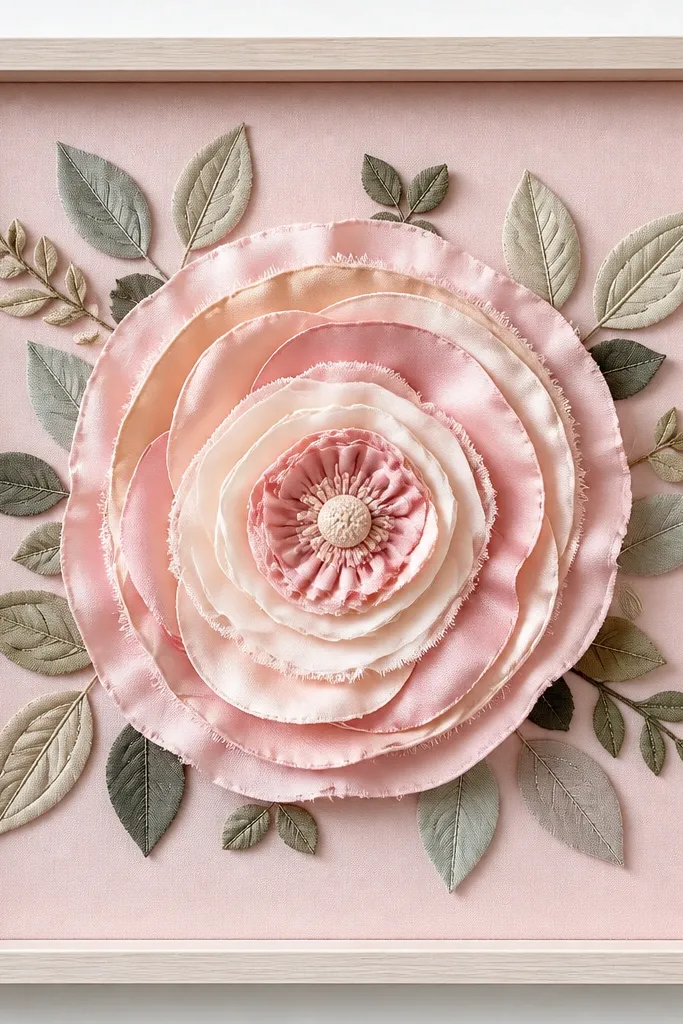
Fabric flowers look soft and expensive because they catch light differently than paper. A medallion in the center is easier than a full wreath because you're building one focal piece. I use satin for shine, chiffon for airy layers, and cotton for structure. The mixed textures make it look intentional even if your stitching isn't perfect.
Cut 5-7 circles per flower: satin (largest), chiffon (middle), cotton (smallest). Stack with a dot of fabric glue between layers and gather the edges slightly to create a ruffled look. Glue the medallion to blush backing, then add small fabric leaves around the sides with hot glue.
Pro tipPress each fabric layer flat with your fingers as you glue so it doesn't slide and end up lopsided.
AvoidAvoid using only one fabric type - the flower looks flat and reads like a single craft circle.
11. Watercolor-Style Paper Backing Flower Frame
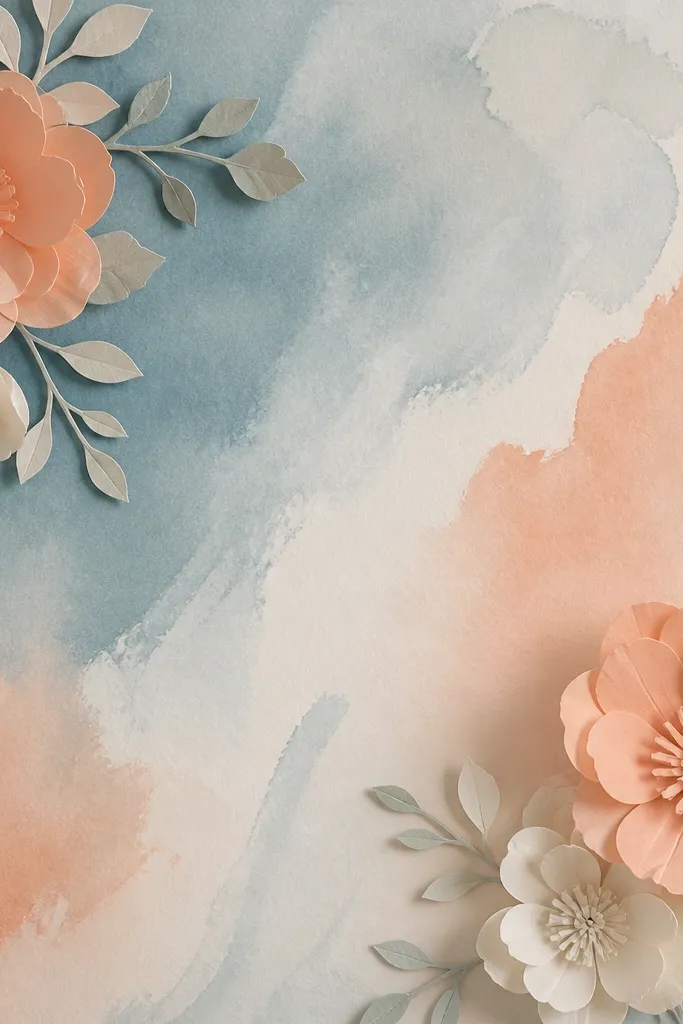
This is a beginner-friendly way to make the whole frame look custom without painting flowers. The watercolor-style backing sets the mood, and plain paper flowers look more "designed" because the background already has variation. Peach and blue together look great in daylight and evening lighting. You can keep your flower shapes simple since the background does the visual work.
Use watercolor paper or thick cardstock for the backing. Lightly sponge diluted acrylic or watercolor in peach and dusty blue, then let it dry completely. Glue simple paper flowers on top and add a couple of faux stems behind the blooms so they peek through.
Pro tipUse a damp sponge, not a wet brush, for that soft mottled watercolor look.
AvoidAvoid overloading the backing with heavy paint - it warps cheap paper and makes the frame bow.
12. Holiday Holly and Red Berry Frame
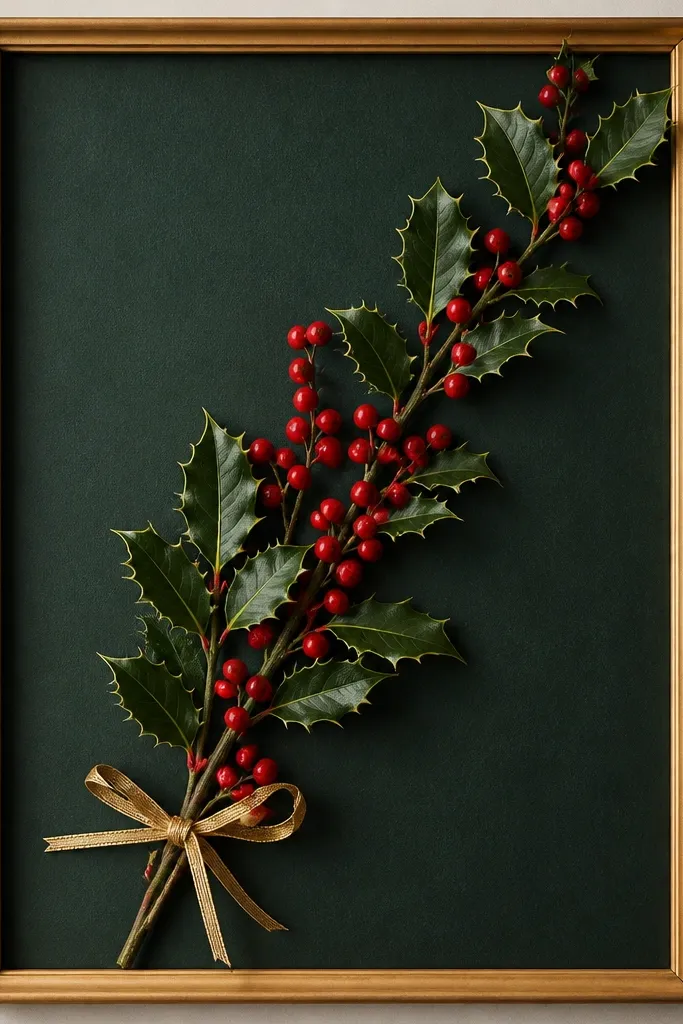
Holiday frames look best when the colors are controlled. Dark green backing makes red berries look like they're glowing, and diagonal placement feels energetic without chaos. Faux holly is forgiving because the leaves fill gaps quickly. The thin gold ribbon adds a warm metal note that reads festive even if you don't hang ornaments.
Cut a backing piece in dark green cardstock and slide it into the frame. Arrange two holly stems as a diagonal, then tuck berry stems between leaves. Tie a 1/4 inch gold ribbon around the base of the cluster and glue the knot to keep it neat.
Pro tipTrim berry stems so berry heads face outward toward the viewer, not sideways.
AvoidSkip bright neon reds - they look like craft store cheap plastic against dark green.
13. Beachy Sea Glass + Flower Accent Frame
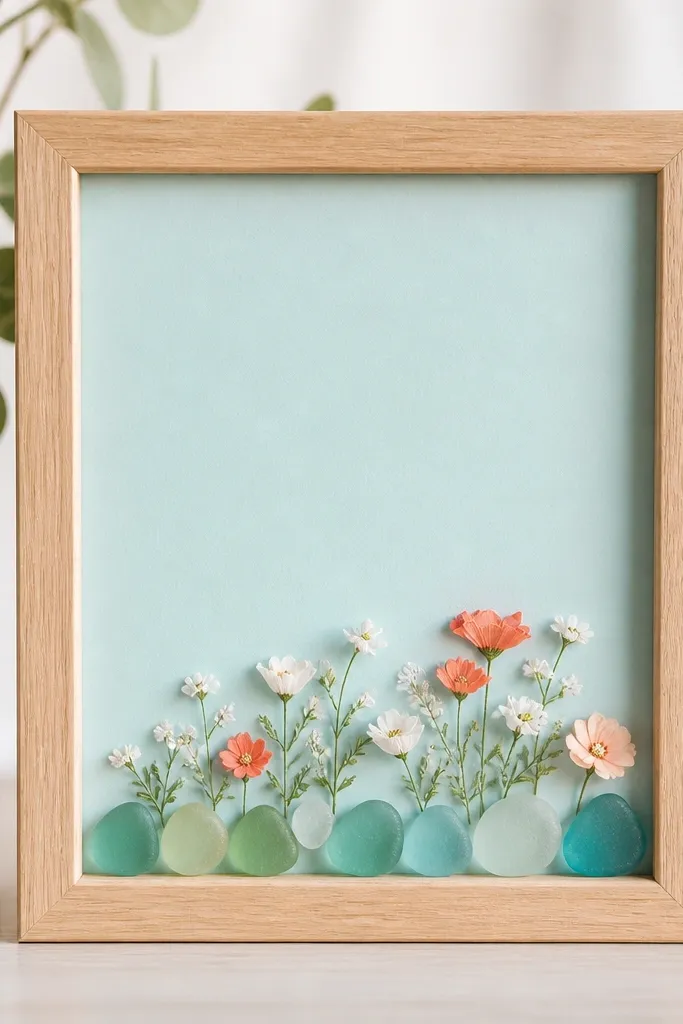
This is a fun summer twist that still counts as a flower frame because the flowers are the focal accents. Sea glass pieces give you that coastal sparkle, and the pale aqua backing keeps it fresh. I like using small flower clusters instead of big blooms here because the sea glass already adds visual texture. Coral and white flowers read warm against aqua.
Use pale aqua paper backing. Glue a line of sea glass pieces across the bottom edge with clear-dry craft glue. Add 3-4 small paper flowers above the sea glass and glue them with a slightly staggered height so it looks natural.
Pro tipWipe sea glass pieces with rubbing alcohol before gluing so adhesive sticks cleanly.
AvoidDon't cover the entire frame in sea glass - it turns into a craft collage instead of a floral accent.
14. Fall Orange Dahlia Frame with Burlap Trim
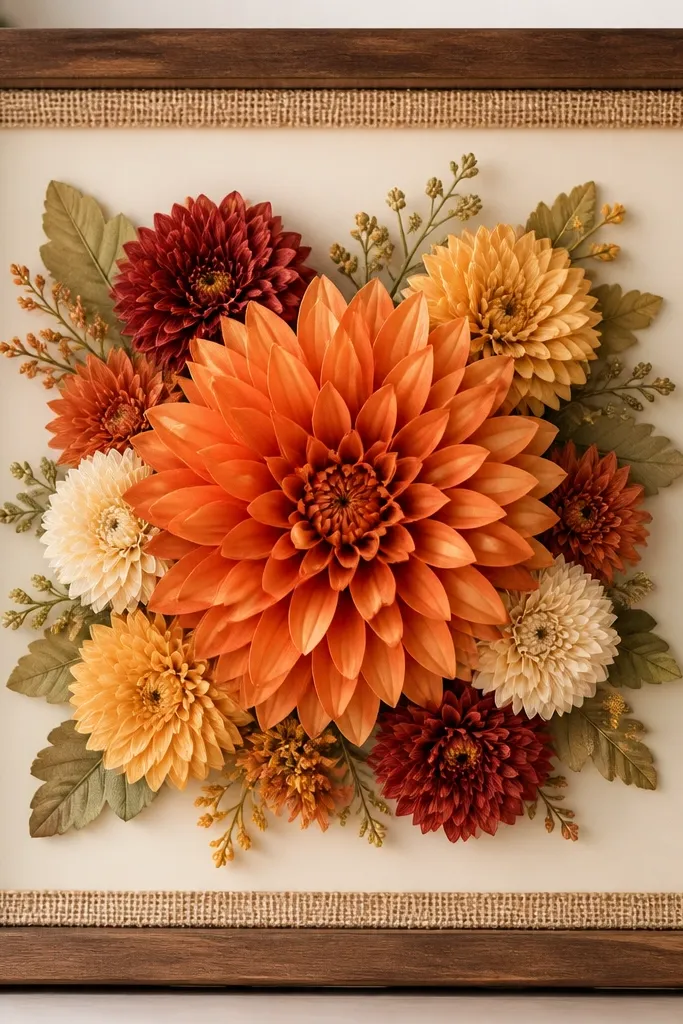
A single big dahlia makes fall decorating easy because you don't need a full wreath. Burlap trim adds texture and makes the orange feel grounded instead of bright. The cream backing keeps the palette warm without looking dark. I also like adding smaller mums on the corners so the center flower stays the hero.
Cut burlap strips to fit around the inner edge, about 1-1.5 inches wide, and glue them down evenly. Place the large dahlia center first, then tuck smaller mums into the top-left and bottom-right corners. Use hot glue for faux flowers and keep glue hidden under overlapping petals.
Pro tipLightly fluff the burlap fibers before gluing so it looks soft, not flat tape.
AvoidAvoid placing the dahlia too high - center it so it sits at eye level on a typical wall.
15. Tissue Paper Pom + Faux Stem Frame
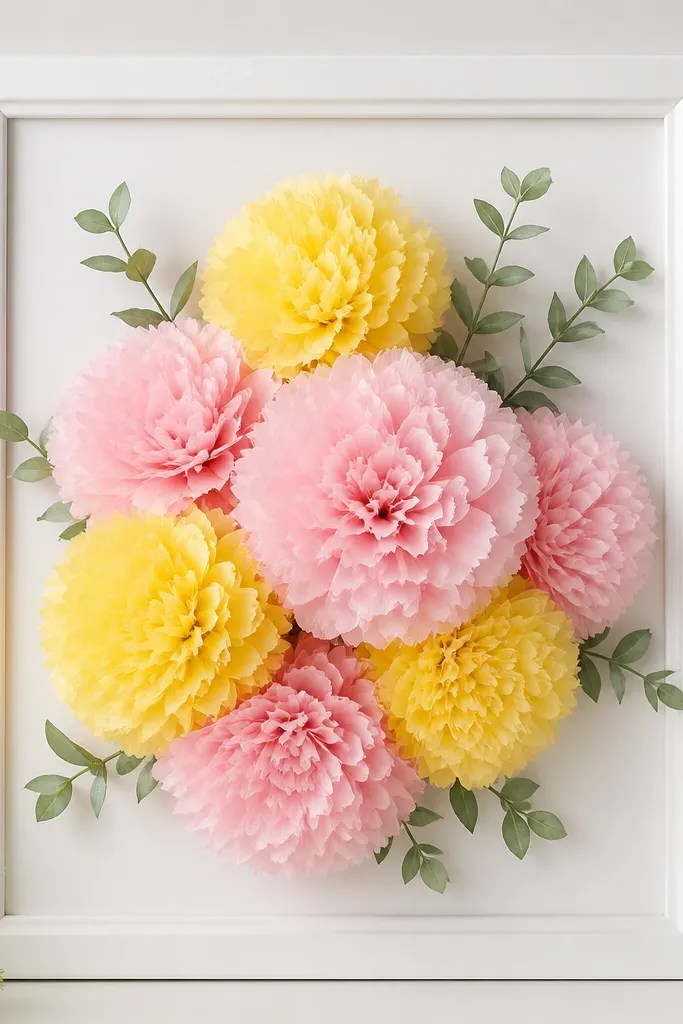
Tissue paper poms are the fastest "wow" you can make, and they look great in a frame because they hide wiring and messy edges. Faux stems behind the poms make it look like a real bouquet instead of a craft project. Yellow plus soft pink gives a cheerful spring vibe that works in kitchens and entryways. The fluffy shape also fills space without needing perfect symmetry.
Make poms from tissue paper sheets stacked and folded, then pinch and tie with thread. Glue the tied center to the backing board and tuck faux greenery around the base. Keep pom diameter around 3-4 inches so it fits an 8x10 without crowding.
Pro tipTrim pom edges with scissors after you mount it so it looks round from the viewer angle.
AvoidSkip cheap metallic tissue - it tears and creates jagged edges.
16. Black-and-White Daisy Photo Overlay Flower Frame
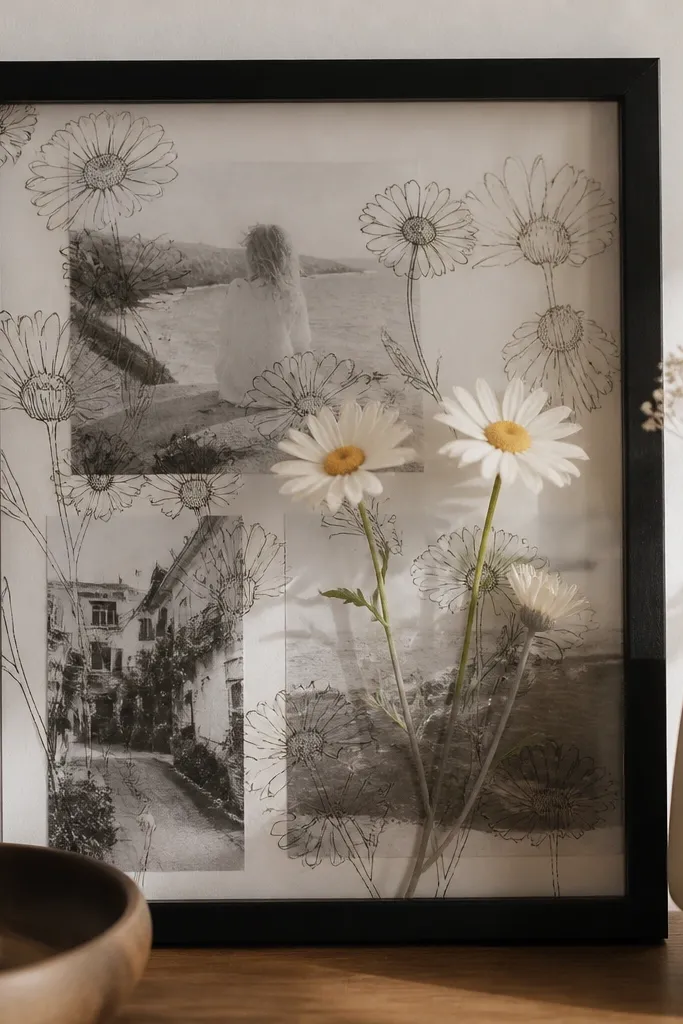
This frame adds personality because it mixes a visual memory with flowers. When your backing has a pattern or photo texture, you don't need a huge flower arrangement. Black-and-white daisies look sharp and modern, and the few real blooms make it feel dimensional. I've done this with old botanical prints and it looks clean even when you use fewer flowers.
Print or cut black-and-white botanical images to fit the frame backing. Glue a couple of faux daisies directly on top, then add tiny leaf sprigs between them. Use matte finish spray over the whole frame if the backing is glossy so it doesn't reflect harshly.
Pro tipLeave a 1-inch border of plain paper around the edges so the photo doesn't look like it's floating.
AvoidDon't use glossy photos under bright lights - reflections fight the flowers.
17. Gingham Ribbon Frame with Pink Rosebuds
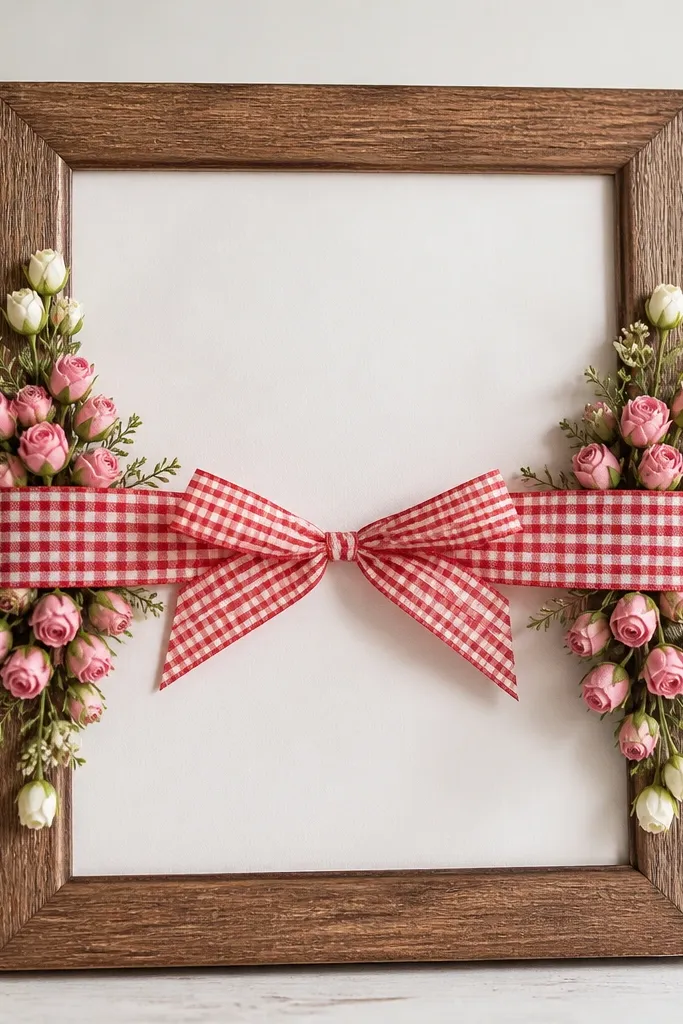
Gingham makes the frame feel like a country market sign, even with simple flowers. The ribbon gives you a built-in layout guide - you're basically building a bouquet along one line. Pink rosebuds soften the gingham so it doesn't feel too farmhouse-heavy. This is one of the easiest looks to repeat because the ribbon anchors everything.
Choose 1-inch gingham ribbon and glue it across the center of your backing board. Arrange rosebuds so they overlap the ribbon and hide the ribbon seam. Add two small white buds near the top corners for balance.
Pro tipUse the ribbon as a "mask" - glue flowers behind it so the front looks clean.
AvoidAvoid tying the ribbon too tight - pulling it warps the backing and makes the frame look off.
18. Beaded Center Flower Frame with Felt Petals
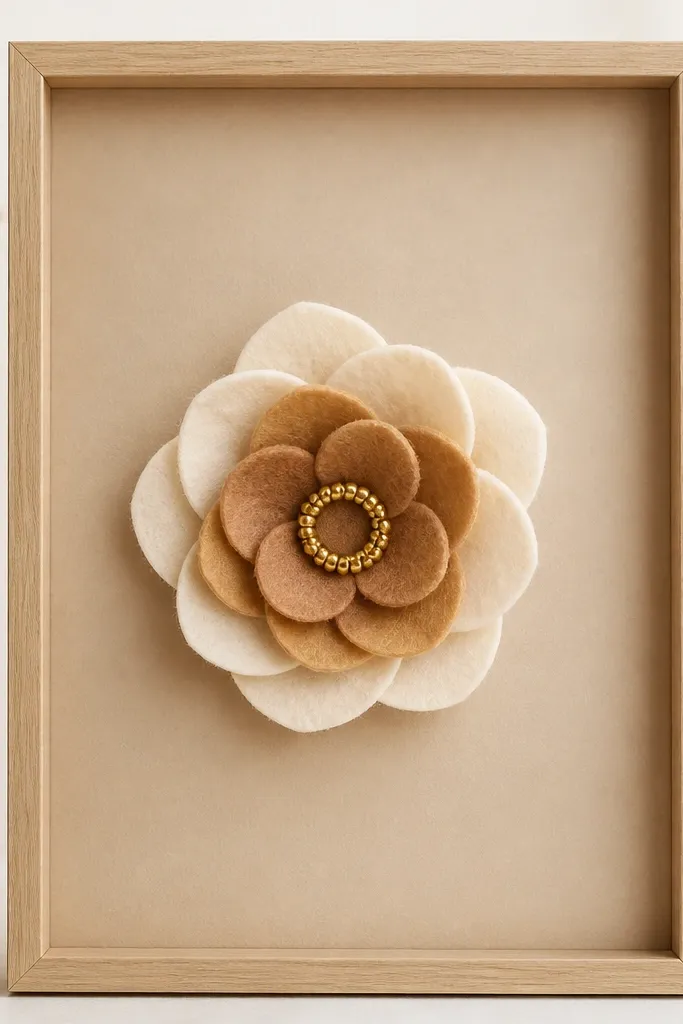
Felt petals make it forgiving because they hold shape and don't curl like paper. The beaded center makes it look finished, like it belongs in a boutique shop. This frame is also great when you want one focal flower instead of a full cluster. Tan backing keeps the warm tones cohesive and makes the gold beads catch light.
Cut felt petals in two layers: larger cream petals and smaller caramel petals. Stitch or hot glue a bead ring in the center, then glue the petals around it. Mount the finished flower on tan cardstock inside a simple 9x12 frame.
Pro tipUse a bead ring template made from a coin so your bead circle stays even.
AvoidSkip random bead sizes - mixed bead sizes can make the center look uneven.
19. Spring Bouquet Frame with Layered Wood Slice Backing
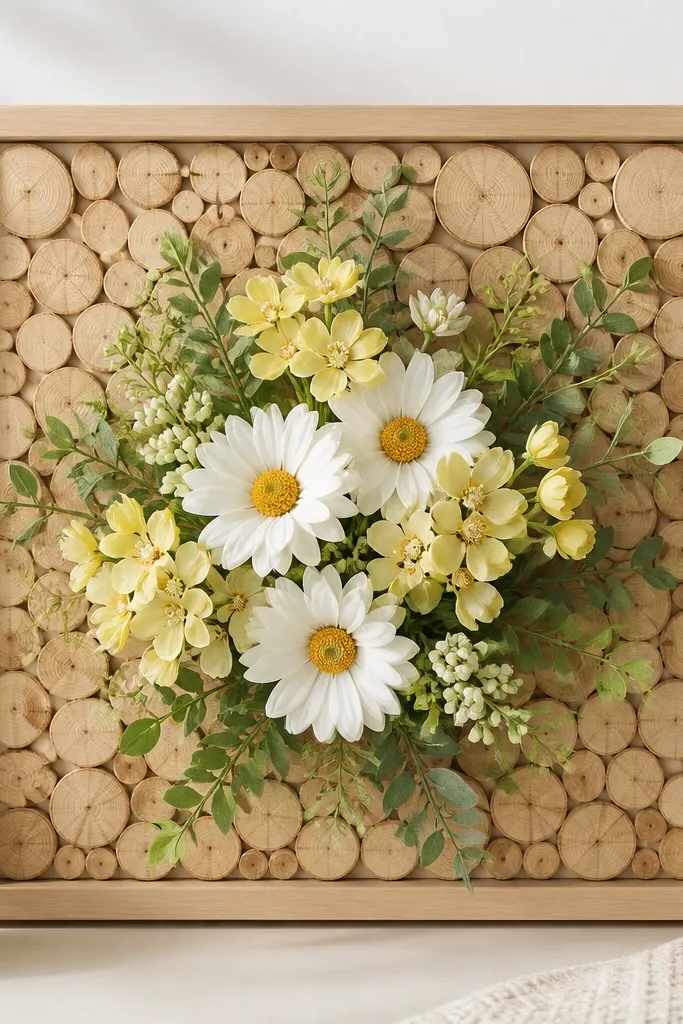
Wood slice backing gives you texture without needing a wreath ring. The honey tones make white and pale yellow flowers look warm and fresh. This is one of my favorite "non-paper" bases because it hides small placement mistakes - texture makes everything look intentional. The flower cluster stays clean since the wood slices are flat and even.
Create a backing by gluing thin wood slices or craft wood rounds onto a board, then seal with matte clear coat. Assemble a small bouquet center using faux spring stems and tuck leaves outward. Glue the flowers on top once the wood backing is fully dry.
Pro tipSand the edges of the wood backing lightly so it doesn't snag fabric or peel paint.
AvoidDon't skip sealing - raw wood can darken and change the color of your backing over time.
20. Minimal Line Art Flower Frame with Single Bloom
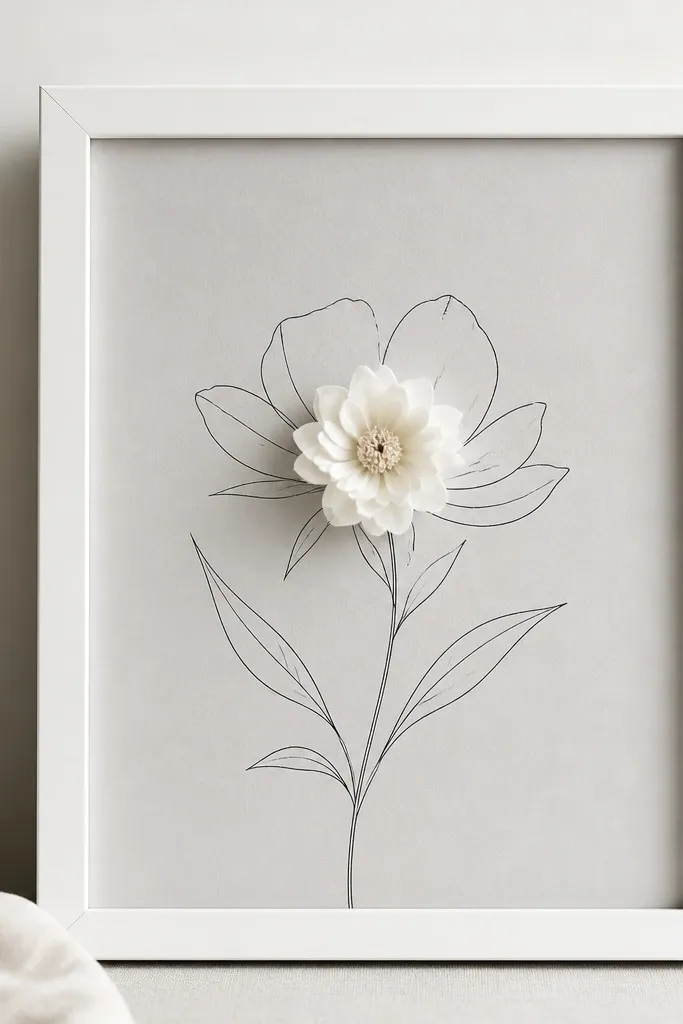
This is the cleanest "starter" layout when you want something that doesn't look crowded. The line art gives structure, and the one bloom adds dimension. I like white-on-gray because it reads modern and doesn't fight your wall color. It's also forgiving if your flower placement is slightly off - the line art keeps the composition balanced.
Print or draw simple line art and glue it to the backing board. Add one small faux bloom, then tuck two tiny leaves or buds behind it so you can see a hint of depth. Keep the bloom centered and use a small amount of glue so it doesn't warp the backing.
Pro tipUse a ruler to keep your line art aligned before you glue the bloom.
AvoidAvoid adding multiple big flowers - minimal frames look best with one clear focal bloom.