1. Dollar-Store Frame with a Pressed Bloom
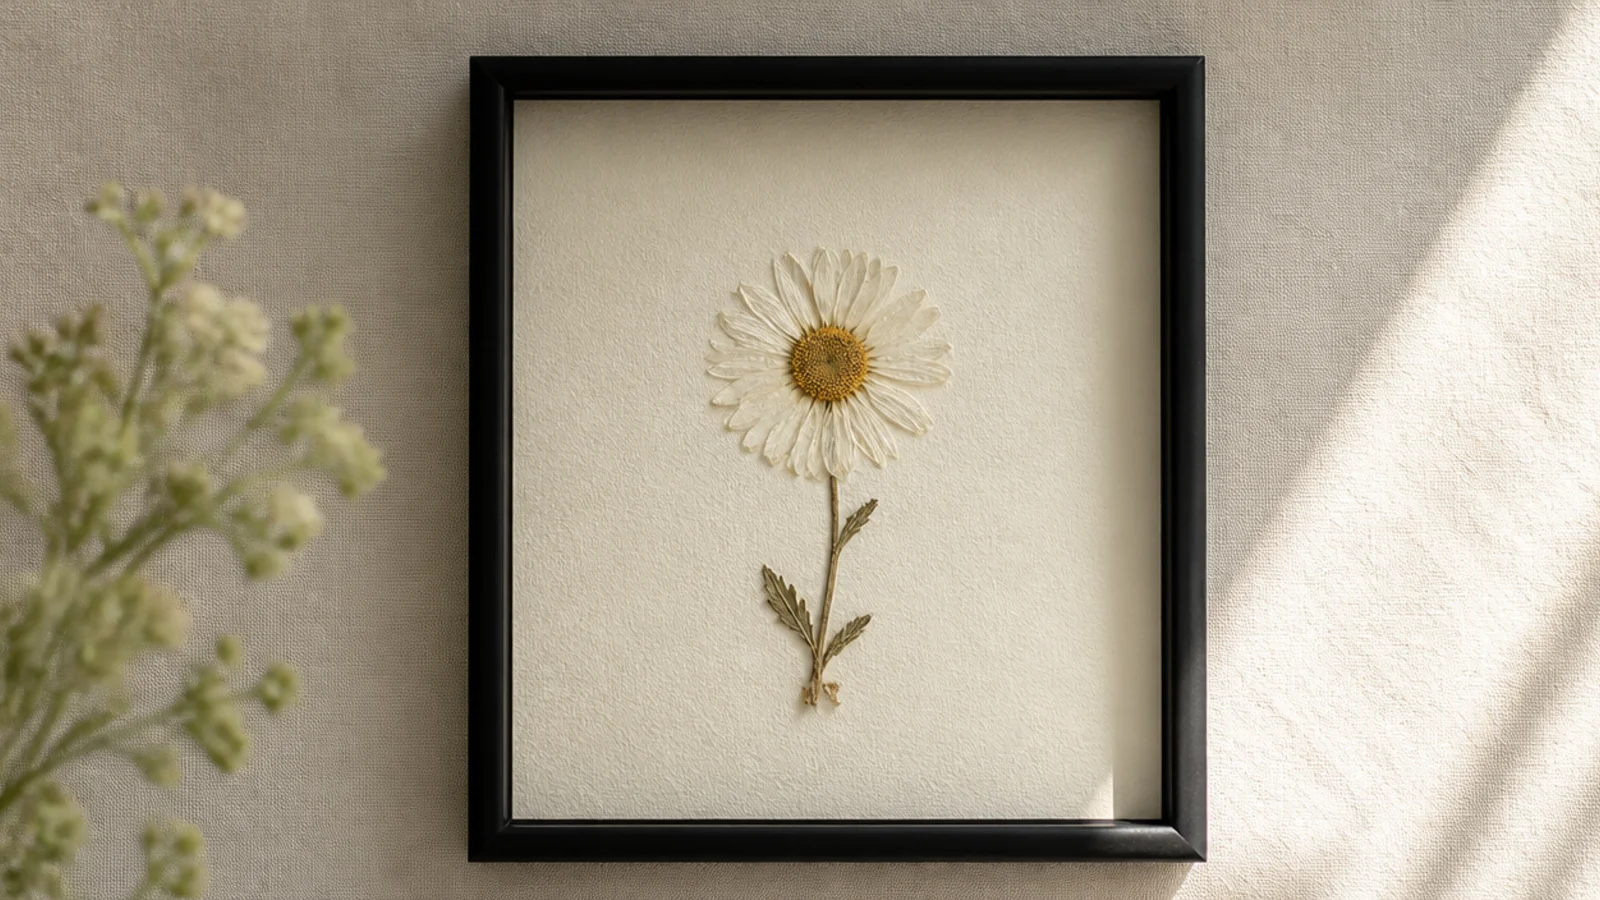
This is the cheapest, fastest DIY flower frame and the one to start with. You take a basic dollar-store frame and only upgrade the inside — new backing and one pressed flower. The frame costs a dollar but reads intentional because the inside is done right. Any simple flower with a clear shape works.
Buy a plain dollar-store frame and remove its thin cardboard backing. Cut a piece of acid-free cream cardstock to fit. Center one pressed flower on it, anchored with a tiny PVA dot at the center. Reassemble the frame with the cardstock and flower behind the glass or clear cover, and wipe the front clean.
Pick a frame with real glass if the store has one; even at a dollar, glass looks and photographs far better than scratchy plastic.
Don’t reuse the flimsy acidic backing that comes with the frame; it yellows fast and browns the flower, undoing your work.
2. Cardboard Shadow Box
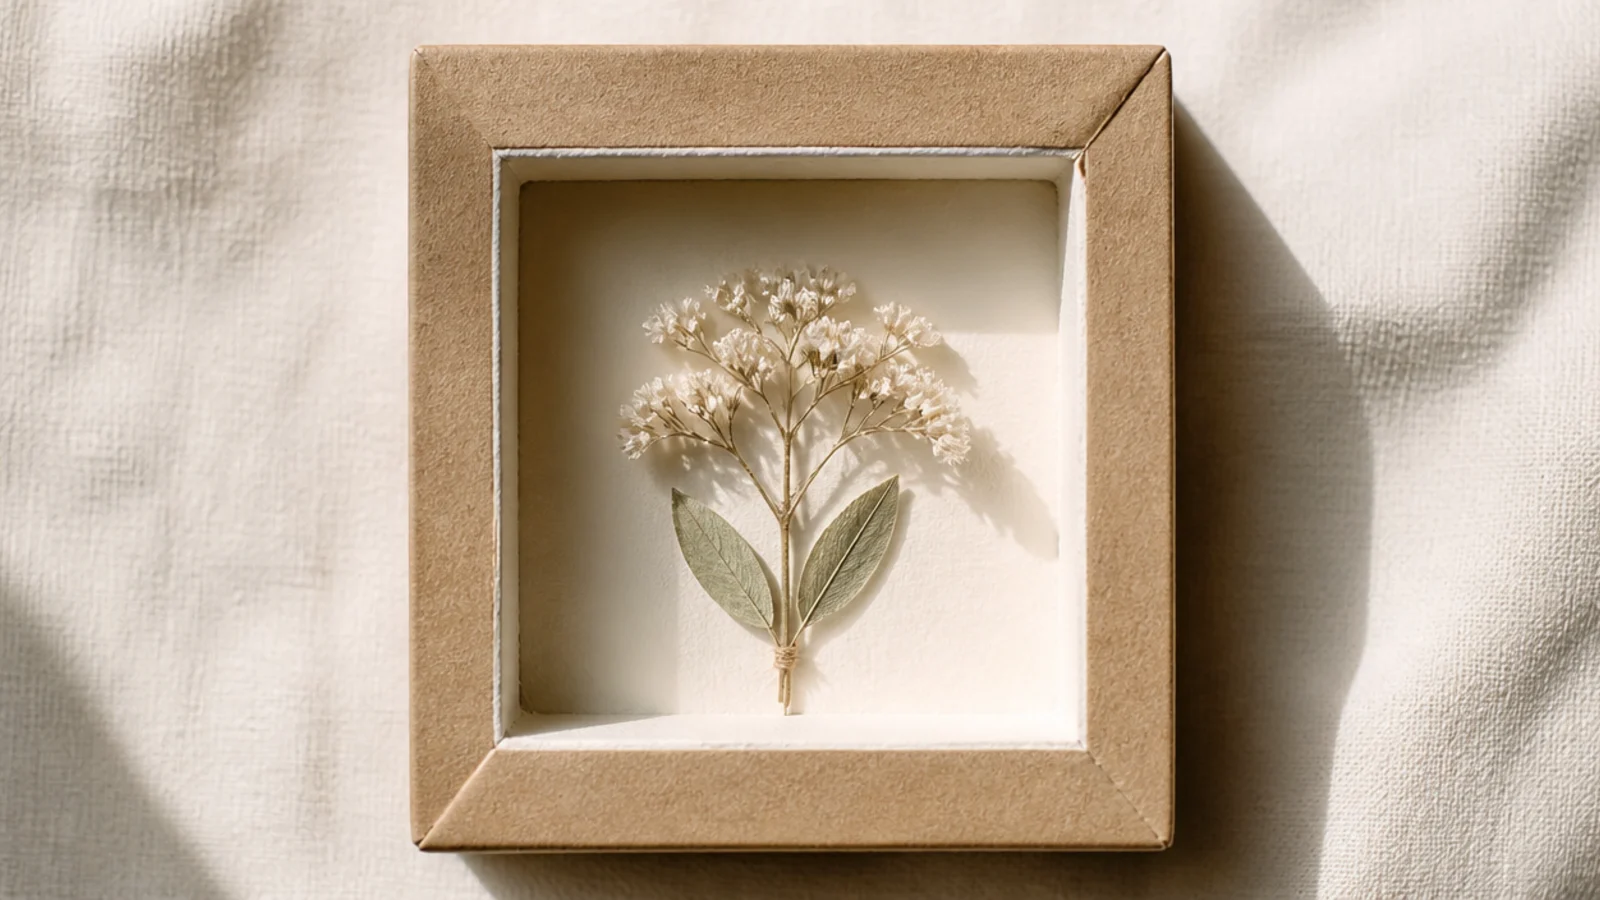
You can build a real shadow box from a cardboard box for free, giving dried flowers dimension without buying a deep frame. The cardboard depth lets a rounded dried bloom keep its shape. Painted or paper-wrapped, the edges look clean and deliberate.
Cut a shallow box or build a square from thick cardboard with one-inch sides. Paint the whole thing or wrap the edges in kraft paper for a clean finish. Line the back with cardstock, glue a small dried flower to the back panel with PVA, and cover the front with a piece of clear acetate or thrifted glass cut to fit.
Cut the cardboard with a craft knife and metal ruler, not scissors, so the box has sharp, straight edges that look built, not torn.
Don’t leave raw corrugated edges showing; the exposed cardboard is the giveaway, so paint or wrap every visible edge.
3. Thrifted Frame Refresh
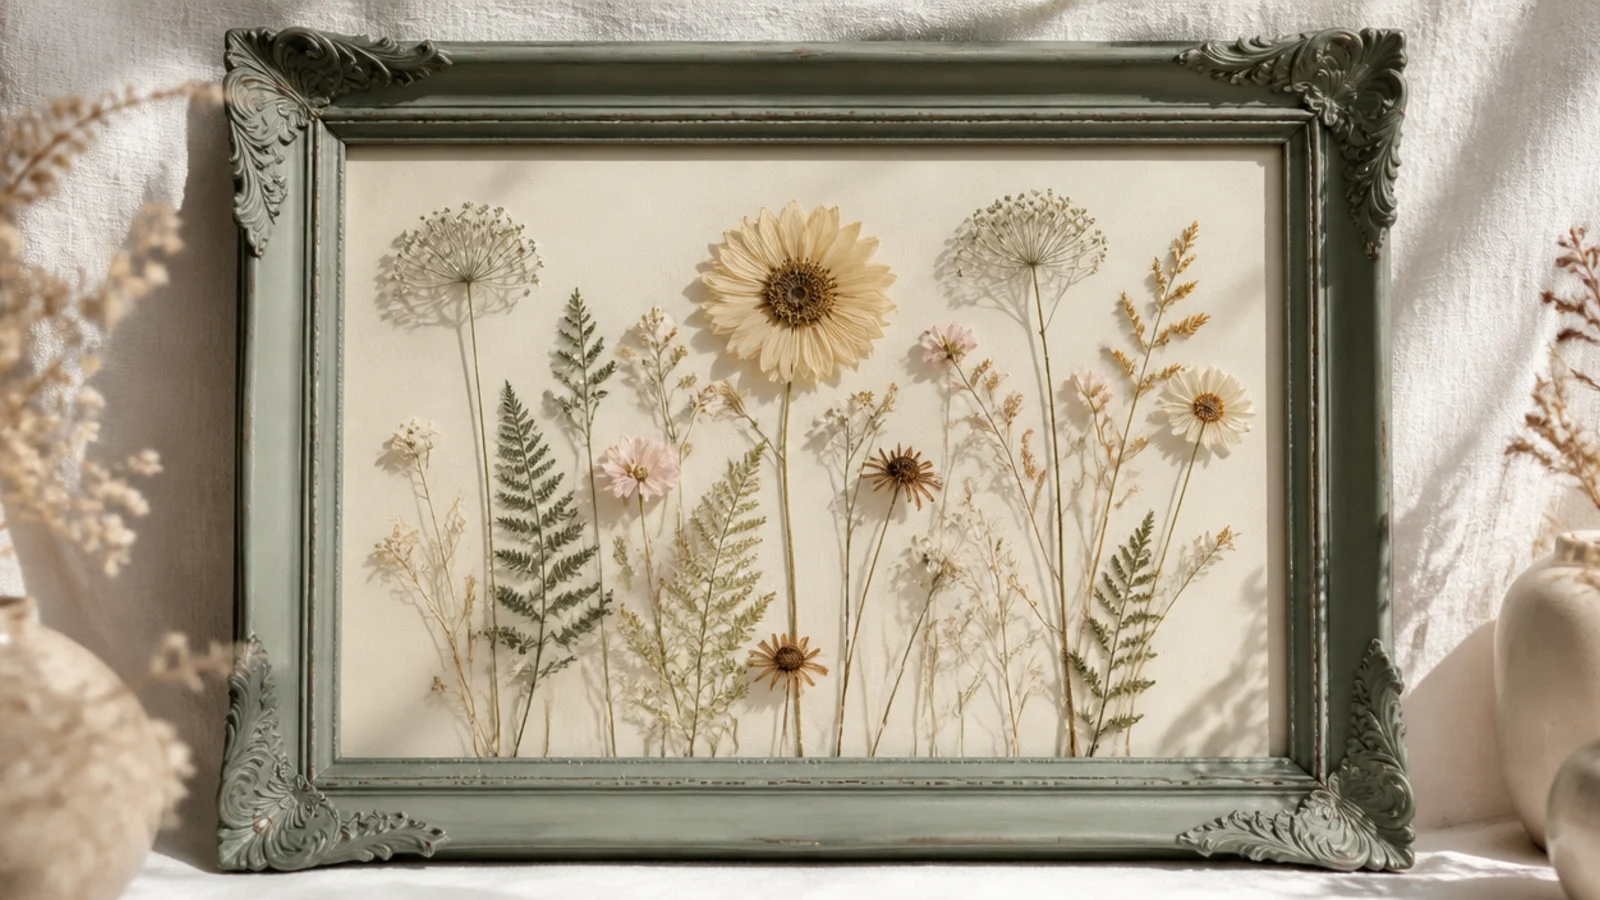
A dated thrift-store frame becomes a designer piece with one coat of paint and a fresh flower inside. The ornate shapes that look old-fashioned turn stylish in a modern matte color. It’s the best value in the whole list — a few dollars for a substantial frame.
Find a solid thrift frame with good bones. Clean it, lightly sand any gloss so paint grips, and apply two thin coats of matte craft or spray paint in a modern color like sage, black, or cream. Swap the backing for acid-free cardstock, mount a pressed flower arrangement with PVA dots, and reassemble under the cleaned glass.
Editor's noteLook for frames with real glass and a sturdy build at thrift stores; you’re paying for the frame, and paint fixes any dated finish.
Skip thisDon’t skip sanding a glossy thrift frame; paint peels off slick varnish, so a quick scuff-sand is what makes the finish last.
4. Popsicle-Stick Frame
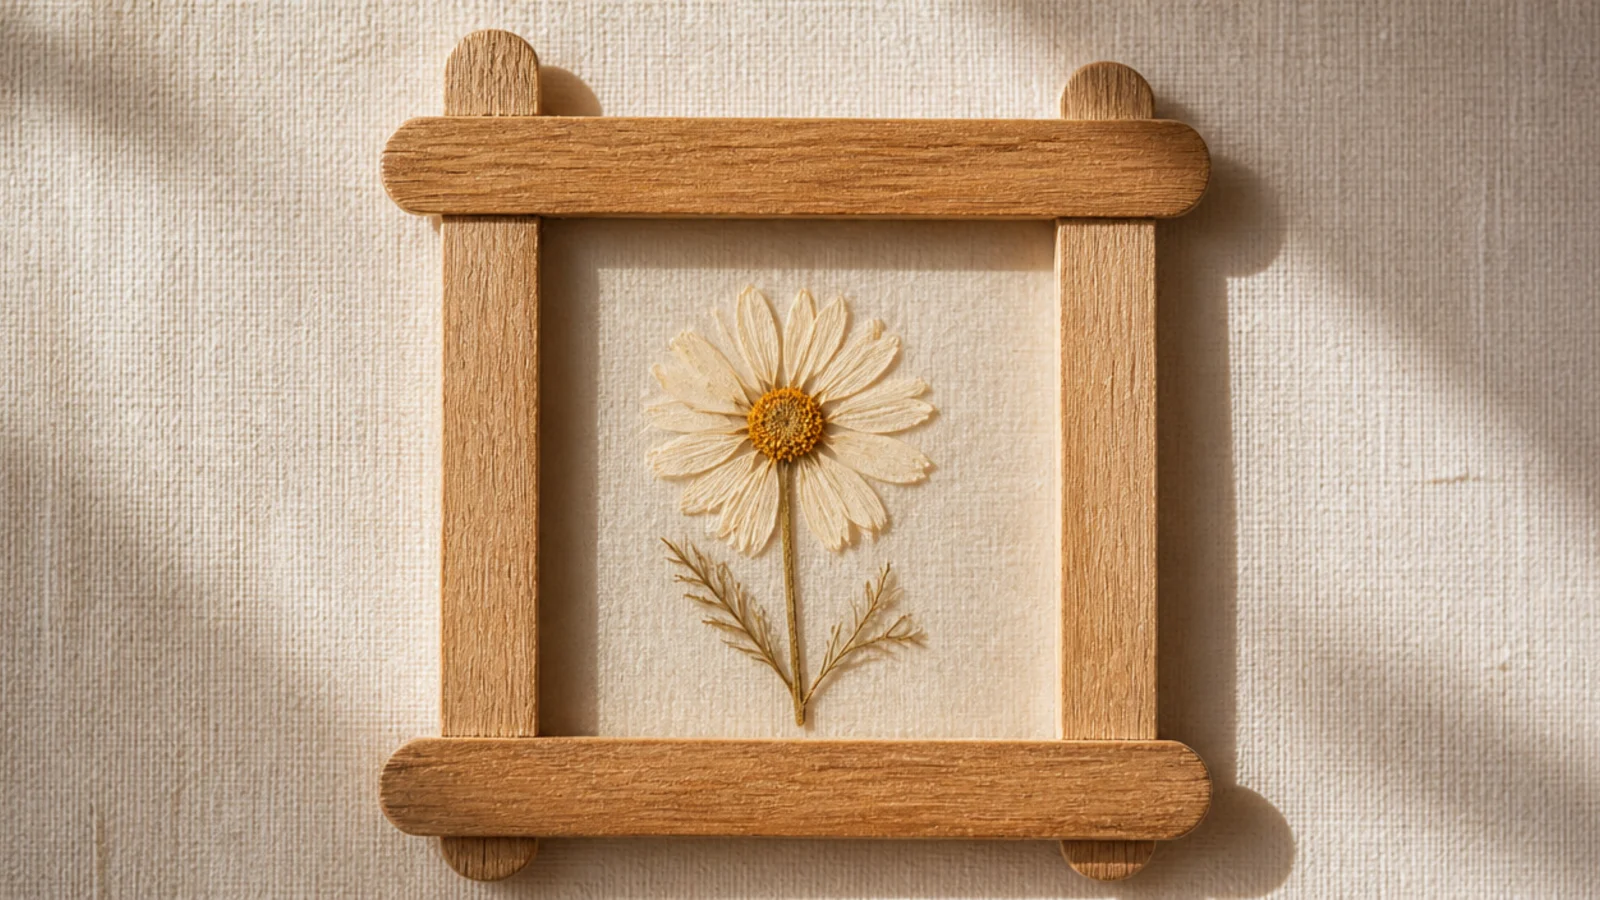
Craft sticks glued into a square make a charming little frame for pennies. Stained or left natural, they have a cabin-craft warmth that suits small pressed flowers. It’s a great project to make in batches for gifts.
Lay four popsicle sticks into a square, overlapping at the corners, and glue them with wood glue or hot glue. Add a second layer for a thicker frame. Stain or paint them and let dry. Glue a small square of cardstock behind the opening, mount a tiny pressed flower on it with a PVA dot, and add a cardboard stand or hanging loop on the back.
Build two layers of sticks offset at the corners; the double thickness makes the frame sturdy and gives it a more finished, chunky edge.
Don’t glue sticks while wet with stain; stain first, let them dry fully, then assemble, or the glue won’t hold on the damp wood.
5. Clear Acrylic Sheet Float
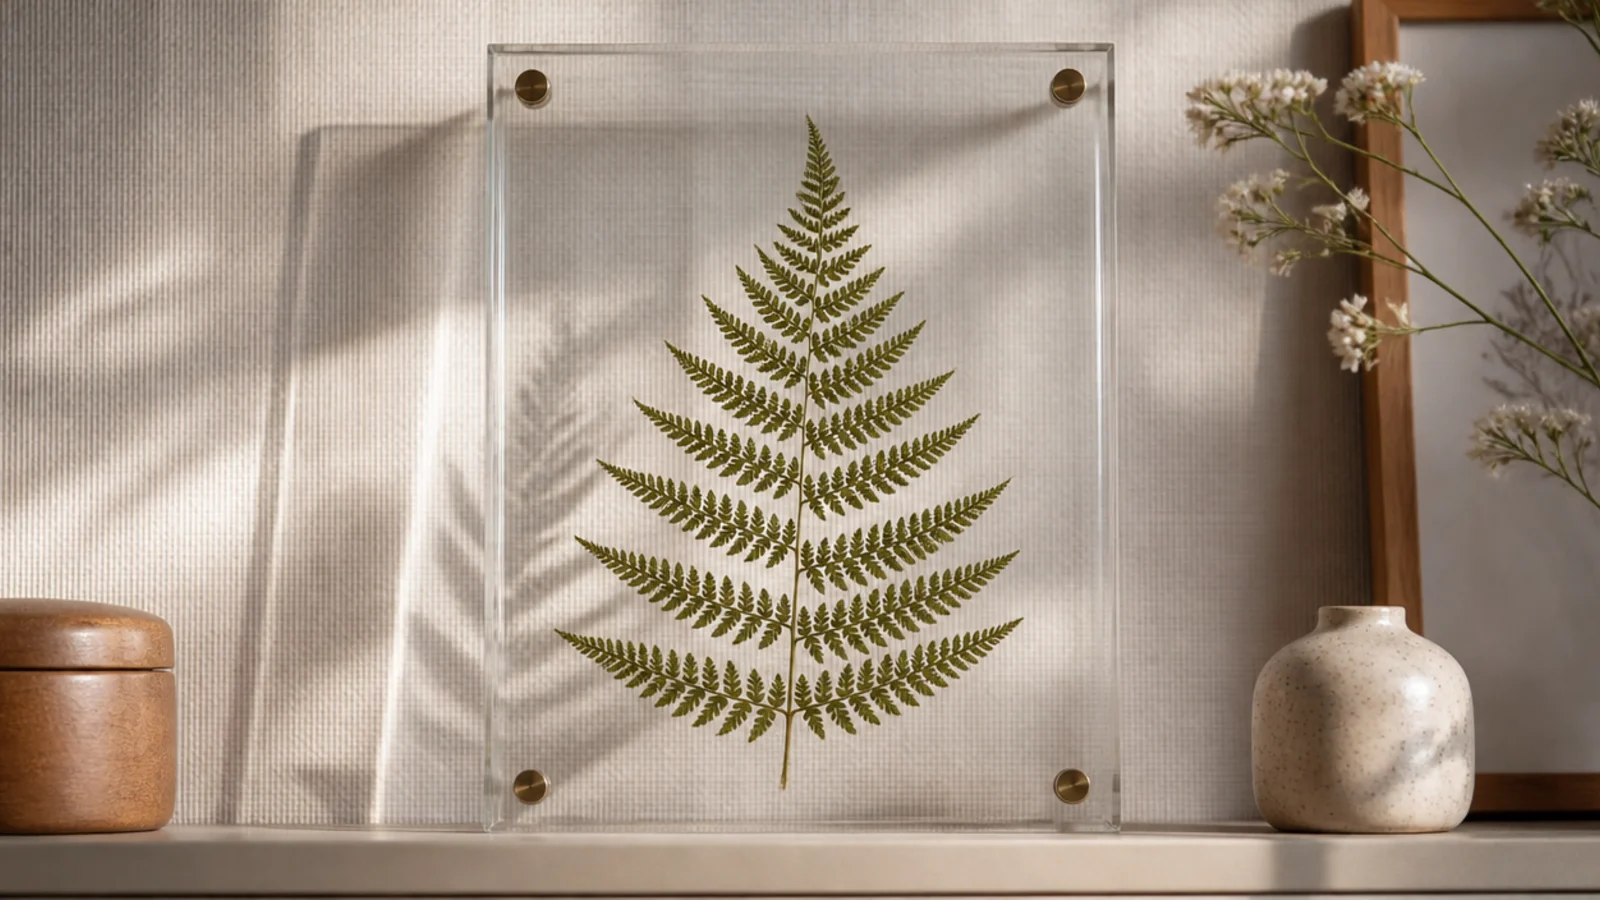
Two cheap clear acrylic sheets bolted together make a modern float frame that shows the wall through the flower. It mimics expensive double-glass float frames for a fraction of the cost. Flat pressed ferns and thin flowers look striking suspended in the clear panels.
Buy two thin clear acrylic sheets cut to the same size (hardware stores cut these cheaply). Peel the protective film. Place a pressed fern or flat flower on one sheet, lay the second on top, and drill small holes through all four corners. Fasten with small nuts and bolts or binder screws so the sheets press the flower flat between them.
Keep the protective film on until the very last step; acrylic scratches easily, and a scratched panel ruins the clear float effect.
Don’t use thick or lumpy flowers; only flat pieces stay put between acrylic sheets, and thick ones let the panels gap and slide.
6. Twig and Branch Frame
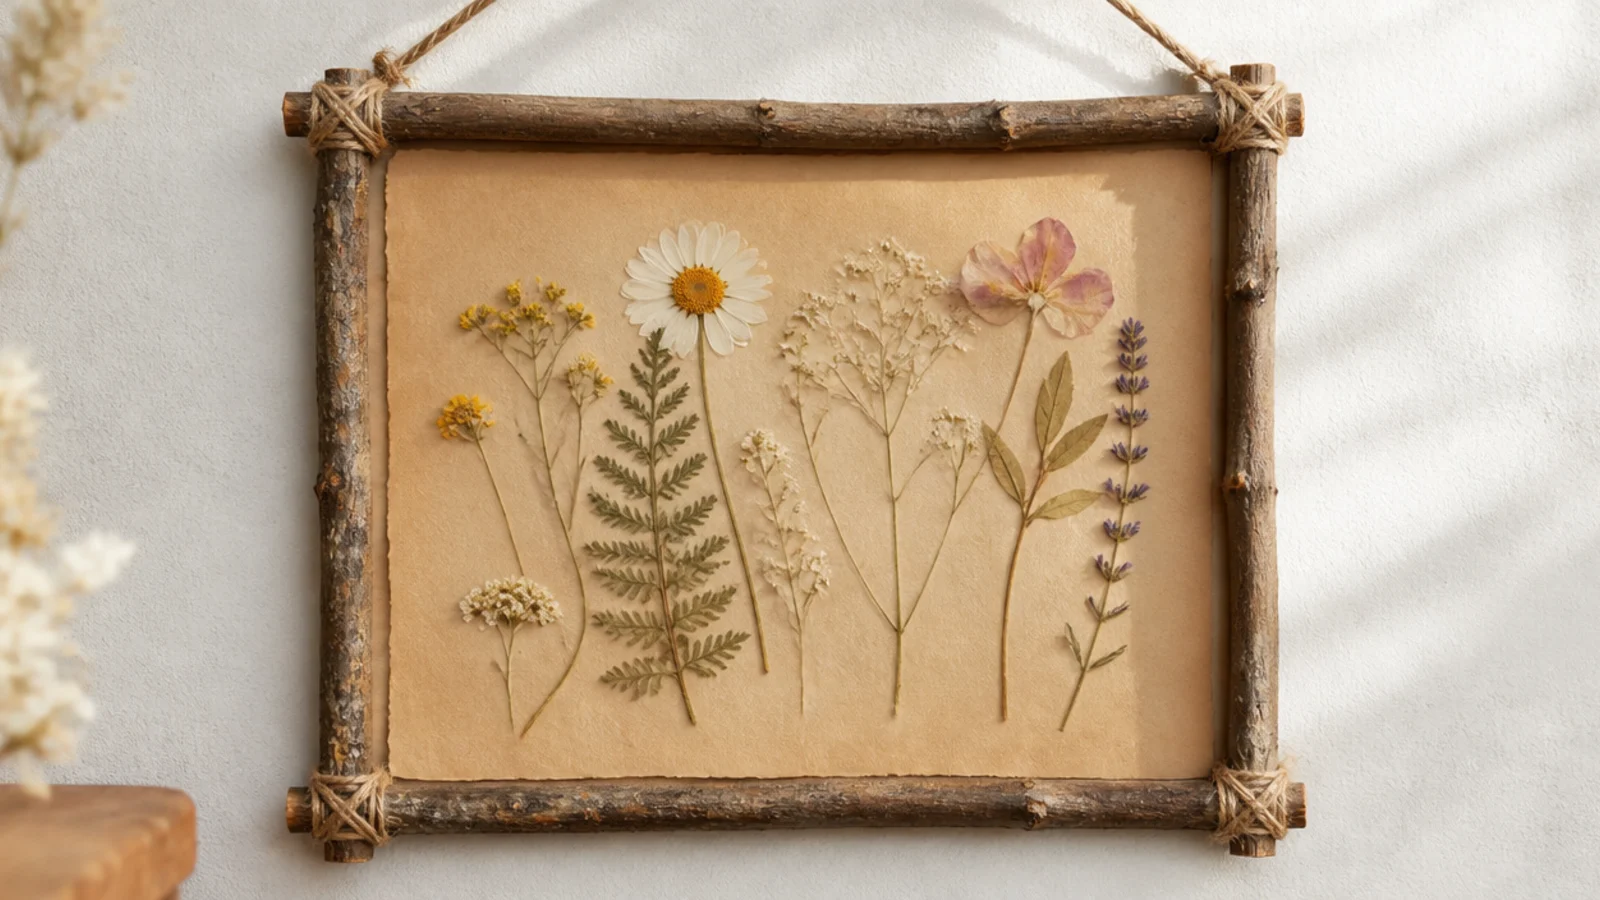
Straight twigs lashed into a square make a free, rustic frame with real character. The natural wood suits wildflowers and dried grasses perfectly. It’s the most organic-looking frame here and costs nothing but a walk outside.
Collect four straight, dry twigs of similar thickness. Arrange them into a square, overlapping at the corners, and lash each corner tightly with jute twine, adding a dab of hot glue underneath for strength. Attach a piece of kraft paper or cardstock behind the opening, mount pressed wildflowers with PVA dots, and add a twine hanging loop.
Choose fully dry, seasoned twigs, not fresh green ones; green wood shrinks and cracks as it dries and loosens the lashing.
Don’t rely on twine alone at the corners; a hidden dab of hot glue under each lashing keeps the frame from racking out of square.
7. Mason Jar Lid Ring Frames
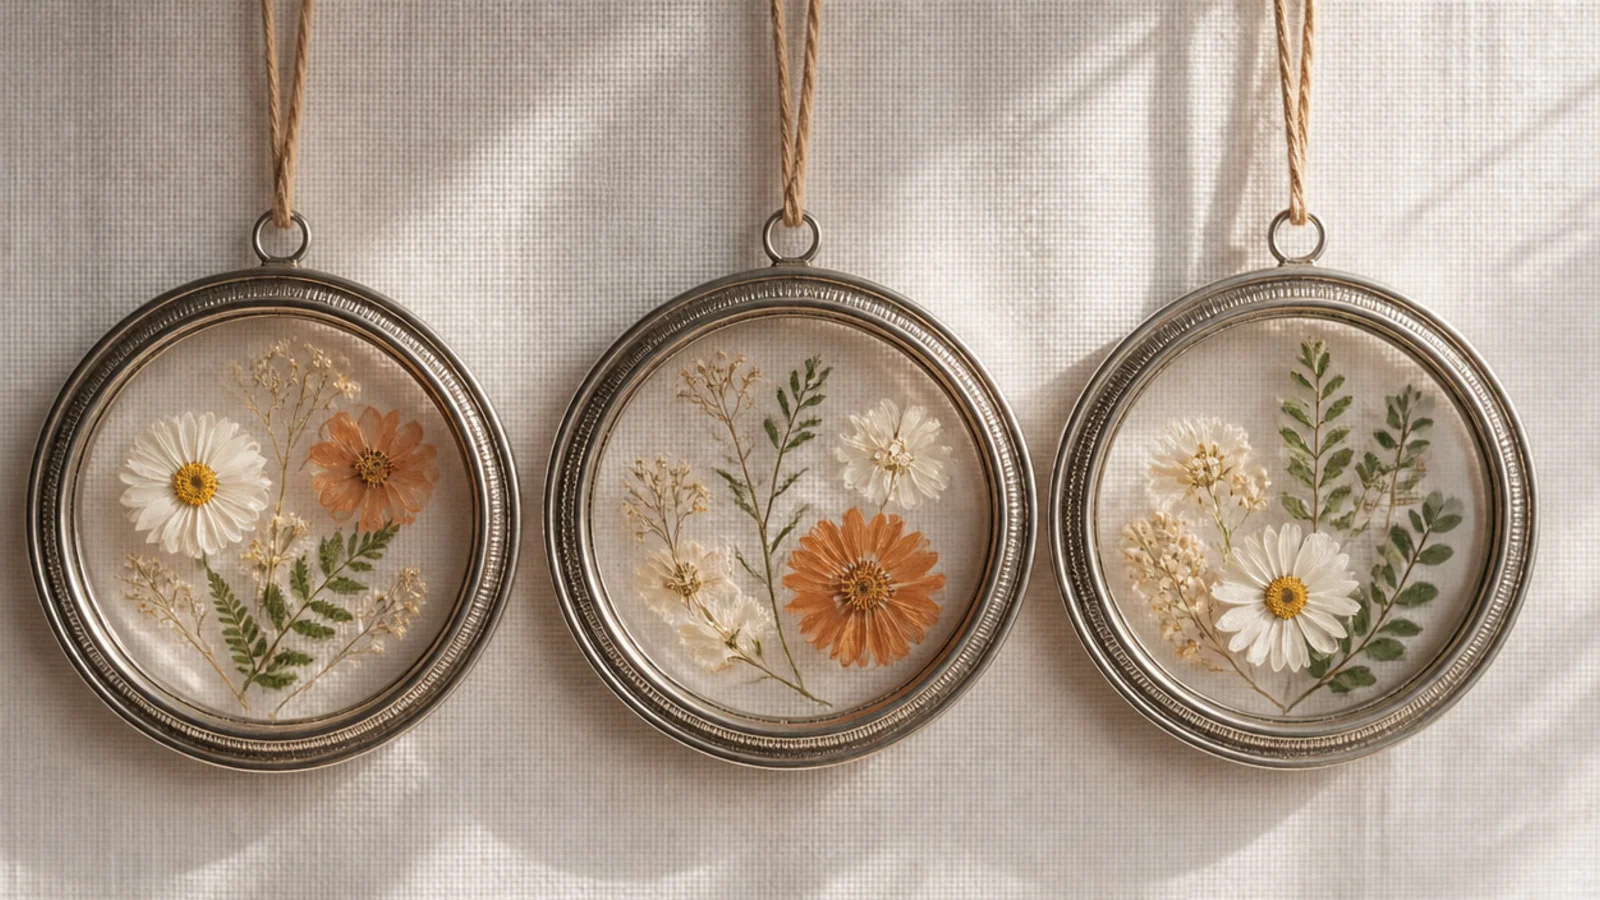
Metal mason jar lid rings make ready-made round frames for tiny pressed flowers. The circular metal edge looks intentionally rustic-industrial. Group several for a cluster that fills space cheaply.
Take the flat ring parts of mason jar lids. Cut circles of clear acetate and cardstock to fit inside each ring. Sandwich a small pressed flower between the acetate (front) and cardstock (back) and press them into the ring so the rim holds them. Add a twine or ribbon loop to hang, and cluster several rings together on the wall.
Use the ring band alone (not the flat sealing disc) so light and the flower show through, and the metal rim frames it neatly.
Don’t use rusty old rings unless you want that look; clean or new rings keep the flowers looking fresh rather than grubby.
8. Cereal-Box Backing Frame
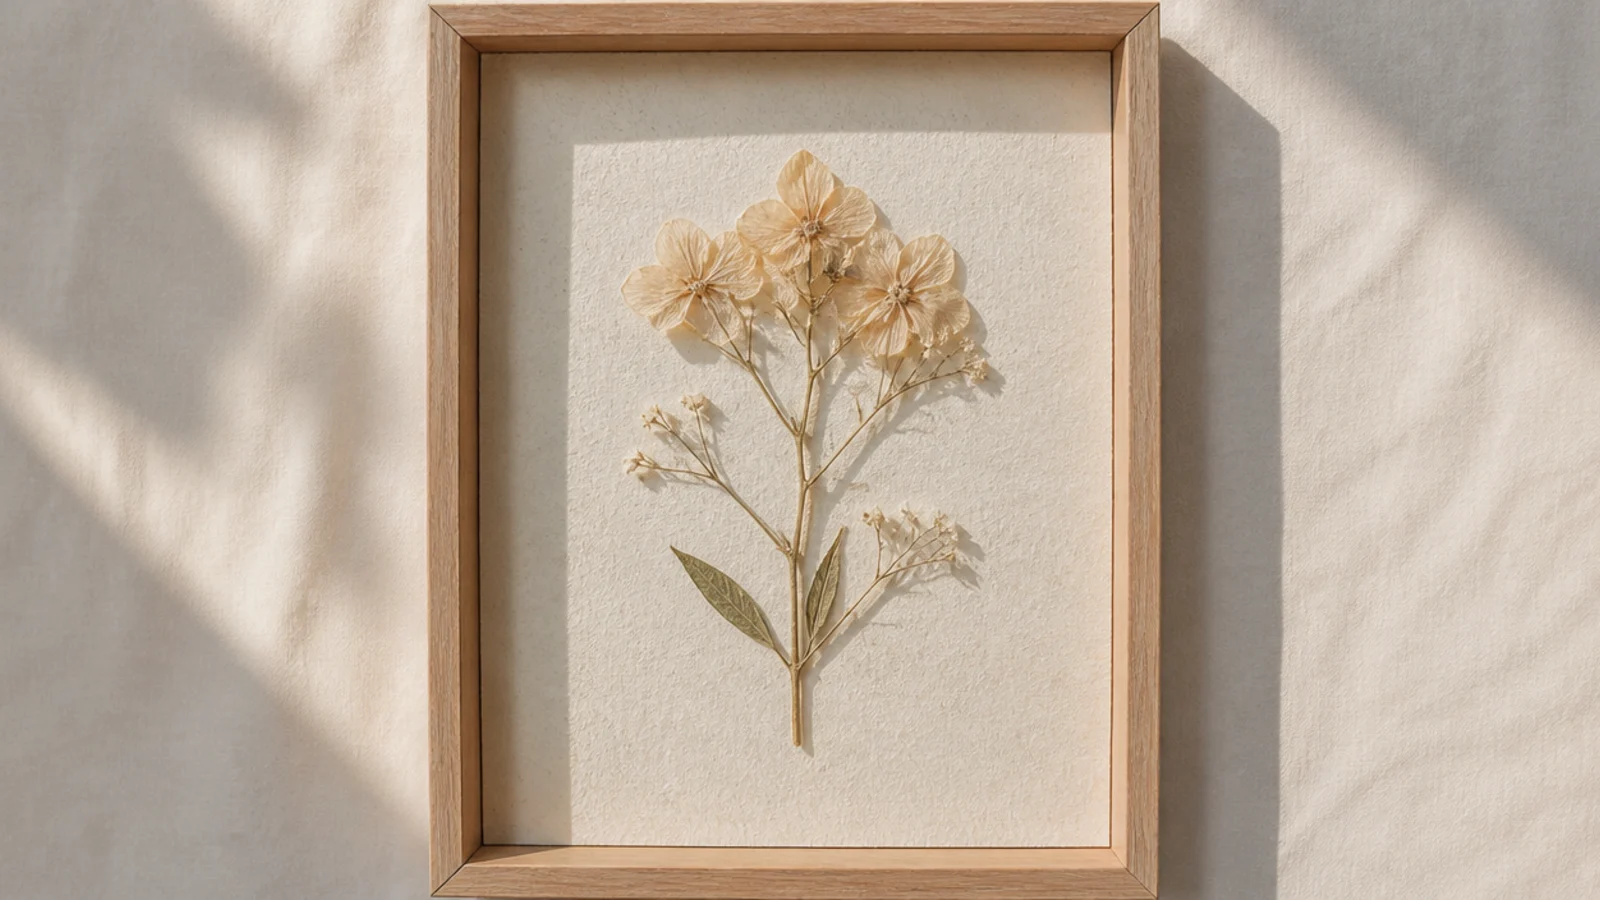
A cereal box gives you free, sturdy backing board for any frame — just cover the printed side. It’s an invisible budget hack that replaces bought mat board. Pair it with a thrifted or dollar-store frame and a pressed flower.
Cut a cereal box flat and trim a piece to fit your frame, printed side down. Glue a sheet of acid-free cardstock over the printed side so no packaging shows and the flower won’t touch acidic board. Mount a pressed flower on the cardstock with a PVA dot, and set it into any frame behind glass.
Editor's noteAlways cover the cardboard with acid-free cardstock before mounting; the flower needs an acid-free surface, and it hides the print.
Skip thisDon’t mount flowers straight onto printed cardboard; the ink and acidic board discolor petals and the packaging can show through.
9. Wine Cork Border Frame
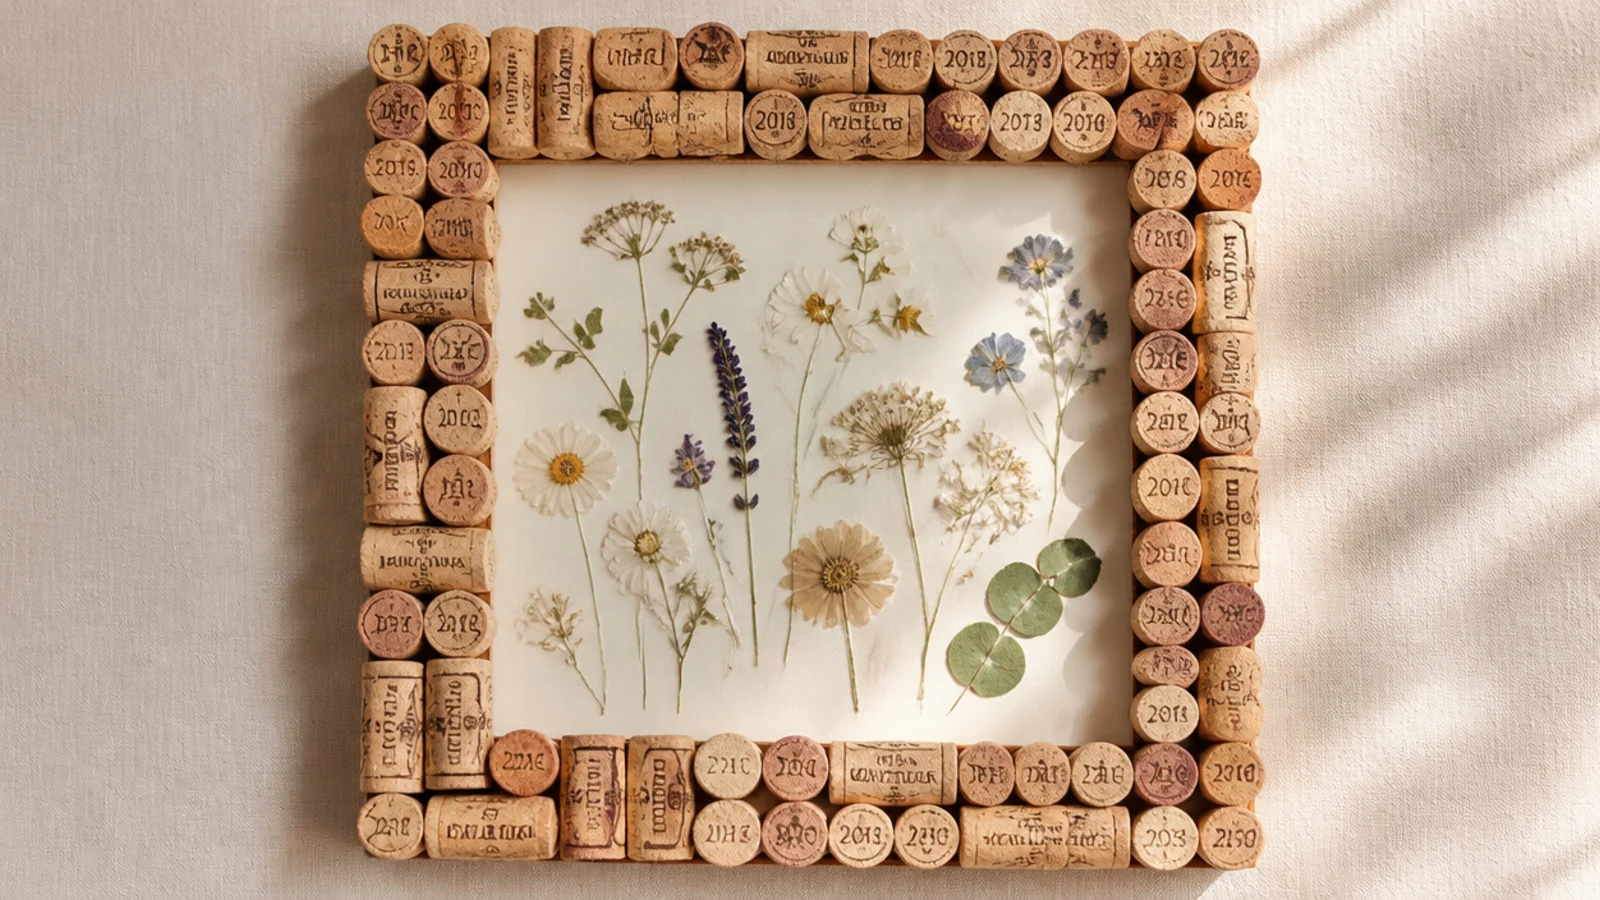
Saved wine corks glued into a border make a warm, textural frame with zero cost. The cork tones are naturally earthy and suit dried and pressed flowers. It’s a fun way to use a cork stash and looks great in a kitchen or bar area.
Cut a cardboard or thin plywood base with a central opening. Slice corks in half lengthwise so they sit flat, and hot-glue them around the border, all facing the same direction. Back the opening with cardstock, mount pressed flowers with PVA, and cover the center with clear acetate or a thrifted glass piece. Add a hanger.
Editor's noteSlice the corks in half lengthwise before gluing; halved corks lie flat and stable, while whole corks roll and leave gaps.
Skip thisDon’t mix natural and synthetic corks randomly; keep the tones consistent so the border reads as a chosen material, not scraps.
10. Painted Cardboard Mat Upgrade
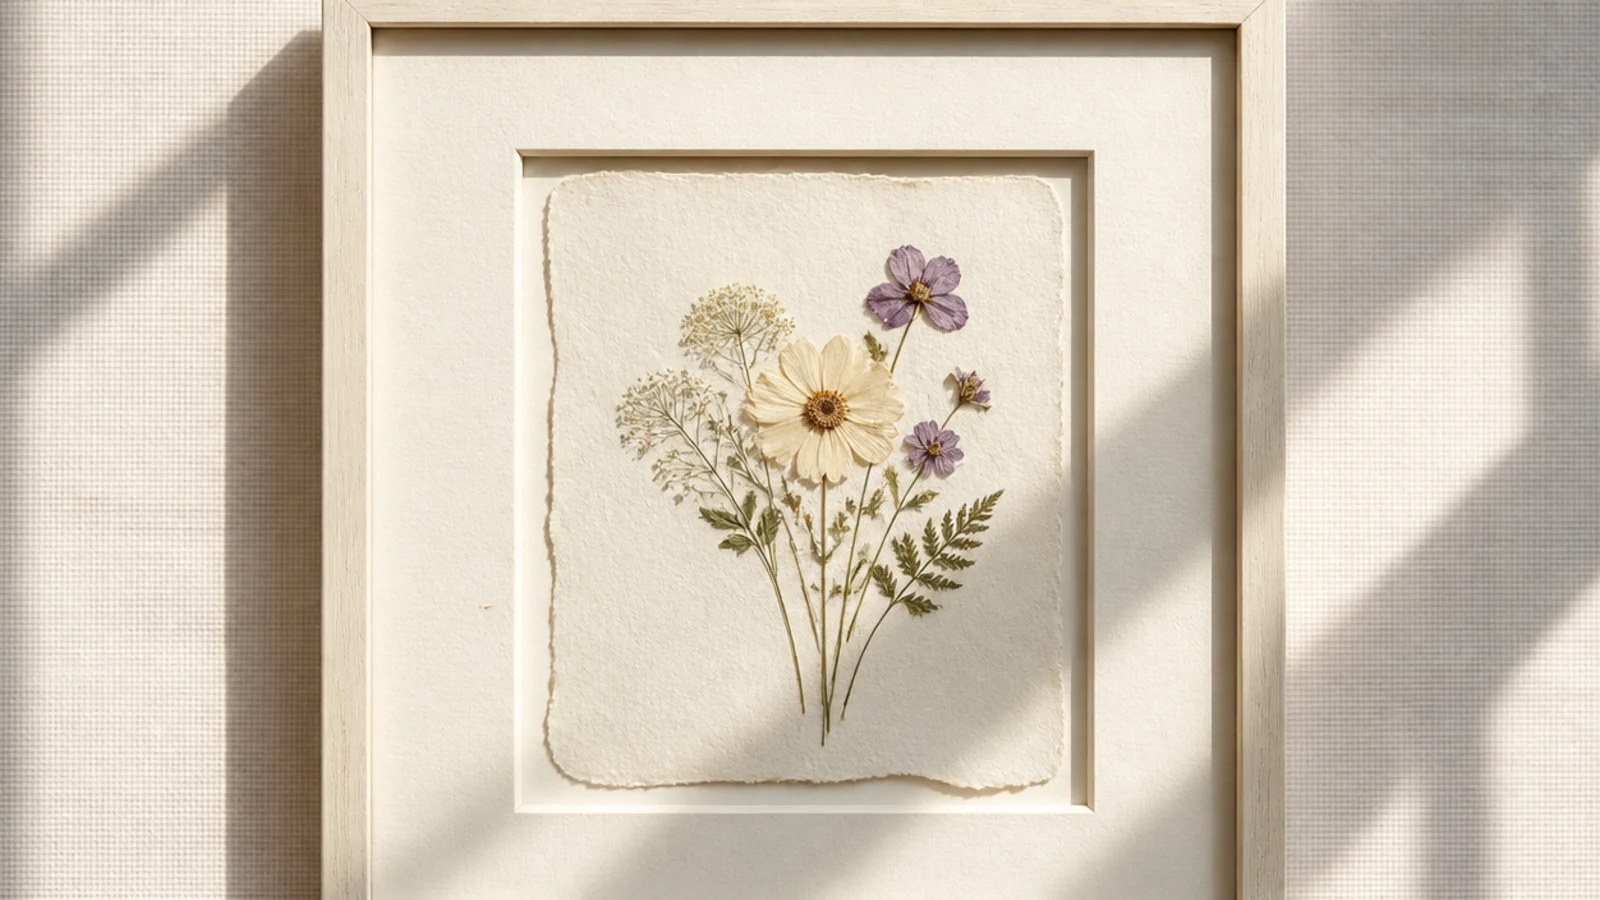
A hand-cut cardboard mat, painted, mimics the wide gallery mat that makes framed art look expensive. The generous border around a single flower reads high-end. It turns a plain cheap frame into something that looks professionally matted.
Cut a piece of cardboard to your frame size, then cut a clean rectangular window in the center with a craft knife and ruler. Paint it a flat cream or soft neutral in two thin coats. Mount a pressed flower on cardstock behind the window with a PVA dot, layer the painted mat on top, and frame under glass.
Cut the mat window with a fresh blade in one firm pass per side; a clean, straight window edge is what sells the gallery-mat look.
Don’t paint the mat a glossy color; flat, matte paint reads like real mat board, while gloss looks like painted cardboard.
11. Thrifted Double-Glass Flat Frame
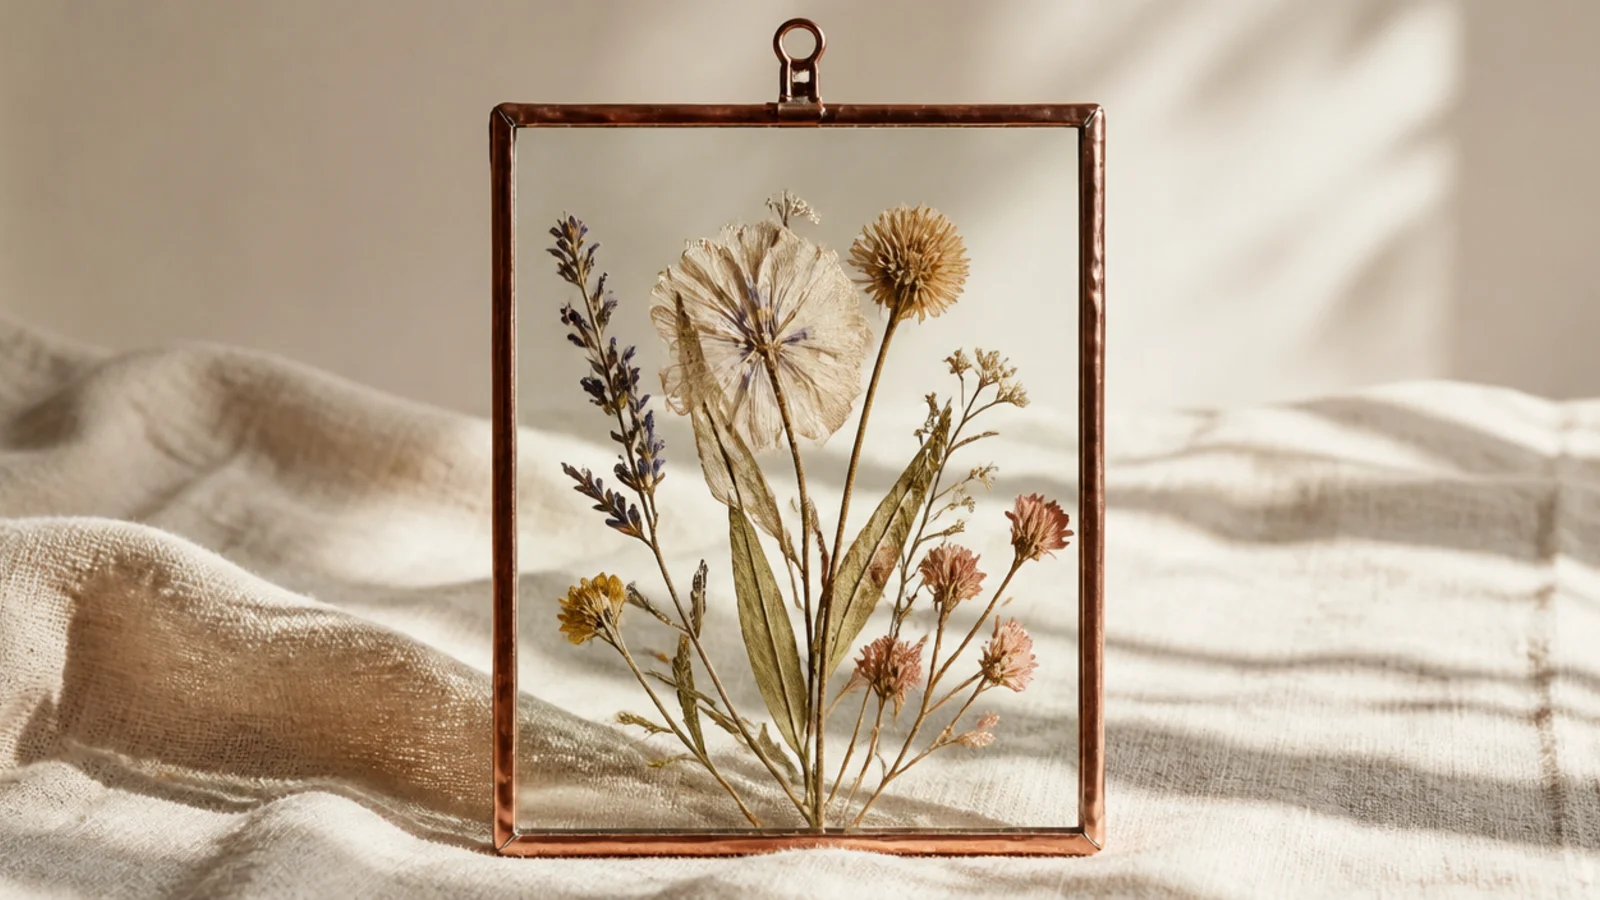
Two salvaged glass panes bound at the edges make a float frame for the cost of a thrift find. The flower sits between them with the background showing through. Copper or washi tape around the edge finishes it cleanly and adds a designer touch.
Find two matching glass pieces (old frames or thrifted glass), cleaned and same-sized. Place a flat pressed flower on one pane, lay the second on top, and bind all four edges together with copper foil tape or decorative tape, pressing it firmly. Add a small stand or a hanging loop of ribbon at the top edge.
Editor's noteSand or tape any sharp glass edges before binding; salvaged glass often has raw edges, and the tape both finishes and protects them.
Skip thisDon’t use mismatched-thickness glass; panes that don’t sit flush leave gaps that let the flower shift and the tape peel.
12. Clothespin Flower Line
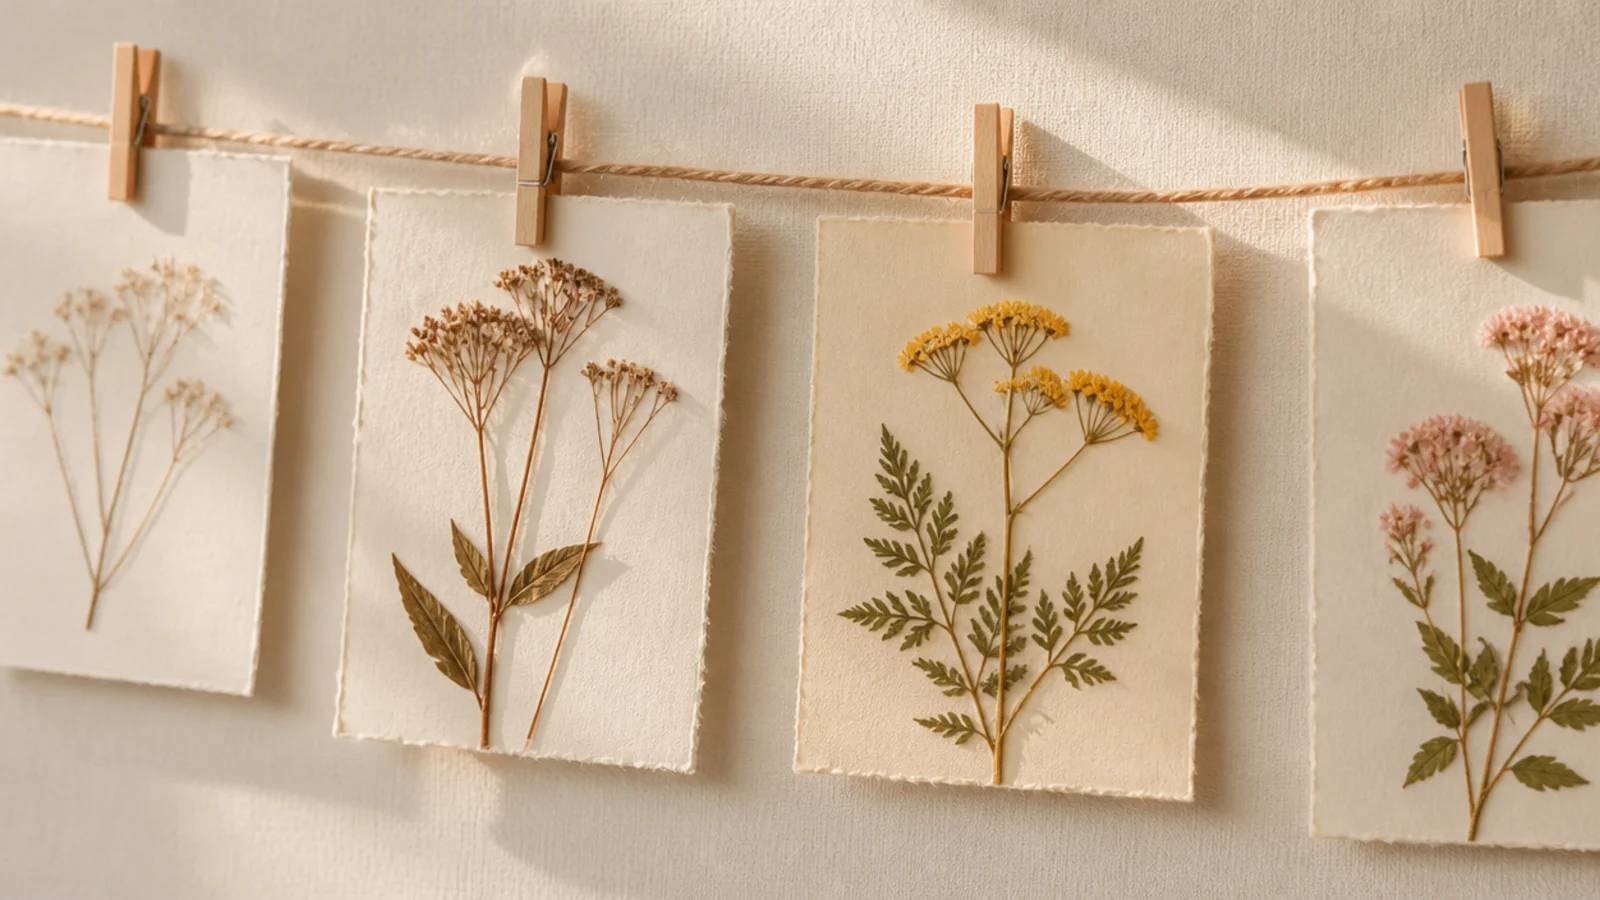
A simple twine line with clothespins 'frames' a row of pressed flowers on cards without any real frames at all. It’s flexible, cheap, and easy to change out. The little cards read like a gallery of mini prints strung across the wall.
String a length of jute twine between two small hooks or nails. Mount pressed flowers on small rectangles of cardstock with PVA dots, one flower per card. Clip each card to the twine with a mini wooden clothespin, spacing them evenly. Adjust the line’s tension so it hangs in a gentle, even curve or straight.
Mount each flower on a card with a thin acetate cover if you want protection; open cards work too but the flowers are exposed.
Don’t overload the line so it sags heavily; space the cards evenly and keep the twine taut for a tidy, intentional row.
13. Jute-Wrapped Frame
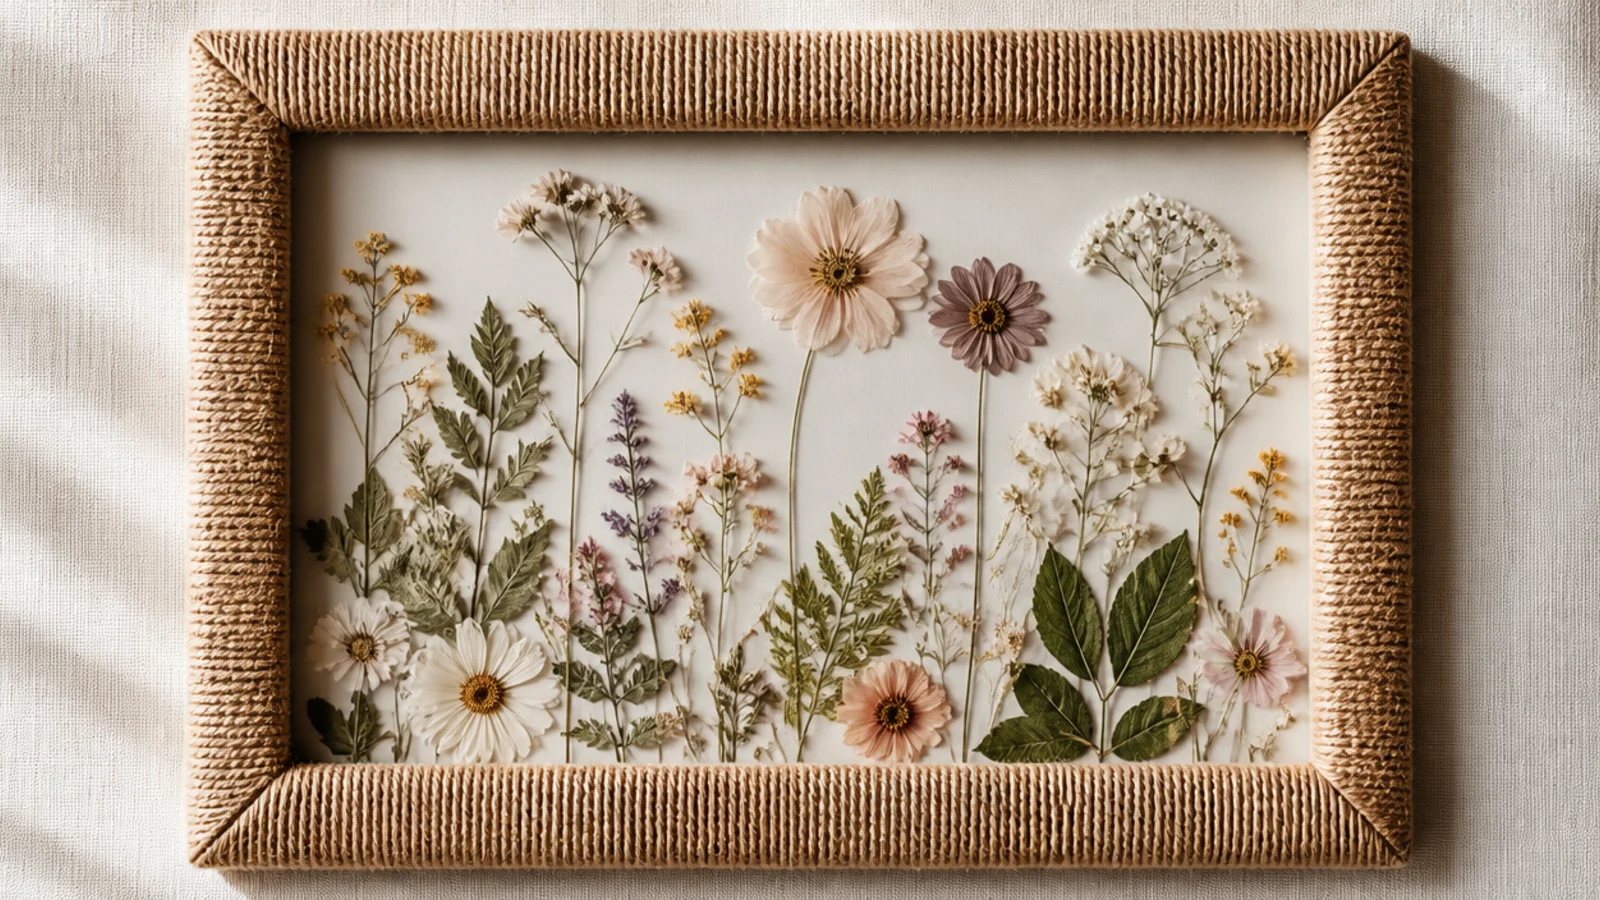
Wrapping a plain frame in jute rope hides a cheap surface and adds cozy, coastal texture. The coiled rope border feels intentional and natural. It’s a quick way to upgrade a boring frame with a spool of cheap twine.
Take a plain flat-profile frame and run a bead of hot glue along one section at a time, wrapping jute rope tightly around the frame face, coil against coil, so no frame shows. Continue all the way around, tucking the end neatly at a back corner. Fit acid-free cardstock and a pressed flower inside behind the glass.
Wrap and glue in short sections so the rope stays tight; gluing a long stretch at once lets the coils loosen and gap.
Don’t leave gaps between rope coils; pack them tightly so the frame beneath never peeks through the wrap.
14. Recycled Window Pane Frame
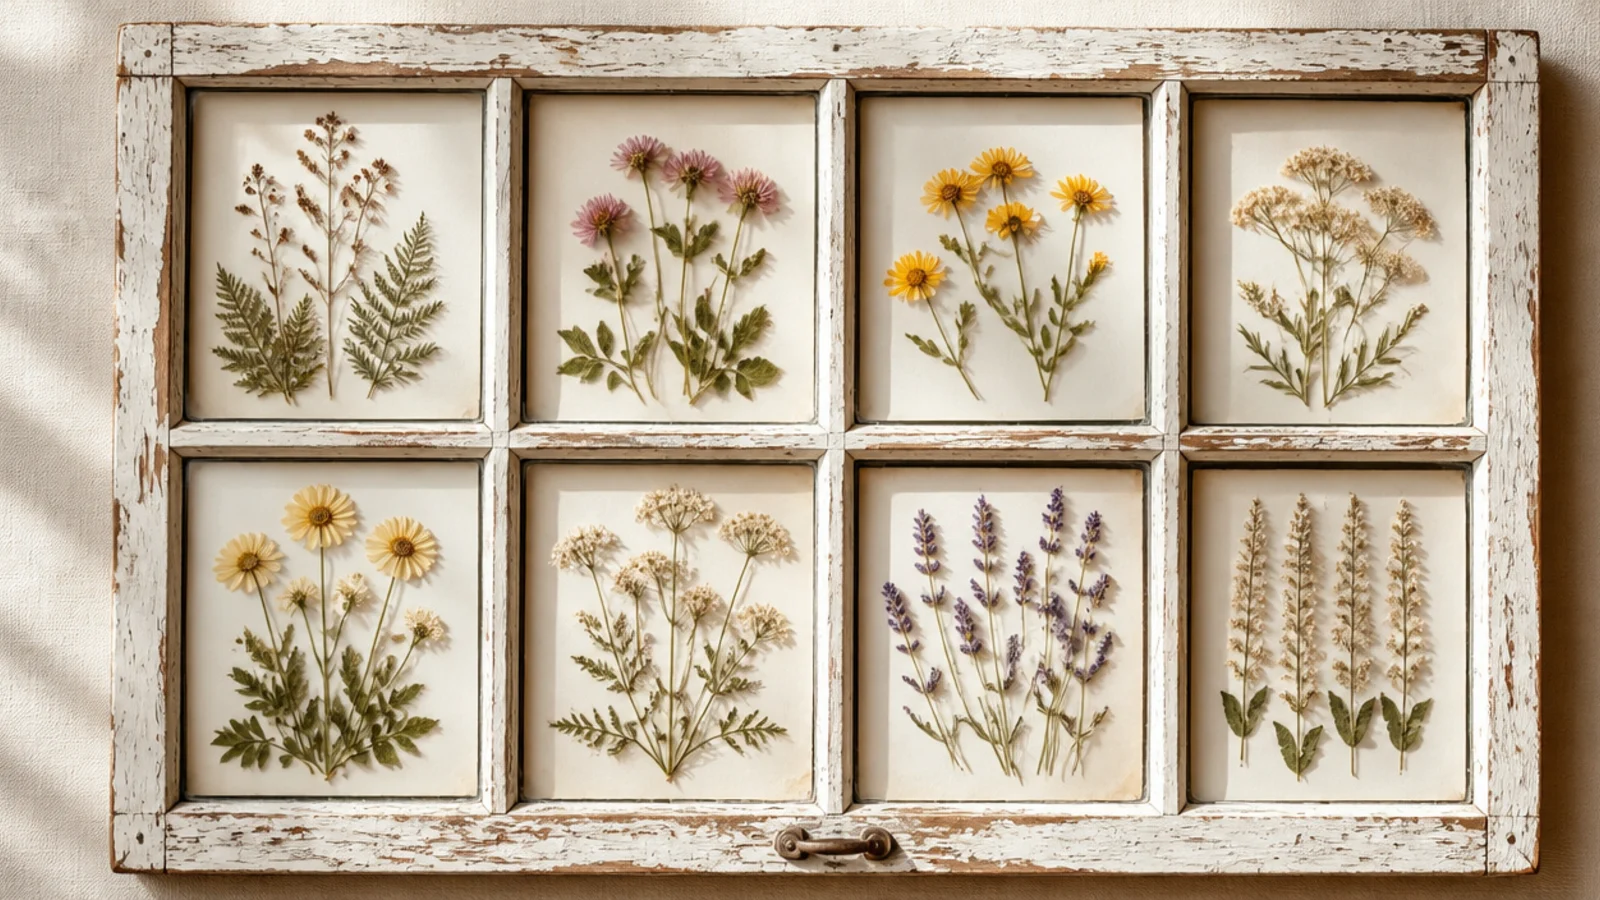
An old multi-pane window becomes a dramatic statement frame with a pressed arrangement in each section. It’s a big, characterful piece for the price of a salvage-yard find. Each divided pane frames its own flower like a built-in grid.
Find an old multi-pane window, cleaned. Cut acid-free backing to fit behind each pane. Mount a pressed flower or small arrangement on each backing card with PVA dots, then fix the cards behind each glass section with small clips or tape on the back. Hang the heavy window securely with a proper wall anchor.
Vary the flowers pane to pane but keep the backing color the same; the shared background ties the sections into one piece.
Don’t hang a heavy old window on a small nail; use a proper wall anchor or cleat rated for the weight so it stays put safely.
15. Tin Lid Mini-Frame Cluster
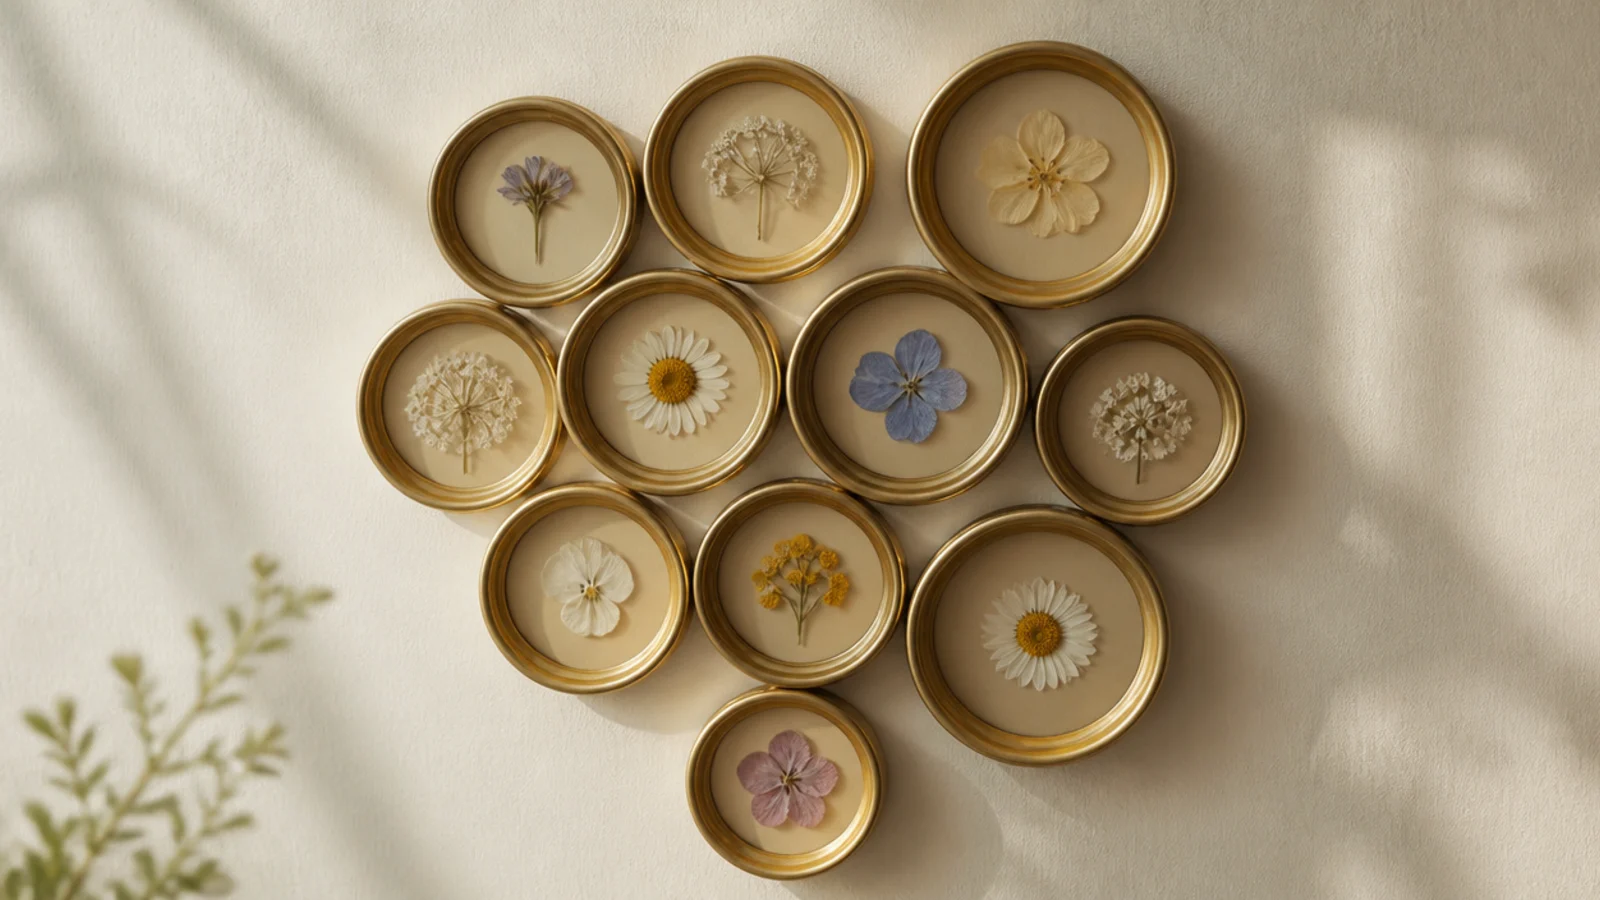
Clean tin can lids, painted, make a cluster of tiny round frames for free. Grouped together, the little metallic circles read as intentional wall art. It’s a satisfying use of recycling and fills a small wall gap cheaply.
Clean and de-sharp the lids from tin cans (use safe-cut lids). Paint them gold, black, or cream in two thin coats. Glue a small pressed flower to the center of each with a PVA dot, and add a tiny dot of clear sealer over the flower or a circle of acetate to protect it. Attach adhesive hooks and cluster the lids on the wall.
Editor's noteUse lids from a safety can opener that leaves smooth edges, or file any sharp rim, so the mini frames are safe to handle and hang.
Skip thisDon’t hang a lone lid; a single small circle looks like litter, while a tight cluster of several reads clearly as deliberate art.