

1. Felt Jewelry Roll
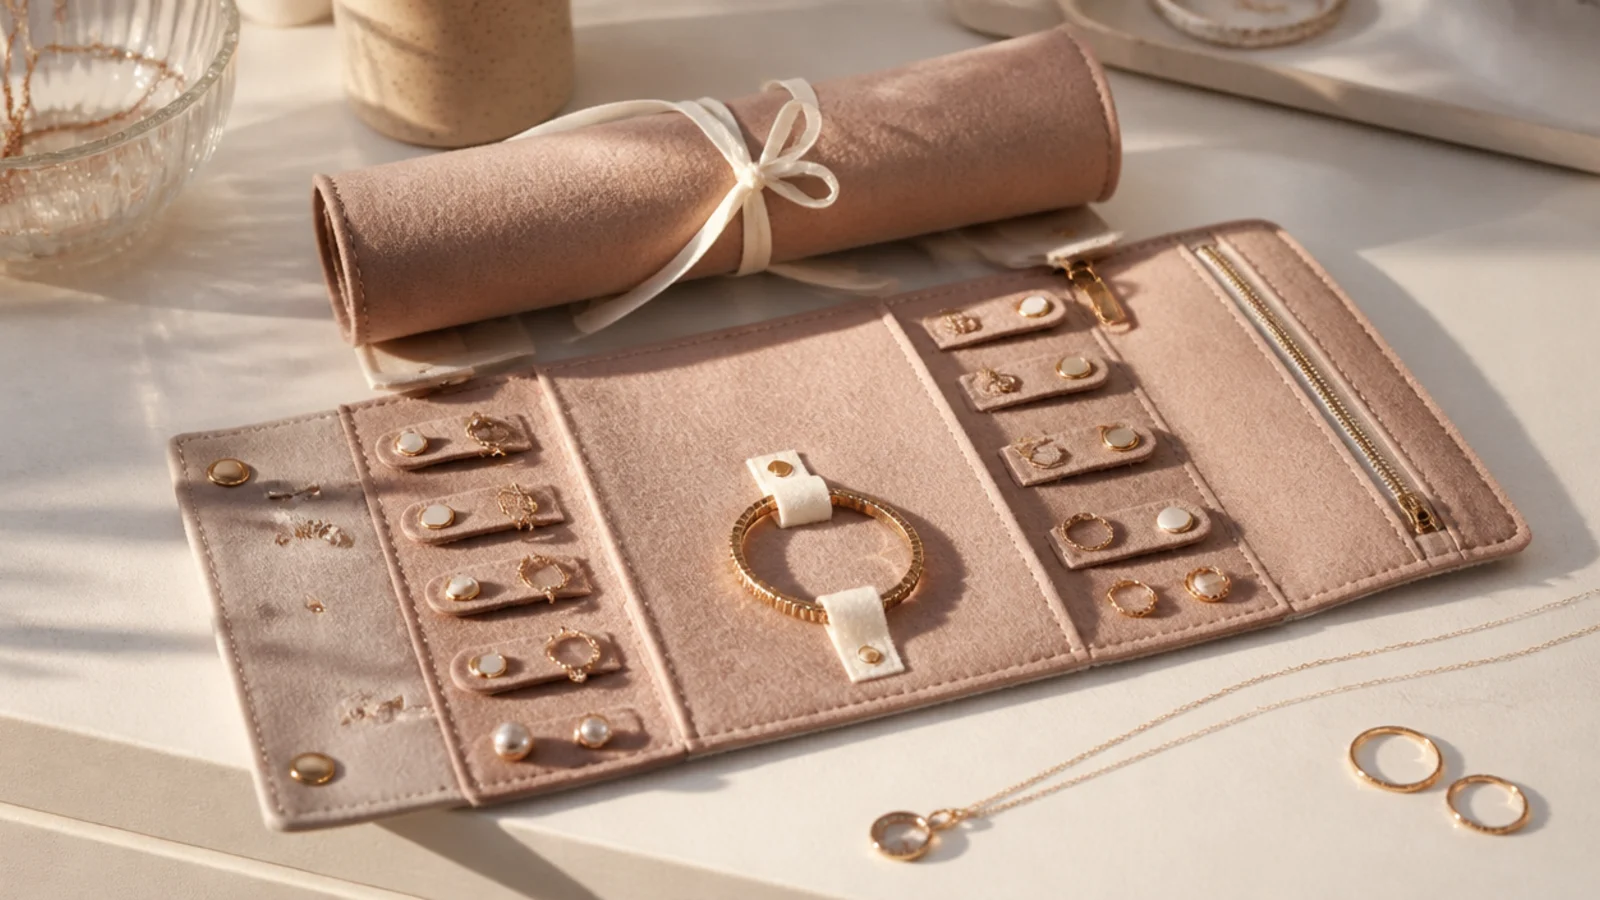
This is the classic travel organizer and the easiest to make — a felt strip with pockets and loops that rolls up and ties. Everything has a spot, and it packs flat. It suits a few pieces for a weekend and anyone wanting a no-fuss starter.
Cut a strip of felt and sew or hot glue on a row of pockets, a few ribbon loops for earrings, and a snap pocket for rings. Add a ribbon tie at one end. Load each spot, fasten clasps, roll it up snugly, and tie. It rolls flat to tuck in a bag. Use one pocket per bracelet and thread earrings through the loops so pairs stay together.
Add a small snap or flap over the ring pocket so rings can’t fall out when the roll is tipped or jostled.
Don’t roll it loosely; a snug roll keeps pieces seated, while a loose one lets them shift and mingle.
2. Button Card for Studs
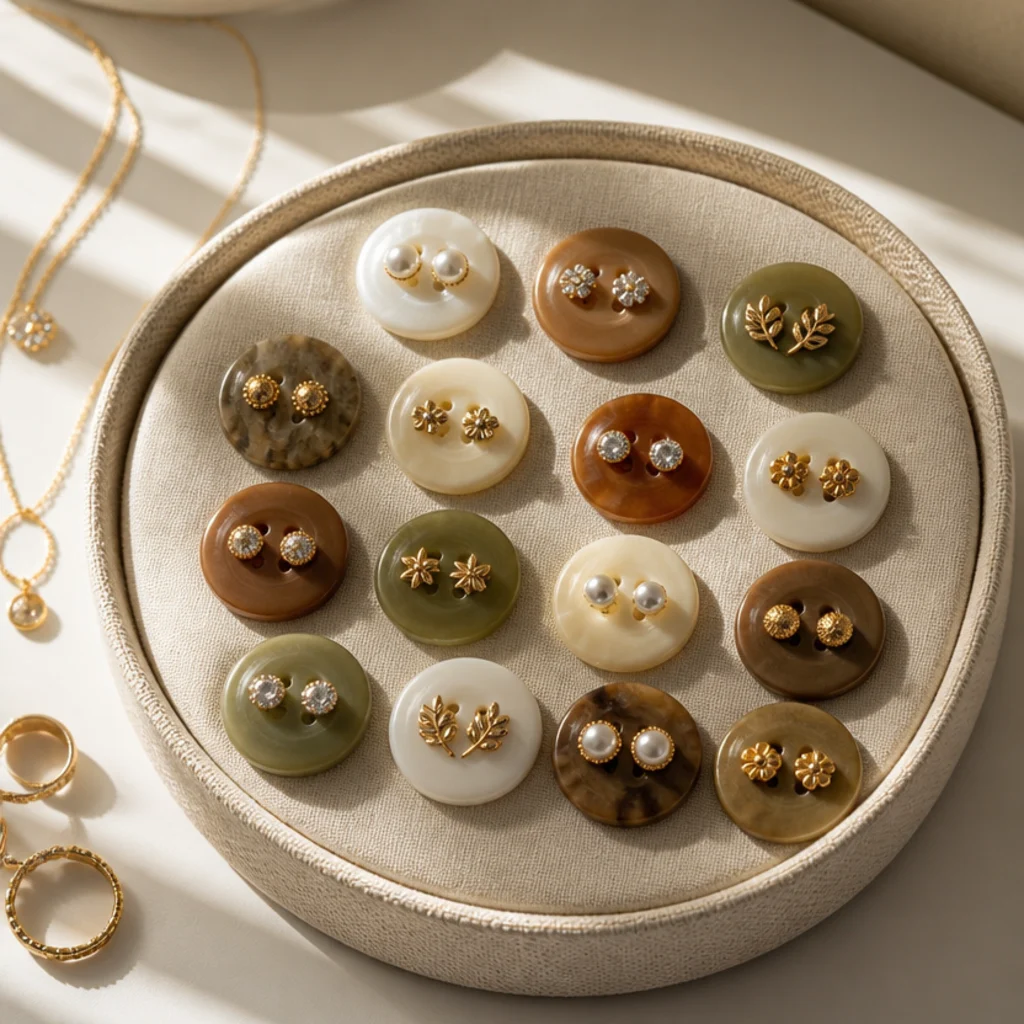
Pushing studs through buttons is the cleverest free fix for travel — each pair stays matched and the backs can’t roll away. It’s tiny and weightless. It suits stud lovers and anyone who’s lost an earring back in a suitcase.
Take a few large flat buttons and push each stud’s post through a hole, then fasten the back on the other side so the pair grips the button. Two studs fit one four-hole button. Tuck the loaded buttons into a small pocket or tin. Each button keeps a pair together and the backs on. For hooks, a scrap of felt works the same way.
Use buttons with holes sized to your posts so the studs sit snug and the backs stay screwed on.
Don’t use a button with holes too big; loose posts slide out and you lose the pair you were protecting.
3. Straw-Threaded Necklaces
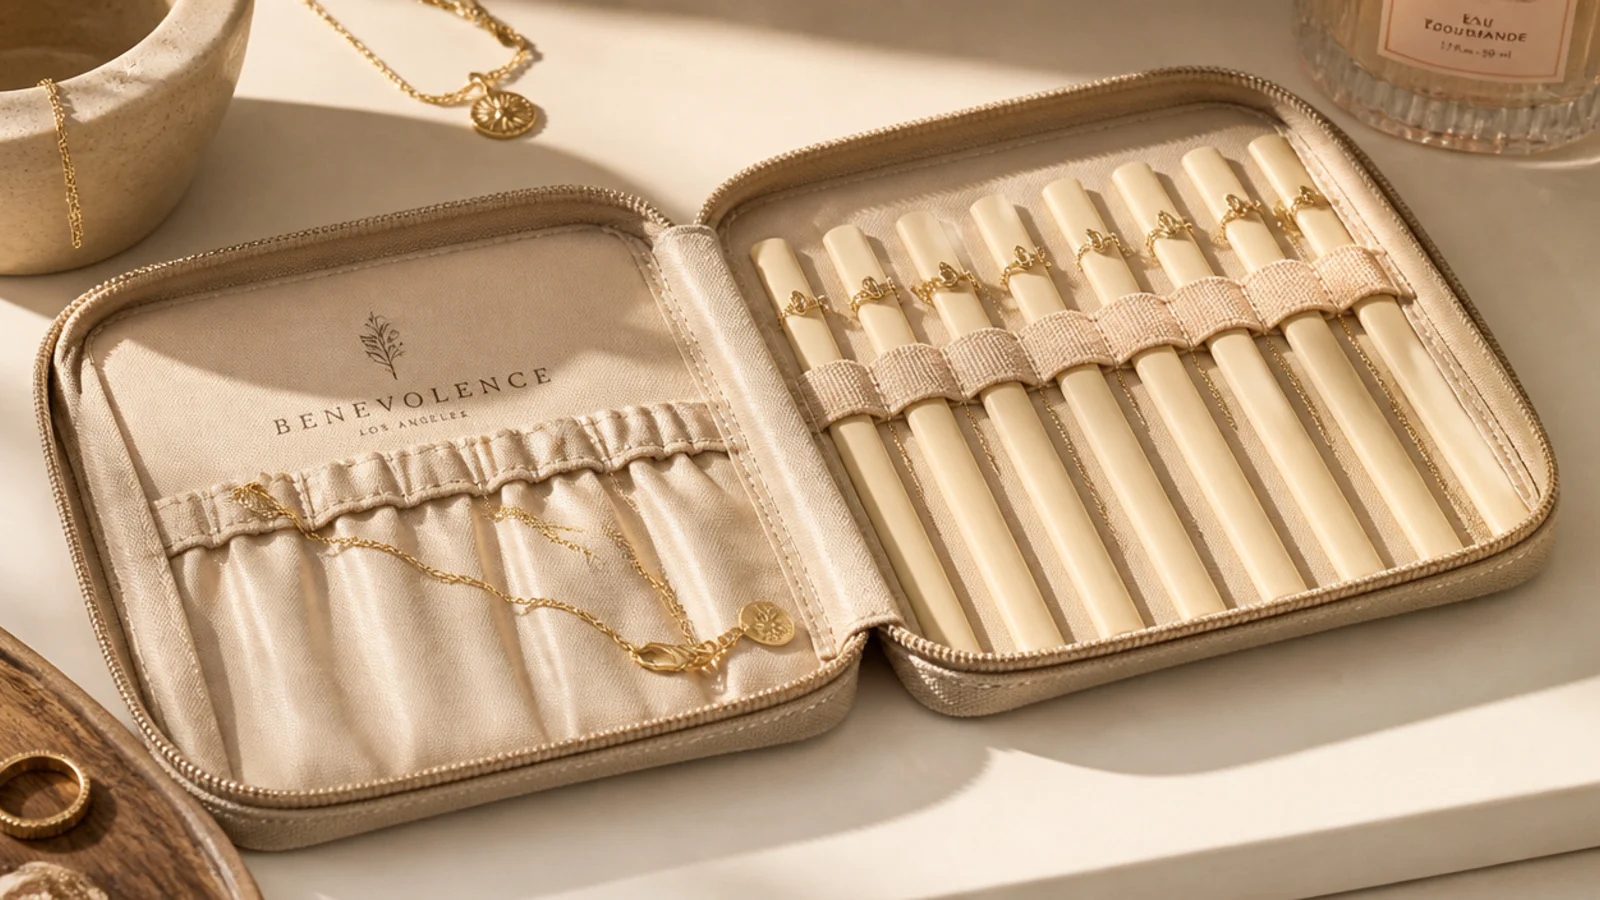
Threading a fine chain through a straw keeps it dead straight so it physically can’t knot. It’s the ultimate tangle-proof trick. It suits delicate chains and anyone tired of untangling necklaces.
Cut a drinking straw to just under the length of a necklace chain. Feed one end of the open chain through the straw, then clasp it closed around the straw so the chain can’t slip out. The straw holds it straight. Lay the threaded straws flat in a pouch. For longer chains, use a longer straw or a bubble-tea straw. One chain per straw.
Cut the straw a touch shorter than the chain so the clasp closes snugly and the necklace can’t slide off the end.
Don’t thread a chunky chain into a thin straw; match the straw width to the chain or the clasp won’t close.
4. Pill-Case Ring and Stud Holder
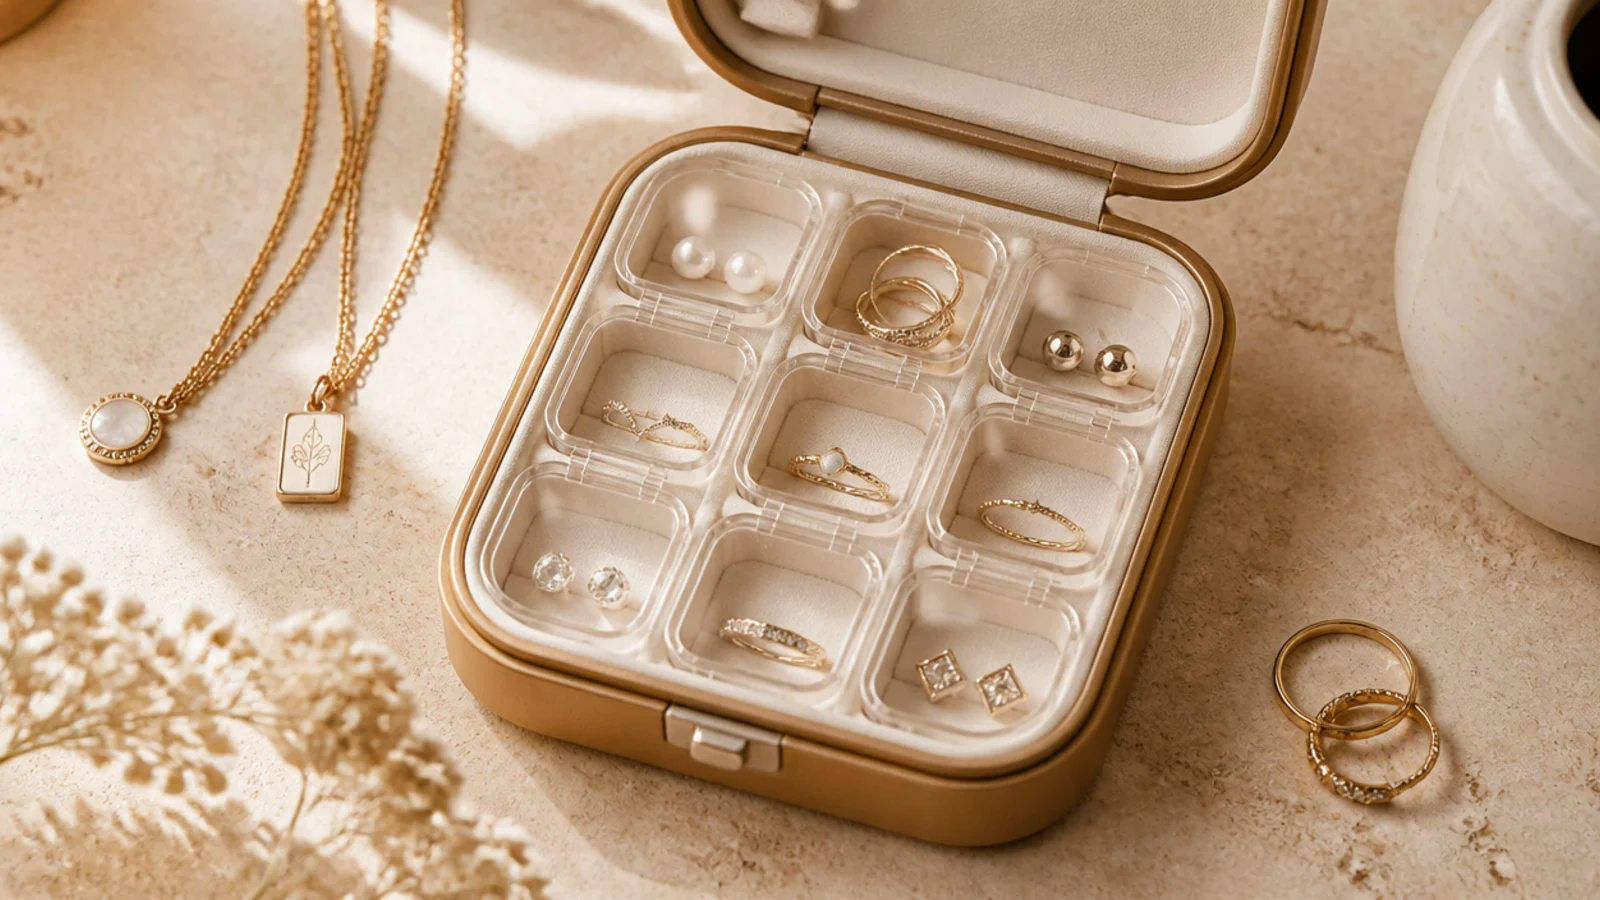
A pill case’s snap-lid compartments keep rings and studs in separate sealed cells. Each lid locks a pair in. It suits small pieces and a truly compact, cheap travel box.
Use a pill case with individual snap lids. Put one ring or a pair of studs in each compartment and snap the lid so pieces can’t migrate. Line cells with a felt dot for cushioning. It’s slim enough for any pouch. Because each cell seals separately, even a tumbled bag won’t mix your pieces. Count the filled cells before you pack up to leave.
Editor's noteSnap each individual lid rather than relying on the case’s outer lid, so pairs stay sealed even if it opens.
Skip thisDon’t overfill a cell with several pieces; they scratch each other, so keep it to one ring or one pair per cell.
5. Hard-Shell Travel Case
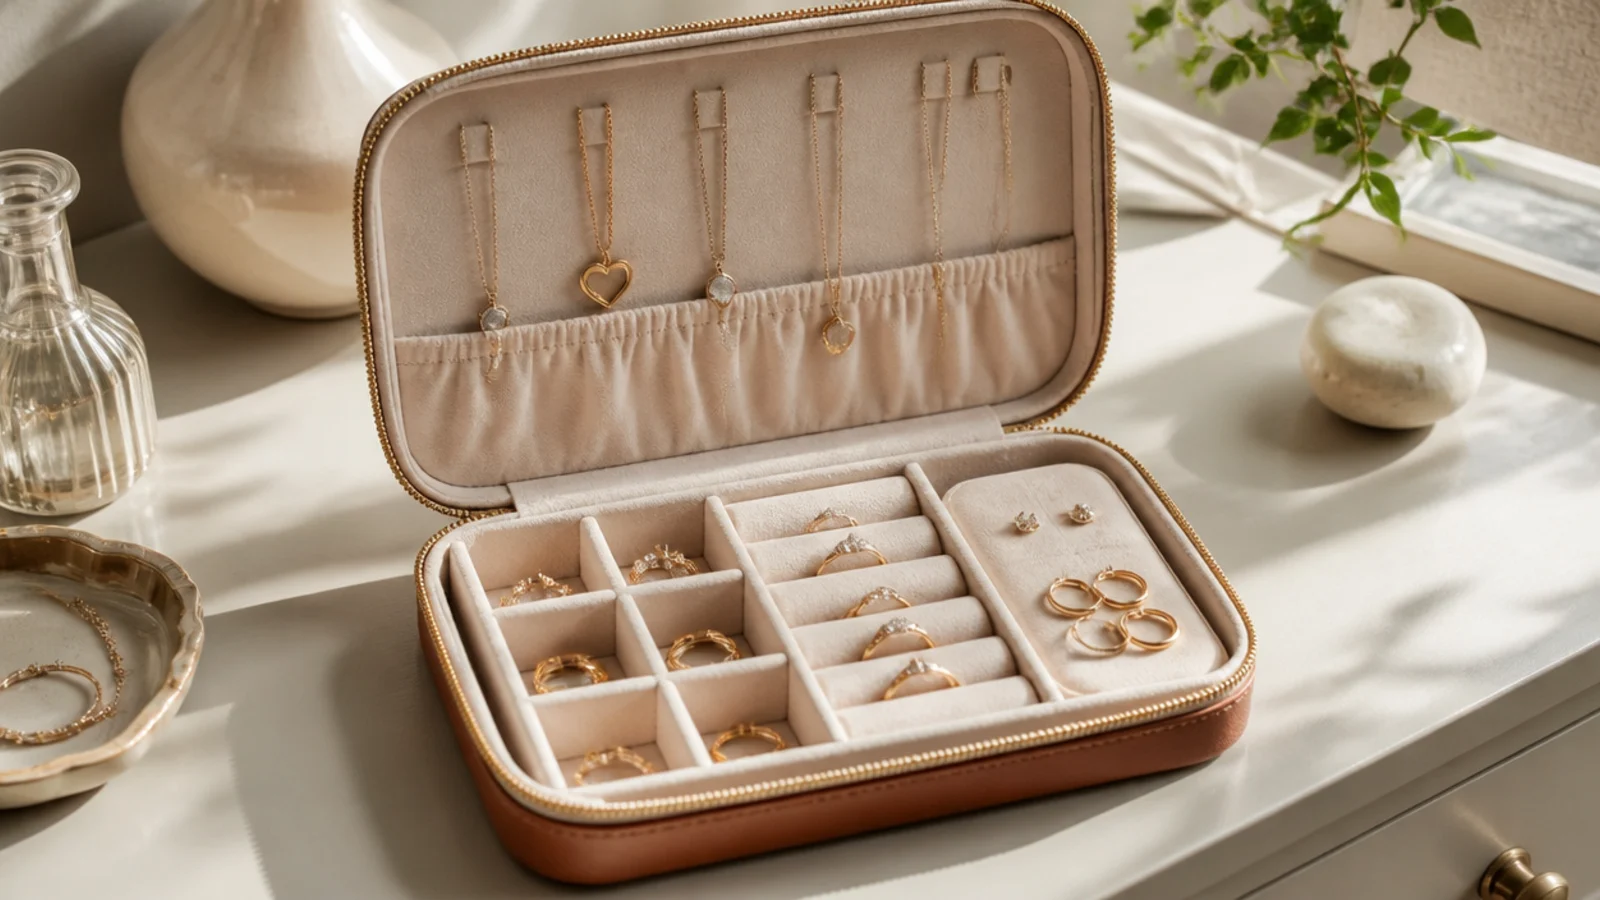
A hard-shell zippered case protects a full travel mix from being crushed. Padded sections and hooks sort everything. It suits gemstone or delicate pieces and longer trips with more to pack.
Choose a compact hard-shell case with a padded interior, ring rolls, hooks for necklaces, and a zip pouch for loose pieces. Hang necklaces on the internal hooks, tuck rings into the rolls, and clip earrings to the pad. Zip it shut for a crush-proof kit. The rigid shell guards against a packed bag. Keep the layout the same each trip so you notice anything missing.
Editor's noteFasten necklaces on the internal hooks with clasps closed so they don’t slip off when the case is upright in a bag.
Skip thisDon’t cram a hard case past its zip; forcing it strains the shell and the hinges, so pack only what fits flat.
6. Contact-Lens Case for Small Pieces
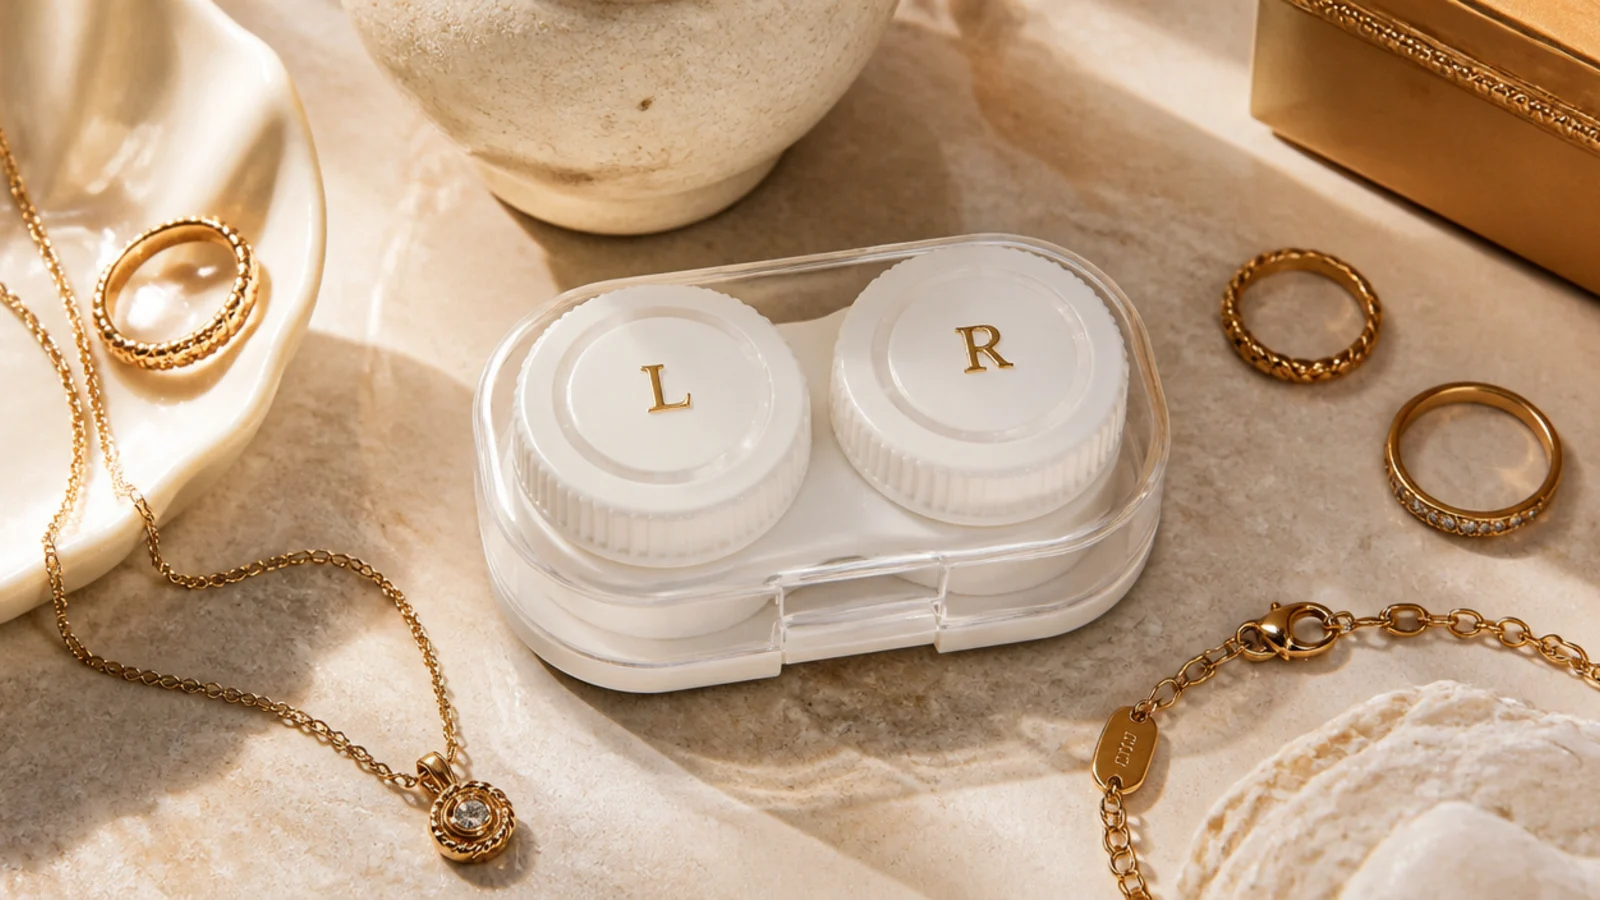
A contact-lens case’s two screw-top wells seal tiny studs and small rings watertight. It’s pocket-sized and free. It suits a single overnight or a minimalist packer.
Use a clean contact-lens case and put studs in one well and small rings in the other, then screw the caps shut. The screw tops seal so nothing escapes. It slips into any pocket. Line each well with a tiny felt scrap if you want cushioning. Because it seals tight, it’s great for the smallest, easiest-to-lose pieces. Keep it to one or two pairs per well.
Editor's noteChoose a case with screw caps rather than snap flip-tops; the screw seal won’t pop open under pressure in a bag.
Skip thisDon’t overfill the small wells; one or two pairs each, so the caps close fully and nothing gets pinched.
7. Fabric Envelope Pouch
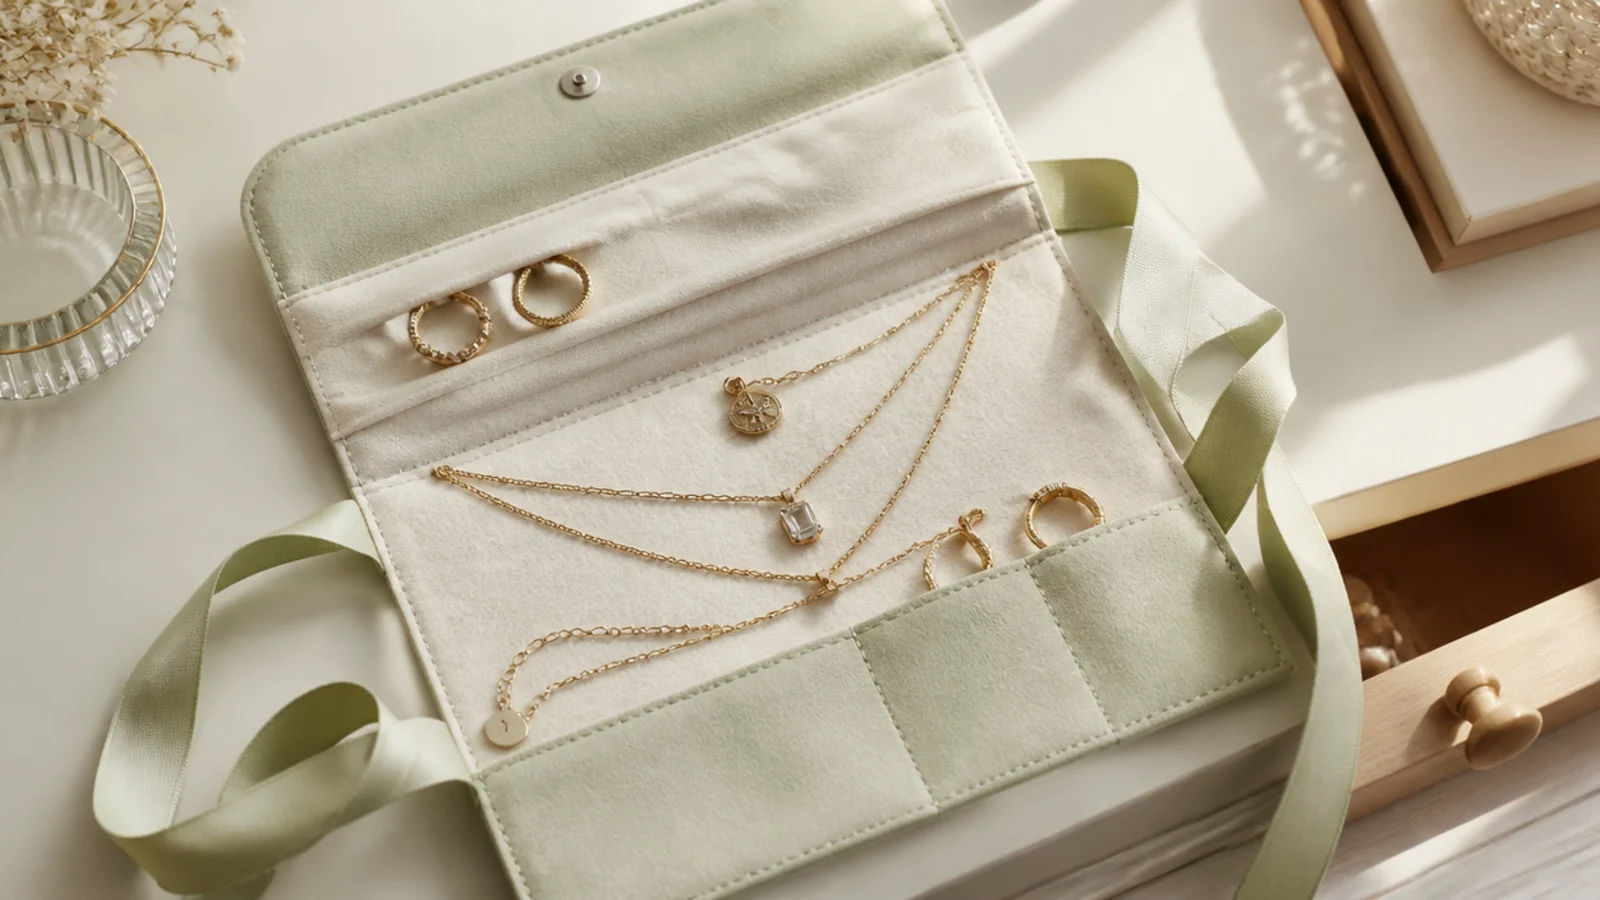
A soft fabric envelope with an inner flap and pockets folds around a few pieces and ties shut. It’s slim and gentle. It suits a small, soft kit for pieces that won’t get crushed.
Fold a rectangle of soft fabric into an envelope with a flap, sewing or gluing a couple of pockets and a ribbon loop inside. Slot rings and earrings into the pockets, fold the flap over, and tie the ribbon. It packs flat between clothes. Because it’s soft, keep delicate gemstone pieces in a padded case instead. Best for chains, studs, and simple rings.
Editor's noteSew a soft flap between the pockets so folded pieces don’t press against each other inside the envelope.
Skip thisDon’t use a soft pouch for fragile gemstone pieces; a soft envelope offers no crush protection, so pad those separately.
8. Foam-Lined Ring Tin
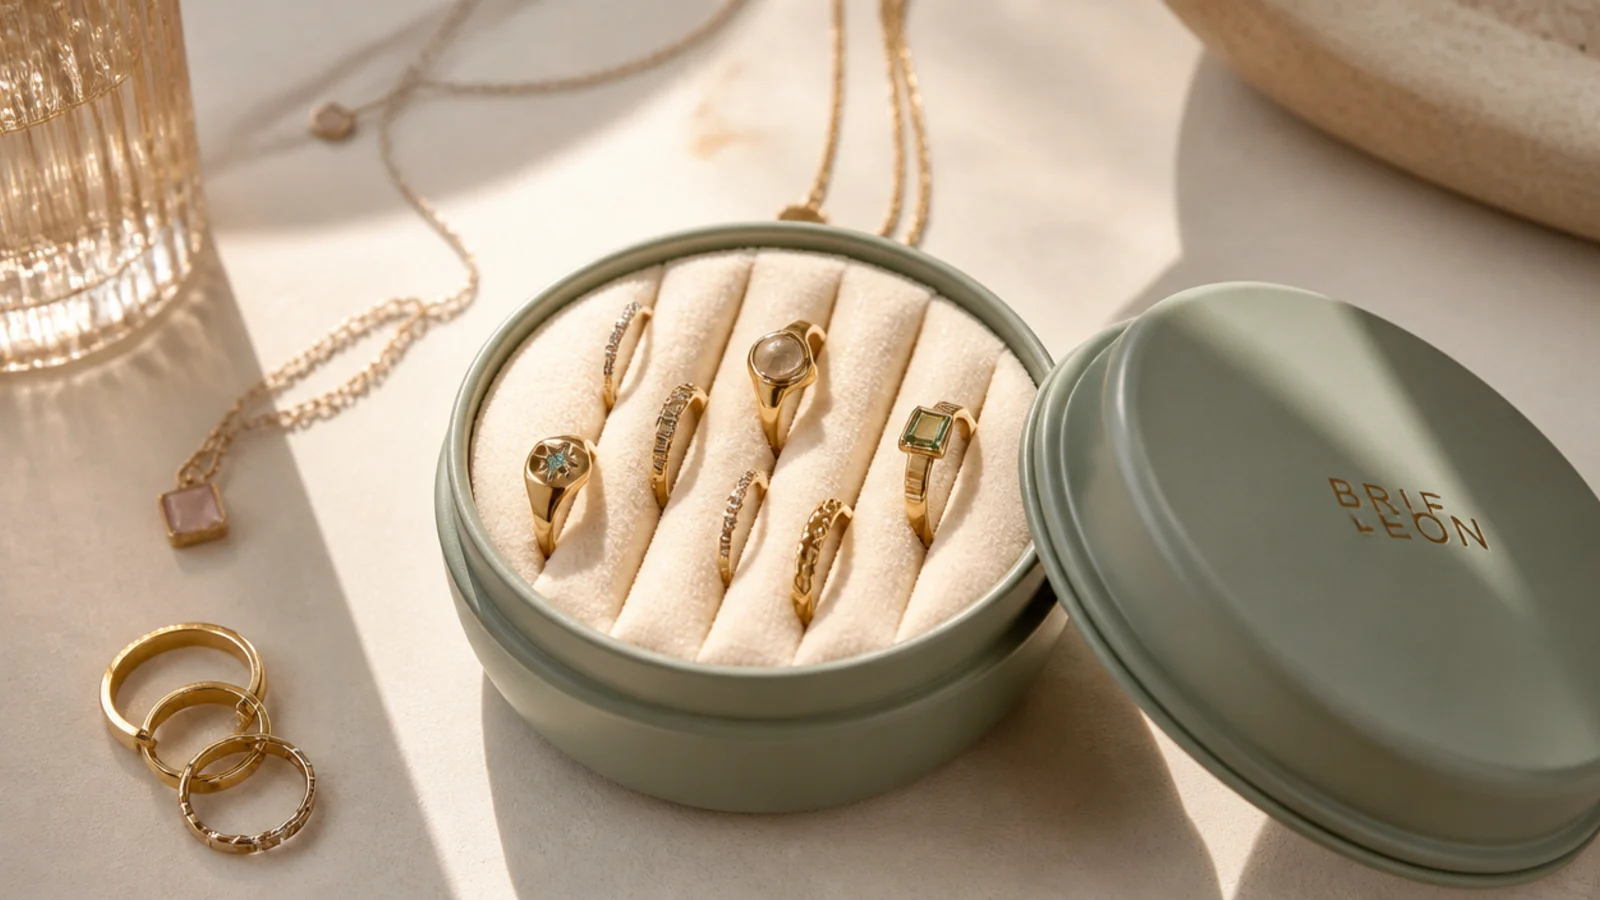
A small tin with slit foam stands rings upright and snaps shut for travel. You see the whole row at a glance. It suits a ring collection on the move.
Line a small tin with a block of upholstery foam and cut parallel slits across it. Tuck each ring into a slit so it stands on edge. Snap the lid. The foam cushions the bands and the slits keep them from rubbing. It’s slim enough for a toiletry bag. Cut the foam snug so it doesn’t shift. Count the rings against the slits before packing up.
Cut the foam a hair larger than the tin so it wedges in place and the rings don’t shift when the tin is jostled.
Don’t stack rings loose in a bare tin; without the slit foam they rattle and scratch each other in transit.
9. Tape-Strip Earring Keeper
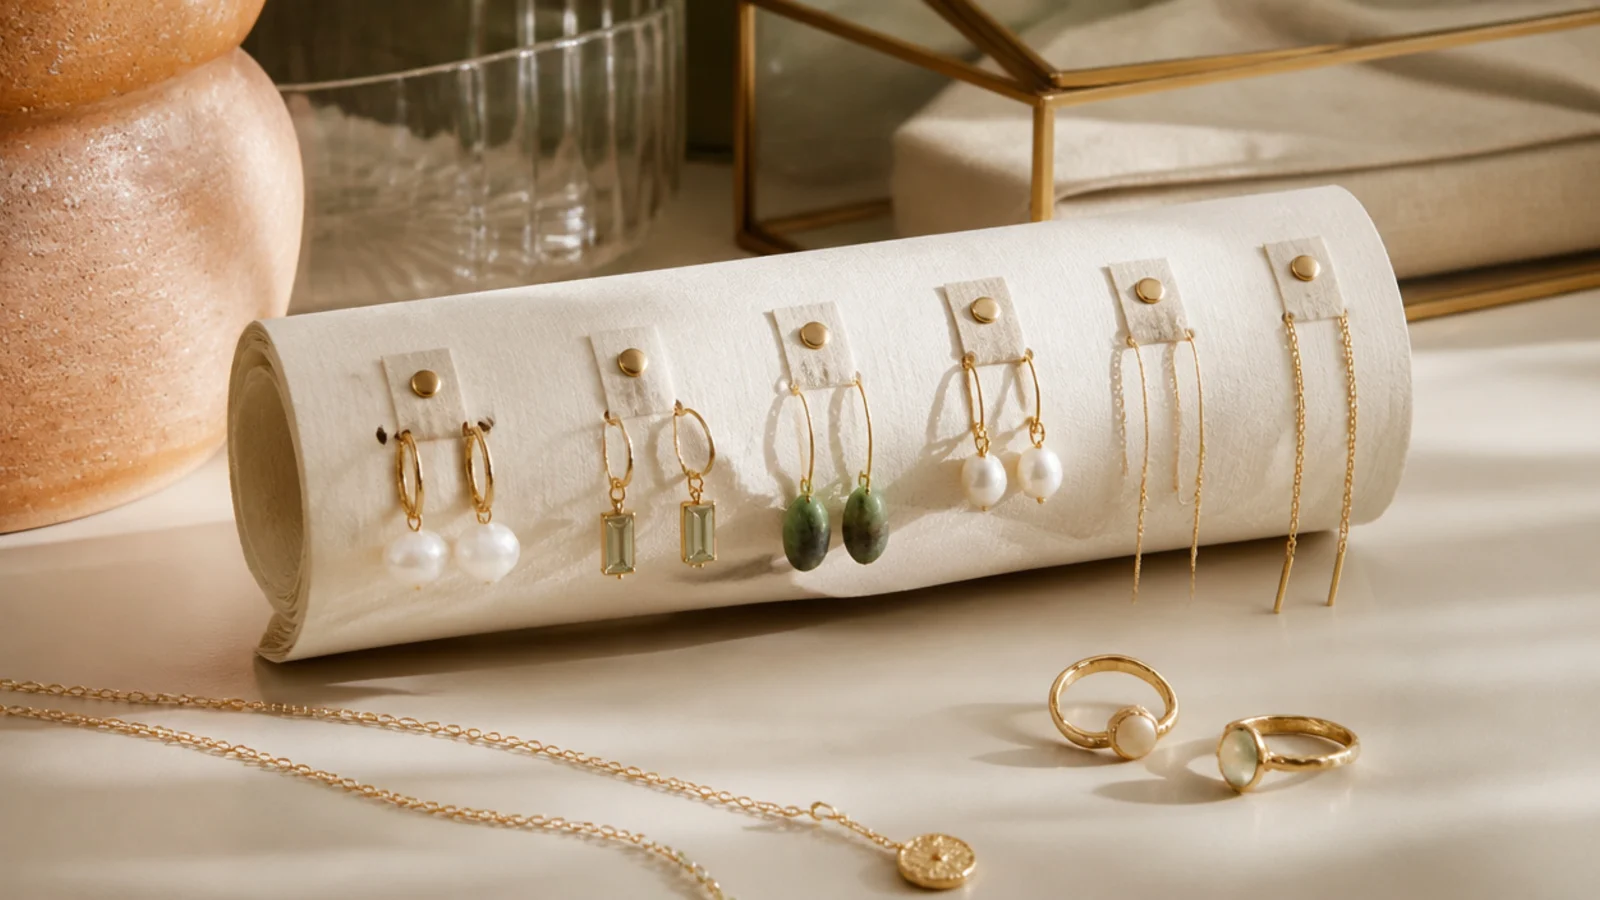
A stiff paper strip with punched holes holds dangles, and a tape line holds studs, then rolls up small. It’s a free, flat keeper. It suits earrings specifically on a short trip.
Take a strip of cardstock and punch a row of holes along it. Hook dangle earrings through the holes and press stud posts against a strip of tape at the edge, capping the backs on. Roll or fold the strip and slip it in a pocket. The holes and tape keep pairs together and flat. Because it’s paper, keep it dry. Best for a handful of earrings.
Editor's notePress the stud backs on over the tape so both the post and back stay stuck and the pair can’t separate.
Skip thisDon’t let the paper strip get damp; moisture loosens the tape and softens the card, so keep it in a dry pocket.
10. Weekly Organizer for Outfits
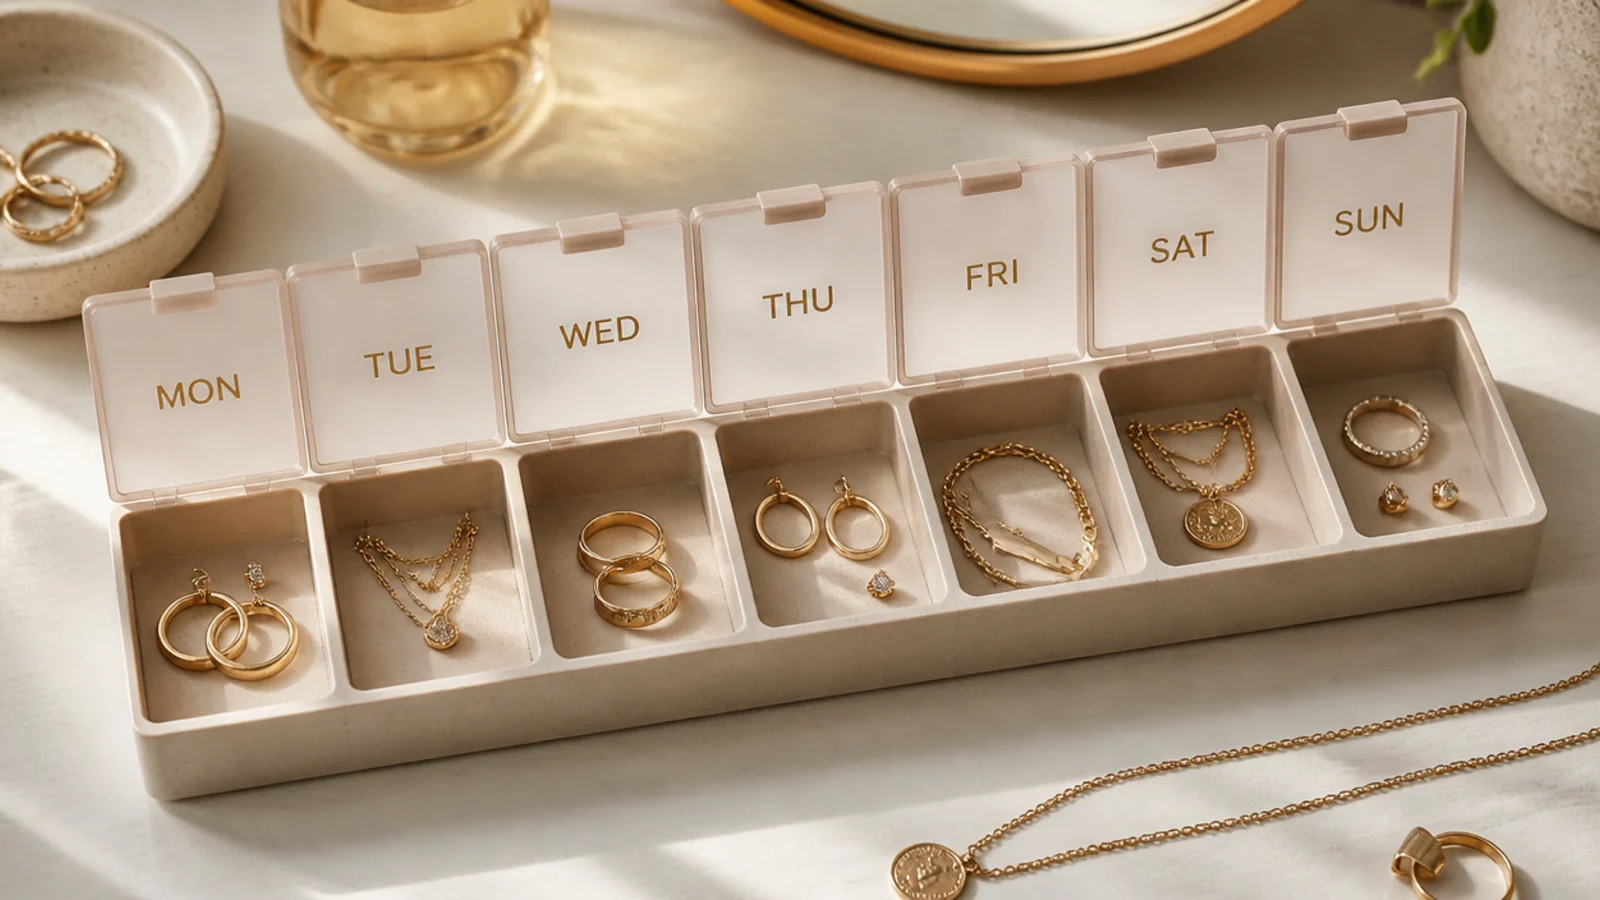
A weekly pill organizer lets you pre-plan a jewelry set per day so getting ready on the trip is instant. Each day is a compartment. It suits a planner and a trip with different outfits.
Use a weekly pill organizer and fill each day’s compartment with the earrings, ring, and any small pieces for that day’s outfit. Snap each lid. On the trip, just open the day and put it on. It removes all decision-making on busy mornings. Keep necklaces threaded on straws separately since they won’t fit. Count the days against your itinerary.
Editor's notePlan each day’s set to match your packed outfit so you never stand in a hotel room deciding what goes with what.
Skip thisDon’t try to fit necklaces in the small day cells; thread those on straws separately and keep the cells for small pieces.
11. Zippered Jewelry Folio
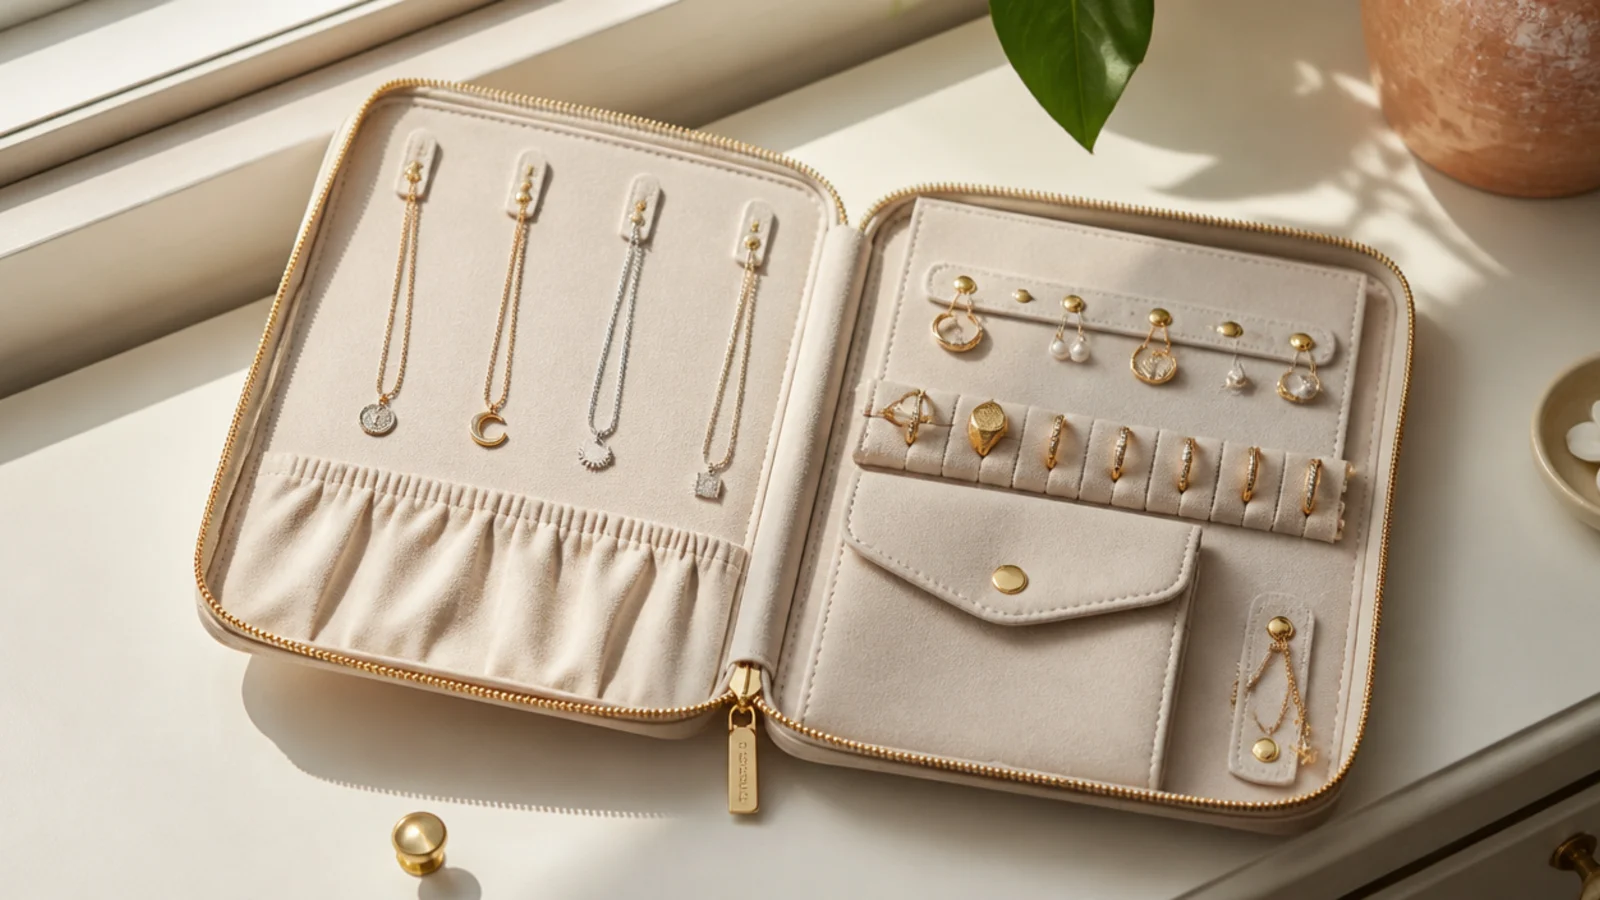
A folio that opens like a book has padded pages with loops and pockets, holding a big mix flat. It lies in a suitcase like a document. It suits a larger collection you want organized in layers.
Use a zippered jewelry folio, or make one from padded fabric pages bound at one edge. Each page holds a type — a loop page for earrings, a pocket page for rings, a hook page for necklaces. Zip it closed and it lies flat. Flip pages to find pieces. Because it’s flat, it slides against a suitcase wall. Keep the heaviest page toward the spine so it lies flat.
Editor's noteDevote one page to necklaces on hooks with clasps closed so chains hang straight and separate as you travel.
Skip thisDon’t overstuff the pages; a bulging folio won’t zip flat and the pieces press together, defeating the layout.
12. Repurposed Glasses Case
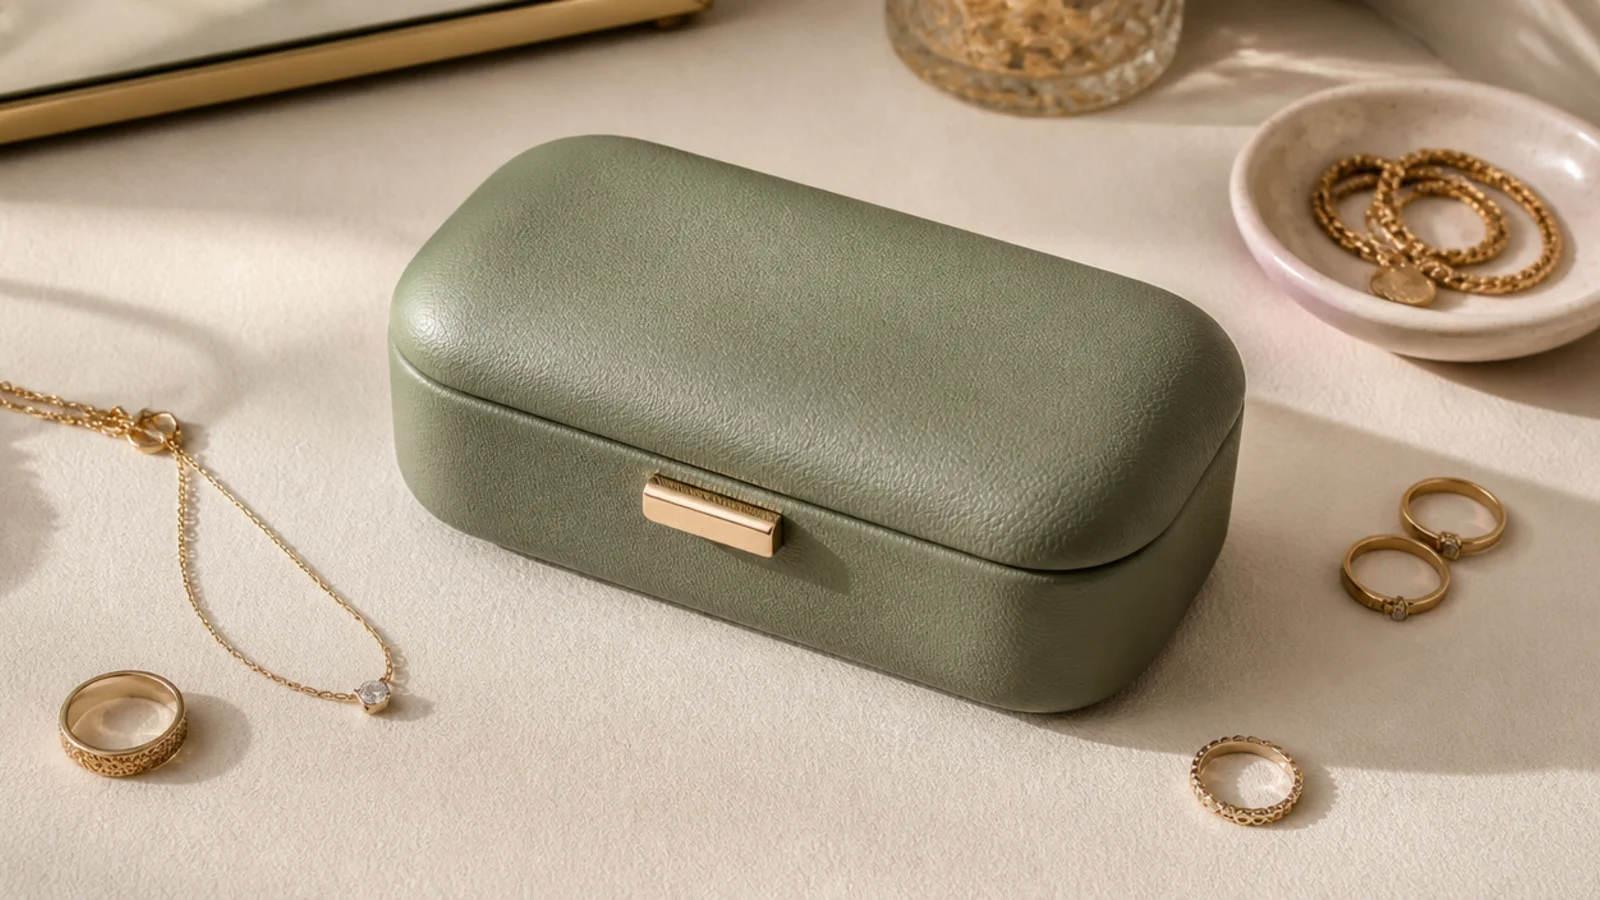
A hard glasses case lined with felt is a free, crush-proof holder for a few pieces. The rigid shell protects. It suits delicate pieces on a trip where you already carry a spare case.
Line a hard glasses case with felt or a soft cloth. Tuck in a few rings and a coiled bracelet, and snap it shut. The hard shell guards against crushing in a bag. Because it’s shaped for glasses, it holds coiled and small pieces best. Wrap a delicate piece in cloth inside for extra padding. Great as a protective second holder alongside a roll.
Coil a bracelet around the inside edge and nest rings in the center so nothing rolls when the case is closed.
Don’t pack necklaces loose in a glasses case; they coil and tangle, so thread them separately and use this for small pieces.
13. Ribbon Ring Strand
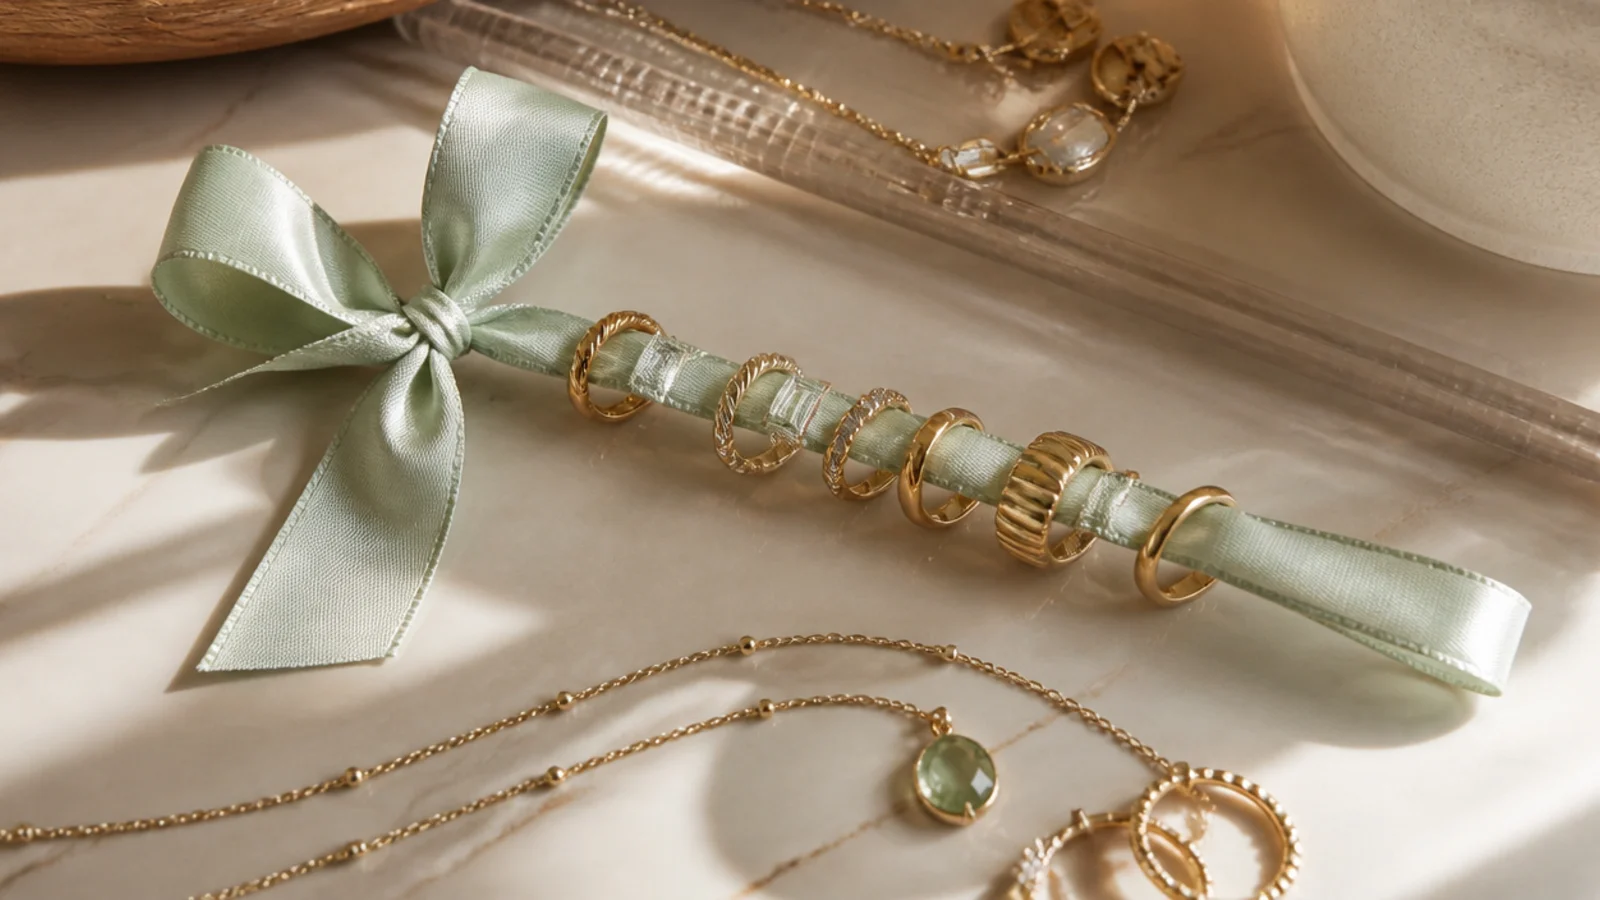
Threading rings onto a ribbon and tying it keeps them in order and together. It’s the simplest ring travel trick. It suits a few rings and a truly minimalist packer.
Thread a length of ribbon through several rings so they sit in a row, then tie the ribbon in a bow so they can’t slide off. The ribbon keeps them together and cushioned. Tuck the tied strand into a pocket. Because the rings are strung, none can roll away. Use a soft ribbon so it doesn’t scratch. Best for plain bands, not settings that snag.
Editor's noteTie the ribbon in a bow rather than a knot so you can slip rings on and off without untying it each time.
Skip thisDon’t string rings with prong settings on ribbon; the prongs snag the fabric, so tuck those in a padded tin instead.
14. Clear Zip Pouch Set
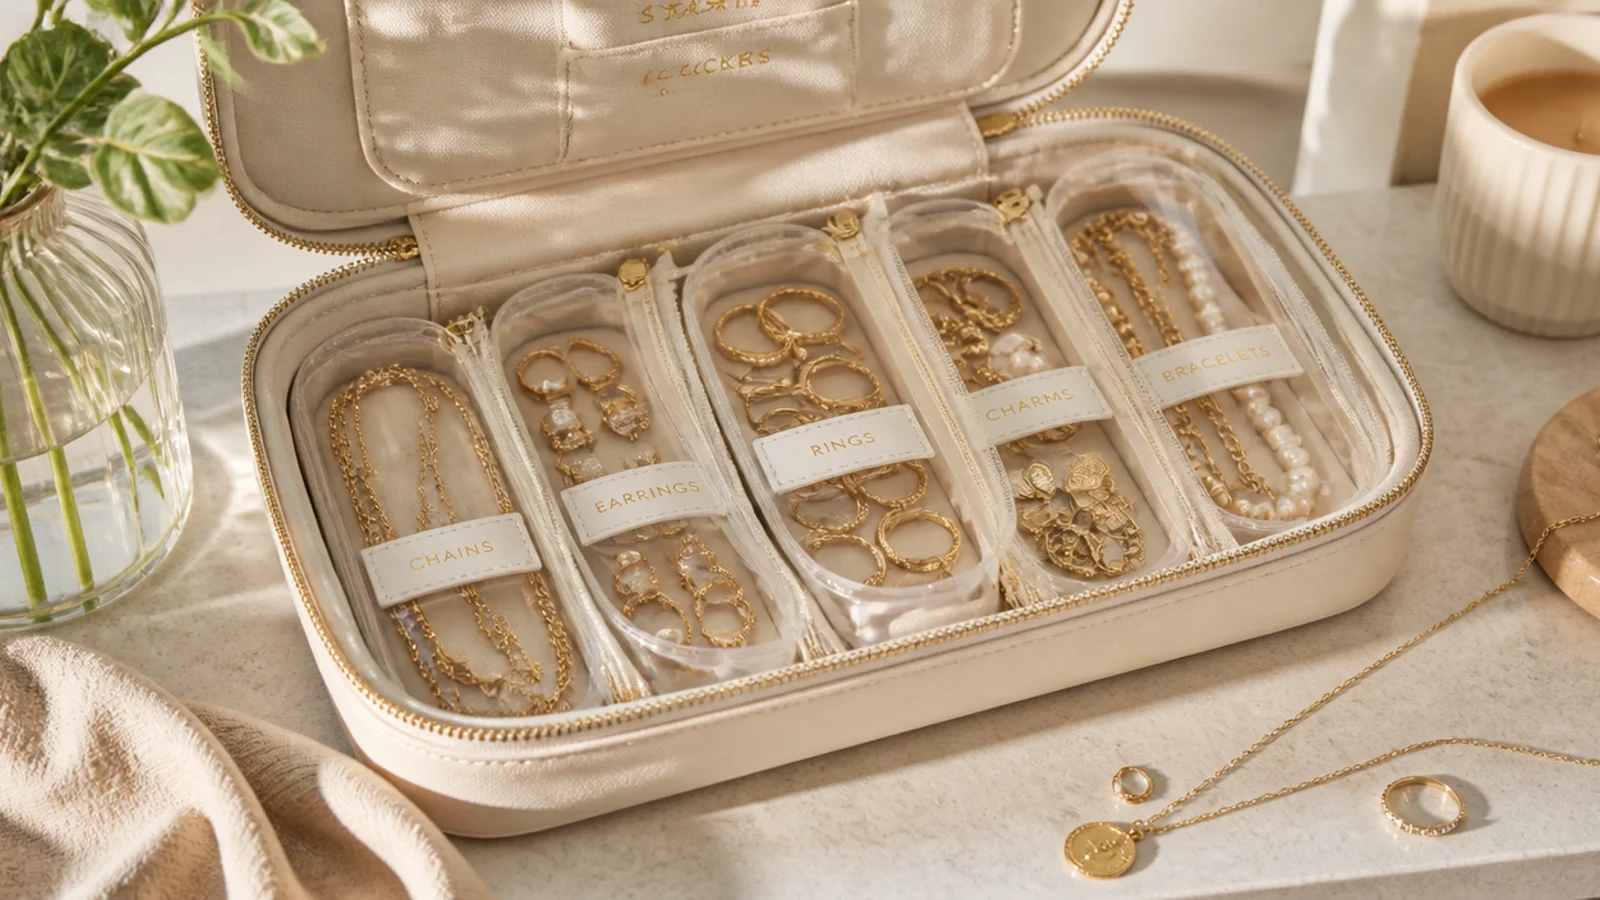
A set of small clear zip pouches sorts jewelry by category and lets you see into each. They group in one bag. It suits someone who likes everything visible and sorted at security.
Use small clear zip pouches, one per category — earrings in one, rings in another, necklaces threaded in a third. Press the air out and seal. Group them all in a larger pouch. The clear plastic shows contents and the seal keeps pieces in. Because they’re flat, they pack anywhere. Add an anti-tarnish tab in each for silver. Label them if you like.
Drop an anti-tarnish strip into each pouch so silver and gold-fill pieces don’t dull in the sealed plastic.
Don’t seal damp or lotioned pieces in plastic; trapped moisture speeds tarnish, so pack them clean and dry.
15. Cork Travel Round
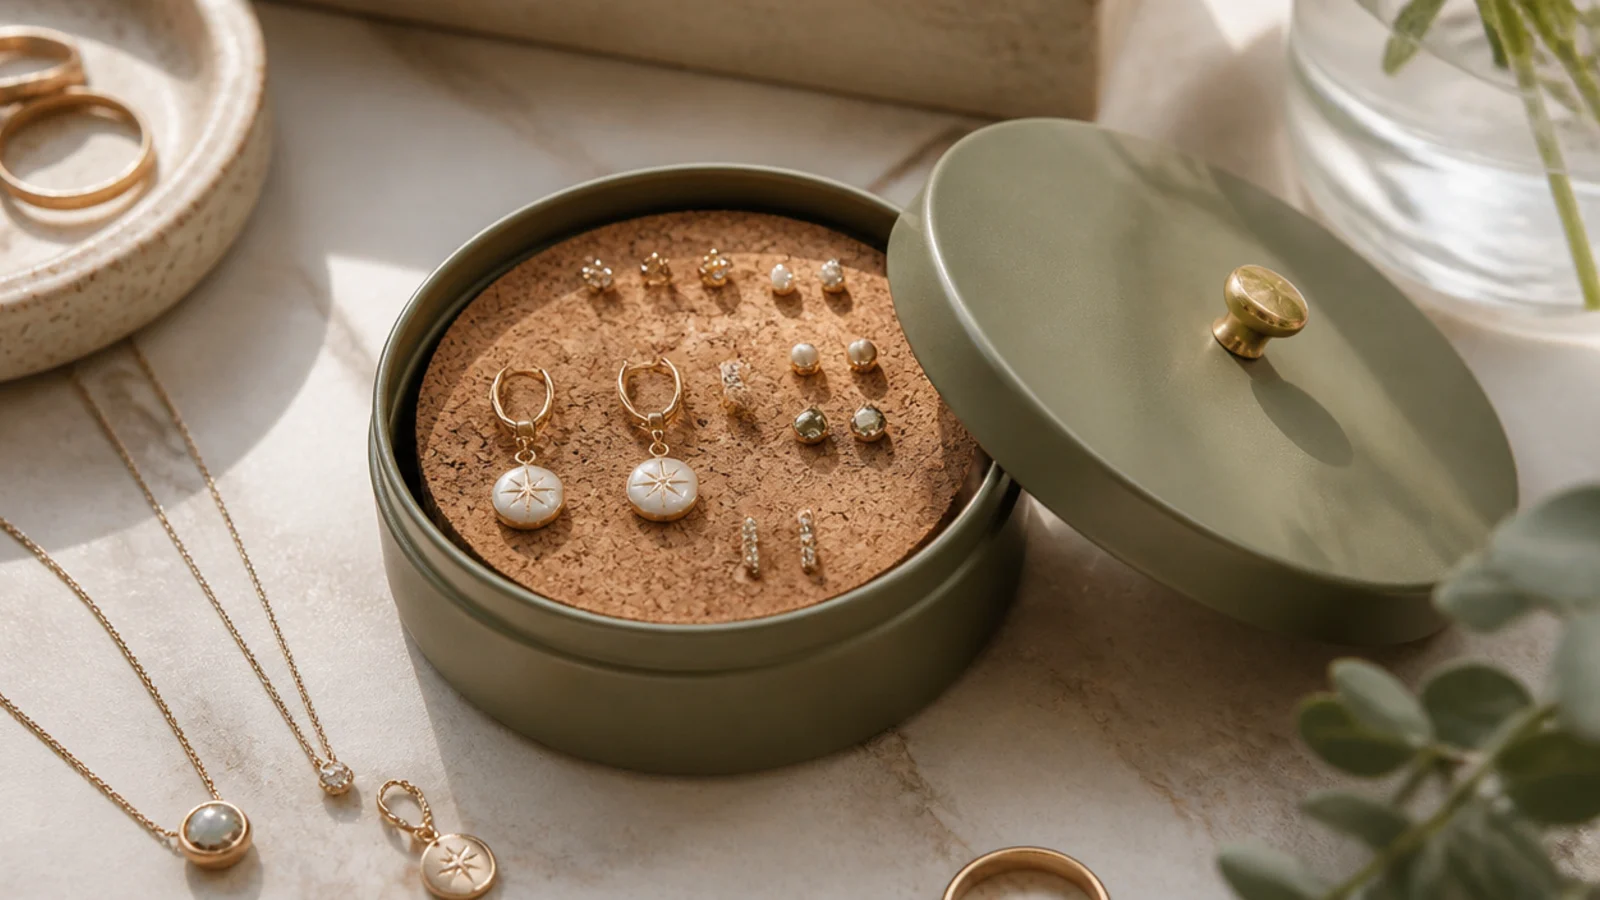
A cork disc in a shallow tin holds earrings pushed straight in, then caps shut. It’s a mini earring board for travel. It suits an earring-focused trip.
Cut a thick cork round to fit inside a shallow tin. Push dangle earrings and studs into the cork so they stand secure, then put the lid on. The cork grips the posts and the tin protects them. It’s slim for any bag. Because the pieces are held in the cork, they don’t shift. Keep the cork thick enough that posts bite in. Count pairs before packing up.
Use a thick cork round so posts sink in and hold; a thin one lets earrings work loose as the tin moves.
Don’t skip the tin lid; without it the earrings snag on everything, so always cap the cork round for travel.
16. Slit-Card Necklace Keeper
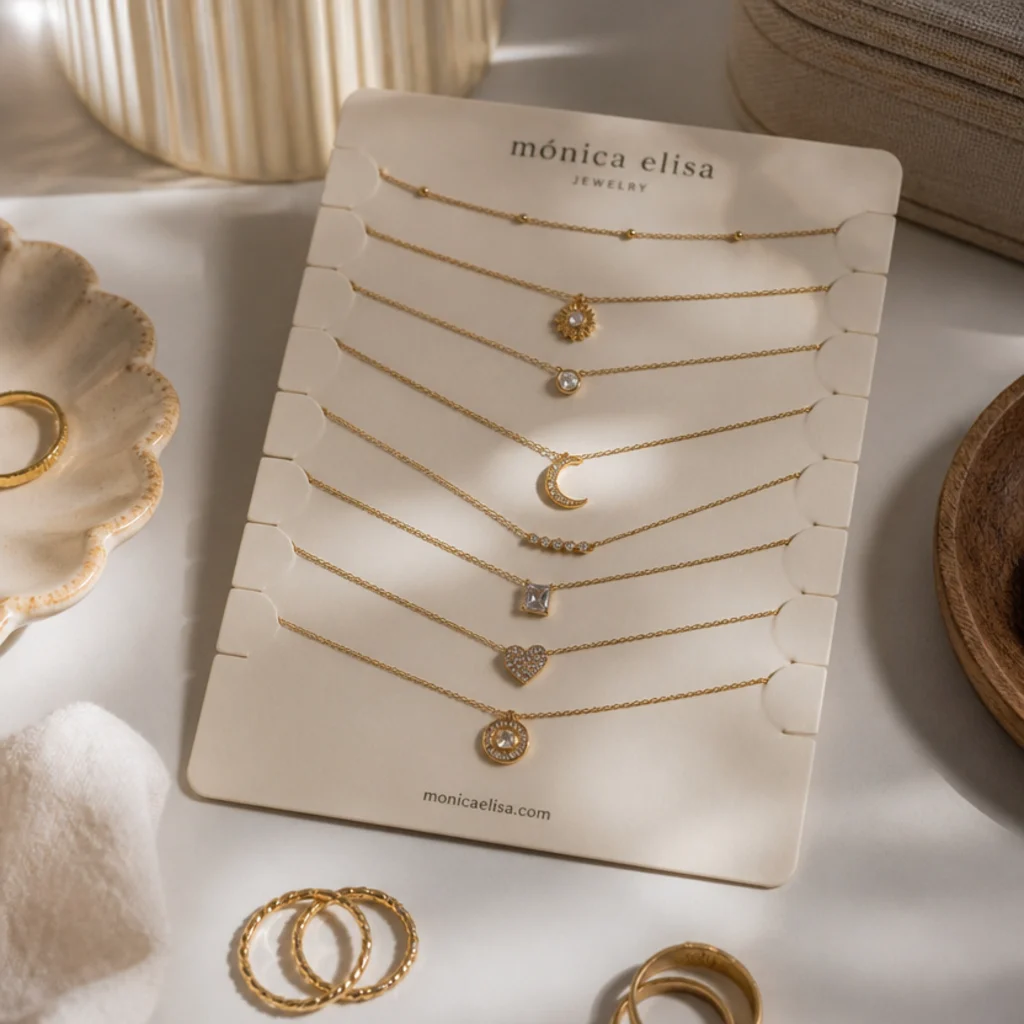
A stiff card with edge slits holds each necklace flat and separate, pendant on the card and chain secured. It’s a flat, free keeper. It suits several necklaces packed together.
Cut slits along the edge of a stiff card. Lay each necklace across the card, slot the chain into a slit near each end to hold it taut, and fasten the clasp. The pendant rests on the card face. Slip the card into a flat pouch. Each necklace stays straight and separate. Use one card for a few, and a second card as a cover to protect pendants.
Slot the chain into slits at both ends so it stays taut and flat instead of sliding into a loose pile.
Don’t stack loaded cards face to face without a cover; the pendants press together, so layer a plain card between them.
17. Padded Makeup-Bag Insert
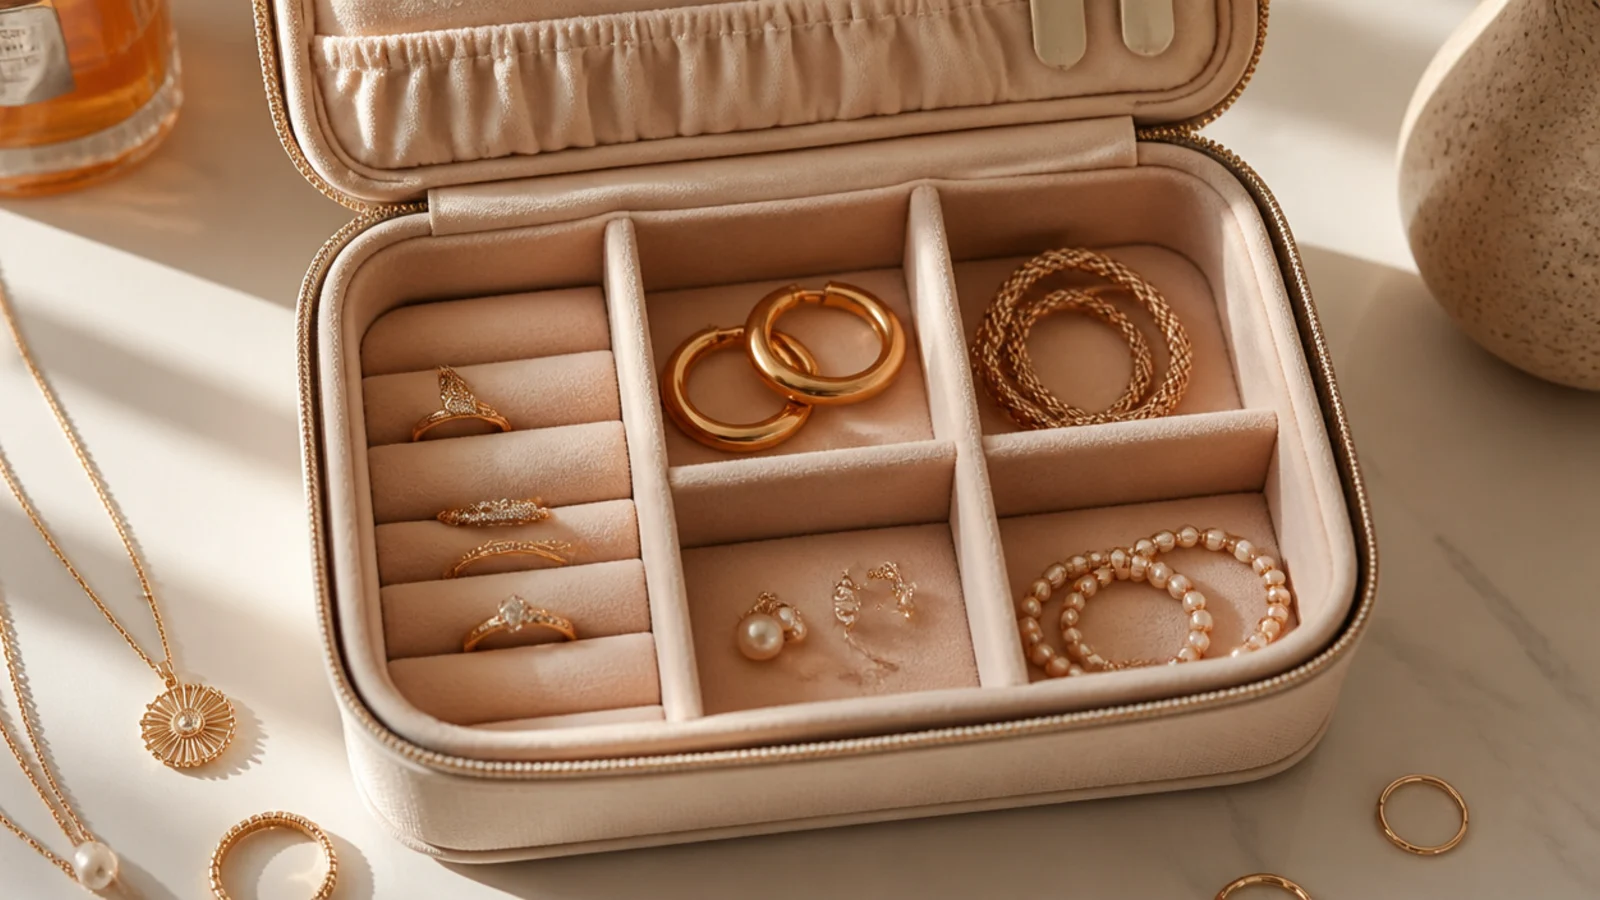
A padded divider insert turns any makeup bag into a jewelry organizer. It drops into a bag you already carry. It suits someone who wants to add jewelry to an existing kit.
Make or buy a padded insert with felt-lined divider sections sized to your pieces, and drop it into a makeup bag. Sort rings, earrings, and coiled bracelets into the sections. The bag’s zip closes over it. Because it’s an insert, you can move it between bags. Keep the sections snug so pieces don’t shift. Pair it with straws for necklaces, which sit alongside.
Size the insert to your bag so it sits snug; a loose insert slides and lets the sections tip their contents.
Don’t put jewelry loose in a makeup bag with cosmetics; powders and creams coat the pieces, so keep it in the insert.
18. Hanging Travel Roll
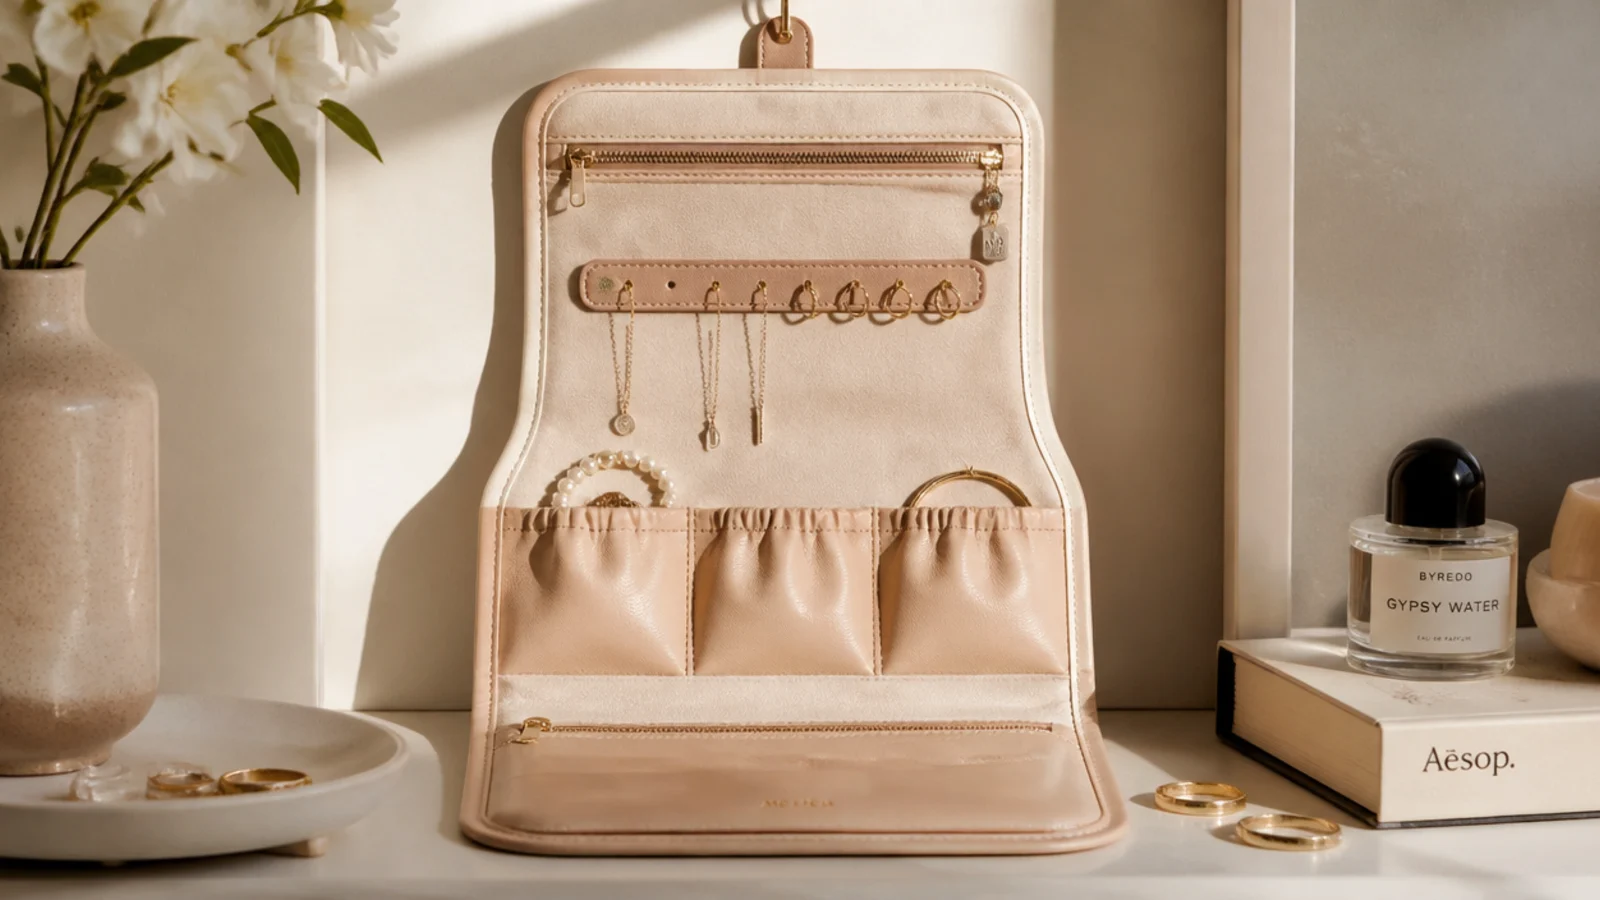
A roll with a hook at the top hangs in a hotel bathroom so your jewelry is off the counter and visible. It unrolls on a hook. It suits someone who wants their pieces on display at the destination too.
Choose or make a jewelry roll with a hanging hook or loop at the top. Load the pockets and loops, roll and tie for the journey, then hang it on a hotel hook and unroll it to see everything. It works as storage on the road and display at the destination. Fasten clasps for the journey. Keep it slim so it rolls tight for packing.
Hang it on the hotel hook and unroll it so you get dressed from it directly instead of digging in your bag.
Don’t leave it hanging loaded on a flimsy suction hook; use a solid hook so a full roll doesn’t drop in the sink.
19. Anti-Tarnish Travel Box
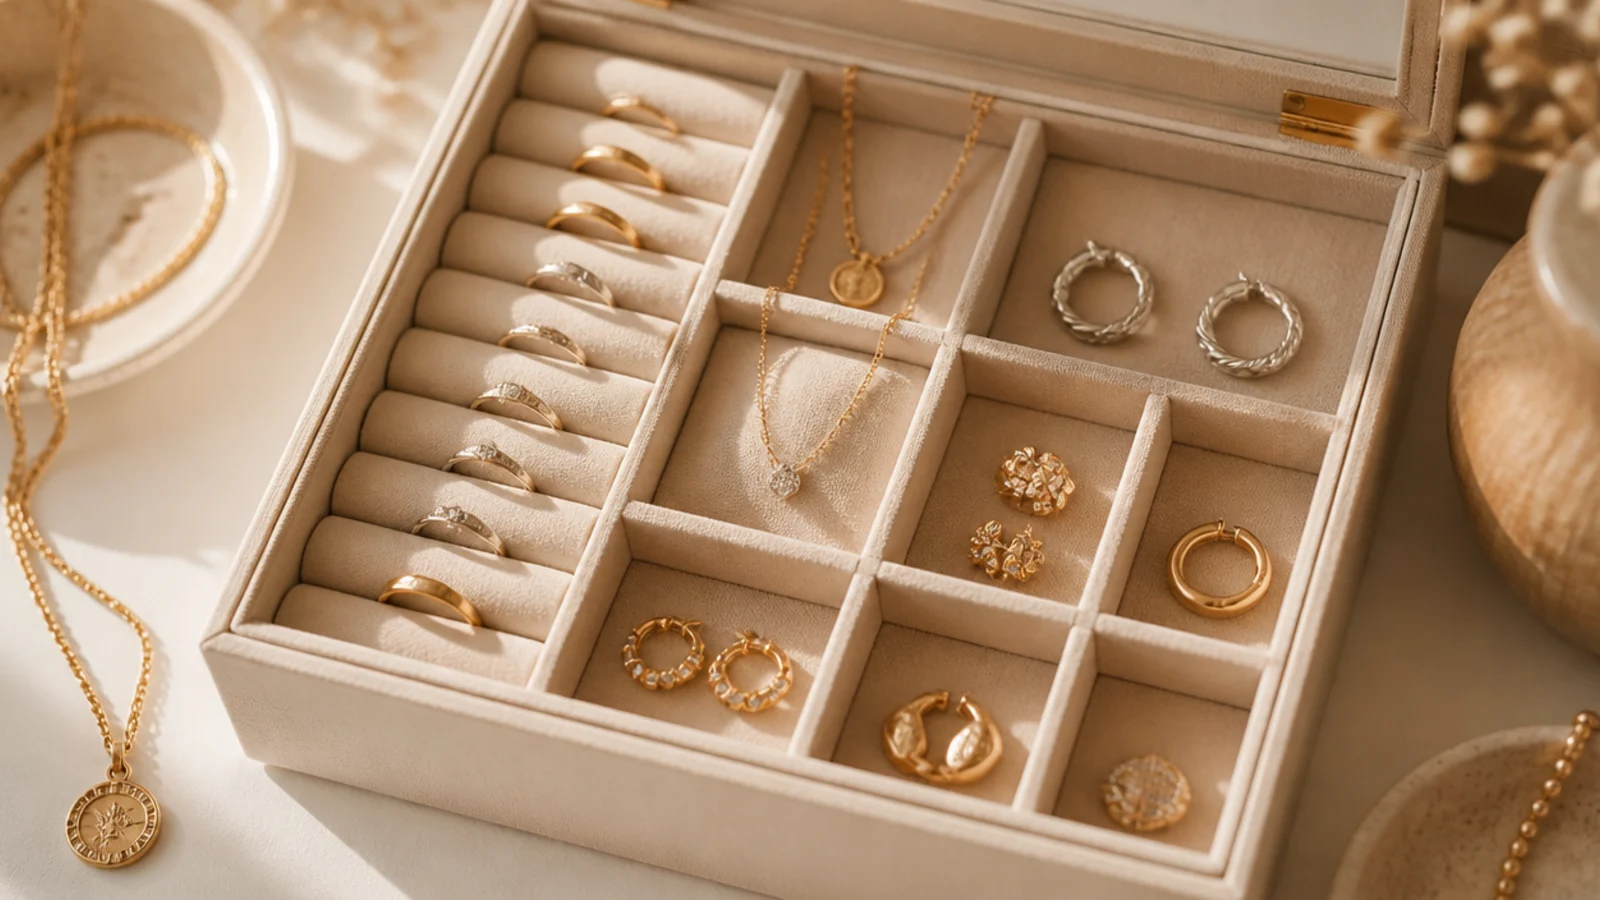
A box lined with anti-tarnish fabric protects silver and gold-fill from dulling on longer trips. The special lining slows tarnish. It suits precious-metal pieces away from home for a while.
Line a small compartmented box with anti-tarnish cloth, or tuck anti-tarnish strips into a felt-lined box. Sort pieces into sections and close the lid. The treated fabric absorbs the gases that tarnish silver. It’s ideal for a longer trip where pieces sit unworn. Keep pieces clean and dry going in. Refresh the anti-tarnish strips each trip since they wear out.
Refresh the anti-tarnish strips or cloth each trip; the treatment is used up over time and stops working when spent.
Don’t pack pieces damp or lotioned; moisture defeats the anti-tarnish lining, so wipe everything clean first.
20. No-Sew Felt Travel Folio
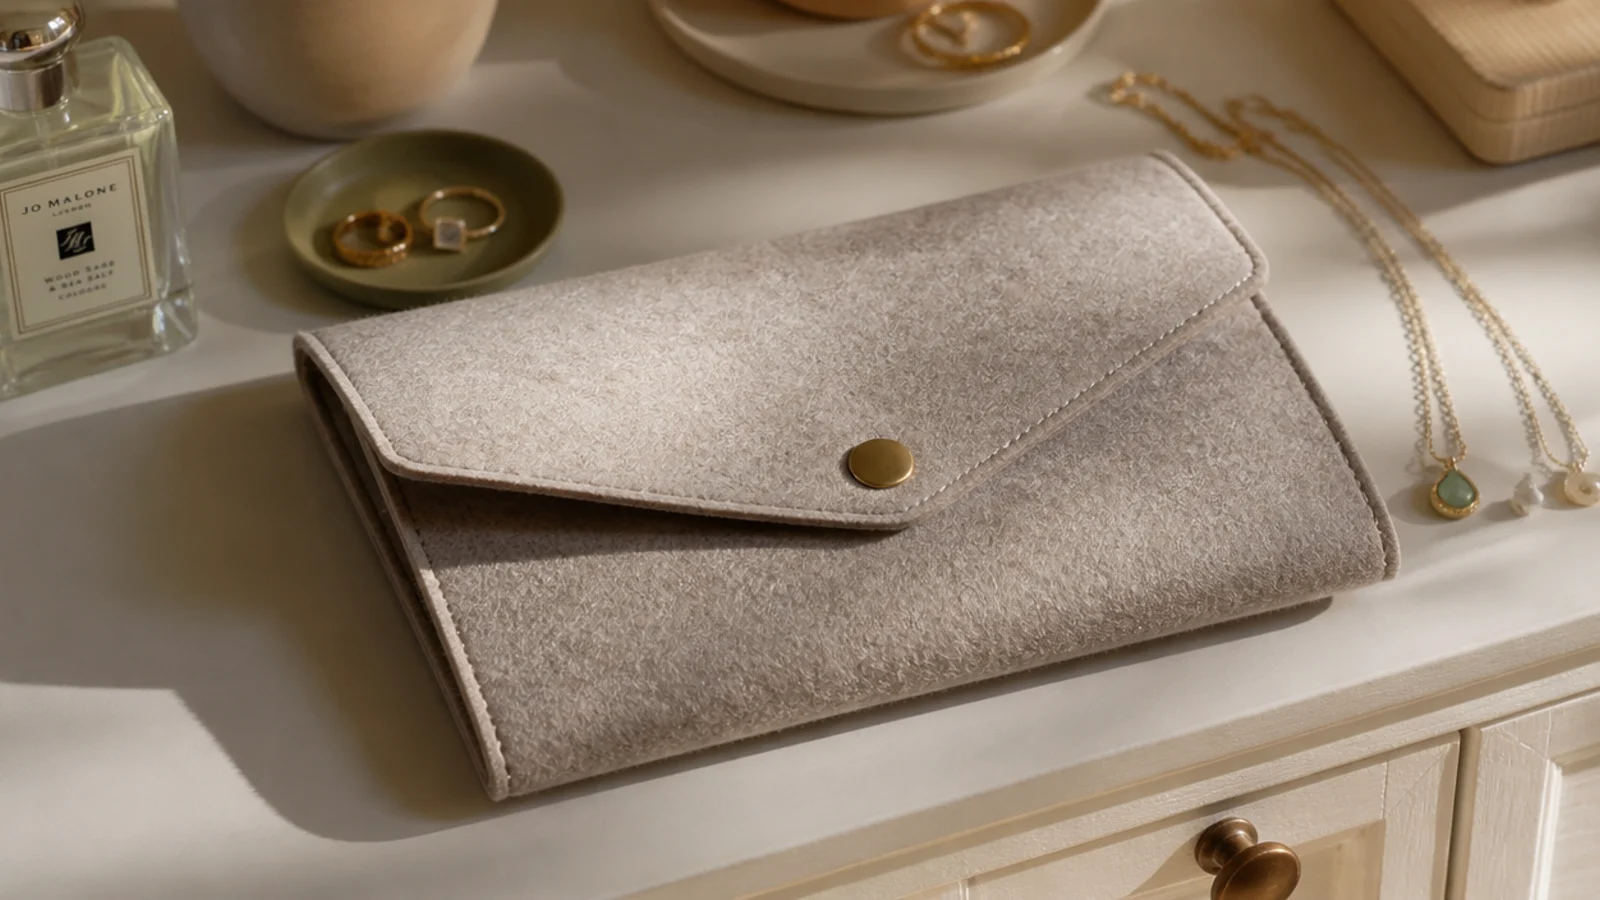
A no-sew felt folio made with glue and snaps holds a full mix and costs almost nothing. It folds and snaps shut. It suits a crafter who wants a custom travel kit without a sewing machine.
Layer felt pieces and hot glue on pockets, cut slits for necklace chains, and add ribbon loops for earrings. Attach a snap or ribbon tie to close it. Load each spot — chains in slits, studs on a felt patch, rings in a pocket — fasten clasps, and fold it shut. The felt cushions everything. Because it’s custom, size the spots to your exact pieces. Roll or fold to pack.
Editor's noteCut the necklace slits in the felt itself so chains thread through and lie flat, no straw needed for short chains.
Skip thisDon’t glue pockets with gaps at the corners; small pieces slip out the sides, so run the glue fully around each pocket.



