

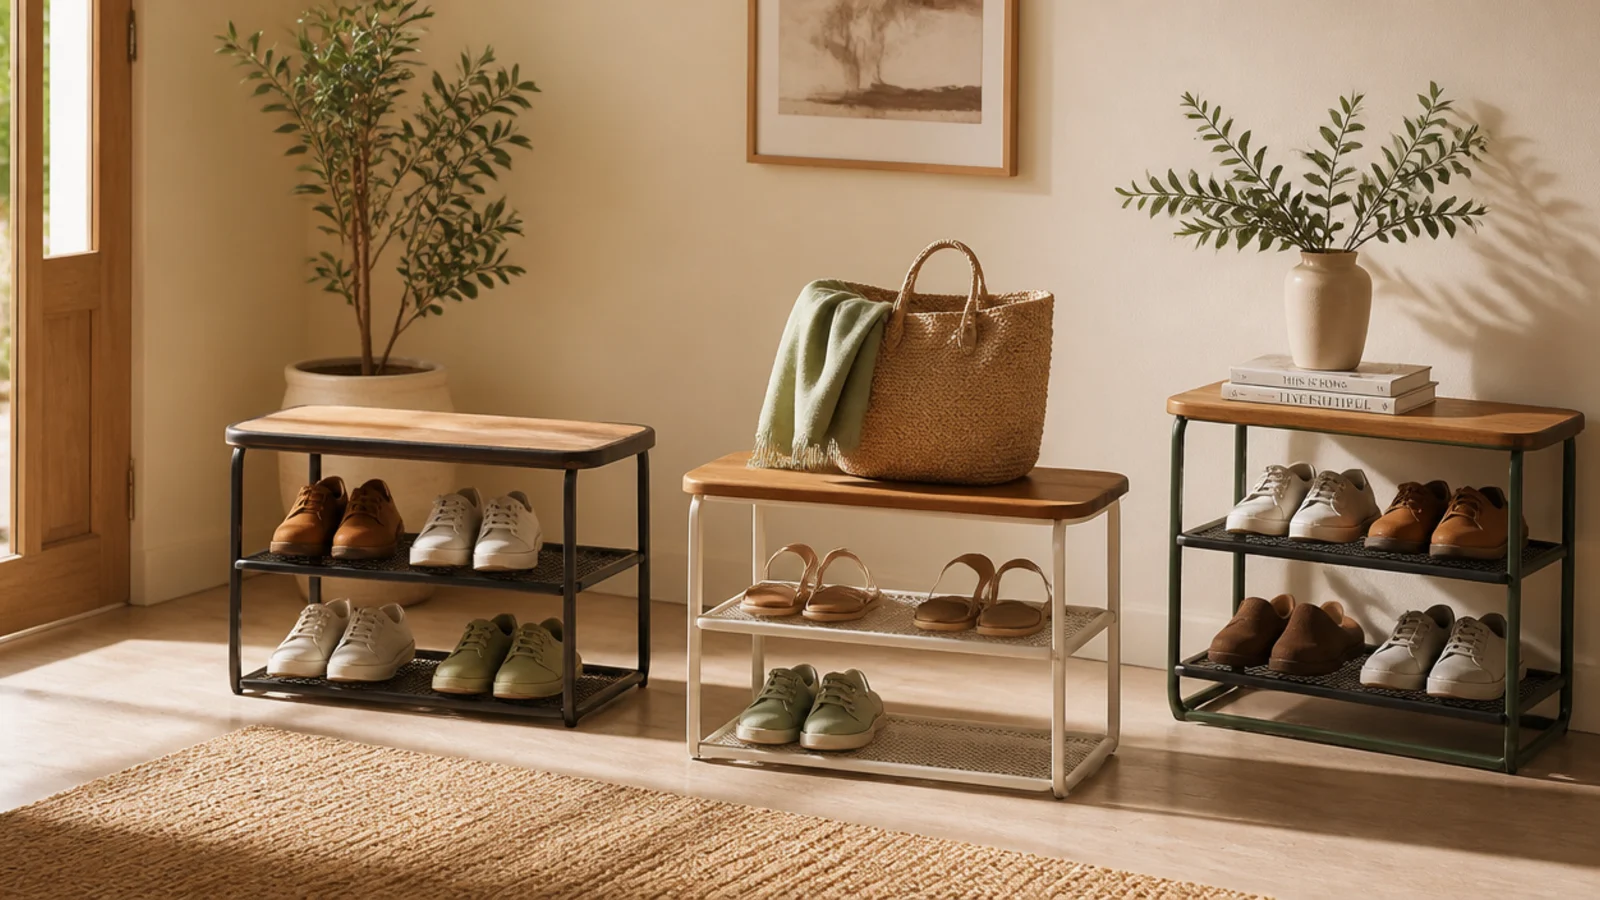
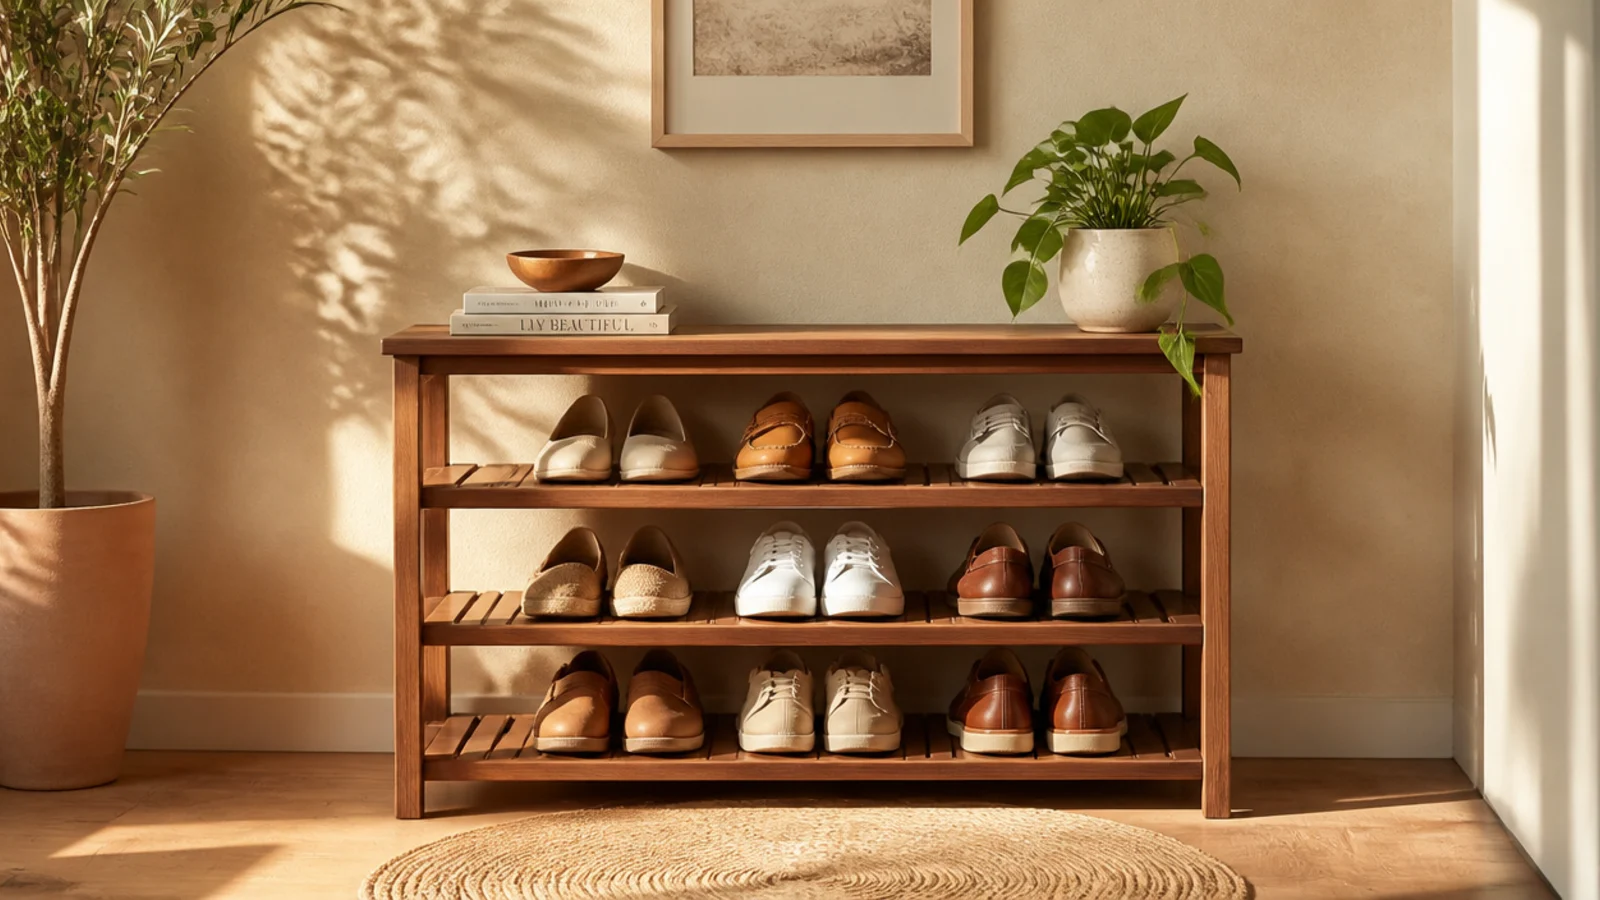
1. Slim Entry Bench with Shoe Shelf
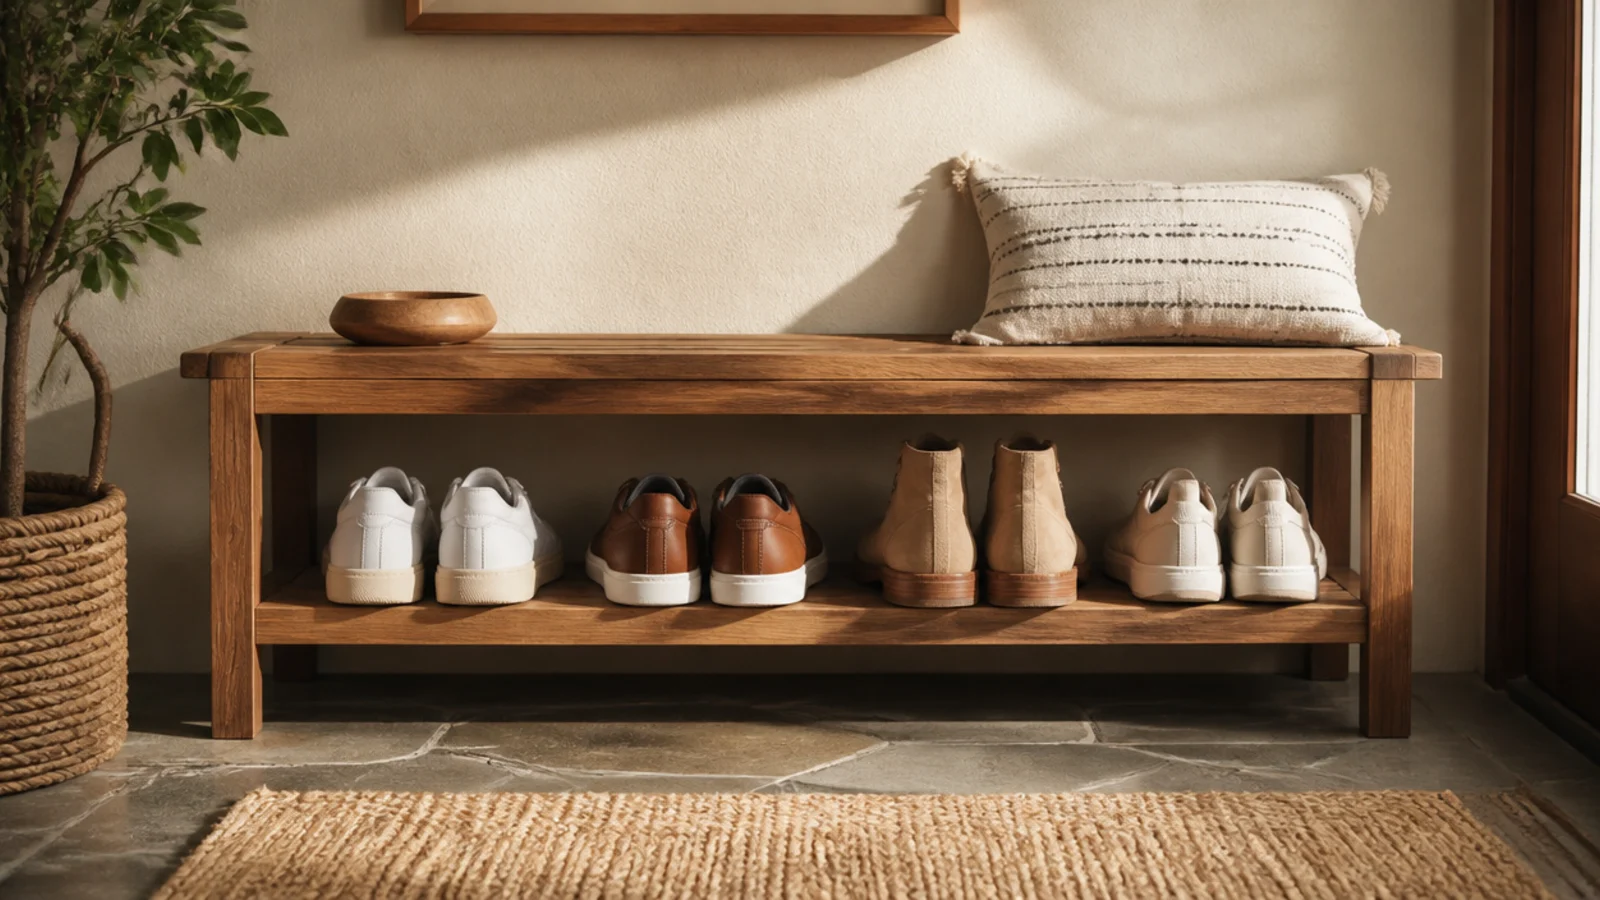
This is the easiest entryway upgrade that fixes the most problems at once. A slim bench with one open shelf beneath gives you a seat and a spot for daily shoes in a piece under 40 inches wide. It suits almost any entry and needs no drilling.
Editor's noteChoose a bench with the shelf a few inches off the floor so you can sweep under it without moving the whole thing.
Measure the wall beside your door and pick a bench 2-3 inches narrower so it does not crowd the door swing. Set it against the wall on the side where shoes come off, and line the lower shelf with daily pairs toe-out. Slide a boot tray onto the shelf if your entry gets wet. Add a cushion and a couple of baskets on the shelf ends to sort by person.
Skip thisDo not pick a bench deeper than 18 inches in a narrow entry; a deep bench forces you to squeeze past it every time you pass.
2. Console Table with Basket Row
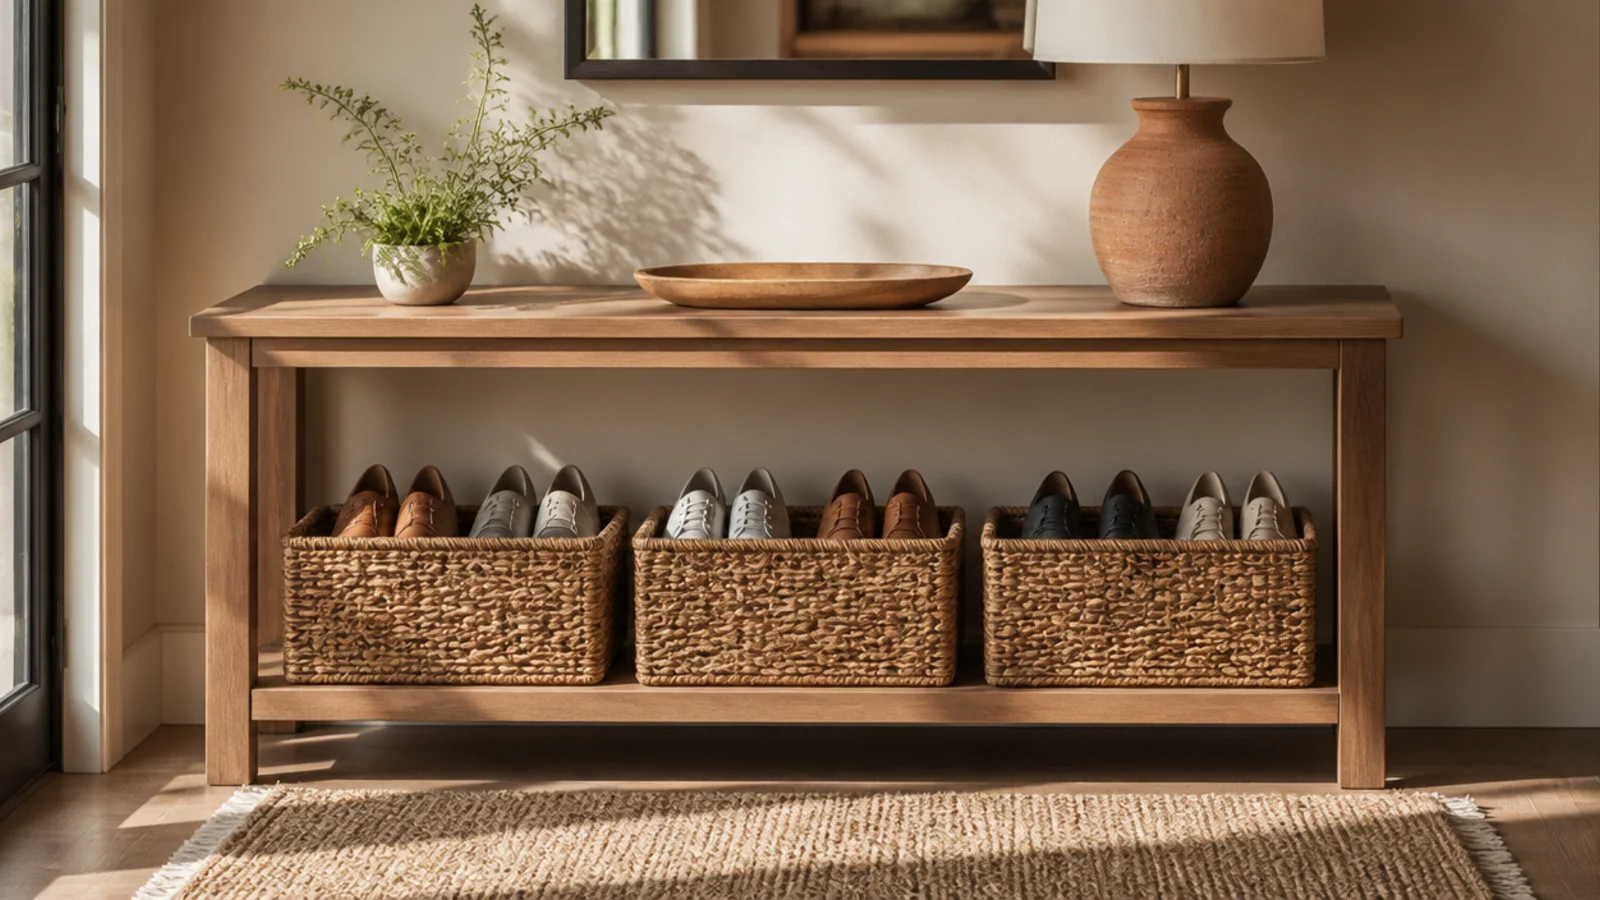
A narrow console table gives you a surface for keys and mail up top and a row of shoe baskets below. It suits an entry where you want a decorated surface, not just storage. The baskets hide the shoe jumble while the tabletop stays styled.
Choose a console 10-14 inches deep with an open lower shelf, and set it flat against the wall. Line up two or three matching baskets on the shelf, one per person or shoe type. Style the top with a small lamp, a tray for keys, and a plant so it reads as decor. Tuck a boot tray behind or beside it for wet pairs the baskets should not hold.
Pick baskets that sit a half-inch below the shelf lip so they slide out without scraping the underside of the table.
Do not let the tabletop become a second drop zone; keep it to a tray and a lamp or the whole console starts to pile up.
3. Wall-Mounted Angled Cubbies
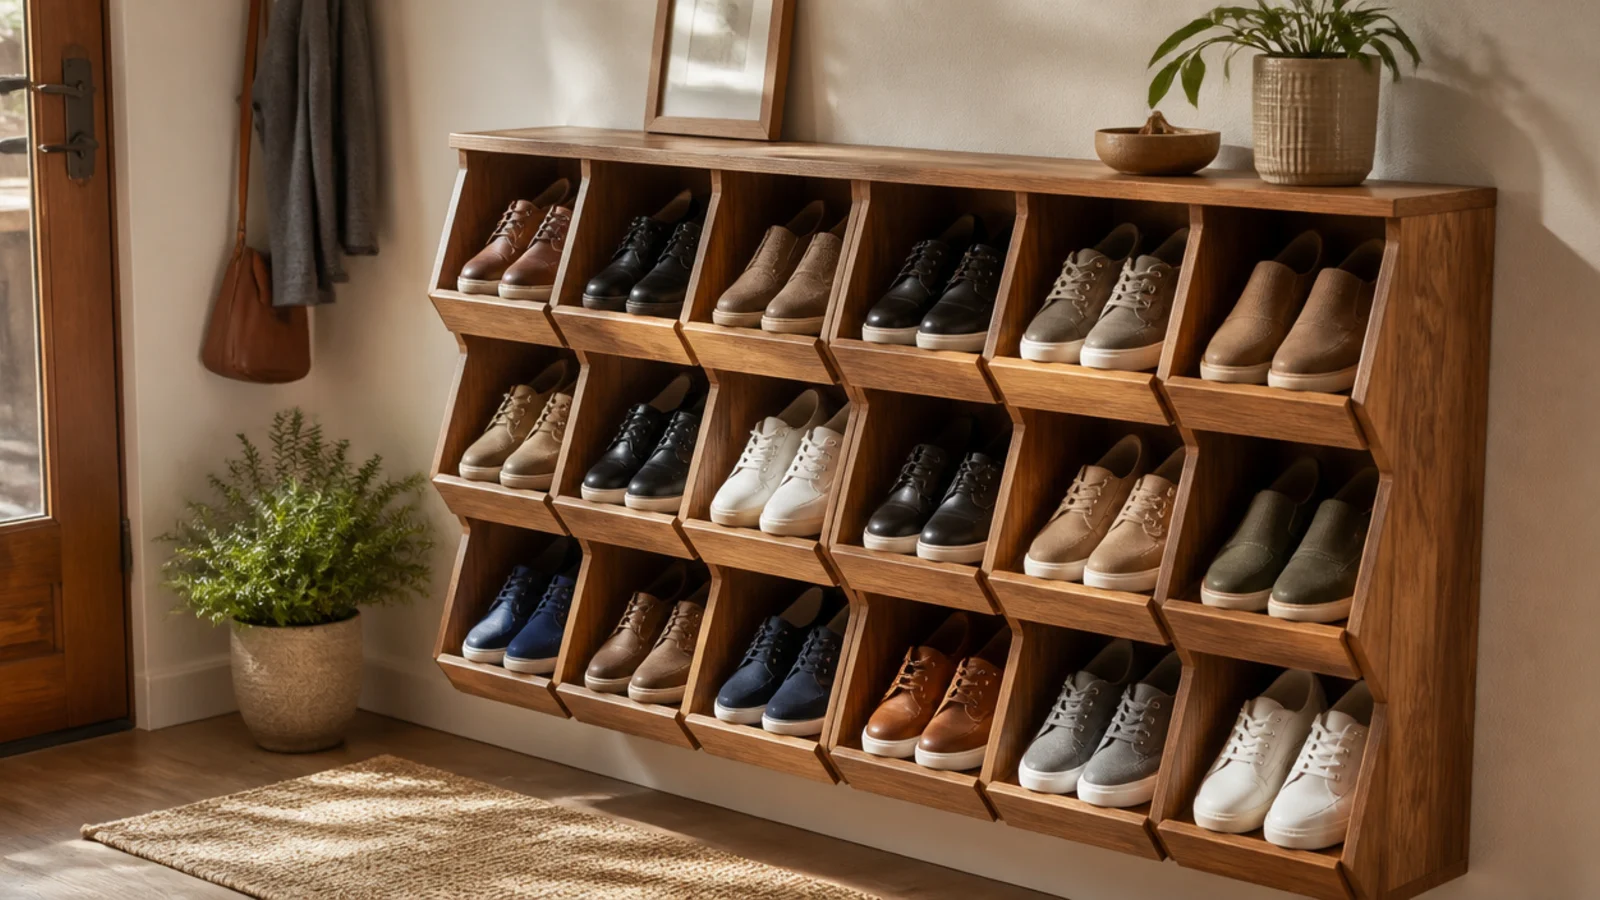
Angled cubbies mounted on the wall keep the floor completely clear and display shoes like a shop. Each tilted slot holds one pair and shows the toe. This suits a small entry where floor storage would block the walkway.
Editor's noteLeave the bottom of the wall open and set a boot tray on the floor beneath the cubbies for tall or wet footwear.
Find the studs and screw the cubby unit into them, or use heavy-duty anchors rated for the loaded weight. Mount it low enough to reach the top row easily, leaving floor space beneath for boots. Slot one pair per angled cubby, toe facing out. Keep the arrangement to daily shoes so the display stays sharp rather than crammed.
Skip thisDo not mount it into drywall without hitting studs or using rated anchors; loaded cubbies are heavy and will tear out.
4. Built-In Bench Nook
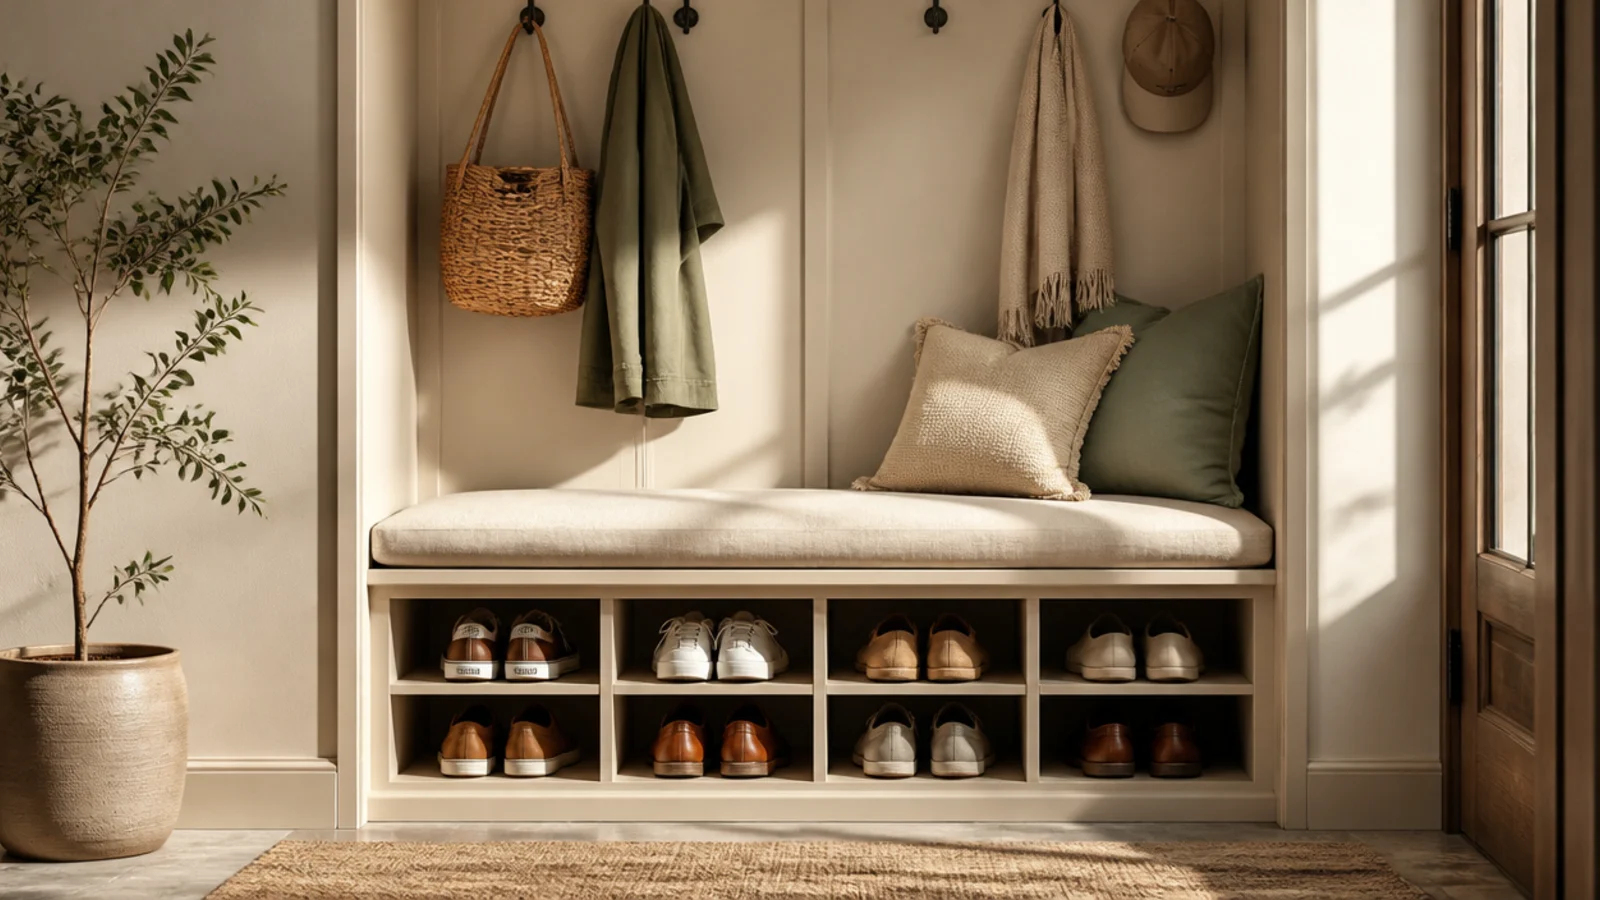
If your entry has an alcove or a dead recess, a built-in bench with cubbies turns it into a tailored mudroom. It suits a niche beside the door or under a staircase. Because it is fitted, it uses every inch of an awkward space.
Editor's noteRun the bench the full width of the alcove so there are no dust-catching gaps at the sides and it looks truly built-in.
Measure the alcove width, depth, and height precisely. Build or fit a bench at seat height (about 18 inches) with open cubbies below, one per person, and mount hooks on the back wall above. Seal or paint the wood so it wipes clean. Add a cushion on the seat and a boot tray in the base cubbies for wet days.
Skip thisDo not build the cubbies too shallow; measure your largest everyday shoe and add an inch so nothing sticks out past the seat.
5. Ladder Shelf by the Door
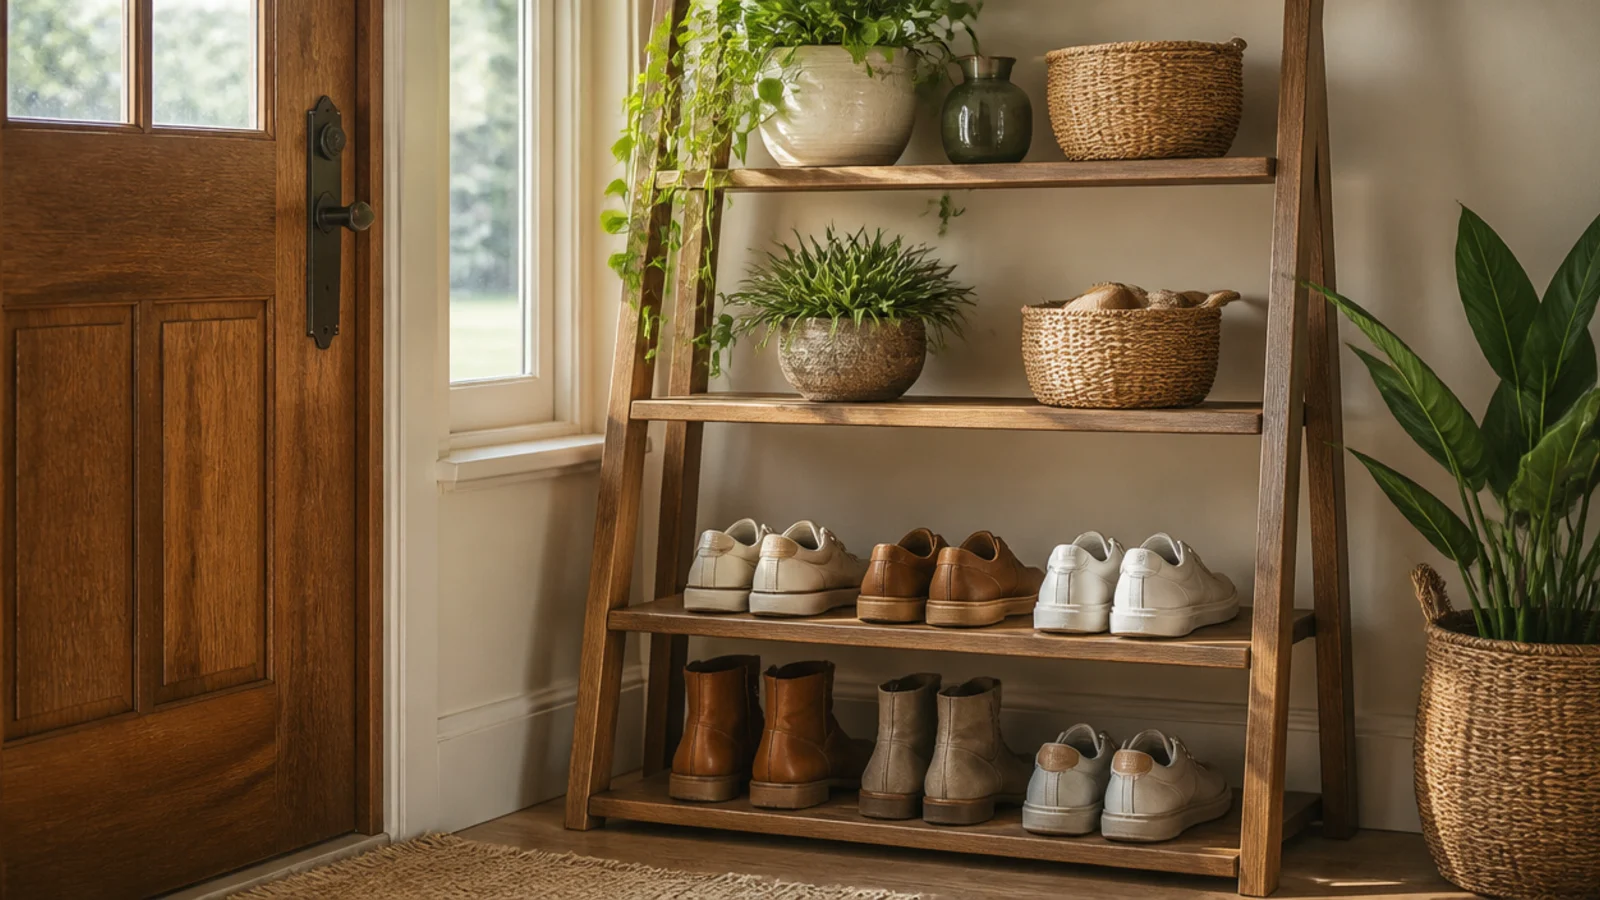
A leaning ladder shelf uses vertical space beside the door, holding shoes on the lower tiers and decor up top. It suits a narrow strip of wall where a bench will not fit. The open frame keeps a small entry feeling light.
Editor's notePut the heaviest shoes on the bottom shelf to lower the center of gravity and keep the leaning frame stable.
Lean the ladder against the wall so the shelves tilt back slightly, then strap the top to the wall so it cannot slide. Use the two lowest shelves for shoes and the upper ones for a basket, a plant, and keys. Keep shoes to a pair or two per lower shelf. Place a small tray on a low shelf to corral loose items.
Skip thisDo not load the upper shelves heavy; a top-heavy ladder pulls away from the wall even when strapped.
6. Boot Tray and Rack Combo
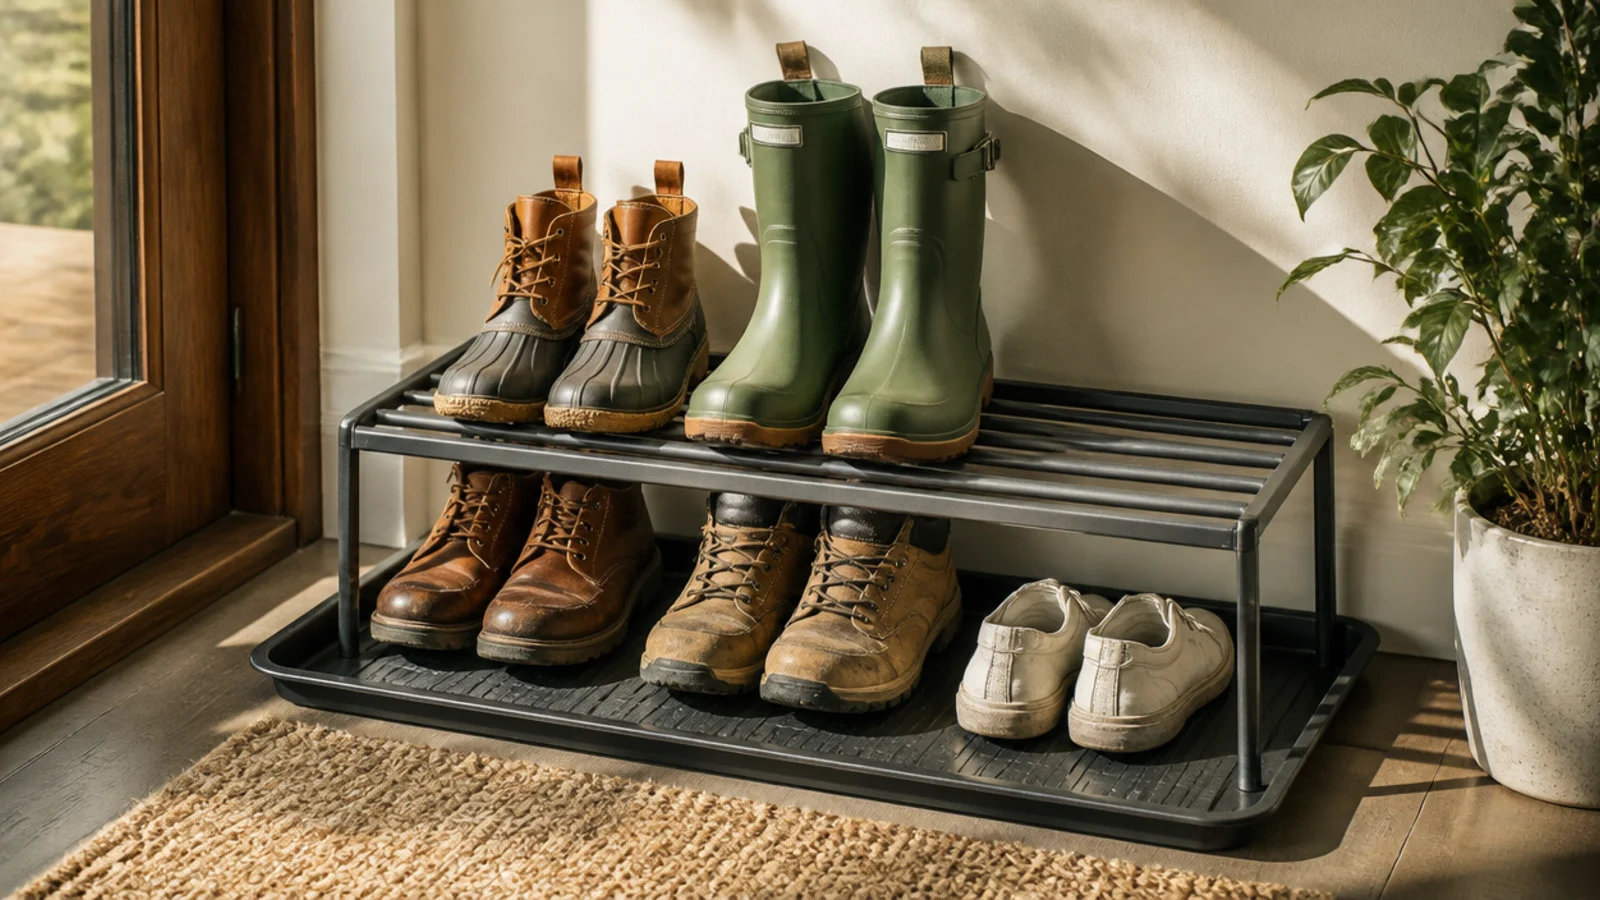
Setting a low rack inside a large boot tray gives you a contained wet-weather station right at the door. It suits rainy and snowy climates where mud is the real problem. Everything drips into the tray, so the floor stays dry.
Buy a ribbed boot tray a few inches larger than your rack footprint, and set a low one- or two-tier rack inside it. Reserve it for the shoes that come in wet — boots, rain shoes, muddy sneakers. Empty and rinse the tray at the end of each wet week. Keep dry, nicer shoes on a separate rack away from the water.
Pour a thin layer of decorative pebbles into the tray so shoes drip and dry above the standing water instead of sitting in it.
Do not put a wood rack in the tray without sealing it; standing water wicks up untreated wood and warps it.
7. Under-Console Rolling Bins
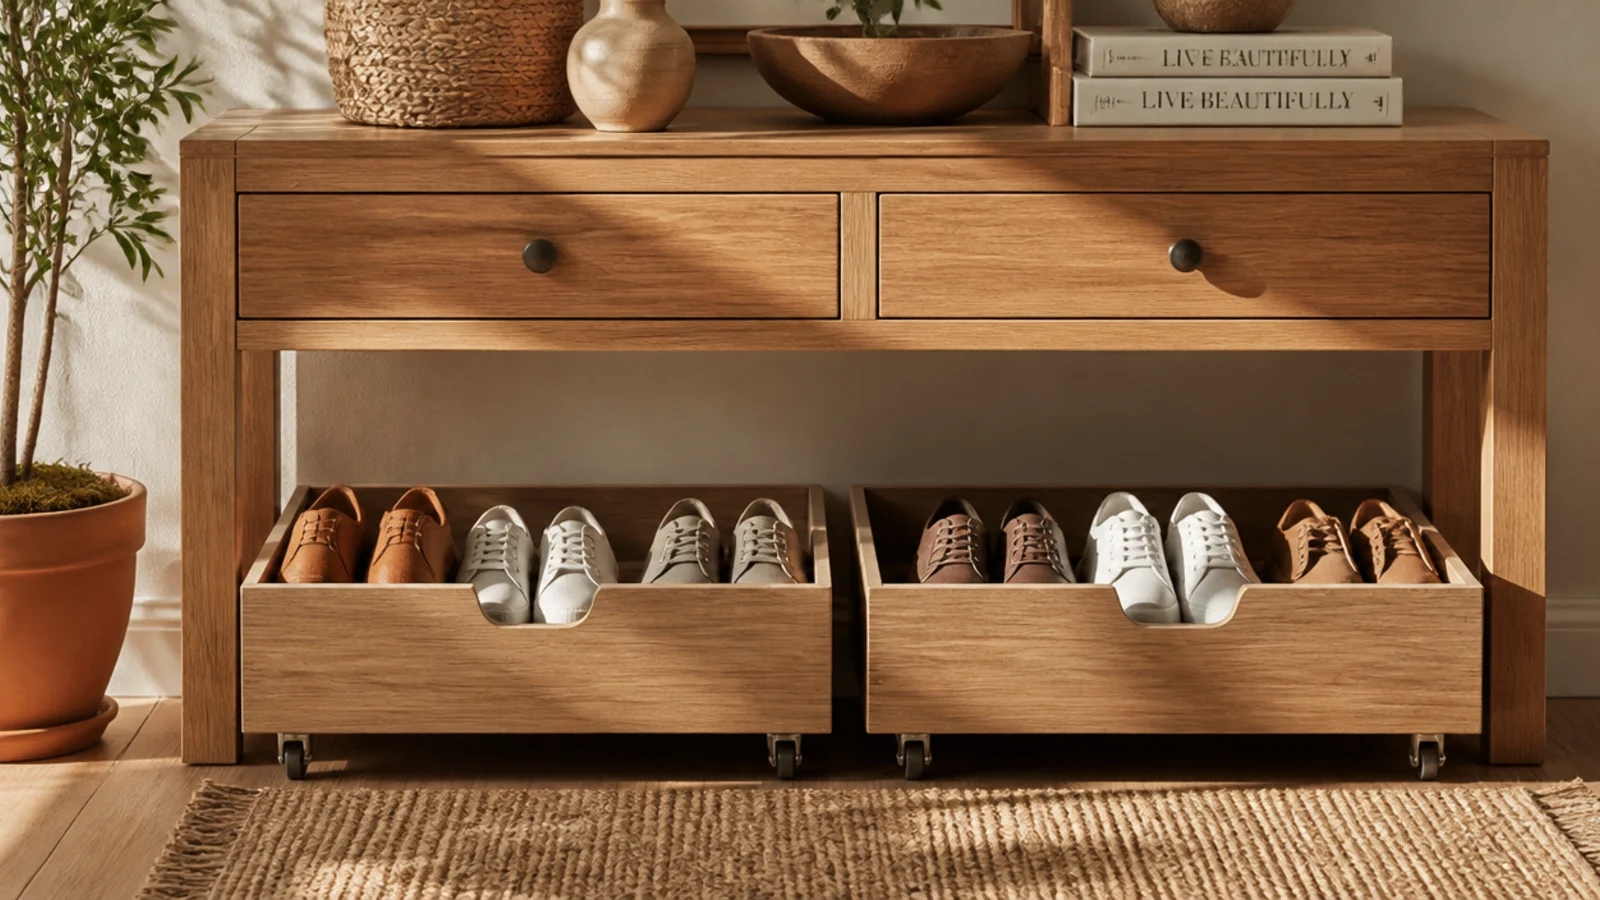
Rolling bins tucked under a console or hall table turn dead floor space into pull-out shoe drawers. They suit an entry with a table you do not want to replace. You roll a bin out to load or grab, then push it back out of sight.
Editor's noteFit a handle or a loop of webbing to the front of each bin so you can hook it out with a foot on the way in.
Measure the clearance under your console and pick bins on casters that fit beneath it. Assign one bin per person and load pairs in a single layer so you can see them. Roll them fully back so they hide under the table skirt. Add a lid if the bins will show or collect dust.
Skip thisDo not choose bins taller than the clearance; a bin that jams under the table lip stops getting used within a week.
8. Hall Tree with Shoe Base
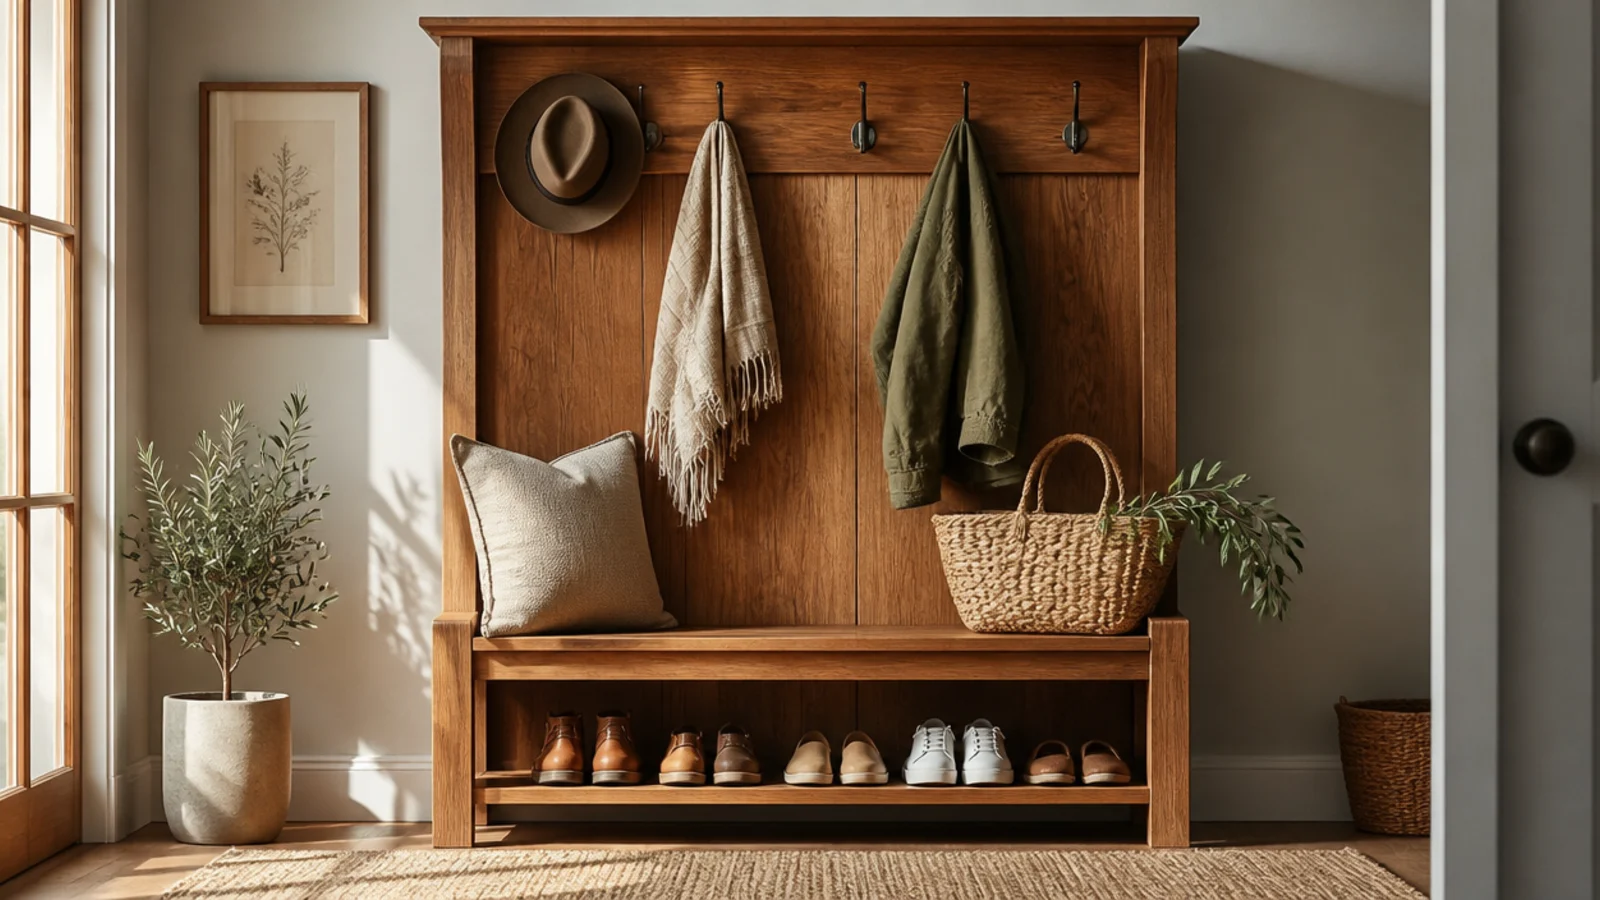
A hall tree stacks coat hooks, a seat, and a shoe shelf into one vertical piece, so it does the whole entry job in a narrow footprint. It suits a small entry that needs coats and shoes handled together. Everything happens in one spot by the door.
Editor's noteHang a small basket on one of the lower hooks for hats, gloves, and dog leashes so loose items stop landing on the seat.
Pick a hall tree about 30-40 inches wide and anchor the top to a stud so it cannot tip. Set it against the wall on the path in. Use the base shelf for daily shoes, the seat to change them, and the hooks for coats and bags. Slide a boot tray onto the base shelf for wet weather.
Skip thisDo not leave a tall hall tree unanchored; it is top-heavy by design and tips forward if someone leans or a child climbs the hooks.
9. Farmhouse Crate Cubbies
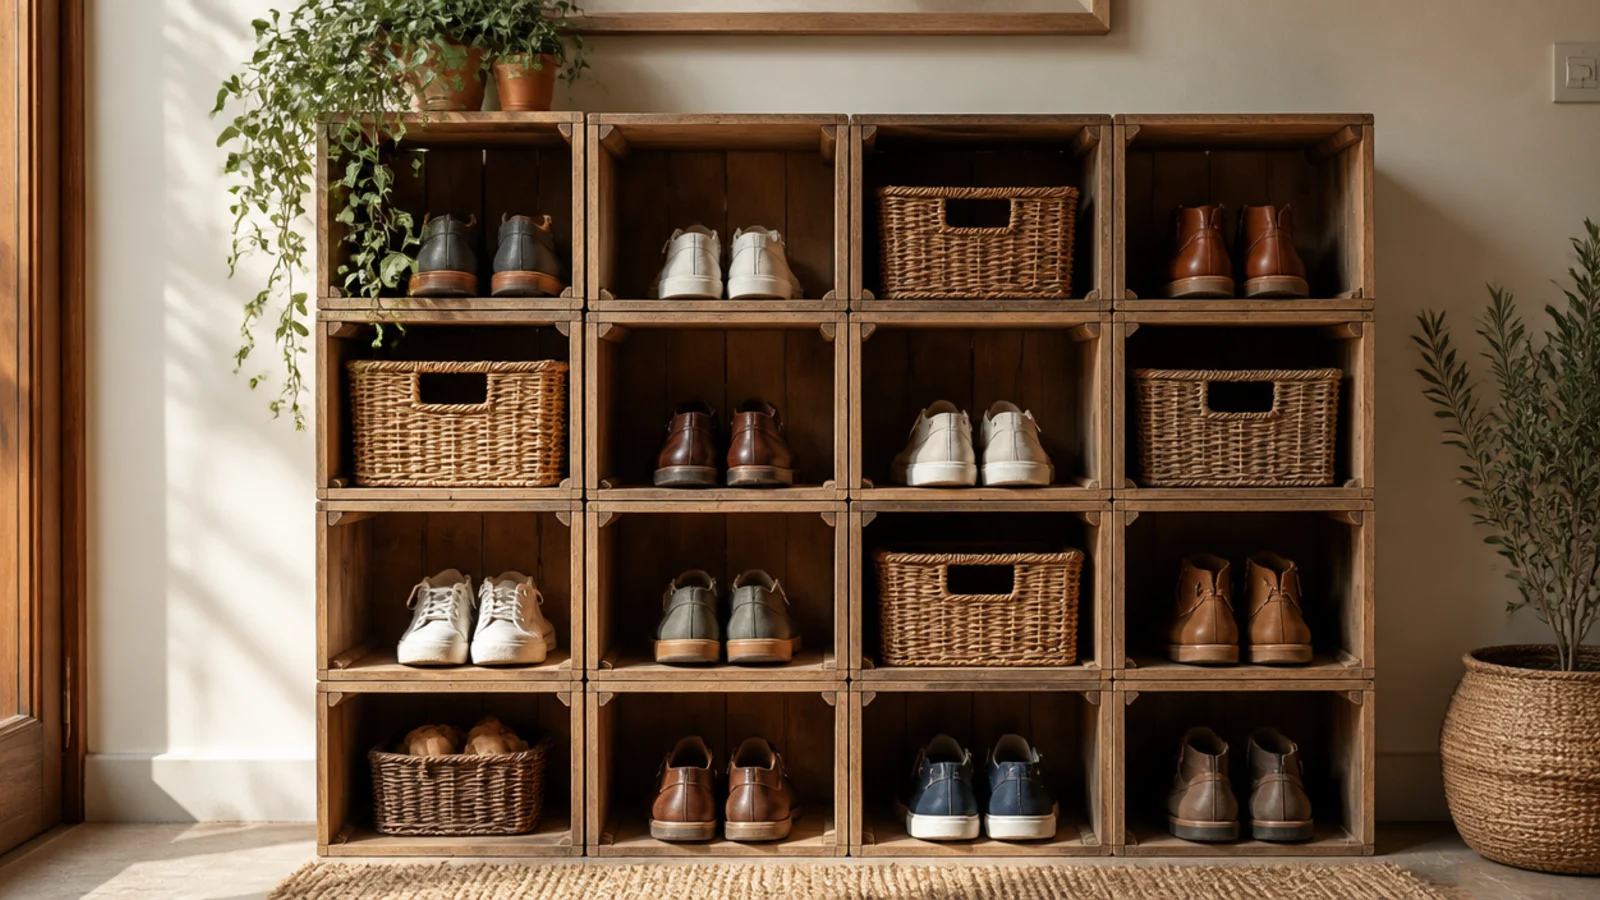
Wooden crates fixed together into a grid give an entry rustic cubbies for very little money. Each crate holds a pair or a small basket. It suits a farmhouse or casual entry and adapts to whatever wall width you have.
Sand the crates, then screw them together side to side into a grid sized to your wall. Secure the assembled grid to the wall through the back into studs. Assign crates by person and drop shoes or a labeled basket into each. Seal the wood with a clear matte finish so it wipes clean and does not shed splinters.
Stand a few crates on end to make tall slots for boots and leave the rest flat for everyday shoes.
Do not stack crates freestanding at an entry where they get bumped; screw them together and to the wall so nothing shifts.
10. Floating Shelf Trio
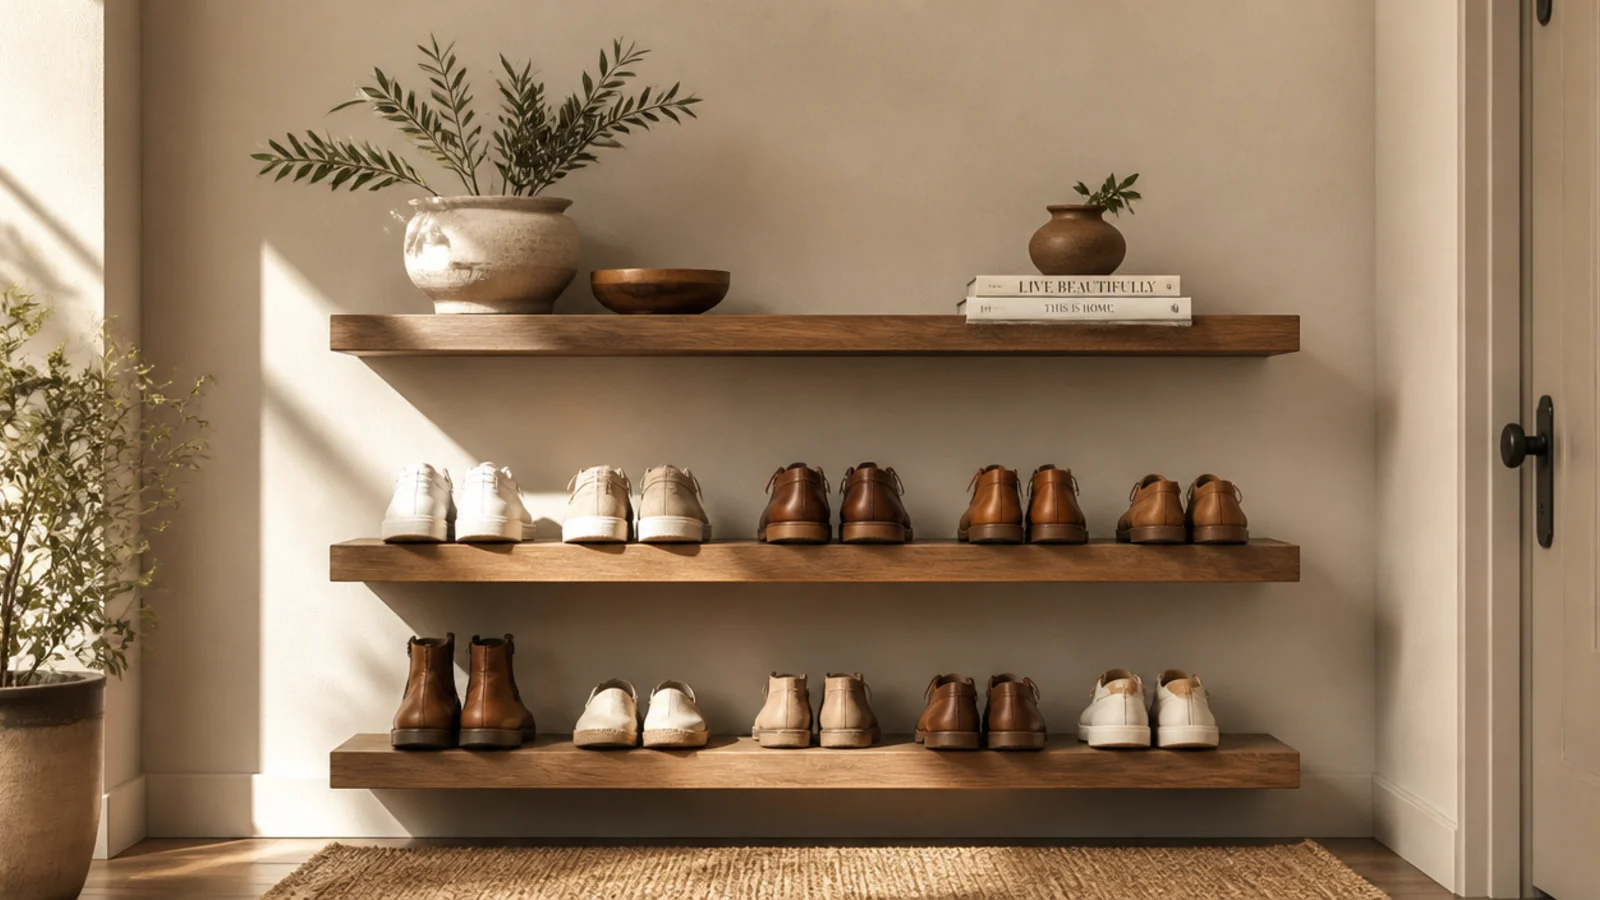
Three floating shelves stacked up a wall keep the floor clear and make shoes look like a curated display. The lowest two hold shoes and the top holds decor. It suits a minimal entry where you want nothing on the ground.
Editor's noteAdd a slim lip or a length of dowel along the front of the shoe shelves so pairs cannot slide off when nudged.
Mark level lines and mount each shelf into studs or with rated anchors, spacing them about 8-10 inches apart for shoe height. Put daily shoes on the lower two shelves, toe-out, and a plant or tray on top. Leave floor space beneath the lowest shelf for boots. Keep it to a few pairs per shelf so the look stays clean.
Skip thisDo not overload floating shelves past their bracket rating; sagging or pulled-out shelves are the classic failure here.
11. Woven Basket Wall
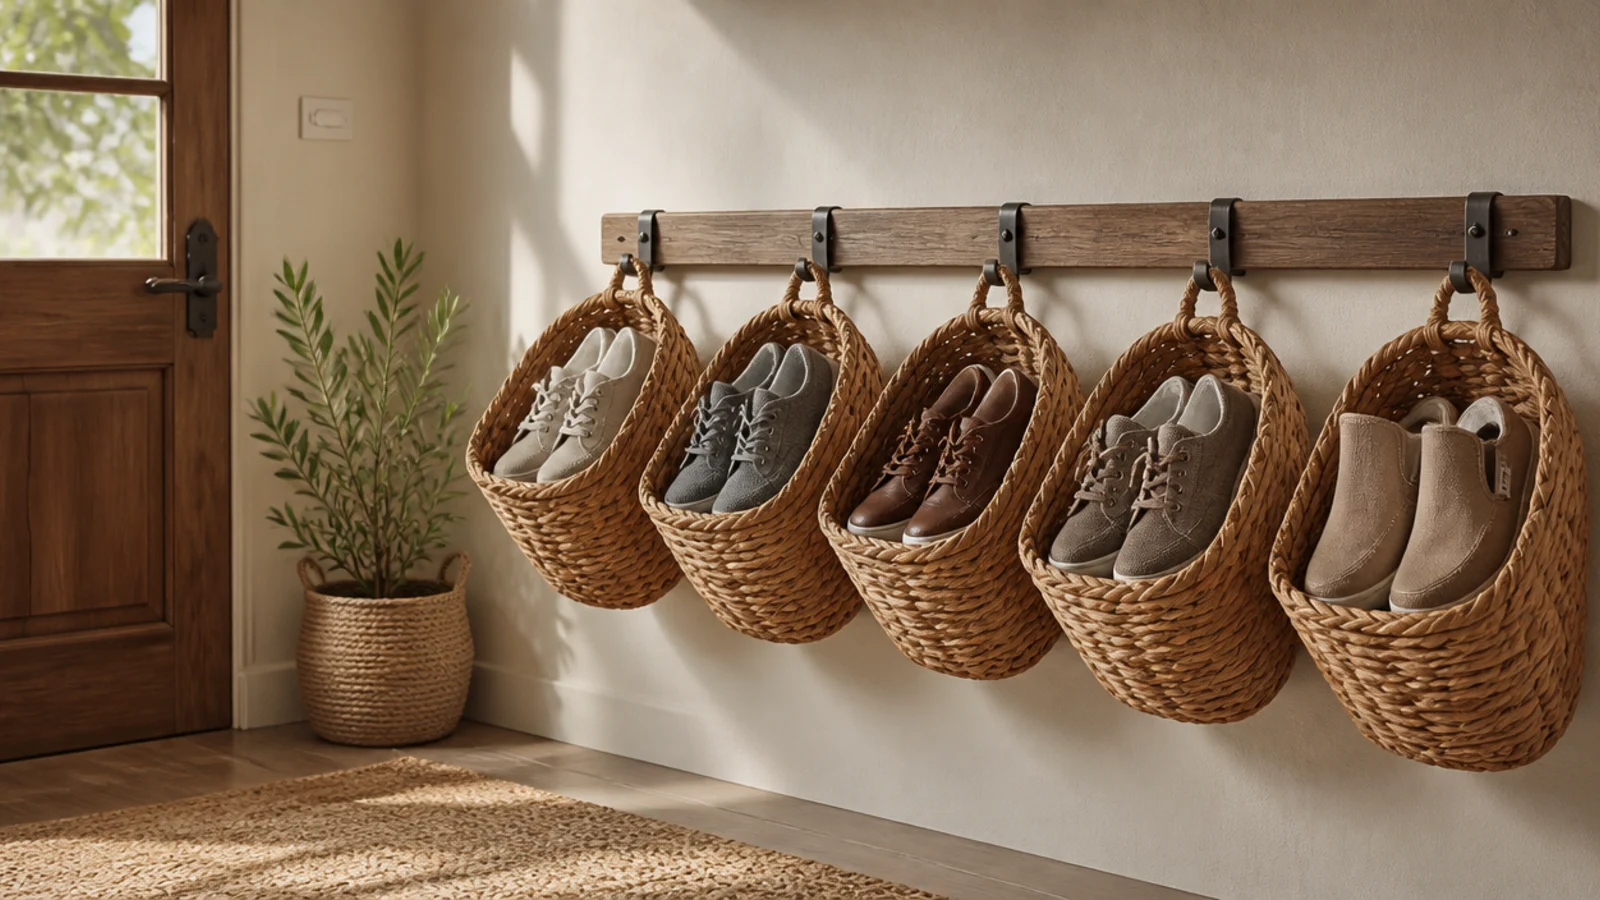
Woven baskets hung on a wall rail lift casual shoes off the floor into warm, textured bins. It suits kids' and everyday shoes that do not need lining up. The natural weave softens an entry and hides the jumble.
Editor's noteChoose baskets with a stiff flat back or a wooden frame so they hold their shape and hang flush instead of slumping.
Mount a sturdy rail or individual hooks into studs at heights that suit each user. Hang flat-backed baskets so they sit against the wall, one per person. Drop shoes straight in — no arranging needed. Keep each basket to a few pairs so it does not sag off the hook.
Skip thisDo not overfill; a basket crammed past its rim spills shoes and pulls the hook loose from the wall.
12. Mudroom Bench with Baskets and Hooks
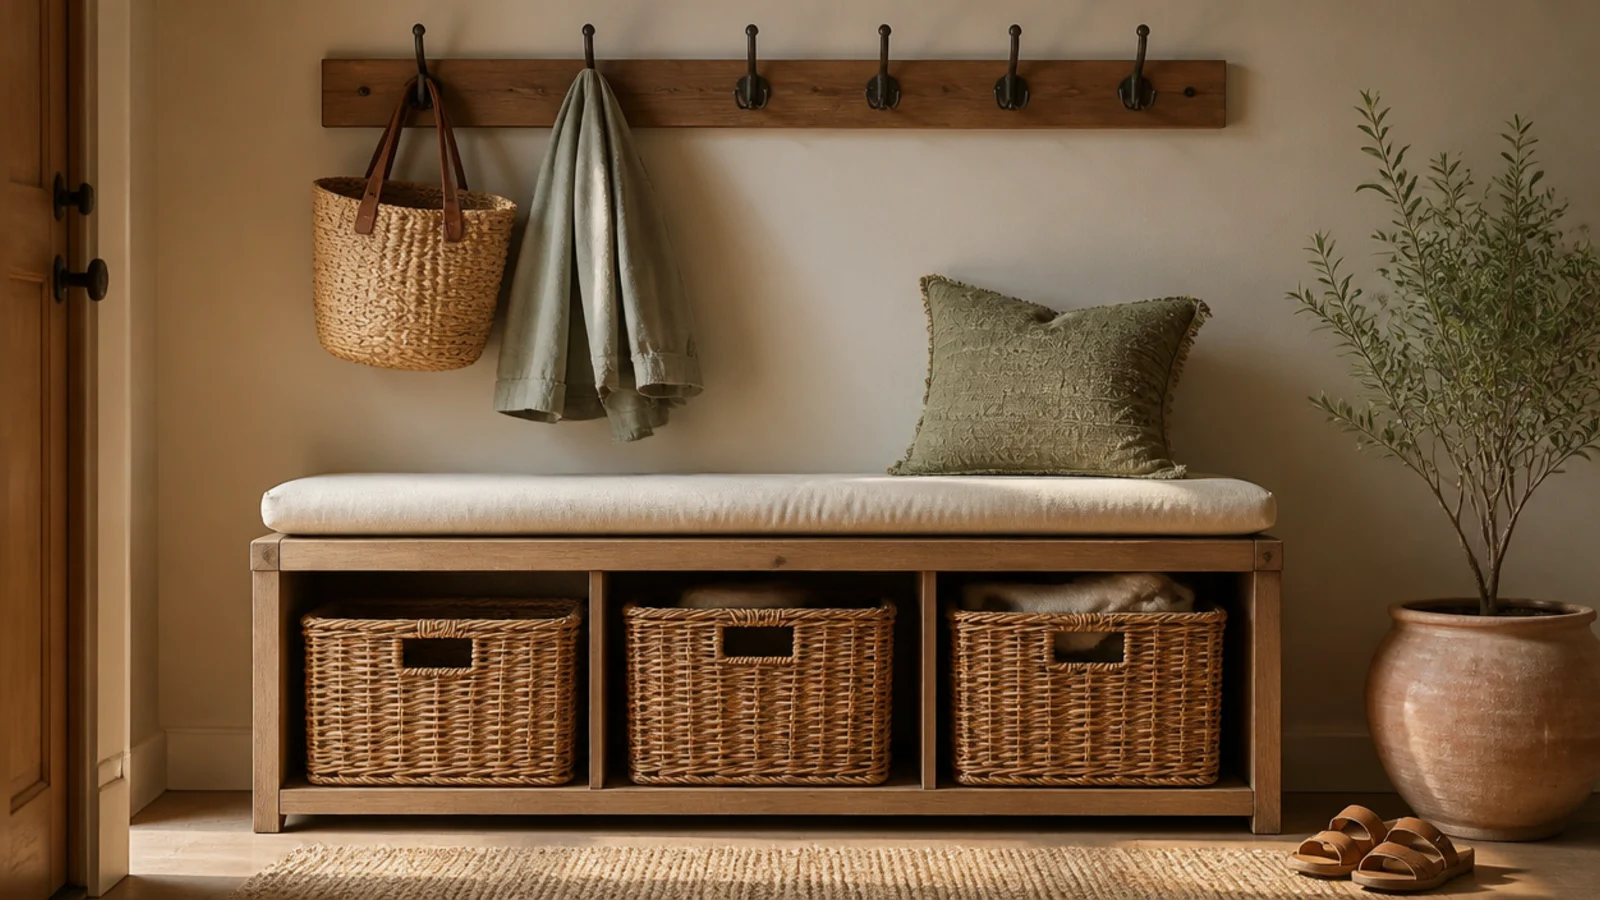
A bench with baskets below and hooks above is the classic mudroom setup, giving every family member a seat, a shoe basket, and a coat hook. It suits a busy household entry. The routine — sit, shoes in the basket, coat on the hook — happens in one place.
Editor's notePut a small labeled tag on each basket and hook so kids know exactly where their things go and the system runs itself.
Set a bench 16-18 inches deep against the wall and mount a rail of hooks above it into studs at coat height. Slide one basket per person under the seat. Assign each person a basket and a hook so shoes and coats always land in the same spot. Add a boot tray beside the bench for wet pairs.
Skip thisDo not mount the hooks so high that kids cannot reach them; out-of-reach hooks mean coats end up on the bench instead.
13. Narrow Tall Shoe Cabinet
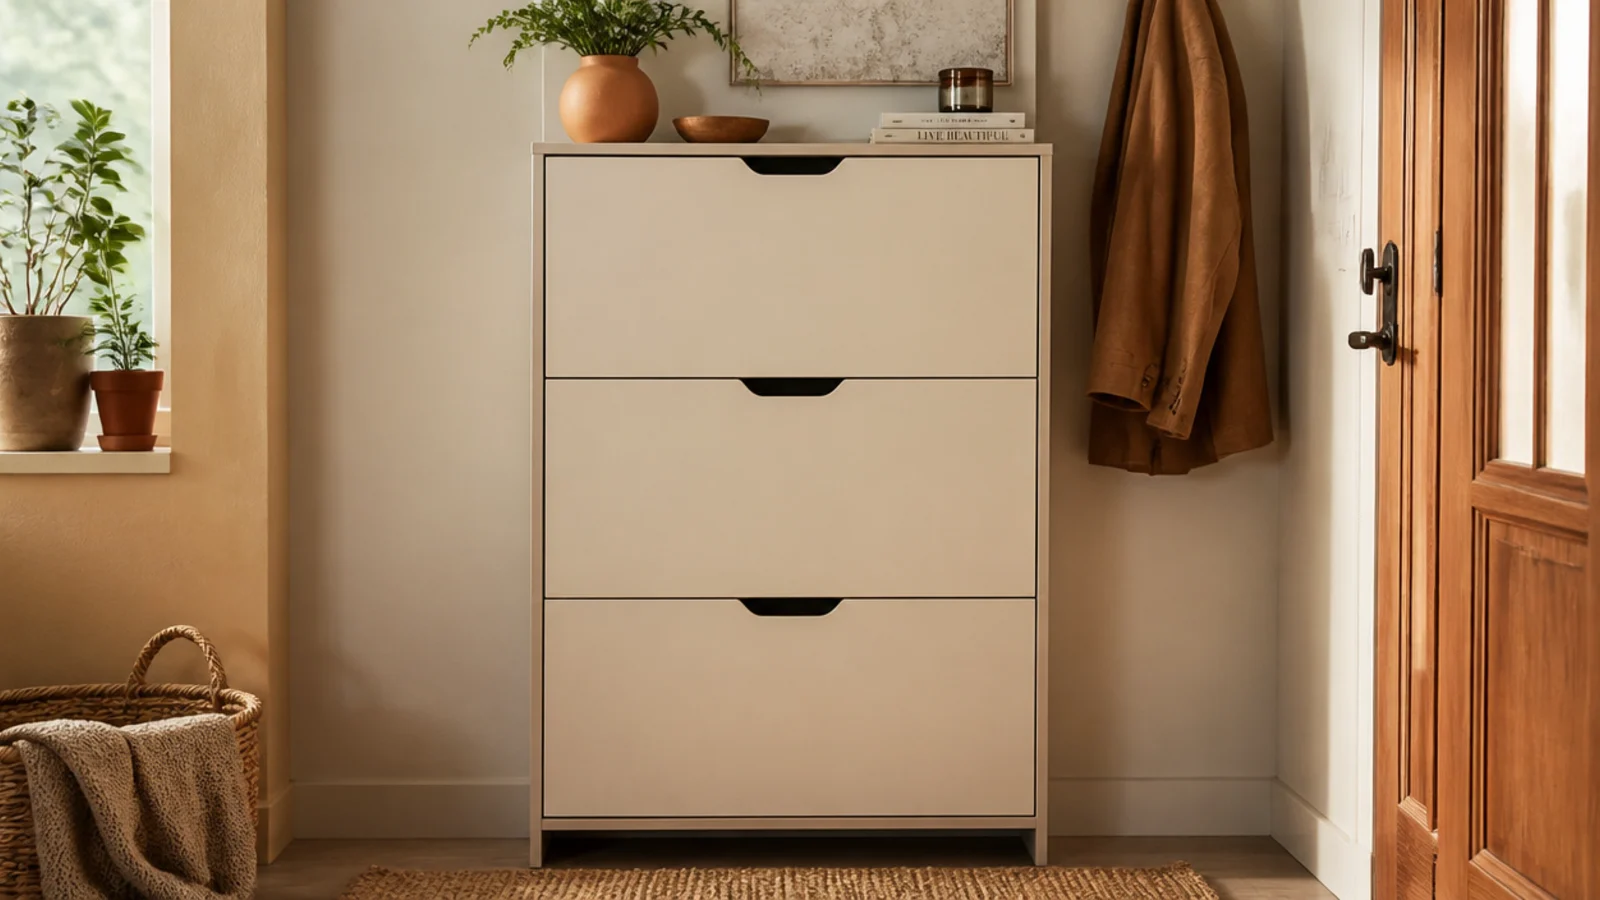
A tall narrow cabinet with flip-out compartments stores many pairs behind a clean closed front in a footprint under 10 inches deep. It suits a formal entry or a slim wall where open shoes would look messy. Everything hides behind doors.
Measure the wall and pick a cabinet that fits width and height with the doors clear of the door swing. Anchor the top to a stud with the included strap. Store shoes on edge in each flip-out compartment — this suits flats and sneakers; bulky boots need a different spot. Keep the top of the cabinet clear or use it for a tray and a lamp.
Stand shoes sole-to-sole in each compartment so two pairs fit where one usually goes.
Do not force boots into the shallow tilting compartments; they jam the door and stress the hinges.
14. Bench and Mirror Combo
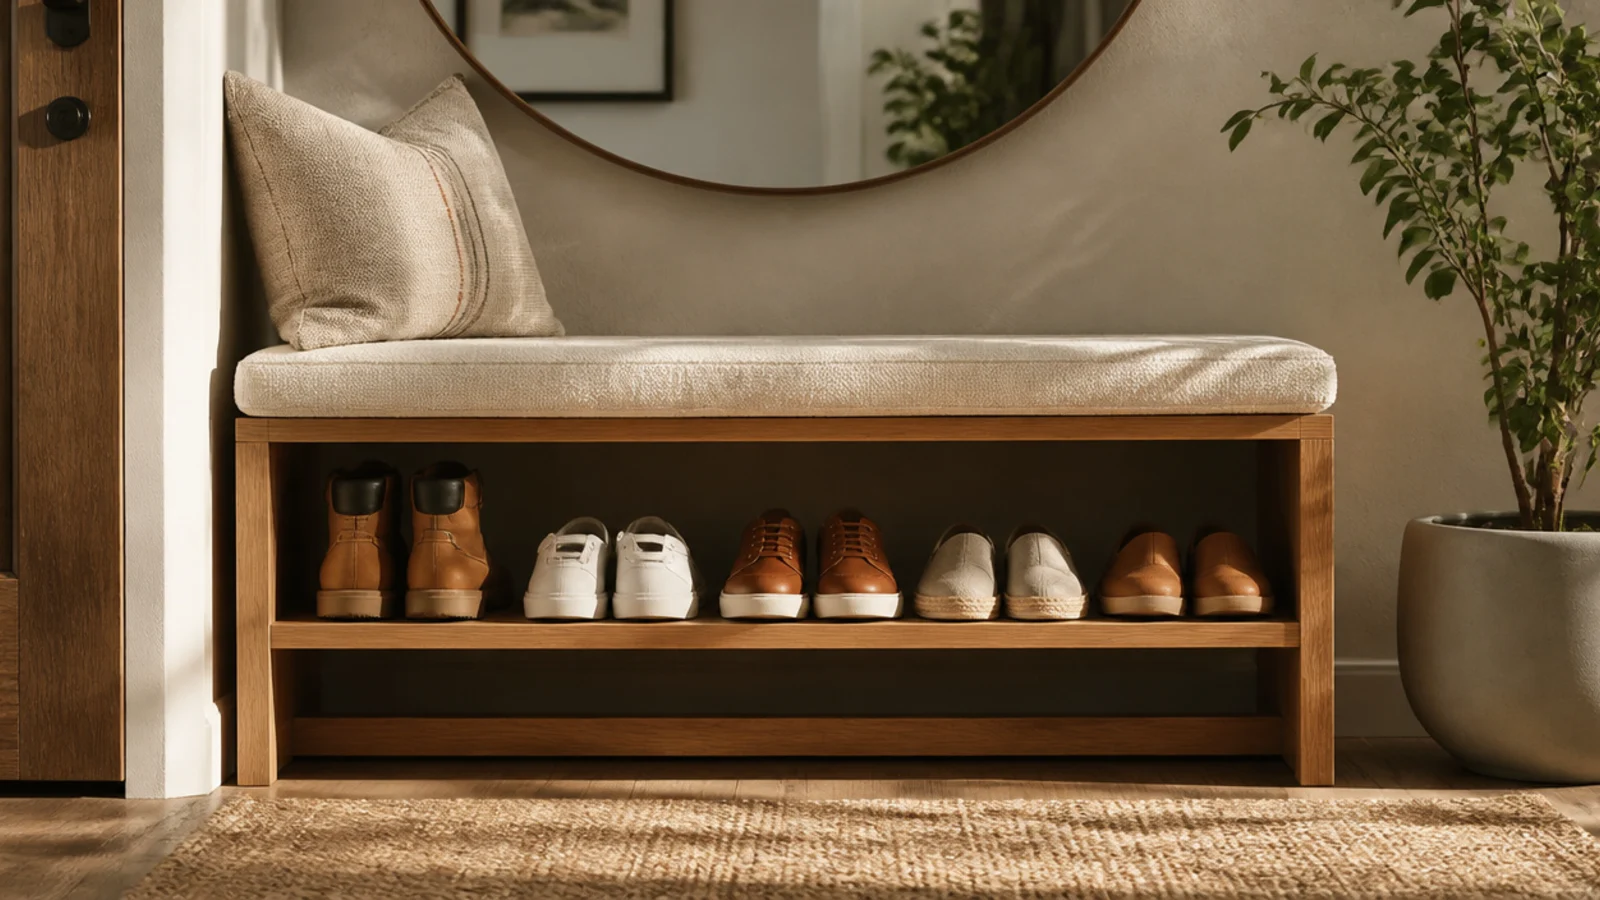
Pairing a shoe bench with a mirror above turns the spot into a functional check-yourself-on-the-way-out station. It suits an entry that doubles as a last-look stop. The mirror also bounces light and makes a small entry feel bigger.
Editor's noteHang the mirror so its bottom edge sits about a foot above the bench — close enough to feel connected, high enough to use standing.
Set a storage bench against the wall and hang a mirror above it, centered, into a stud or with rated anchors. Use the bench shelf or interior for daily shoes and the seat to put them on. Keep a small tray on the seat edge or a nearby shelf for keys. The mirror finishes the wall so it reads as designed.
Skip thisDo not hang a heavy mirror on a single drywall anchor above a bench people sit on; use studs so it cannot fall.
15. Over-Radiator Shelf Rack
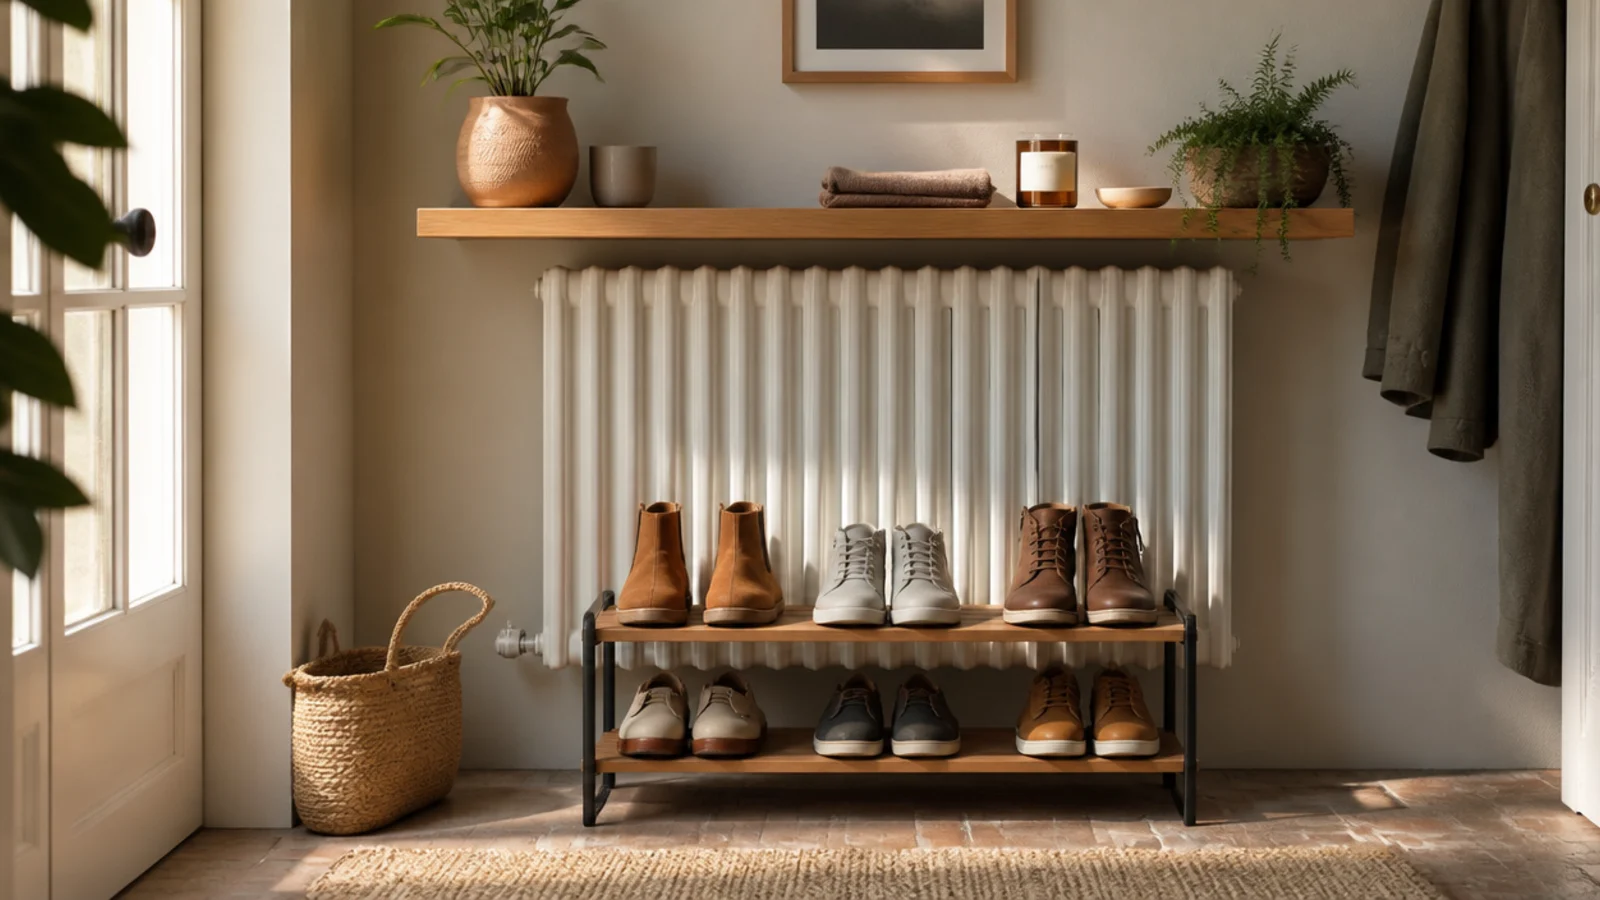
The awkward space around an entry radiator can become a shoe zone, with a shelf over the top and a rack tucked beneath. It suits older homes where a radiator eats the best wall by the door. The gentle heat even helps dry damp shoes.
Editor's noteRest damp shoes on the shelf above the radiator overnight and they dry by morning — just not directly on a scorching surface.
Mount a heat-safe shelf above the radiator (leaving clearance so it does not trap heat) into studs. Set a low rack on the floor in front of or beside the radiator for daily shoes. Use the shelf above for keys, gloves, and a basket. Keep flammable items and delicate shoes off the hottest surface.
Skip thisDo not box the radiator in tightly; blocking airflow makes it work harder and can overheat, so leave a gap for heat to rise.
16. Corner Bench Nook
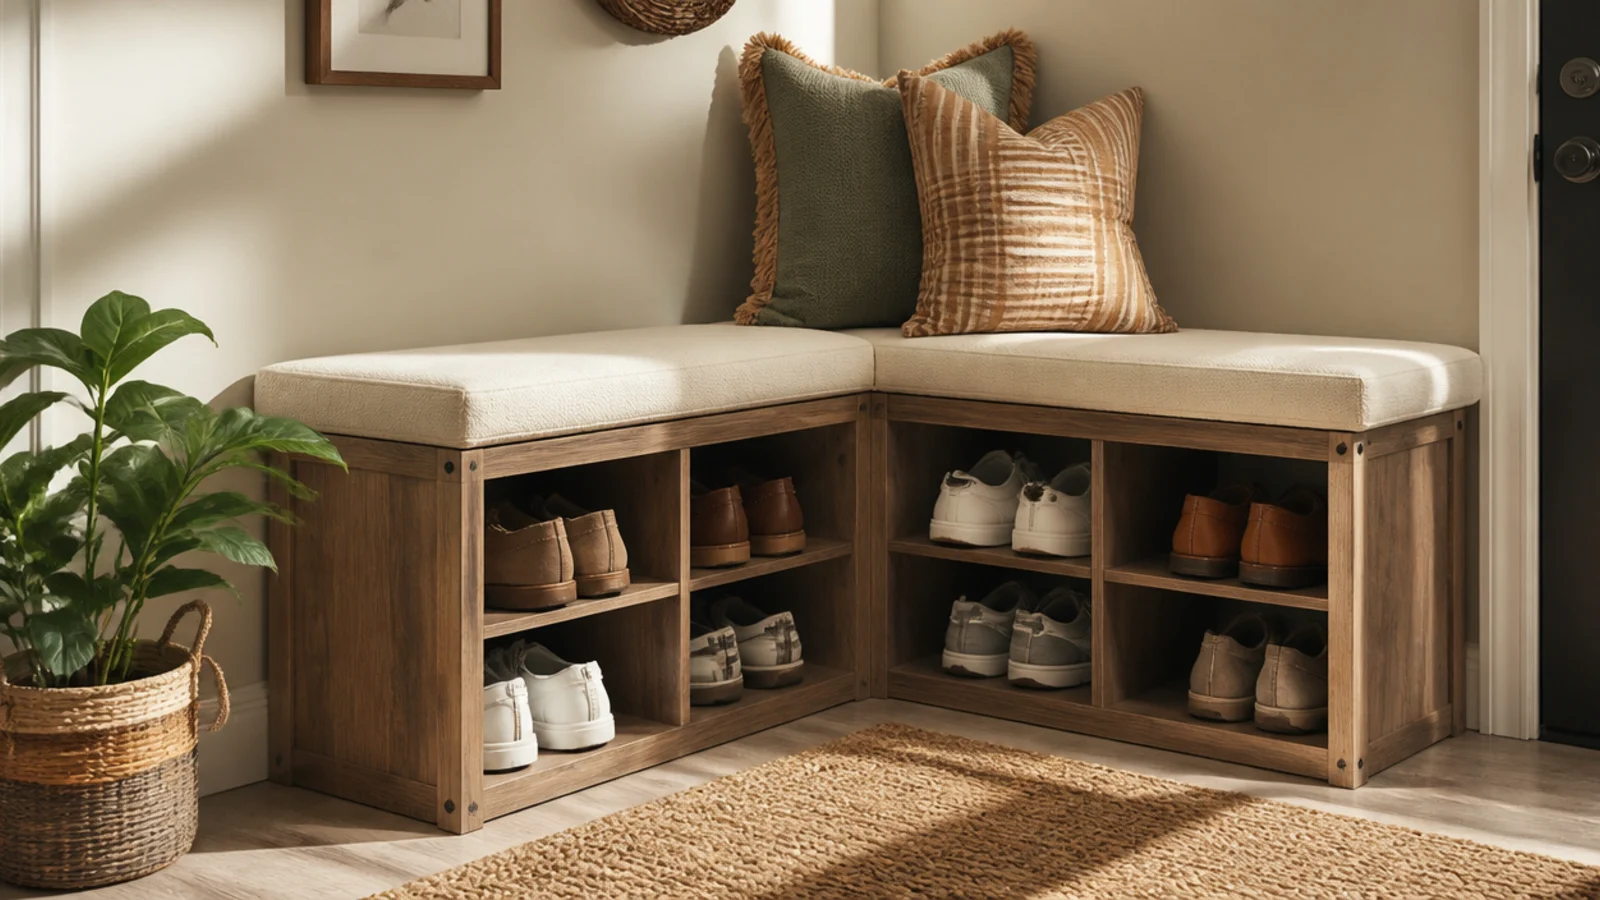
An L-shaped corner bench turns the dead corner by a door into a two-sided seat with shoe storage below. It suits an entry with a wasted corner. The wrap-around seat holds more shoes and more people than a straight bench.
Editor's noteReserve the deep corner section — the hardest spot to reach — for off-season or rarely worn shoes.
Measure both corner walls and fit an L-bench that tucks into the angle. Use the cubbies or open base beneath both arms for shoes, sorted by person. Add cushions along the top for seating and a couple of baskets in the corner where the arms meet. A boot tray in the base handles wet pairs.
Skip thisDo not block the door swing with the long arm of the L; check the door clears the bench before fixing anything in place.
17. Rustic Pallet Rack
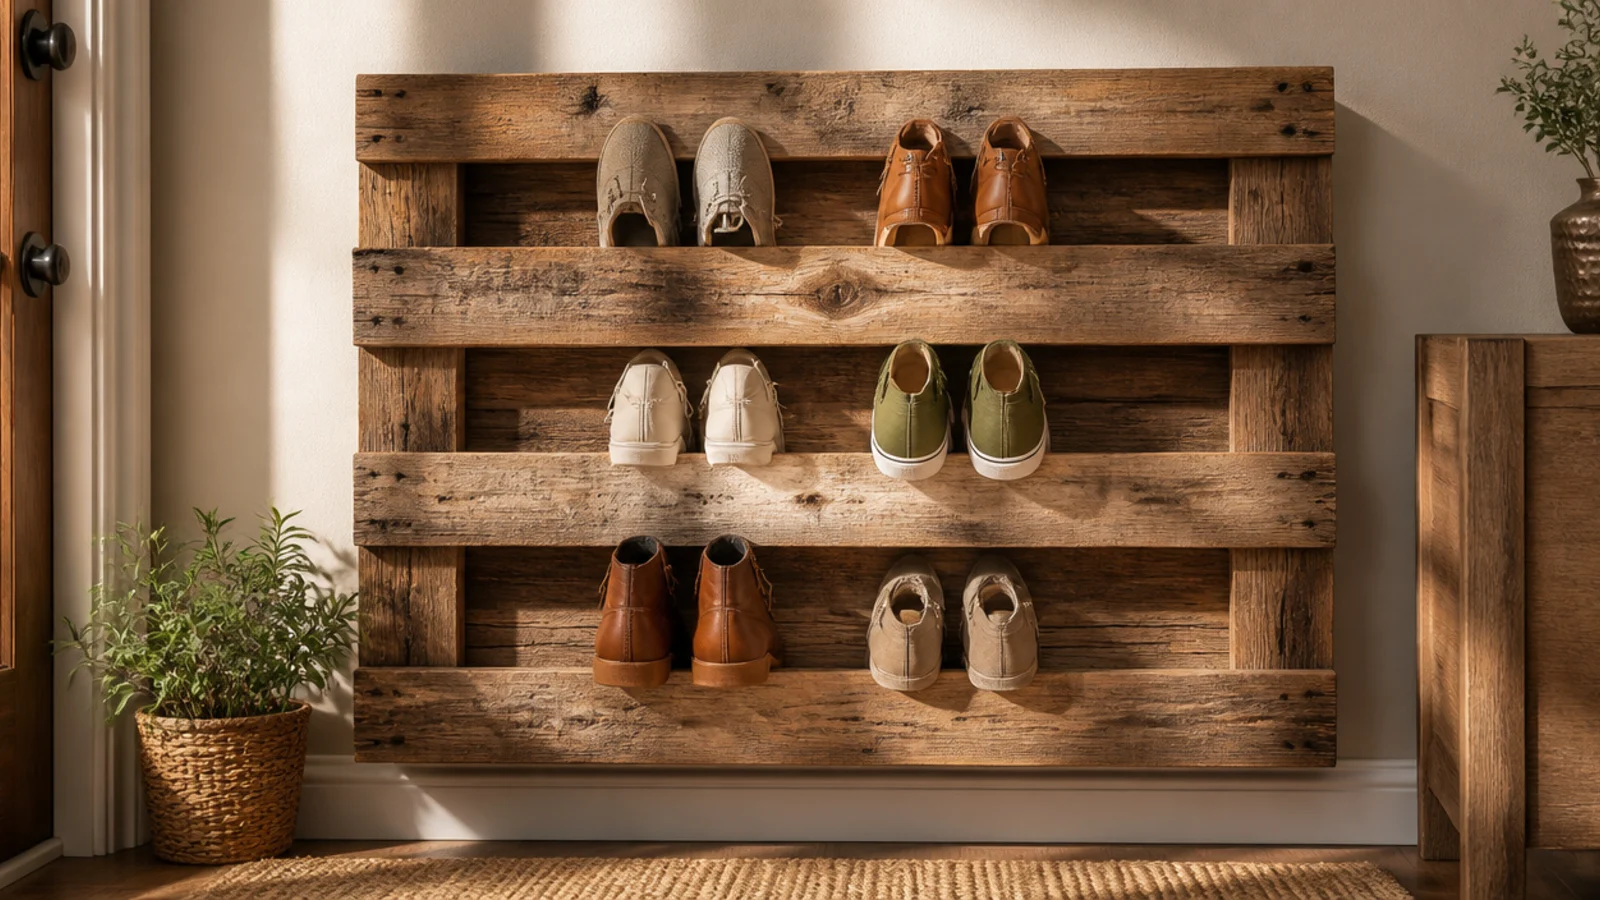
A reclaimed pallet mounted on the wall makes a rustic, near-free shoe rack where shoes slot into the slat gaps. It suits a casual or industrial entry. It is a satisfying upcycle that uses something usually thrown away.
Editor's noteAdd a small angled block behind each slat gap so shoes tilt outward and are easy to grab rather than falling flat inside.
Choose a clean heat-treated pallet, sand it thoroughly, and seal it so it does not shed splinters. Mount it to the wall through the frame into studs, slats horizontal. Slot shoes toe-first into the gaps between the front slat and the backing so they angle out. Space pairs so the natural wood still shows.
Skip thisDo not use a chemically treated or stained pallet indoors; look for the heat-treated (HT) stamp so it is safe inside.
18. Slatted Wood Bench
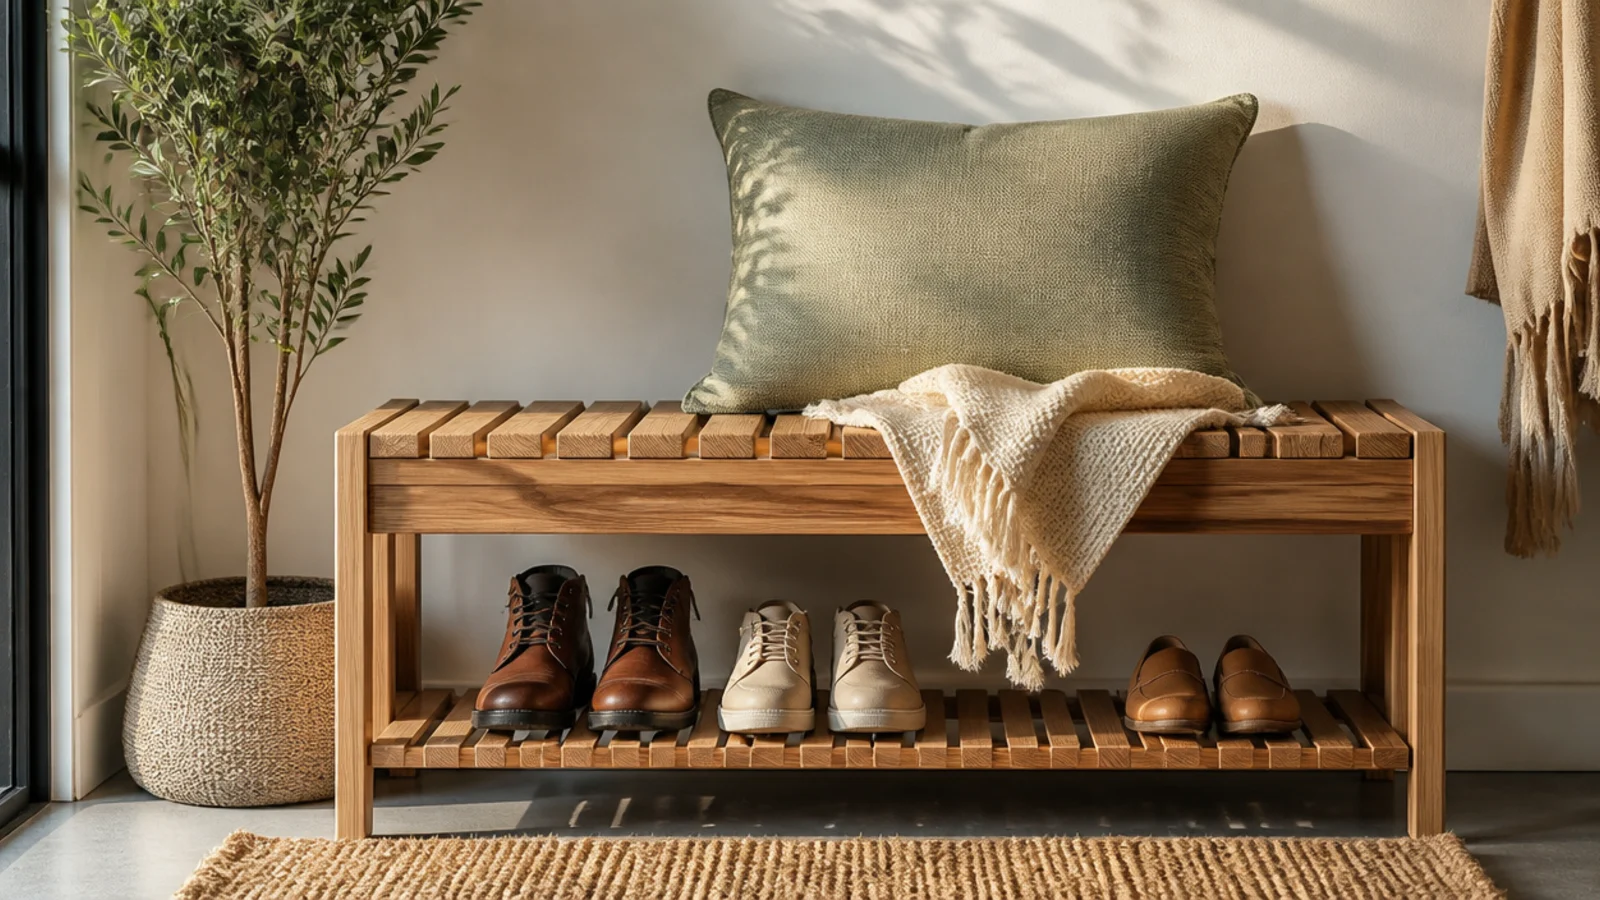
A bench with a slatted lower tier lets air circulate around shoes while giving you a clean modern seat. It suits an entry where damp shoes need to breathe and dry. The open slats keep it feeling light and let dirt fall through to a tray.
Pick a slatted bench 15-18 inches deep and set it against the wall. Line the slatted tier with daily shoes toe-out, and slide a thin boot tray beneath the slats to catch grit. The gaps let wet shoes air-dry instead of sitting in a puddle. Add a cushion up top for comfort.
The slats let mud drop through, so keep a shallow tray under them and just rinse the tray instead of scrubbing the bench.
Do not set the slats too far apart; narrow heels and kids' shoes slip through wide gaps, so choose closer spacing.
19. Drop-Zone Tray Table
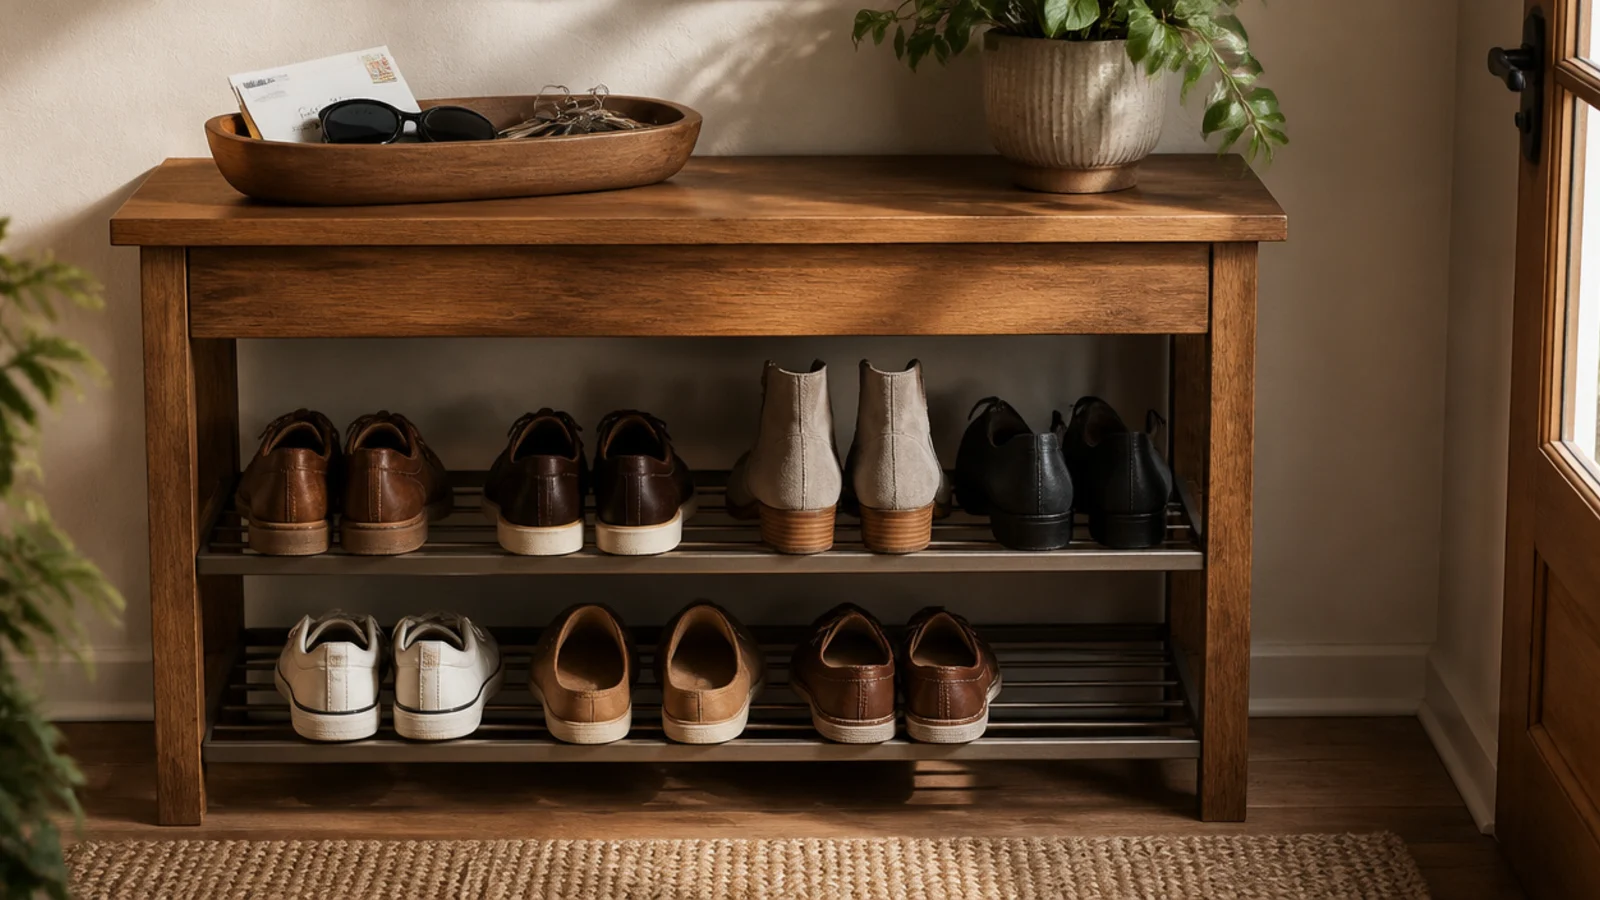
A compact table with a tray on top and a rack below creates a full drop zone for keys, mail, and shoes in one small piece. It suits a minimal entry that needs the everyday landing spot handled. It stops the whole entry from becoming the drop zone.
Set a small table 10-14 inches deep against the wall with a low shoe rack or shelf beneath. Put a tray on top for keys, mail, and sunglasses so those never scatter. Line the rack below with daily shoes. Add a hook on the side for a bag or an umbrella to keep the surface clear.
Use a lipped tray for the small stuff; a defined edge is the difference between a tidy drop zone and a growing pile.
Do not let the tray overflow into a junk heap; empty it weekly or it becomes the mess it was meant to prevent.
20. Coat Rack with Lower Shoe Rail
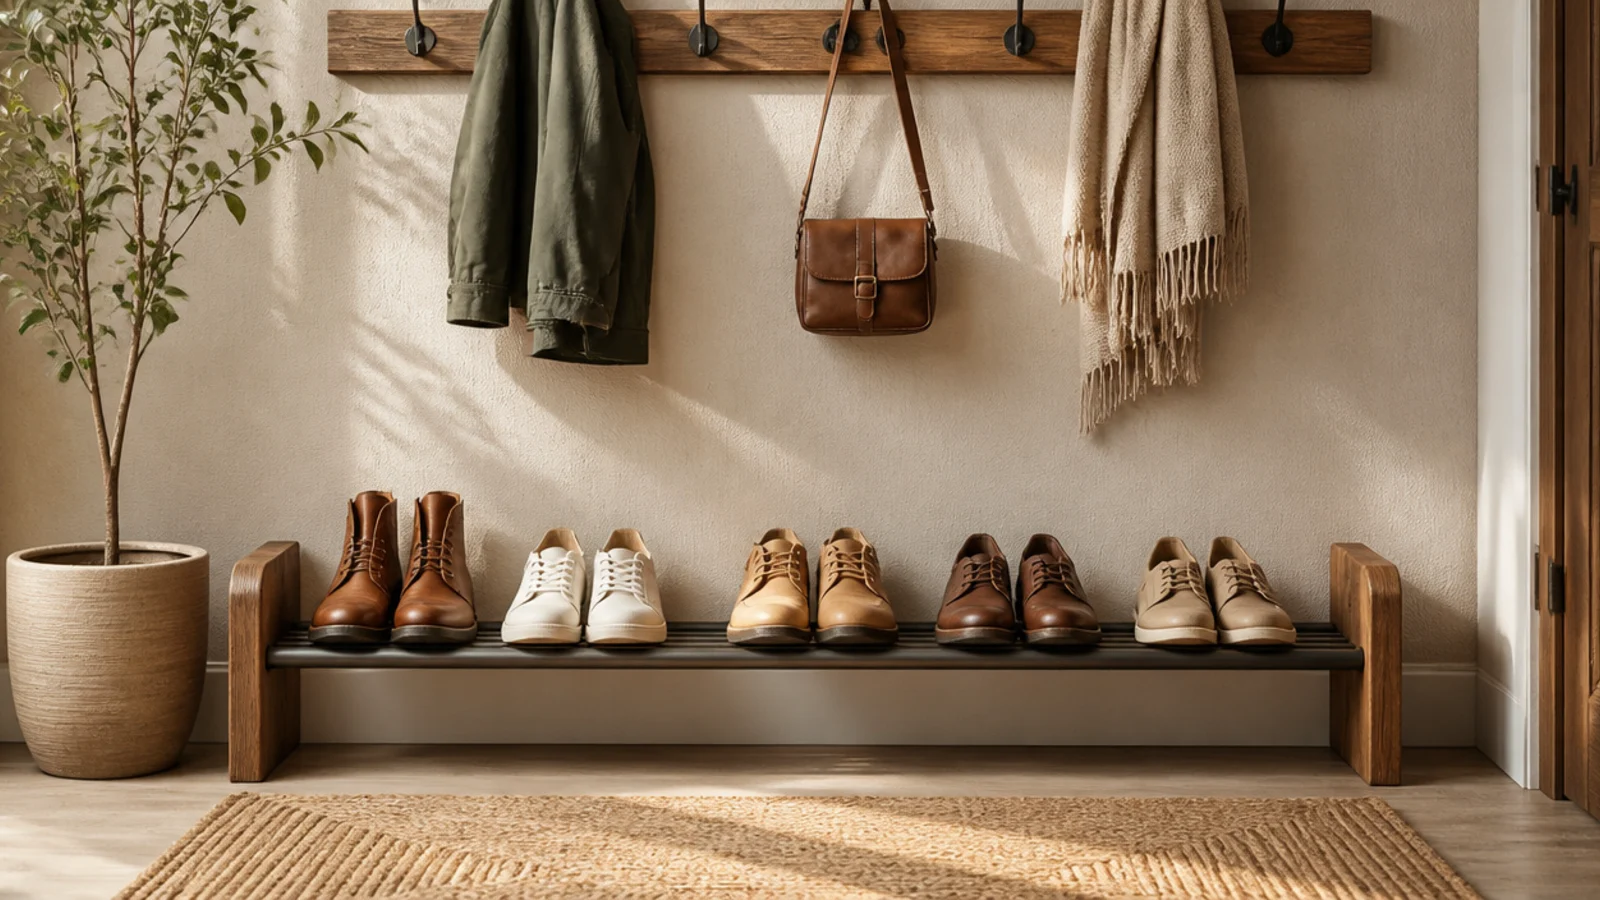
Combining a coat rack up top with a shoe rail beneath handles coats and shoes on the same stretch of wall. It suits a narrow entry with no floor room for furniture. Everything hangs or sits off the ground, keeping the floor open.
Mount a hook rail at coat height into studs, then fit a low angled shoe rail or a slim shelf a foot off the floor beneath it. Hang coats and bags above; line daily shoes on the rail below. Leave the very bottom of the wall for boots. Keep the two zones aligned so the wall reads as one unit.
Align the shoe rail directly under the hooks so each person’s coat and shoes live in the same vertical column.
Do not mount the shoe rail so low it is hard to reach; a foot off the floor keeps shoes grabbable and the floor sweepable.
21. Cane-Front Shoe Cabinet
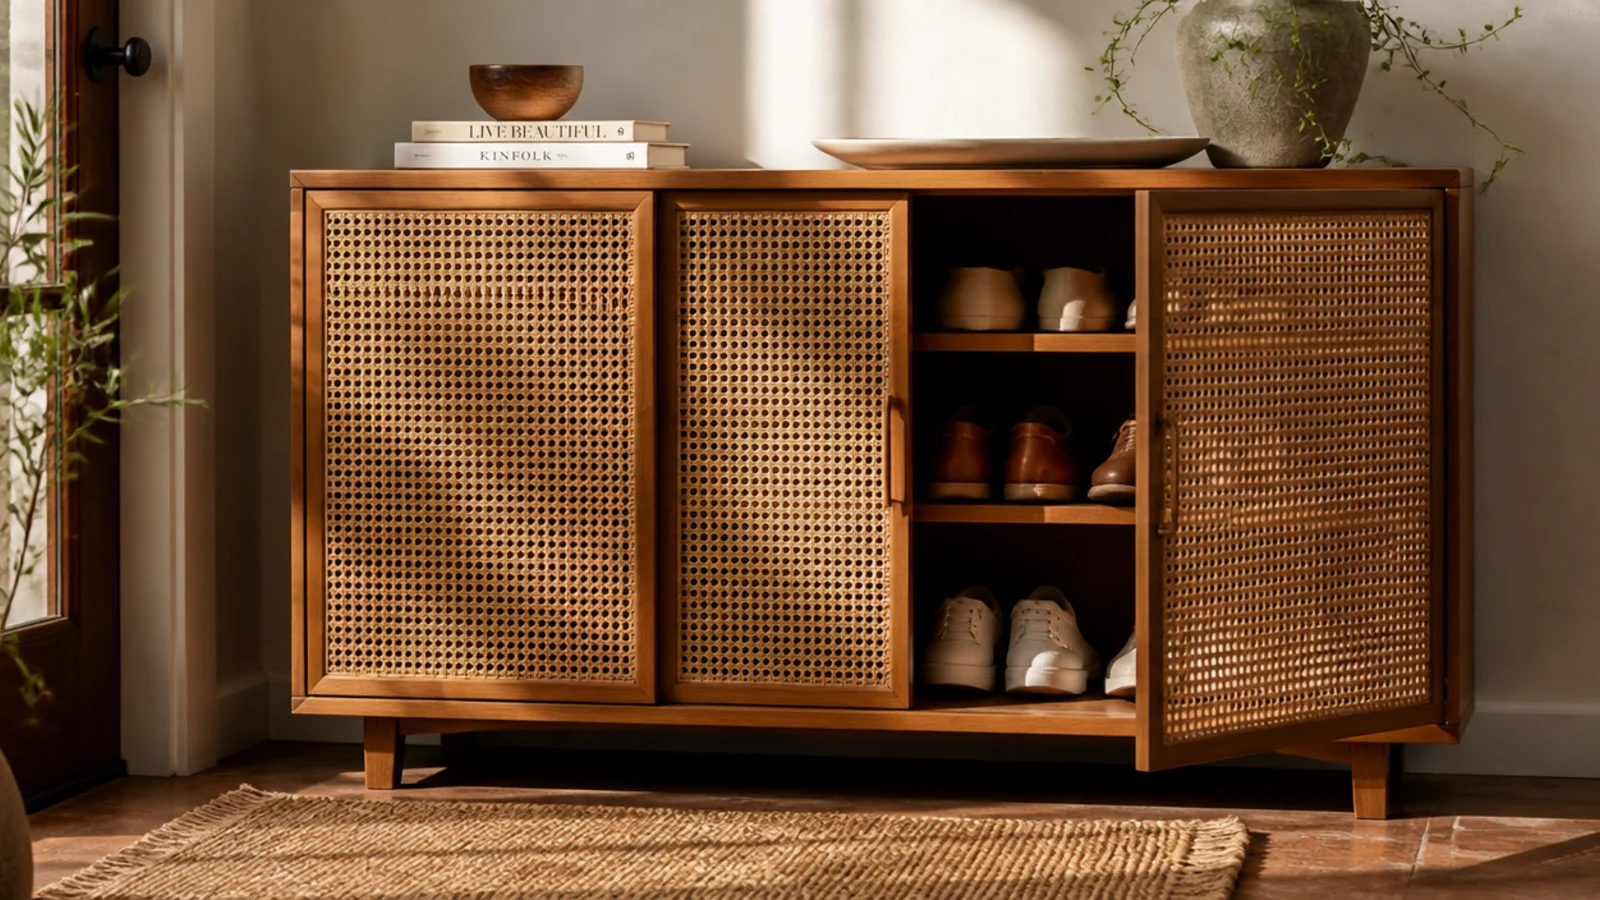
A low cabinet with woven cane door fronts hides shoes while letting them breathe through the weave. It suits a boho or warm-modern entry and looks like a piece of furniture. The cane texture adds interest without shouting storage.
Editor's noteThe breathable cane fronts make this the rare closed cabinet that will not get musty — good for gym shoes that need to air out.
Choose a cabinet at bench height so it doubles as a surface, with cane-front doors for airflow. Set it against the wall and store shoes on the interior shelves, off-season pairs low. The open weave lets damp shoes dry rather than trapping moisture. Style the top with a tray and a lamp so it reads as a console.
Skip thisDo not cram it so full the doors bow against the cane; overstuffing pops the weave and warps the panels.
22. Flip-Cabinet Row
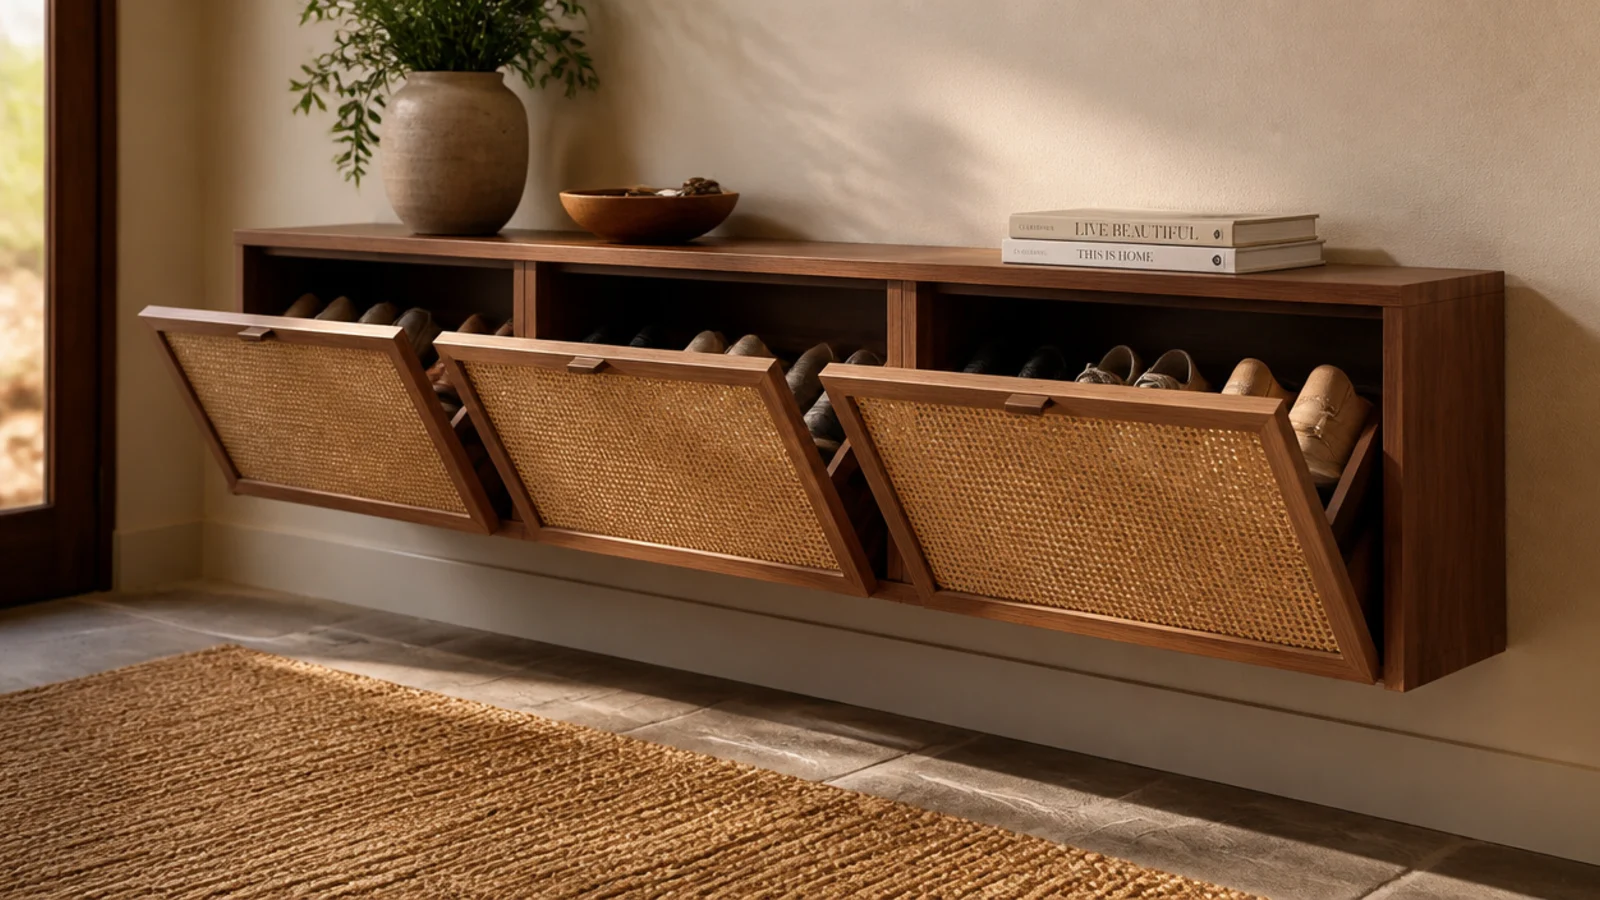
A row of slim flip-front wall cabinets mounted low along the wall gives a modern, floating look with hidden shoes. It suits a contemporary entry with a long low wall. The closed fronts keep the whole wall clean and graphic.
Editor's noteRun the row at a consistent height and use the flat tops as a continuous ledge for a plant, a tray, and a lamp.
Mount the units in a level row into studs or rated anchors, spaced evenly. Each flip-down front holds two to three pairs on edge. Assign units by person or shoe type. Because they float, leave the floor beneath clear for boots and easy cleaning.
Skip thisDo not hang them at uneven heights; a row that steps up and down looks like a mistake rather than a design.
23. Low-Profile Rack Behind the Door
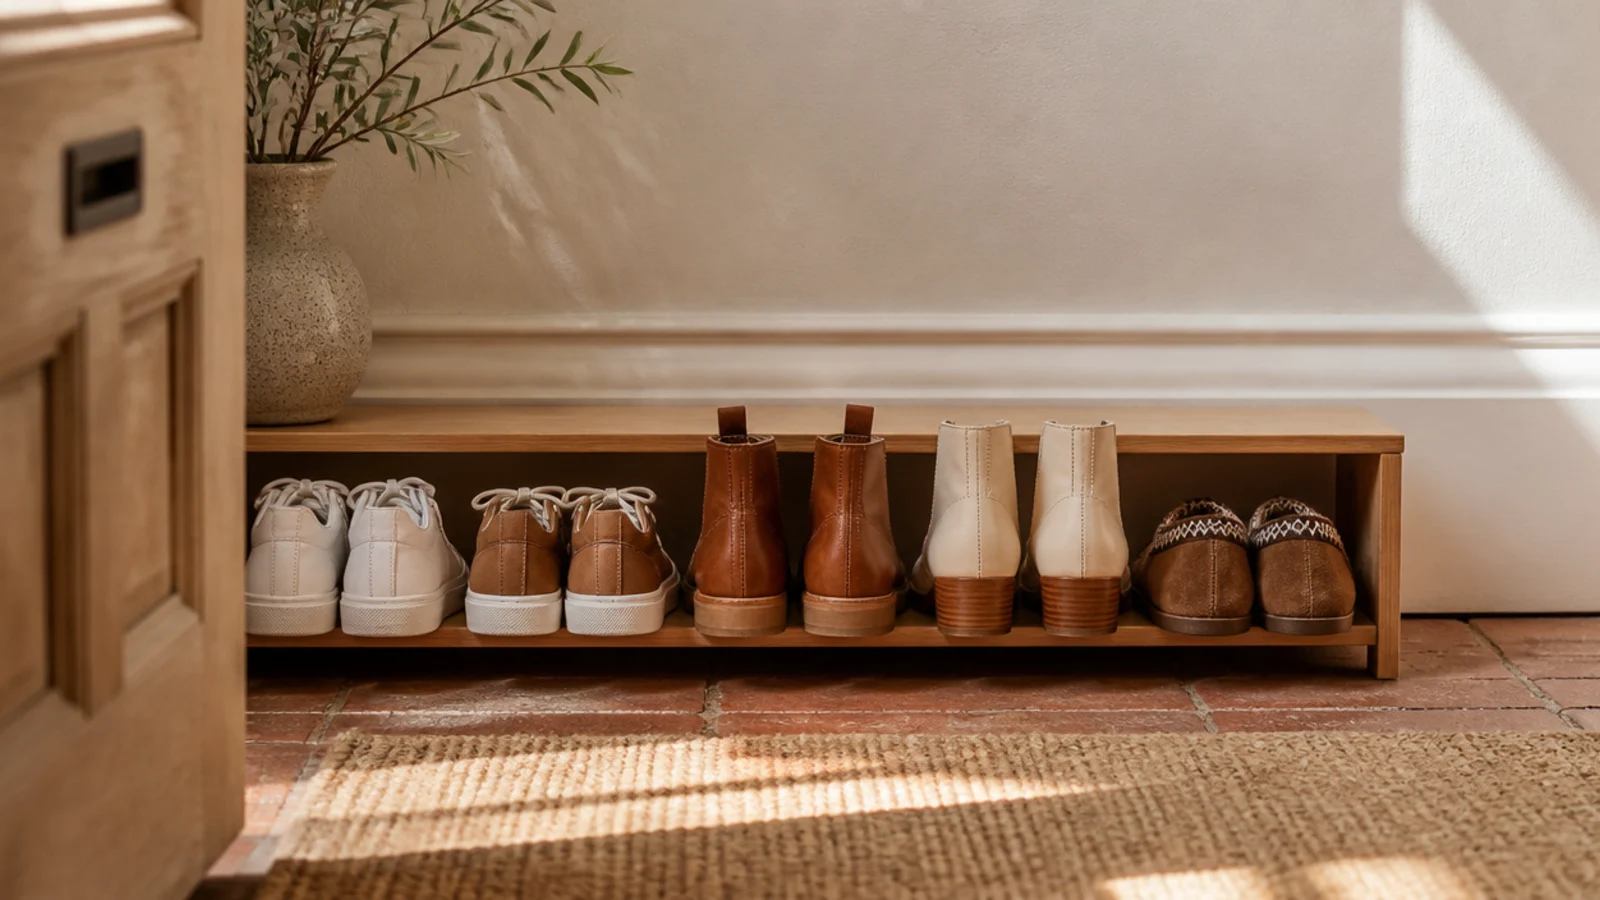
A very shallow low rack tucked behind the open door uses the strip of wall the door hides when it swings back. It suits an entry with no other free wall. The door conceals it, so it never adds visual clutter.
Editor's noteStick a felt bumper where the door meets the rack so the door edge does not scuff the shoes or knock the rack.
Measure the wall behind the door and the arc the door swings so the rack does not block it. Choose a rack under 8 inches deep and set it against that wall. Load a single row of daily shoes. Because the door hides it, you get storage that is invisible when the door is open against it.
Skip thisDo not use a rack taller than the door handle height; a tall rack behind the door stops the door opening fully.
24. Window-Seat Shoe Storage
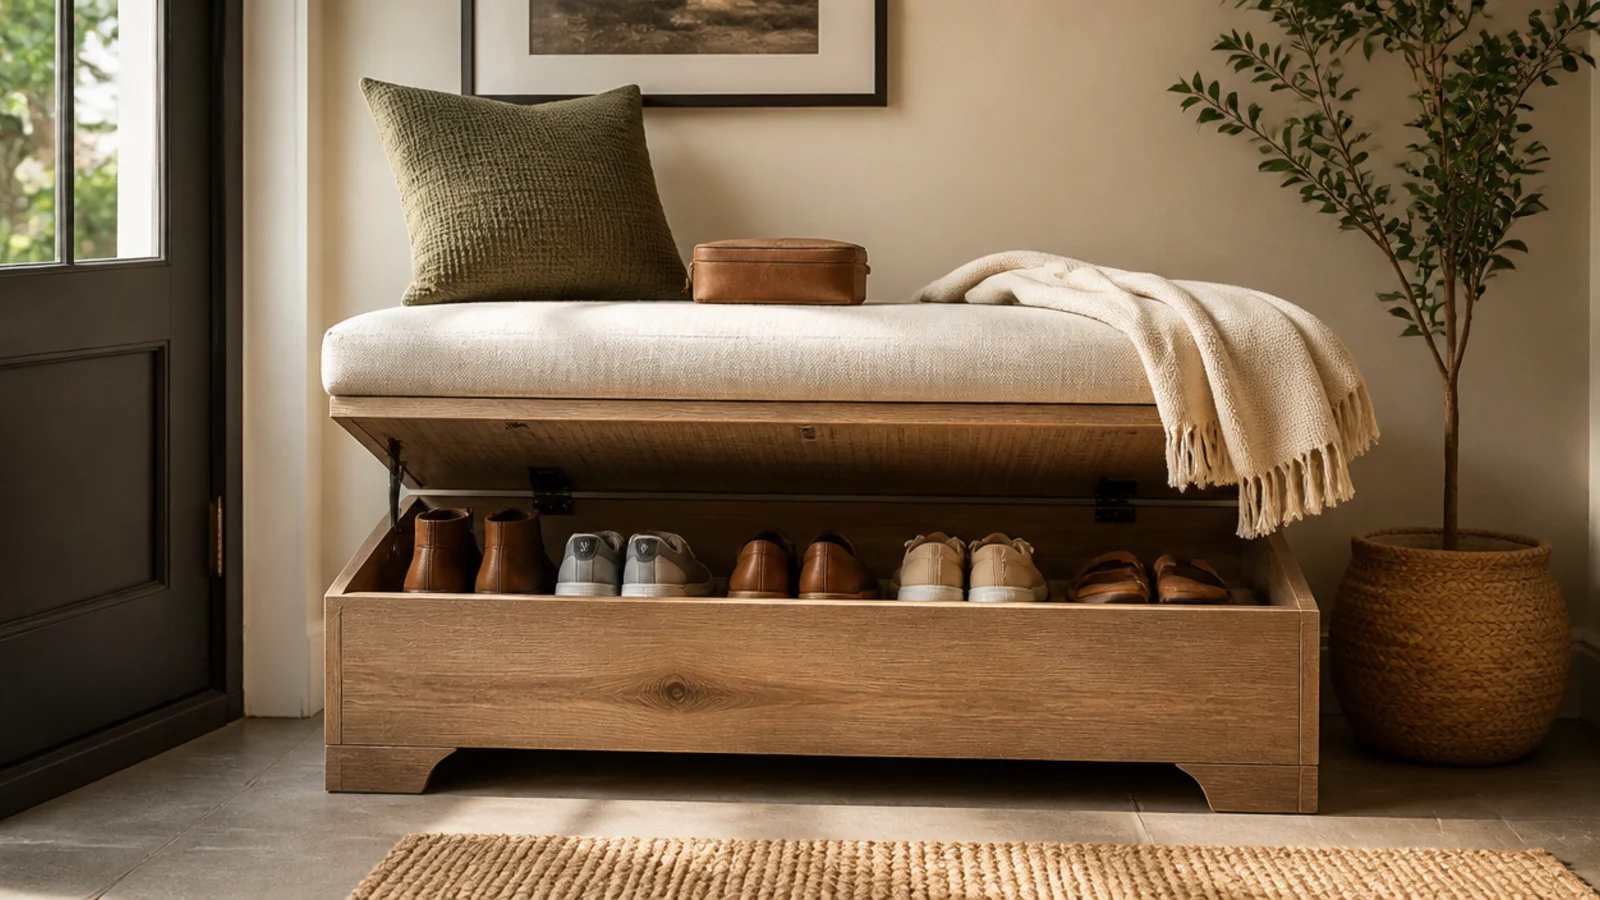
If your entry has a window, a built-in window seat with a lift-lid base hides shoes and gives a bright spot to sit. It suits an entry with a low window or a bay. The seat looks like a cozy feature, not storage.
Editor's noteFit soft-close lid hinges so the heavy seat lid does not slam on fingers when someone closes it.
Build or fit a bench under the window at seat height with a hinged or lift-out lid over a hollow base. Store shoes inside on their sides or in shallow trays. Add a cushion sized to the window and a couple of pillows. A boot tray inside the base protects the wood from wet shoes.
Skip thisDo not seal the base airtight; drill a few discreet vent holes so shoes stored inside can breathe and do not get musty.
25. Painted Accent Shoe Rack
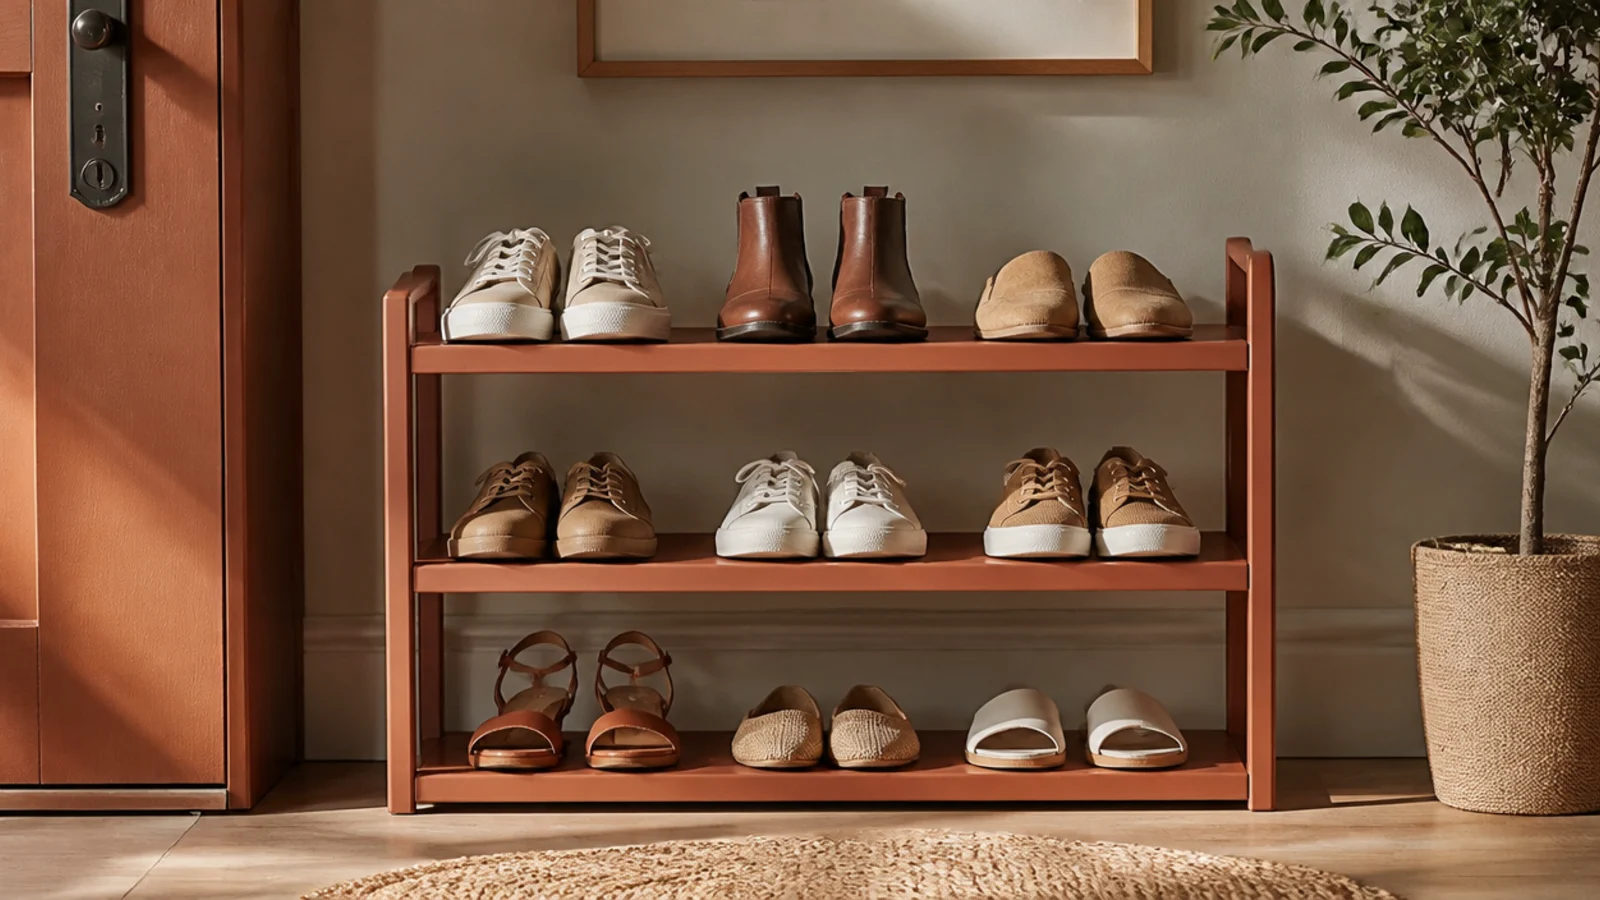
Painting a plain shoe rack a color pulled from your entry turns basic storage into an intentional accent. It suits anyone with a builder-grade rack that looks like an afterthought. One coat of the right color makes it look chosen, not leftover.
Editor's notePull the paint color from your entry rug or a piece of art so the rack looks tied into the room rather than random.
Sand the rack lightly, wipe off dust, and brush on a bonding primer so paint grips. Paint two thin coats of an accent color that repeats something in the entry — a rug, art, or your door. Let each coat dry fully and seal with a clear matte topcoat so scuffs do not show. Reload it with shoes lined toe-out.
Skip thisDo not skip primer on a slick or laminate rack; paint peels off unprimed surfaces the first time a shoe scrapes it.



