

1. Dowel Necklace Tree
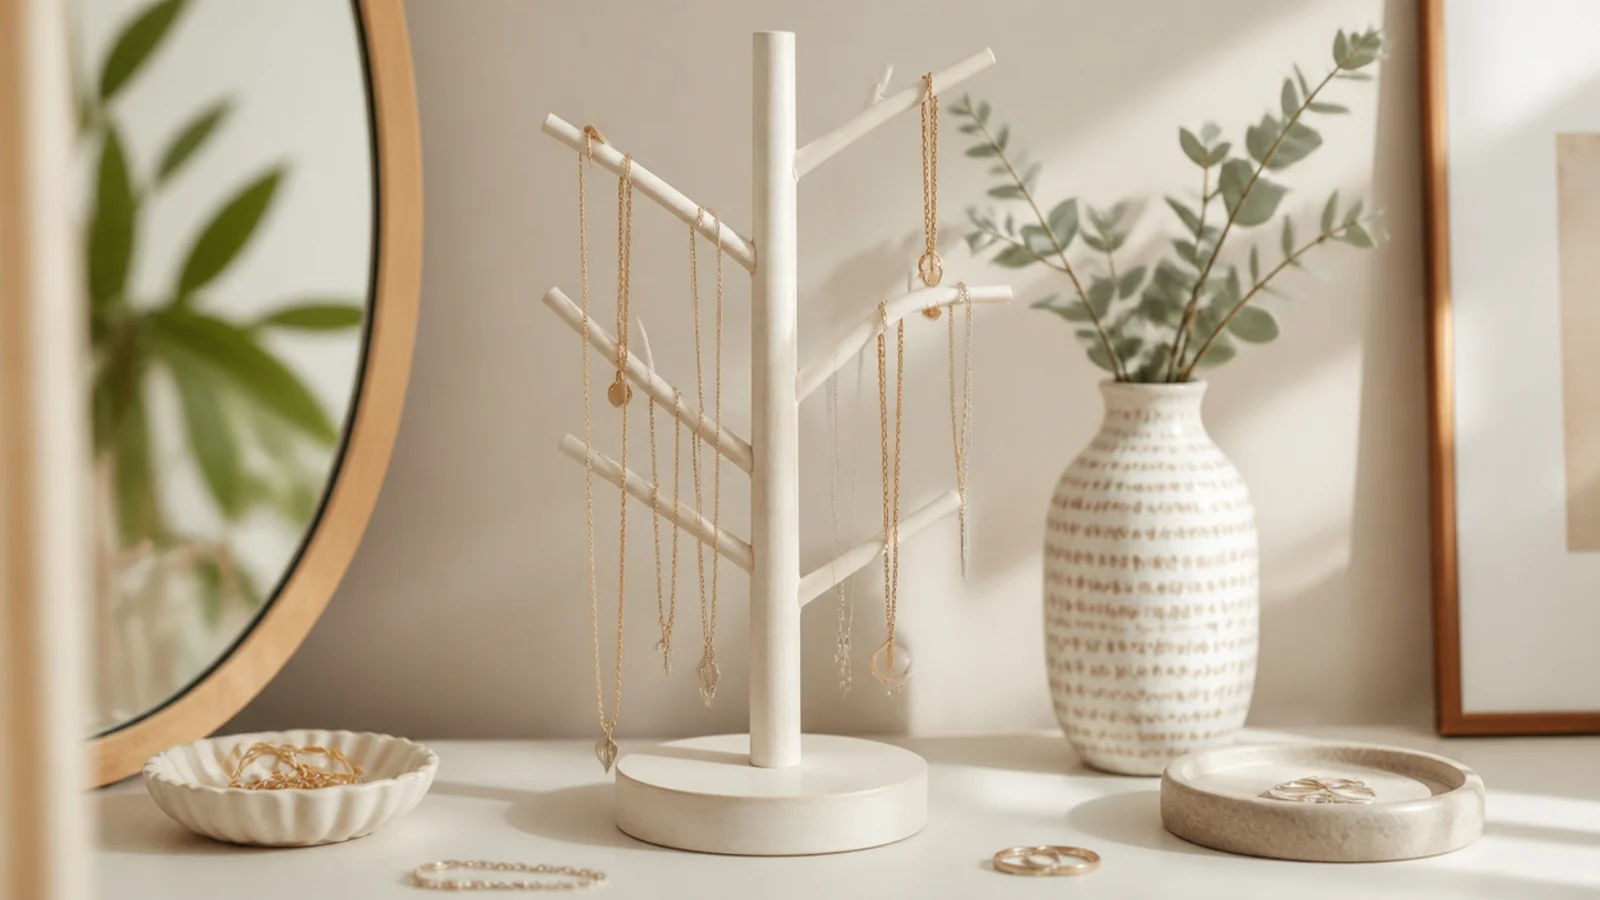
This is the most beginner-friendly stand — a dowel with a few arms in a weighted base holds necklaces at height. It’s simple to build and hard to get wrong. It suits a necklace collection you want off the dresser and untangled.
Editor's noteAngle the arms slightly upward so necklaces settle against the post instead of sliding off the ends.
Set a wooden dowel upright into a heavy wooden base round with epoxy, keeping it plumb. Drill angled holes up the dowel and glue in short dowel arms, or screw in cup hooks, spacing them evenly. Sand, paint one color, and seal. Felt the base underside. Hang one necklace per arm, longest low. Weight the base with a metal disc underneath if it feels tippy.
Skip thisDon’t set the dowel in a light, narrow base; a top-heavy tree tips the moment you hang a few necklaces.
2. Copper Pipe Jewelry Tree
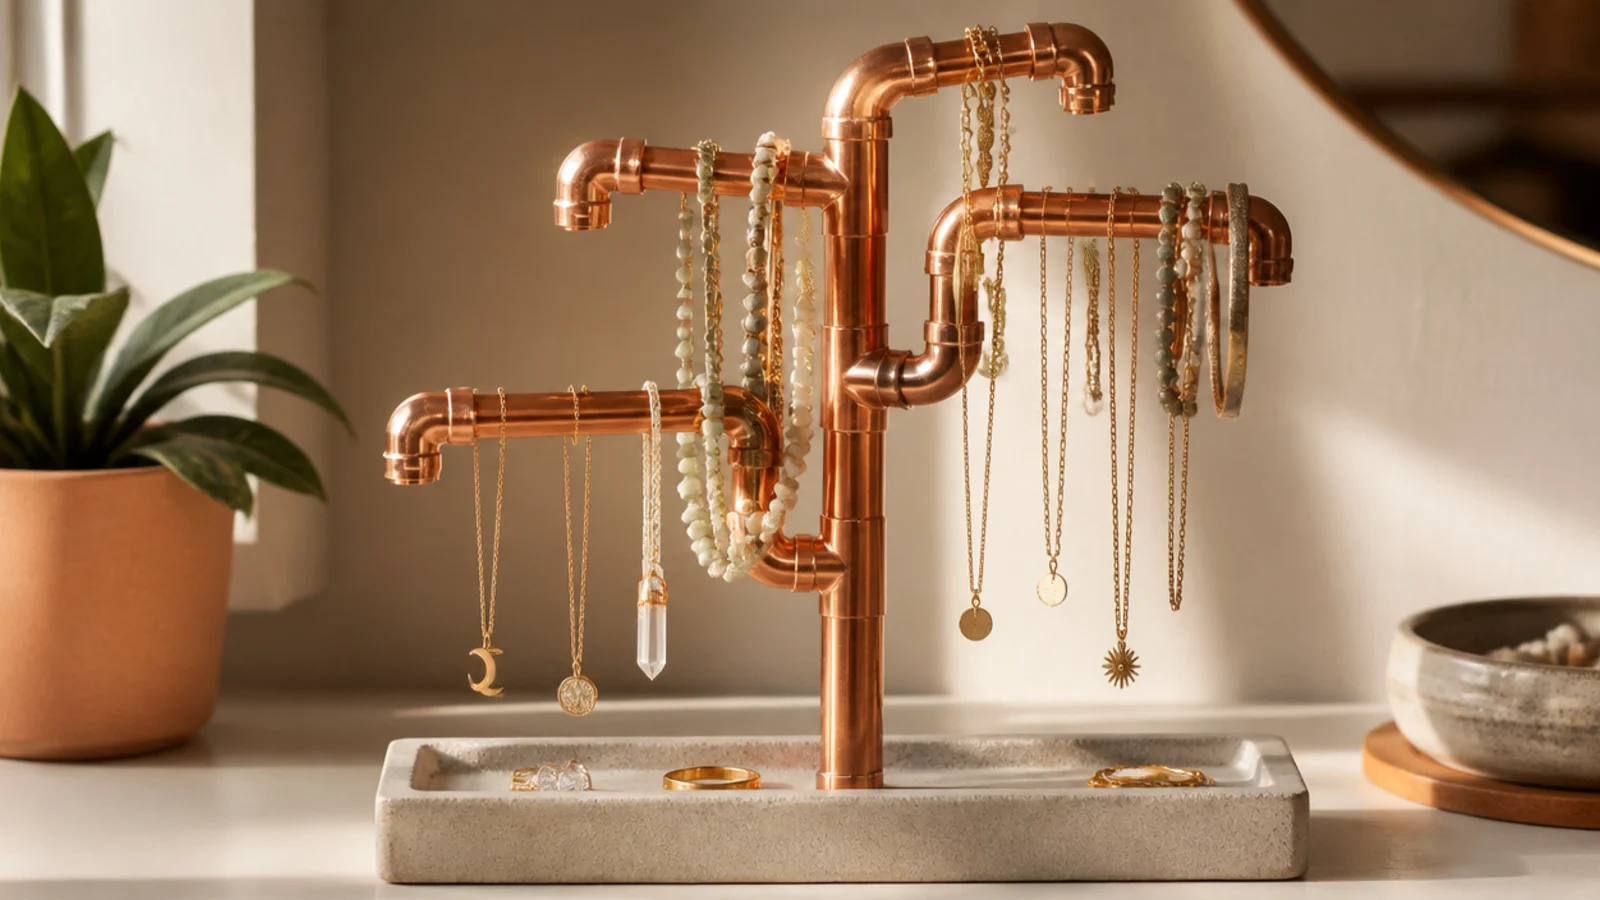
A copper pipe tree with fittings looks sleek and modern, and the branches are just push-together plumbing parts. It reads high-end. It suits a contemporary room and a mix of necklaces and bracelets.
Assemble copper pipe with T- and elbow-fittings into a branching tree, no soldering needed for a light load — just push-fit or a dab of epoxy. Set the base pipe into a poured plaster or concrete base for weight, or a heavy flange screwed to a wood round. Buff the copper or seal it to keep the shine. Hang necklaces on the branches and loop bracelets on the arms.
Set the base pipe into a poured plaster base; the weight down low lets you build a tall, airy copper tree that won’t tip.
Don’t rely on loose push-fit joints for a heavy load; secure them with epoxy so a branch doesn’t slip under weight.
3. Tiered Tray Stand
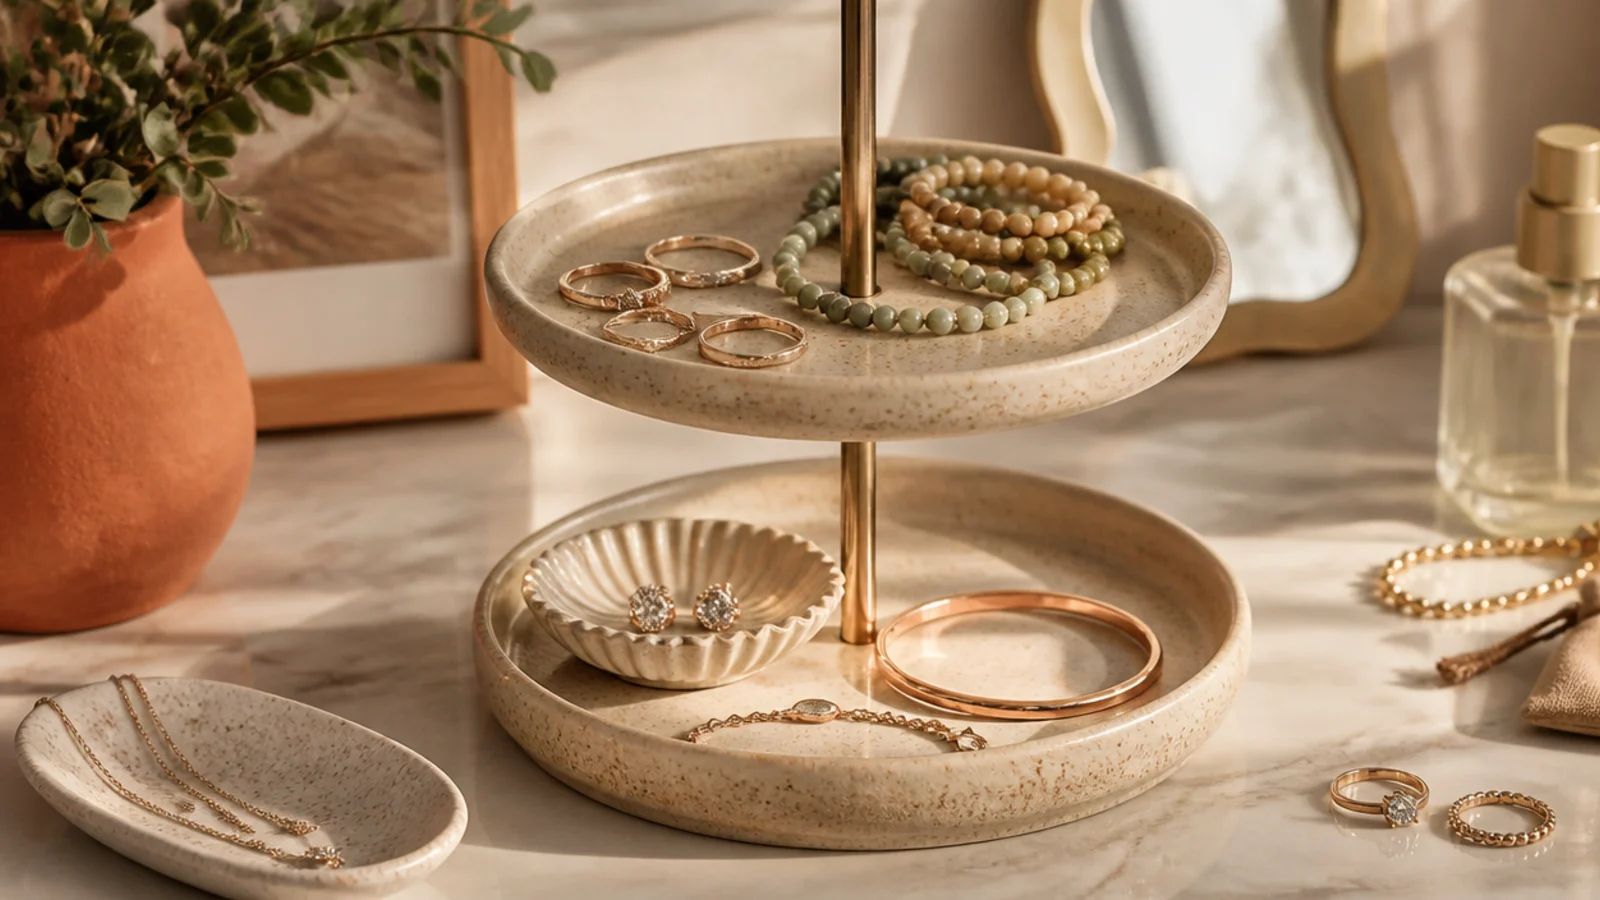
A tiered tray stand gives two or three levels of dishes on one small footprint. Each tier holds a mix. It suits rings, studs, and small pieces you want displayed by level.
Join two or three trays or plates with a center hardware rod kit, epoxying the fittings and letting them cure. Keep the widest, heaviest tray at the bottom for stability. Set ring dishes and a bowl of studs on the tiers and coil bracelets on the edges. Felt the base. Put everyday pieces on top where they’re easiest to reach and occasion pieces below.
Put your most-worn pieces on the top tier and heavier ones on the bottom so the stand is both handy and stable.
Don’t top a narrow base tier with a wide upper tray; a top-heavy tier stand tips when you reach across it.
4. Bust Necklace Stand

A bust or neck form displays necklaces the way they’ll actually look on, layered by length. It’s boutique and sculptural. It suits statement necklaces and anyone who layers.
Editor's noteLayer necklaces shortest to longest down the form so they nest the way they will when you actually wear them.
Use a jewelry bust form or make one by covering a foam cone or bottle in velvet on a weighted base. Drape necklaces over it from shortest at the top to longest at the bottom so they layer without tangling. Keep the base heavy so it doesn’t tip with several necklaces. The form shows exactly how a layered look will sit. Add a ring dish at the base.
Skip thisDon’t overload a light bust with heavy chains; a foam form on a flimsy base tips, so weight the base well.
5. Rotating Tower Stand
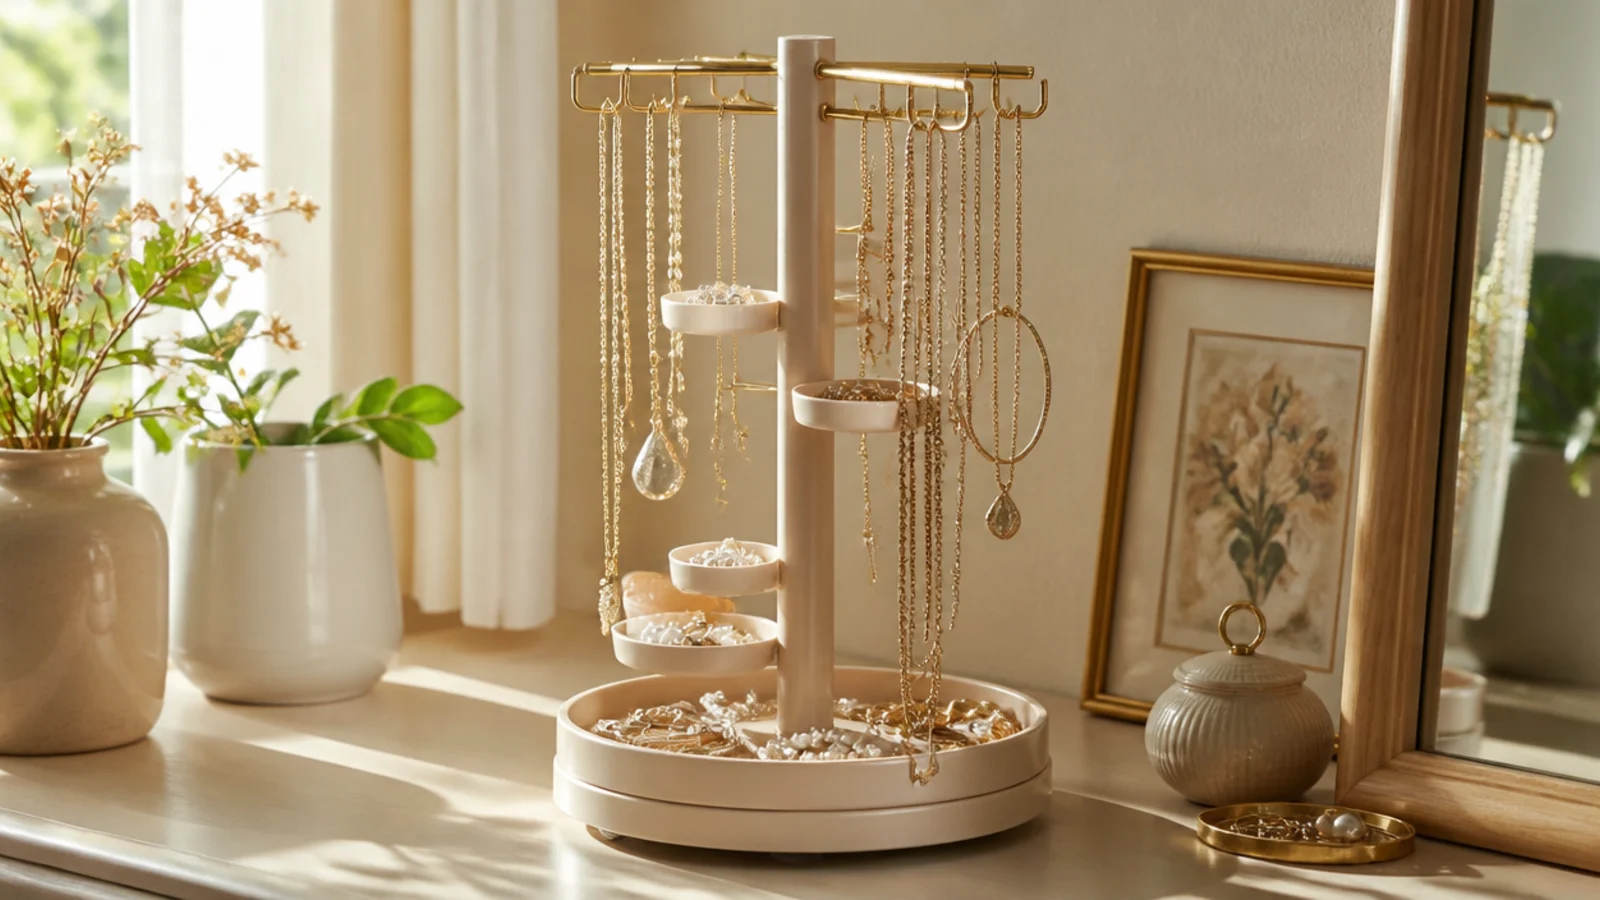
A rotating tower spins on a lazy Susan so you reach a big collection without moving it. Hooks and dishes wrap all sides. It suits a large mixed collection and a boutique feel.
Mount a central tower — a covered tube or a wooden post — on a lazy Susan bearing screwed to a weighted base. Add hooks for necklaces, a bar for earrings, and dishes for rings around the tower. Balance the load so it spins level. Spin to reach any piece. Felt the base underside. Keep the tower height reachable so the top pieces aren’t a stretch.
Balance the weight evenly around the tower so it spins smoothly and level instead of lurching to a heavy side.
Don’t build it tall and narrow on a small bearing; a top-heavy spinner wobbles, so keep the base wide and low.
6. Ring Cone Stand
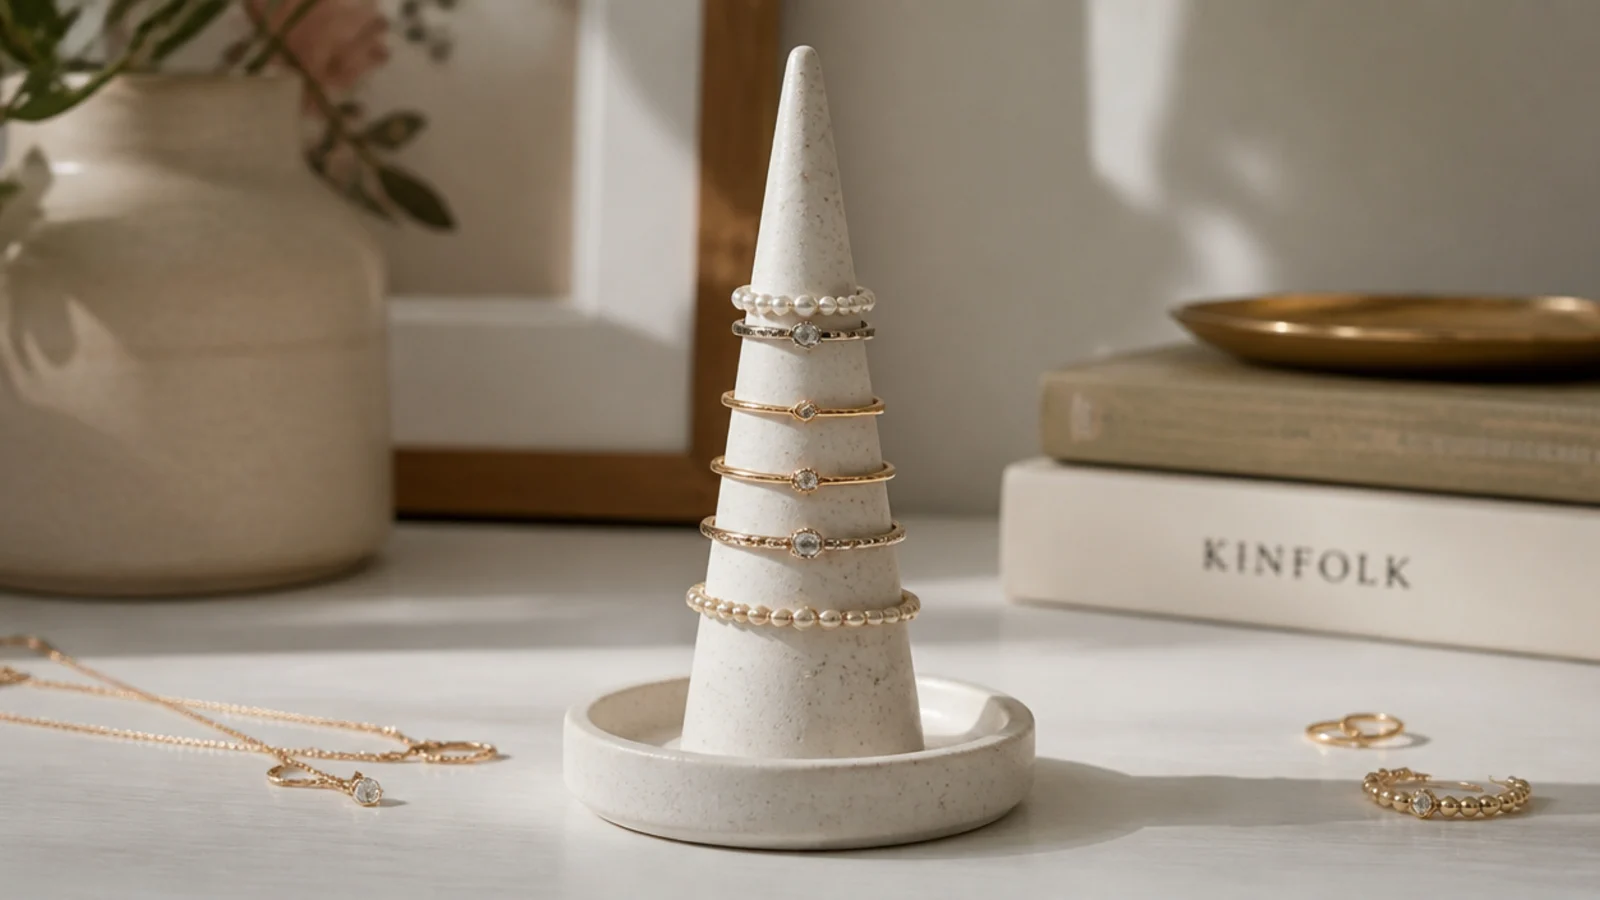
A ring cone on a base stacks rings down its slope so they’re visible and grab-able. The dish base catches small pieces. It suits a ring collection you want shown in order.
Editor's noteKeep the cone surface slightly matte and the slope gentle so rings grip and stack instead of sliding to the base.
Mount a smooth cone — wood, clay, or a covered form — upright on a small weighted dish base. Keep the slope gentle so rings stack rather than slide, and the surface slightly matte for grip. Stack rings smallest at top to largest at base. Use the dish for studs and small bits. Felt the underside. Seal the cone so it wipes clean and rings slide on smoothly.
Skip thisDon’t use a steep glossy cone; rings slide straight down into a clump instead of stacking in a neat taper.
7. Earring Bar Stand
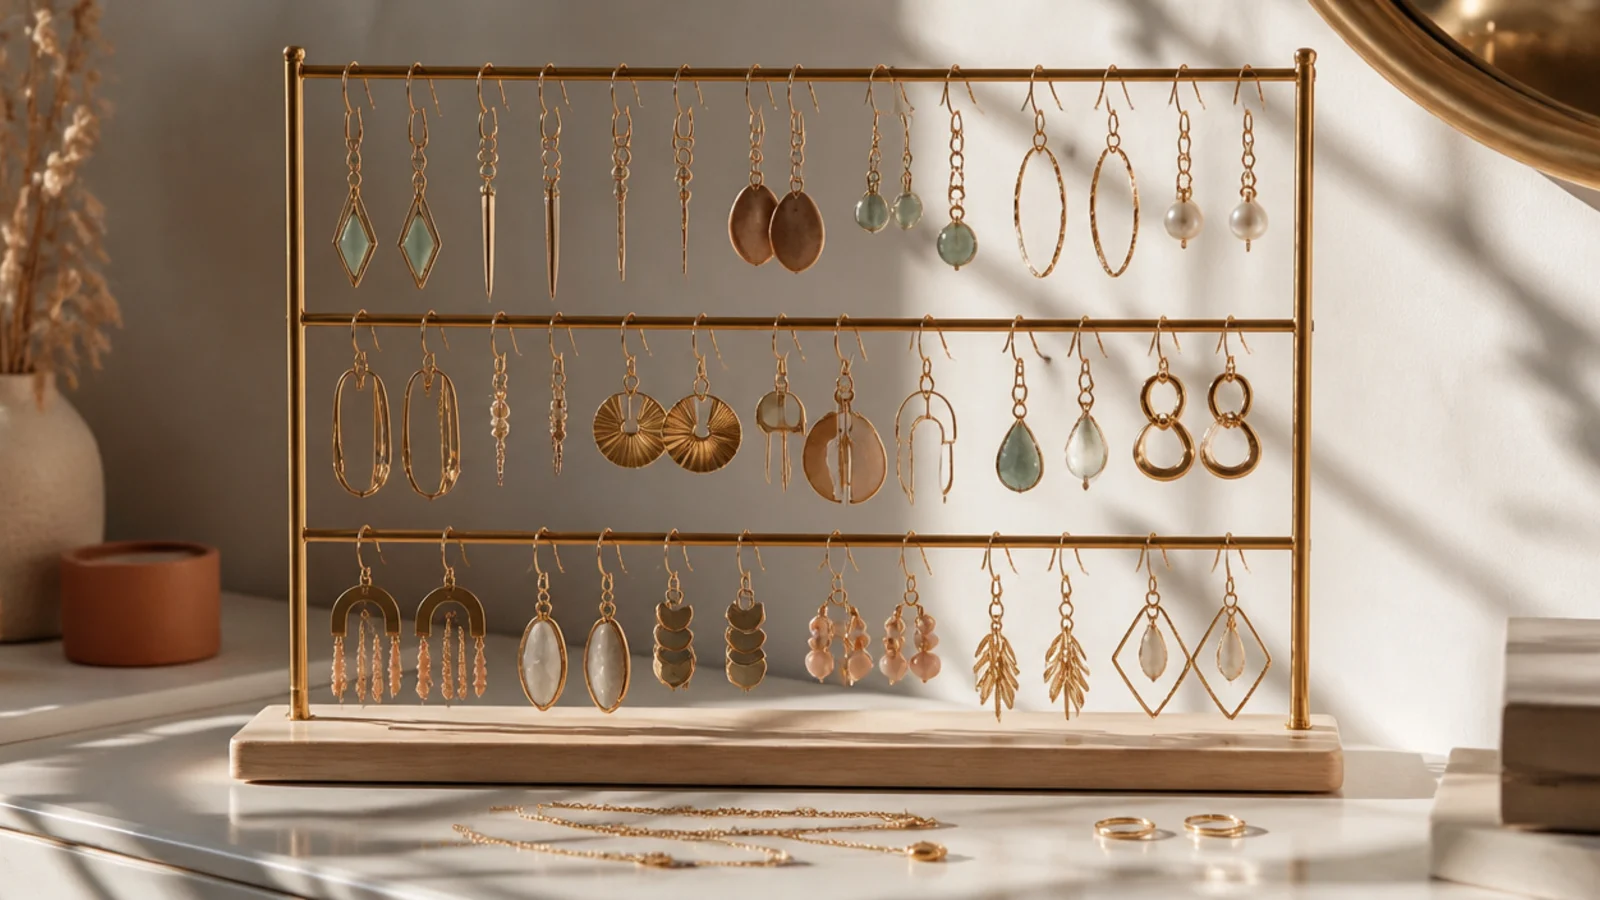
A stand with horizontal bars hangs rows of dangle earrings so every pair shows. The bars keep them lined up. It suits a dangle-earring collection you want fully visible.
Editor's noteSpace the bars far enough apart that long earrings on the top bar don’t rest on the row below.
Build two uprights on a weighted base and run two or three horizontal bars or wires between them, spaced so long earrings on an upper bar clear the one below. Hook dangles along each bar. Keep the base wide so the loaded stand doesn’t tip forward. Seal or smooth the bars so hooks slide easily. Add a small dish at the base for studs and backs.
Skip thisDon’t set the bars too close to the base; if earrings brush the base they bunch instead of hanging clear.
8. Branch Stand in a Base
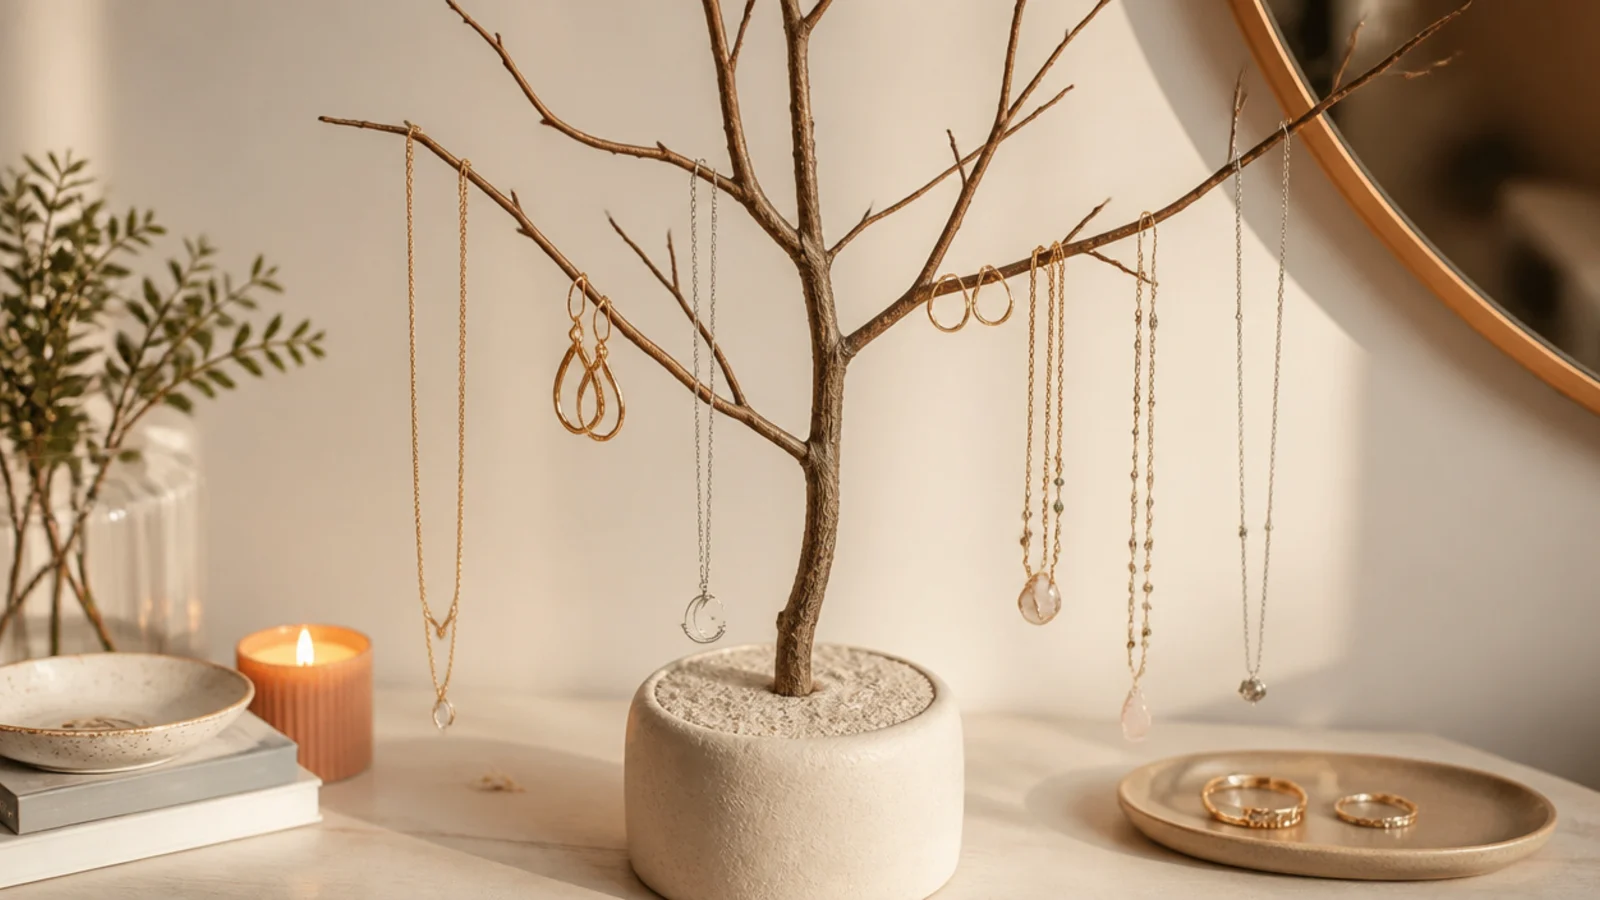
A real branch set in a weighted base makes an organic tree for necklaces and earrings. Each twig is a natural hook. It suits a nature-leaning room and a small, pretty collection.
Editor's noteSet the branch in poured plaster rather than dry filler so it locks in solid and can’t lean under the weight.
Choose a branch with several offshoots, sand it smooth, and set it upright in a pot or base filled with plaster or concrete for weight. Let the base cure fully. Seal the branch. Hang necklaces on the sturdier twigs and dangle earrings on the finer ones. Because the base is heavy, the branch stays put. Keep the arrangement airy so the branch shape shows.
Skip thisDon’t hang heavy pieces on thin twigs; slender branch tips snap, so keep those for light earrings only.
9. Cake Stand Jewelry Tower
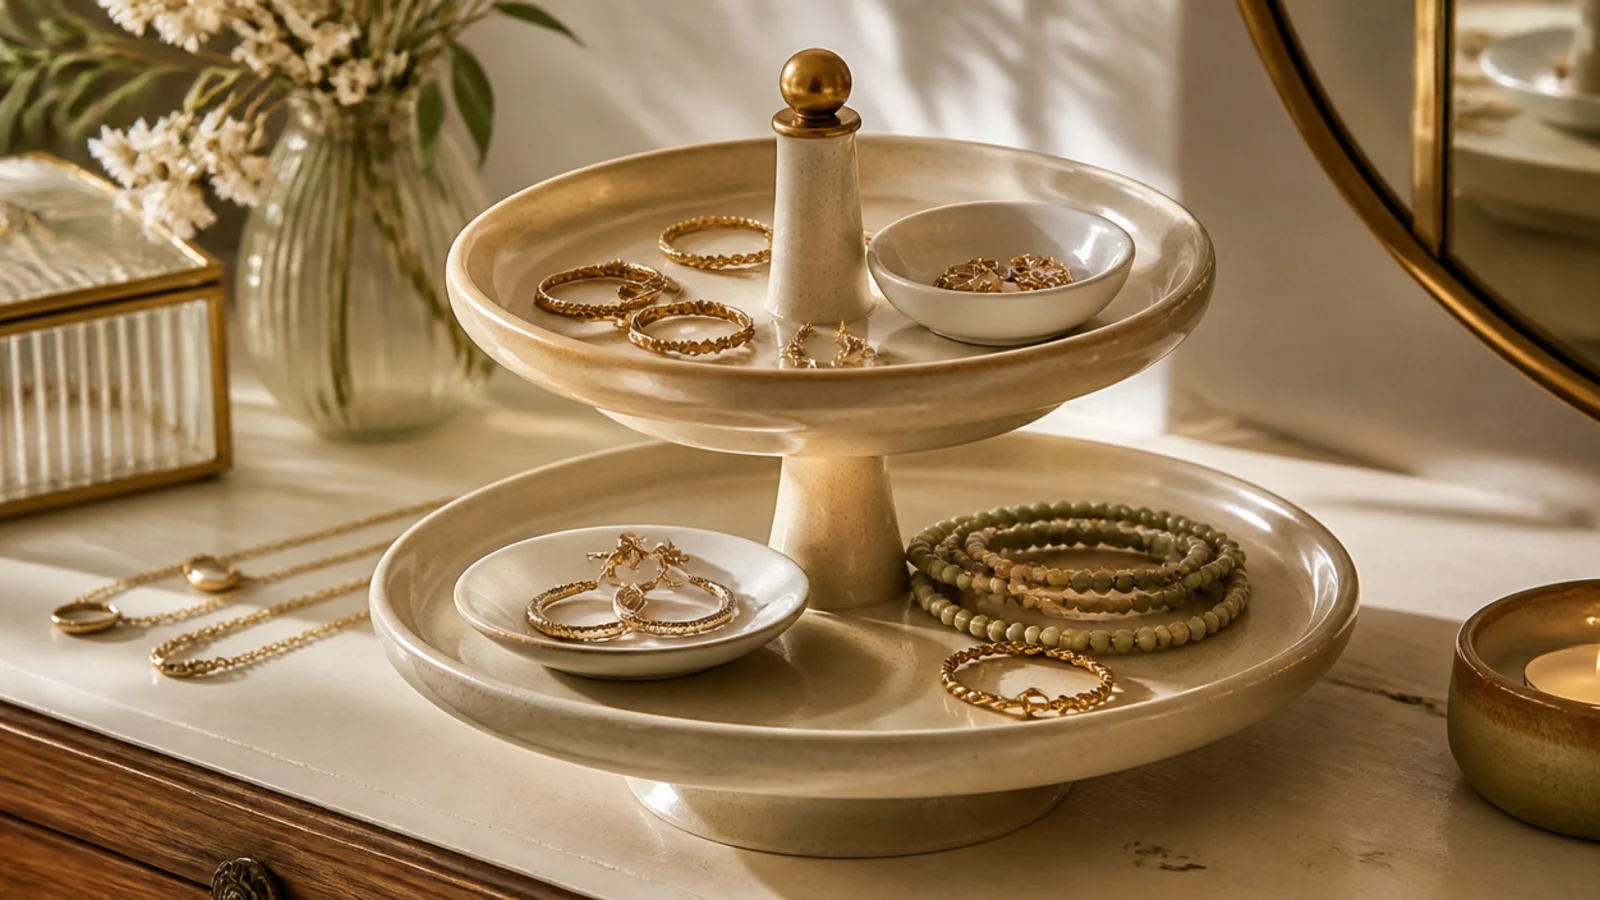
A cake stand’s ready-made tiers hold dishes and coiled pieces at two heights. It’s an instant stand with no building. It suits anyone who has a cake stand and a mix to display.
Editor's noteCoil bracelets around the tier edges so they frame the dishes instead of piling in the center.
Use a two- or three-tier cake stand. Set small ring dishes on the tiers, coil bracelets around the edges, and put a shallow bowl of studs on top. Keep heavier pieces on the bottom tier for stability. Felt the base if it scratches. Because the tiers are fixed, just arrange dishes on them — no assembly. Choose a stand in a finish that matches your vanity.
Skip thisDon’t load the top tier heavy; keep the weight low on a cake stand so the center joint stays stable.
10. Pegboard Easel Stand
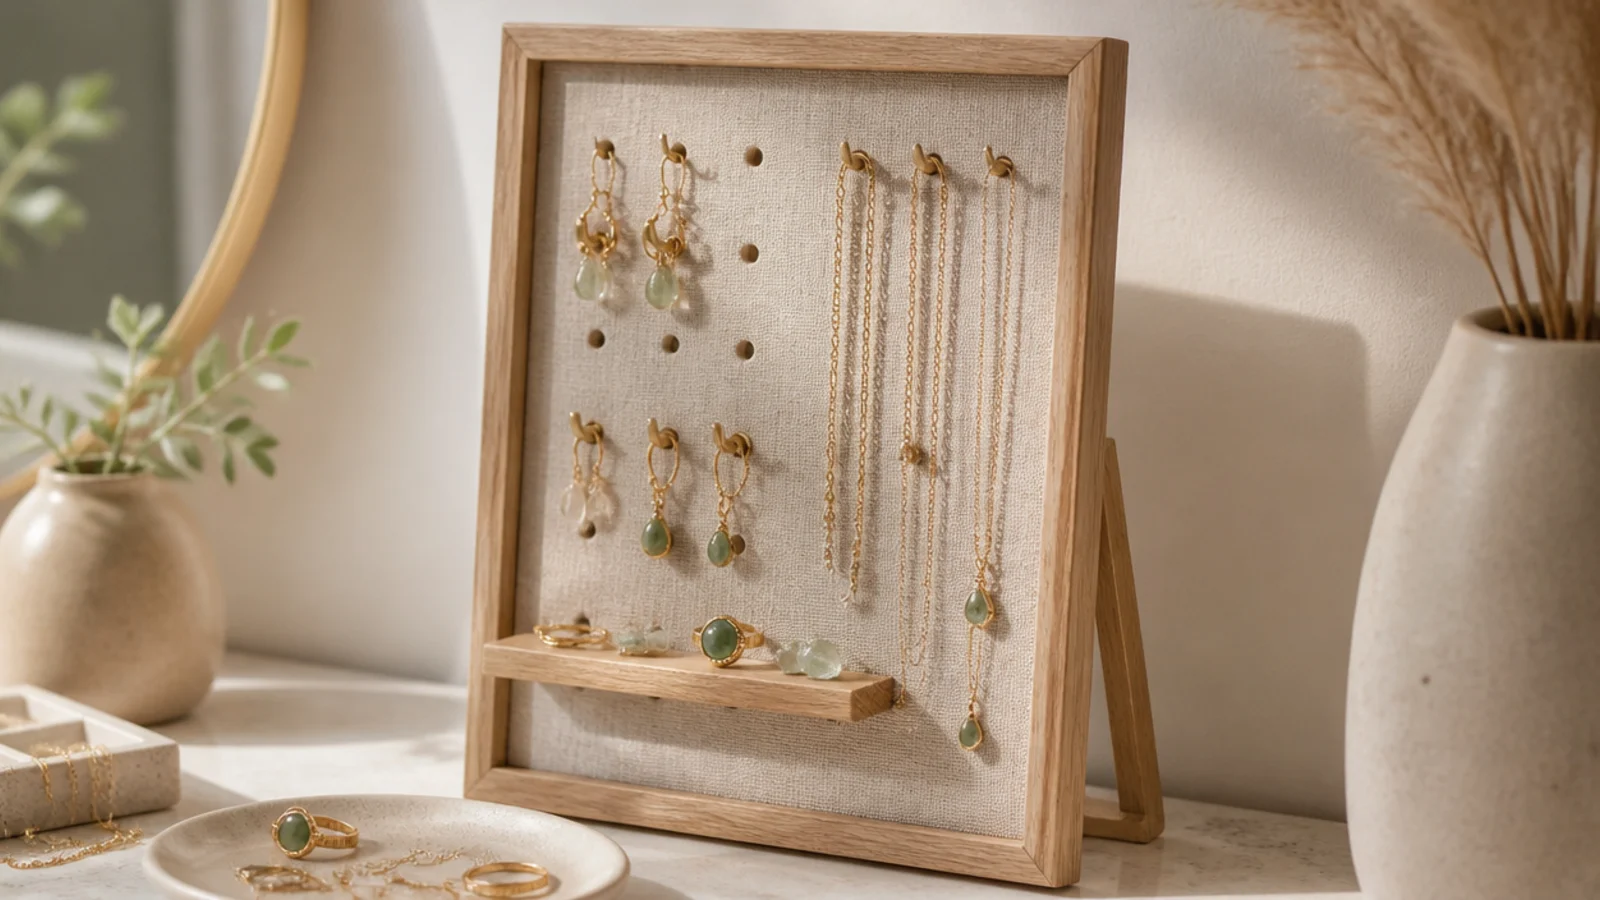
A pegboard on an easel back stands on the counter and holds every type on movable hooks. It’s flexible and freestanding. It suits a changing collection you want on the vanity, not the wall.
Editor's noteAdd a small non-slip strip under the easel foot so the loaded board doesn’t slide or fold flat on a smooth vanity.
Frame a small pegboard and attach a hinged easel leg to the back so it stands. Add peg hooks for necklaces and earrings and a small peg shelf for a ring dish. Set it on the vanity. Because the hooks move, you rearrange as needed. Weight the base of the easel or add a lip so it doesn’t slide. Keep the load balanced so it doesn’t tip backward.
Skip thisDon’t hang heavy pieces high on an easel-backed board; top weight tips it backward, so keep heavy pieces low.
11. Marble Base Brass Stand
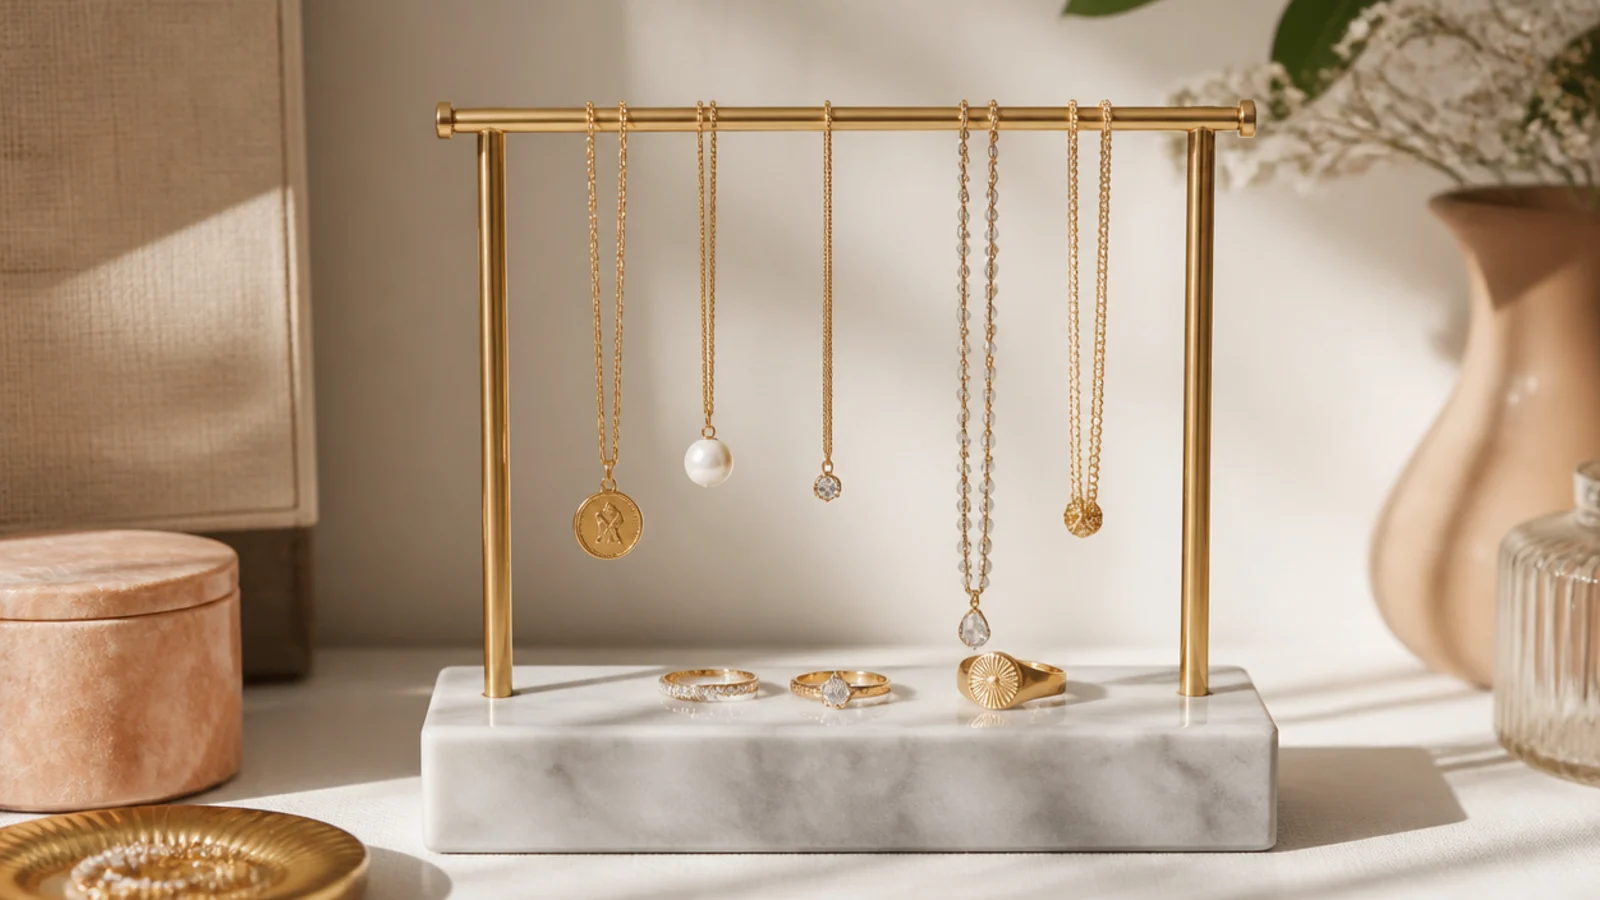
A brass rod in a solid marble base looks genuinely luxe and stays planted from the stone’s weight. The materials do the work. It suits a glam vanity and anyone wanting a high-end centerpiece.
Set a slim brass rod or tube with small arms into a solid marble or stone base — drill the stone or epoxy the rod into a pre-drilled base block. The marble’s weight keeps it stable. Hang necklaces on the arms and set a small brass dish at the base for rings. Buff the brass. Felt the marble underside. The stone-and-metal combo reads expensive with minimal parts.
Let the heavy marble base do the stabilizing so the brass rod can stay slim and elegant without looking flimsy.
Don’t pair thin brass with a lightweight faux base; the mismatch tips and looks cheap, so use real stone weight.
12. Wire Tree Sculpture Stand
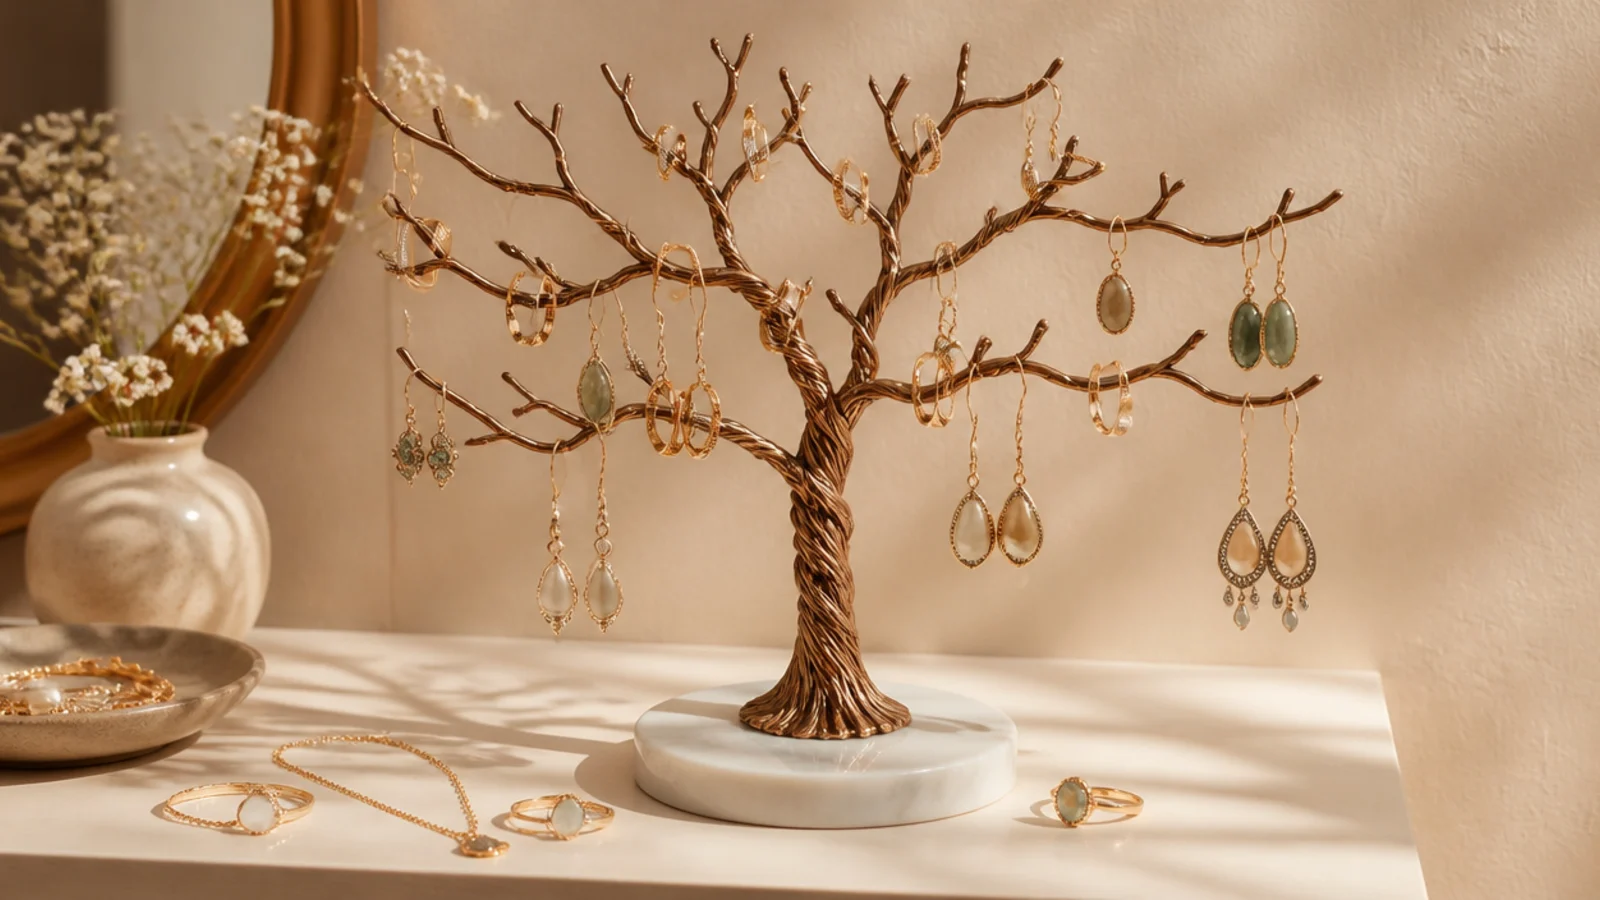
A twisted-wire tree has dozens of fine branches to hang rings and earrings like leaves. It’s sculptural and holds a lot of small pieces. It suits a ring and earring collection you want displayed artfully.
Editor's noteCurl each branch tip into a small loop so rings and earrings hang on securely instead of slipping off the ends.
Twist together lengths of craft wire into a trunk and separate the tops into many fine branches, then set the trunk into a weighted base. Curl the branch tips so pieces don’t slide off. Hang rings and earrings across the branches. The many tips hold a surprising number of small pieces. Keep the base heavy since the wide branches can catch and pull.
Skip thisDon’t leave the wire tips straight and sharp; they scratch pieces and skin, so curl every end into a loop.
13. Vase Stand with Ring Dowel
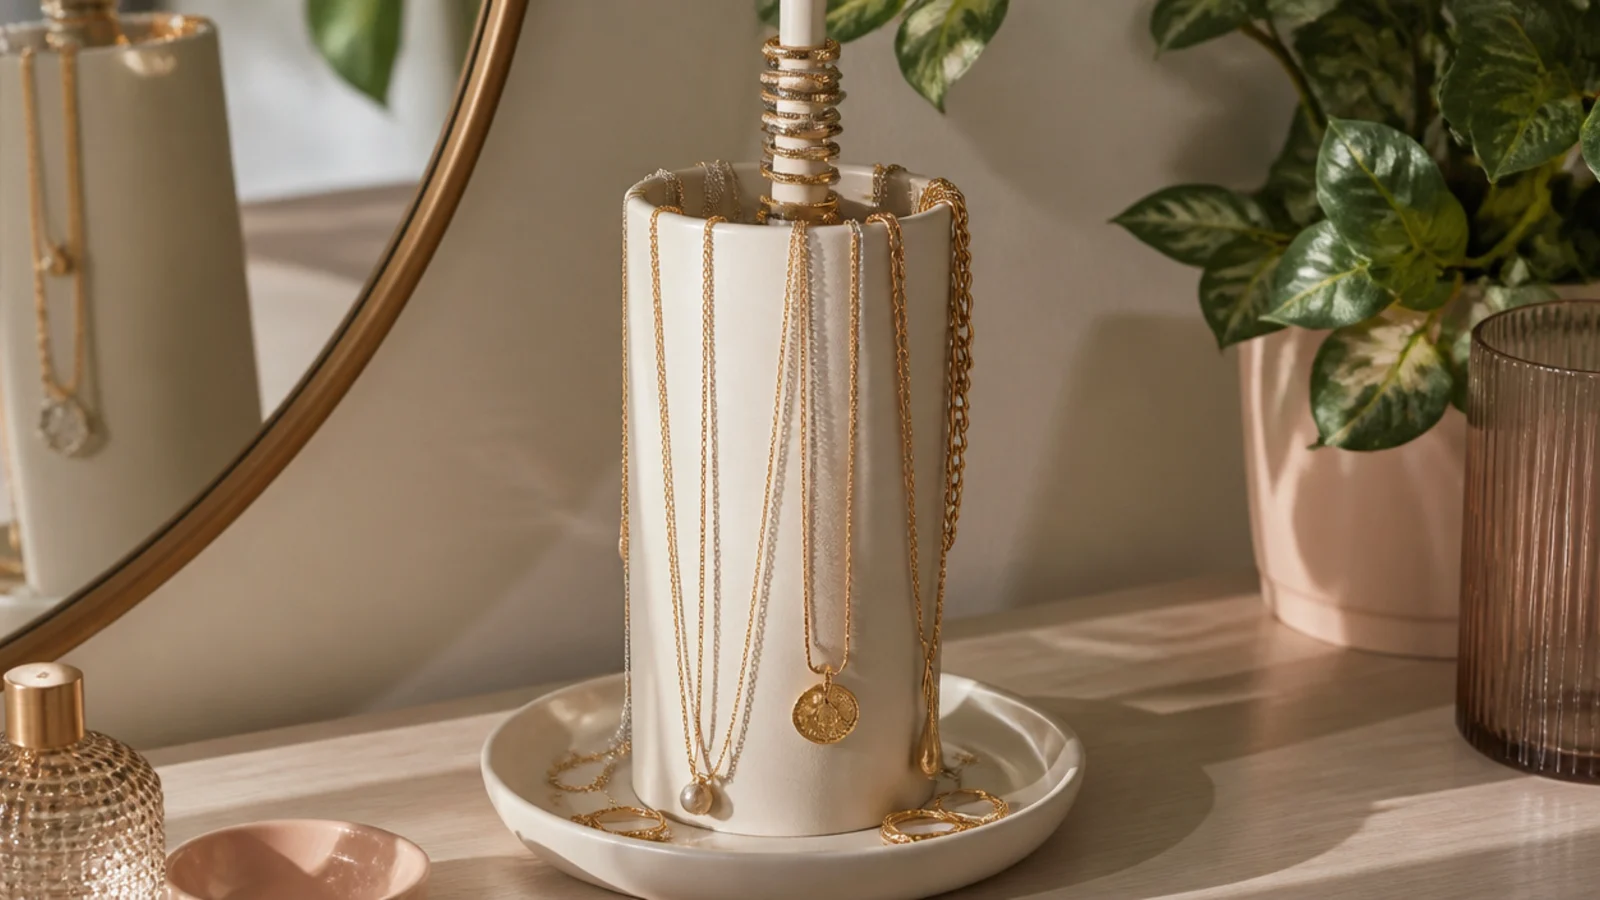
A tall vase with a center dowel stacks rings and drapes chains over the rim, doubling as decor. The vase gives height. It suits a minimal vanity and a small collection.
Editor's noteBallast the vase with sand or beads so the loaded dowel of rings can’t make it top-heavy and tip.
Stand a slim vase on the vanity and set a dowel upright inside, held by sand or beads for weight. Slide rings down the dowel and drape thin chains over the rim. Set a small dish at the base for studs. The sand ballast keeps it from tipping with rings loaded. Wrap the dowel in a thin felt strip so rings grip. Keep the vase base wide for stability.
Skip thisDon’t use a tall narrow vase with no ballast; it topples the moment you load a few rings on the dowel.
14. Geometric Himmeli Stand
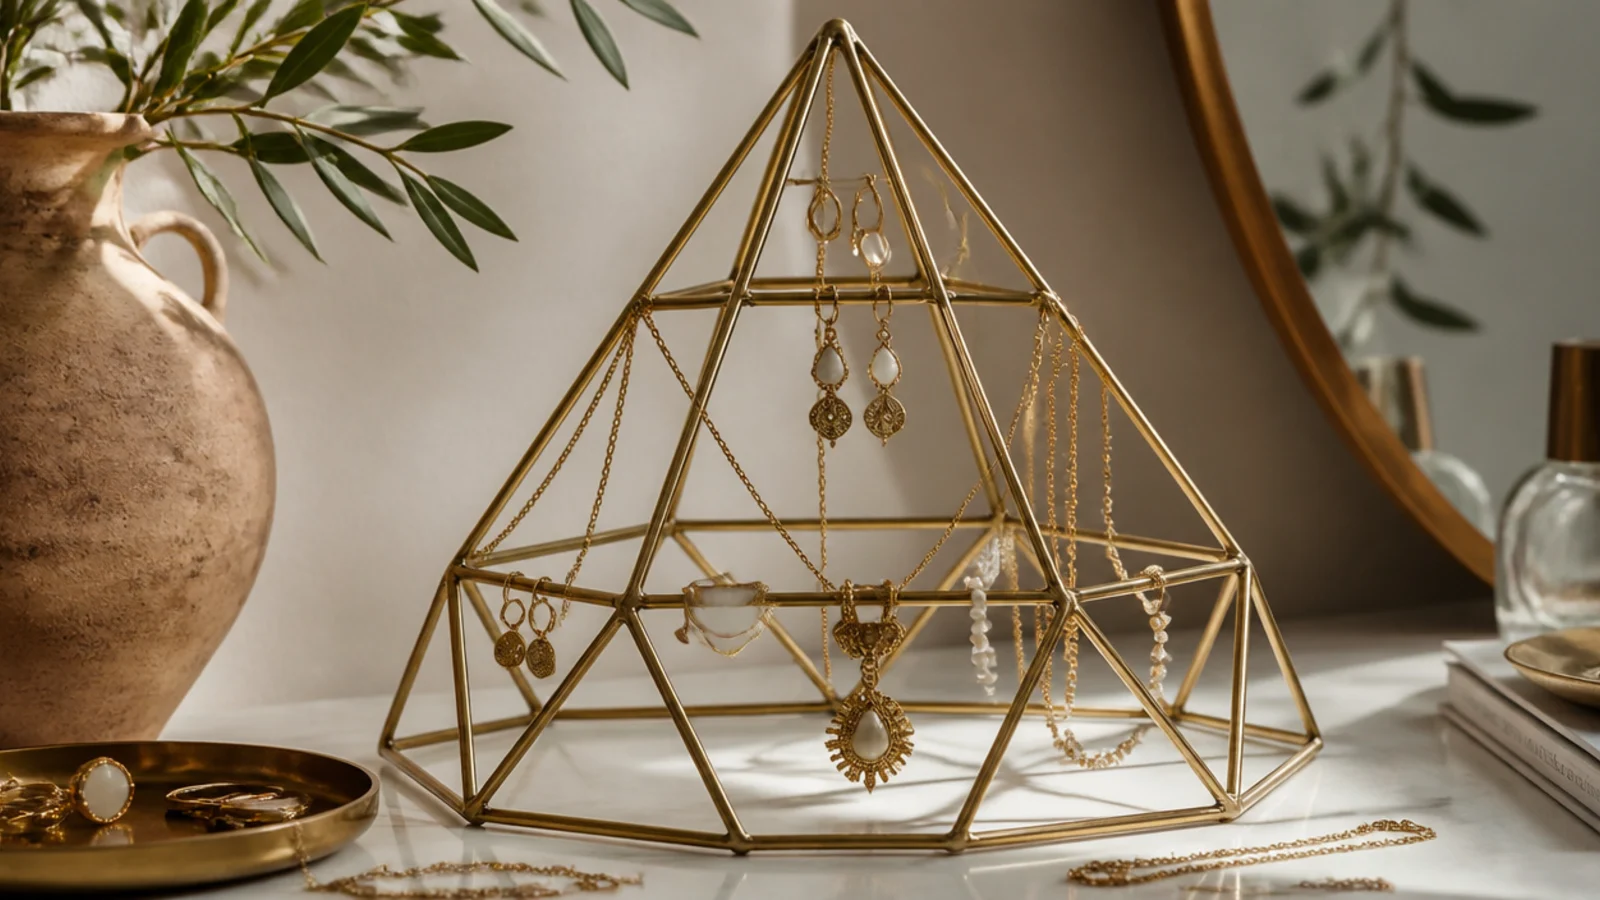
A geometric himmeli frame made of straws or tubes hangs earrings and necklaces from its struts. It’s modern and airy. It suits a contemporary room and a small, curated display.
Build a himmeli-style frame from brass tubes or painted straws strung on wire into a diamond or prism shape, set on a weighted base or a flat stand. Hang earrings and light necklaces from the angular struts. The open geometry displays pieces while looking like decor. Keep it to light pieces since the frame is delicate. Weight or steady the base so it doesn’t shift.
Hang only light pieces on the struts; the airy frame is decorative-strength, so keep heavy chains on a sturdier stand.
Don’t overload a straw-and-wire frame; too much weight bends the struts, so use it for a few light pieces.
15. Concrete Block Stud Stand
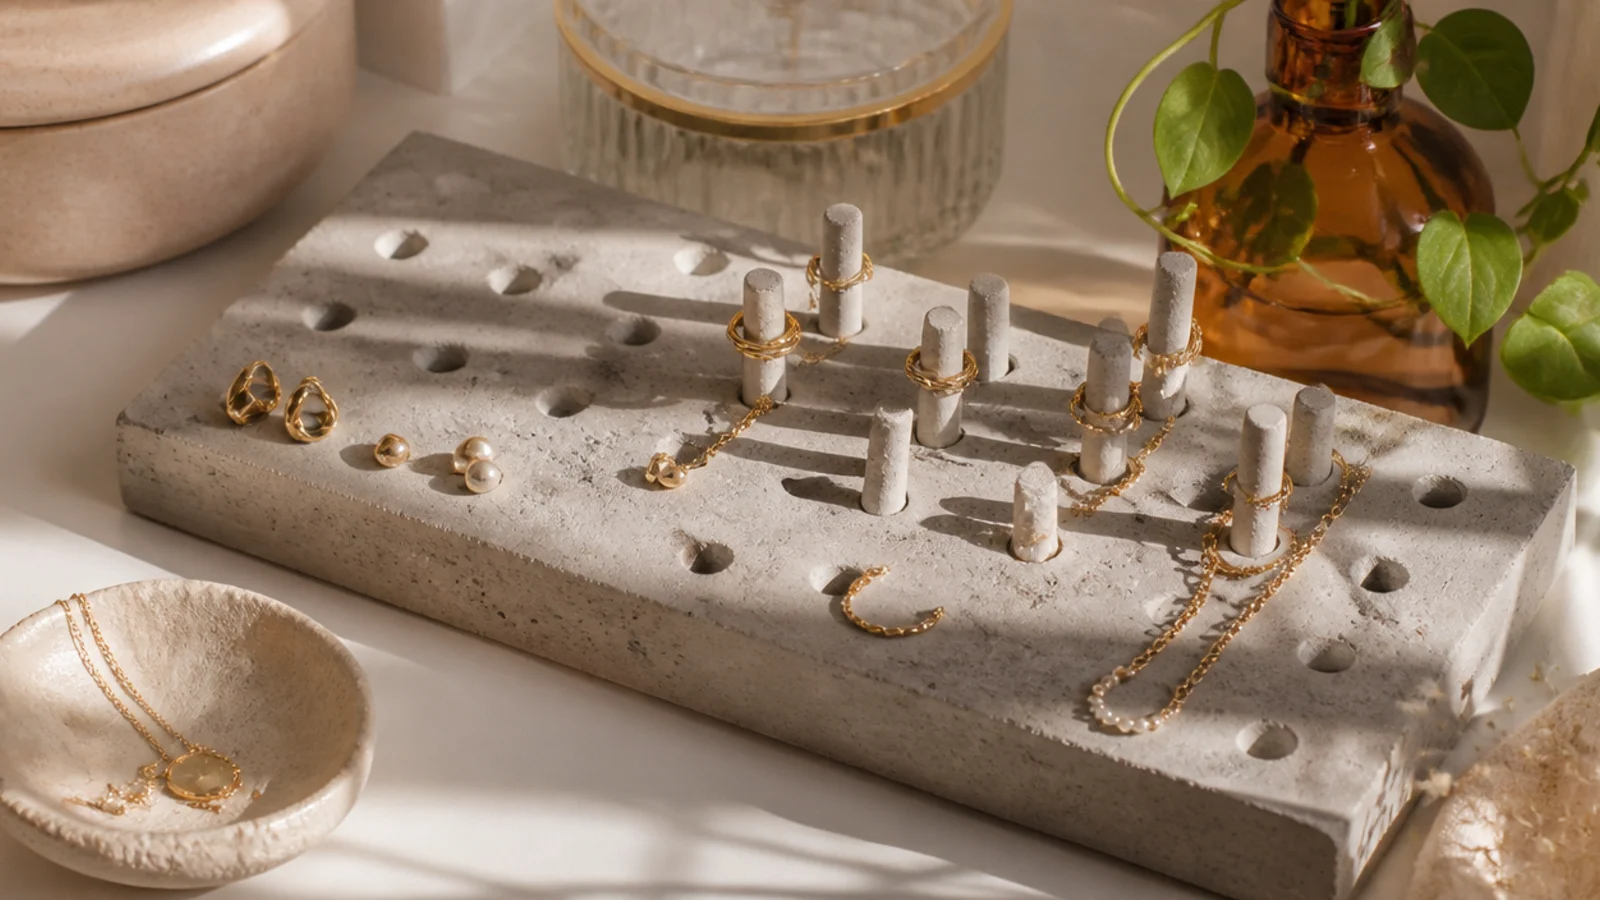
A cast concrete block with drilled holes and pegs is a heavy, modern stand that never tips. The weight is the feature. It suits studs, rings, and a minimalist industrial look.
Editor's noteSeal the concrete with a matte clear so it doesn’t leave grey dust on your pieces or the vanity.
Cast a small concrete block in a mold, or use a ready block, and drill holes for stud posts and short dowel or brass pegs for rings. Seal the concrete so it doesn’t shed grit. Push studs into the holes, slide rings onto the pegs, and drape a chain over a taller peg. The mass keeps it rock-steady. Felt the underside so it doesn’t scratch the vanity.
Skip thisDon’t skip felting the underside; bare concrete scratches a wood or glass vanity every time you move it.



