Learning to make an Instagram frame template once means every future post takes seconds instead of a fresh design, and the whole thing comes down to five steps and the right layer order. I build mine in free Canva, keep the photo on the bottom layer and the frame on top, and save it so I only ever swap the image. This guide walks you through all five steps — canvas setup, photo placement, building the frame, adding type, and saving for reuse — with the exact sizes, settings, and the mistake to avoid at each stage. Follow it once and you will have a reusable frame you can drop any photo into forever.
Before you start, know what you are building — one reusable design where the frame stays fixed and only the photo changes. The single idea that makes this work is layer order: the photo goes on the bottom, everything else goes on top. Get that right and swapping photos never breaks the frame. Get it wrong and you end up rebuilding every time.
You need very little: free Canva (desktop for precision, the mobile app to post), one photo over 1080 px wide, one font pairing (a display serif like Playfair Display or DM Serif plus a clean sans like Poppins or Inter), and a saved three-color hex palette — cream #F5F0E6, terracotta #C98570, charcoal #3A3A3A. That is the whole kit. Canva’s free frames, shapes, lines, and shadow elements handle the rest.
Work through the steps in order the first time; after that, you will only ever repeat step two (swap the photo) and step five (export). Each step below is one stage of the build, with the exact settings to use and the one thing that trips people up. By the end you will have a saved template and know how to make more.
Step one is the foundation everything else sits on, so it is the most beginner-friendly and the most important. You create a fixed-size canvas and lock in your margins with guides before adding anything. Getting this right means every template you build lines up in the grid.
Editor's noteTurn on snapping in Canva so every element you add later clicks to your guides automatically.
In Canva, click Custom Size and enter 1080x1350 px (or 1080x1080 for square). Fill the background with cream #F5F0E6. Open View, turn on Rulers and Guides, and drag guides to 90 px from each edge for your margin. For stories at 1080x1920, also add guides 250 px from the top and bottom for safe zones. Save the file with a clear name.
Skip thisDo not skip the guides; without them your margins drift between posts and the grid stops looking cohesive.
Step two places the photo as the bottom layer — the one thing you will swap for every future post. Keeping it on the bottom is what makes the template reusable. This is the step you will repeat every time you post.
Editor's noteUse the Replace function to swap photos so the new image inherits the exact crop and position of the old one.
Drag your photo onto the canvas and size it to sit inside your margin guides, holding Shift to keep its ratio. Right-click and choose Send to Back so it is the lowest layer. Double-click to reposition the subject within the frame. To reuse later, click this layer and use Replace to swap in a new photo without touching anything else.
Skip thisDo not stretch the photo to fill; crop it instead so faces and proportions stay natural.
Step three adds the actual frame — the border, shape, or elements that sit on top of the photo. This is where the template gets its look. Because it is a separate layer, it stays put no matter which photo is underneath.
Editor's noteGroup every frame element into one group so you can lock it and never nudge it out of place when swapping photos.
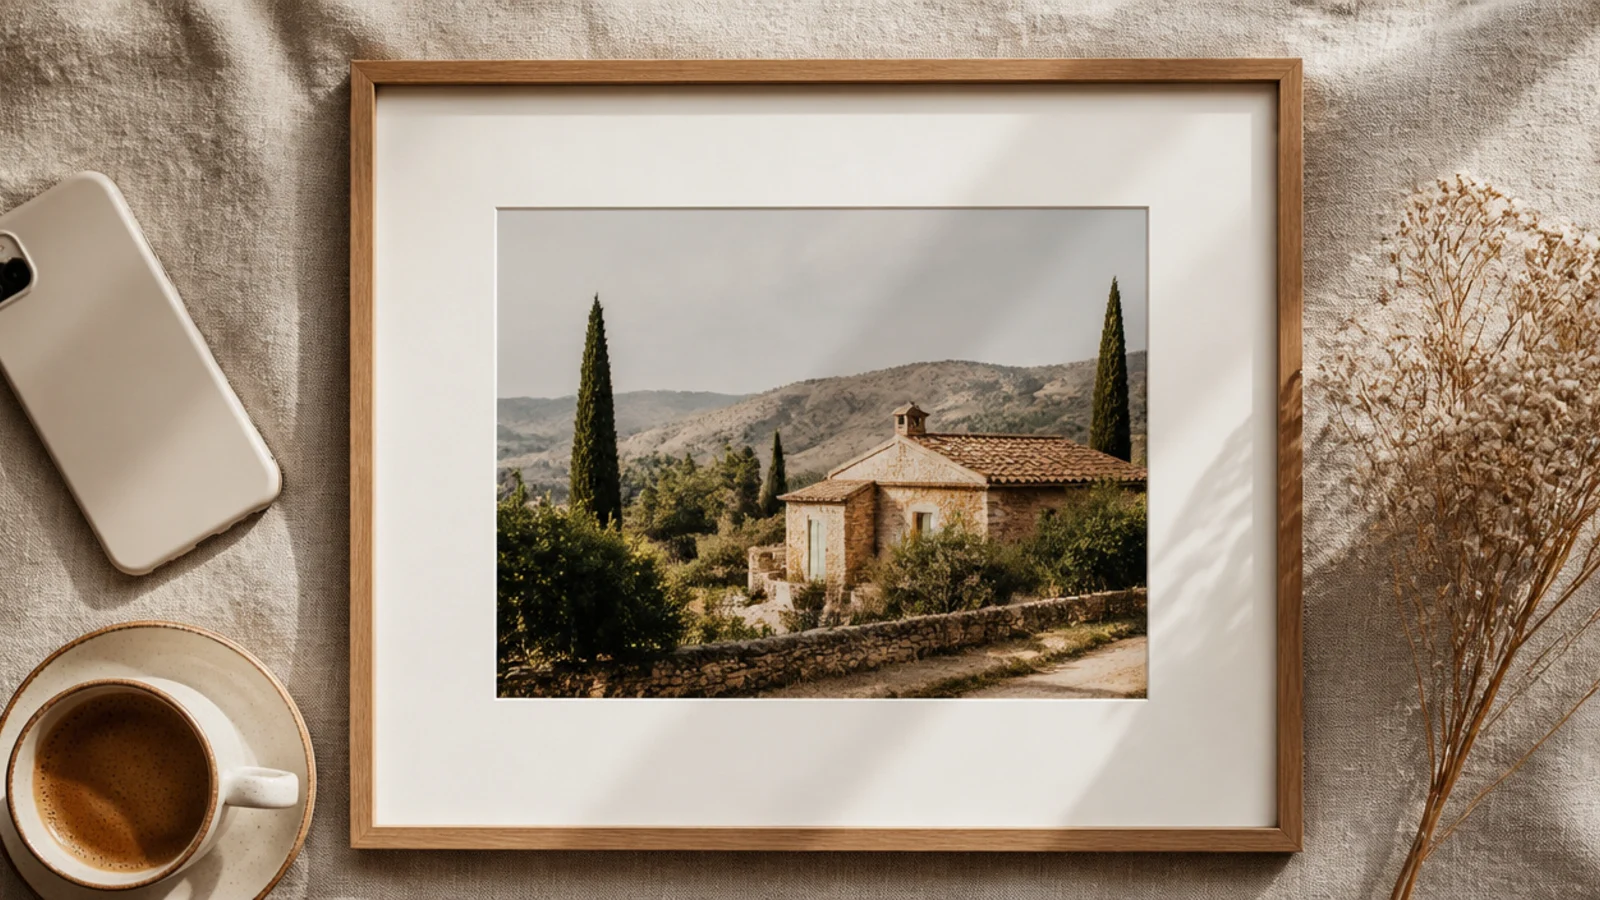
Choose your frame style: add a line-rectangle border (2 px charcoal, inset 60 px) for a clean look, or an arch or rounded frame element that the photo crops into. Add a soft drop shadow if the frame calls for it. Group all the frame elements together so they move and reuse as one unit above the photo layer. Keep the border width consistent.
Skip thisDo not merge the frame onto the photo; keep it as its own group so the template stays reusable.
Step four adds any text and brand touches — a caption, a handle, a small logo — using your one font pairing. This is what makes the post feel branded and consistent. Keep it light so the photo still leads.
Editor's noteSave your two fonts and three colors as a brand kit (or a note) so you never have to re-pick them.
Add text with your display serif (Playfair Display or DM Serif) for any headline and your clean sans (Poppins or Inter) for handles, dates, and small lines. Use your saved palette colors. Keep type inside the margins, and for stories inside the safe zones. Add a small handle or logo in a fixed corner so every post shares the same signature. Keep each text piece on its own layer.
Skip thisDo not use more than two fonts or three colors; extra fonts and colors are what make a template look busy.
Step five locks in the payoff — you save the design as a reusable template and export the finished post. From now on, posting is just swapping the photo and exporting again. This is the step that turns a one-off design into a real template.
Duplicate the page and keep the original as your master template (use 'Save as template' if available). To post, replace the photo layer, tweak any text, then click Share, Download, choose PNG, and confirm the size is the full 1080 px. Upload the exported file to Instagram — never a screenshot. Keep master templates in one Canva folder named clearly.
Export as PNG rather than JPG for the crispest border and text edges, especially on thin lines.
Do not screenshot the design to post; a screenshot recompresses it and grabs your status bar, softening the frame.
Your questions, answered
What app do I need to make an Instagram frame template?
Free Canva is all you need — it has a fixed custom canvas, drag guides, free fonts and elements, a layers system, and a duplicate button. Build on desktop for precision, then open the same file in the Canva mobile app to post. Photopea, a free browser Photoshop, is an alternative if you want more control over blend modes.
What canvas size should I use?
Use 1080x1350 px for the tall 4:5 feed post, which fills the most screen, or 1080x1080 px for a square grid; stories are 1080x1920 px. Pick one and use it for every template so your grid lines up. Always export at that exact pixel size so Instagram does not recompress and soften the design.
How do I keep the photo from distorting when I swap it?
Keep the photo on the bottom layer and crop it to fit rather than stretching it. If you use a Canva frame element, drag the new photo onto it and double-click to reposition the subject. Because the frame is a separate layer on top, swapping the photo underneath never changes the frame itself.
How do I save it so I can reuse it?
In Canva, keep the design in your projects and duplicate the page each time you post, or use 'Save as template' if you have it. Keep the photo as its own layer so you can select and replace just that layer. Name the file clearly (like 'IG frame — cream border') so you can find it fast next time.
How many templates should I make?
Start with one, then build a small set of three or four — a plain border, a caption-bar frame, and one decorative frame covers most feeds. Rotating a small consistent set keeps your grid cohesive while giving variety. Duplicate an existing template and change one element to make the next one quickly.
Can I make these on my phone only?
Yes. The Canva mobile app has the same custom canvas, layers, elements, and export. It is a little fiddlier for precise margins, so if you can, do the first build on desktop and then edit and post from the phone. The saved template syncs across both, so you build once and post anywhere.
What is the most common beginner mistake?
Baking the frame onto the photo instead of keeping them as separate layers. If you flatten them, you have to rebuild the frame every post. Always keep the photo on its own bottom layer and the frame, text, and decoration on their own layers on top, so the template stays reusable.