

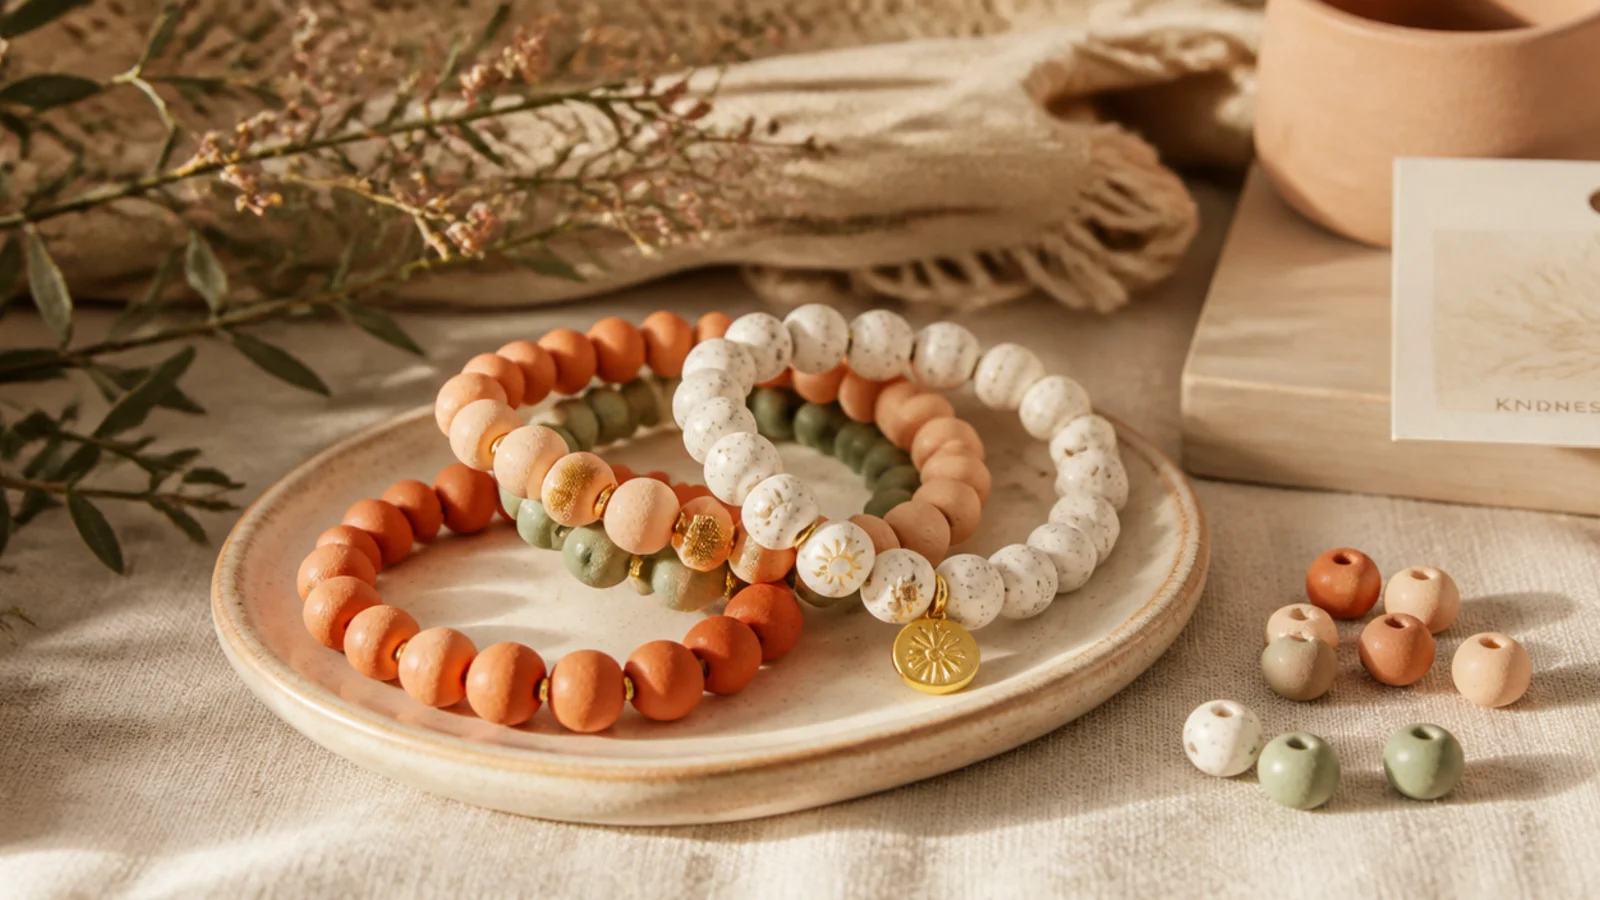
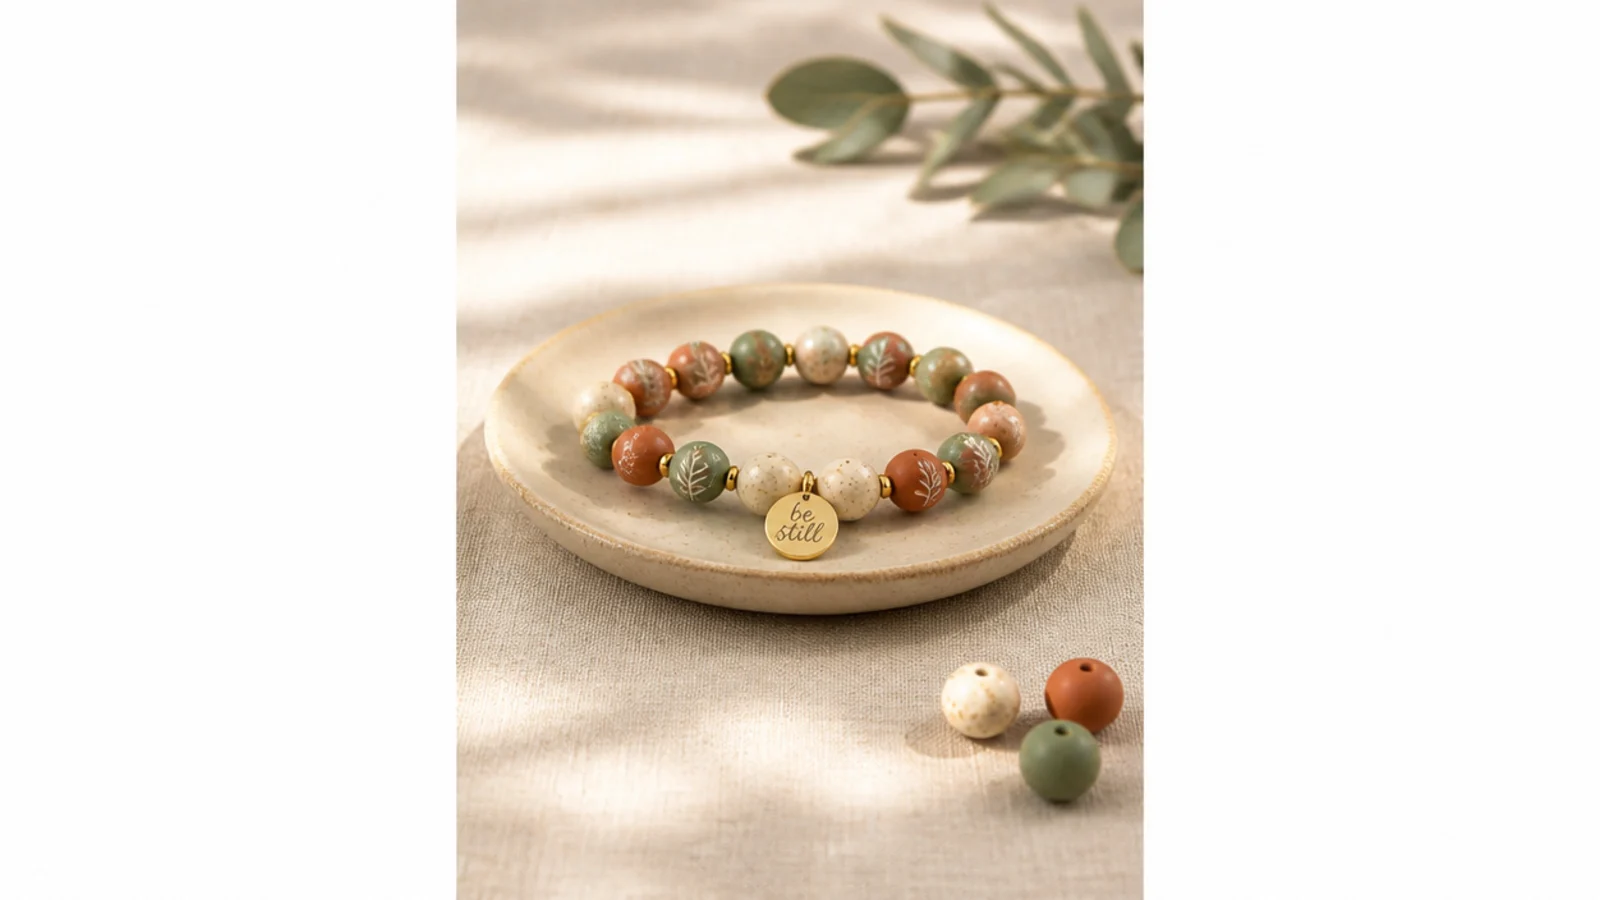
1. Single Solid Color
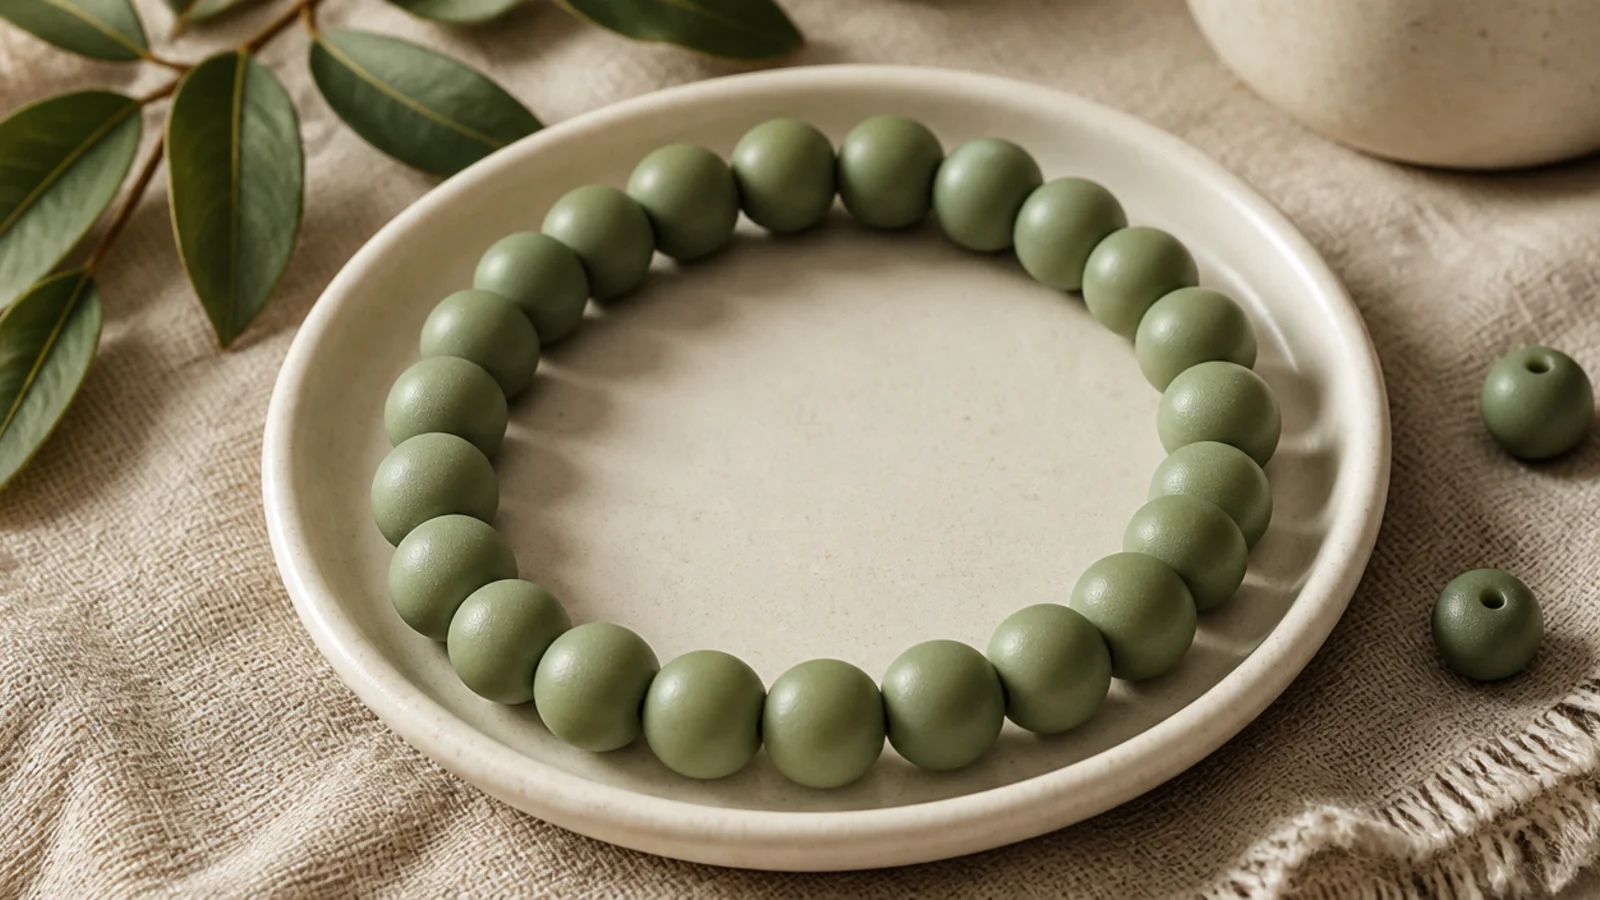
The easiest bracelet there is, and the best place to learn. One color, strung to your wrist length, with no pattern to track. It’s where you practice fit and the finishing knot. A solid clay bracelet still looks modern and clean on its own.
Cut 9 to 10 inches of 0.8mm cord and tape one end. String one color to your measured wrist length minus a quarter inch. Keep the beads facing the same way so the band lies flat. Tie a surgeon’s knot, dab with clear glue, let it dry, trim the tails, and slide the knot inside a bead to hide it.
Editor's noteUse this first bracelet purely to practice the surgeon’s knot — once that’s second nature, everything else is easy.
Skip thisDon’t skip hiding the knot; a visible knot on a plain solid is the one thing that makes it look homemade.
2. Two-Color Alternating
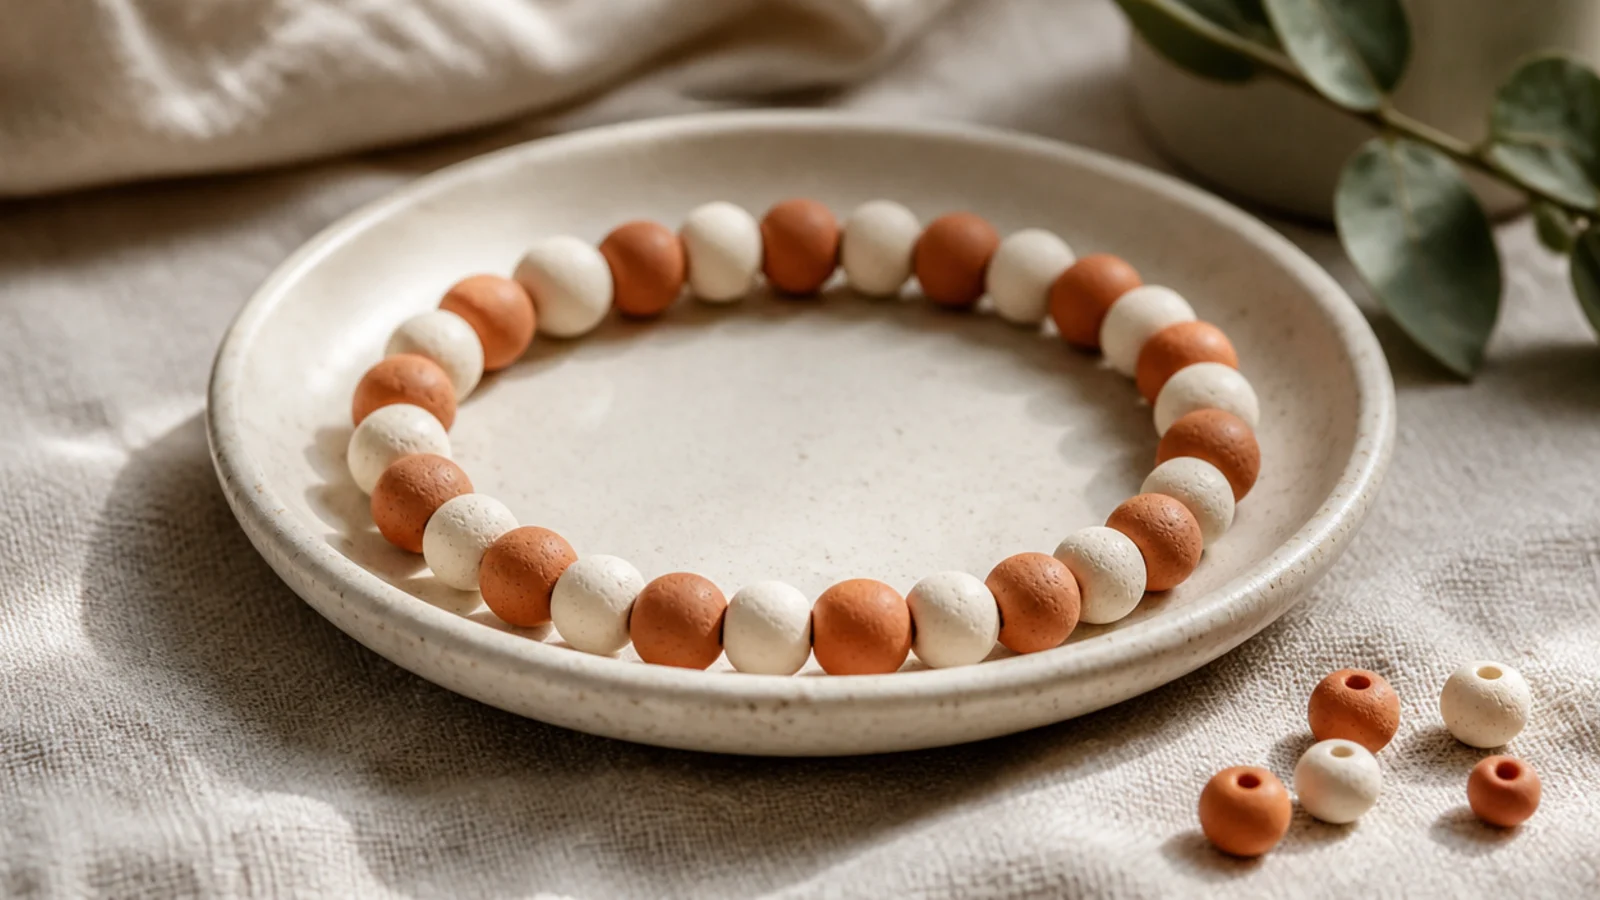
One bead of each color, repeating — the simplest pattern you can make. It’s impossible to lose your place and always looks crisp. Any two colors work. The natural next step after a solid.
Pull two colors into your dish. String them strictly alternating — one cream, one terracotta — in a steady rhythm on taped 0.8mm cord. Because the repeat is two beads, any even total closes cleanly. String to your wrist size, then tie a surgeon’s knot, seal, and hide the knot inside a bead.
Editor's noteString in a steady one-and-one rhythm without stopping — the repetition keeps the alternation perfectly even.
Skip thisDon’t accidentally place two of the same color together; a doubled bead is the first thing the eye catches.
3. Color Block Halves
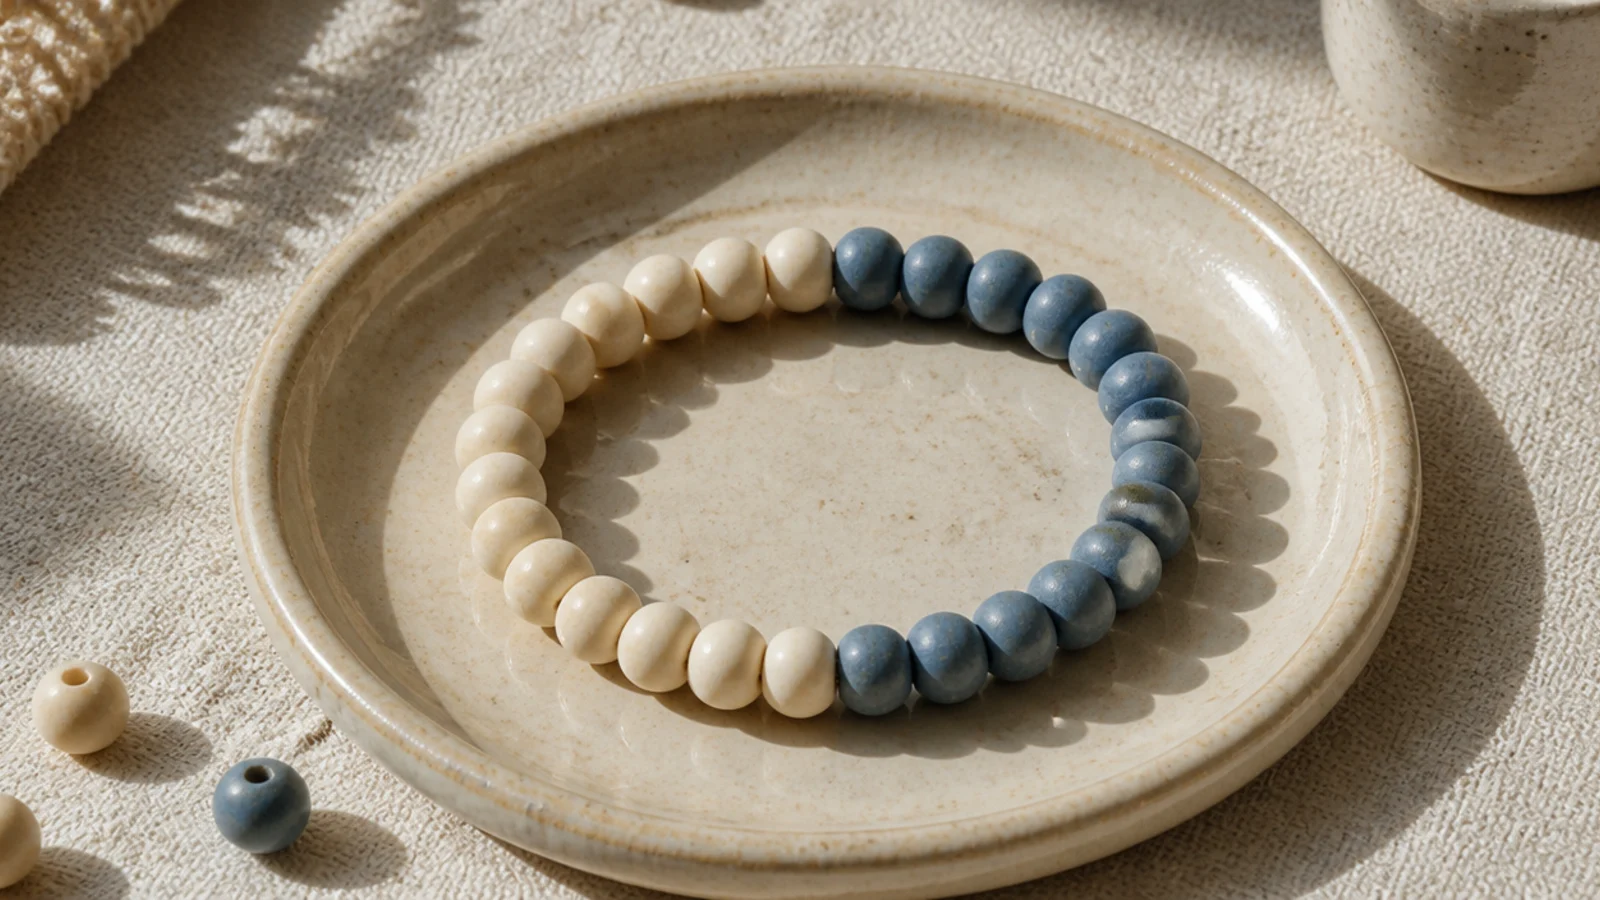
Two solid halves of color, meeting front and back. Bold, modern, and only needs you to split your beads in two. No fiddly counting. A striking, quick design.
Count your total bead count and divide by two. String the first color for the front half, then switch to the second for the back half, keeping the halves equal. String to your wrist size, then tie a surgeon’s knot, seal, and hide the knot inside a bead at a color join.
Editor's noteCount your total and split it exactly in half so the two color joins sit opposite each other on the wrist.
Skip thisDon’t eyeball the split; a lopsided half is obvious because the color joins won’t line up across the bracelet.
4. Single Smiley Focal
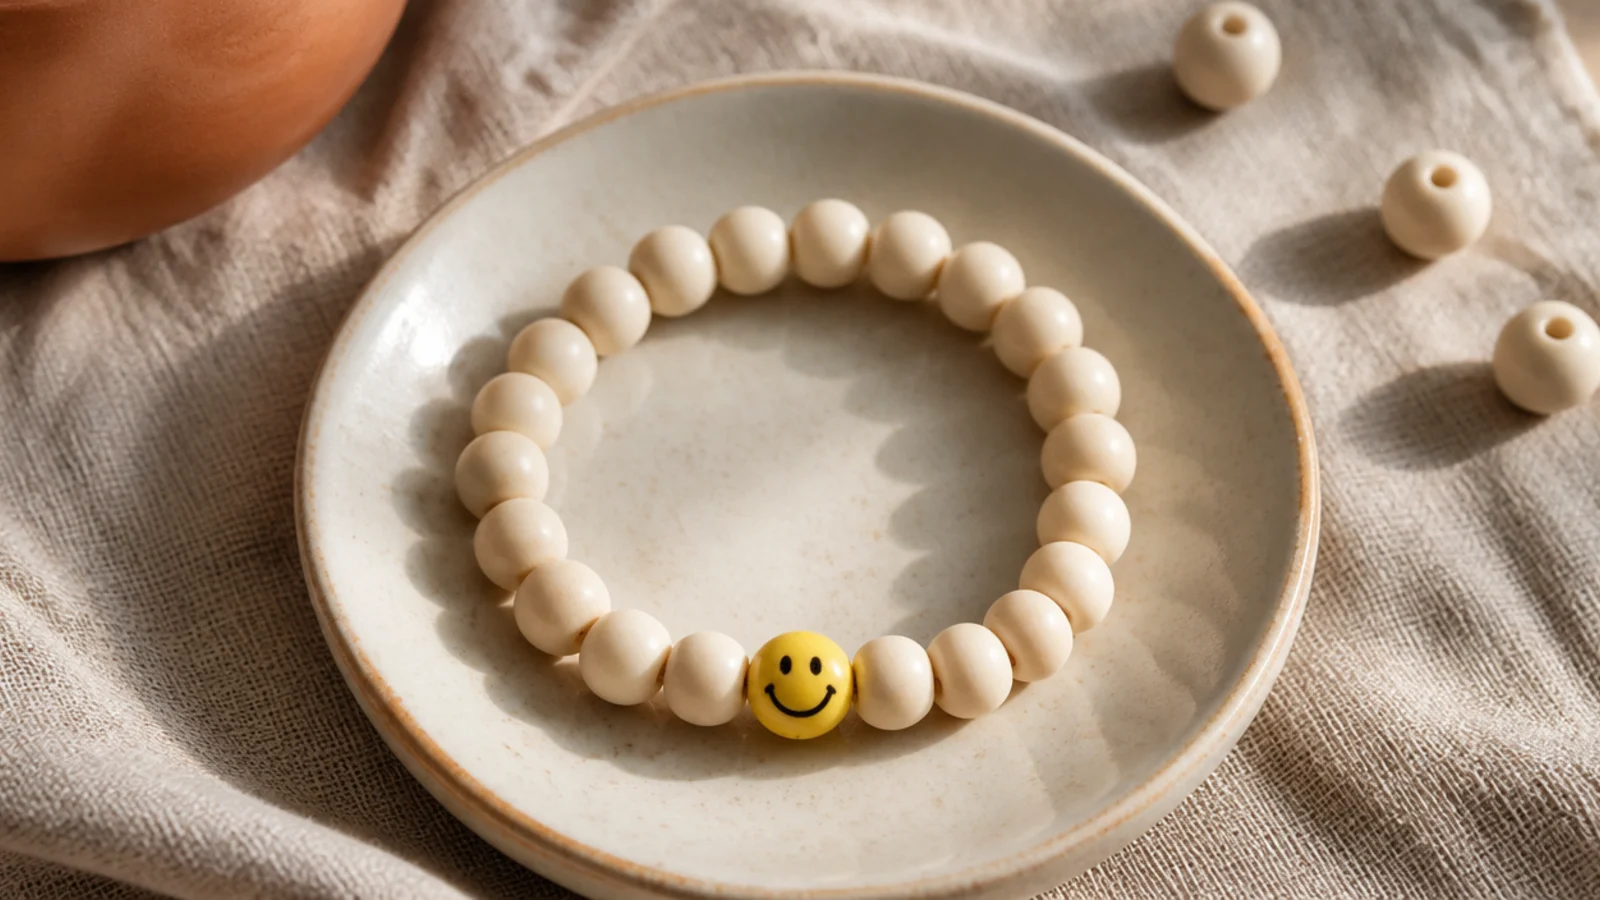
One smiley bead on a plain base is the cutest easy upgrade. The calm base keeps it wearable and the smiley adds all the personality. It takes about ten minutes. A guaranteed crowd-pleaser.
String a cream base to the center, add the yellow smiley-face bead, then continue with cream to your wrist length. Center the smiley by keeping equal beads on each side. String to your size, then tie a surgeon’s knot, seal, and hide the knot inside a cream bead.
Editor's noteCenter the smiley by counting beads, not by eye — an off-center focal always looks like a slip.
Skip thisDon’t crowd the smiley with extra charms; one focal on a plain base is what keeps it clean and cute.
5. Rainbow Order
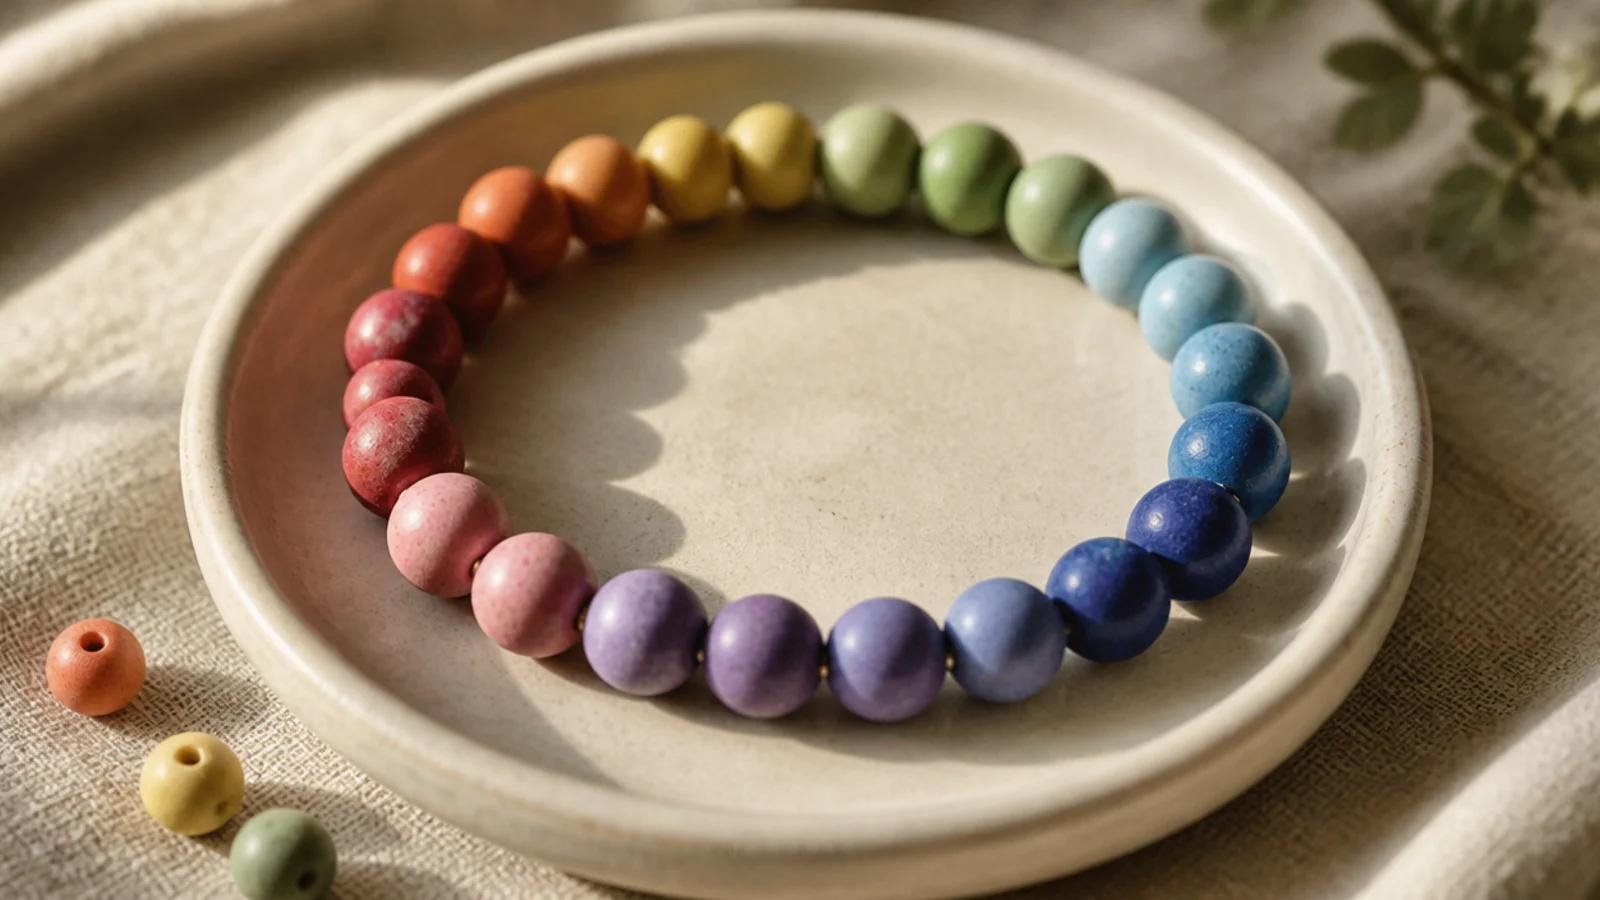
Beads strung in rainbow order — red, orange, yellow, green, blue, purple — repeating. The set order does the design work. Cheerful and satisfying. A classic first pattern.
Set six colors in rainbow order in your dish. String one of each, repeating the sequence around the band. A total divisible by six closes cleanly. String to your wrist size, then tie a surgeon’s knot, seal, and hide the knot at the end of a full rainbow.
Editor's noteLay the six-color repeat out once as a master line and copy it so every rainbow cycle matches.
Skip thisDon’t shuffle the color order between repeats; a consistent sequence is what makes it read as a rainbow.
6. Gold Spacer Simple
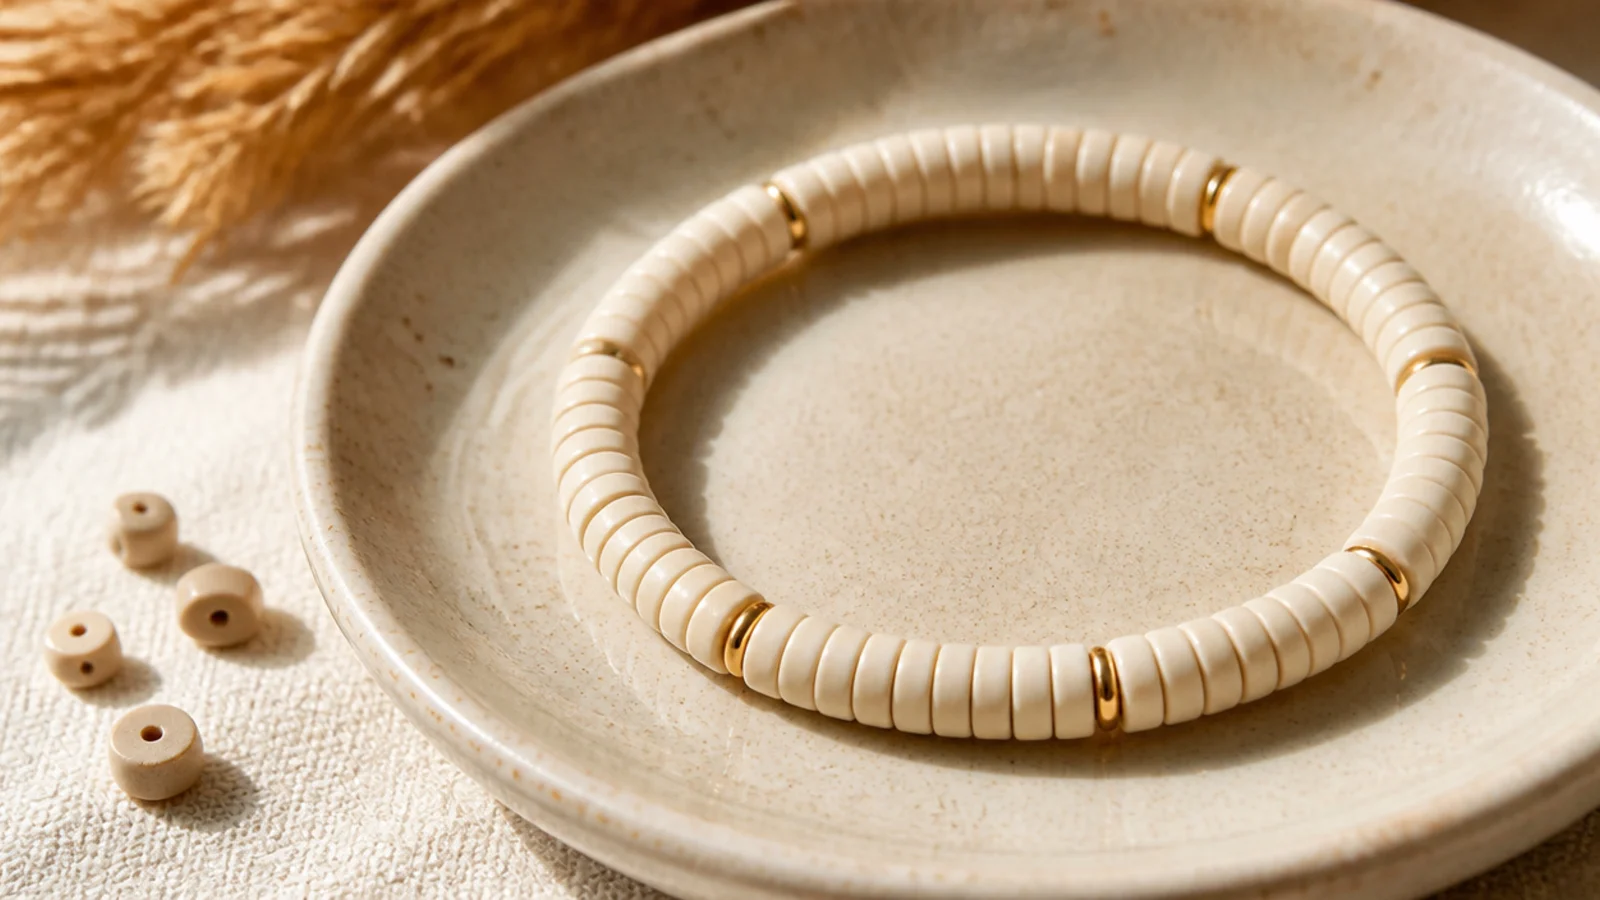
Plain beads with a gold spacer every few beads looks instantly more expensive. The little metallic breaks add rhythm and shine. It’s minimal and easy. The single best trick for making a beginner bracelet look designed.
String a cream base and add a small gold rondelle spacer every fourth bead, keeping the count even. The thin spacers tuck between the discs. String to your wrist size, then tie a surgeon’s knot, seal, and hide the knot inside a cream bead.
Editor's noteKeep the spacing between gold spacers identical all the way around — the even rhythm is what looks refined.
Skip thisDon’t use chunky spacers; oversized metal sticks out and breaks the smooth line of the bracelet.
7. Two-and-Two Blocks
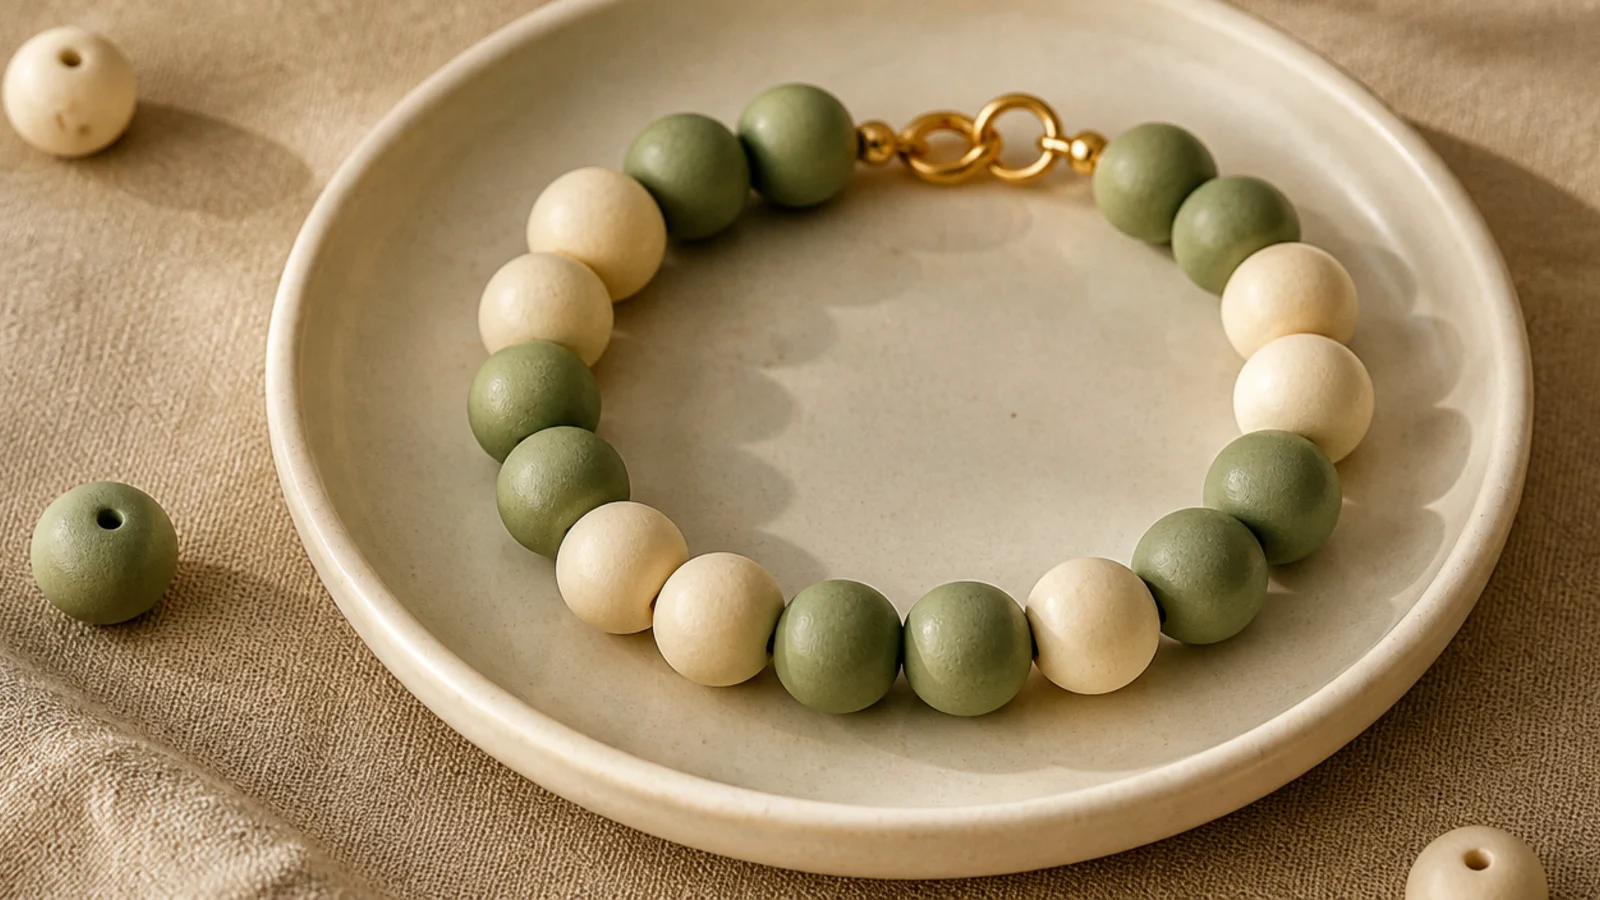
Colors grouped in pairs — two of each, repeating. A touch bolder than single alternating but just as easy. The paired blocks read as a tidy pattern. A great confidence-builder.
String two sage, then two cream, repeating around the band. Because the repeat is four beads, aim for a total divisible by four so it closes cleanly. String to your wrist size, then tie a surgeon’s knot, seal, and hide the knot where a block ends.
Editor's noteAim for a bead total divisible by four so the two-and-two repeat meets cleanly at the knot.
Skip thisDon’t lose count and make a block of three; one oversized block breaks the paired rhythm.
8. Single Initial
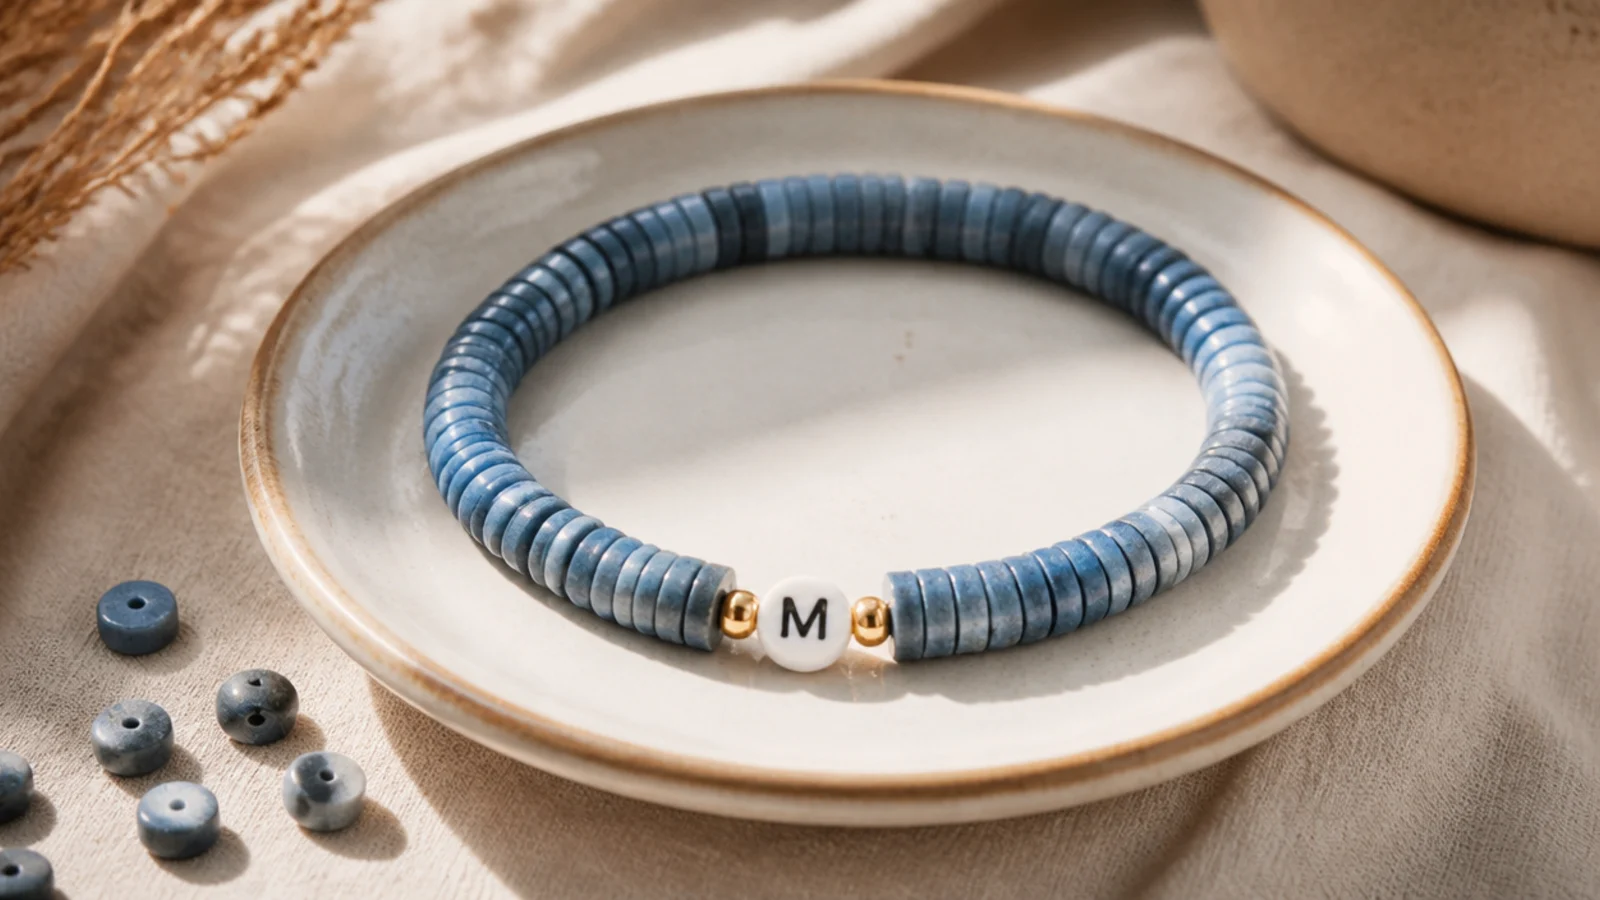
One letter bead makes a bracelet personal in seconds. A single initial on a calm base is crisp and gift-ready. It’s the easiest way to personalize. Everyone wants their own initial version.
String a base to the center, add one white letter bead, then continue to your wrist length, keeping the letter centered. Because letter beads can have small holes, test-fit one on your cord first. Tie a surgeon’s knot, seal, and hide the knot inside a base bead.
Center the letter by counting equal base beads on each side so it sits dead-front on the wrist.
Don’t force a small-holed letter bead onto thick cord; switch to 0.6mm elastic so it threads smoothly.
9. Three-Color Repeat
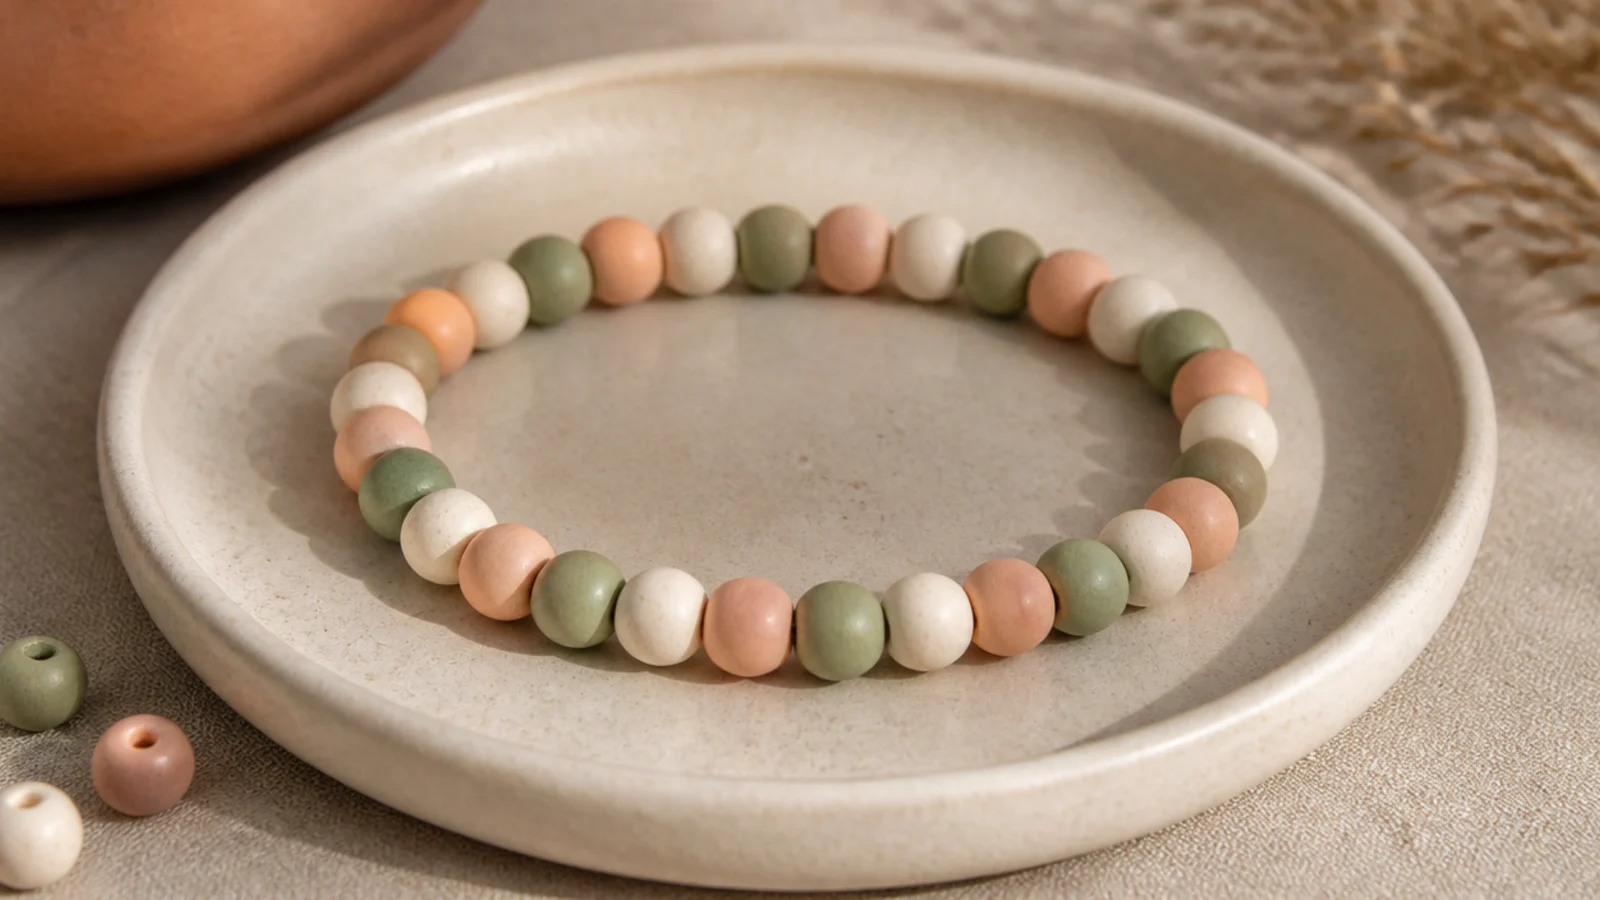
A three-color sequence, one of each repeating. Richer than two colors but still easy to track. Choosing a balanced trio keeps it harmonious. A satisfying step up.
Set three colors in order in your dish. String one of each, repeating the sequence around the band. A total divisible by three closes cleanly. String to your wrist size, then tie a surgeon’s knot, seal, and hide the knot at a sequence end.
Editor's noteKeep the three colors in the same order every repeat so the pattern reads as intentional.
Skip thisDon’t swap the color order partway; a flipped sequence reads as a mistake even if the colors match.
10. Pastel Mix
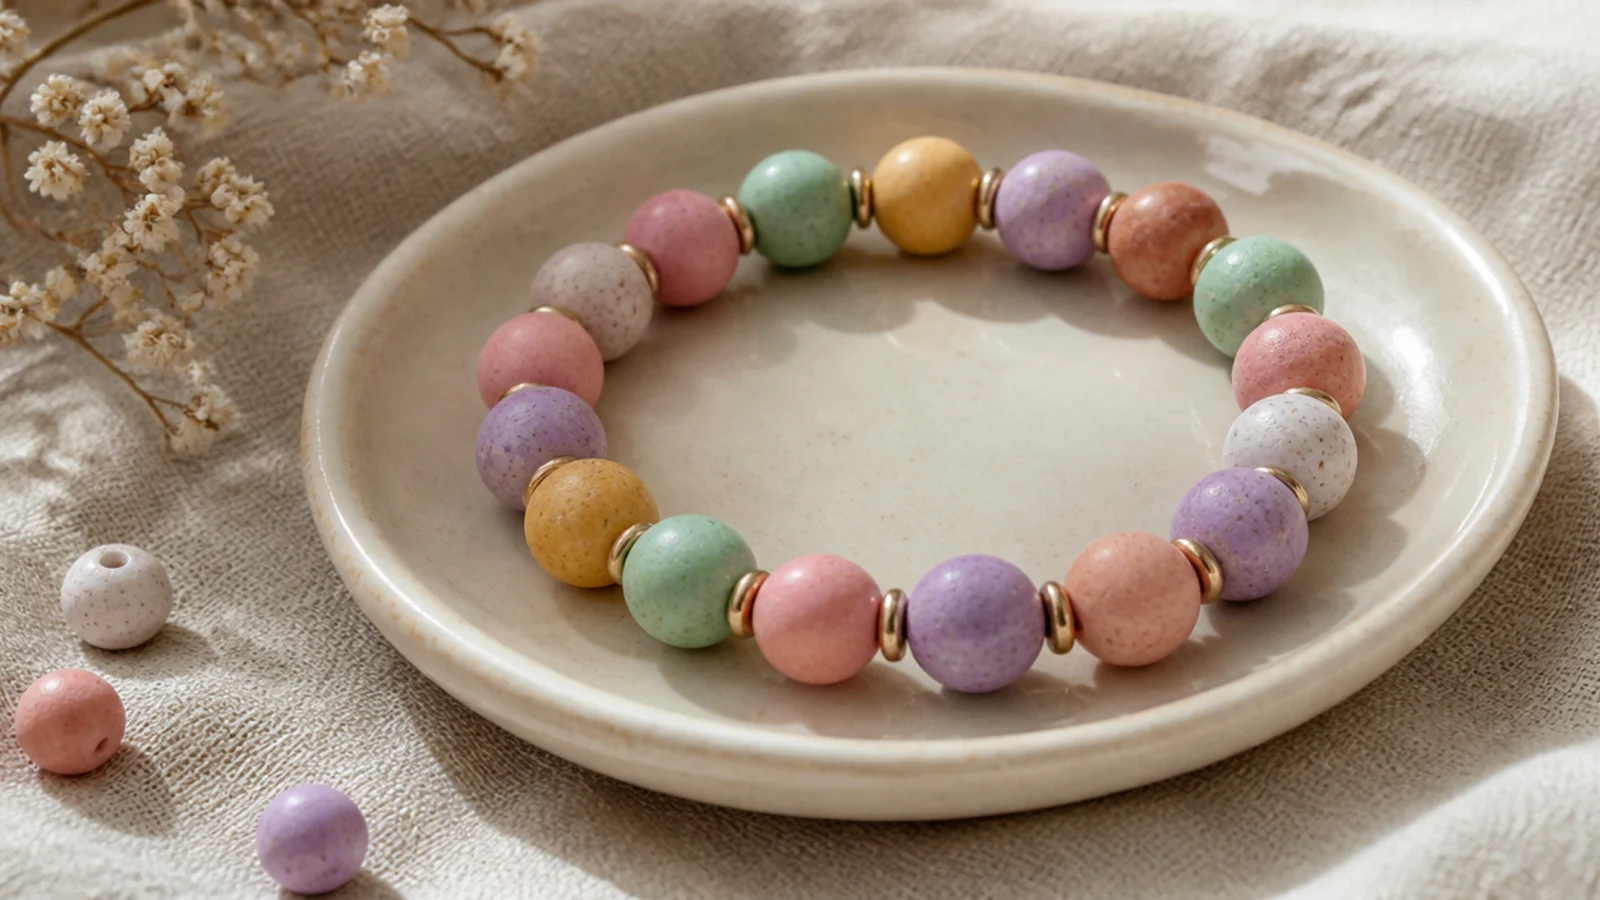
A relaxed random mix of pastels — no pattern to follow, just soft colors. The muted palette keeps it pretty even when random. It’s forgiving and quick. Perfect when you don’t want to count.
Tip a mix of pastel colors into your dish. String them randomly, following one rule: never let the same color sit next to itself. Swap a bead if two match. String to your wrist size, then tie a surgeon’s knot, seal, and hide the knot inside any bead.
Editor's noteThe no-two-same-colors-touching rule keeps a random pastel mix looking balanced instead of blotchy.
Skip thisDon’t let one color clump; three of the same shade in a row makes a stain in the mix.
11. Neutral Tonal Mix
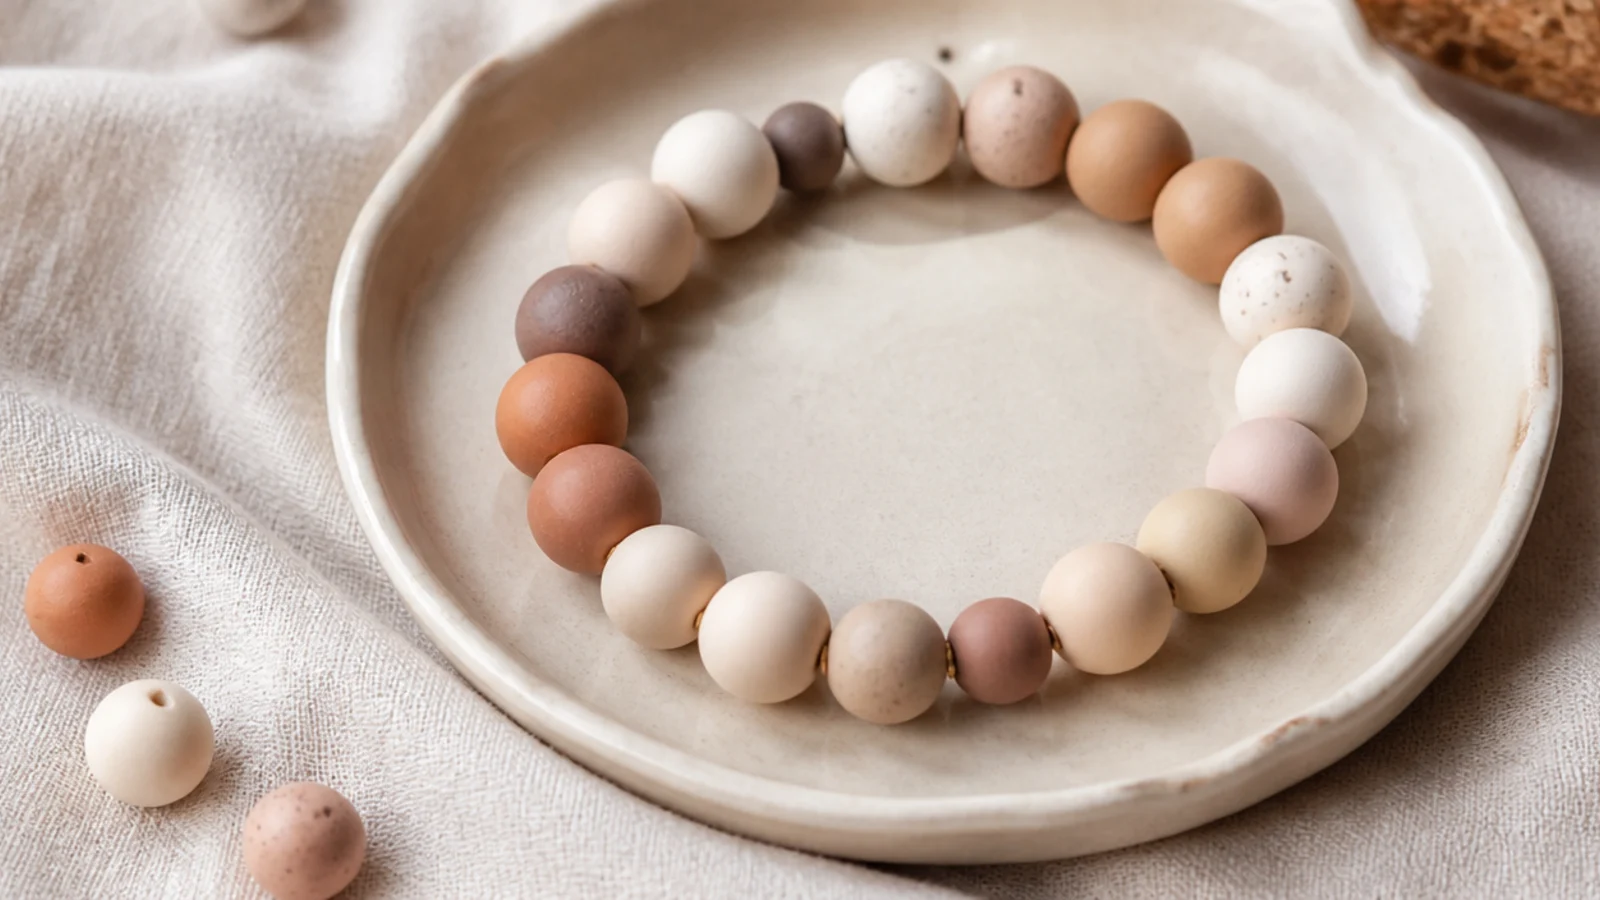
Three close neutrals mixed together read as one soft color with quiet depth. Because the shades are so similar, there’s no way to get it wrong. It goes with everything. An effortless, grown-up easy bracelet.
Pull sand, cream, and taupe into your dish. String them in a loose mix, only avoiding two identical beads adjacent. The close shades blend automatically. String to your wrist size, then tie a surgeon’s knot, seal, and hide the knot inside a cream bead.
Editor's noteChoose three shades only a hair apart so the tonal blend looks seamless and expensive.
Skip thisDon’t add a contrasting color; the whole point is the soft neutral wash, and one loud bead ruins it.
12. Single Heart Focal
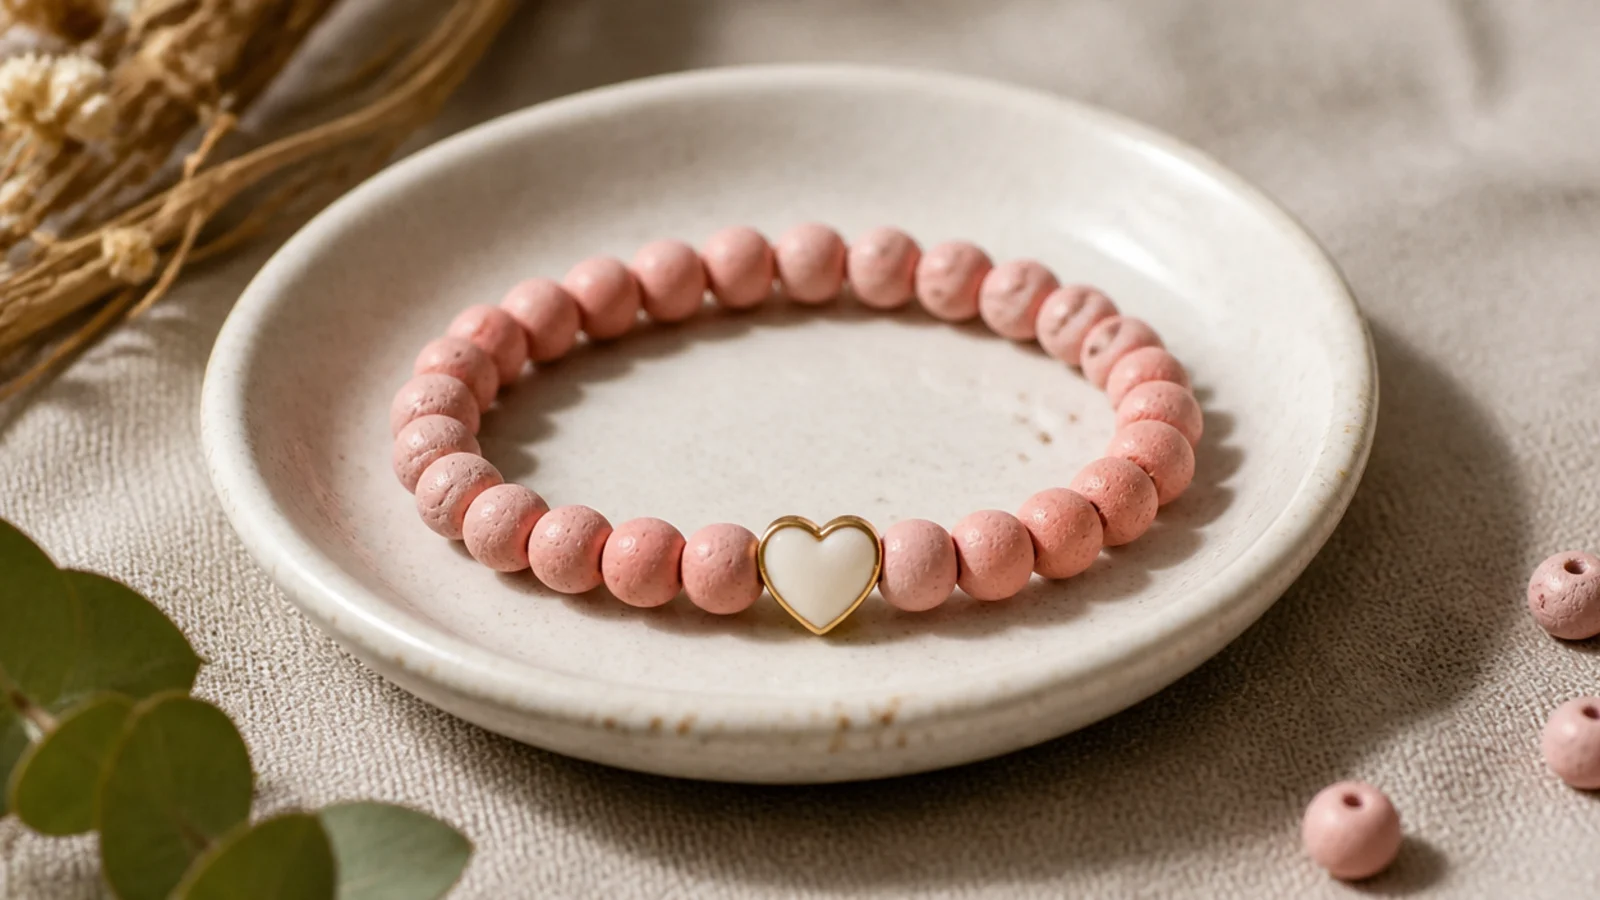
One heart on a soft pink row — sweet, simple, and quick. The monochrome base lets the heart be the only event. It’s a last-minute gift favorite. Easy and always well received.
String blush-pink beads to the center, add a heart bead with a horizontal hole so it lies flat, then continue to your wrist length. String one fewer bead per side to allow for the heart’s bulk. Tie a surgeon’s knot, seal, and hide the knot inside a pink bead.
Use a heart bead with a horizontal hole so it lies flat and faces outward instead of tipping sideways.
Don’t use a top-drilled heart on stretch cord; it spins and hangs wrong every time the wrist moves.
13. Thin Stripe Accent
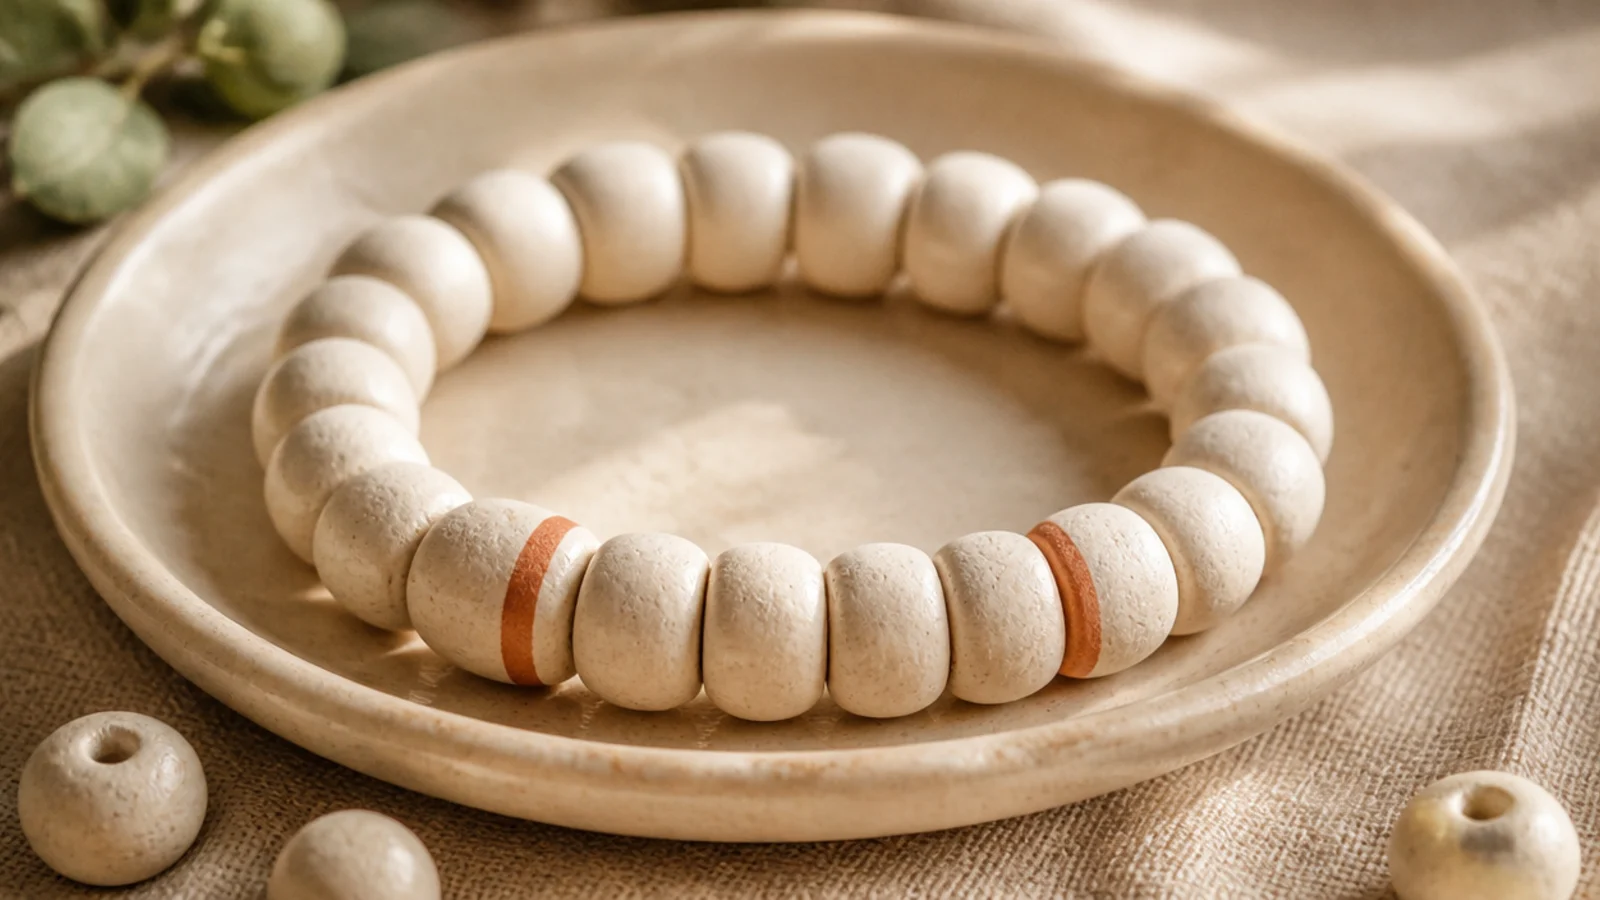
A plain base with two slim stripes is clean and simple. The thin stripes add just enough interest without any real pattern work. Even spacing is all it takes. A minimal, easy upgrade.
String a cream base and add two thin stripes — three beads each — evenly spaced. Count the cream beads between them so the stripes sit symmetrically. String to your wrist size, then tie a surgeon’s knot, seal, and hide the knot inside a cream bead.
Editor's noteKeep the stripes thin and evenly spaced by counting the base beads between them for a balanced look.
Skip thisDon’t add too many stripes; two slim stripes look refined, while several crowd the base.
14. Spaced Polka Dots
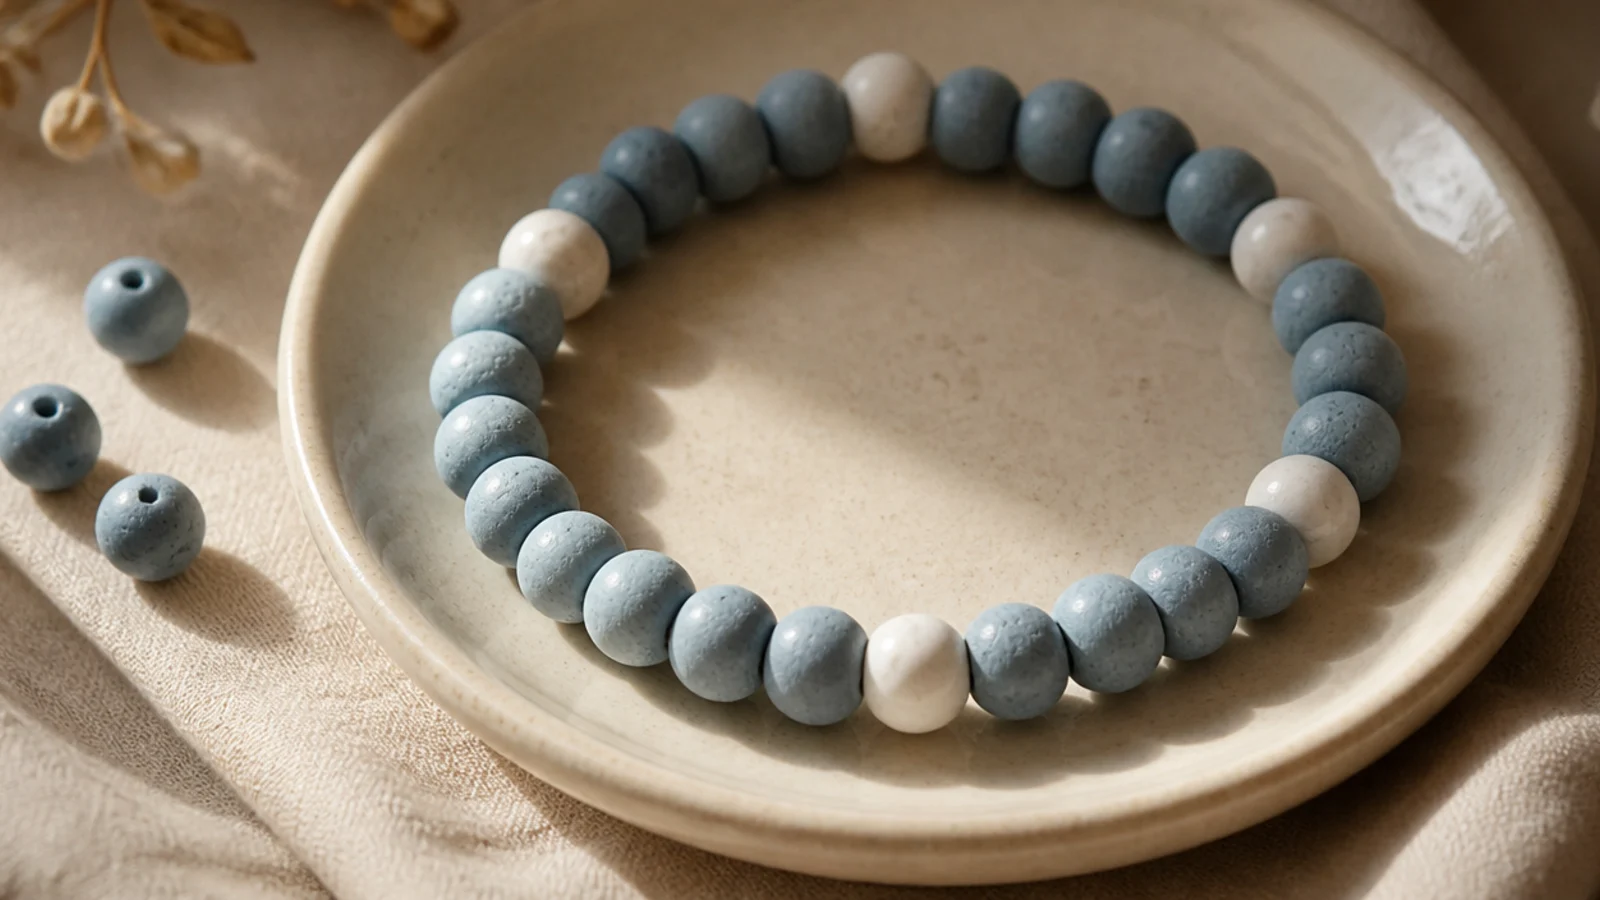
A single accent color dropped in at even intervals reads like polka dots. Regular spacing makes it a pattern instead of random. Subtle and clean on any base. Easy but effective.
String a base and place a single white accent bead every fifth bead, keeping the count exact. String to your wrist size so the spacing stays even, then tie a surgeon’s knot, seal, and hide the knot inside a base bead.
Editor's noteKeep the same number of base beads between every accent — even spacing is the whole design.
Skip thisDon’t let the gaps drift; irregular spacing turns tidy dots into stray beads.
15. Color Block Thirds
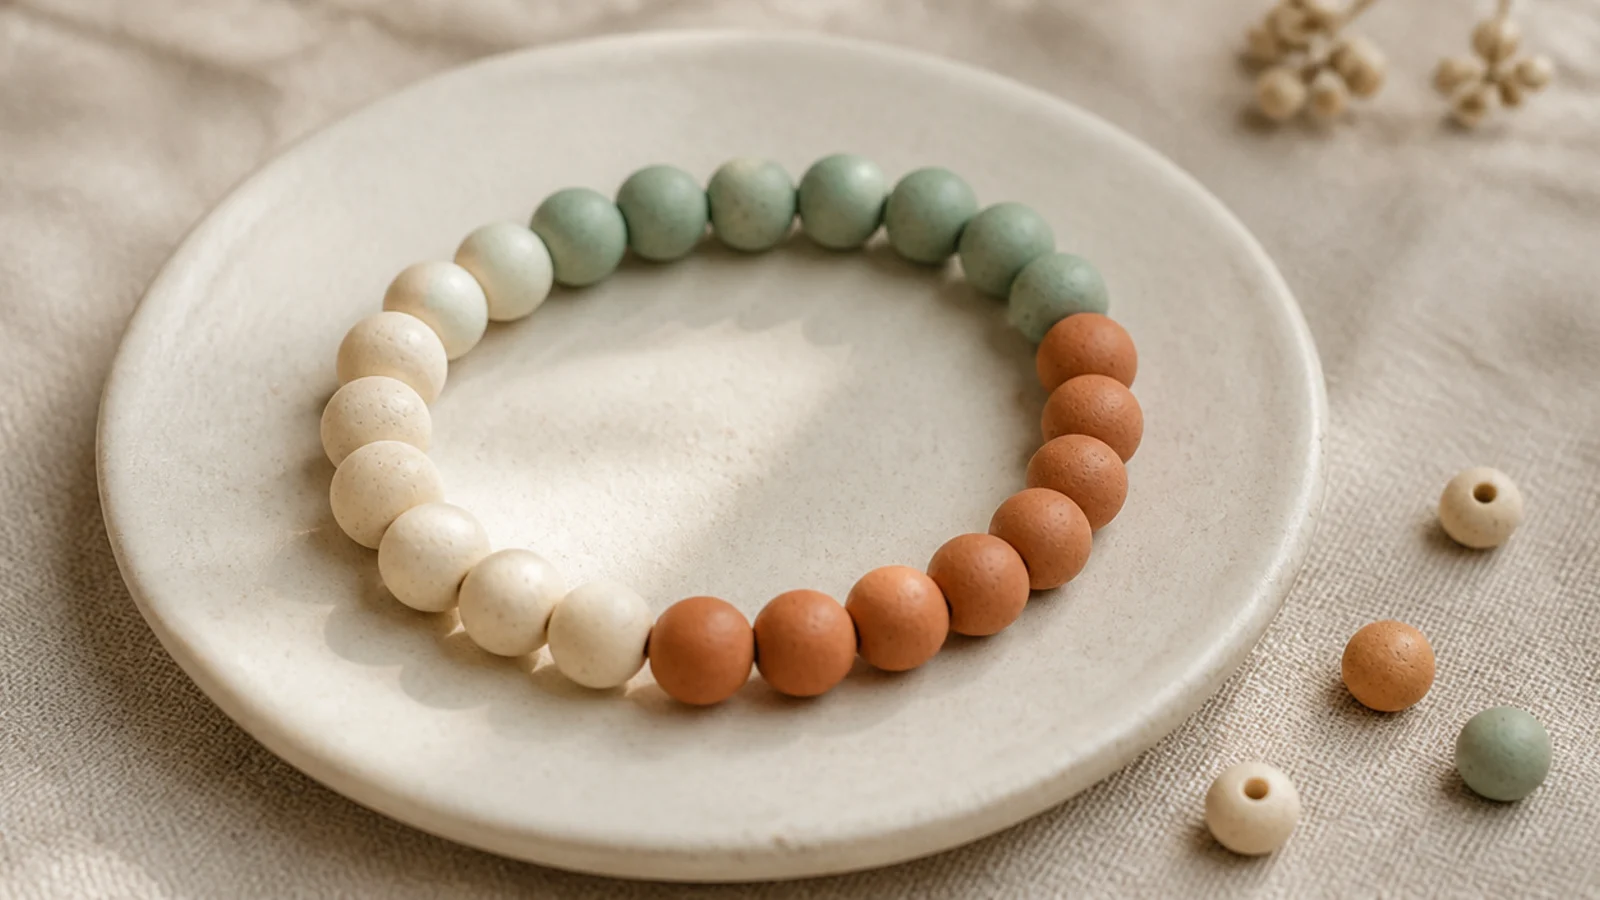
Three equal color blocks — calm, graphic, and easy. Each color gets a clean section. It shines in a tonal palette. A modern, simple design.
Divide your total bead count by three. String each color as one solid block of that length. Keep the three sections equal. String to your wrist size, then tie a surgeon’s knot, seal, and hide the knot at a block join.
Pick a total divisible by three so each block is exactly equal — even thirds look deliberate.
Don’t let one block run longer; uneven thirds turn a clean design into a random split.
16. Easy Three-Shade Ombré
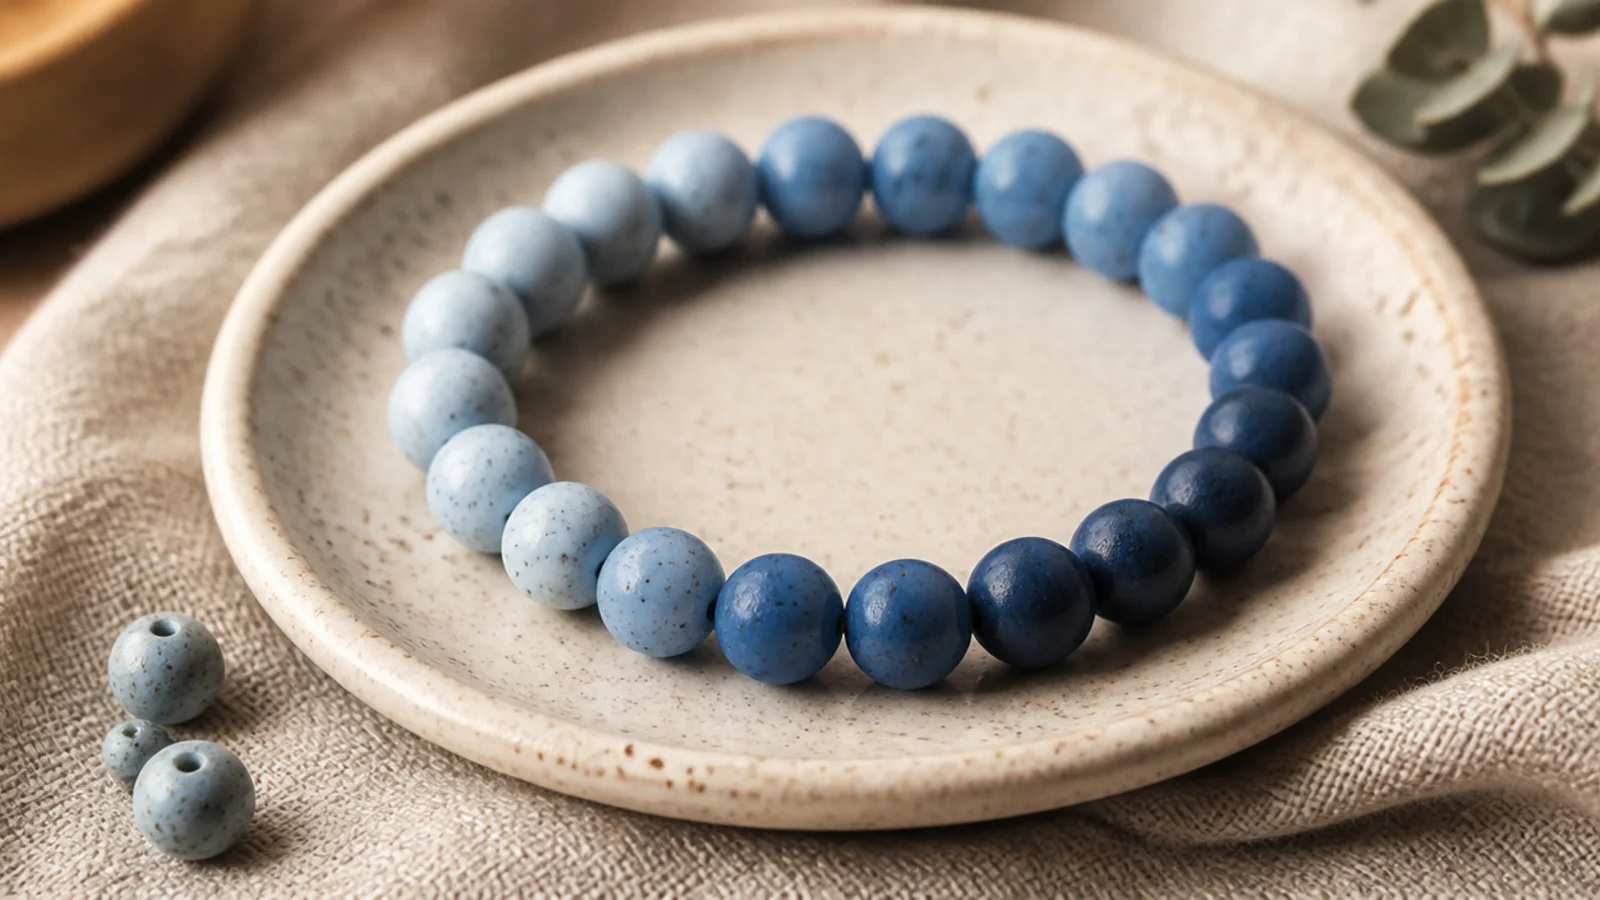
A beginner gradient using just three shades of one color. You go pale, medium, deep — the fade looks advanced but is only sorting. Staying in one color family keeps it easy. An impressive-looking simple design.
Sort three shades of one color light to dark. String a run of the palest, then medium, then deepest, and reverse back for symmetry. Keep each run the same length. String to your wrist size, then tie a surgeon’s knot, seal, and hide the knot inside a pale bead.
Reverse the fade at the center so both ends are pale — a symmetrical gradient looks intentional from any angle.
Don’t jump from pale straight to deep; the medium shade between them is what makes it a fade, not a stripe.
17. White With One Bright Block
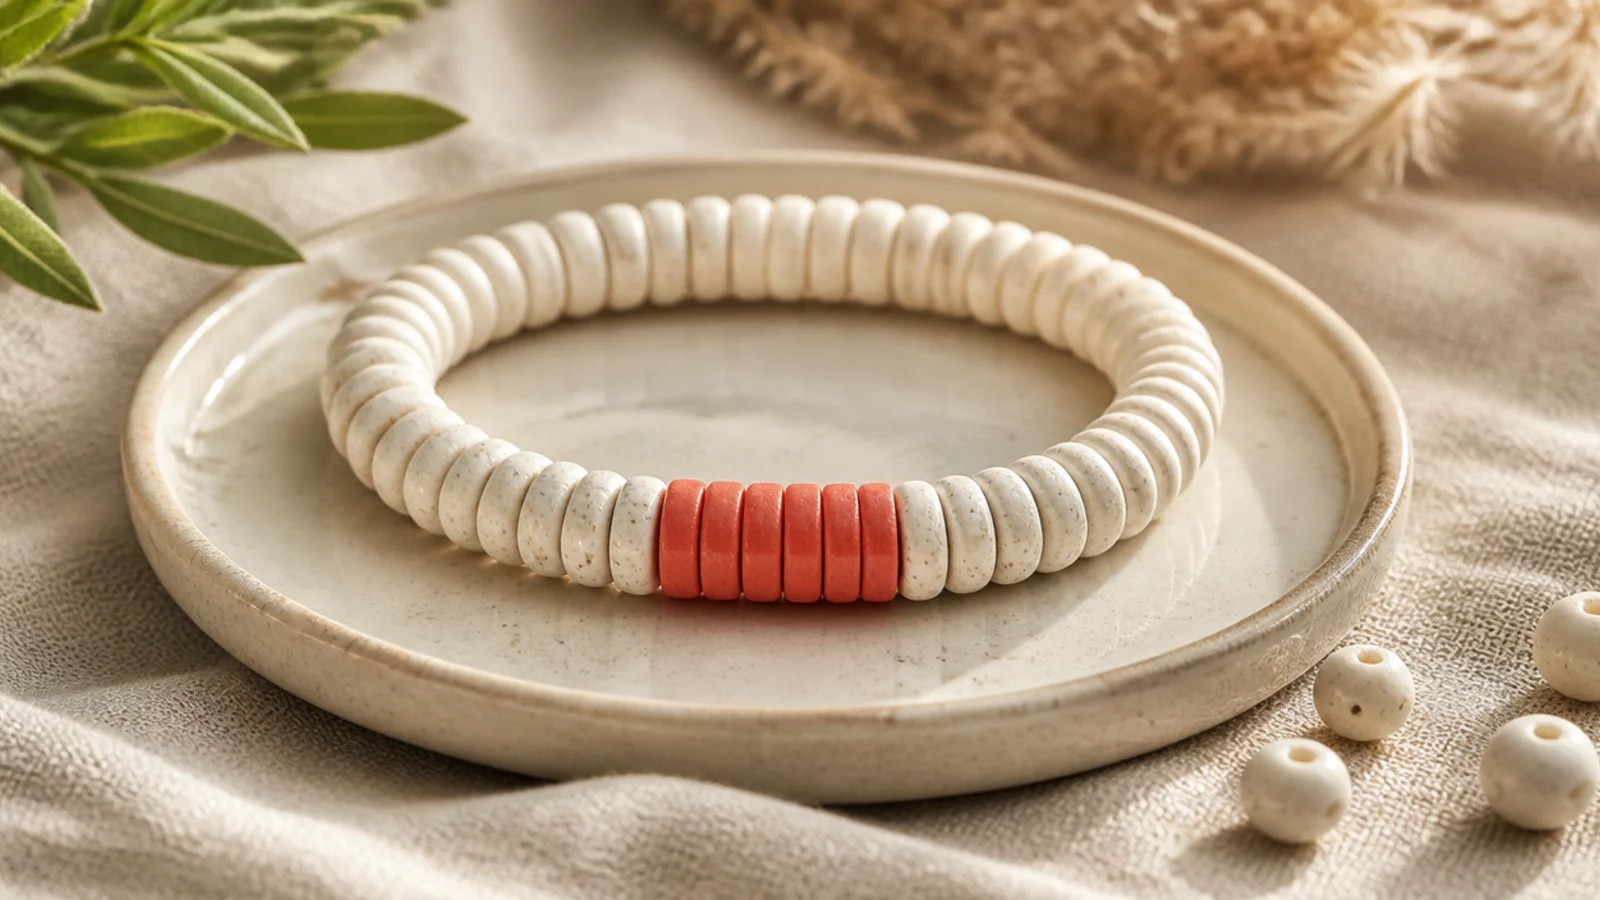
A white bracelet with one bright block across the front is bold and modern. The single pop of color reads like a designed graphic. Very little to string. A fresh, easy statement.
String white beads for the first third, add a block of eight to ten bright coral beads across the front, then return to white. Center the block by counting equal white beads on each side. String to your wrist size, then tie a surgeon’s knot, seal, and hide the knot inside a white bead.
Editor's noteCount your beads and center the color block exactly so it sits balanced on the wrist.
Skip thisDon’t make the block too small; a stingy run looks like a stray section rather than a design choice.
18. Daisy Bead Accent
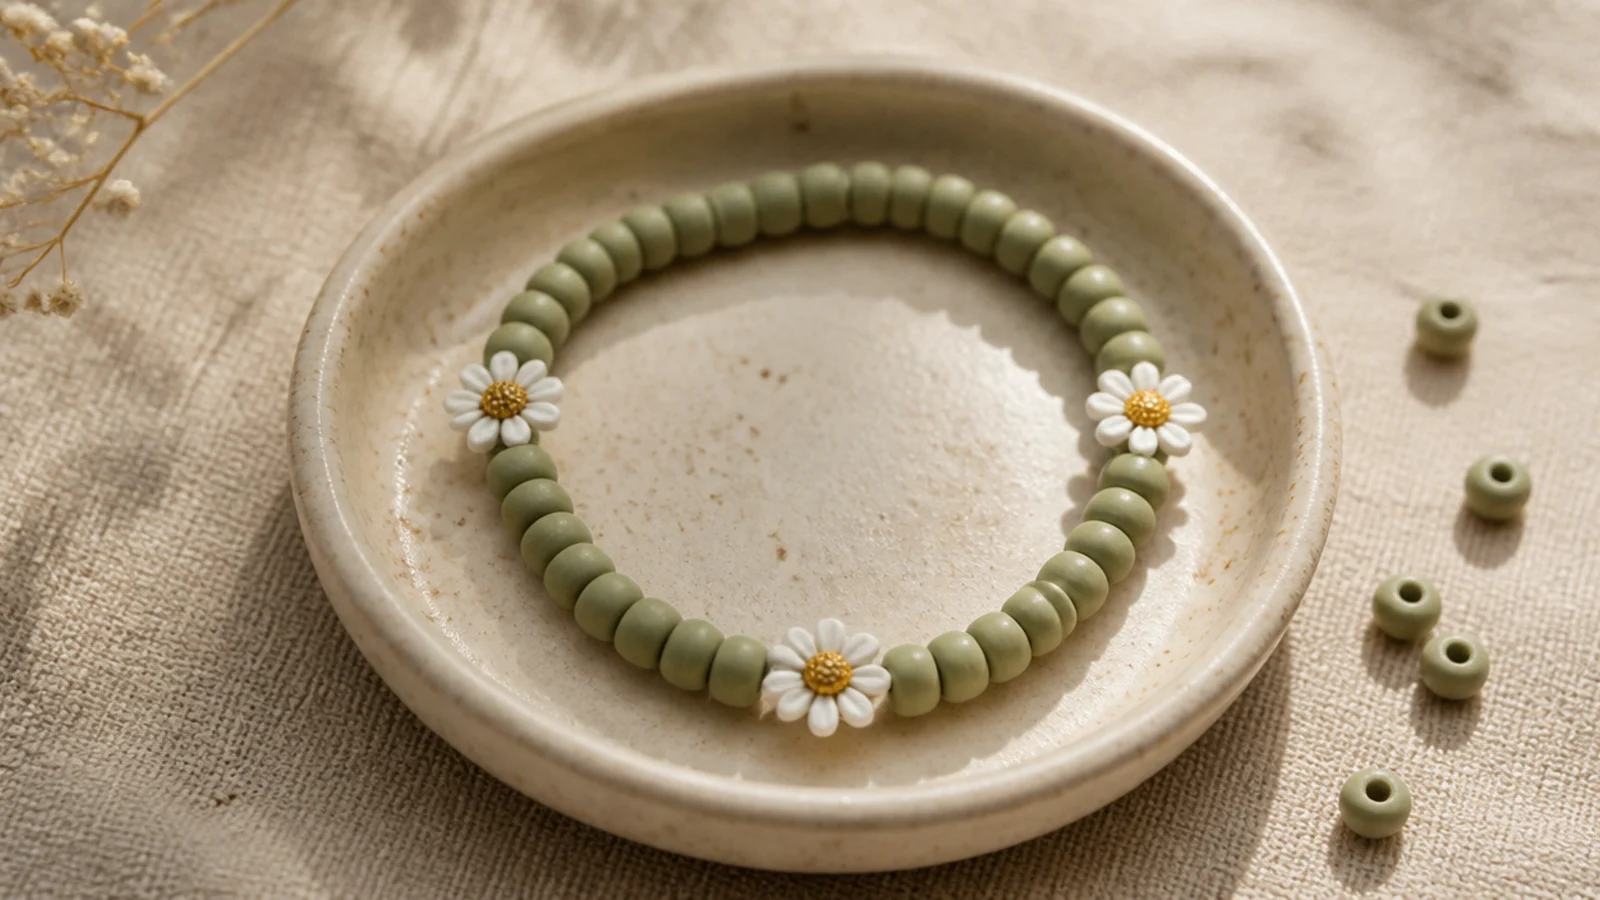
A few daisy beads scattered around a colored base look sweet and hand-picked. Three evenly spaced daisies is the magic number. A soft base makes the petals pop. Cute and beginner-easy.
String a base for a few beads, add a daisy bead, then more base beads, repeating so three daisies space evenly. Divide your total by three to set the spacing. String to your wrist size, then tie a surgeon’s knot, seal, and hide the knot inside a base bead.
Divide your total bead count by three before you start so the daisies land at even intervals.
Don’t place the daisies by eye; uneven gaps make them look scattered instead of spaced.
19. Confetti With a Rule
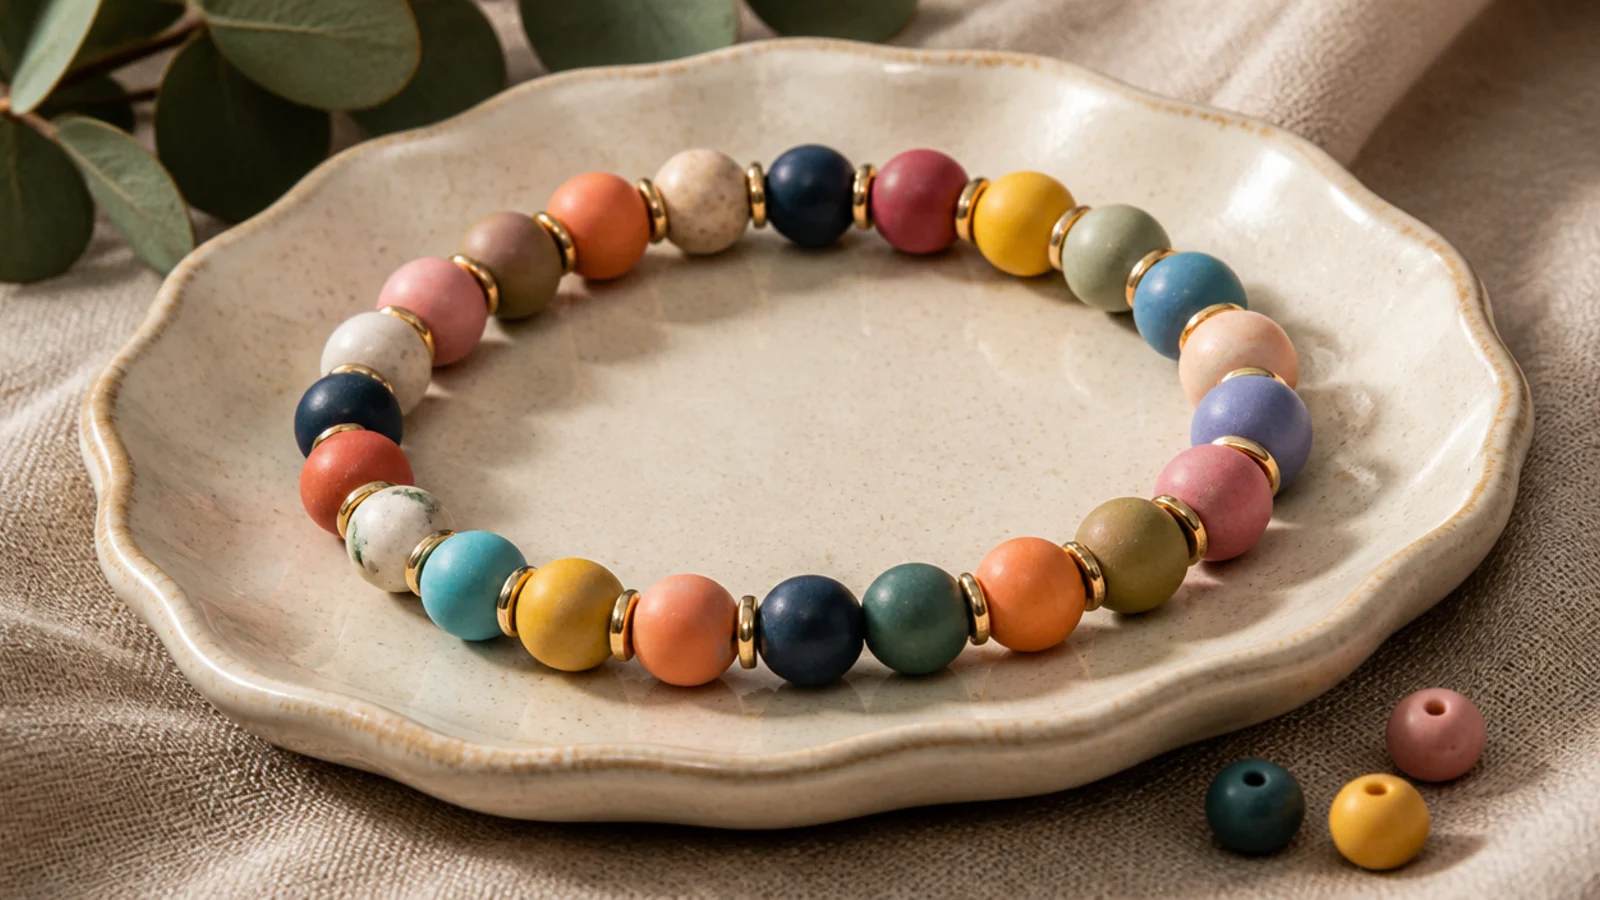
A full multicolor mix that stays balanced thanks to one rule: no two of the same color touch. It’s the most forgiving design because there’s no sequence. Joyful and quick. Great for using up odds and ends.
Tip a wide color mix into your dish. String by grabbing beads, but never let the same color sit beside itself — swap one if it happens. String to your wrist size, then tie a surgeon’s knot, seal, and hide the knot inside any bead.
Editor's noteThe one rule — no two same colors touching — keeps a random mix looking festive instead of blotchy.
Skip thisDon’t let colors clump; three of one shade in a row breaks the scattered confetti look.
20. Star Bead Sprinkle
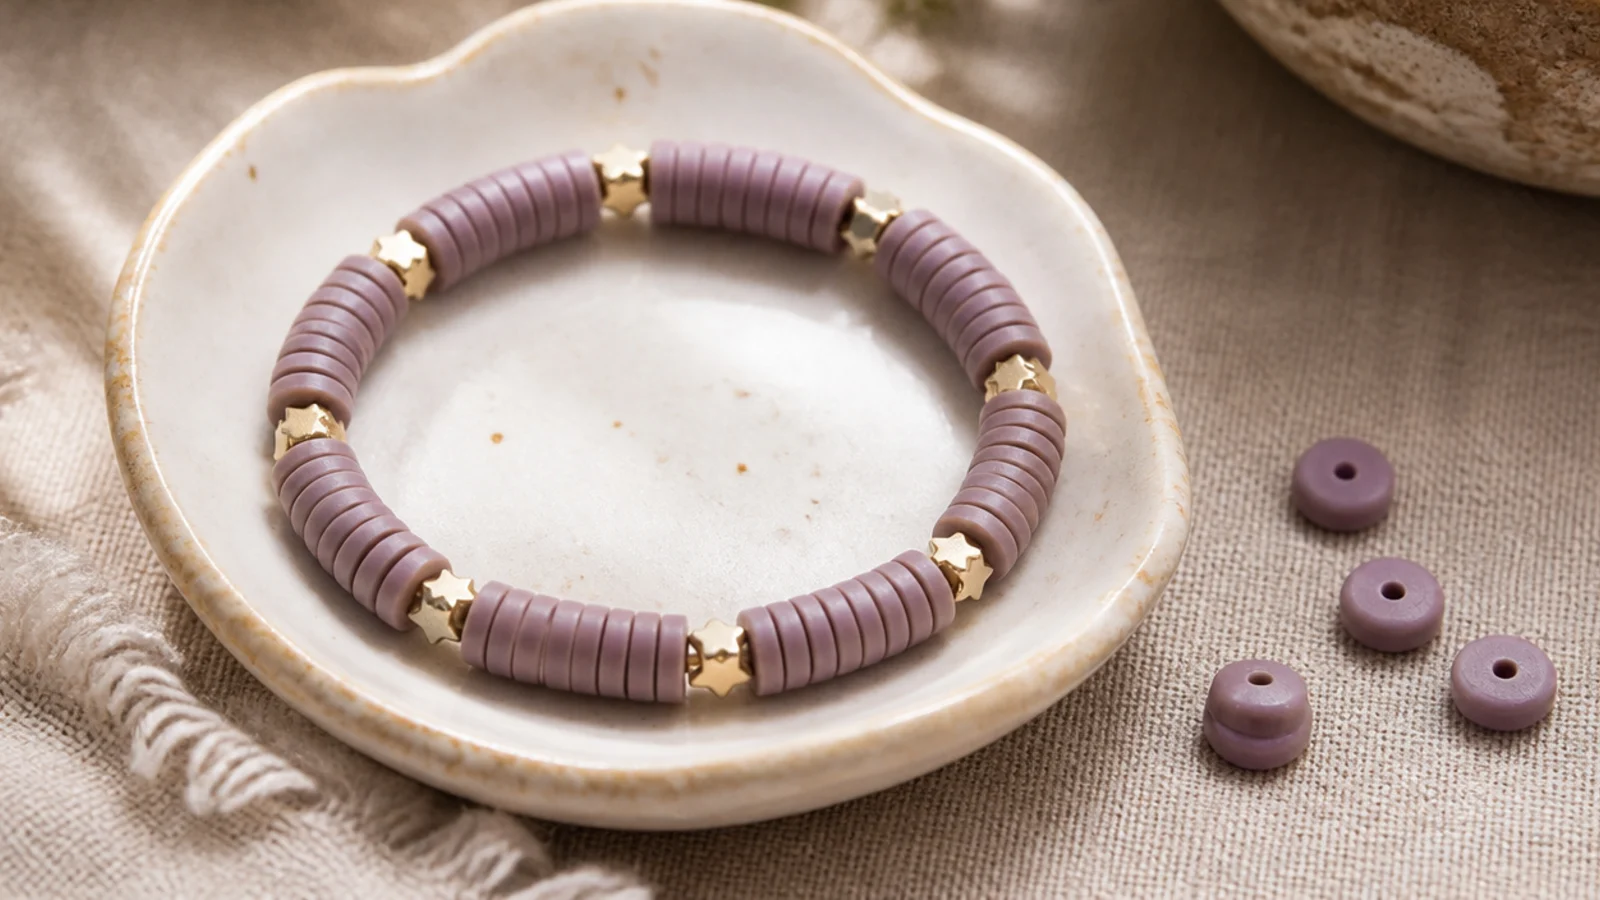
Small gold stars sprinkled between clay discs add sparkle without going glittery. The metallic stars catch the light. A dusty base makes them glow. Cute with a celestial edge, and very easy.
String a base color and drop a tiny gold star bead every fourth or fifth bead, keeping the count consistent. The small stars nestle between the discs. String to your wrist size, then tie a surgeon’s knot, seal, and hide the knot inside a clay bead.
Editor's noteKeep the same bead count between stars so the sprinkle looks deliberate rather than scattered.
Skip thisDon’t overload it with stars; one every few beads looks tidy, while too many hide the base color.
21. Beach Ocean Blues
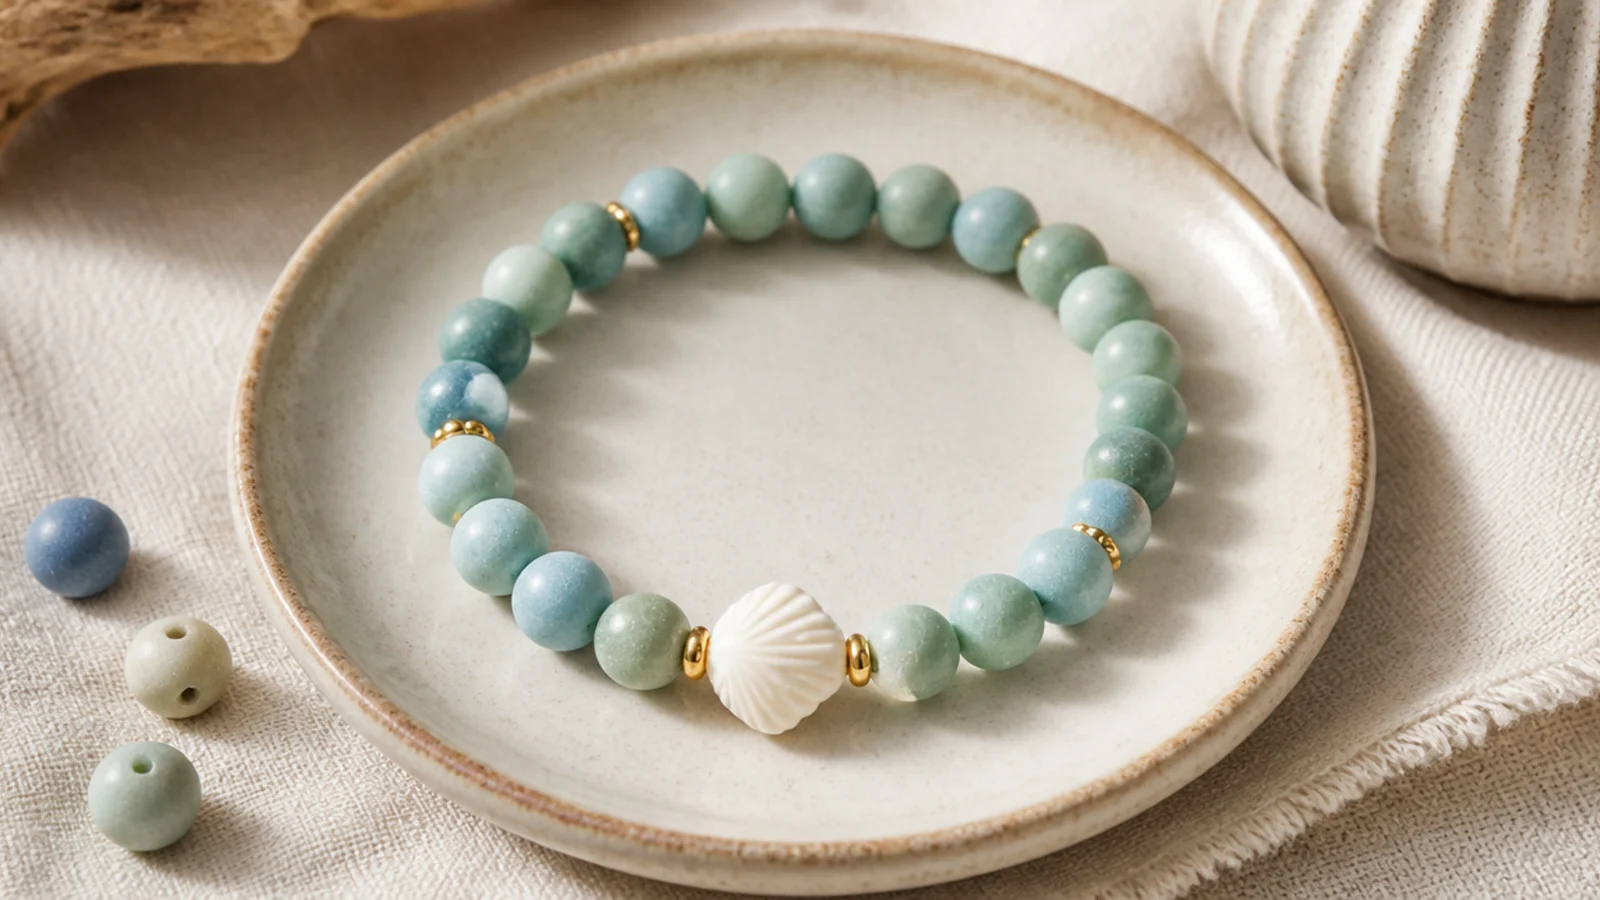
A relaxed mix of ocean blues with one little shell bead gives an easy coastal feel. The watery palette is calming and forgiving. A shell focal ties in the theme. A breezy summer bracelet.
Pull seafoam, aqua, and pale blue into your dish. String them in a soft random mix, adding a single white shell or pearl bead at the front. String to your wrist size, then tie a surgeon’s knot, seal, and hide the knot inside a blue bead.
Keep the blues soft and slightly frosted so the mix reads like sea glass and beach water.
Don’t use a bright tropical turquoise; a vivid blue breaks the soft, calm coastal mood.
22. Earthy With a Wood Bead
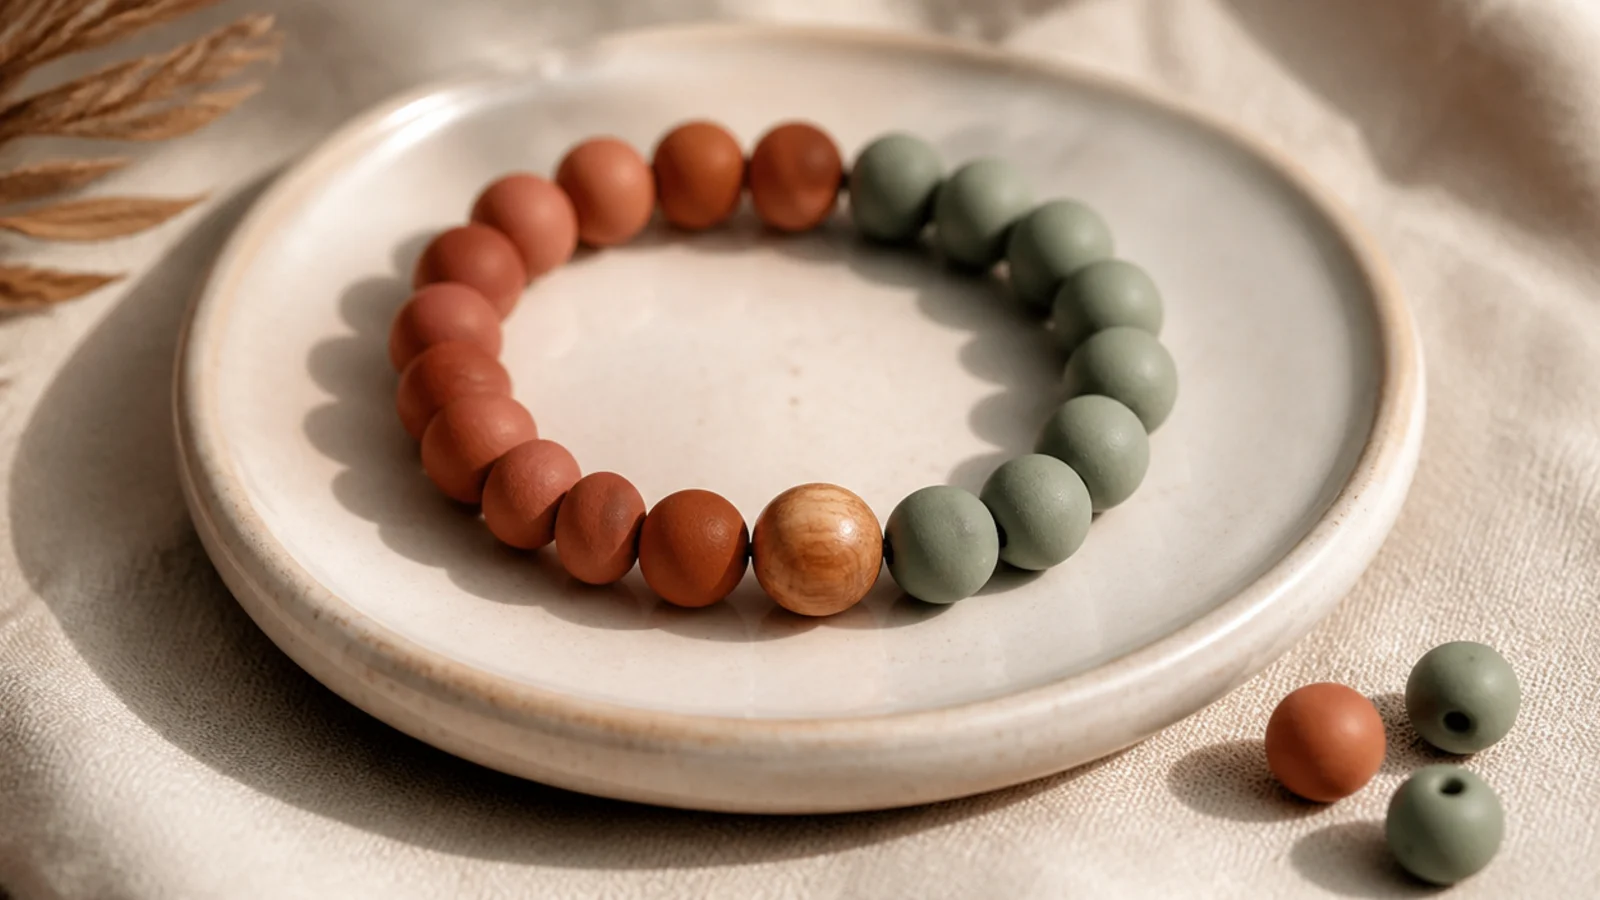
Warm earth tones with one natural wood bead feel grounded and organic. The matte wood among the clay adds texture. It’s calming and easy to wear. A simple nature-inspired design.
Pull warm brown and sage into your dish. String them in a soft mix, adding a single round matte wooden bead at the front. Check the wood bead’s hole fits your cord. String to your wrist size, then tie a surgeon’s knot, seal, and hide the knot inside a brown bead.
Use a matte natural wood bead, not a glossy varnished one, so it blends with the earthy clay.
Don’t add a cool or bright color; it clashes with the warm earthy palette and looks out of place.
23. Pearl Accents Simple
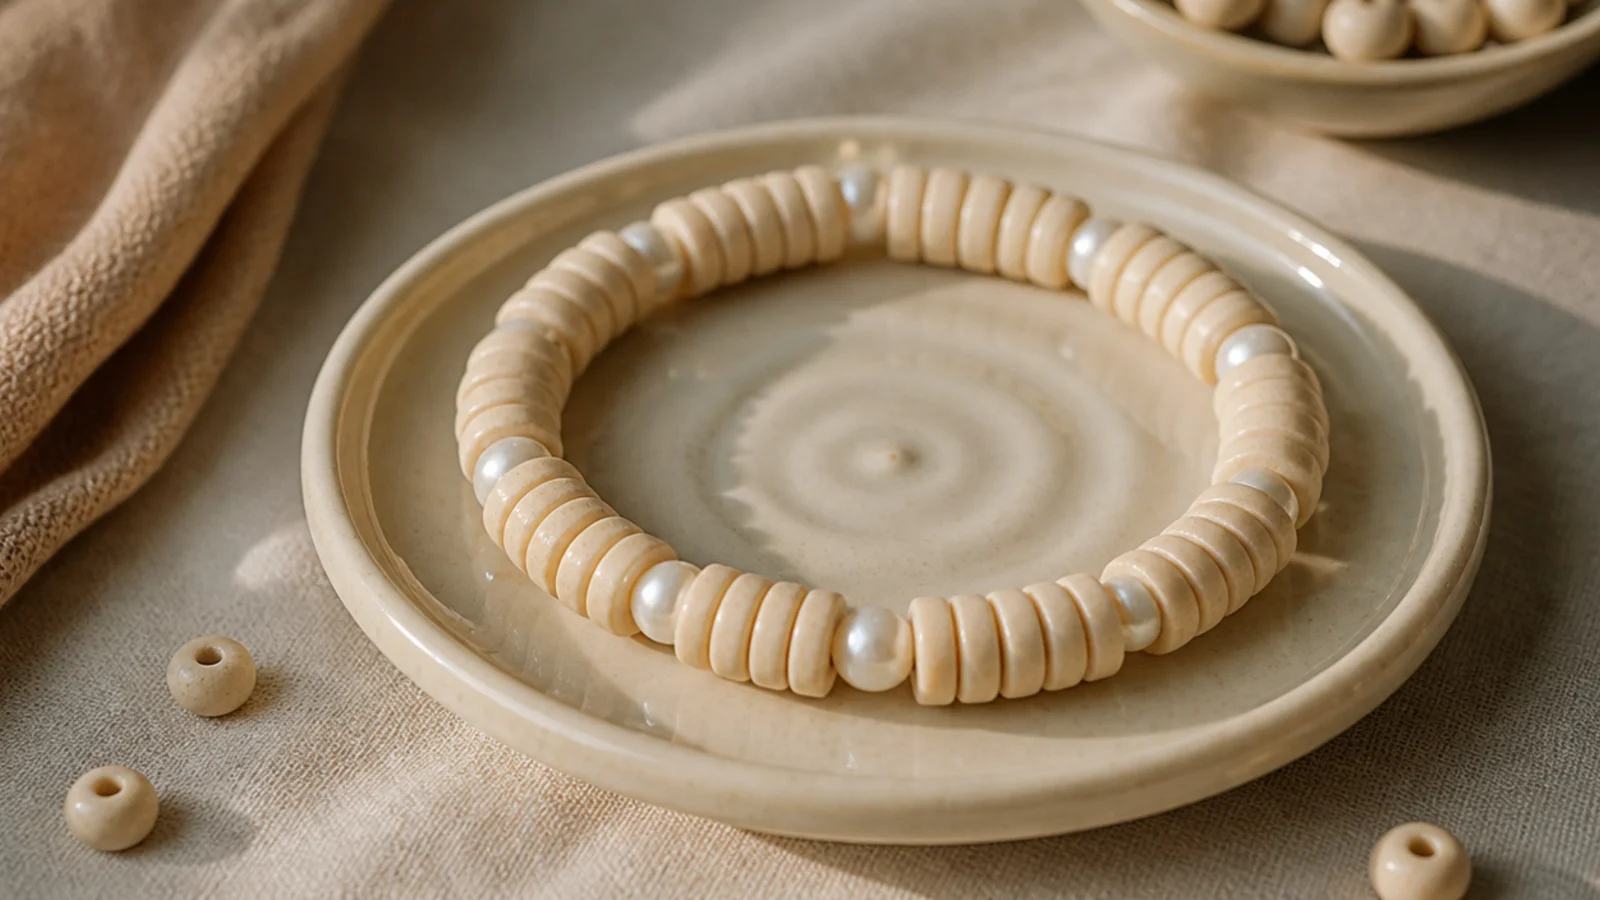
A few pearls among plain beads add instant elegance. The round pearls contrast with the flat discs for gentle texture. It dresses up a simple bracelet. Easy but refined.
String a cream base and add a small pearl every fifth bead, keeping the spacing even and checking the pearl holes fit your cord. String to your wrist size, then tie a surgeon’s knot, seal, and hide the knot inside a cream bead.
Editor's noteSpace the pearls evenly and keep them small — a few read elegant, a full row reads costume.
Skip thisDon’t force pearls with tight holes onto thick cord; switch to 0.6mm elastic instead.
24. Single Fruit Bead
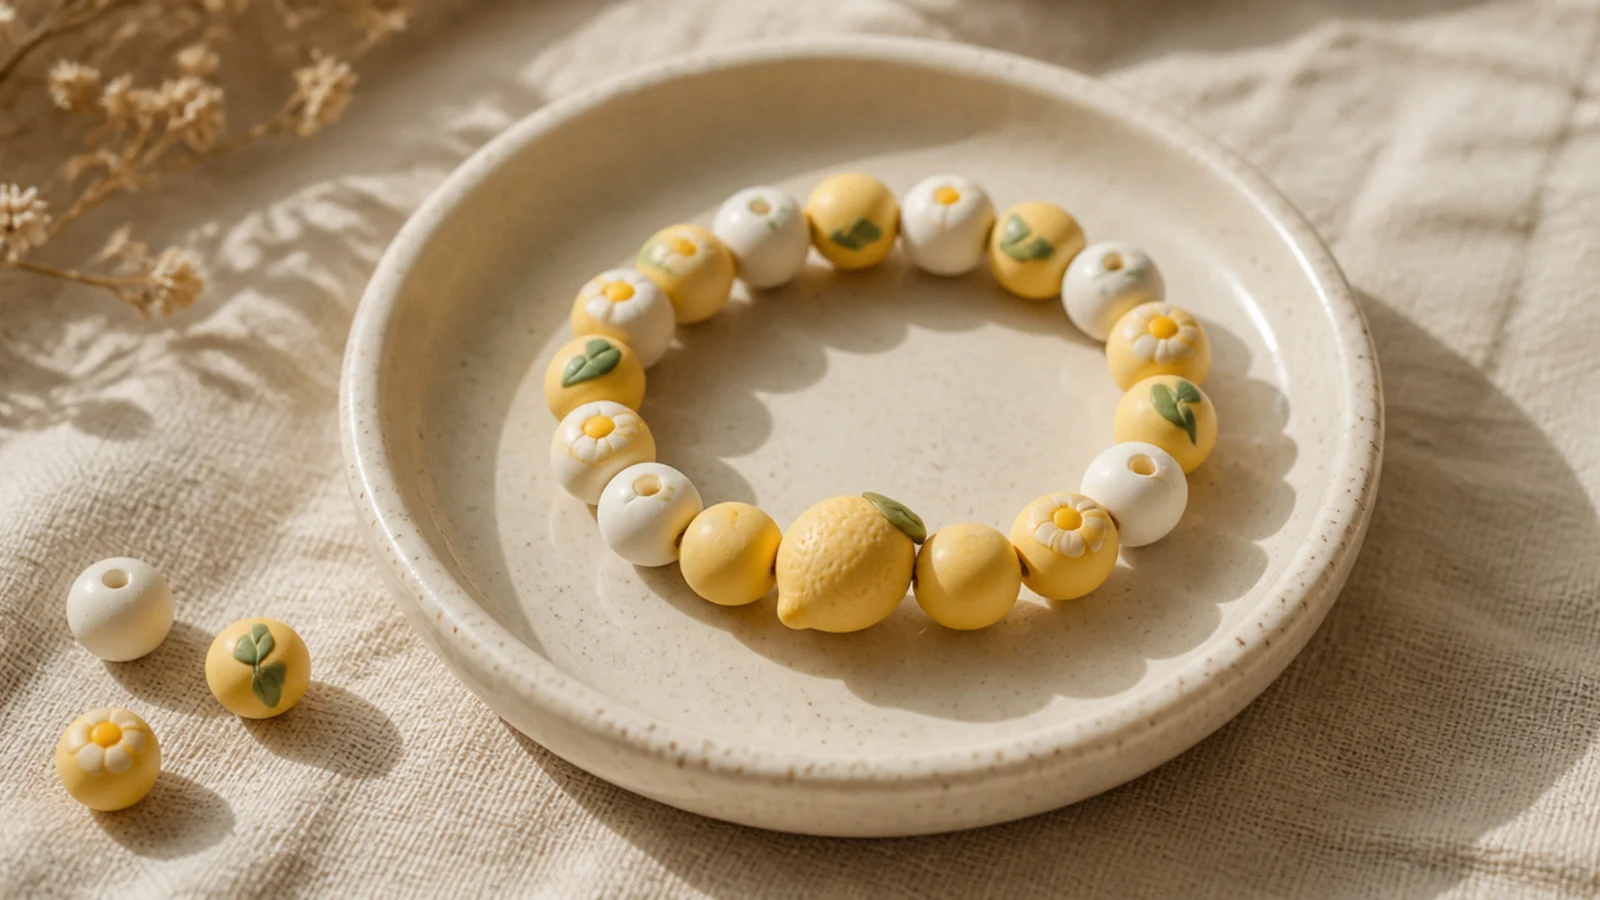
One little fruit bead gives a simple bracelet a clear, fun theme. Echoing the fruit’s colors in the base ties it together. Kids love these. Easy, cheerful, and themed.
Choose a fruit bead — a lemon — and echo its colors in the base, alternating yellow and white beads. Place the fruit bead in the center. String to your wrist size, then tie a surgeon’s knot, seal, and hide the knot inside a base bead.
Match your base colors to the fruit bead so the whole bracelet reads as one theme.
Don’t use a heavy glass fruit bead on thin cord; a light resin or ceramic one won’t stress the elastic.
25. Short Word Bracelet
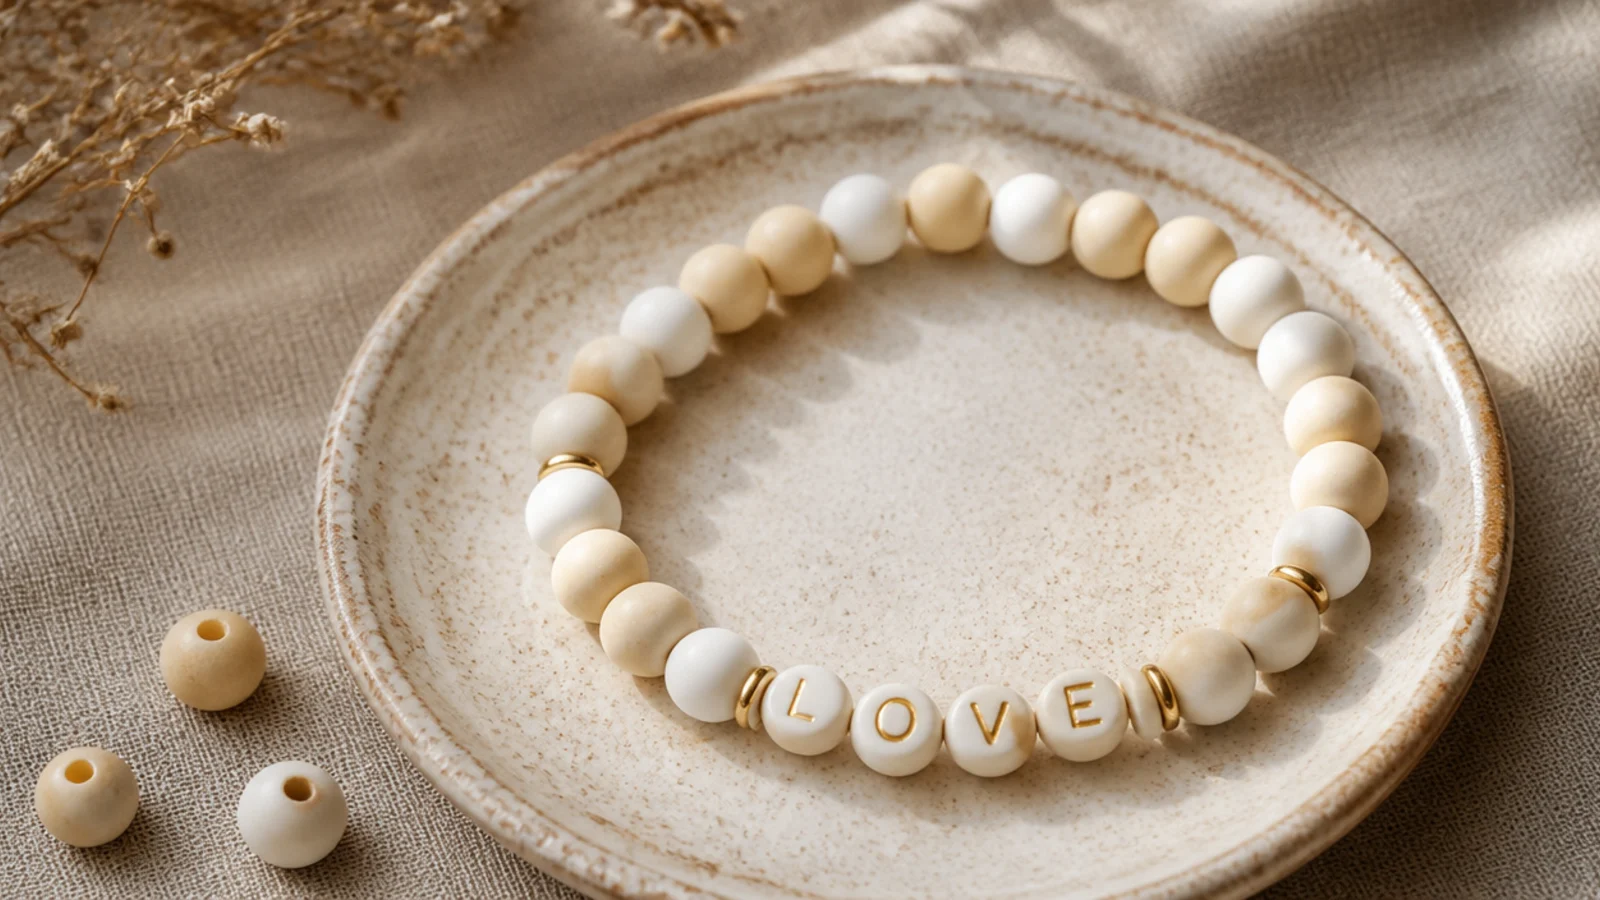
A short word in letter beads is personal and simple. Something like LOVE or JOY is easy to center on a calm base. Words make bracelets meaningful. A beginner-friendly personalized design.
Lay out and count your letter beads. String a base for the first third, add the word in order, then finish with base beads so it’s centered. Test-fit a letter on your cord first. Tie a surgeon’s knot, seal, and hide the knot inside a base bead.
Thread the letters left-to-right as you’ll read them and check the spelling before knotting.
Don’t pick a long word; keep it short so there’s room for equal base beads on each side.
26. Matching Mini for Kids
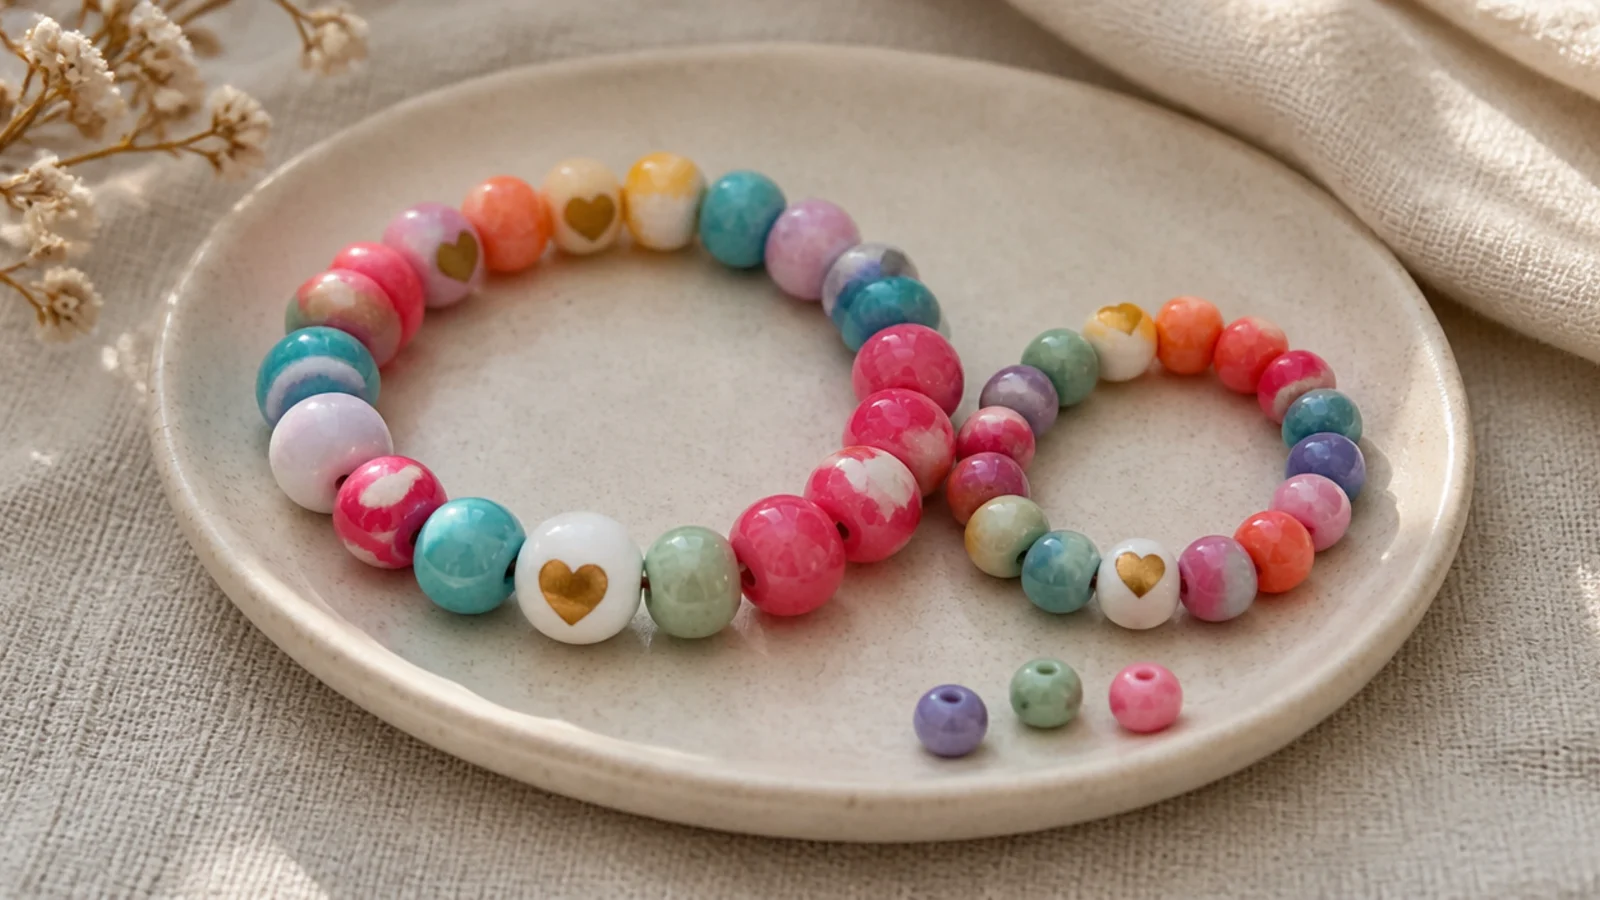
A downsized version of any easy design makes a sweet kids' or matching bracelet. Same palette, shorter count. Matching sets are a lovely, cheap gift. Simple to scale.
Measure the child’s wrist with a paper strip and string beads to that length minus a quarter inch — about 34 to 40 beads. Use the same colors as the adult version. Use 1mm cord for durability, tie a surgeon’s knot, double-glue it, and hide the knot.
Editor's noteUse thicker 1mm cord and double-glue the knot — little wrists put bracelets through a lot.
Skip thisDon’t just reuse the adult length; an over-long bracelet slides off small hands and gets lost.
27. Two-Tone With Gold Center
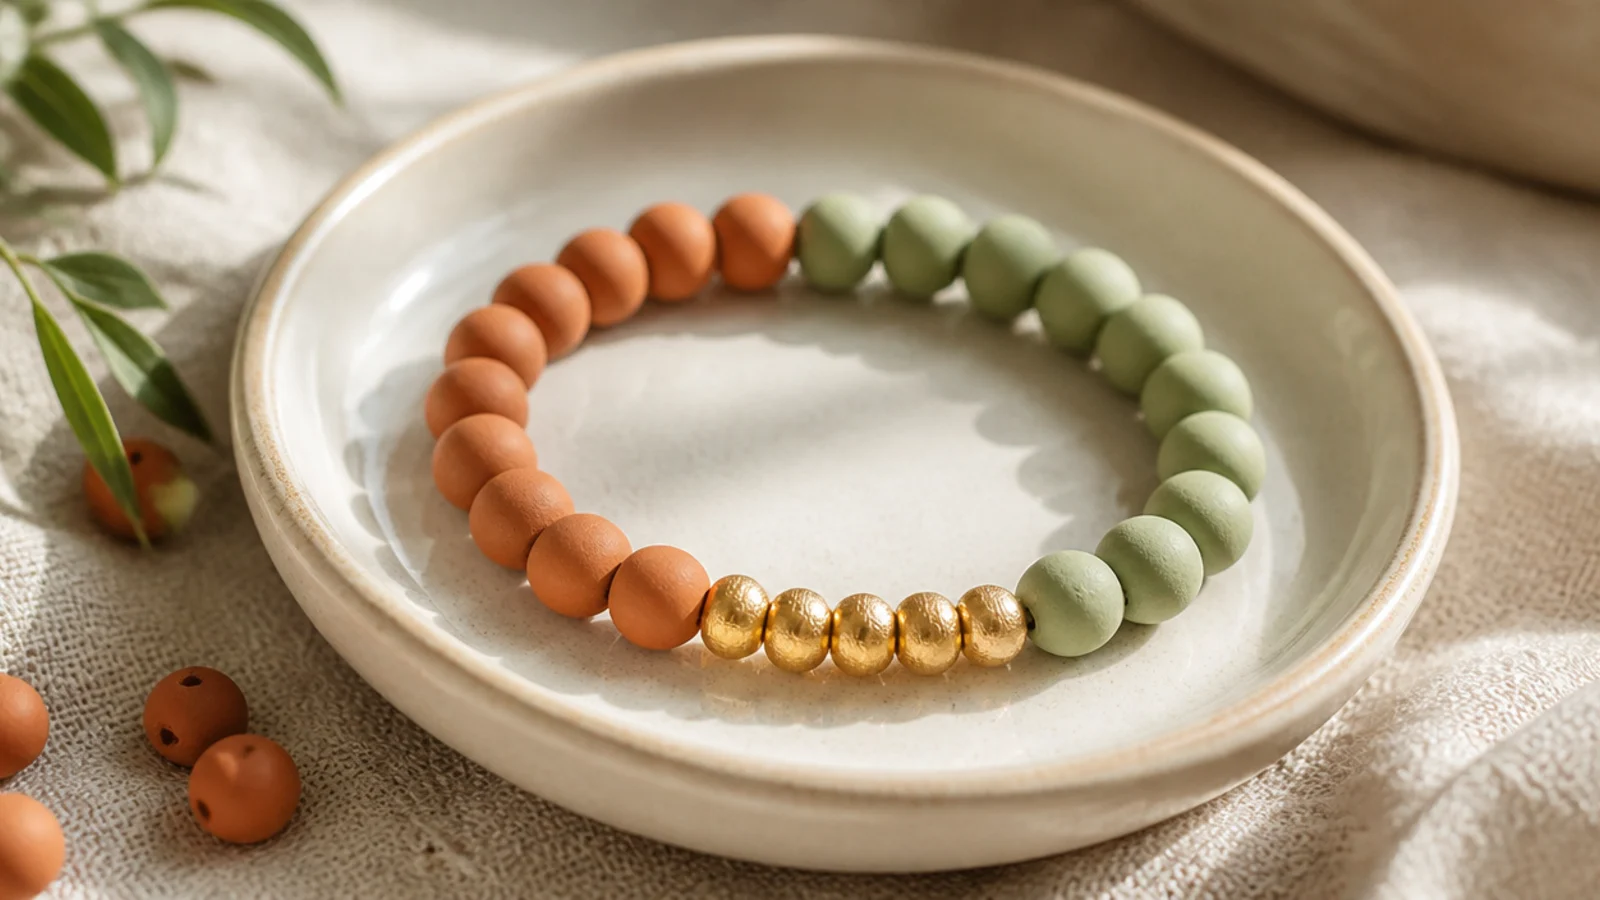
Two color halves meeting at a little gold cluster is simple but polished. The gold center marks the join and adds shine. It’s easy and looks designed. A refined take on the color block.
Split the bracelet into two color halves. At the front center where they meet, add three small gold beads or spacers as a cluster. Keep the halves equal. String to your wrist size, then tie a surgeon’s knot, seal, and hide the knot at the back where the colors meet.
Editor's notePut the gold cluster right at the front color join so it frames the meeting point neatly.
Skip thisDon’t make the halves uneven; the gold center only looks intentional if the two colors are balanced.
28. Stacked Solid Trio
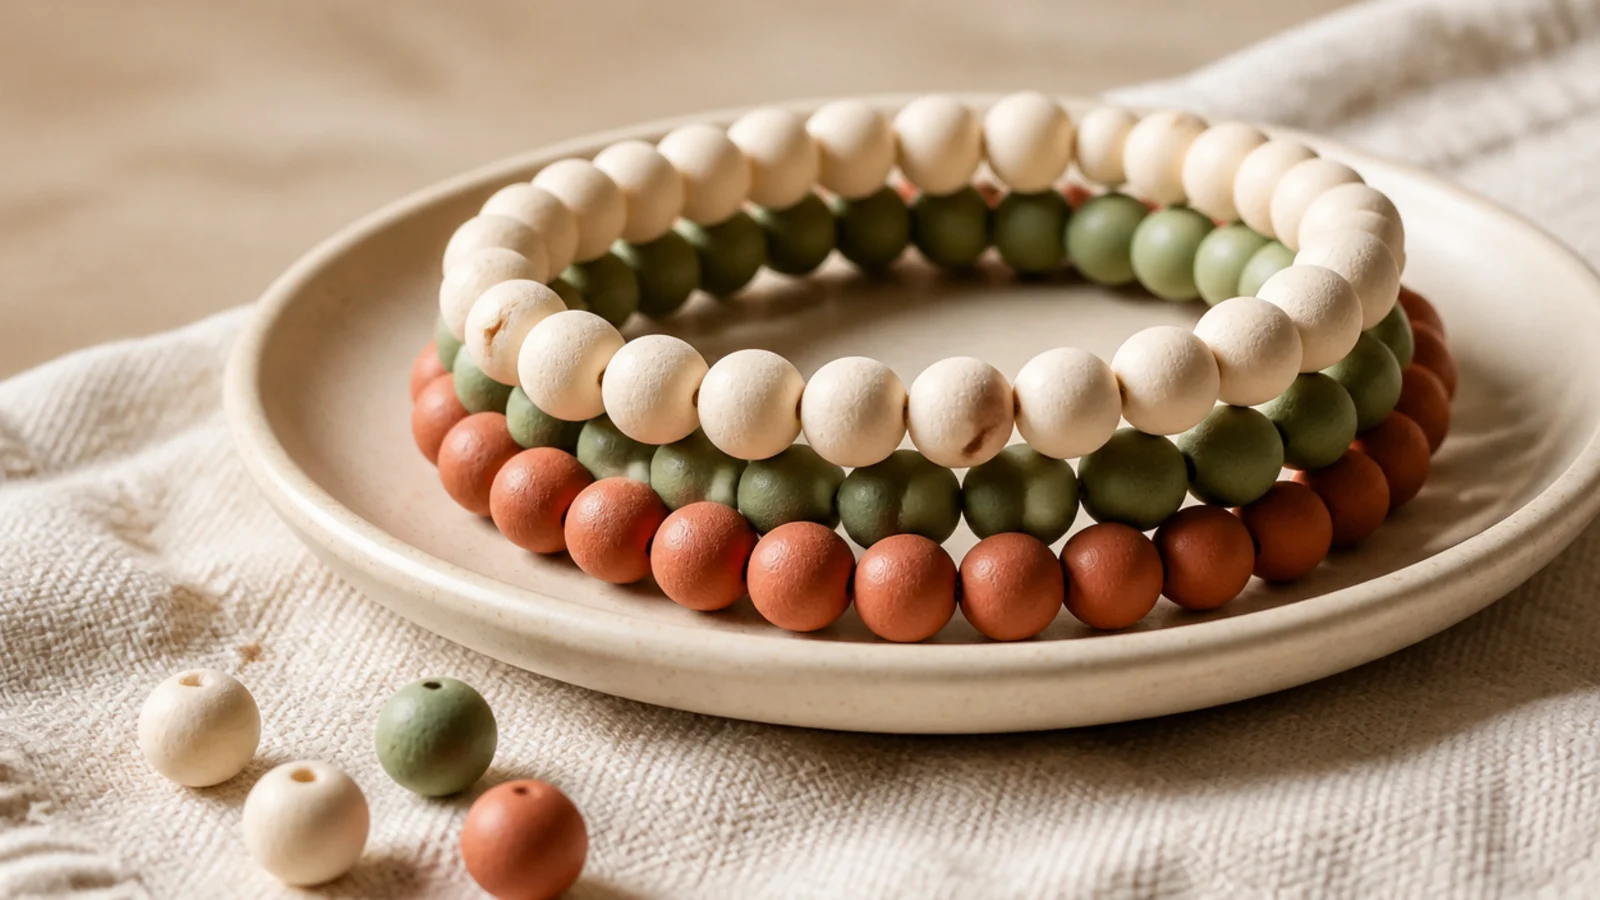
Three simple solid bracelets in one palette make an instant stack. Each is the easiest design, but together they look curated. Stacking is how you get a designed look fast. The best beginner 'set'.
Make three solid bracelets on 0.8mm cord — cream, sage, terracotta — all the same length. Each is just a single color strung to size. Finish each with a hidden surgeon’s knot. Wear them together and the shared palette turns three easy bracelets into a coordinated stack.
Keep all three the same length so they stack evenly and read as a deliberate set.
Don’t pick clashing colors; a shared palette is what turns three plain solids into a curated stack.
29. Monochrome Shades
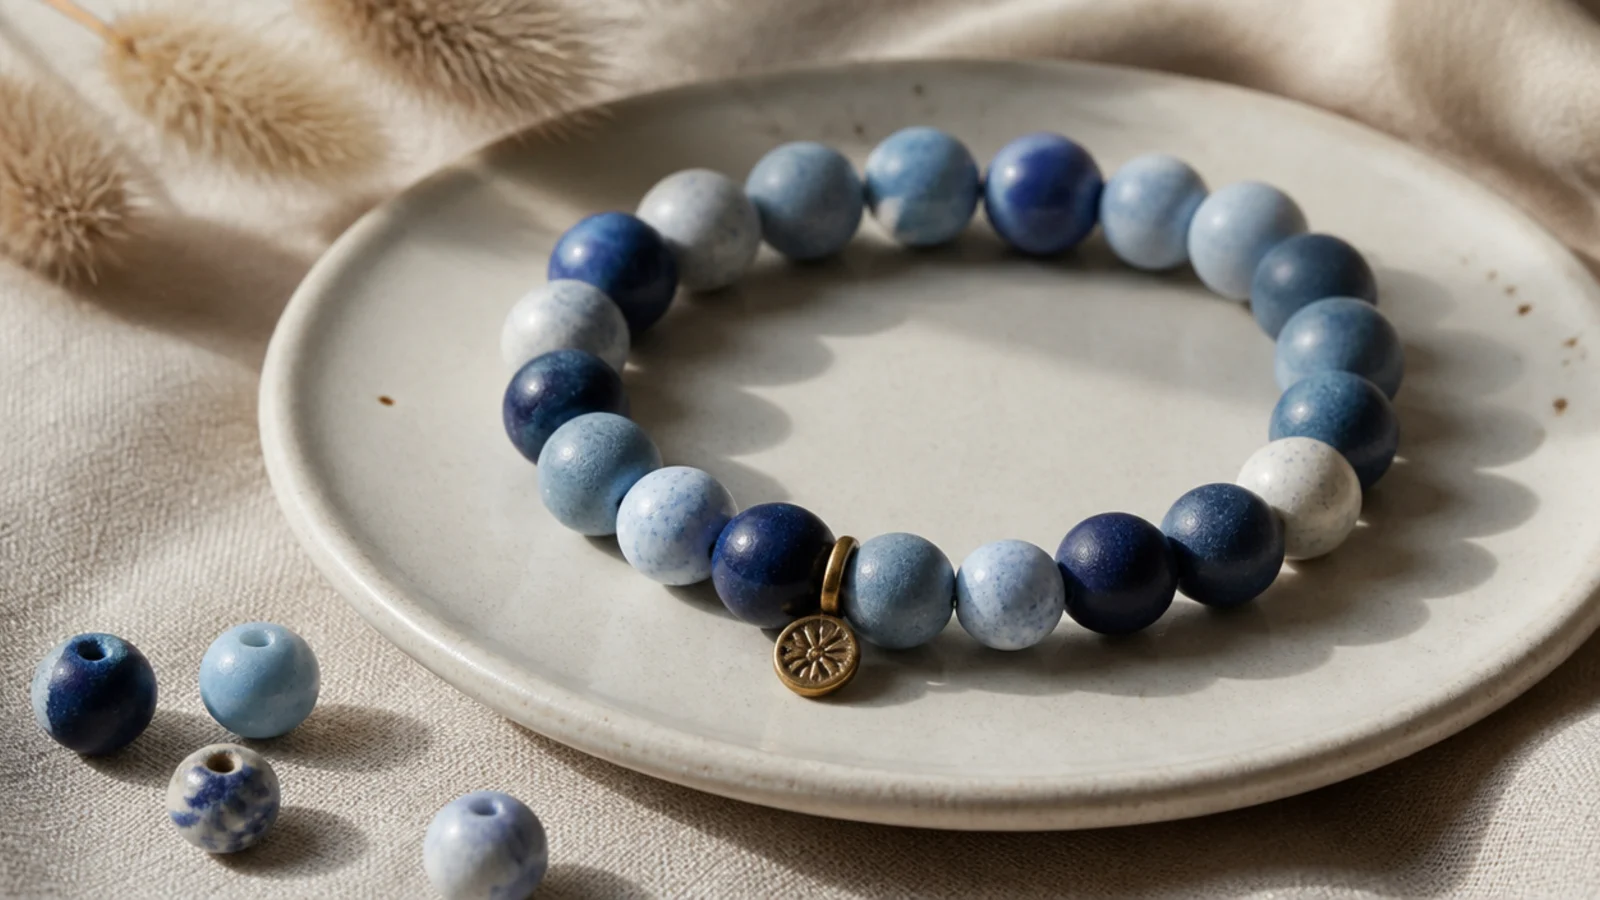
One color in several shades, mixed randomly, gives depth without any pattern. All-blue or all-green reads as one rich color. It’s forgiving and looks intentional. An easy, sophisticated blend.
Pull several shades of one color — pale to deep blue — into your dish. String them in a random mix, avoiding two identical beads adjacent. The shared color family keeps it cohesive. String to your wrist size, then tie a surgeon’s knot, seal, and hide the knot inside a blue bead.
Editor's noteStick to shades of a single color — the shared family makes even a random mix look designed.
Skip thisDon’t add a second color; the whole appeal is the tonal, single-color depth.
30. Simple Charm Dangle
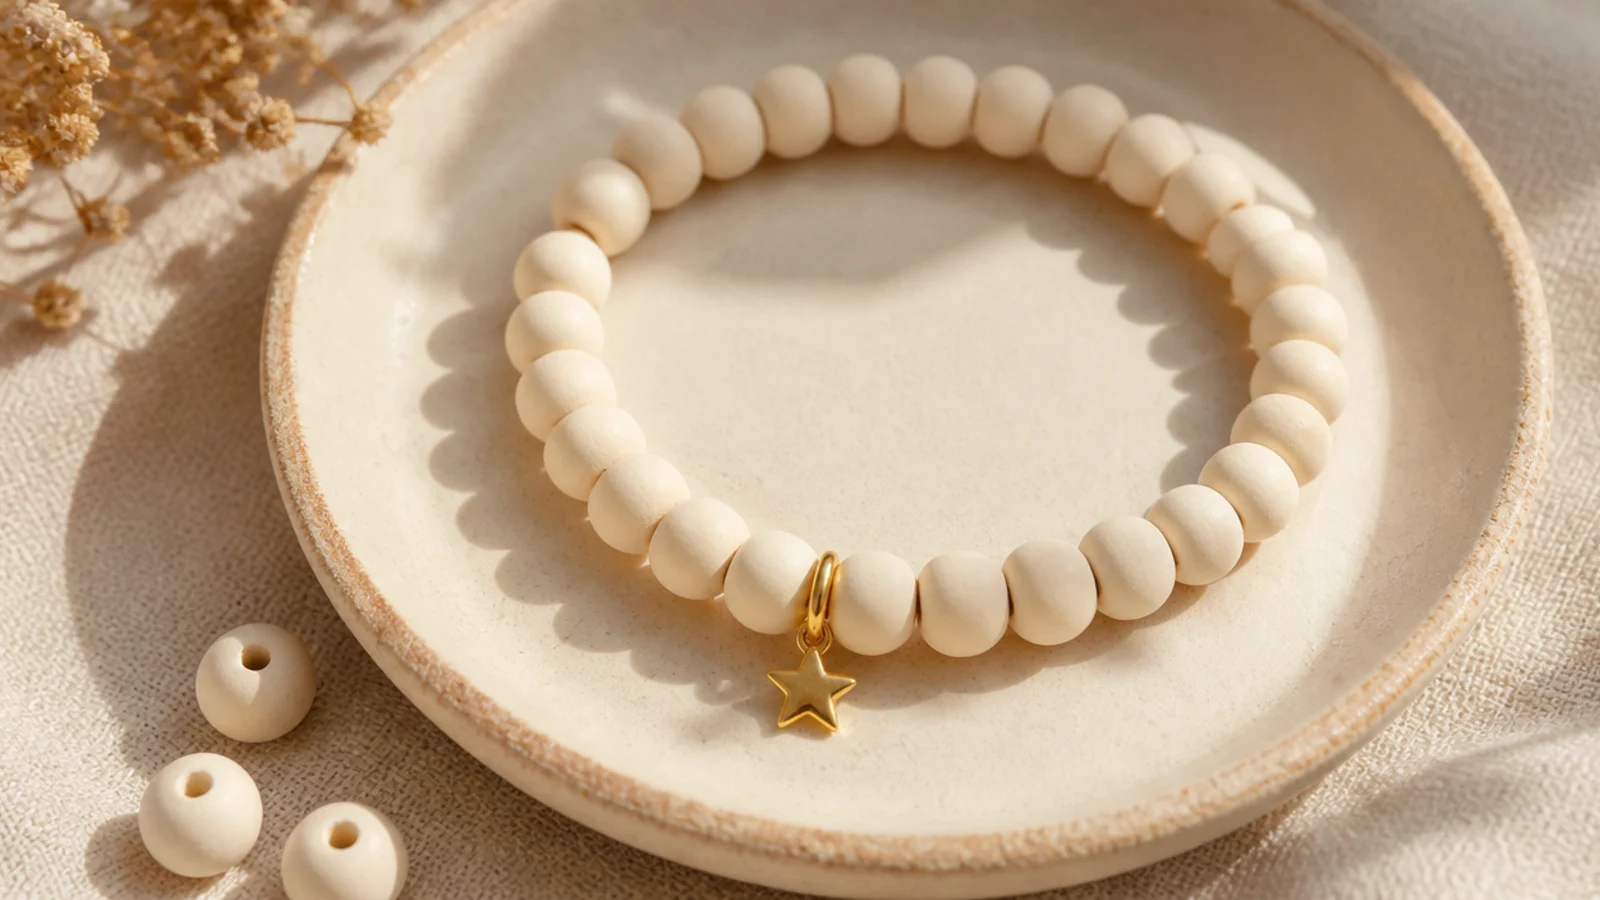
Adding one small charm gives an easy bracelet a finished, jewelry-like touch. The charm dangles and moves as you wear it. It’s a simple way to level up. A pretty final flourish.
String a plain base to your wrist length. Before knotting, thread a small charm onto the cord via its jump ring at the front, or slip it on between two beads so it hangs. Keep the charm light. Tie a surgeon’s knot, seal, and hide the knot inside a bead.
Editor's noteChoose a small, light charm so it dangles nicely without dragging the bracelet down or stressing the cord.
Skip thisDon’t add a heavy charm to thin stretch cord; the weight pulls the bracelet crooked and strains the elastic.



