

1. The Everyday Neutral Stack Base
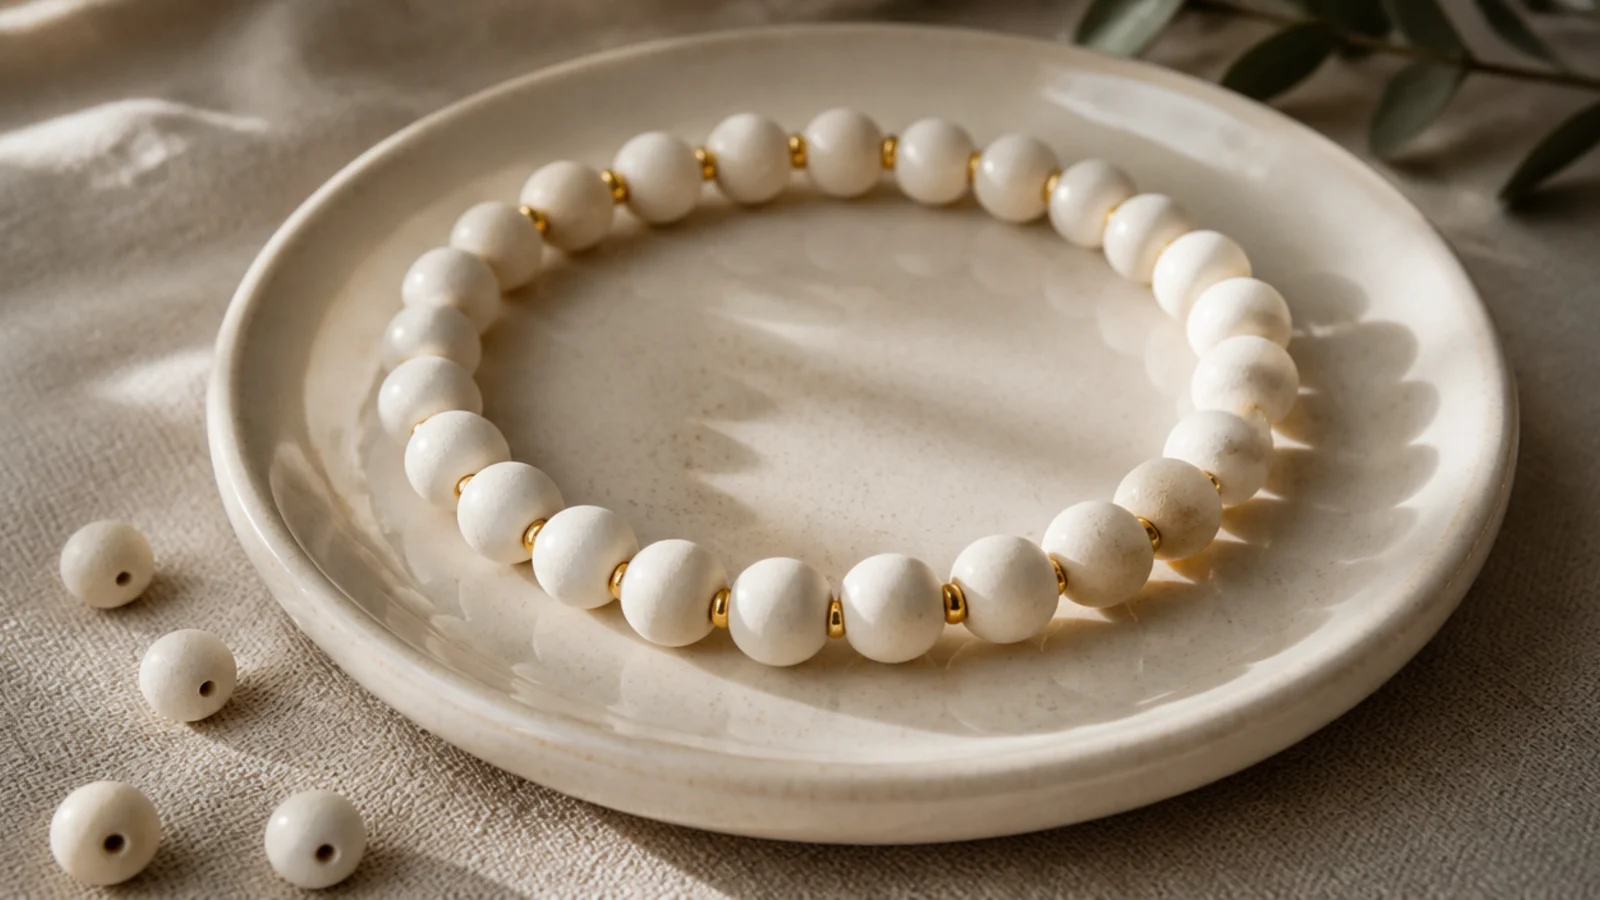
This is the bracelet I wear most and the one I tell everyone to make first. A single calm color — cream, sage, or taupe — with a gold spacer every few beads looks quietly expensive and goes with everything. It’s the most forgiving design because there’s almost nothing to get wrong. It’s also the perfect base for any stack.
Editor's noteKeep the gap between gold spacers identical all the way around — that even rhythm is the whole reason it looks refined.
Cut 9 to 10 inches of 0.8mm cord and tape one end. String cream beads and drop in a small gold rondelle spacer every fourth bead, keeping the count even so the gold spaces consistently. String to your wrist length minus a quarter inch. Tie a surgeon’s knot, dab with glue, let it dry, and hide the knot inside a cream bead.
Skip thisDon’t use chunky gold beads; small rondelles read like fine jewelry, while big ones look costume and break the calm line.
2. The Smiley Everyone Asks About
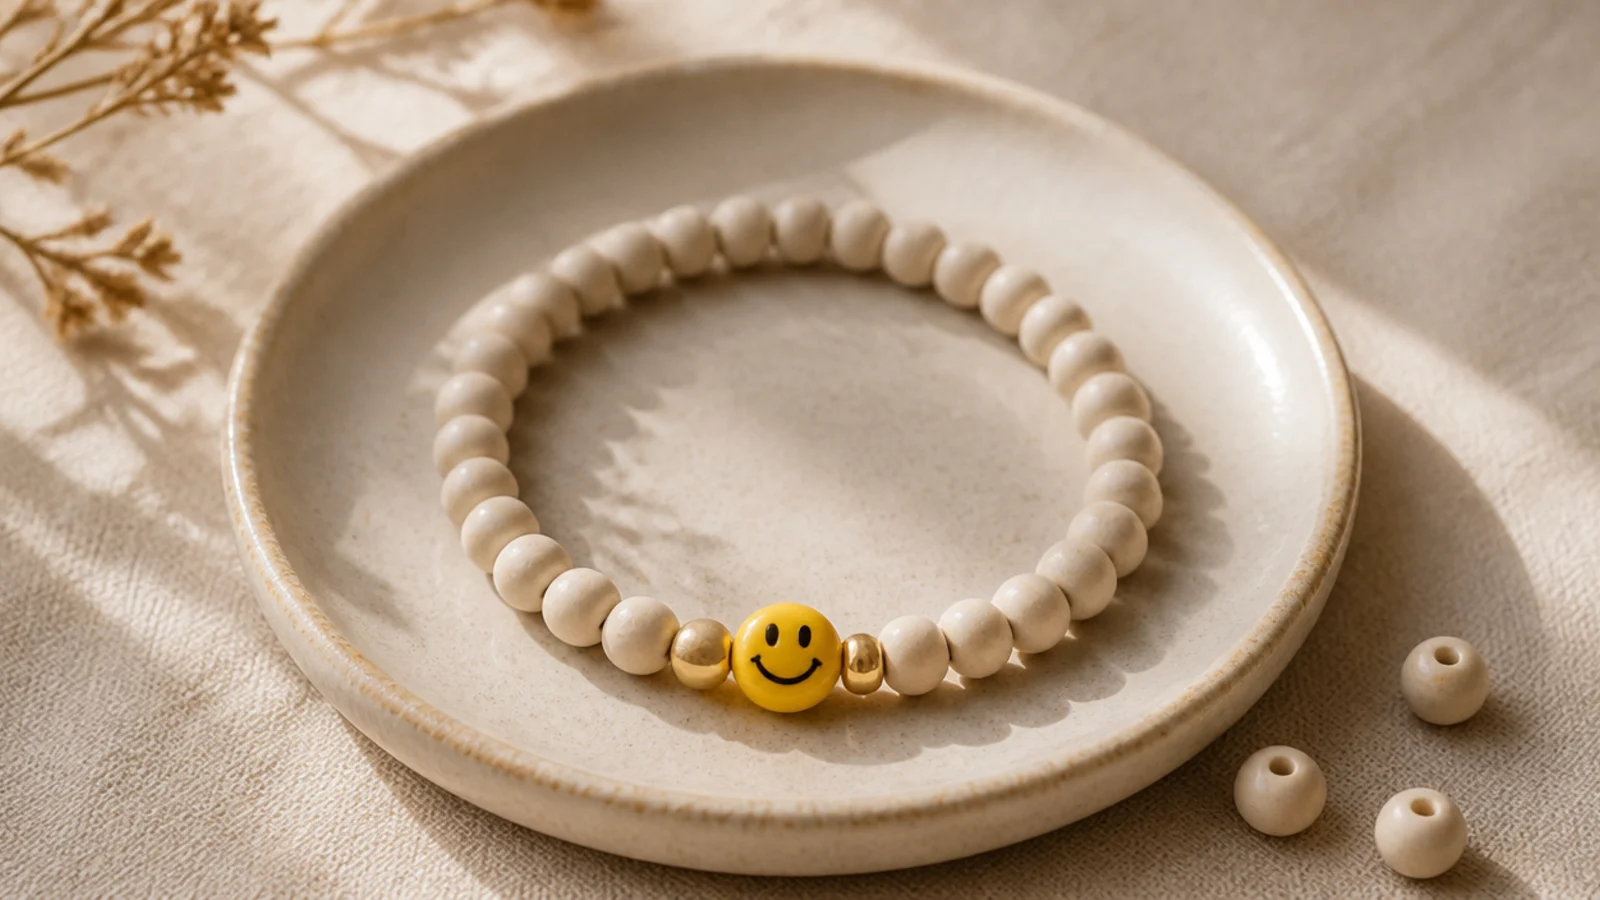
One smiley bead on a plain cream base gets me more comments than anything fancier I’ve made. The calm base keeps it wearable and the single happy face does all the work. It takes about ten minutes and never fails to make someone smile. This is the one people always ask me to make for them.
String cream beads to the center, add a small gold spacer, the yellow smiley-face bead, then another gold spacer, and continue with cream to your wrist length. Center the smiley by counting equal beads on each side. Tie a surgeon’s knot, seal with glue, and hide the knot inside a cream bead.
Center the smiley by counting your beads, not by eye — a slightly off-center focal always reads as a slip.
Don’t crowd the smiley with extra charms; one focal on a plain base is exactly why it looks intentional and clean.
3. The Sunset Ombré
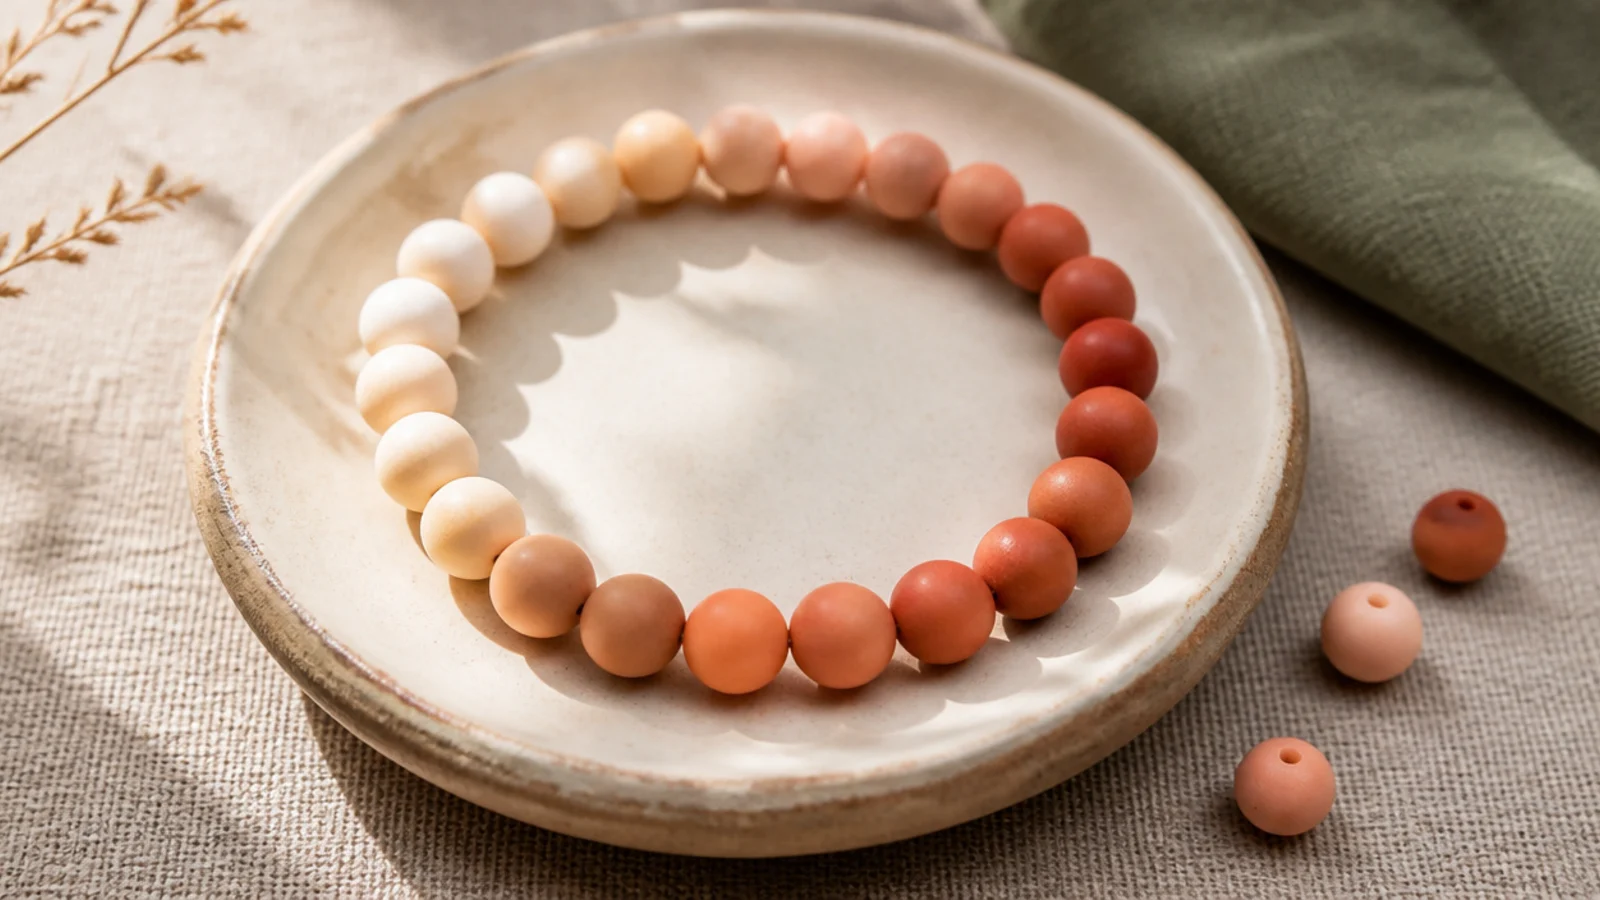
This looks like the most advanced bracelet I make, and it’s honestly just sorted beads. The warm fade from cream to terracotta looks like a sunset and gets constant compliments. Staying in warm tones keeps the gradient cohesive. It’s the design that convinced me counting beats talent.
Sort four warm shades lightest to darkest — cream, peach, coral, terracotta. String a run of cream, then each deeper shade toward the center, then reverse back to cream for symmetry. Keep each run the same length. String to your wrist size, then tie a surgeon’s knot, seal, and hide the knot inside a cream bead.
Reverse the fade at the center so both ends are palest — a symmetrical ombre looks intentional from every angle on the wrist.
Don’t skip from cream straight to terracotta; the peach and coral in between are what make it a smooth fade instead of stripes.
4. The Split-Heart BFF Pair
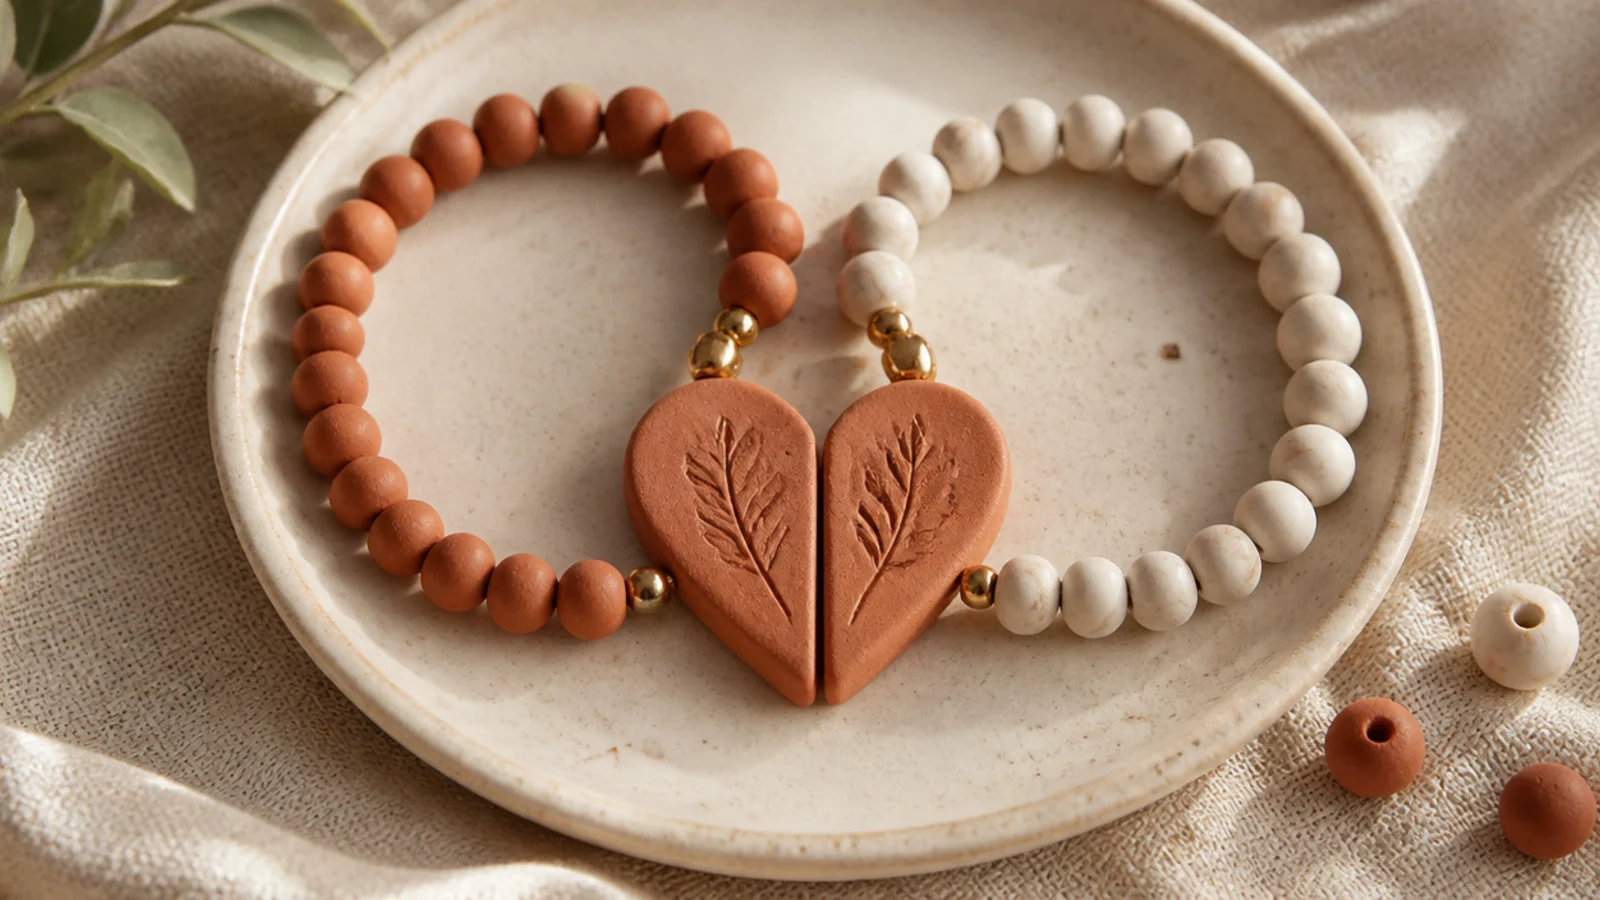
This is the set I gift more than any other. Each bracelet holds half a heart, so a whole heart appears when you hold them together — one to keep, one to give. It’s simple, meaningful, and reads instantly as a pair. The shared base color ties the two halves together.
Tip one base color into a shared dish and cut two lengths of cord. String matching base beads on both to the center, add one half of the split-heart bead to each, then finish with equal base beads. String both in parallel so the halves align. Tie a surgeon’s knot on each, seal, and hide the knots.
String both bracelets bead for bead at the same time so the two heart halves sit at exactly the same spot on each band.
Don’t make one bracelet longer than the other; if the counts differ, the heart halves won’t line up when held together.
5. The Monogram I Gift Most
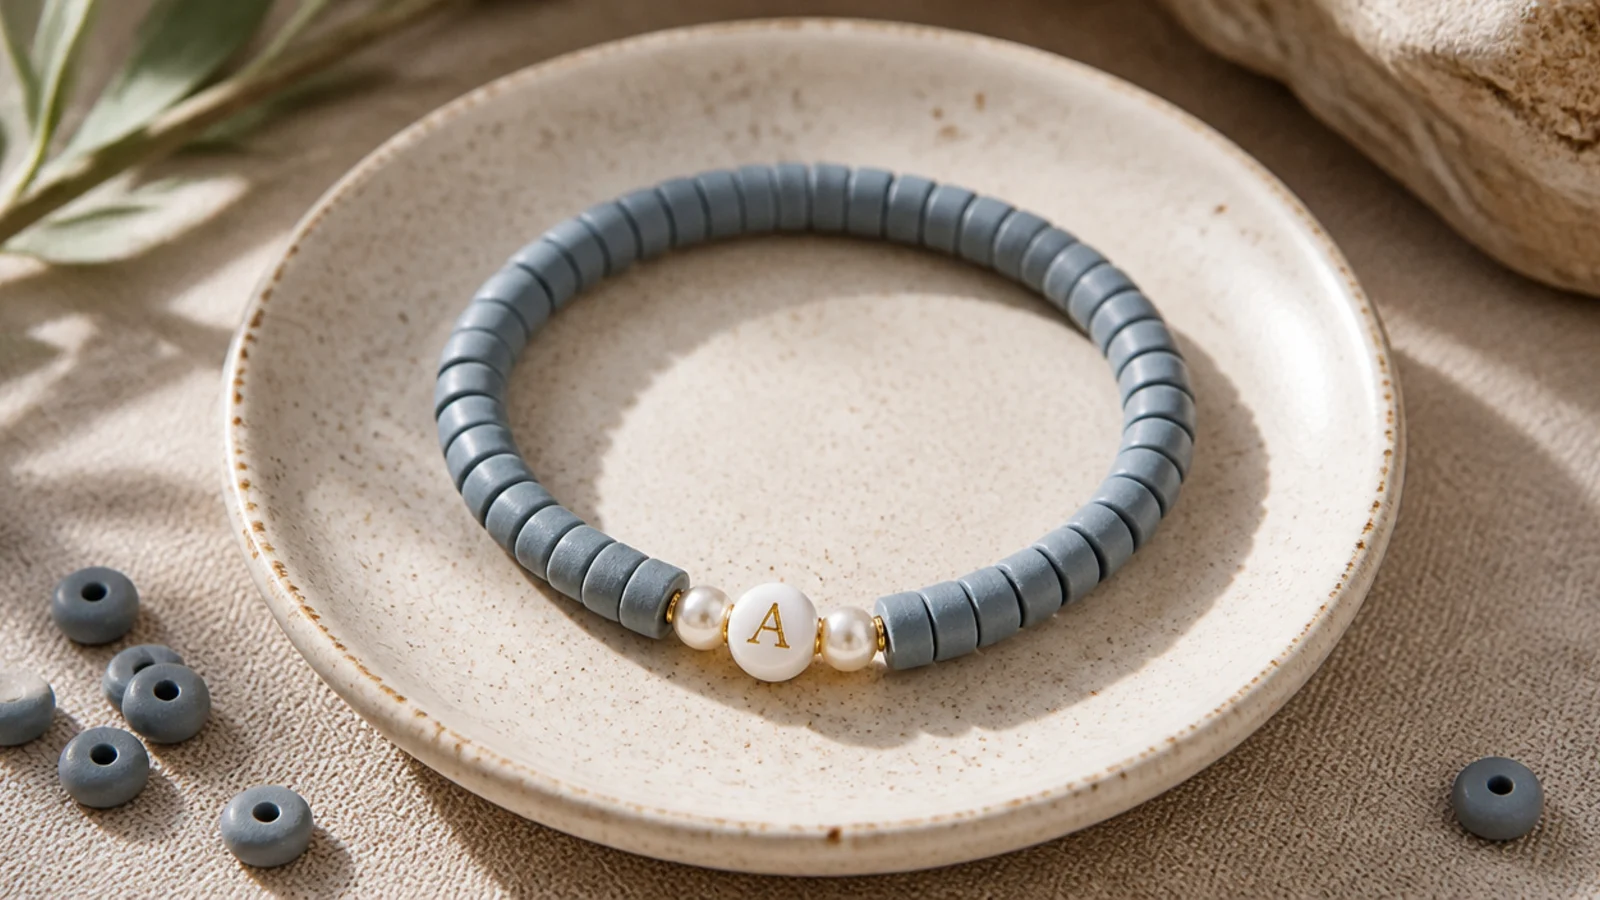
A single initial framed by two pearls is my go-to personalized gift. The one letter makes it personal without spelling out a whole name, and the pearls dress it up just enough. It works in any base color to match the person. This is what I keep in my ready-to-gift pile.
String a base to the center, add a small pearl, the white letter bead, then another pearl, and continue to your wrist length, keeping the monogram centered. Test-fit the letter and pearls on your cord first — some have small holes. Tie a surgeon’s knot, seal, and hide the knot inside a base bead.
Frame the letter with a pearl on each side — the symmetry makes a single initial look intentional and boutique.
Don’t force a small-holed letter bead onto thick cord; switch to 0.6mm elastic so it threads without splitting the bead.
6. The Sage Minimalist for Work
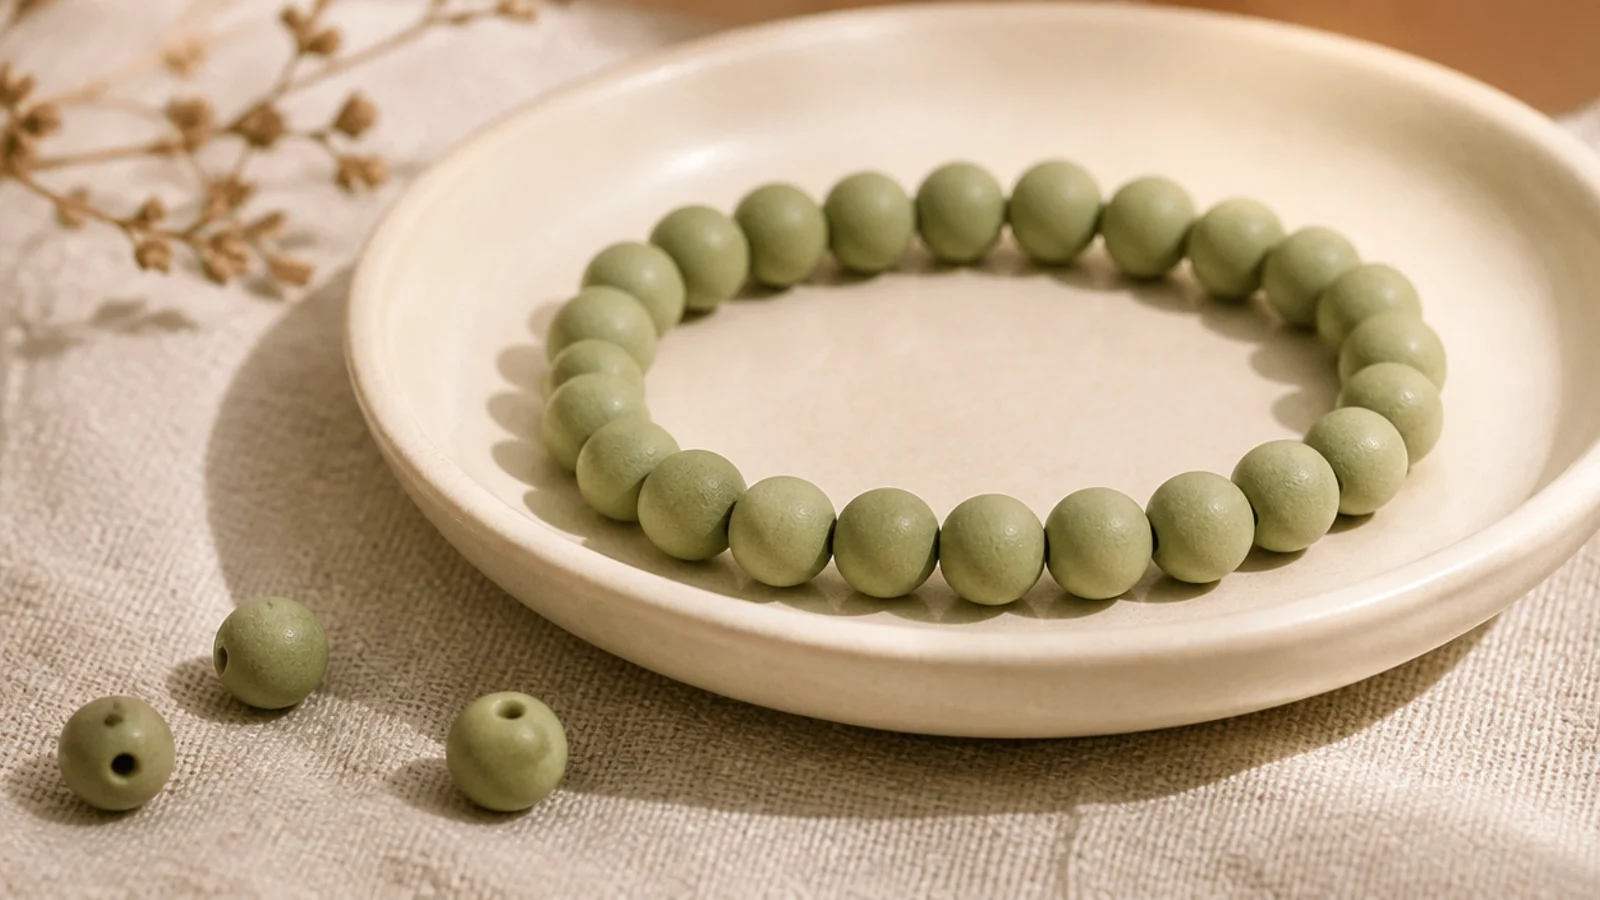
When I want something that disappears into a work outfit, I wear this solid sage band. One quiet color, cleanly finished, is calm and grown-up. The whole design is in the even stringing and hidden knot. It’s proof that the simplest bracelet can be the most versatile.
String only soft sage beads on taped 0.8mm cord, keeping them aligned so the band lies flat. String to your wrist length minus a quarter inch for a snug fit. Tie a surgeon’s knot, seal with glue, and tuck the knot completely inside a sage bead so the band looks continuous.
Buy a solid tube of one sage shade rather than picking greens from a mixed tube — consistent color is the entire look.
Don’t let a slightly-off green sneak in; on a solid bracelet a single mismatched bead is immediately obvious.
7. The Pearl-and-Clay Dressy One
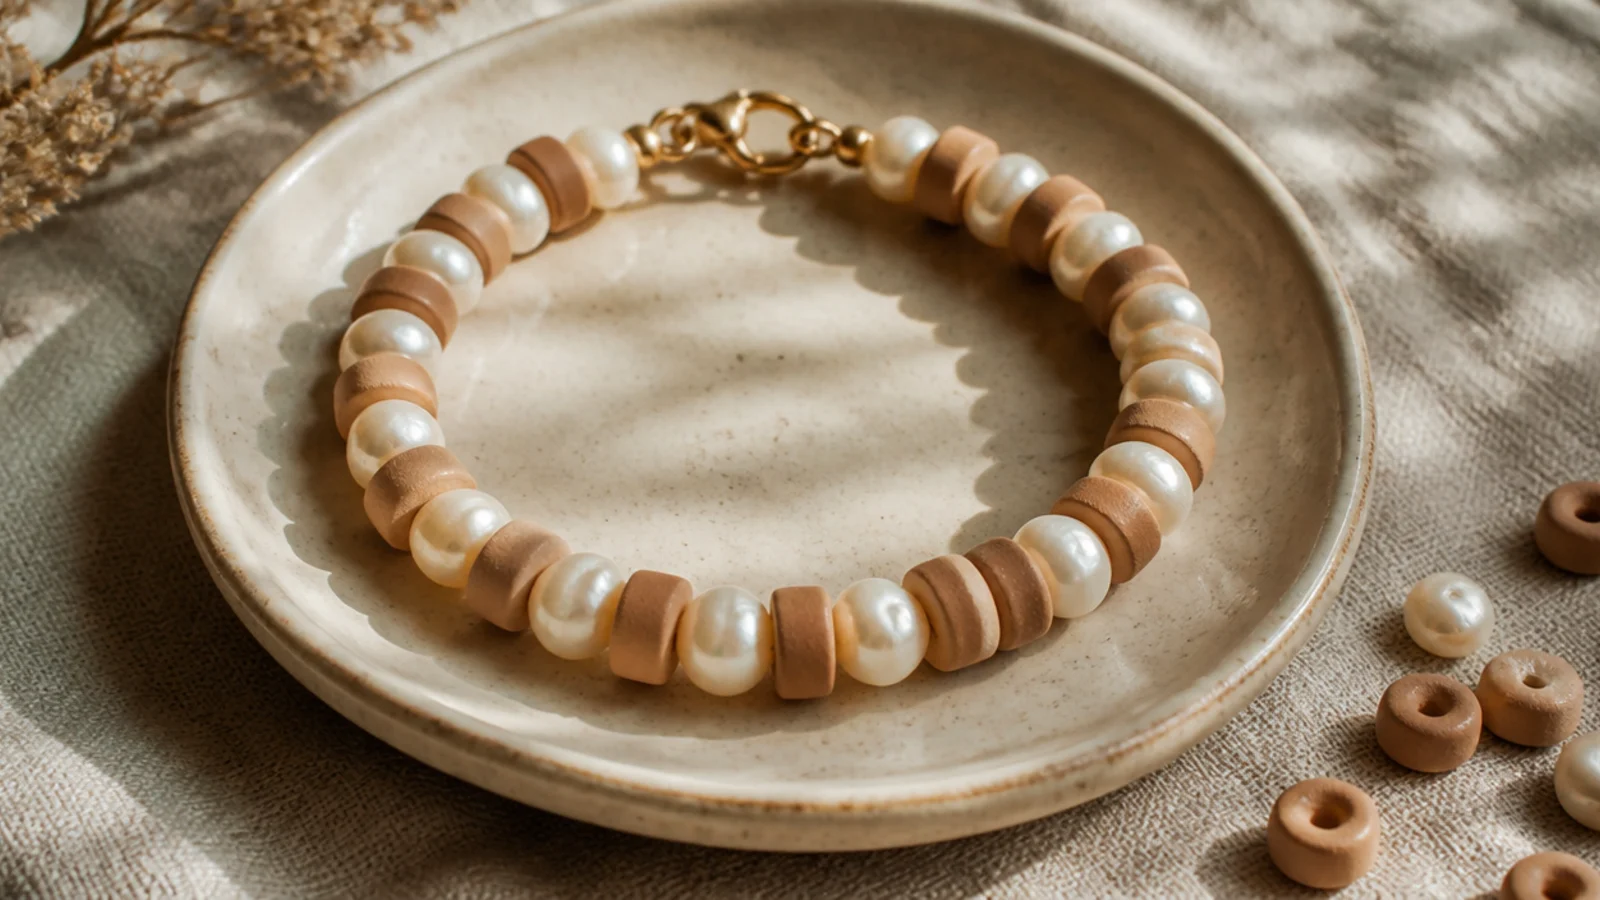
This is the one I wear when I want a little polish — clay discs alternating with pearls. The matte flat beads against glossy round pearls give a rich texture that looks dressed-up. It’s understated but clearly a step above everyday. My pick for events and dinners.
Editor's noteUse soft ivory or baroque-style pearls rather than bright white plastic ones — the natural tone reads far more expensive.
String neutral clay beads and pearls in a loose rhythm — two clay, one pearl — on 0.8mm cord, confirming the pearl holes fit first. Slightly irregular pearls look more high-end than perfectly round ones. String to your wrist size, then tie a surgeon’s knot, seal, and hide the knot inside a clay bead.
Skip thisDon’t force tight-holed pearls onto thick cord; switch to 0.6mm elastic rather than stressing and cracking the beads.
8. The Rainbow My Niece Requests
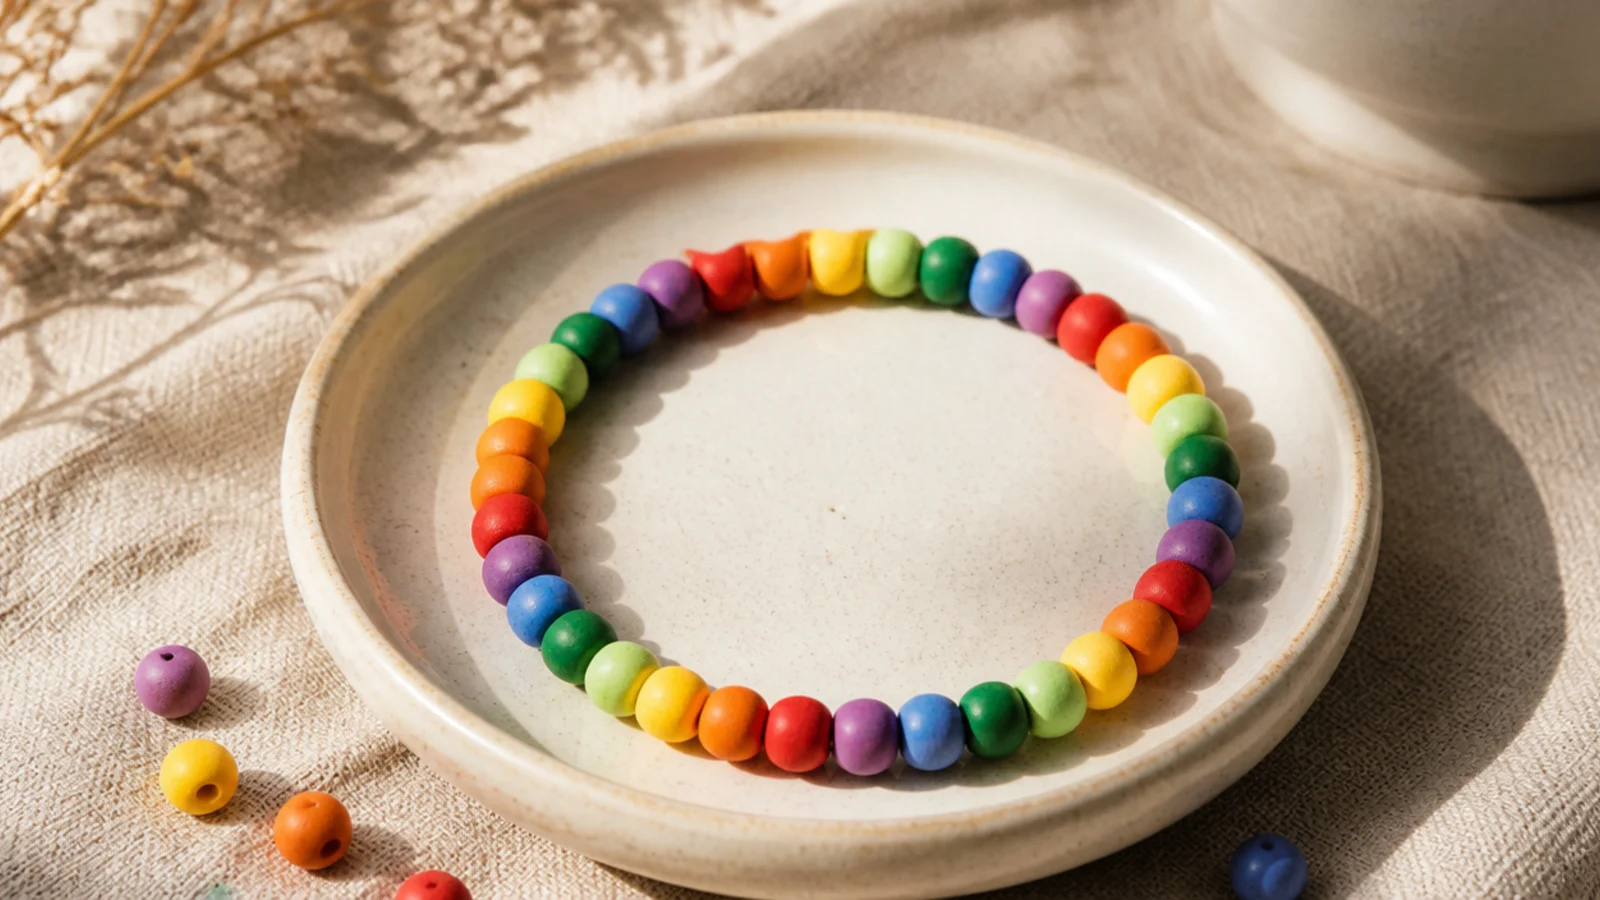
Not every favorite is subtle — this cheerful rainbow is the one my niece asks for every time. Beads strung in rainbow order, repeating, are pure joy and endlessly satisfying to make. It’s the most kid-loved design I make. I keep it slightly muted so it still looks good on the adult wrist too.
Editor's noteLay the six-color repeat out once as a master line and copy it so every rainbow cycle comes out identical.
Set six colors in rainbow order in your dish. String one of each, repeating the six-bead sequence around the band. A total divisible by six closes cleanly. Use 1mm cord if a child will wear it. String to the wrist size, then tie a surgeon’s knot, seal, and hide the knot at the end of a full rainbow.
Skip thisDon’t shuffle the color order between repeats; a consistent sequence is what makes it read as a rainbow, not a jumble.



