
1. French Script Tray With High-Gloss Ink Lock
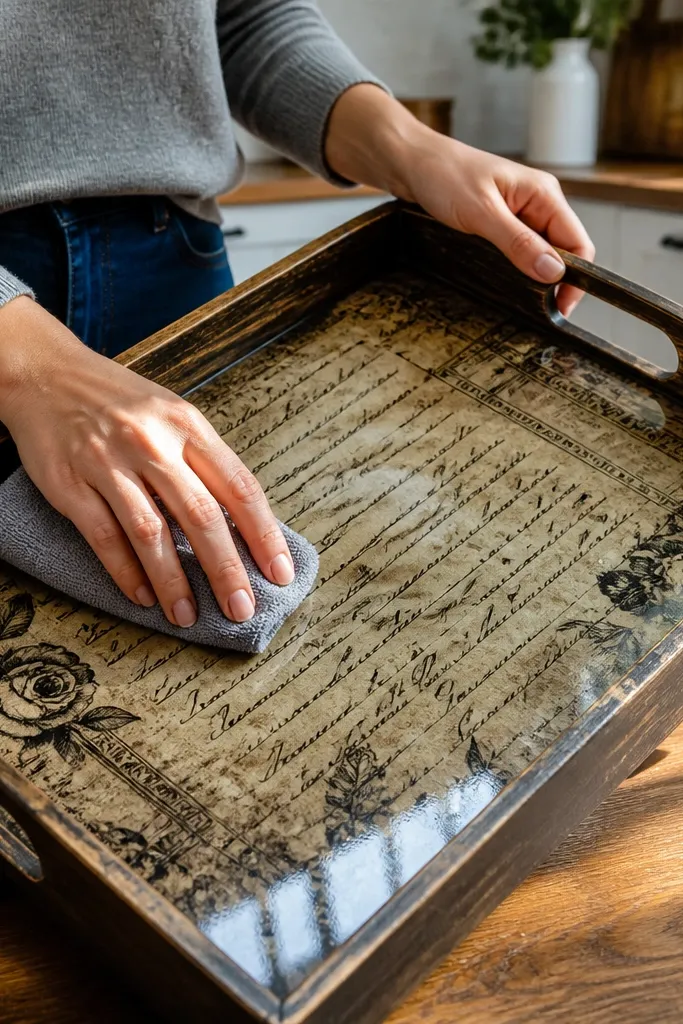
Step 1: Seal the tray base with one thin coat of decoupage medium, then apply your French script paper with the medium underneath and over the paper in one direction to avoid bubbles. Step 2: After it dries completely, sand lightly with 400-grit, focusing on raised edges, then wipe dust with a dry cloth. Step 3: Apply 2-3 coats of clear high-gloss water-based topcoat, letting each coat dry fully before the next. Step 4: Cure time matters — don’t stack or use the tray until the final coat has dried hard.
This look is all about readable handwriting and that crisp glassy surface that makes the paper look printed directly onto the tray. Go for it when your vintage paper printable has lots of dark text — it shows aging without turning gray. Use a glossy topcoat because it deepens blacks and helps you wipe fingerprints off the tray without dulling the print. Skill level is beginner-friendly because you’re working on a flat surface, and the sealing steps do most of the heavy lifting.
Skip thisAvoid brushing thick glue directly over dark ink areas — it can smear and create halos.
Editor's noteUse a foam brush for the topcoat so you don’t drag glue lines into the glossy surface.
2. Botanical Ephemera Frame With Satin Paper-Edge Clarity
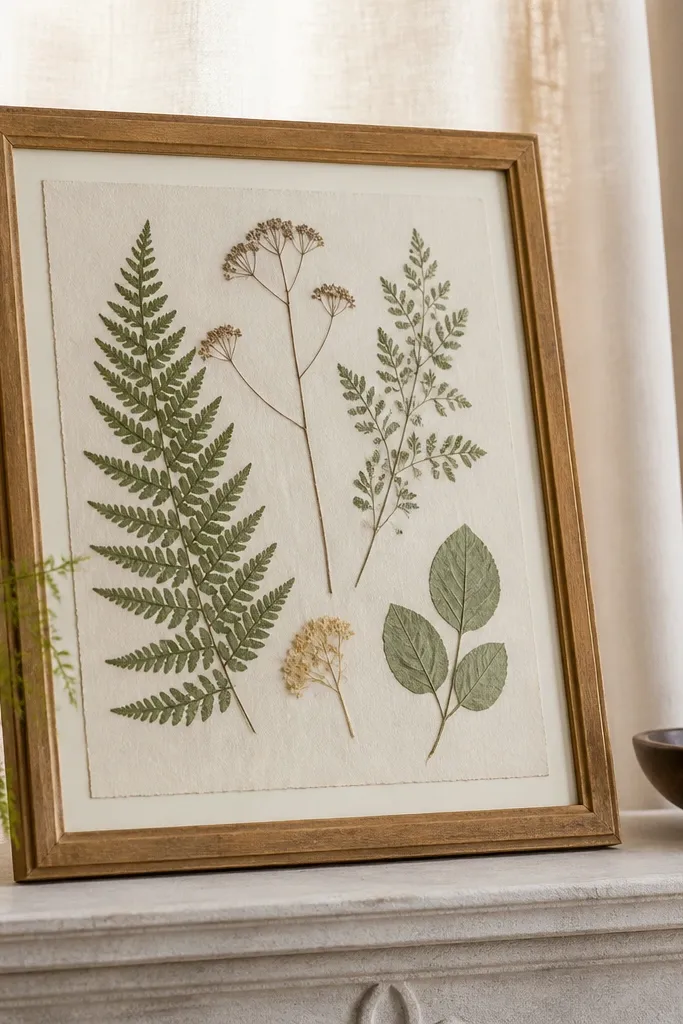
Step 1: Cut the printable to fit the frame backing, then apply decoupage medium in a thin layer under the paper and press with a brayer or smooth tool. Step 2: Brush a thin layer over the surface, then let it dry for several hours until it’s no longer tacky. Step 3: Sand only the edges with 600-grit to flatten corners, then wipe clean. Step 4: Finish with 2 coats of clear satin topcoat, using smooth strokes and keeping a consistent direction.
Botanical prints look best with a satin finish because it keeps the greens from looking plasticky while still protecting the paper. This is perfect for frames because the paper edges are visible and you want them to look intentional, not flooded. Satin also hides tiny brush streaks better than gloss, which is a real win if your printable paper has slight texture. You’re sealing for display durability, not heavy scrubbing, so the coating can be lighter than a coaster.
Skip thisDon’t use a glossy spray right over paper edges — it can pool and create shiny ridges.
Editor's noteDry-brush a little extra medium along the paper border before the topcoat so the corners don’t lift.
3. Old Postcard Box Lid With Flexible Matte Protection
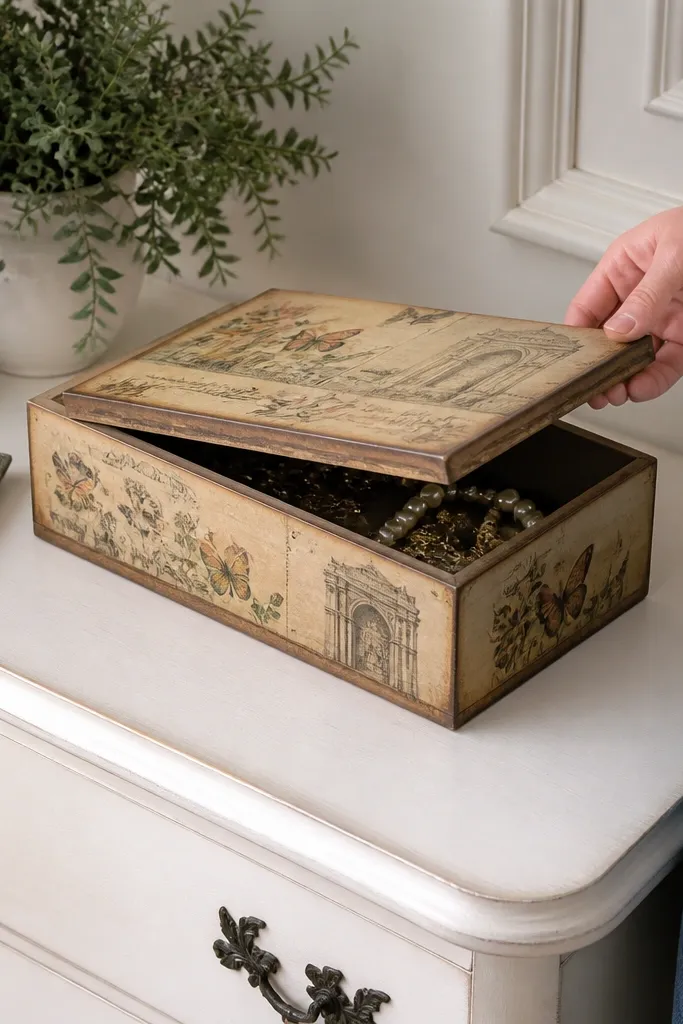
A postcard-style printable has lots of color blocks that can look amazing under matte because it mimics aged paper without glare. Choose matte when you want the box to feel vintage and soft, not like a lacquered craft. This project is great for jewelry boxes, keepsake boxes, and storage lids where you’ll open and close often. Matte also hides minor surface bumps, so you don’t have to chase perfect smoothness across the entire lid.
Step 1: Apply decoupage medium to the lid, lay the postcard paper, and smooth from the center outward to push out excess glue. Step 2: Coat over the top with a thin, even layer, then repeat once more after drying so the paper edges seal into the wood. Step 3: Let the surface dry fully, then do a quick pass with 600-grit on any raised spots. Step 4: Add 3 thin coats of clear matte water-based topcoat, waiting for each coat to dry before the next.
If the paper curls at the edges, press it under a flat weight for 10-20 minutes before sealing.
Avoid heavy sanding before the final coat — you can sand through the print layer.
4. Vintage Ledger Coasters With Heat-Resistant Clear Coat
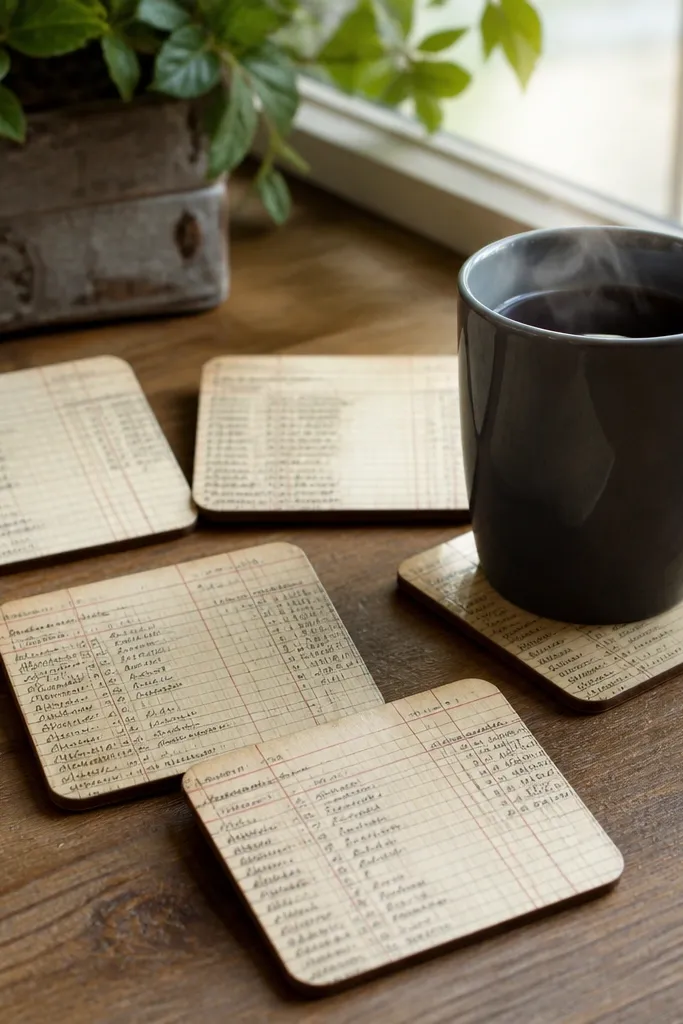
Step 1: Cut your ledger print to coaster size plus 1-2 mm, then coat the coaster base with decoupage medium and adhere the paper. Step 2: Brush medium over the paper edges first, then cover the whole top in a thin layer; let dry completely. Step 3: After drying, add 2-3 coats of clear protective topcoat, sanding lightly with 400-600 grit between coats if you see texture. Step 4: Seal the sides too so moisture can’t creep in from the edges.
Ledger prints turn coasters into something you’ll actually want on your table. The key is sealing for real life: condensation, hot mugs, and repeated wiping. Use a tougher clear finish than you would for wall decor, and keep the surface smooth so liquids don’t get under the paper. This look is photogenic because the ledger lines look crisp under a clear, protective topcoat.
Skip thisDon’t rely on glue alone as the final protective layer — it’s not tough enough for coaster abuse.
Editor's noteRound the coaster corners slightly with sandpaper for a cleaner look and fewer edge lifts.
5. Victorian Lace Paper Votive With Waterproof-Look Topcoat
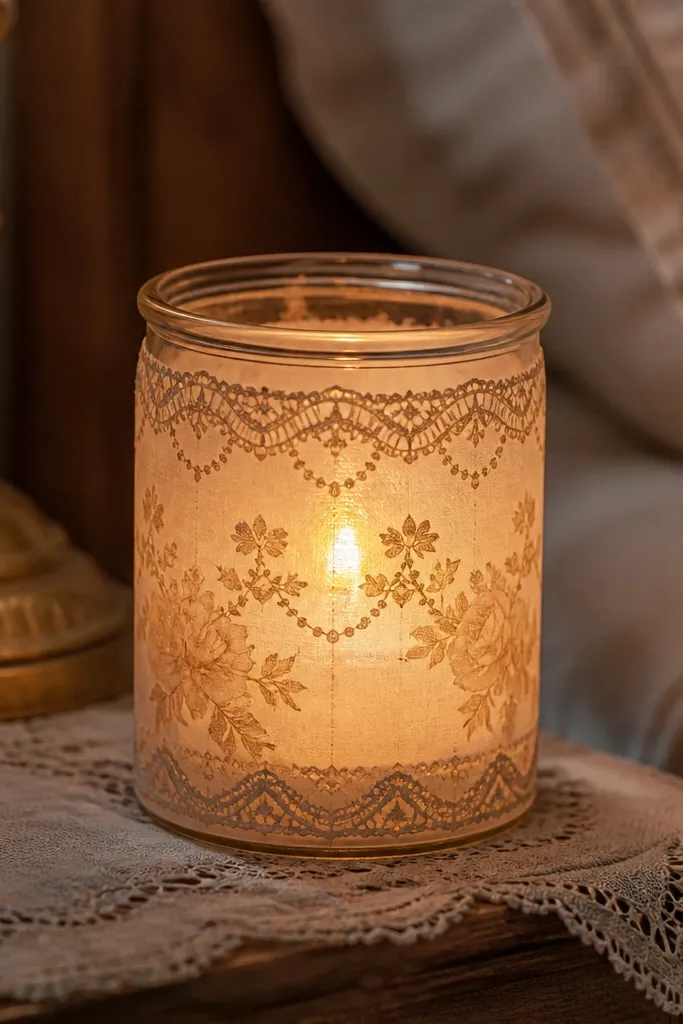
Step 1: Clean the glass jar with rubbing alcohol so the medium sticks. Step 2: Apply a thin decoupage medium band, adhere the paper strip, then smooth with a plastic card to avoid creases. Step 3: Brush medium over the paper in two thin passes, letting it dry between passes. Step 4: Finish with 2-3 coats of clear topcoat, focusing on the seam and the bottom edge of the paper.
Lace-style vintage printables look delicate, and sealing is what keeps them from turning blotchy. On a votive jar, you get a soft glow effect when the paper is sealed smooth and clear. This project is better for display than for scrubbing, but it still needs a topcoat that resists humidity and candle-melt residue splashes. If your printable has light gray ink, choose a clear matte that doesn’t yellow, or gloss if you want maximum glow.
Skip thisAvoid thick layers right over seams — they dry uneven and catch light as bumps.
Editor's noteSeal the seam twice — it’s where lifting starts when humidity hits.
6. Antique Map Drawer Pulls With Glossy Hardware-Ready Seal
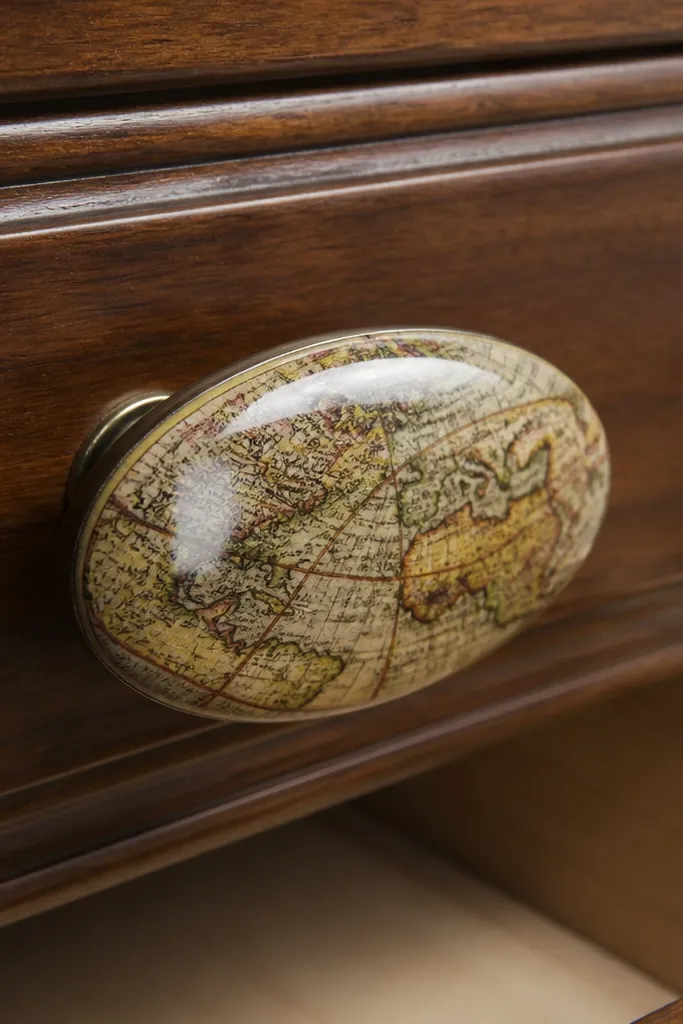
Small surfaces like drawer pulls are where good sealing shows immediately. Antique maps have lots of fine lines, and a smooth gloss topcoat keeps those lines looking sharp instead of fuzzy. This is a quick win for DIY decor because the pulls get touched daily, so the seal has to resist wear. You’ll spend more time on careful edges than on the paper itself, and the result looks like a custom furniture finish.
Step 1: Remove the pulls if you can, then lightly sand and clean so the medium bonds. Step 2: Apply decoupage medium, adhere map paper, and coat over the paper edges first so they lock down. Step 3: Once dry, sand with 400-600 grit just enough to level, then apply 3-4 thin coats of clear gloss topcoat. Step 4: Let it cure fully before reinstalling so the surface doesn’t stay soft under friction.
Use painter’s tape to protect metal parts from topcoat buildup.
Don’t skip leveling sand between topcoat coats — bumps around the edges wear off first.
7. Renaissance Invitation Bookmarks With Flexible No-Buckle Finish
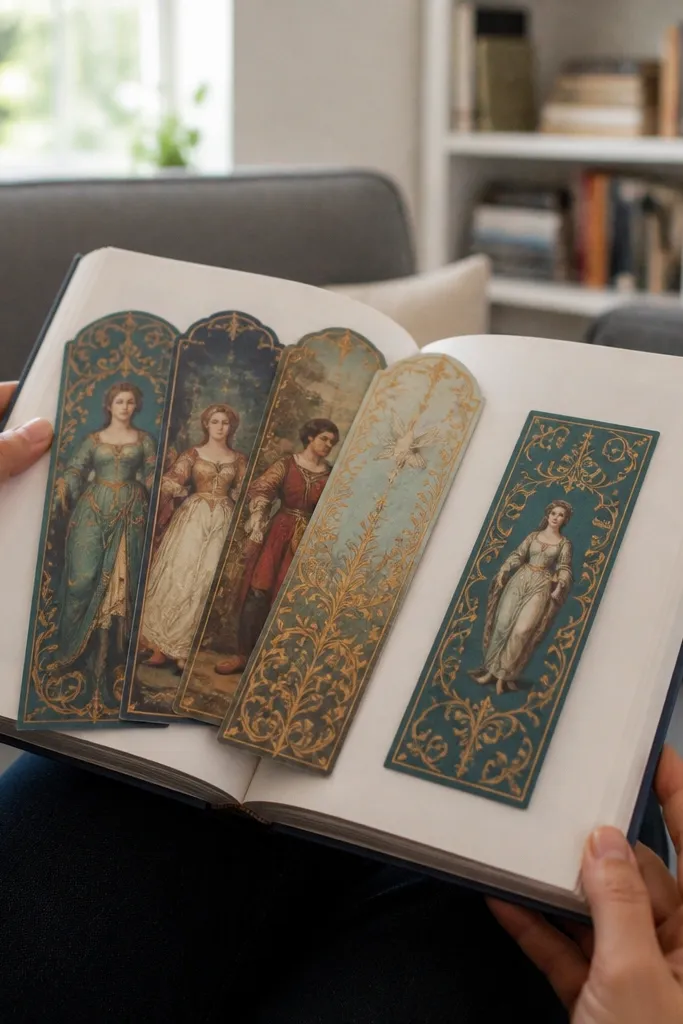
Bookmarks take a beating from handling, so the seal has to stay flexible. Invitation-style printables often have heavier ink coverage, which can wrinkle if you flood them with watery glue. The goal here is a smooth, flexible protective layer that keeps the paper flat and readable. Matte or satin works well because it doesn’t show every scratch from sliding in and out of books.
Step 1: Cut bookmarks to your final size with clean edges, then apply a thin layer of flexible decoupage medium with a foam brush. Step 2: Lay the paper, press firmly, and brush another thin coat over the surface — avoid soaking. Step 3: Let dry fully, then add 2-3 coats of clear flexible sealant in thin layers. Step 4: If edges lift, add a tiny third coat only on the edge line.
Seal both sides — the paper curls less when moisture balance is even.
Avoid hot-air drying — it can warp thin paper and cause wrinkling.
8. Vintage Recipe Tile With Crackle-Look Under Glassy Seal
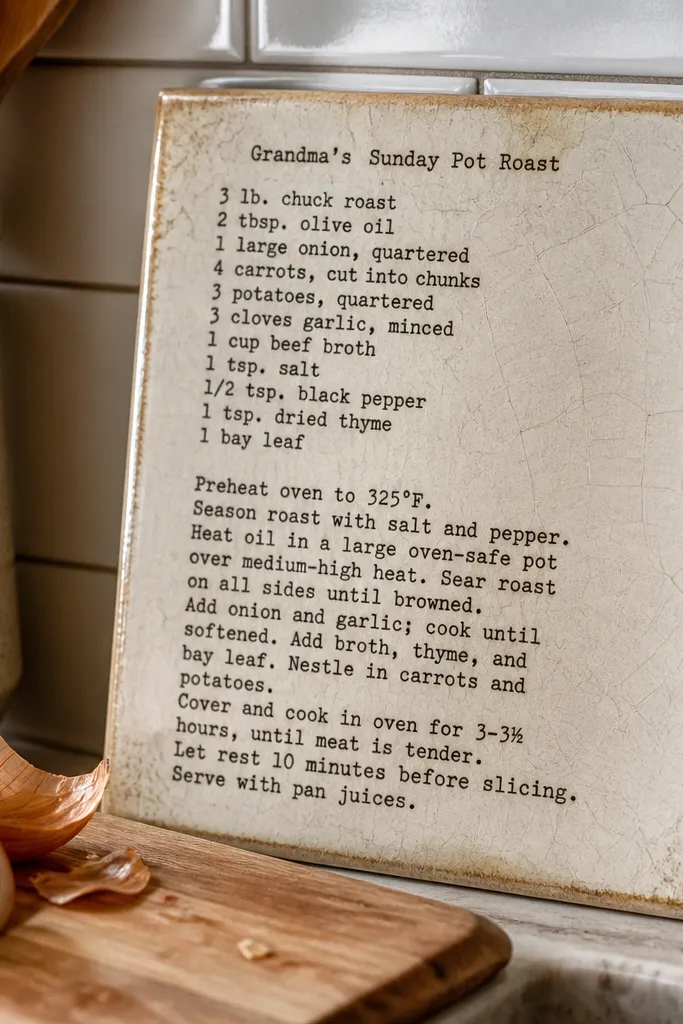
Recipe printables look like they belong on ceramic when you seal them under a glassy clear finish. If you want that crackle vibe, you can fake it by using a crackle medium layer over the sealed paper, then top with a clear topcoat. This is photogenic because the recipe text reads through the glossy surface, and the crackle effect adds age without muddying the print. It’s a medium-skill project because you need to control layer timing.
Step 1: Seal the paper to the tile using decoupage medium, then let it dry fully and sand lightly with 600-grit. Step 2: Apply crackle medium over the paper surface in a thin, even coat and let it react until you see the crackle pattern form. Step 3: Brush a clear topcoat over the crackle medium in 2-3 thin coats, letting each dry before the next. Step 4: Inspect at an angle for missed spots and touch up before the final coat cures.
Use a fan or cool room air, not direct heat, so crackle forms evenly.
Don’t apply crackle medium directly onto unsealed paper — it can sink into the print and blur text.
9. Shabby Book Spine Sign With Weathered Edges And Satin Coat
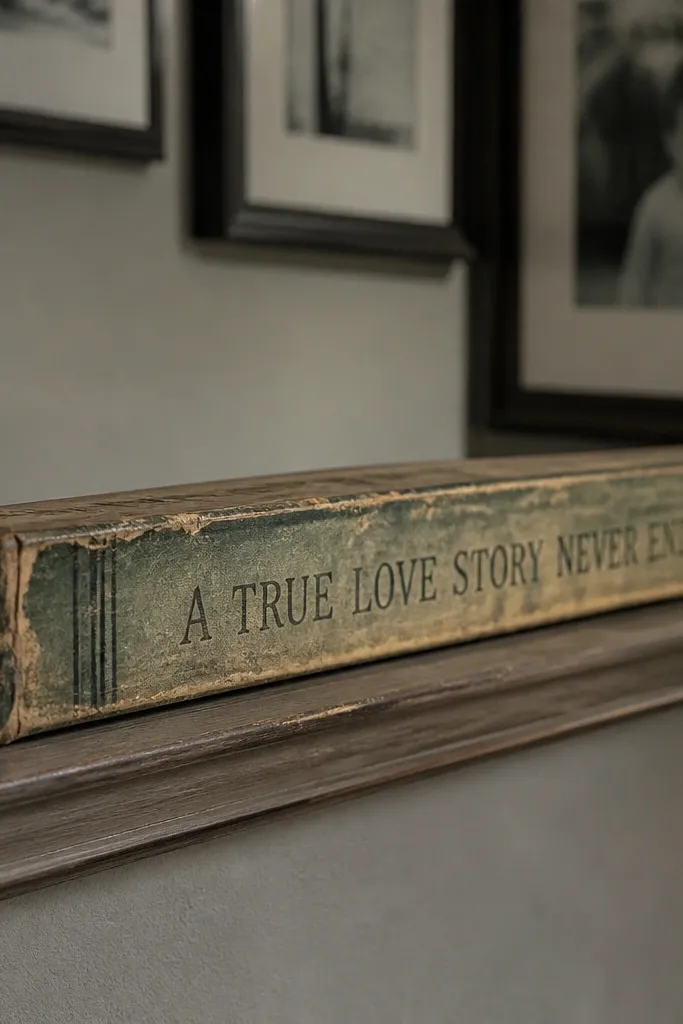
Step 1: Apply decoupage medium to the sign, adhere the vintage paper, and press with a flat tool along the spine edges. Step 2: Brush over the top with medium, then add a second thin coat after drying to fully lock down fibers. Step 3: Lightly sand the edges, then wipe dust. Step 4: Finish with 2 coats of clear satin topcoat, focusing on the cut edges and the spine seam.
Book-spine signs look best with visible edge wear — you want the paper to look like it’s been handled, not perfectly laminated. Use satin to keep the aged paper vibe while still protecting the surface from dust and light contact. This is a great option for entryway decor where people will glance up close. Sealing is the difference between “paper art” and “stuff that lasts,” especially at corners and where you cut the spine shape.
Skip thisAvoid glossy topcoat if your paper has pale inks — gloss can make them look chalky.
Editor's noteSeal the back too so the front doesn’t warp as it dries.
10. Art Nouveau Candle Sleeve With Clear Gloss Over Sealed Seams
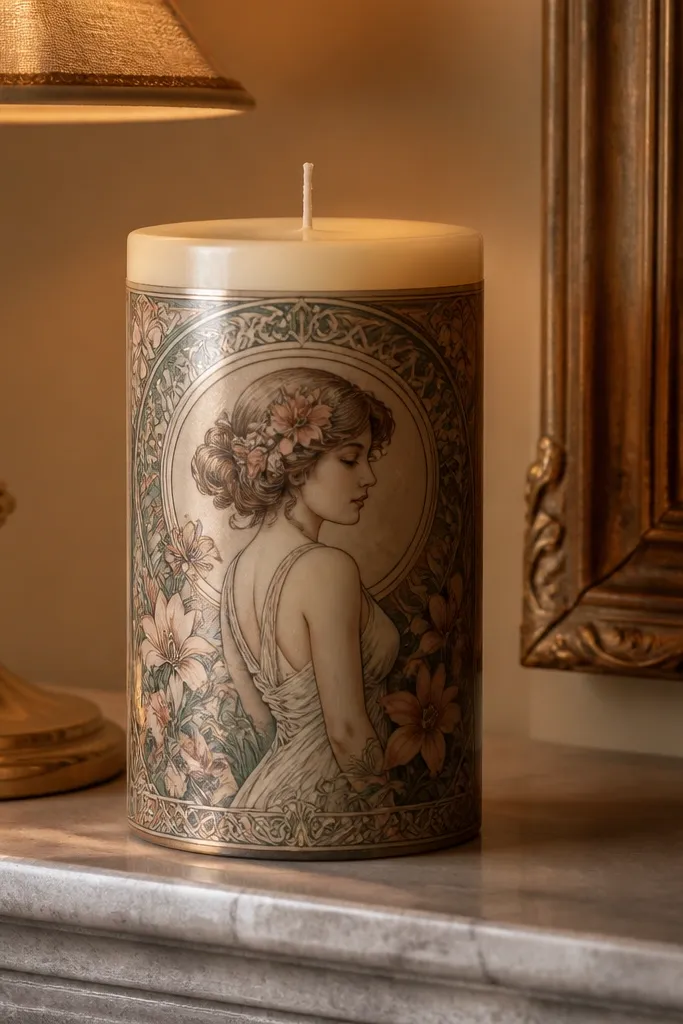
Art nouveau prints have flowing lines that look stunning when sealed smooth and slightly reflective. A clear gloss coat makes the ink pop and gives you that “laminated vintage” effect without looking plastic. This is perfect for pillar candles or decorative candles where the sleeve won’t get soaked. The sealing job is mostly about controlling seam edges and keeping the sleeve from snagging when you slide it on.
Step 1: Cut the sleeve strip and dry-fit around the candle so your seam overlaps by 5-10 mm. Step 2: Apply decoupage medium to the paper, adhere to the candle sleeve surface, then seal the seam with extra medium brushed along the overlap. Step 3: Let it dry flat, then add 2 coats of clear gloss topcoat over the entire sleeve. Step 4: Add a thin third coat only where the seam sits so it resists pulling.
Use a plastic wrap barrier while drying so the sleeve doesn’t stick to your surface.
Don’t wrap too tight while wet — it causes wrinkles that gloss will highlight.
11. Vintage Advertisement Paper Lantern Panels With Even Spray Finish

Step 1: Adhere the paper panels to the lantern frame with a matte decoupage medium so you don’t create glare spots before spraying. Step 2: Let everything dry fully, then sand lightly with 1000-grit only if you see texture. Step 3: Apply 2-3 thin coats of clear spray topcoat, holding the can at a steady distance and moving constantly. Step 4: Finish with one more coat after the previous coat dries so you get full edge sealing.
Lantern panels need an even, clear finish because uneven spots show as dark patches when light goes through. Vintage advertisement printables have bold shapes, so you want the paper to look flat and consistent under glow. Use a spray topcoat for uniform coverage, then a final clear layer for protection. This is a better project for someone comfortable with light dusting and multiple thin coats.
Skip thisAvoid heavy wet spraying — it can warp thin paper and create ripples.
Editor's noteSpray in short passes and overlap 50% each time so you avoid streaks.
12. Old Photo Booth Style Labels With Clean Edge Water-Based Topcoat
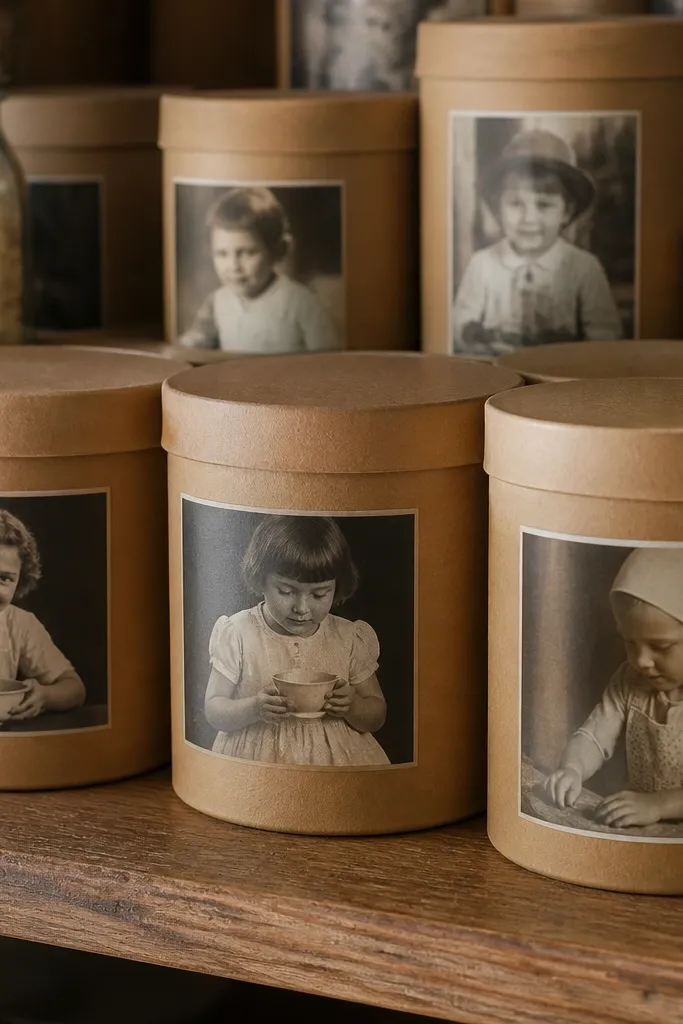
Step 1: Cut labels with a sharp blade and apply decoupage medium under the label only, not a thick layer around the edges. Step 2: Press the label down, then coat over the surface with a thin brush layer to seal the print. Step 3: After drying, add 1-2 coats of clear topcoat, taking care to feather right to the edge. Step 4: Let cure fully before wiping or handling so the edge stays sealed.
Label printables look sharp when the edges are sealed clean — no fuzzy borders, no raised rims. If your vintage paper has a “photo booth” vibe, it usually has mixed skin tones or warm browns that can bleed if you use the wrong finish. Go with a water-based topcoat that dries clear and stays flexible, since labels live on glass and get wiped. This look is small but high impact, and it trains your sealing habits for bigger projects.
Skip thisDon’t glue labels with lots of medium on the outside edge — that creates a visible ridge.
Editor's noteUse a craft knife and cut on a glass board for cleaner label edges.
13. Decoupage Book Cover With Thick-Layer Satin For Soft Touch
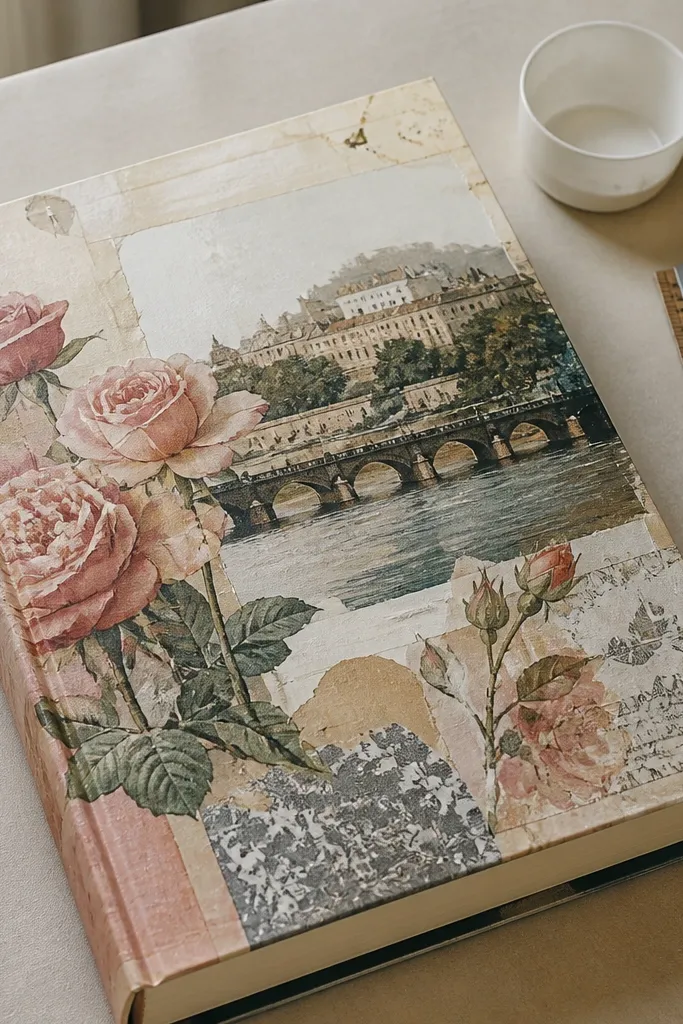
A decoupage book cover is where you want a soft touch, not a slippery gloss. Satin topcoat gives you that “paper under glass” look without the glare, and it hides micro imperfections from smoothing. This project is great for a display book, a journal cover, or a decorative binder. Sealing needs to be layered thick enough to protect the paper texture from rubbing and snagging on fabric.
Step 1: Cover the base with a thin decoupage medium layer, apply the vintage paper, then smooth and coat over the top in a thin even layer. Step 2: Let it dry, then sand very lightly with 600-grit to remove ridges and dust nibs. Step 3: Apply 3-4 satin topcoat coats, building thickness while keeping strokes light to avoid streaks. Step 4: Let the final coat cure before you wrap corners or close the book — early handling marks the finish.
Use short brush strokes on corners so you don’t create thick pools that dry uneven.
Avoid skipping the sanding between coats — dust specks turn into tiny dents under satin.
14. Vintage Postage Wall Art With UV-Resistant Clear Finish
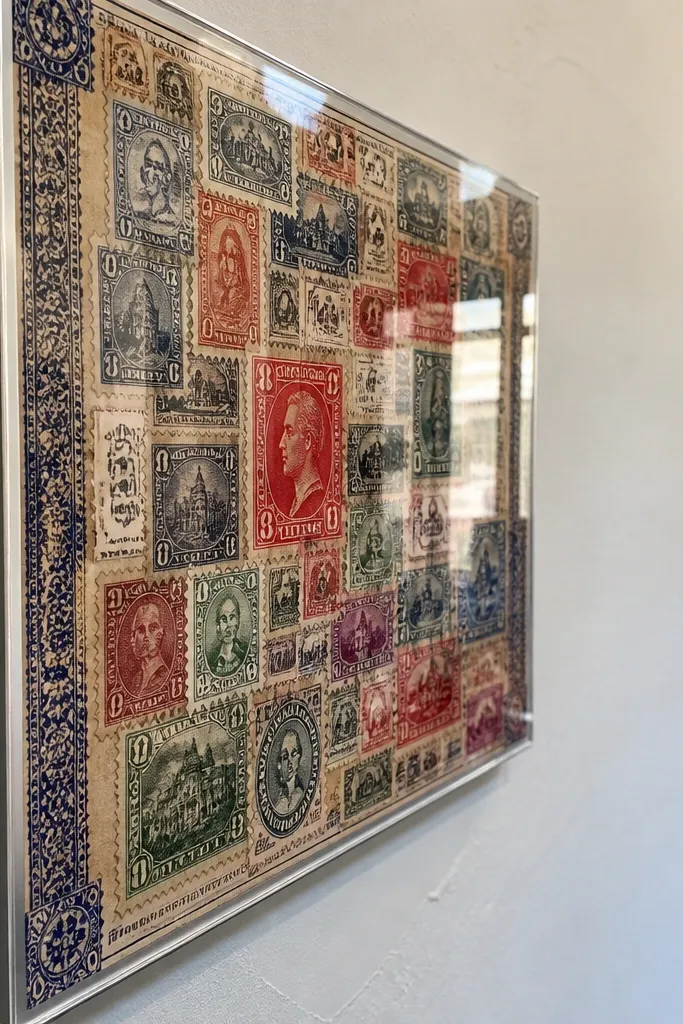
Wall art is where you can lean into the look: crisp stamps, clean borders, and a clear finish that doesn’t yellow. If your printable has strong blues or reds, UV-resistant topcoat keeps those colors from dulling when it sits near daylight. This project looks amazing in photos because the stamps read clearly and the surface stays smooth. It’s also a forgiving build since you aren’t dealing with heavy moisture like coasters.
Step 1: Adhere the postage paper to a rigid backing like wood panel or thick craft board using decoupage medium, then coat over the entire surface. Step 2: Let it dry fully, then sand lightly with 600-grit and wipe dust. Step 3: Apply 2 coats of clear UV-resistant topcoat, using even strokes and keeping a consistent coat thickness. Step 4: Do a final inspection under a lamp at an angle and touch up any thin spots with a light brush pass.
Seal the edges of the backing too — that’s what keeps the piece from looking unfinished.
Avoid cheap matte craft paint topcoats — they can turn the surface chalky and blur small text.
15. Retro Ticket Stub Coasters With Anti-Scuff Gel Seal
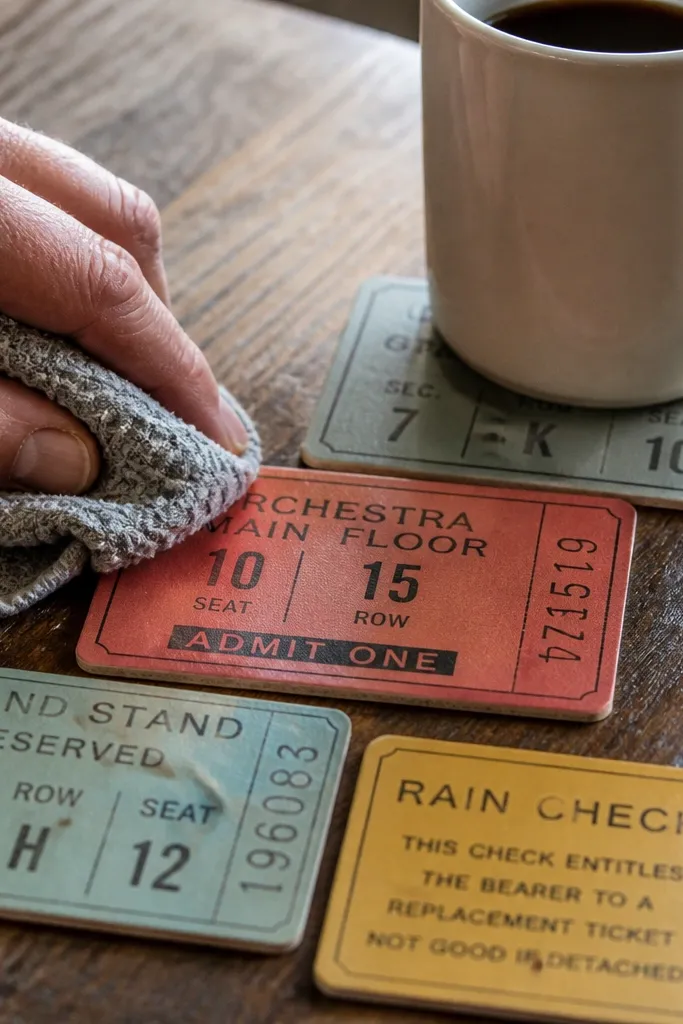
Cut your ticket-stub shapes from the Vintage Paper Printable sheet, then size them to match your coaster blanks. I’d use 4 inch (102 mm) round tiles or wood blanks; trace one blank, cut the paper with a 1/16 inch (1.5 mm) overhang all around, then trim flush after sealing. Brush a thin layer of matte or satin decoupage medium on the blank, lay the paper down, and smooth from center outward with a brayer or a plastic card to push out any bubbles. Let it dry fully, then apply 2-3 coats of anti-scuff gel sealer, sanding lightly with 400-grit between coats only if you see texture. Finish with one last coat and cure time — give it 24 hours before stacking, and 72 hours before heavy use.
This is the most satisfying way to use year-round Vintage Paper Printable sheets because ticket stubs already look layered and aged, even before you seal them. The goal is a coaster that survives real life — cup rings, quick wipes, and occasional drops — without dulling the paper or turning the edges fuzzy. Use a gel-based decoupage sealer over the paper so the finish stays smooth and doesn’t sink into the print like thin glue can. It looks like glossy lamination but stays DIY-friendly, and the rounds fit kitchens, coffee nooks, and dorm desks where you want instant “found object” charm.
Skip thisDon’t flood the surface with watery glue — it can swell the paper and make the print look cloudy.
Editor's noteSeal the edges last: after the top coat goes on, run a small brush around the perimeter to lock down any lifting paper fibers.



