
1. Matcha Milk Tea Bubble Cup
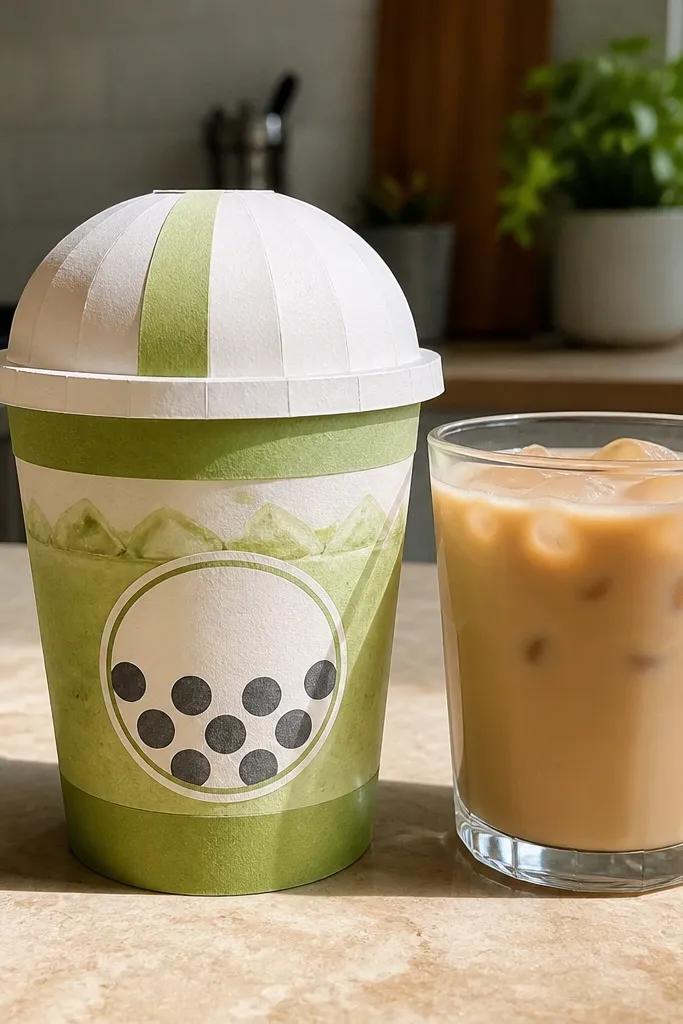
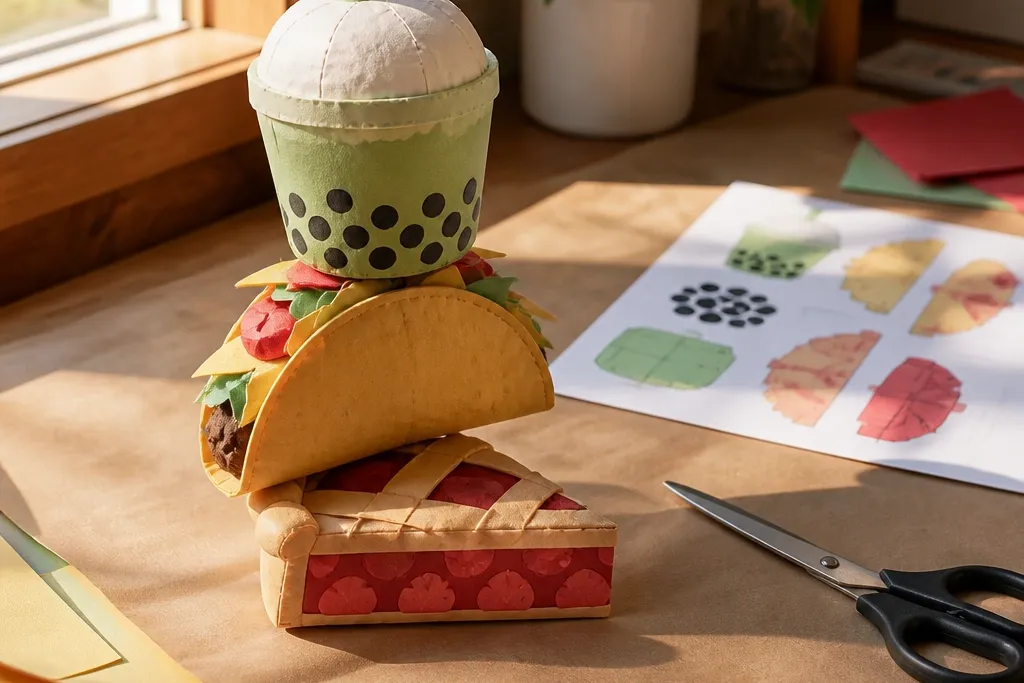
This template is built around a tall cup shape with rounded corners, so the squishy stays domed instead of turning flat. The matcha color is placed in wide bands, which keeps the look smooth after printing and folding. The pearls sit in a clearly defined inner circle, so they read as texture rather than random dots. It’s a great year-round Paper Squishy because it matches spring greens, summer cafes, and cozy fall drink styling without changing the palette.
Print the outer template on 180-200 gsm cardstock. Cut out both halves, then mark the fold lines with a bone folder so the cup walls bend cleanly. Glue only the glue zones along the sides and bottom, leave the top edge unsealed, then insert a small amount of polyester fiber stuffing. Close the top seam, press for 30 seconds, and let it dry flat so the cup keeps its shape.
Use a toothpick to tuck stuffing into the bottom corners first — it prevents dents.
Don’t overstuff; extra fiber makes the cup bulge and wrecks the cup’s rounded silhouette.
2. Strawberry Shortcake Slice
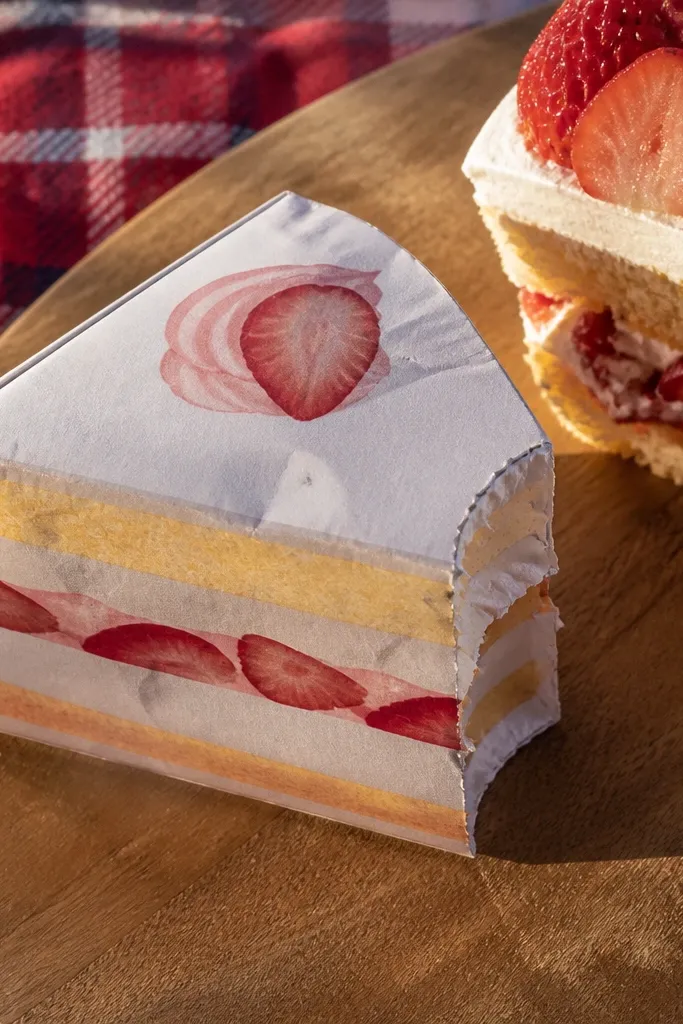
This one photographs like a tiny prop because the slice has layered color blocks that mimic cake strata. The template includes a wedge outline and a curved top edge, which makes the squishy look like it’s sitting in mid-bite. Strawberry pieces are drawn in a way that stays recognizable after folding — no micro details that disappear. It works for birthdays, spring tables, and even a cute dessert corner year-round.
Print on 170-190 gsm cardstock for the outer shell. Cut both halves, then fold along every layer line so the slice has a slight “stacked” look. Glue along the perimeter glue zones, then add thin stuffing to the center first, followed by a lighter layer near the top so the cream edge stays puffy. Seal the final seam and press gently on a flat surface while the glue sets.
If your printer colors look washed out, bump saturation slightly and print on thicker paper for deeper pinks.
Skip heavy glitter glue on the strawberry — it scratches the fold lines and makes edges look messy.
3. Sushi Nigiri Trio
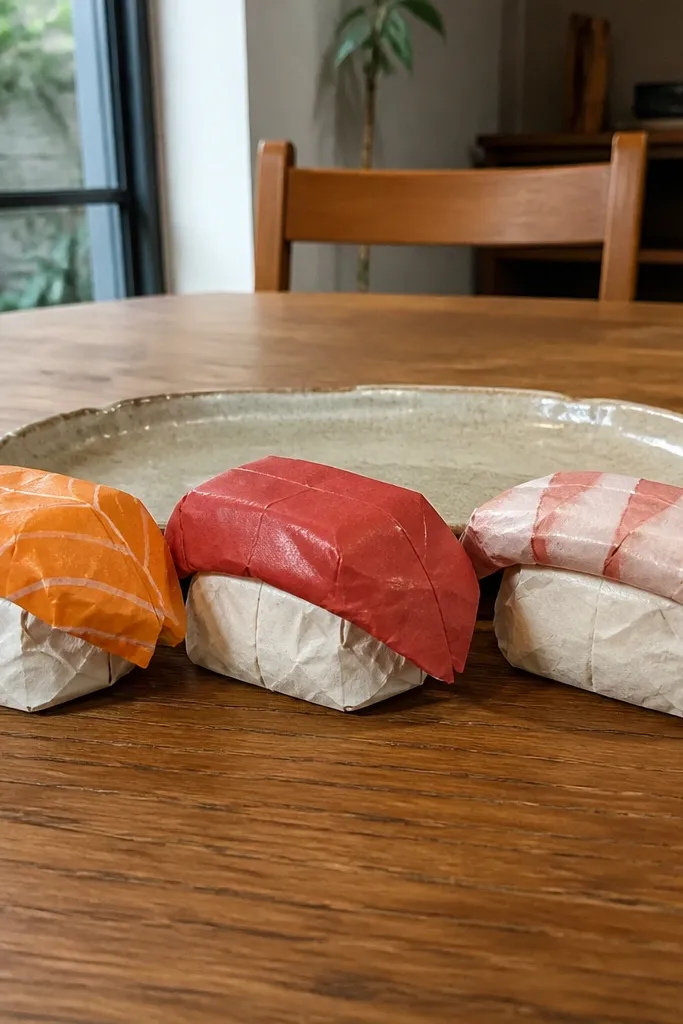
Instead of one flat sushi rectangle, this template gives you a small set with a curved rice bed and separate fish color zones. The shape is intentionally rounded so the stuffing creates a gentle mound — it looks like nigiri sitting on a plate. The contrast between the rice base and fish topping stays bold, so it still reads clearly in photos. It’s ideal for year-round Paper Squishy decor because it looks clean and modern without seasonal props.
Print on 180 gsm cardstock and cut both outer halves plus any topping overlay pieces if your template includes them. Fold rice bed lines first, then assemble the outer halves with glue zones around the edges only. Add stuffing in two layers: a firm base layer under the rice and a light layer under the fish area so the top doesn’t flatten. Close the seam, then shape the mound by pressing the center lightly while drying.
Use a ruler edge to press fold lines — it keeps the rice bed smooth and prevents wrinkling.
Don’t glue the fish overlays directly onto the fold lines or they’ll crack when you stuff.
4. Taco Shell with Crunchy Filling
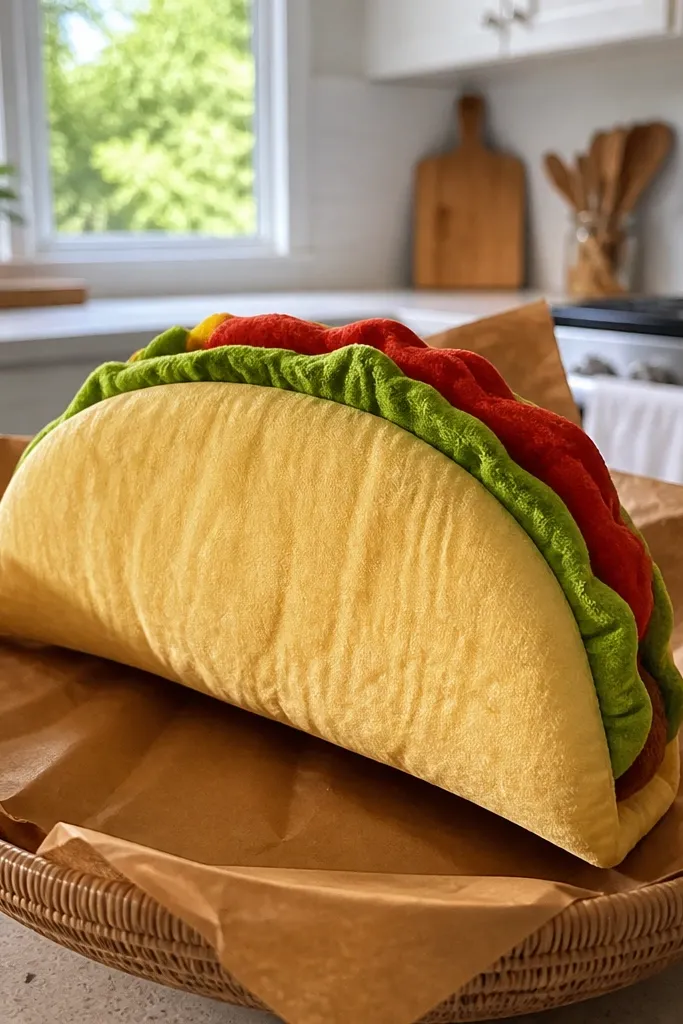
A taco squishy has to look curved to feel real, and this template does that with a shell that wraps into a clean crescent. The filling colors are placed in broad patches, so the lettuce and salsa stay readable even with stuffing. It’s also great for photos because the taco silhouette is obvious from any angle. This is a strong year-round Paper Squishy because it works for casual everyday decor and party themes alike.
Print the taco shell template on 180-200 gsm cardstock. Cut both halves, then fold the shell crease line tightly so it holds its curve. Glue the side seam and bottom glue zones, leaving the top edge controlled for stuffing. Add stuffing so it fills the center curve without forcing the shell to flatten, then seal the top edge and hold with clips or tape until dry.
Editor's noteUse clothespins with scrap paper between them to avoid dents while it dries.
Skip thisDon’t seal the top before stuffing — you’ll end up with uneven pressure and a lopsided taco.
5. Blueberry Muffin Dome
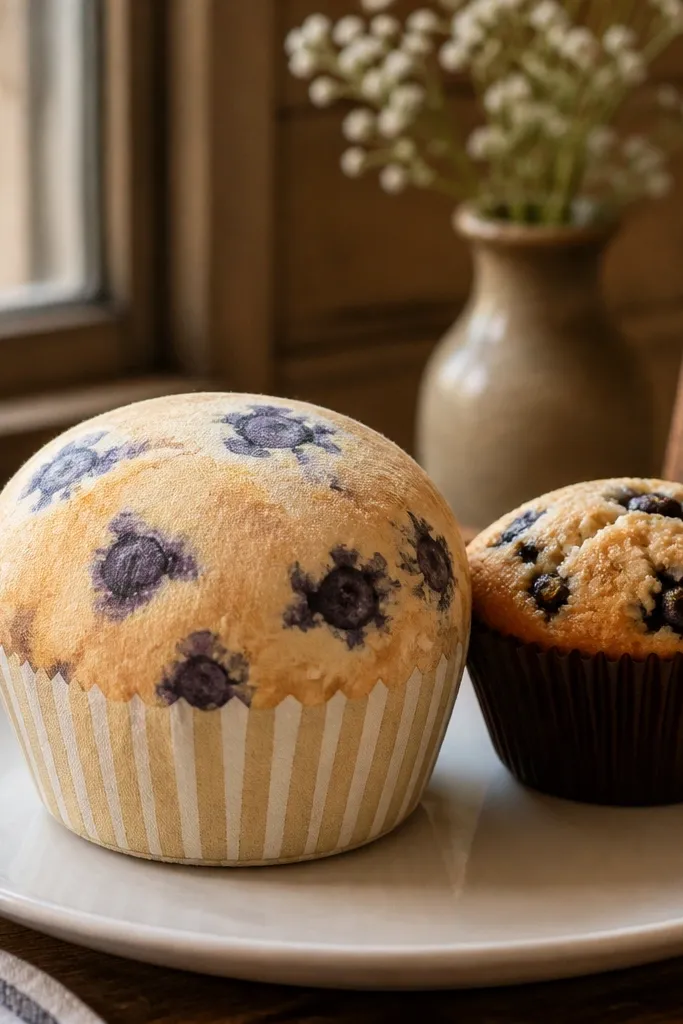
This muffin template is designed around a domed top, which is where squishies usually fail. The muffin uses a wide “crumb” area so the texture reads as soft speckle instead of sharp dots. Blueberries are grouped into a few larger clusters, so they stay visible after cutting. It’s a cozy year-round Paper Squishy that looks great on a kitchen shelf, desk tray, or as part of a dessert trio.
Print on 170-190 gsm cardstock and cut the two outer halves cleanly. Fold along the muffin side curve so the dome forms naturally. Glue the perimeter glue zones only, then stuff lightly at first — you want the dome to rise, not bulge. Add a final small pinch of fiber to the center, seal the seam, and let it dry domed-side up.
Tap the stuffing gently with your fingers before closing — it settles without creating lumps.
Skip trimming the edges after assembly; trimming too close makes gaps show through.
6. Vanilla Macaron Pair
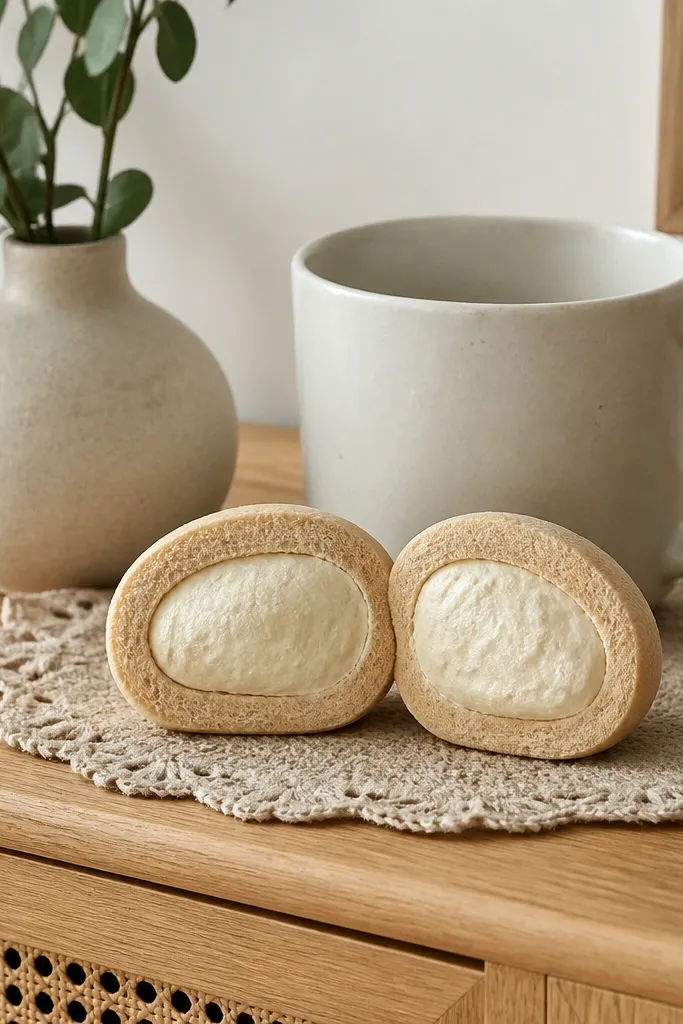
Macarons are all about the clean outline, and this template builds that with a thick outer ring and a centered filling blob. The squishy shape is flatter than a muffin, so it looks “cute” rather than “puffy,” which is great for shelf styling. Pastel color blocks print smoothly and stay photogenic without extra embellishment. It’s a year-round Paper Squishy that works for spring pastels and holiday dessert tables.
Print on 160-180 gsm cardstock so it stays slightly flexible. Cut both halves, then glue along the outer ring glue zones while keeping the center filling area aligned. Stuff minimally — just enough to give the top a slight lift. Seal the seam, then press the macaron flat for 10 minutes so it keeps a neat, sandwich look.
Use a thin layer of glue on the ring, not blobs, so the edges don’t warp.
Don’t overstuff macarons; too much fiber makes them look like rounded discs, not sandwich cookies.
7. Watermelon Wedge with Seed Specks
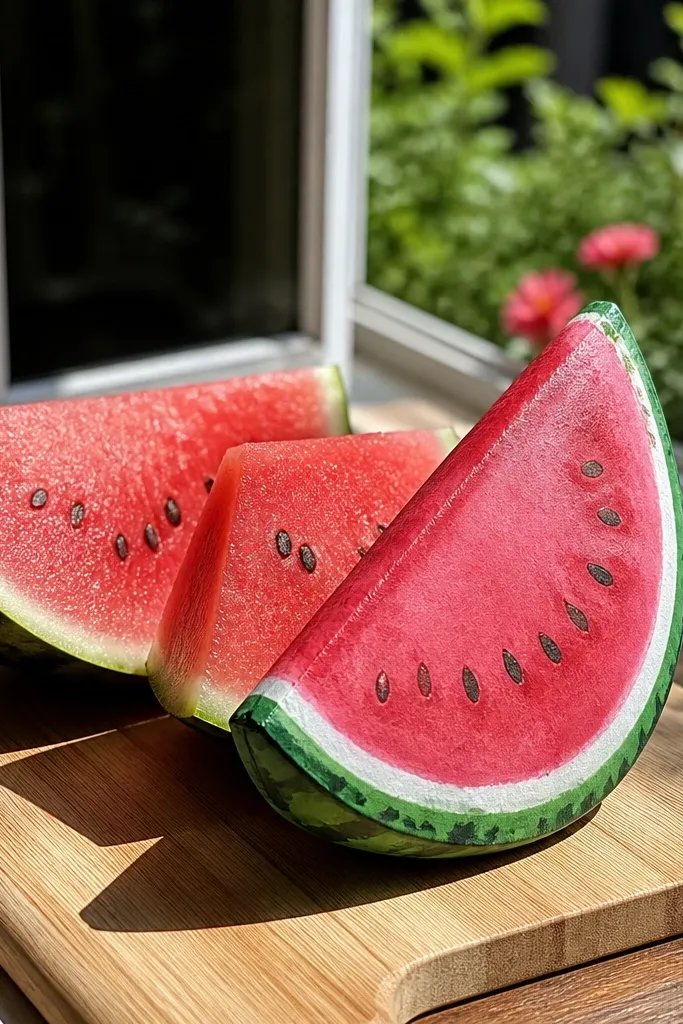
This wedge template is a cheat code for photogenic squishies because the rind-to-flesh contrast is strong even when the paper folds. The seed specks are spaced so they don’t disappear into the stuffing. The shape is angled, giving you a natural highlight line that shows up in photos. It’s a year-round Paper Squishy because watermelon colors look summer-bright but still pop in neutral decor.
Print on 180 gsm cardstock for the outer shell. Cut two halves, fold the wedge crease so the rind edge stays crisp, then glue the side and bottom glue zones. Stuff with a small amount of fiber and push it toward the thick end so the wedge stays pointy rather than round. Seal the seam and press along the rind edge while drying.
Use a craft knife to clean out seed cut lines so the specks stay sharp.
Avoid stuffing the thin tip too hard — it collapses and hides the rind edge.
8. Ramen Bowl with Egg and Noodles
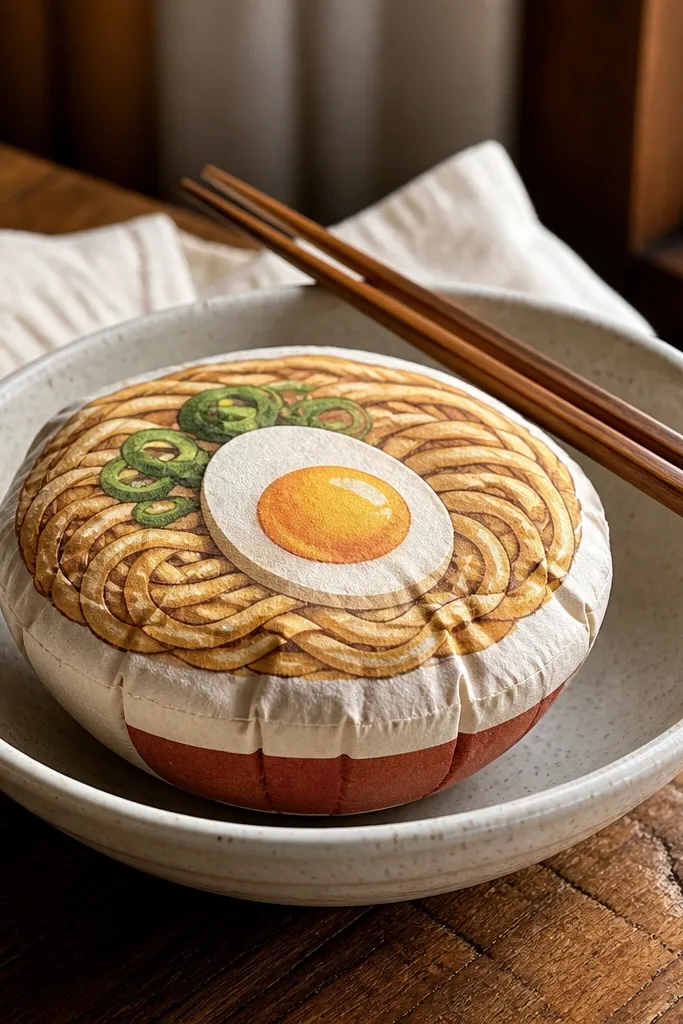
Ramen squishies look best when the bowl is slightly cupped, and this template gives you that bowl curve. The noodles are drawn as long bands, not tiny strands, so they stay readable on a soft surface. The egg placement is centered for a clean focal point in photos. It’s a year-round Paper Squishy because warm browns and greens match any season’s decor palette.
Print on 180-200 gsm cardstock and cut both halves. Fold the bowl curve first, then glue the outer perimeter glue zones, leaving the top edge ready for stuffing. Add a moderate stuffing amount to create a cupped bowl shape, then place a little extra under the egg area so it puffs forward slightly. Seal the top seam, smooth the surface with your palm, and dry flat.
Editor's noteDry the squishy on a bowl-shaped object or a small inverted cup so the curve sets correctly.
Skip thisDon’t use thin paper for the bowl; it buckles and makes the noodles look warped.
9. Croissant with Flaky Layers
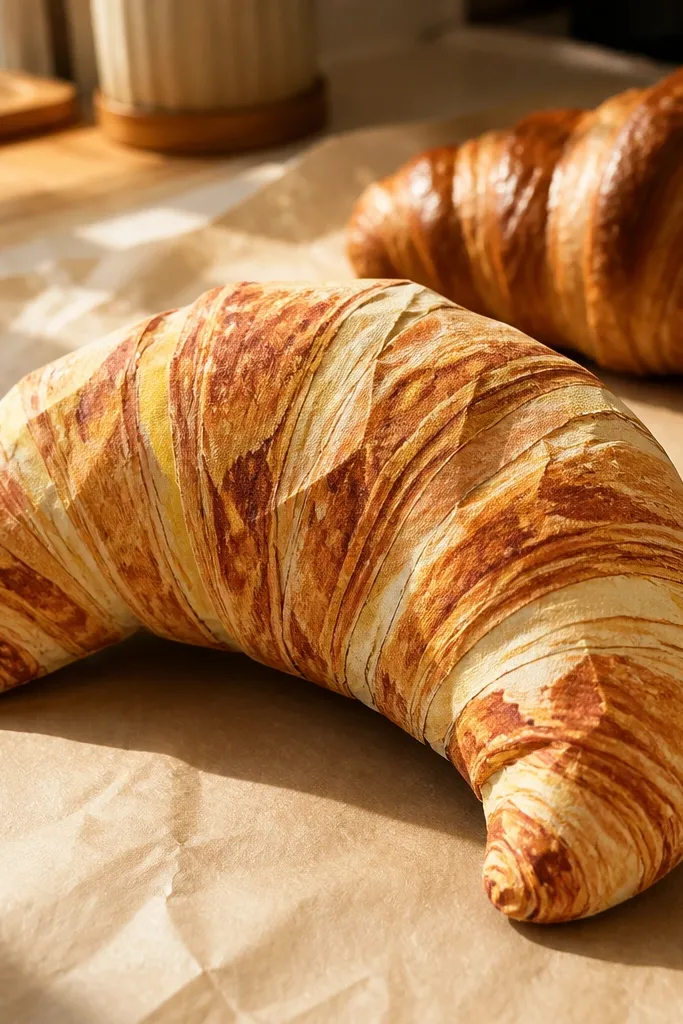
Croissants need visible layers, and this template uses repeating fold lines that look like flaky pastry when you assemble it. The silhouette is curved and long, which helps it look realistic without extra coloring. The shading bands are wide enough to survive stuffing — you still see the “baked” depth. This is a year-round Paper Squishy for breakfast decor, cafe corners, and spring brunch tables.
Print on 180 gsm cardstock and cut both croissant halves. Fold along the layer lines so the pastry curls. Glue along the edge glue zones only, then add stuffing in a single direction — from the thick end toward the tip. Seal the seam and hold the curl with a light bend using a foam pad or rolled paper while the glue dries.
Score folds with a bone folder, then slightly flex the paper before gluing to prevent cracking.
Skip heavy glue on the layer lines; it makes stiff spots that ruin the flaky look.
10. Cherry Pie Mini Slice
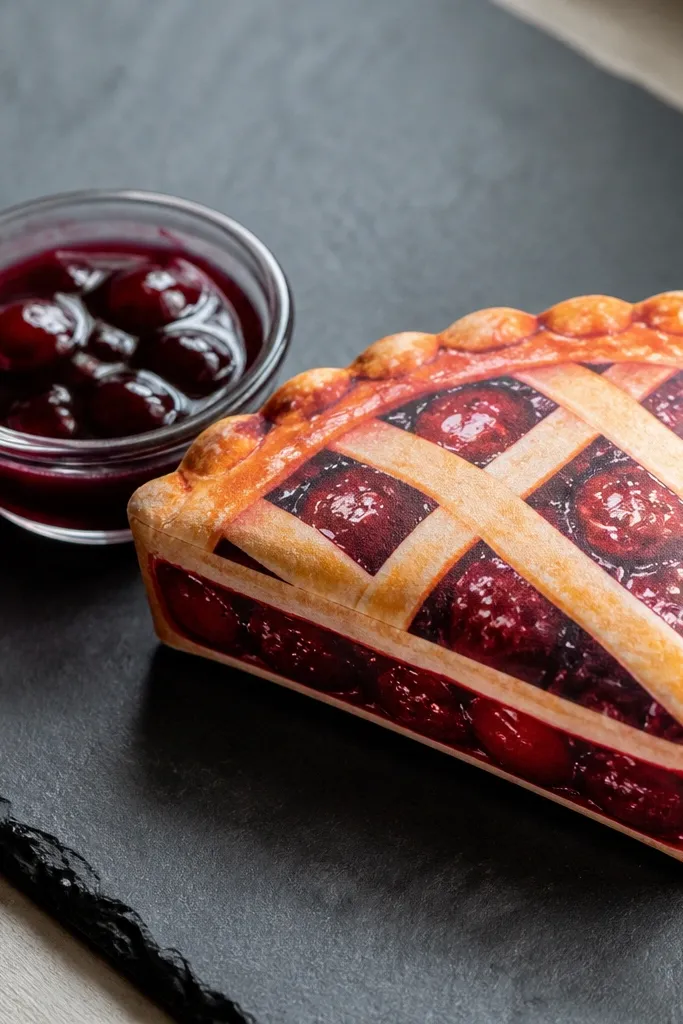
This template is made for that glossy pie look without needing actual glaze. The filling area has a smooth red-to-dark gradient that prints well and stays rich on paper. The lattice crust is simplified into clean lines so it doesn’t get jagged when cut. It’s a year-round Paper Squishy because the slice shape reads as dessert even in small sizes, like a keychain tray or party table cluster.
Print on 180-200 gsm cardstock for crisp crust edges. Cut both halves and fold the slice outline so it has a slight raised crust top. Glue the perimeter glue zones, then stuff lightly so the lattice stays flat and crisp. Seal the seam and press gently on a flat surface to keep the crust line straight.
Editor's noteUse a fine-tip white gel pen to add a couple of highlight dots on the filling for a glassy look.
Skip thisDon’t add too many highlight marks; they blur and make the filling look messy.
11. Sliced Lemon with Zesty Segments
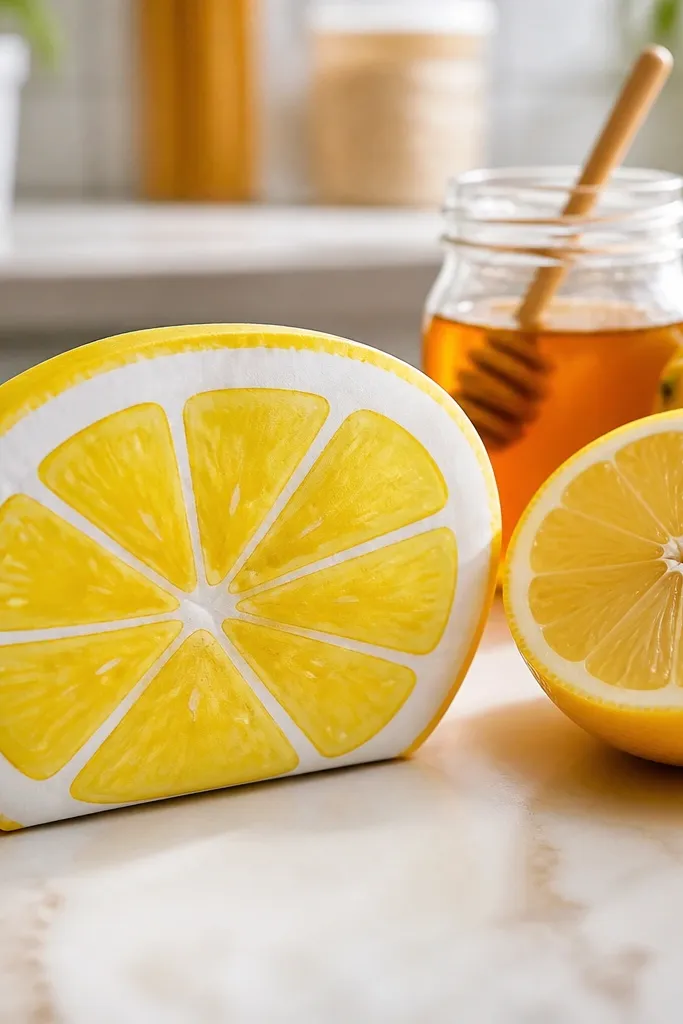
A lemon squishy looks clean and bright because the template uses segment lines that guide the folds. The outer rind and inner pith are separated by clear shapes, so the slice stays readable even when it puffs. This one is lightweight decor that fits every season — it adds a sunny pop without looking holiday-specific. It’s also easy to group into a set on a tray for a more styled look.
Print on 170-190 gsm cardstock and cut two identical halves. Fold along the segment guide lines so each segment rounds slightly. Glue the edge glue zones, then stuff just enough to create a gentle dome — keep it flatter than a muffin. Seal the seam and rotate the slice while drying so it sets evenly.
Editor's noteIf your folds crack, soften the paper by bending it slightly along the lines before assembly.
Skip thisAvoid stuffing the center too hard; it makes the slice look like a ball instead of a cut lemon.
12. Hot Dog with Mustard Swirl
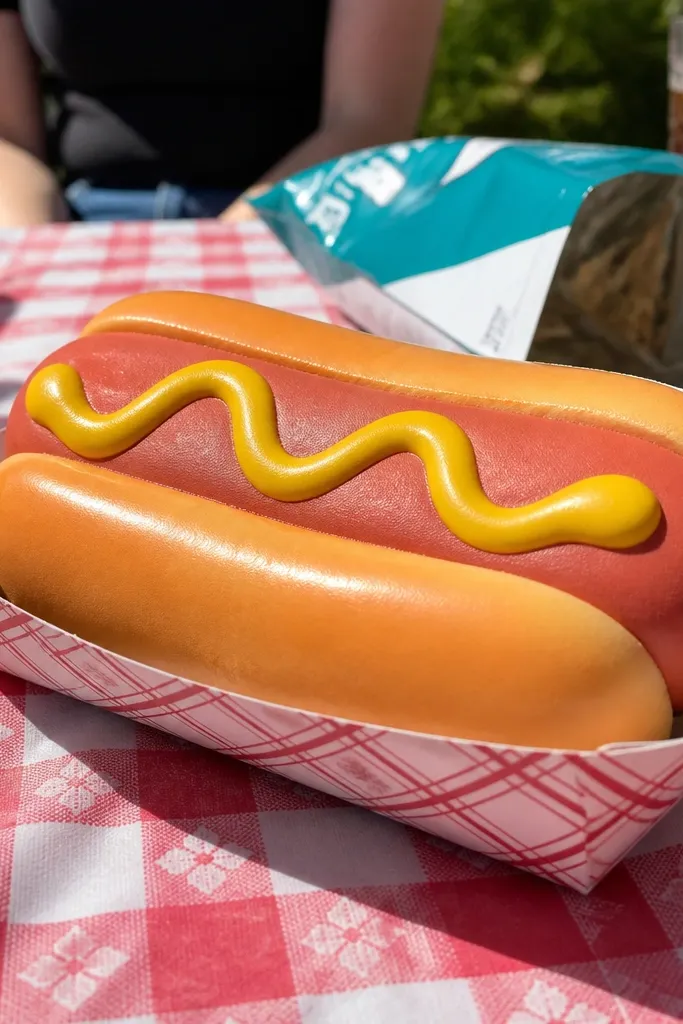
This template has a clear sausage cylinder shape, which makes squishies look intentional instead of random lumps. The mustard swirl is drawn as a single continuous path, so it stays recognizable when folded. The bun outline is thick enough to avoid thin-edge tears. It’s a year-round Paper Squishy that looks playful on a kitchen counter and still works for summer picnics.
Print on 180 gsm cardstock and cut both halves. Fold the bun crease line so the hot dog has a slight curve. Glue the side and bottom glue zones, then add stuffing in the center first, pushing fiber toward the ends for even roundness. Seal the seam and press lightly along the bun edge until the glue grabs.
Editor's noteUse a narrow strip of double-sided tape on the mustard swirl area if your glue makes it warp.
Skip thisDon’t glue across the swirl line itself; it flattens the swirl texture.
13. Chocolate Ice Cream Scoop
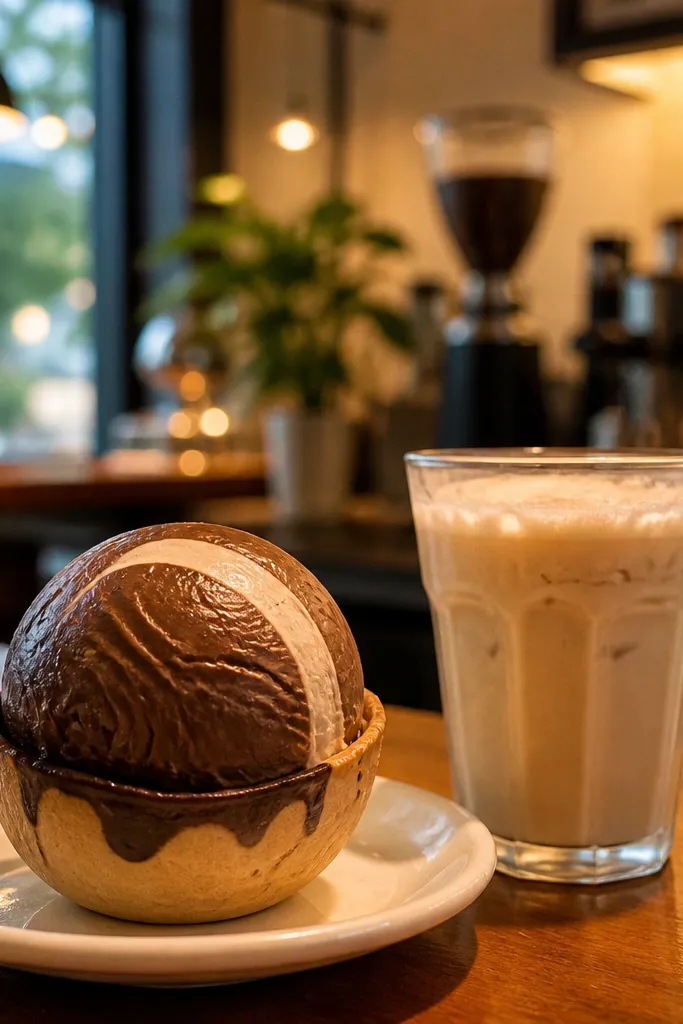
Ice cream squishies look best when the scoop has a smooth spiral and a rounded top. This template uses a thick outer rim and a spiral highlight area so it reads as scooped, not flat. The chocolate tones hide minor cut imperfections better than bright colors. It’s a year-round Paper Squishy because it pairs with almost any decor color — neutrals, pastels, and bold accents all work.
Print on 170-190 gsm cardstock and cut both halves carefully around the spiral edge. Fold along the scoop seam line so the top stays domed. Glue along perimeter glue zones only, then stuff with a medium amount of fiber so the scoop holds its round shape. Close the seam and press the top lightly with your fingers to keep the spiral highlight smooth.
For a cleaner spiral edge, cut just outside the line, then trim after assembly once you see alignment.
Avoid thin paper; ice cream edges collapse and look wrinkled.
14. Peach Cupcake with Sprinkles
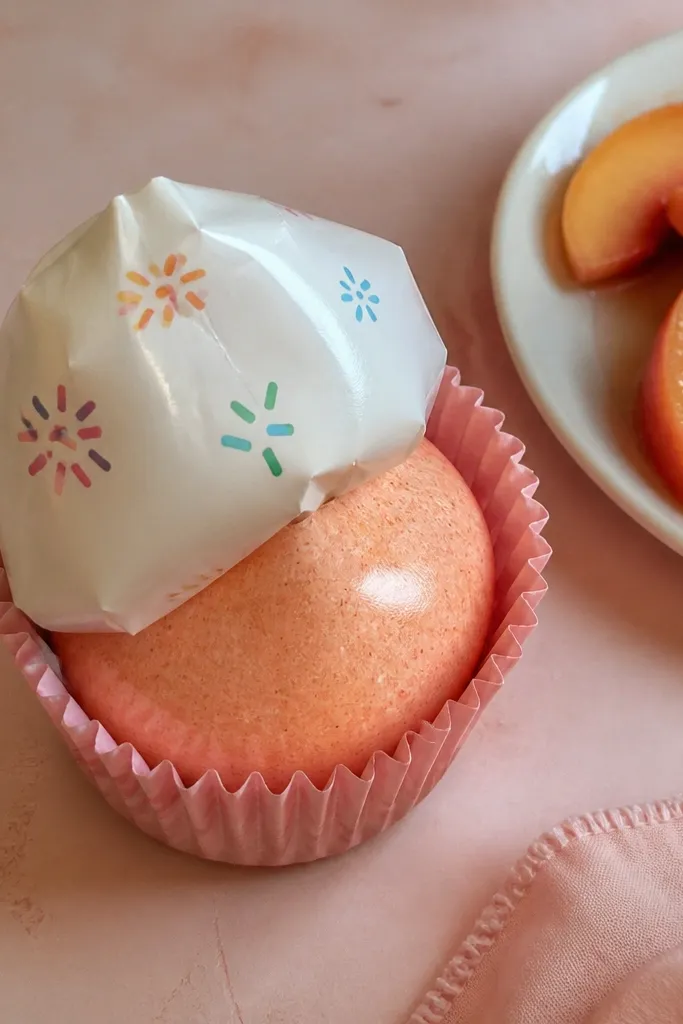
Cupcakes are photogenic because the frosting sits on top like a cap, and this template is shaped to keep that cap lifted. The frosting uses wide highlight zones so it looks glossy even without real shine. Sprinkles are spaced into a handful of clusters, so they stay visible instead of turning into holes. It’s a year-round Paper Squishy for dessert tables, gift tags, and desk decor.
Print on 180 gsm cardstock for the outer shell. Cut both halves, fold the frosting cap line so the top rounds. Glue perimeter glue zones, then add stuffing under the frosting cap first so the top stays puffy. Seal the seam and let it dry upright so the cupcake keeps its proportions.
Editor's noteIf sprinkles look too busy, color them lightly with a marker before assembly so they don’t overpower the frosting.
Skip thisDon’t pierce too many sprinkle cutouts; too many holes weaken the top layer.
15. Blueberry Pancake Stack
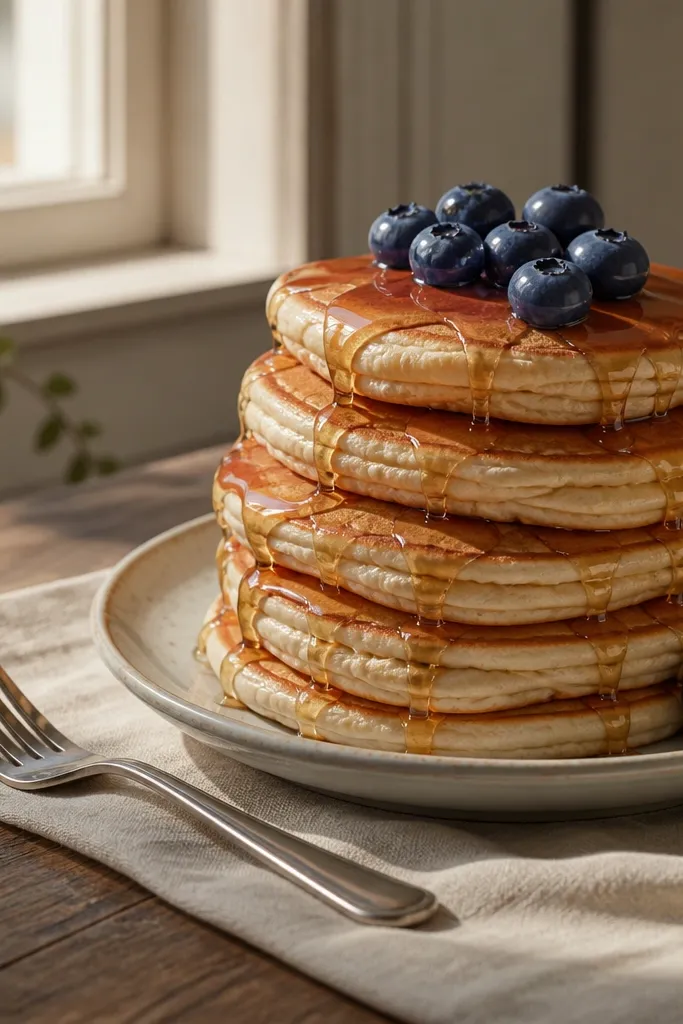
This pancake stack template is designed to look layered from the side, not just the front. The syrup drip lines are thick and simple so they show even after folding and stuffing. Blueberries are grouped into a few spots per pancake, which keeps the texture readable. It’s a year-round Paper Squishy that fits breakfast styling and works in any color scheme because the base is warm brown and gold.
Print on 170-190 gsm cardstock and cut both halves. Fold the pancake layer lines so the stack has distinct steps. Glue perimeter glue zones and place stuffing mainly between layers to keep the stack height. Seal the seam and press the sides gently to lock in the stacked profile while it dries.
Add a tiny bit more stuffing on the bottom layer so the top pancakes don’t sag.
Skip overfilling the top layer; it makes the stack look like one flat pancake.
16. Cherry Soda Bottle Mini Squishy
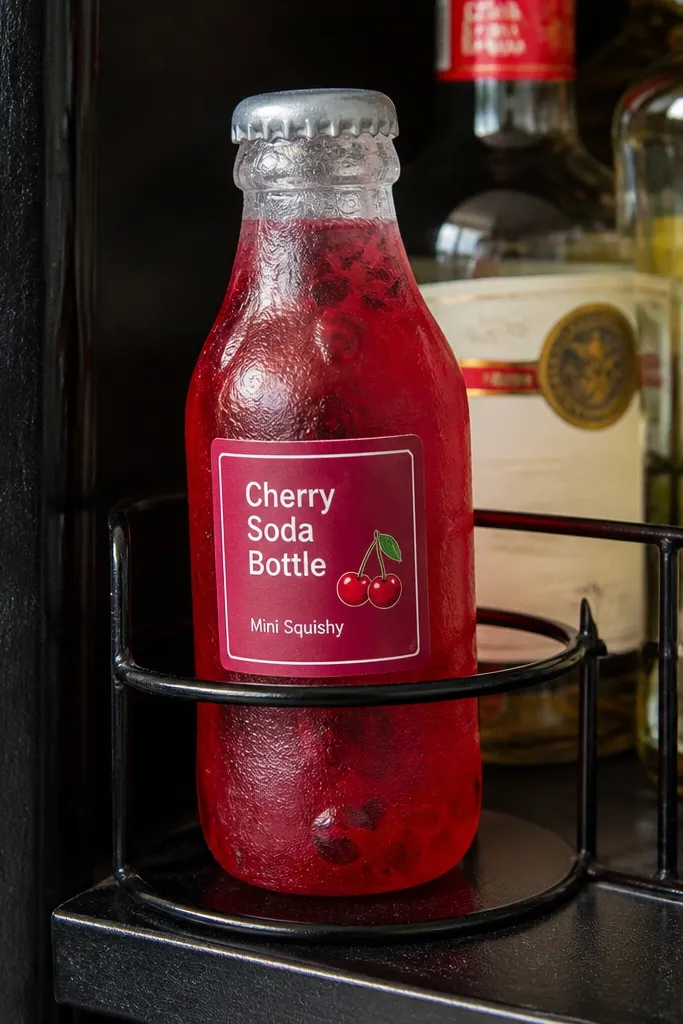
Bottles can look messy in paper squishies, but this template keeps the label area flat while the bottle body puffs. The label has a simple rectangle with a clear border so it stays crisp. The “bubbles” are drawn as larger dots, which look like carbonation instead of noise. It’s a year-round Paper Squishy because red soda looks fun in summer and still plays nicely in winter party decor.
Print on 180-200 gsm cardstock and cut both halves. Fold the bottle body crease line so it has a smooth curve. Glue the bottle perimeter glue zones, then stuff from the bottom up until the label area stays flat. Seal the top seam and let it dry standing upright using a small holder so it doesn’t slump.
Editor's noteUse a tiny strip of wax paper under the bottle while drying to prevent sticking to your surface.
Skip thisDon’t glue the label edge to the fold line; it will wrinkle and peel.
17. Cream Cheese Bagel Ring
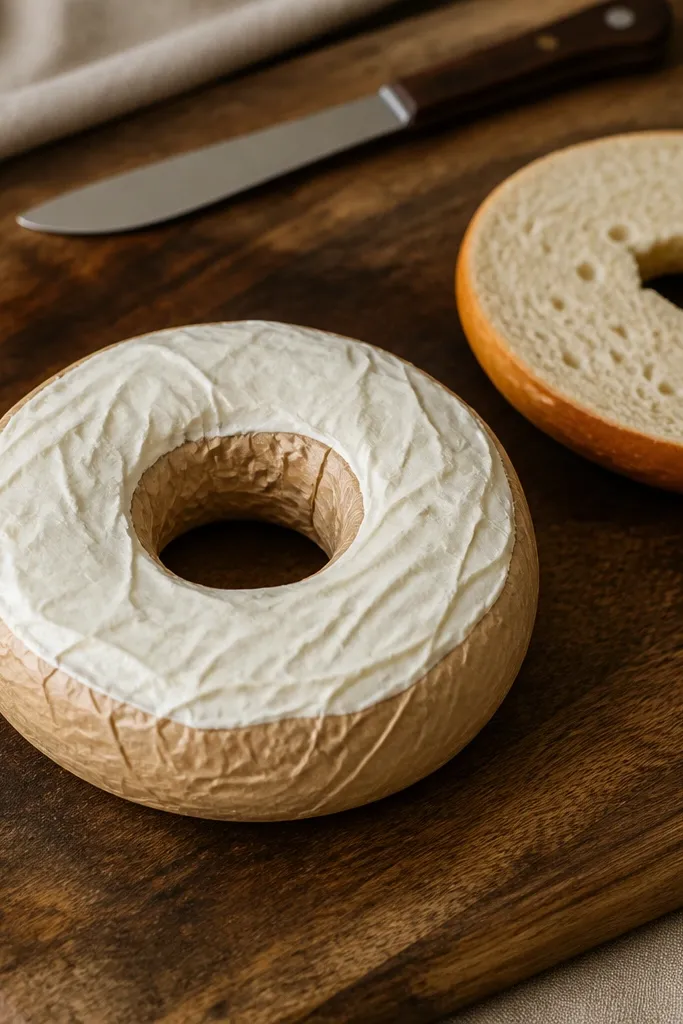
The bagel ring shape is great for squishies because it naturally frames a center opening, so the stuffing has somewhere to sit. This template gives you a ring thickness that keeps the bagel from collapsing into a donut-shaped pancake. The cream cheese smear is wide and smooth, so it looks like a real spread. It’s a year-round Paper Squishy for kitchen shelves, brunch parties, and calmer decor palettes.
Print on 180 gsm cardstock and cut both halves. Fold along the bagel ring seam so it holds a consistent thickness. Glue the perimeter glue zones around the ring and leave enough space to insert stuffing into the center opening. Add stuffing in the inner ring area first, then seal the seam and gently press the ring flat while it dries.
Editor's noteIf your bagel ring caves, add a small folded paper spacer inside before stuffing closure.
Skip thisAvoid stuffing the center too tight; it collapses the ring edges and blurs the cream cheese smear.
18. Chocolate Brownie with Cocoa Cracks
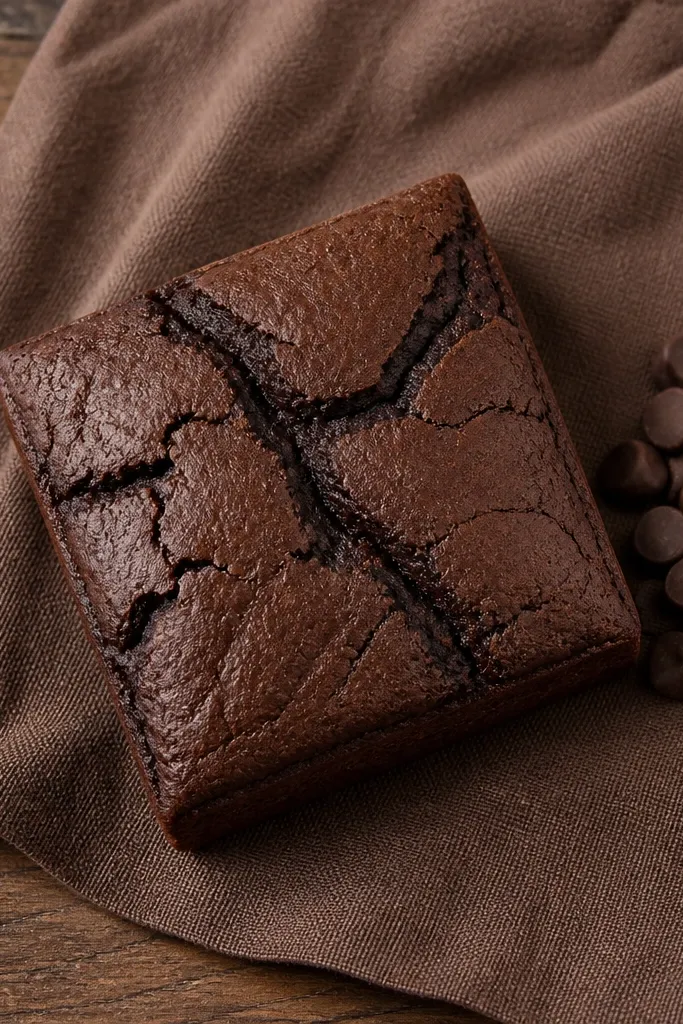
Brownies are underrated for paper squishies because they hide imperfections and look cozy. This template includes crack lines that are thick enough to survive cutting and still look like that fudgy surface. The square shape stays stable, and the soft stuffing gives it a subtle cushion without losing the corners. It’s a year-round Paper Squishy for fall vibes, winter dessert trays, and any time you need warm, chocolatey decor.
Print on 180-200 gsm cardstock and cut both halves cleanly around the square outline. Fold any seam guides so the brownie sides rise slightly. Glue perimeter glue zones and add stuffing sparingly, concentrating in the center so corners stay defined. Seal the seam and press the edges against a flat surface while the glue sets.
Editor's noteColor the crack lines with a darker brown marker if your prints look flat.
Skip thisDon’t use heavy stuffing; it rounds the corners and kills the brownie square look.
19. Mango Popsicle Stick
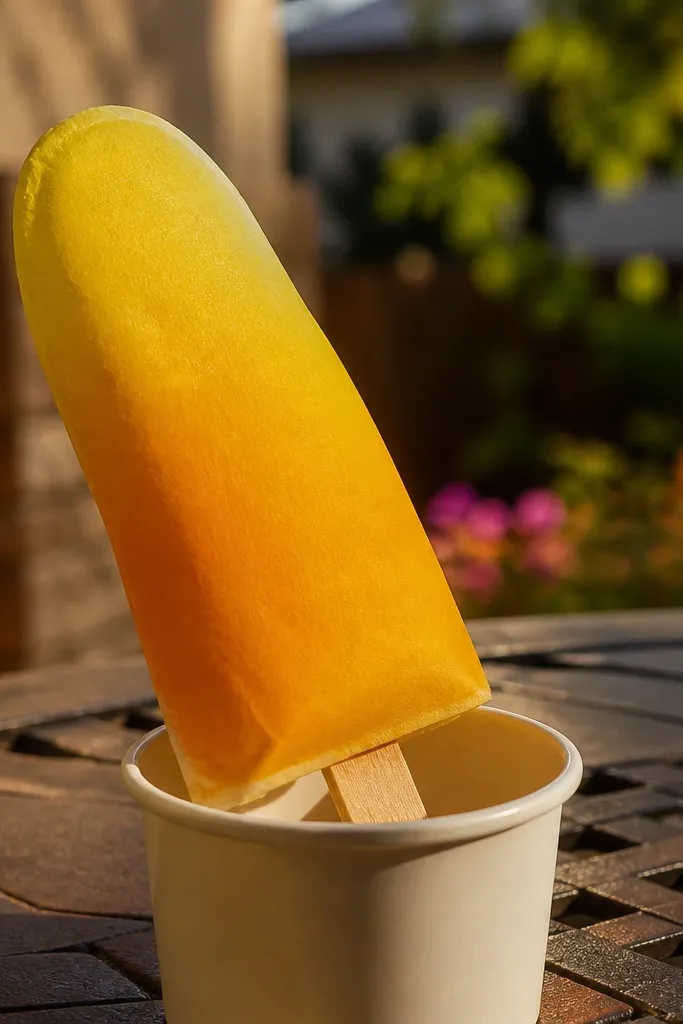
A popsicle is a clean way to get height and shape in your decor. This template uses a tapered body and a stick base so the squishy looks like it’s ready to melt, not like a blob. The mango gradient is wide and smooth, which prints nicely and stays photogenic. It’s a year-round Paper Squishy because the warm yellow works in summer and pairs with neutral winter styling too.
Print on 170-190 gsm cardstock and cut both halves plus any stick piece if included. Fold the seam line so the body stays tapered. Glue perimeter glue zones along the sides and bottom, then insert fiber and keep it centered so the taper stays sharp. Seal the top seam and shape the stick base flat while drying.
Editor's noteIf the taper doesn’t hold, add a thin strip of folded cardstock inside the narrow end before stuffing.
Skip thisAvoid glue overflow near the taper; it makes thick spots that look uneven in photos.
20. Salad Bowl with Citrus Wedges
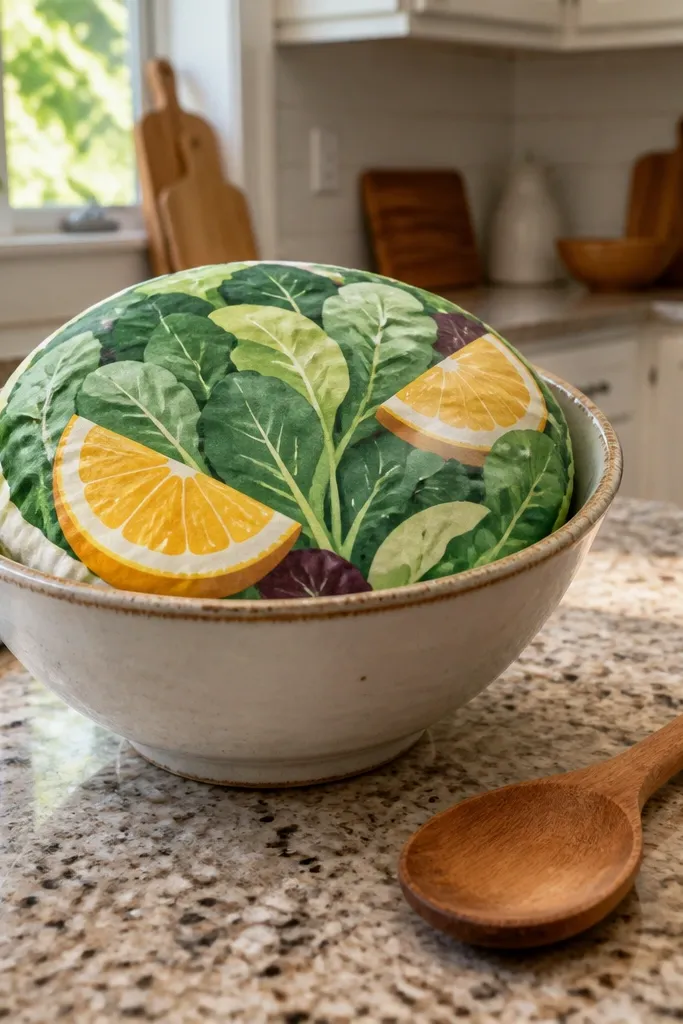
This template is colorful without being chaotic. The bowl is rounded and slightly cupped, and the citrus wedges are simplified into big segments so they read as fruit slices. The greens are laid in broad color areas, which keeps the final look clean and fresh. It’s a year-round Paper Squishy because it brings color to neutral rooms any time, and it looks especially good in bright daylight photos.
Print on 180-200 gsm cardstock and cut both bowl halves. Fold the bowl curve so it forms a natural cup. Glue the perimeter glue zones and stuff lightly to medium — you want the bowl to hold shape without puffing too high. Seal the seam, then gently press the citrus wedges area so the fruit looks sitting on top instead of sinking.
Editor's noteUse a ruler to keep the bowl rim straight while drying so it doesn’t warp.
Skip thisDon’t overfill the bowl; stuffing makes the rim bow and ruins the clean bowl outline.
21. Chocolate Chip Cookie with Crinkled Edge
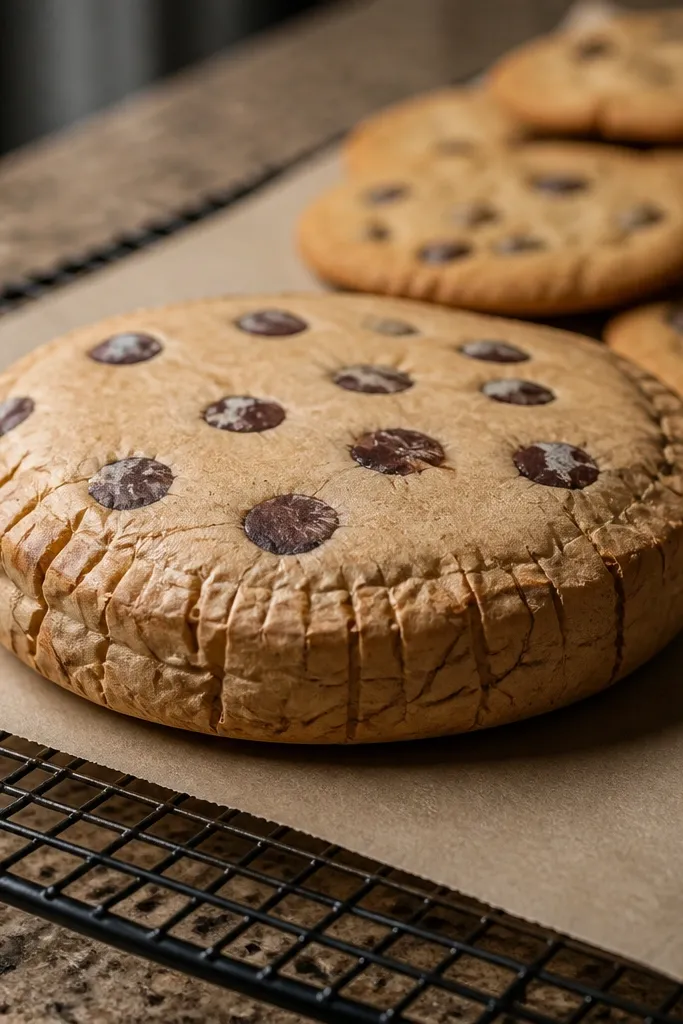
The cookie template is all about the rim. This design includes a subtle crinkle pattern so the edge looks textured even after folding, and it gives the squishy a more realistic “baked” feel. Chocolate chips are scattered in a controlled way that stays readable. It’s a year-round Paper Squishy because it blends into any decor — warm browns, black accents, and neutral styling.
Print on 180 gsm cardstock and cut both halves. Fold along the cookie seam line and any edge guide lines to create the crinkle effect. Glue perimeter glue zones, then add stuffing in a thin layer so the cookie stays round and doesn’t balloon. Seal the seam and press lightly on a flat mat so the crinkled rim stays crisp.
Editor's noteFor sharper texture, emboss the crinkle lines with the back of a spoon before assembling.
Skip thisSkip low-contrast prints; faint chip colors look like smudges on the puff.
22. Ice Coffee Cup with Foam Cap
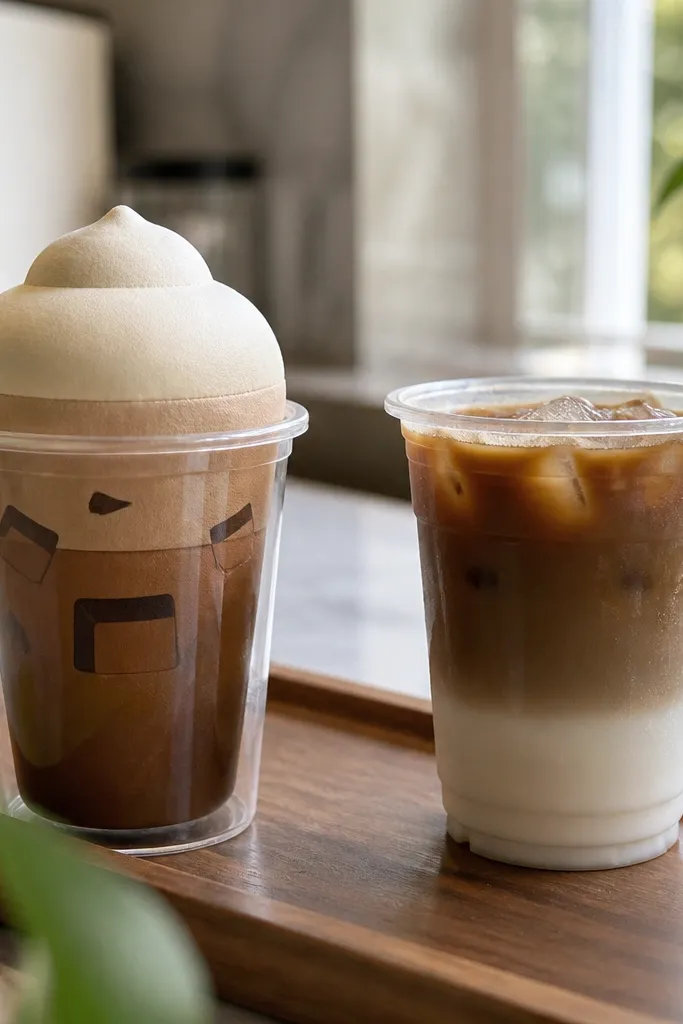
This ice coffee template is built for that foam cap look, which is where most paper squishies fail. The foam area is shaped as a smooth dome, so it looks soft and sits above the cup body instead of blending in. The coffee liquid uses layered tones so it looks deeper without requiring extra coloring. It’s a year-round Paper Squishy because the amber and cream palette works across seasons and parties.
Print on 180-200 gsm cardstock and cut both halves. Fold the cup body seam and the foam cap guide so the foam stays raised. Glue perimeter glue zones around the sides and bottom, then stuff enough to support the foam cap without making the cup too thick. Seal the top seam and press the foam dome gently while the glue sets.
Add a thin white gel highlight on the foam edge after assembly for a glassy look.
Don’t glue the foam cap flat against the cup — it kills the raised look.
23. Pumpkin Spice Donut Mini
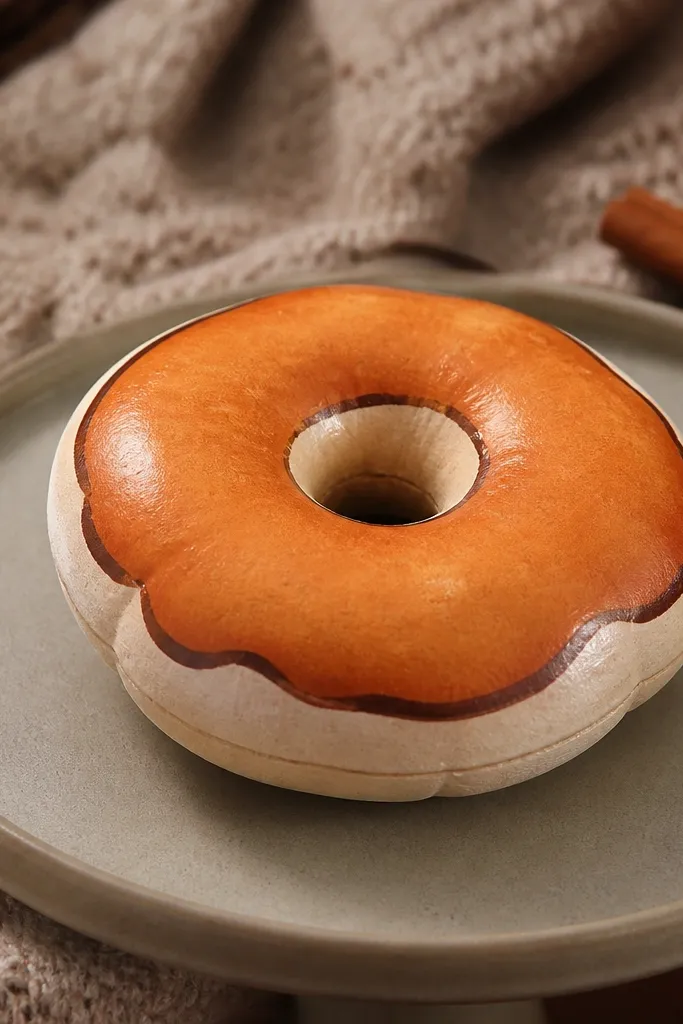
A mini donut is an easy way to get a cute, collectible look without taking up space. This template uses an orange glaze band with a darker outline, so the donut reads clearly even in small sizes. The ring shape gives the stuffing a place to sit, which keeps the donut from flattening. It’s a year-round Paper Squishy because you can pair it with other neutral foods in a set, and it still looks right outside fall decor.
Print on 170-190 gsm cardstock for the outer donut shell. Cut both halves and fold the ring seam so it keeps thickness around the hole. Glue the perimeter glue zones, then stuff lightly into the ring area, not the hole. Seal the seam and press flat for 10 minutes so the glaze edge stays smooth.
Use a paper punch to clean the center hole after cutting if your printer leaves a fuzzy edge.
Avoid overstuffing the ring; it will close the hole and make it look like a bun.
24. Grapes Cluster in a Paper Bunch
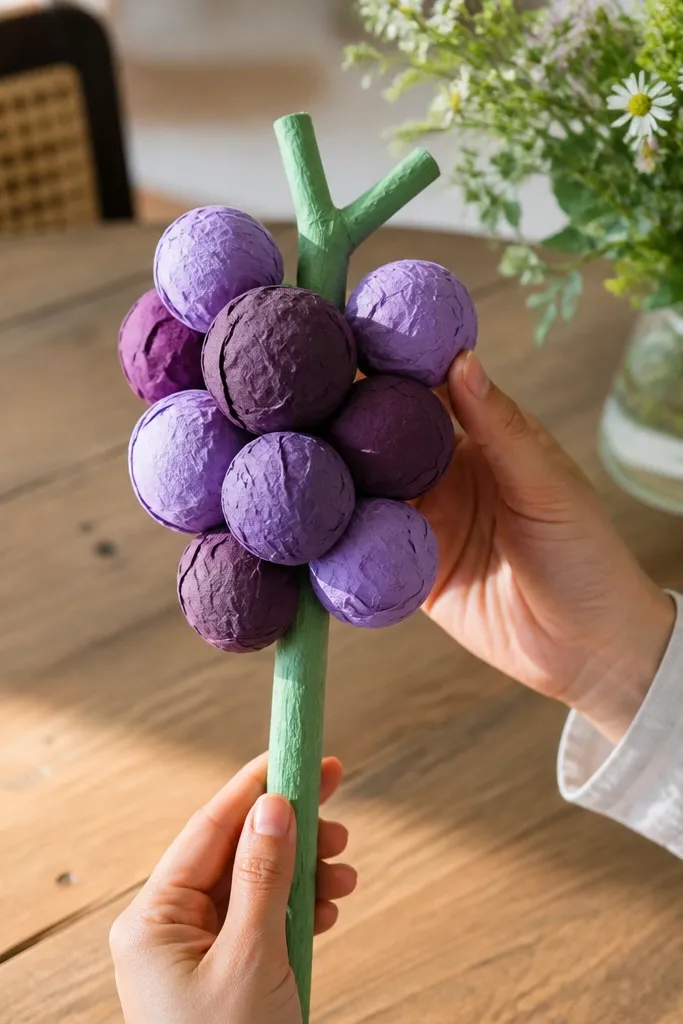
Grapes look amazing as squishies because each grape is a round bubble, and the template groups them for a cohesive bunch. The colors are designed in rounded patches, so the grapes stay distinct after assembly. The stem is simple and thick, which keeps it from tearing when you fold. This is a year-round Paper Squishy because purple and green work in both cozy and bright color palettes.
Print on 180 gsm cardstock and cut both outer halves for the bunch shape. Fold along the grape cluster seam guides so the bubbles rise naturally. Glue perimeter glue zones and add stuffing gradually, starting at the center of the cluster so the outer grapes stay rounded. Seal the seam and shape the bunch with your fingers while it dries.
Lightly tap the grapes with a dry cloth while drying to even out the surface.
Don’t use watery glue; it soaks the paper and makes grape edges curl.
25. Corn on the Cob with Butter Gloss
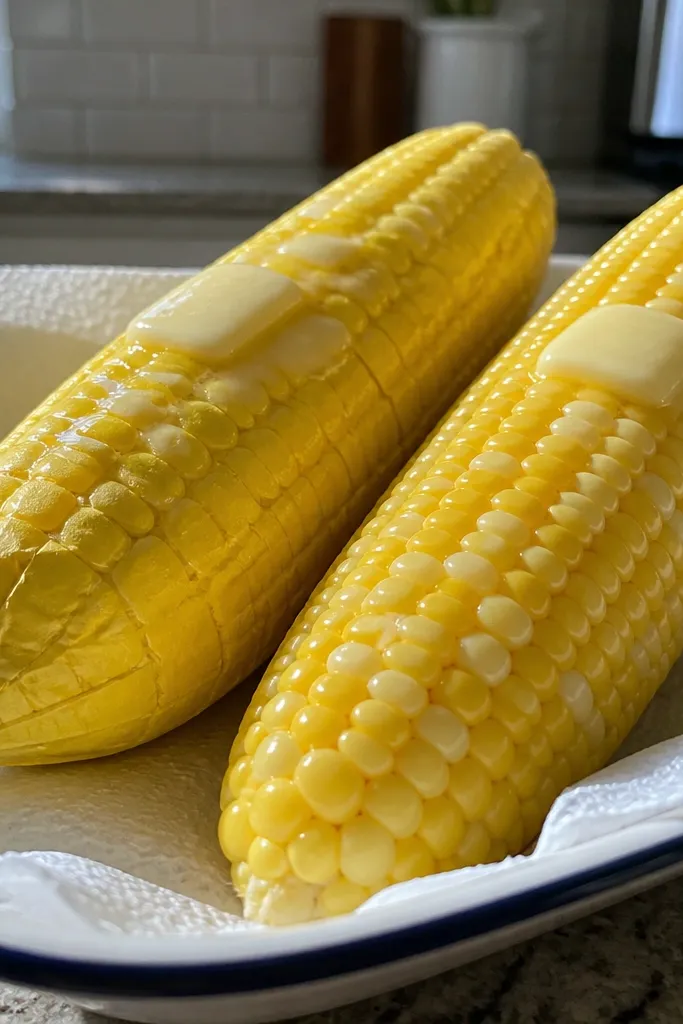
Corn is photogenic because the kernels give visual texture, and this template keeps that texture in medium-sized shapes so it stays visible after stuffing. The butter highlight spots are placed as a few small “gloss” marks, which makes the cob look juicy instead of flat. The cob silhouette is tapered, so the stuffing creates a natural rounded form. It’s a year-round Paper Squishy because yellow kernels brighten any shelf and look great with neutral decor.
Print on 180-200 gsm cardstock and cut both halves. Fold the cob seam so the taper forms cleanly. Glue the perimeter glue zones, then stuff from the thicker end first so the cob keeps its taper. Seal the seam and press along the seam line to keep the cob straight while drying.
Editor's noteAdd one extra butter highlight with a white gel pen on the highest curve for instant depth.
Skip thisAvoid tiny kernel cutouts; they tear easily and look uneven once stuffed.



