

1. Hanging Clear Vinyl Duck Pocket Grid
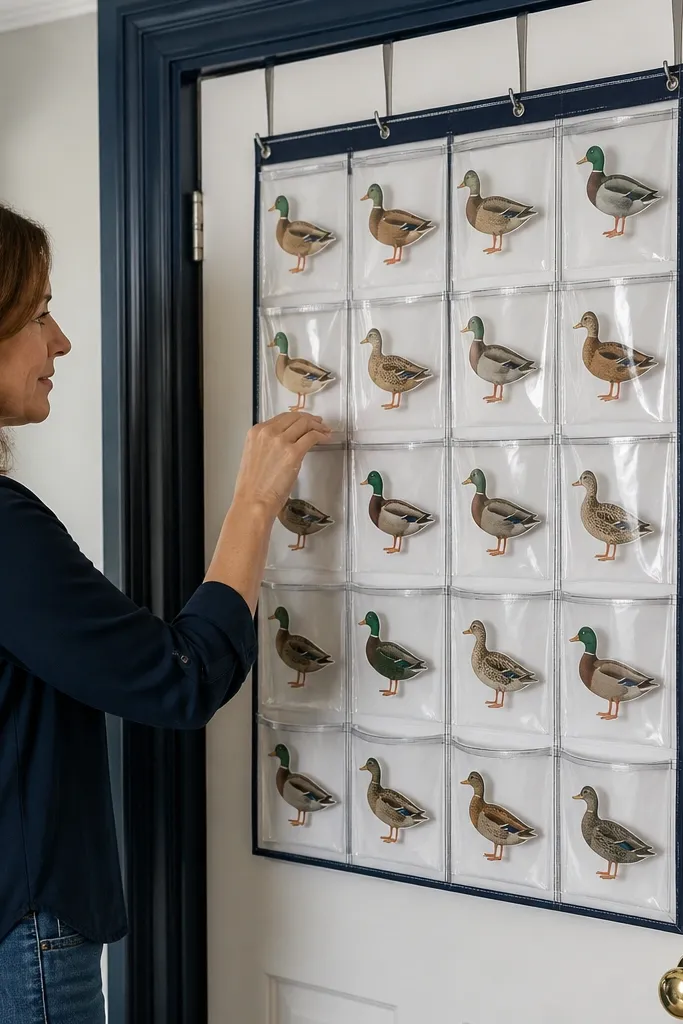
This is the clean, “see everything” option for small spaces. Clear vinyl pockets keep each duck separated so paper edges don’t scuff against each other, and the grid makes the whole display read as organized from across the room. Use it for ducks you rotate often because you can pick one without disturbing the rest. The look is crisp and modern because the pockets show the ducks while the backing stays uniform. It also hides the bulky mess of loose ducks by giving every duck a specific slot.
Start with a sturdy backing — a thin plywood panel or thick foam board — cut to fit your wall or closet door. Attach 2-3 rows of clear vinyl pocket sheets (or sew pockets from clear vinyl + mesh backing) so each pocket is wide enough for a duck to slide in without bending. Label each pocket with a small kraft tag tied to the top seam. Hang the finished panel using picture-hanging hooks so it sits flat and doesn’t sag.
Editor's noteIf vinyl warps, warm it under a hair dryer for 10-15 seconds before mounting so pockets hang straight.
Skip thisAvoid pockets that are too tight — squeezed paper corners will crease after a few days.
2. Shallow Drawer Organizer With Foam Duck Cradles
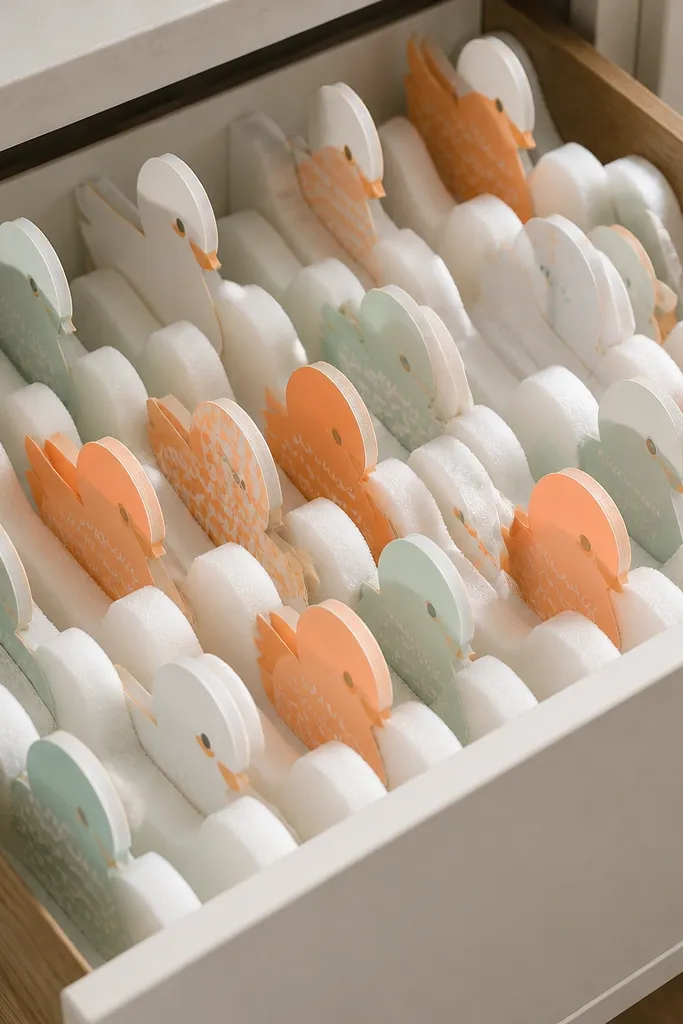
This one makes the storage part disappear because the ducks sit inside a drawer and still stay protected. Foam cradles keep ducks upright and separated, so you don’t get that crushed-fan look from stacking. It’s especially good when you have a narrow dresser or a small craft cabinet where you can’t spare shelf depth. The visual payoff is that each duck has a shaped home, so the drawer looks neat even when it’s half-open. It also reduces handling damage because you lift the duck out of the cradle instead of pulling it from a pile.
Measure your drawer interior depth and aim for a shallow insert that leaves at least 1 inch above the tallest duck. Cut foam sheet blocks into simple U-shaped cradles using a craft knife or electric carving tool, then test-fit one duck before cutting all of them. Line the drawer bottom with a thin non-slip mat so foam doesn’t slide. Place cradles in a grid, then add a strip label on the drawer front that matches the duck style (solid color, patterned, mini, etc.).
Editor's noteUse a foam thickness of 1 inch for most paper ducks so the cradle supports corners without forcing a tight fit.
Skip thisDon’t glue foam directly to the drawer — use removable adhesive dots so you can adjust spacing later.
3. Stackable Cube Shelf With Front-Facing Duck Inserts
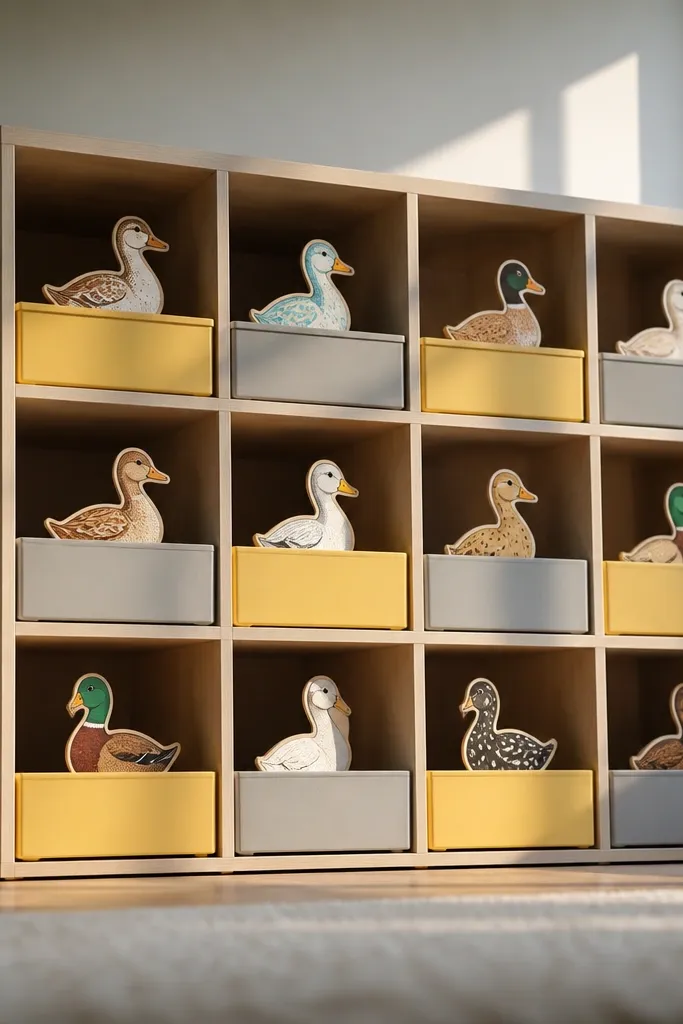
Cube shelving is small-space friendly because it uses height and keeps items visible. The trick here is using shallow front-facing inserts so ducks don’t disappear into the back of the cube. That means each cube becomes a mini display, and you can scan what you own in seconds. Use bins in matching colors so it looks like decor, not storage. Add a consistent insert height so ducks sit at the same visual level across cubes. This layout also works in hallways and entry nooks where you want the ducks to look intentional.
Pick a cube shelf width that matches your wall space and leave one cube empty for future growth. Install shallow shelf bins or cut rigid cardboard dividers to fit inside each cube with a 1-2 inch lip so everything stays front-loaded. Place a strip of felt or linen fabric at the back of each cube to soften the look and protect paper edges. Insert ducks upright with a divider between each duck style, then label the front with small cards clipped to the bin lip.
Editor's noteChoose fabric liners in muted tones like oatmeal or black — they make the duck colors pop without looking busy.
Skip thisAvoid deep bins in cube storage — they force you to reach and shuffle, which crushes paper edges.
4. Over-the-Door Duck Storage With Clear Sleeve Rows
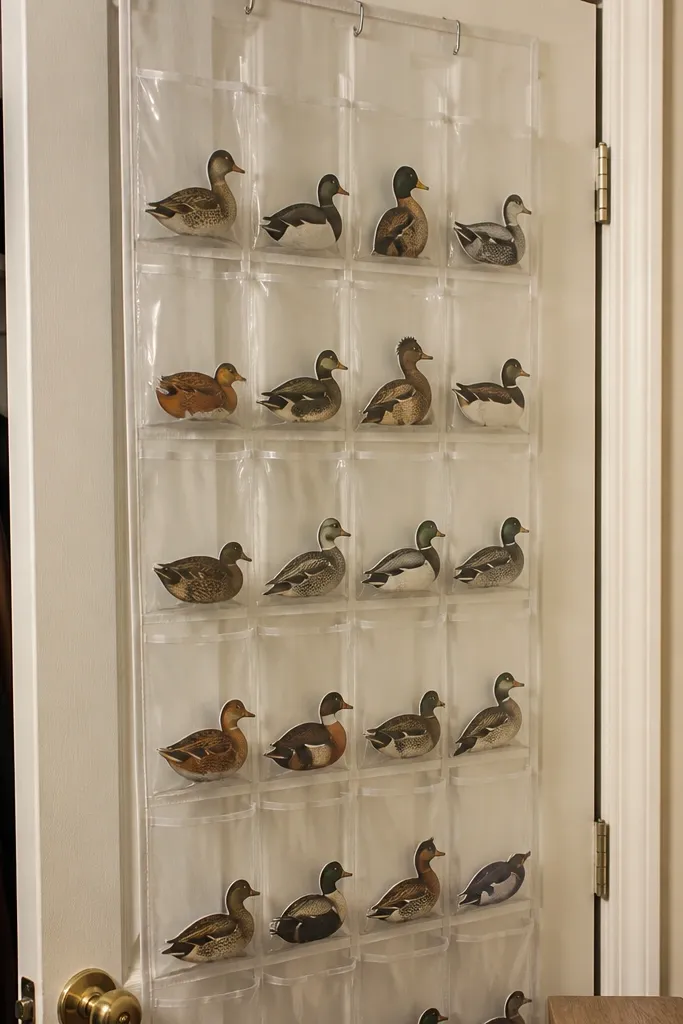
This is for tiny rooms where every square inch matters. The over-the-door position gives you vertical storage without wall drilling and keeps ducks visible through the clear sleeves. Clear sleeves protect paper from dust and reduce handling knocks, which is the #1 reason small paper decor looks worn. The rows make it easy to sort by size, and the whole unit reads clean because the organizer structure is uniform. It’s also simple to maintain: if one sleeve gets messy, you only fix that row.
Hang a standard over-the-door organizer with clear pockets, then measure each pocket opening against the widest part of your ducks. If pockets are too small, add custom inserts by trimming cardstock dividers so ducks slide in without bending. Sort ducks by height and place minis in the top rows and larger ducks in the bottom rows for easier grabbing. Add a small label at the top seam of each pocket row to match your sorting method.
Editor's noteUse a lint roller on the organizer before loading ducks so the clear plastic stays clear.
Skip thisDon’t pack sleeves tight — paper needs a little clearance so it doesn’t crease at the fold lines.
5. Pegboard Duck Display With Numbered Acrylic Trays
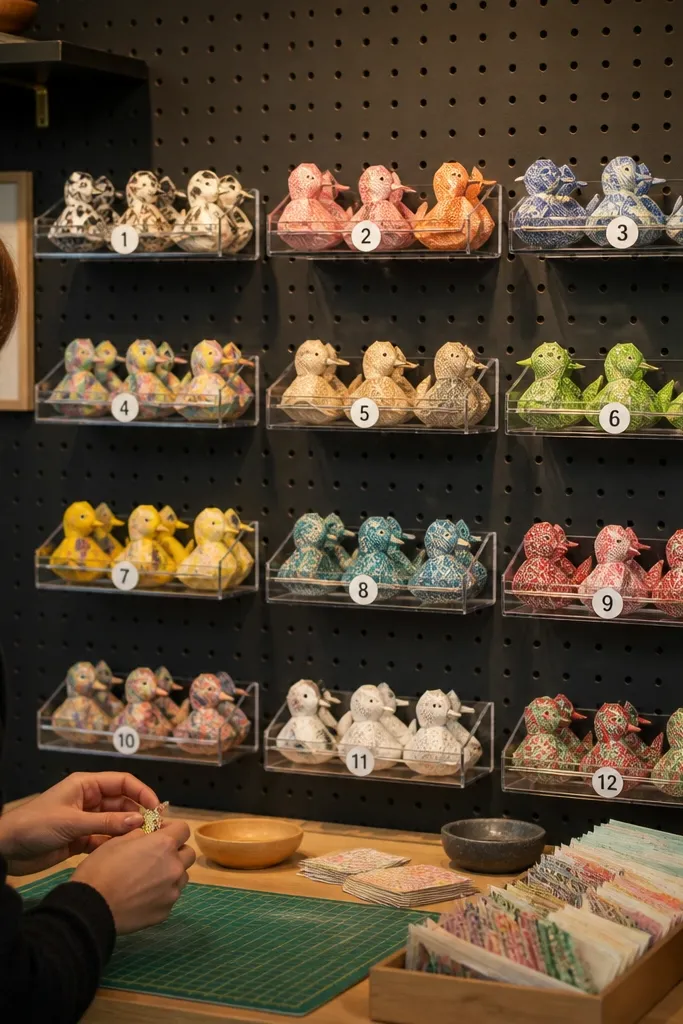
Pegboard looks like craft shop storage, but it can look designed. Acrylic trays give you a clear, modern “floating” look while still keeping each duck separated. Numbered trays make it functional when you have lots of ducks because you can grab duck #7 instantly. The best part for small spaces is that pegboard uses wall area and keeps your desk or floor clear. It also photographs well because the background stays consistent and the trays create neat rectangles behind the ducks.
Mount pegboard to your wall using wall anchors if needed, then plan tray spacing around duck width. Attach acrylic tray hooks (or small peg-compatible brackets) so trays sit level and don’t tilt forward. Add a small numbered label strip under each tray using removable vinyl or a label tag. Load ducks upright with a thin paper divider card between each one to keep edges from touching.
Editor's notePaint the pegboard in a matte finish before mounting trays so reflections don’t glare through acrylic.
Skip thisAvoid placing heavy trays too close together — ducks bump each other when you pull one out.
6. Tin Can and Dowels Duck Station
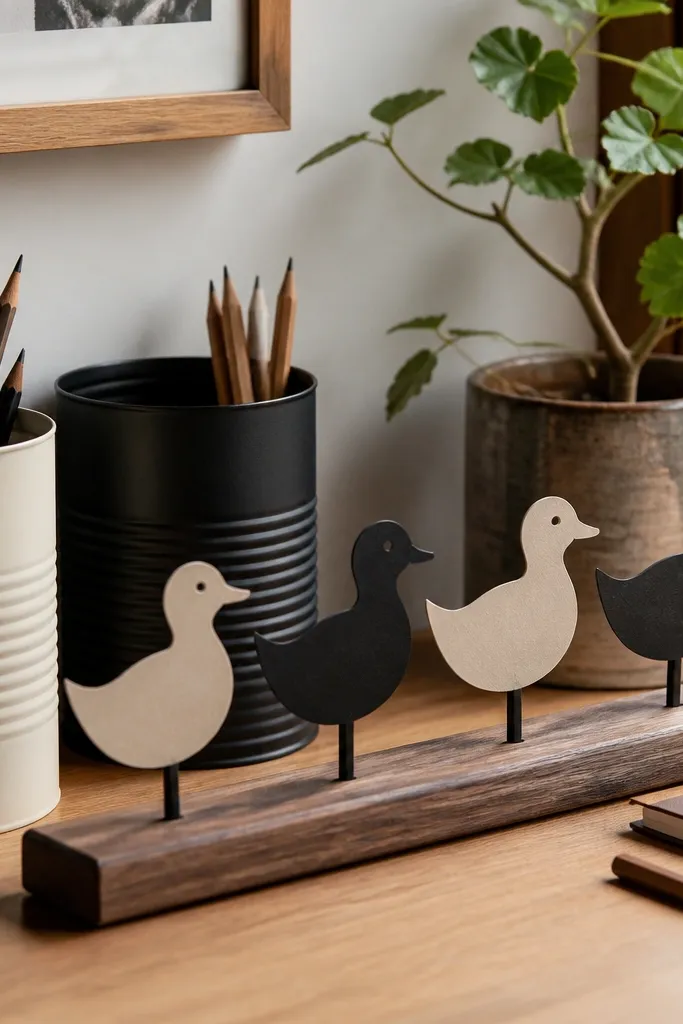
This is a small-space desk or shelf solution that turns storage into a tidy craft display. Tin cans hide the clutter, while dowels create individual stands so ducks don’t fall over and crease. The look is graphic because you can paint cans in two colors (like matte cream and black) and keep dowels the same length. It also works for mini ducks because dowels are easy to customize. If you want a photogenic corner, this gives you vertical silhouettes without needing a big cabinet.
Choose tin cans with matching diameter and clean them thoroughly with rubbing alcohol. Cut dowels to the height you want above the rim, then drill a centered hole in each can lid or use a tight-fit foam disk inside the can for dowels to sit in. Paint cans with a matte spray paint and seal with a clear topcoat if you want durability. Insert one duck per dowel gap, then tie a small color-coded ribbon around each can for quick sorting.
Use a foam disk or rubber grommet at the bottom so dowels don’t slide and paper doesn’t rub on metal edges.
Don’t skip edge protection — if paper touches raw metal, it will scuff fast.
7. Book Spine Duck Case With Clear Window Front
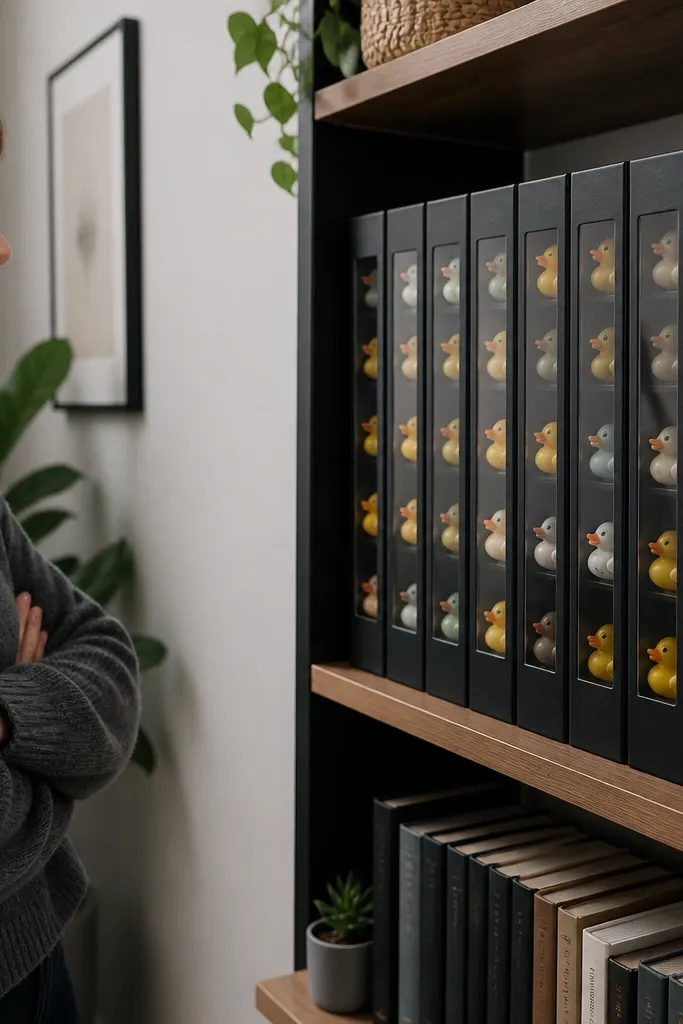
This one looks like decor, not storage. You build a “book” case that opens from the back or side, and the clear window makes the ducks easy to browse without opening it every time. The book spine format is a smart small-space move because it stacks like books and fills narrow shelves. It also protects ducks from dust because the case has a lid or window cover. The aesthetic is clean and collectible-looking, especially if you match the case color to your room palette.
Build a simple box with book dimensions that fit your shelf depth, using foam board or thin plywood for structure. Add a clear plastic window to the front using a rigid clear sheet (acrylic or PET) and seal edges with double-sided tape. Attach a fold-down or slide-out back panel so you can insert ducks. Inside, add two layers of corrugated plastic dividers to create individual slots, then label the spine with a printed strip.
Editor's noteUse magnetic tape for the panel closure so it shuts quietly and stays aligned.
Skip thisAvoid flimsy clear window material — it scratches and looks cloudy quickly.
8. Linen Drawer Organizer With Paper Sleeve Rows
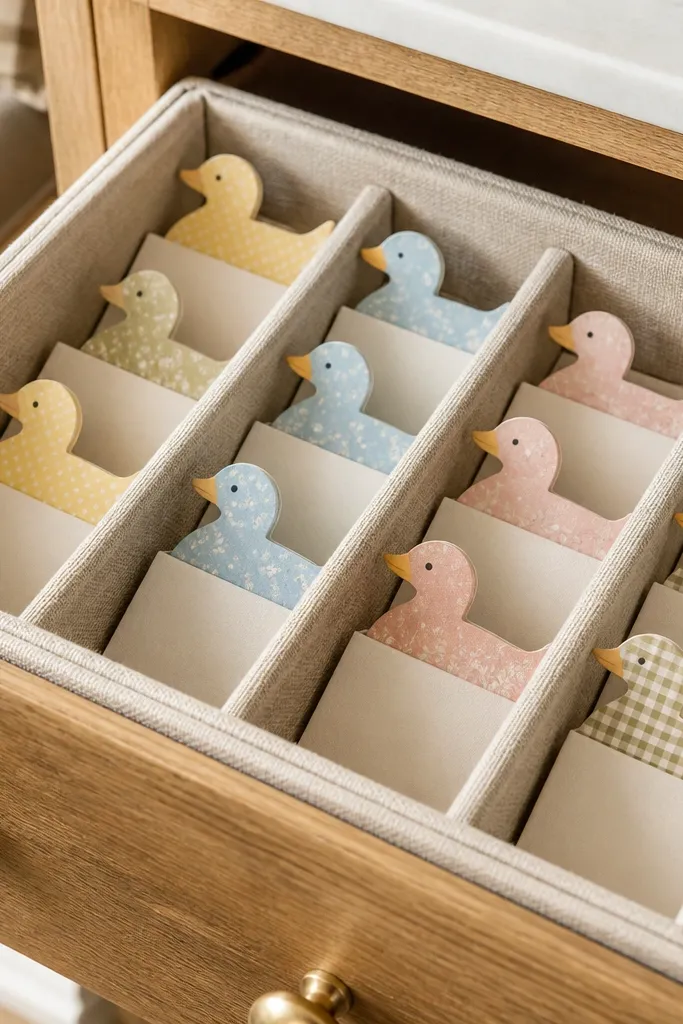
If you want storage that looks like it belongs in a home decor section, use cloth wrapping. Linen-covered dividers soften the visual harshness of craft plastic while still protecting edges with internal paper sleeves. Each duck sits in its own sleeve, so you get clean separation and easy retrieval. This is ideal for small bedrooms, craft nooks, or anywhere you don’t want “utility” storage showing. The look is calming and curated because the fabric texture is consistent and the drawer stays visually neat even when you pull it open.
Measure your drawer and cut rigid inserts from cardboard or thin plywood to create a grid. Cover the outside with linen using spray adhesive, then trim clean corners with a sharp blade. Build inner sleeves from acid-free paper or thin kraft cardstock folded into tubes, sized so ducks slide in without bending. Place sleeves upright in the grid, then add a label card in the top compartment for quick sorting.
Editor's noteUse acid-free paper for sleeves so your ducks don’t get that yellowing look over time.
Skip thisAvoid stretchy fabric sleeves — they let ducks flop and rub against each other.
9. Magnetic Wall Strip With Duck Clips
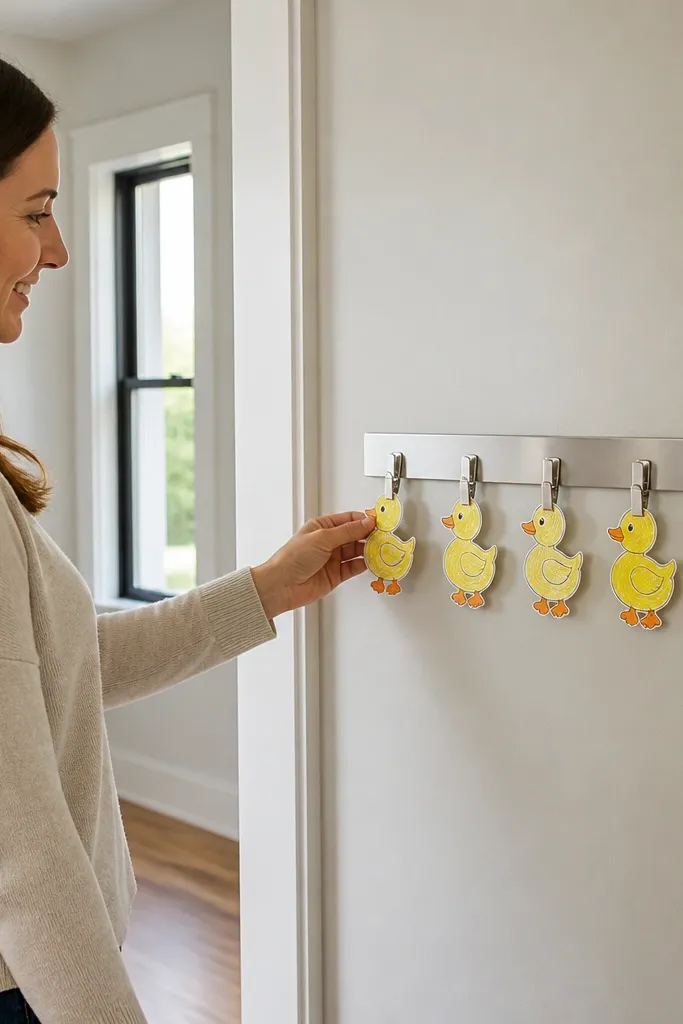
This is one of the fastest small-space setups because it’s modular. A magnetic strip holds metal duck clips, and each clip grips the duck at a safe spot so you can rearrange quickly. Ducks stay visible, and the wall becomes a rotating display without extra furniture. The aesthetic is sleek and minimal because the strip line is straight and the clip row looks orderly. It also keeps ducks off shelves where they get bumped by bags or boxes.
Mount a metal strip to the wall at about eye level, using anchors for stability. Attach small binder-style clips or custom paper-holding clips to the strip so they move along the magnet. Place ducks on clips by gripping a sturdy area (like the base flap) without pinching thin edges. Add a second strip below or above if you want multiple rows, then label each clip position with tiny tags.
Editor's noteCover the metal strip with a thin fabric or tape wrap in matte black or cream to reduce glare in photos.
Skip thisAvoid clips that pinch paper edges — use clips that hold with wider contact points.
10. Under-Shelf Duck Bay With Flip-Top Lids
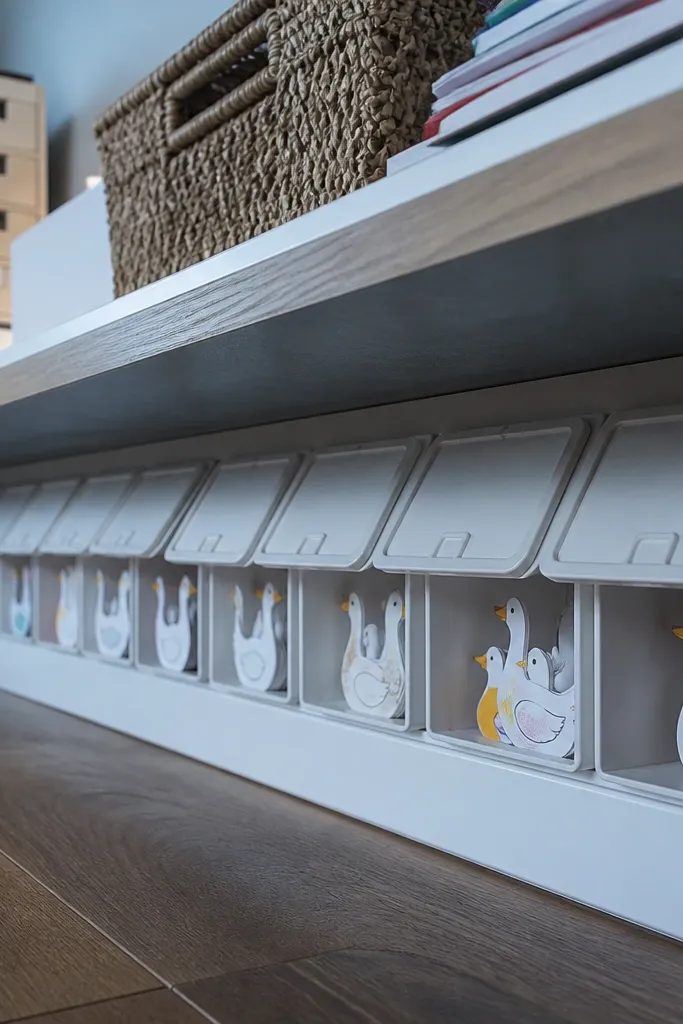
This idea uses dead space under shelves, which is exactly where small spaces waste storage. Flip-top lids keep ducks protected while still making it easy to access without pulling the whole shelf apart. The bay shape also makes it look intentional because the lids create a neat line. Use this for ducks you store but still want to grab quickly. The payoff is that your visible shelf stays clean, while your ducks are right underneath, organized and dust-resistant.
Measure the underside space under your shelf and build a long shallow box from plywood or thick cardboard with a lid strip. Cut dividers inside the box so each duck has its own compartment with at least 1/4 inch clearance. Attach small flip lids using hinges or flexible strip hinges along the top. Line the box bottom with felt or thin foam so paper edges don’t scrape, then add labels on the lid fronts.
Editor's noteUse foam weatherstripping on the lid edge so the lid closes softly and doesn’t slam paper against the divider.
Skip thisAvoid dividers that are taller than the duck — it makes insertion hard and causes bending.
11. Riser Tray With Removable Drawer Labels
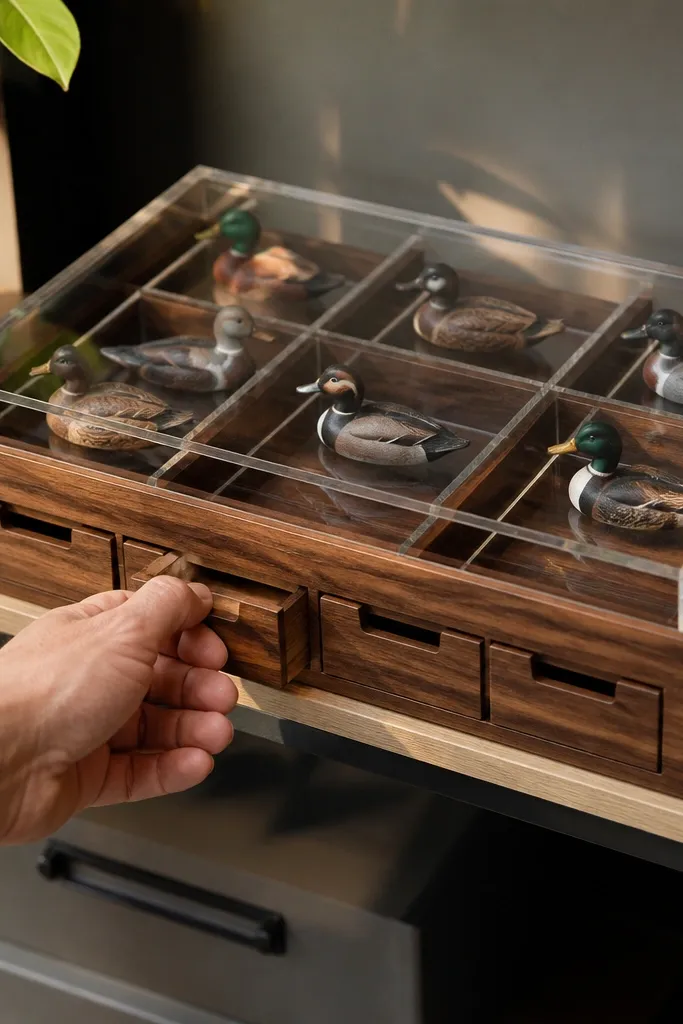
This is a shelf-styling approach that still keeps ducks protected. A riser tray creates front visibility like a display counter, while removable labels keep the system flexible when you add new ducks. The compartments prevent paper edges from leaning into each other. It’s perfect for small shelves where you want the ducks to look like a curated set. The look is crisp because the tray edges are defined and labels create a consistent grid.
Choose a shallow riser tray (wood or plastic) and sand it lightly if needed for paint or adhesion. Add internal dividers from thin plywood or rigid foam to create equal-width bays sized to your duck width. Paint or stain the base in a matte neutral, then seal with clear coat if wood. Print labels on cardstock and attach them with removable double-sided tape so you can swap without damaging the tray.
Editor's noteUse a label size like 1.5 x 3 inches for readability without clutter.
Skip thisAvoid labels placed inside the compartments — they peel from handling and look messy.
12. Foldable Accordion Paper Duck Organizer
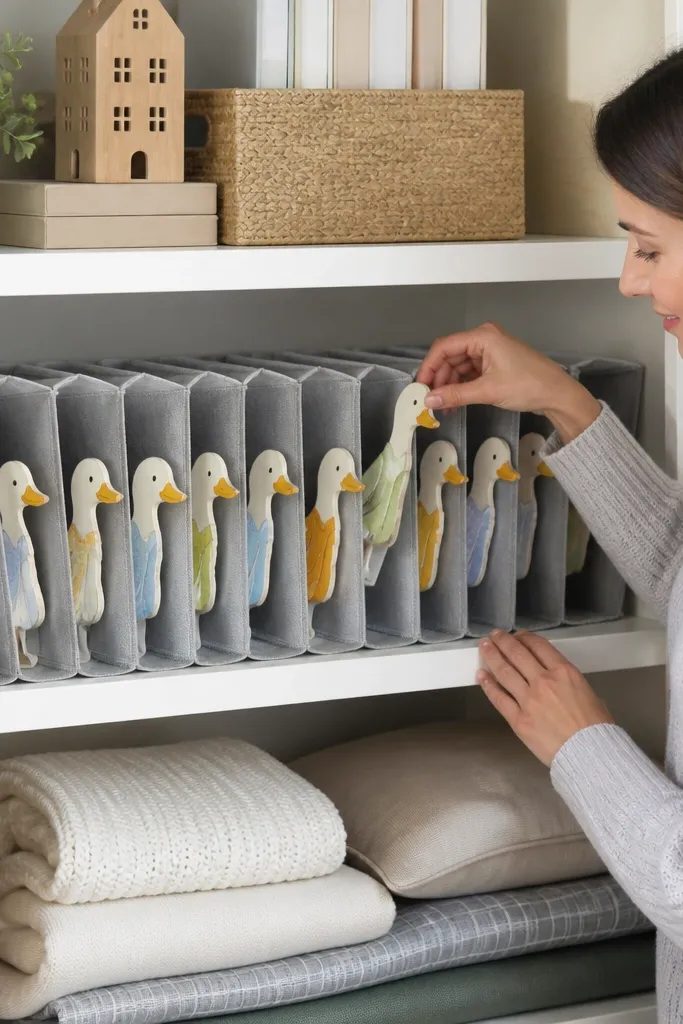
This is a space-saver for people who have a small shelf but lots of variations. Accordion storage folds down neatly, then opens to show ducks in a clean row. Each fold section keeps ducks from rubbing together when stored. It’s also easy to pack away when you need the shelf for something else. The look is structured because the folds create repeating lines, which reads as intentional instead of chaotic.
Build an accordion body using thick cardstock or foam board panels connected with flexible hinge material. Cut each panel to the same height as your ducks plus a small clearance for insertion. Create one compartment per fold by adding thin vertical ridges inside each section. Add a fabric tie at the side to keep it closed, then line each compartment with a sheet of felt or paper wrap for edge protection.
Score fold lines with a blunt tool so the accordion opens smooth and stays square.
Avoid sharp internal edges — they catch paper corners when you slide ducks in.
13. Wallpapered Hanging File Pocket Organizer
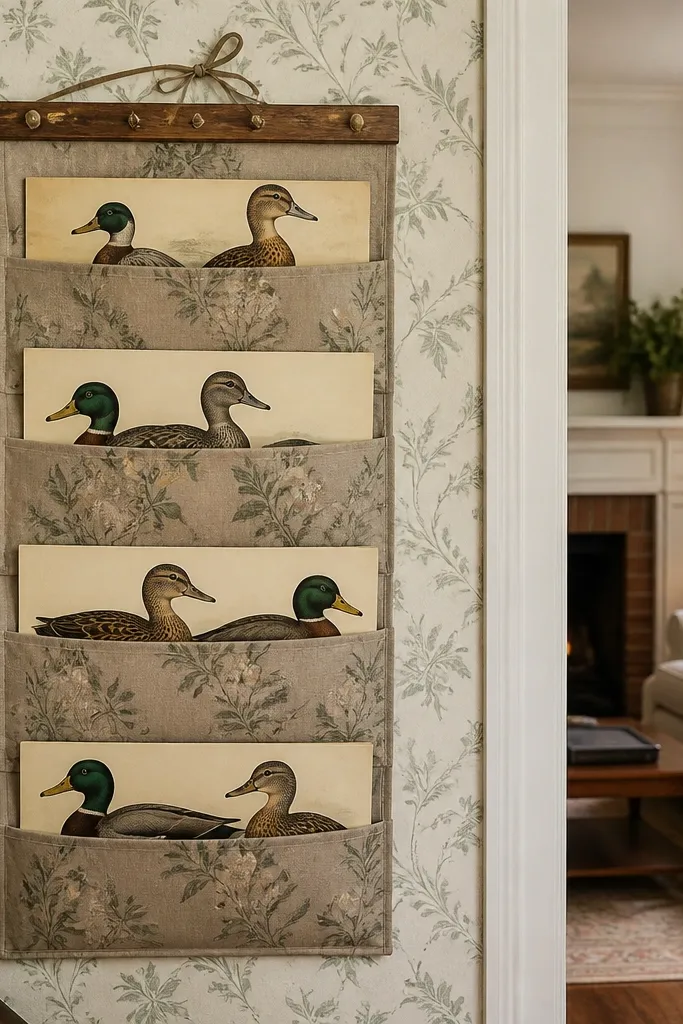
This turns boring pocket storage into something that looks like decor. The pockets hold ducks flat or slightly angled, and the wallpaper backing adds pattern without extra clutter. It’s great for entryways or craft corners because it looks like a wall feature, not a storage bin wall. The pocket layout keeps ducks separated, and the wall-hanging format uses vertical space. If your ducks are mostly flat or can sit without bending, this is one of the prettiest storage options.
Choose a hanging pocket organizer base (fabric or clear) and remove any plain backing. Cut wallpaper panels to match the pocket back area and glue them down with a smooth, non-bumpy adhesive. Reinforce pocket openings with stitched fabric tape so paper slides in cleanly. Sort ducks by size and place them into pockets with gentle spacing, then add small label tags at the pocket top corners.
Editor's noteUse matte wallpaper so glare doesn’t overpower the duck colors in photos.
Skip thisAvoid glossy wallpaper — it makes the whole organizer look shiny and messy under light.
14. Pegboard Shelf With Mini Basket Duck Cubbies
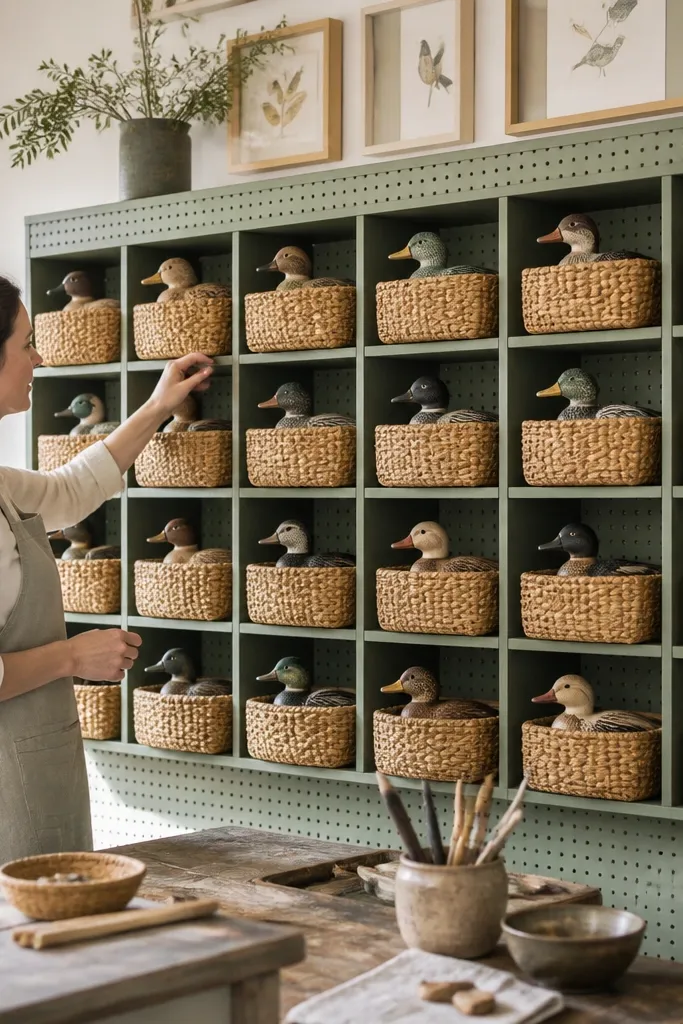
Mini baskets on a pegboard shelf look airy and organized at the same time. The baskets let you see the ducks through openings while still protecting them from dust and random bumps. This works well in small craft rooms because pegboard lets you rearrange spacing as your collection grows. The baskets also add texture, so the display doesn’t look like plain plastic storage. It’s a good fit if you want ducks to be visible but not fully exposed like open shelves.
Mount pegboard and add a horizontal shelf board or a peg-compatible shelf. Attach small basket hooks or basket brackets so baskets sit level and don’t tilt. Line each basket with a thin felt sheet cut to basket size, then place ducks standing up with a divider card between them. Add a label strip on the shelf front for each basket group.
Editor's notePick baskets with small enough openings that ducks don’t snag on the rim when you lift them out.
Skip thisAvoid deep baskets — they hide ducks and make you dig, which bends paper.
15. Mason Jar Cup Holder Duck Set
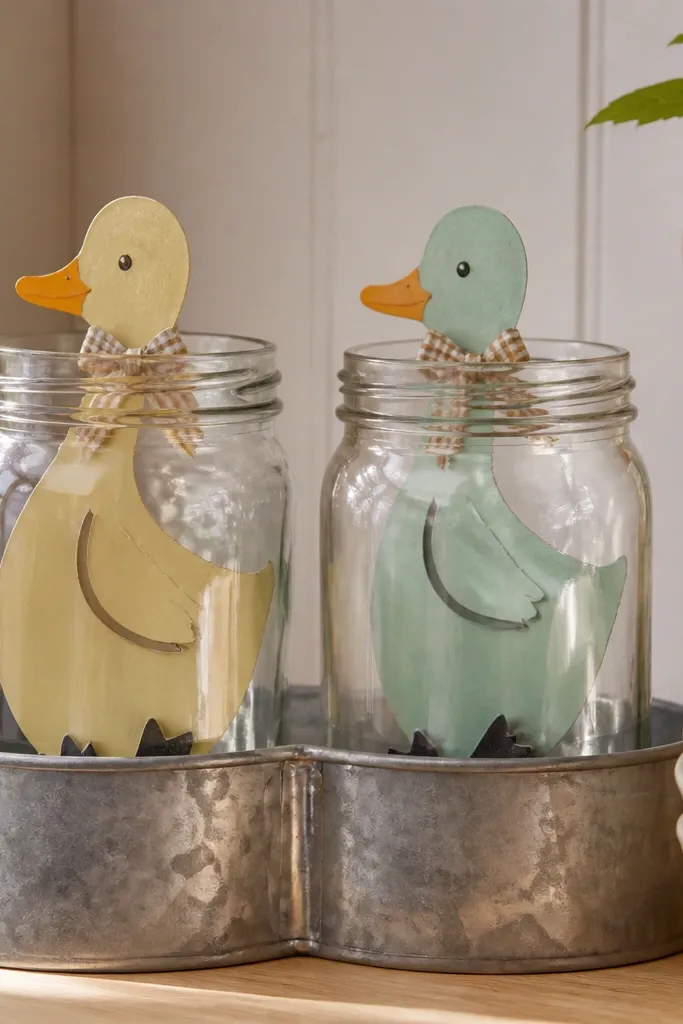
Mason jar holders are a surprisingly good small-space storage format because each jar is a self-contained compartment. The glass also makes the setup look clean and homey, like a countertop organizer, even when it’s on a shelf. Use it for upright or standing ducks and keep each jar for one color family. The look is consistent and photogenic because jars create repeating circles and the ducks sit at a uniform height. It also protects ducks from dust and keeps them from being shoved around by other items.
Choose a wooden tray or create a simple base board, then mark jar spacing so jars don’t crowd your shelf. Secure mason jars with screws into the base using jar lid rings or standoffs. Add a thin foam disk inside each jar to hold the duck base steady. Place ducks upright and add a small label tag tied around each jar neck or stuck to the jar lid.
Editor's notePaint the tray matte and leave jars clear for contrast that makes the ducks read clearly.
Skip thisAvoid storing ducks in jars without a base insert — they tip and crease.
16. Clear Stack Boxes With Color-Coded Duck Dividers
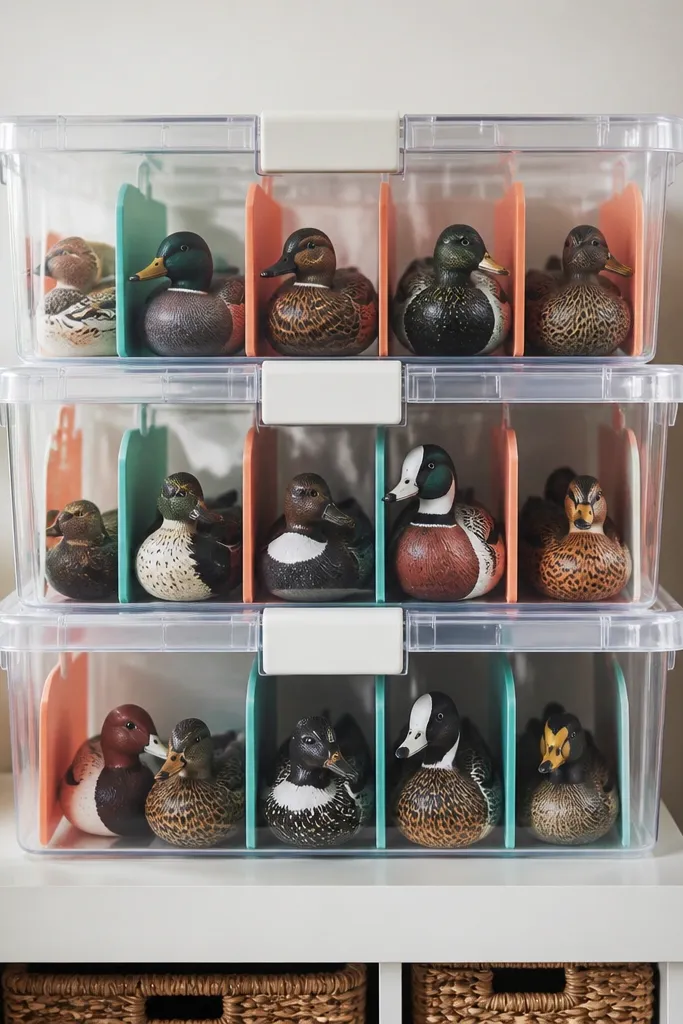
Clear stack boxes are the small-space storage workhorse, and color-coded dividers make them look styled. You get the browse-ability of clear plastic and the protection of compartments so ducks don’t scuff. Stack them vertically to save shelf depth, then label the lid so you can grab the right box without opening it. The aesthetic is strong because the dividers create clean stripes inside each box. This setup also keeps paper ducks from getting mixed with other craft bits.
Buy clear stackable storage boxes with removable lids, then measure internal width and height. Cut dividers from thin craft foam or plastic sheets and seal edges with tape so paper edges don’t catch. Color-code each category with one divider color and keep the label style consistent across all boxes. Stack boxes, then add a lid label using a label maker or printed cardstock with clear tape sealing.
Editor's noteUse dividers that are slightly shorter than the ducks so you don’t force paper under the lid.
Skip thisAvoid boxes without dividers — ducks slide and the paper edges grind together.
17. Shoe Organizer Pocket Wall For Duck Sorting
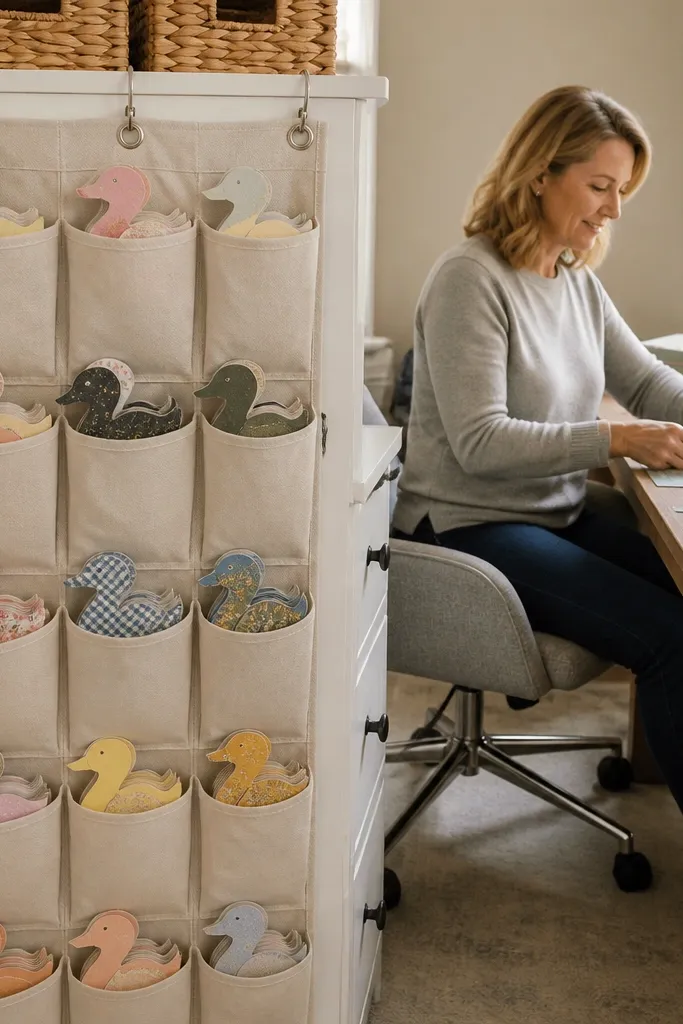
Shoe organizers are a budget hack that looks surprisingly good when you style it right. Each pocket is its own compartment, so ducks stay separated and easy to scan. The wall-hanging format uses height and keeps ducks off desks. If you pick an organizer with neutral backing or cover it with fabric, it looks less like a generic dorm closet solution. This is ideal for small collections where you want quick sorting by size or theme.
Hang a shoe organizer with clear or fabric pockets, then decide your sorting scheme before you load anything. Add label cards to each pocket top using binder clips or sewn fabric tabs. If pockets are too deep, fold a thin foam strip at the bottom to stop ducks from sliding to the back. Place ducks upright with a small divider card between ducks in the same pocket when needed for separation.
Editor's noteChoose pockets with reinforced seams so the fabric doesn’t sag under paper weight.
Skip thisAvoid overstuffing pockets — paper corners bend when they’re wedged.
18. Fabric Rope Basket With Removable Liner
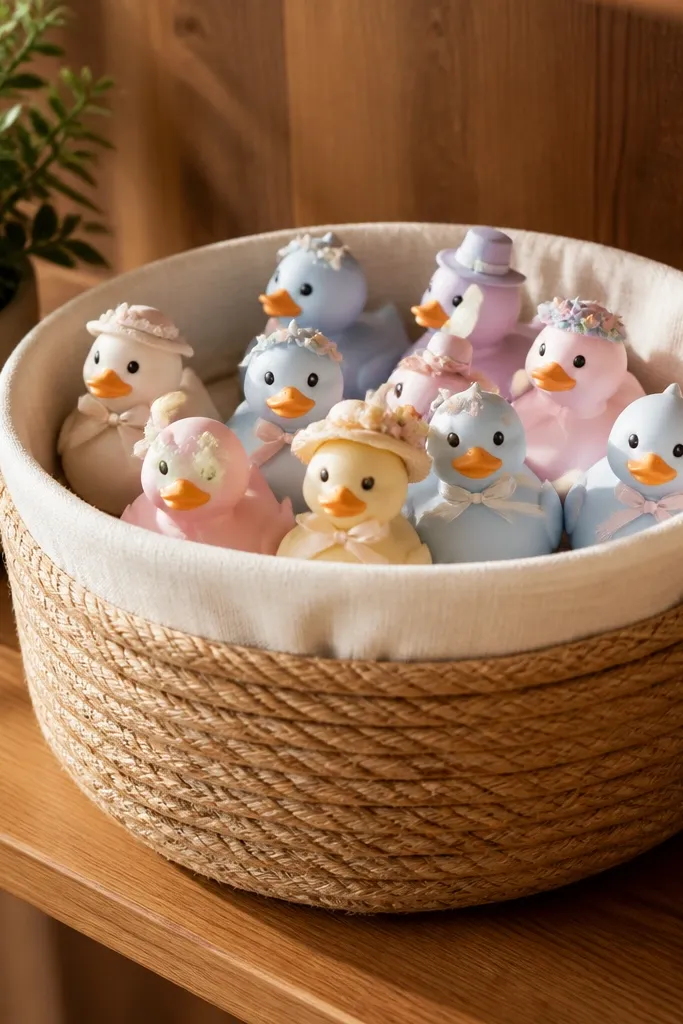
This is a softer-looking storage option that still protects paper. Rope baskets look stylish on shelves and give you a tidy shape, while the removable liner keeps ducks from rubbing against rope fibers. Use it for ducks you want to keep together by theme, like “spring,” “pastel,” or “mini.” The look is warm and homey, and it works for small spaces because baskets don’t require extra hardware. If you hate clear plastic clutter, this is the middle ground: visible shape, protected inside.
Pick a rope basket that fits your shelf width, then cut a removable liner from cotton fabric plus a thin felt layer. Sew or glue the liner so it sits flat inside the basket without bunching. Add a rigid divider inside using thin foam board if you want separate compartments, then place ducks standing or slightly angled with gentle spacing. Label the outside of the basket with a ribbon tag so it looks intentional, not like a shipping label.
Use a liner with a slight non-slip backing so it doesn’t shift when you lift the basket.
Avoid storing ducks directly in rope — fibers scuff paper edges after repeated handling.
19. Picture Frame Shadow Box Duck Display Storage
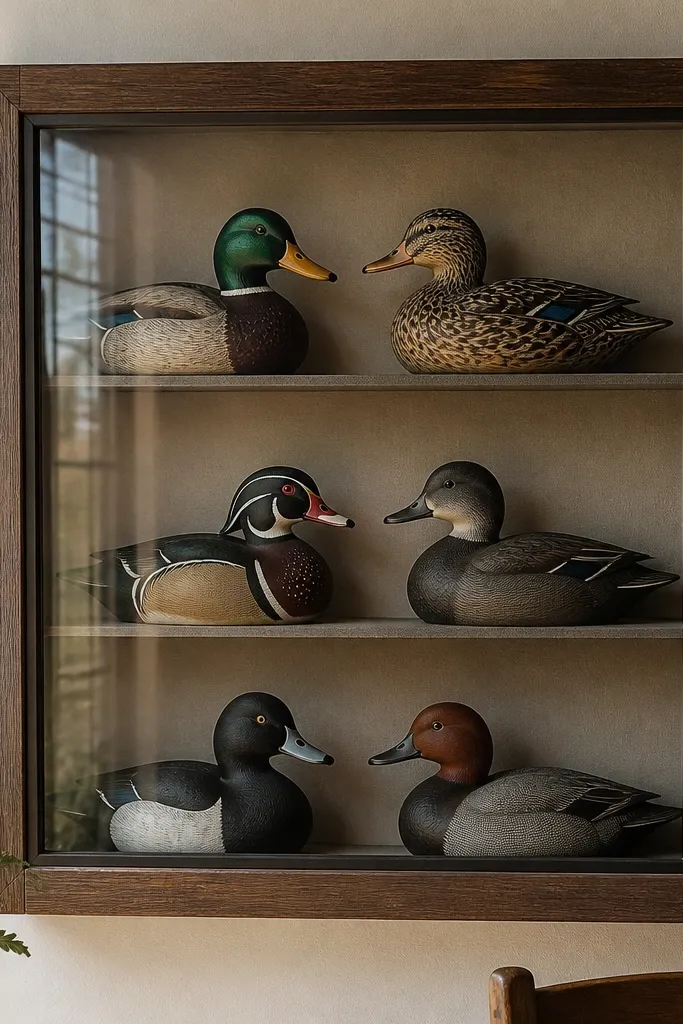
Shadow box storage turns your ducks into wall decor while keeping them protected. The glass front reduces dust and prevents accidental bumps from hands and bags. It also looks clean because the frame creates a finished border, and the ducks are arranged with intentional spacing. This is a great choice when you want a “display first” approach but still need storage — the frame holds the ducks and keeps them safe. In small spaces, wall mounting is the main win.
Buy or build a shadow box frame with depth that matches your duck thickness and any base stands. Add a backing board and mount a light grid of removable foam squares to create individual duck positions. Arrange ducks with consistent spacing, then secure them using gentle paper ties or small removable mounts at the base. Seal the arrangement by closing the frame and adding a glass or acrylic cover if it’s not already installed.
Editor's noteUse removable foam dots instead of glue so you can swap ducks without damaging paper.
Skip thisAvoid frames with shallow depth — ducks will press against the glass and warp.
20. Sliding Cabinet Tray With Pull-Out Duck Sections
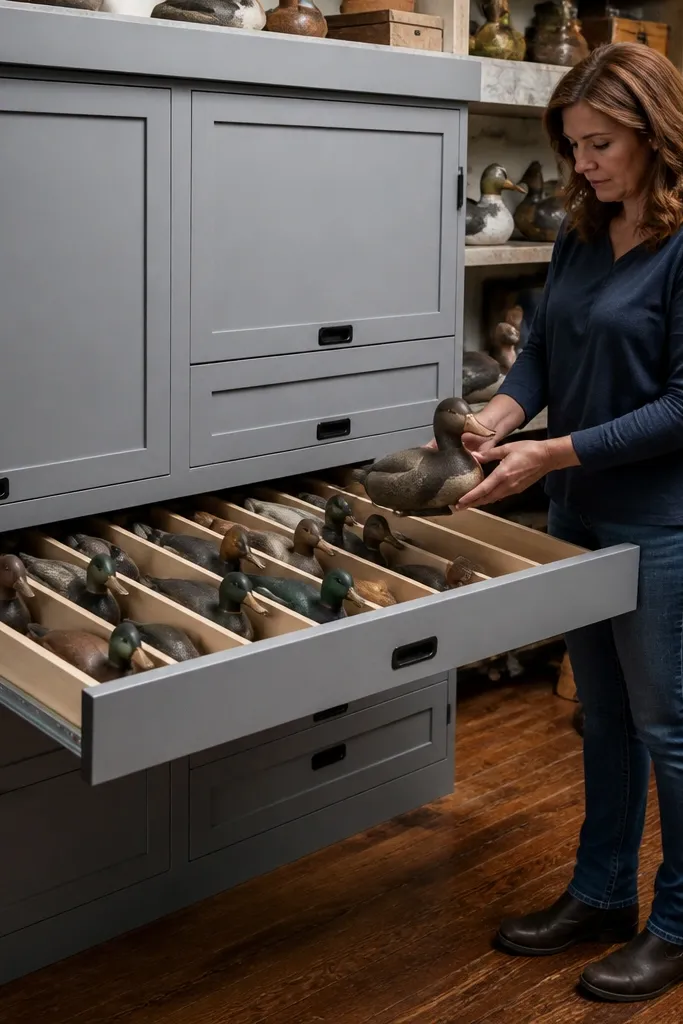
Pull-out trays are the best small-space storage move when you have a cabinet but no shelf depth. The ducks stay protected inside, and you can access the entire tray without digging. The look is clean because the cabinet front stays closed and the tray unfolds into neat sections. It’s also great for families or roommates because it keeps the ducks contained and reduces accidental knocks. If your ducks are already on shelves but get cluttered, a pull-out system fixes the problem fast.
Measure your cabinet opening and choose a slide mechanism that supports the tray weight. Build a shallow tray with rigid sides, then add internal dividers from thin plywood so each duck section has equal spacing. Line dividers and tray base with felt or thin foam for edge protection. Install the slide, then add drawer-style label cards on the tray front so you know what’s inside at a glance.
Editor's noteUse low-friction felt on the slide contact areas to keep the tray smooth.
Skip thisAvoid making the tray too tall — you’ll lose cabinet space and end up with awkward access.
21. Stacked Wall Shelves With Duck-Slot Runners

If you want a gallery look in a small area, stacked shelves with runners are the cleanest way to do it. Each shelf has a runner base that creates slots so ducks sit in consistent positions. That means your display doesn’t become a jumble over time. The aesthetic is strong because each shelf level is identical, and the runners create repeating lines. It’s also practical: you can swap one duck without moving the rest. This setup suits hall walls, narrow corners, and tight reading nooks.
Mount two or three small shelves with equal spacing, then cut runners from wood or rigid foam to fit each shelf length. Mark and attach runner dividers so duck slots are slightly wider than the duck base. Sand and paint shelves matte so they don’t glare, then line slots with thin felt. Place ducks into slots and add tiny label tags on the shelf edge for size or theme categories.
Keep slot width consistent across shelves so your display looks uniform in photos.
Avoid placing ducks directly on bare wood — paper edges catch and fray.
22. Clipboard-Style Duck Storage Board With Clips
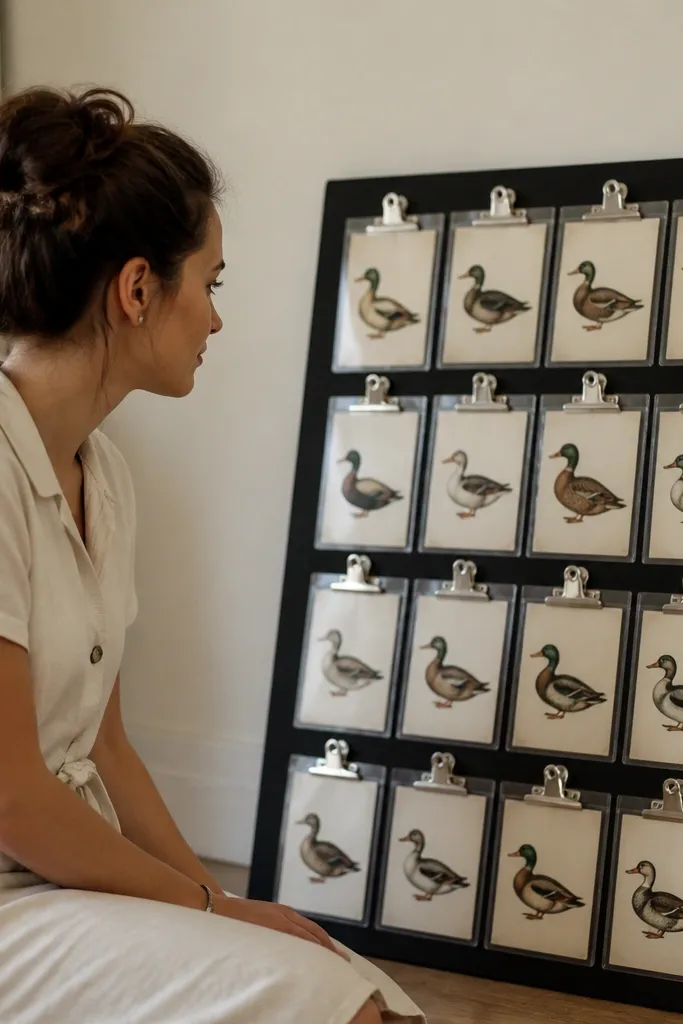
This is a clever mix of storage and display that works for small collections. A clipboard board has a flat backing, and clips hold ducks in neat rows so nothing slumps. It looks tidy because the board gives a consistent background and the clips line up. You can hang it like art, or prop it against a wall when you need quick access. This is great when your ducks are too delicate for tight boxes but you still want protection from dust.
Use a thick clipboard board or build one from plywood and a handle strip. Install evenly spaced binder clips or small spring clips across the board, leaving enough clearance for the duck thickness. Add felt strips behind clip contact points so paper doesn’t scrape. Clip ducks in rows by size, then cover the back with a simple dust cover sheet if you store it in a closet.
Editor's noteUse black felt behind clips for better contrast so duck colors stand out.
Skip thisAvoid clip placement too close together — ducks will press and bend at the edges.
23. Color-Blocked Drawer Inserts for Duck Rotation
Color-blocked inserts make duck rotation look intentional, not random. Each color block corresponds to a duck group, and the compartments keep paper edges from rubbing. This is a small-space win because drawers hide clutter but still let you see what you have when the drawer opens. It also helps you maintain a consistent look in your room: you can pull one color group at a time for display. The aesthetic is clean because the blocks create bold rectangles that frame the ducks.
Make a drawer insert from rigid foam board or thin plywood cut to the drawer base. Divide the insert into compartments and paint each section with matte craft paint in 2-4 colors. Seal the painted insert with a clear matte finish so it wipes clean. Line the top edges with felt, then place ducks upright with a slim divider between ducks in the same compartment. Add a removable label card in a small pocket at the drawer front.
Editor's noteKeep compartment heights equal so ducks don’t sit at different angles and look messy.
Skip thisAvoid glossy paint — it reflects light and makes the drawer look dirty faster.
24. Clear Film Roll-Up Organizer For Small Duck Sets
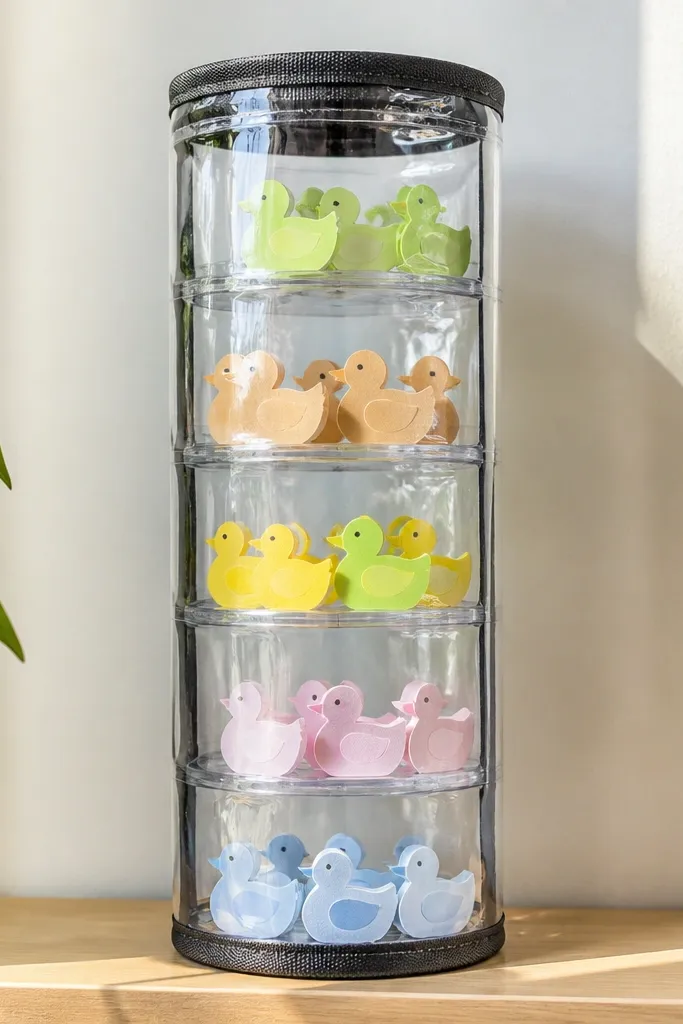
This is a smart travel-style storage method that works at home too. Roll-up organizers keep ducks separated in clear sections, so you can grab one set quickly without rummaging. The look is neat because the organizer rolls into a compact cylinder and the clear film shows the ducks in tidy windows. It’s ideal for small spaces where you want storage that can move — from shelf to closet to drawer. Protection is good because ducks stay contained and edges don’t rub against each other during storage.
Use a clear vinyl or clear PE film sheet cut into panels, then sew or tape the edges to form separate window pockets. Create a backing strip from cotton canvas so the organizer has structure when rolled. Add a thin paper divider layer between pockets so ducks don’t touch when rolled. Roll the organizer around a cardboard tube, then secure with a fabric tie strap. Label each pocket end with a small tag for quick set selection.
Editor's noteAdd a thin felt strip between film layers where the roll touches so paper doesn’t scratch.
Skip thisAvoid tight rolling — compressing paper decor creates permanent creases.
25. Wall-Mounted Bracket Shelf With Scalloped Dividers
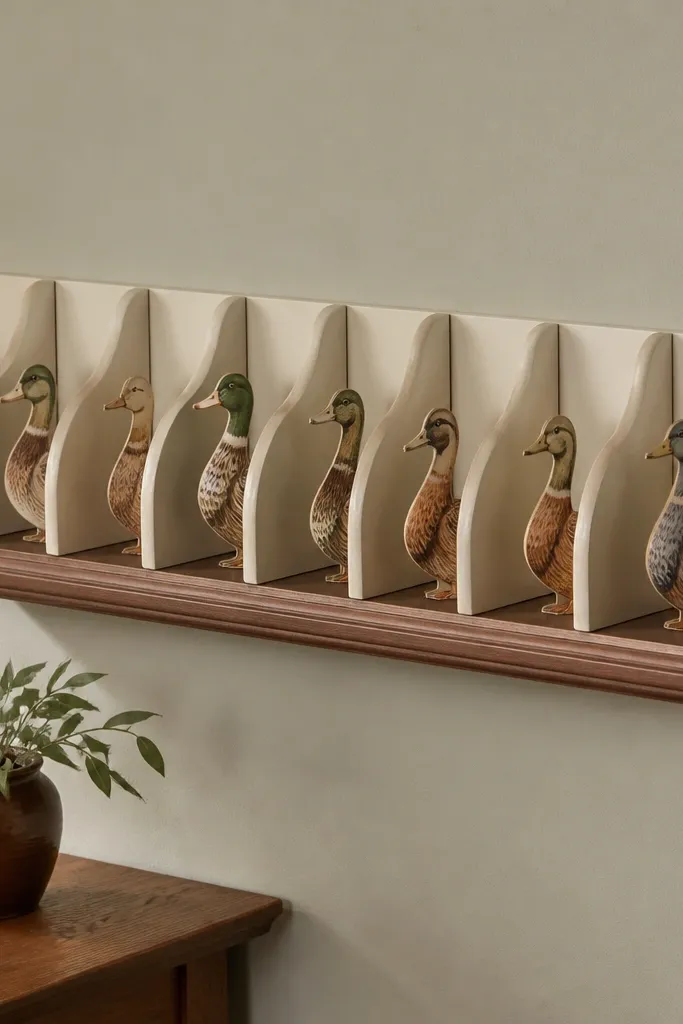
Scalloped dividers make paper storage look decorative instead of utilitarian. The shelf is mounted at a small height, and the scallops create consistent bays that hold ducks upright with minimal contact. This is great for small spaces because it turns a blank wall into a functional display shelf. It also photographs well because the scallops create a repeating pattern behind the ducks. The dividers keep ducks from leaning into each other, which keeps paper edges looking crisp over time.
Mount a small bracket shelf using two brackets for stability and measure duck height so the shelf doesn’t feel cramped. Cut scalloped divider pieces from thin plywood or foam board, then sand edges smooth. Paint the shelf and dividers matte, then line the top of each scallop with felt. Place ducks into bays and add a small label on the shelf edge so you can restock by category.
Editor's noteCut dividers slightly taller than the duck base so ducks sit supported, not floating.
Skip thisAvoid rough divider edges — paper corners catch and fray when inserted repeatedly.



