
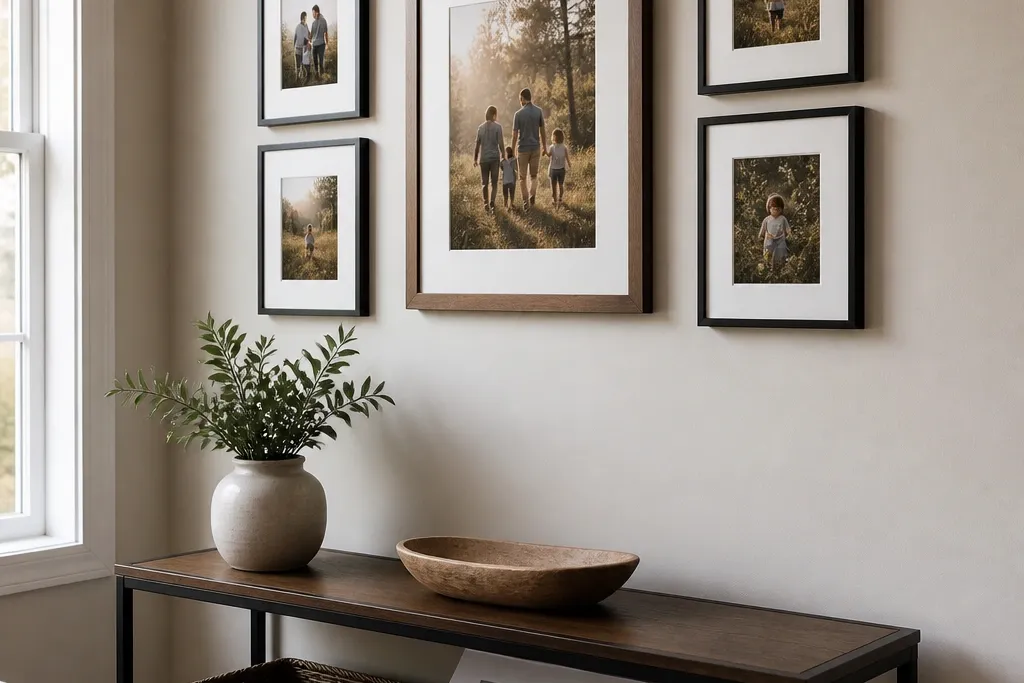
1. 11x14 Center Anchor with Four 5x7s
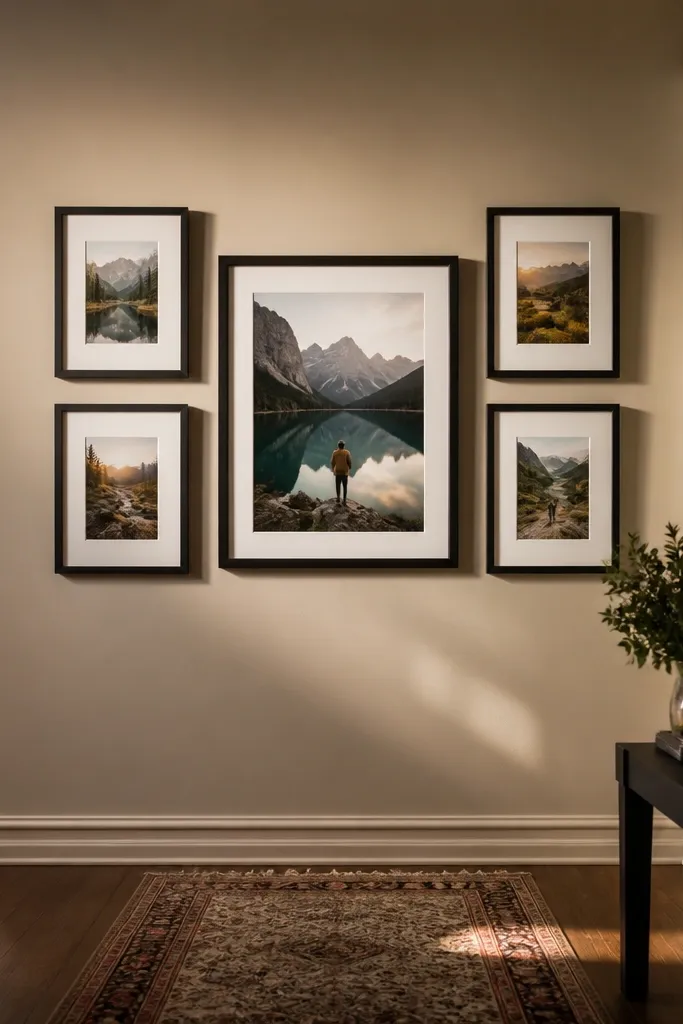
This layout is the easiest way to make a small-space wall photo collage look curated. The 11x14 center frame pulls attention, and the four 5x7s around it create a balanced, symmetrical rhythm. It works great for a hallway or above a console where you need the wall to read clean from standing height. Keep the mat colors consistent across all five frames so the spacing looks crisp, not chaotic. Budget-wise, you can thrift the four small frames and buy one new anchor frame without the whole wall looking “mixed on purpose.”
Start by picking your anchor frame size first — 11x14 is the easiest for small walls. Lay it out on butcher paper, then mark four positions for 5x7 frames with 1/2-inch gaps between frames. Measure from the paper to your wall, then tape the template in place and level it. Hang the anchor frame first, then hang the four smaller frames using the same height reference. Finish by checking spacing from the doorway or couch — adjust one frame slightly before you tighten all hardware.
Editor's noteUse a shared mat color (white or warm cream) even if the frame colors don’t match.
Skip thisDon’t center it by eye — level the anchor and build outward.
2. Two-Row Grid with 8x10s and 4x6s
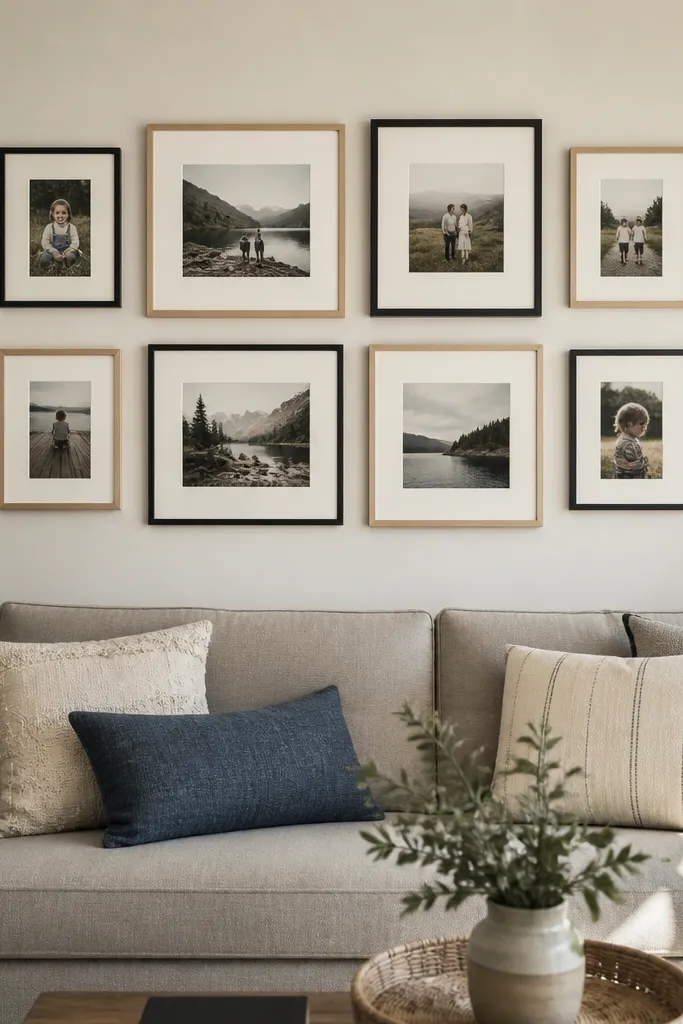
A two-row grid keeps a small-space wall photo collage looking orderly without needing matching frames. Use 8x10 frames in the middle of each row and 4x6 frames at the ends, so the wall has variation but still reads as a grid. This is a strong choice for living rooms where you want photos to feel like decor, not a scrapbook panel. The grid also hides uneven wall space better, because your eye tracks straight lines. If you pick one photo theme — like travel, family, or pets — the alternating sizes help it feel cohesive even with different images.
Choose a total wall width that fits two rows without crowding, then decide your frame count: for example, 2 rows of 3 frames. Place 8x10s in the center positions and 4x6s on the sides, leaving 1/2-inch gaps. Cut a paper mockup to the exact width and height of the frames plus gaps. Tape it to the wall and mark stud-safe mounting points or use the right anchors for drywall. Hang the center 8x10s first, then fill in the smaller frames and re-check alignment with a level.
Editor's noteKeep the photos the same orientation ratio within each size set to reduce visual clutter.
Skip thisDon’t mix too many frame sizes — the grid loses its neat look.
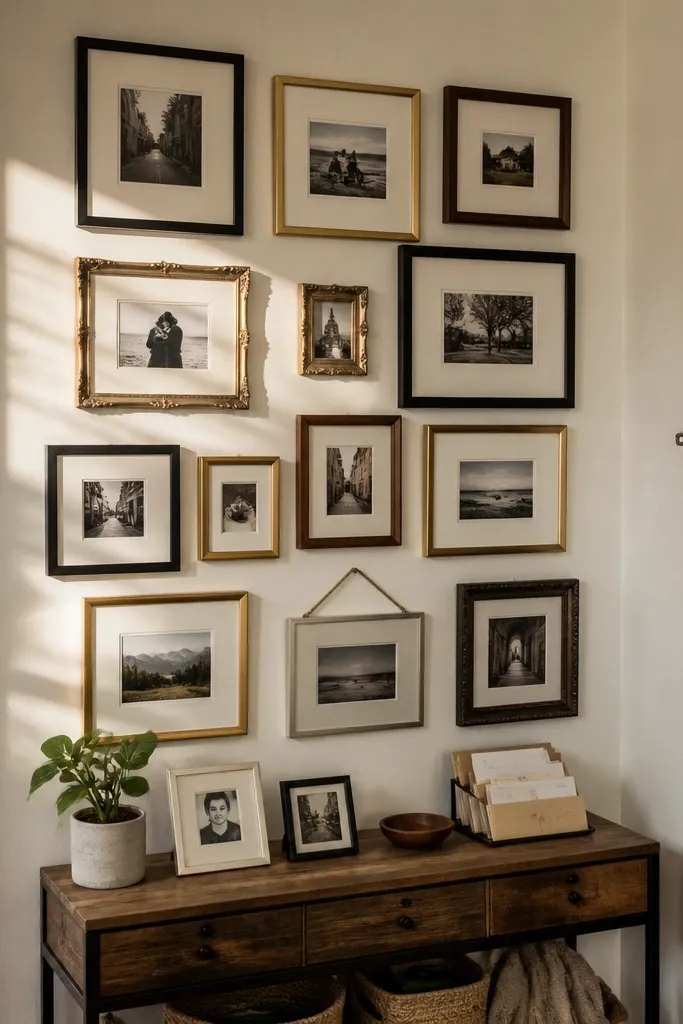
3. Mismatched Thrift Frames in One Matte Color Story
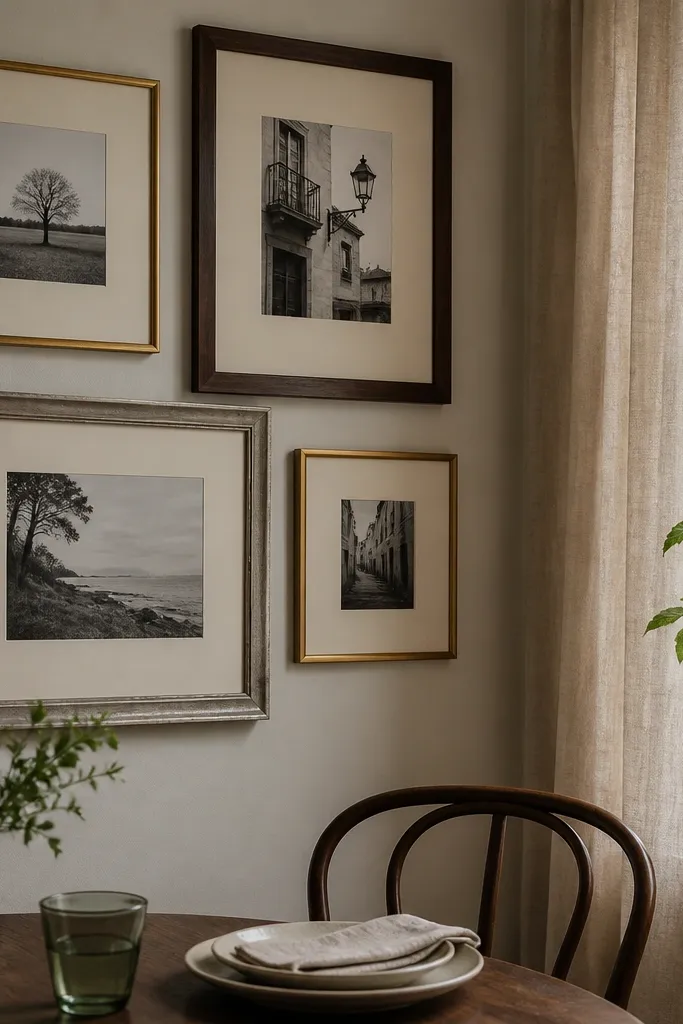
This one is budget-friendly but still looks intentional. The trick is not matching frames — it’s matching the mat color and photo treatment. If all frames use white or warm cream mats, the collage reads like a designed gallery even when frame styles differ. It’s ideal for small spaces because it adds texture without adding visual noise. You can collect frames over time and swap them in as long as the mat and photo sizes stay consistent. The result looks like you planned it, not like you grabbed whatever was on sale.
Start by selecting a mat color and sticking to it across every frame — white or soft ivory looks clean in small rooms. Pull photos to the same size for each frame group, like all 5x7s or all 4x6s, and center them under the mat. Lay your frames on the floor and group them into a layout that fits your wall width with 1/2-inch gaps. Measure the total collage height, then transfer that to the wall with painter’s tape. Hang by starting with the largest frame, then evenly distribute the rest using the gap you planned.
If frame depths vary, use thicker mats or spacers so everything sits at the same visual plane.
Don’t let dark mats and light mats mix — it breaks the clean look.
4. Floating Photo Strip with Cable Clips
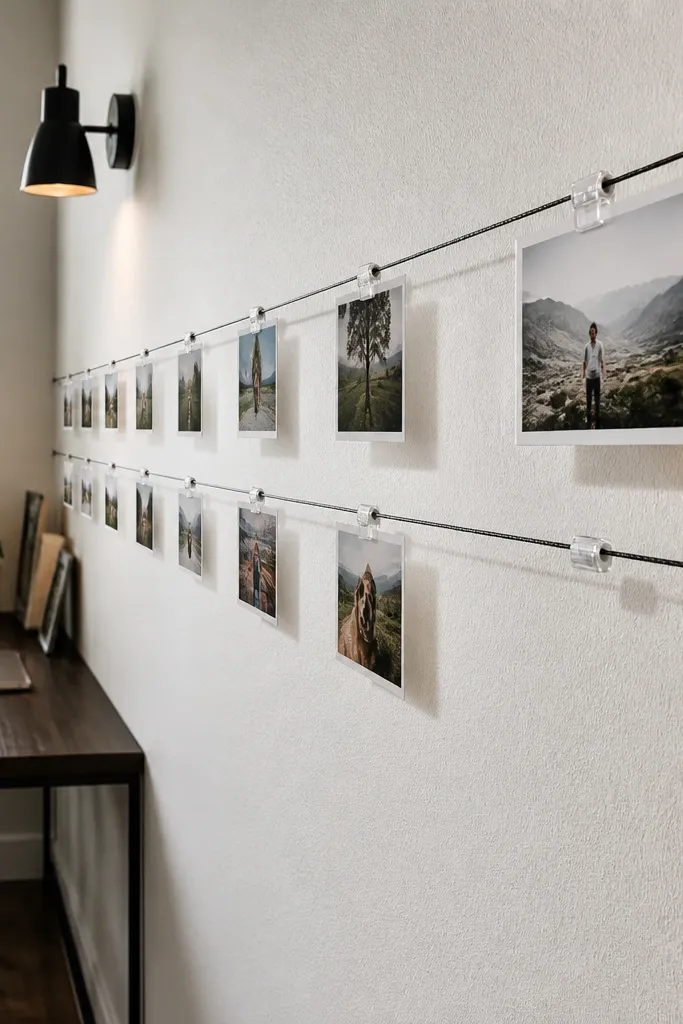
When you have a narrow wall, a floating strip is a smart way to get a collage impact without taking up much visual space. This approach uses a line of small photo prints mounted with uniform clips or standoffs, creating a light, modern look. It’s photogenic because the images read like a curated timeline. The spacing between prints stays consistent, so the wall doesn’t feel crowded. It also helps if your wall has outlets or a low shelf — a single strip can dodge the obstacles better than a block of frames.
Pick a print size that fits your space, like 4x6 or 5x7, and decide how many you want in a single row. Install a small rail or use a taut line reference on the wall so every clip lands at the right height. Mount cable clips or small standoffs, then slide the photo edges in so they float evenly. Use a spacer template made from cardboard strips to keep gaps consistent. Finish by aligning the entire strip with a level and tightening all anchors before you load the photos.
Use matte photo paper or add a matte spray on prints so glare doesn’t wash out the images.
Don’t use random clip spacing — the “floating” look depends on uniform gaps.
5. Polaroid-Style Layout with Real Matted Prints
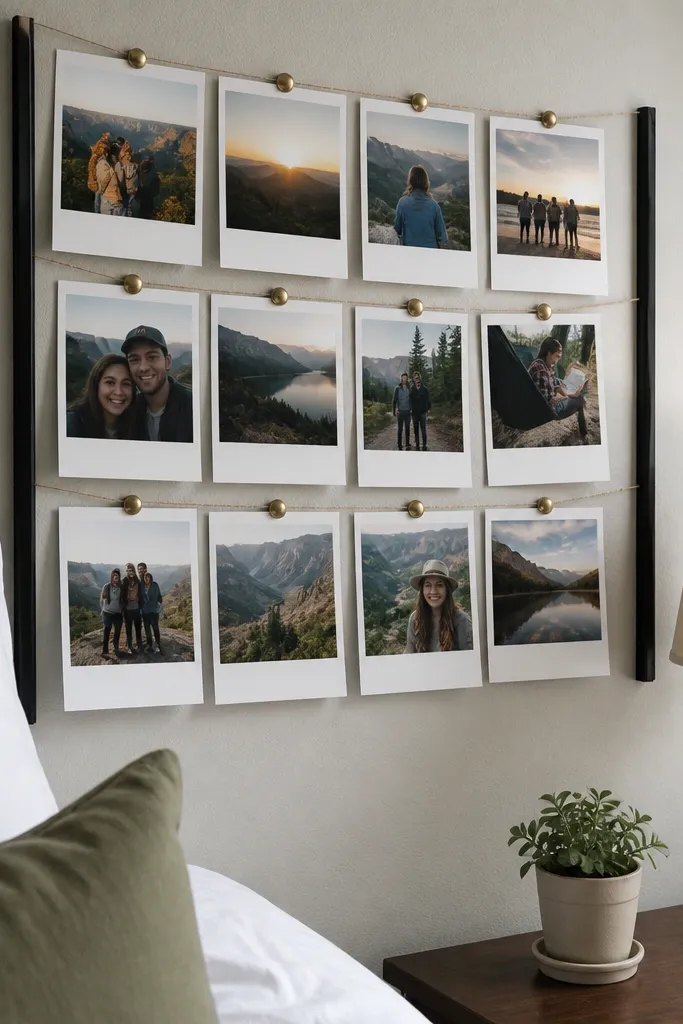
Polaroid-style layouts make a small-space wall photo collage feel playful without looking messy. The clean white margins act like a built-in border, so even if your frames are different, the wall stays cohesive. This works especially well in bedrooms, entryways, and small reading corners. Use real printed photos with mats rather than relying on printed “frames” because the physical border adds a real design edge. Keep rotations subtle: a slight tilt on one or two frames is enough to add charm without turning the whole wall into a crooked mess.
Print your photos to a consistent size, like 3x4 or 4x6 with a matching white border. Cut mats or cardstock borders so each photo has the same margin width, like 1.5 inches on all sides. Lay them out on the floor first and decide which two frames get a slight tilt (like 3-5 degrees). Tape the layout to the wall, then mark mounting points through the corners. Mount using picture-hanging strips or small hooks rated for the frame weight, and keep the tilt intentional — not random.
Choose one font-free, border-only look by keeping the border plain. No printed captions.
Don’t rotate every frame — the collage stops reading as a layout.
6. Clip-On Photo Board with Fabric Backing
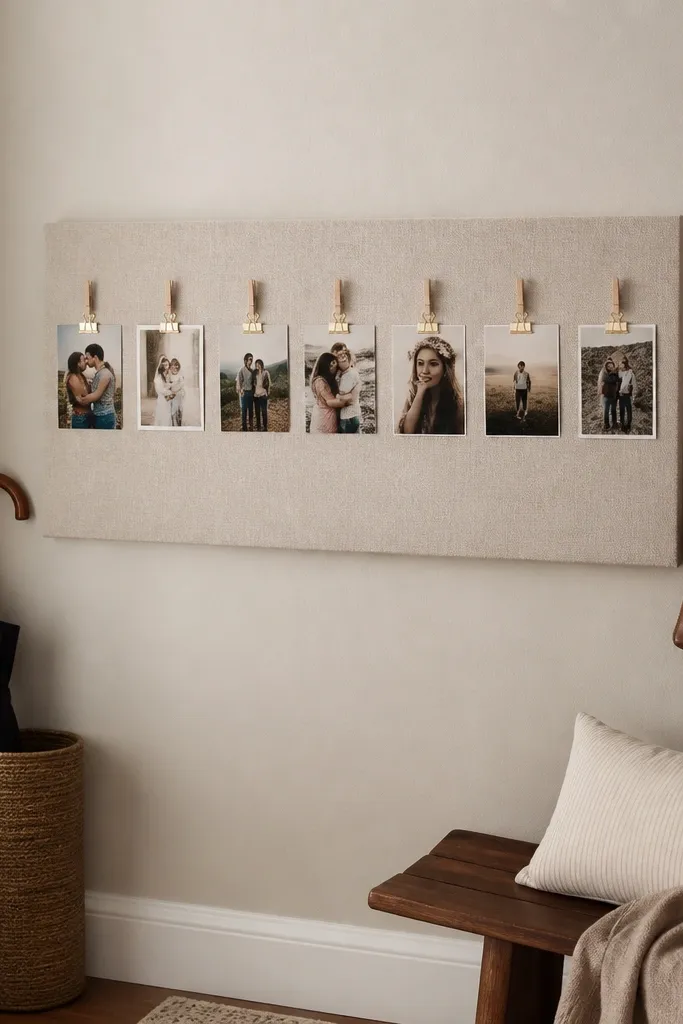
A fabric-backed photo board gives you a collage that looks styled and lets you swap pictures without re-hanging. In small spaces, that matters because your wall changes with seasons, new pets, or updated family photos. The fabric adds softness and hides minor wall imperfections behind the board. Use uniform clips so the spacing stays consistent and the wall looks designed. This also works if you rent and can’t drill into the wall much — the board can be mounted on a few secure points.
Pick a board size that fits your wall area, like 18x24 inches for a compact statement. Stretch fabric over plywood or foam board, then staple the back tight so the surface stays smooth. Install a grid of small photo clips (evenly spaced) and test how your photo sizes sit under the clips. Mount the board with wall anchors or picture rail hardware based on board weight. Arrange photos in rows and keep clip spacing consistent with a paper template.
Use fabric in a solid color (linen beige, charcoal gray) so the photos stay the focus.
Don’t pick a busy pattern — it fights the photos for attention.
7. Corner Gallery: Overlapping Frames in a Tight L-Shape
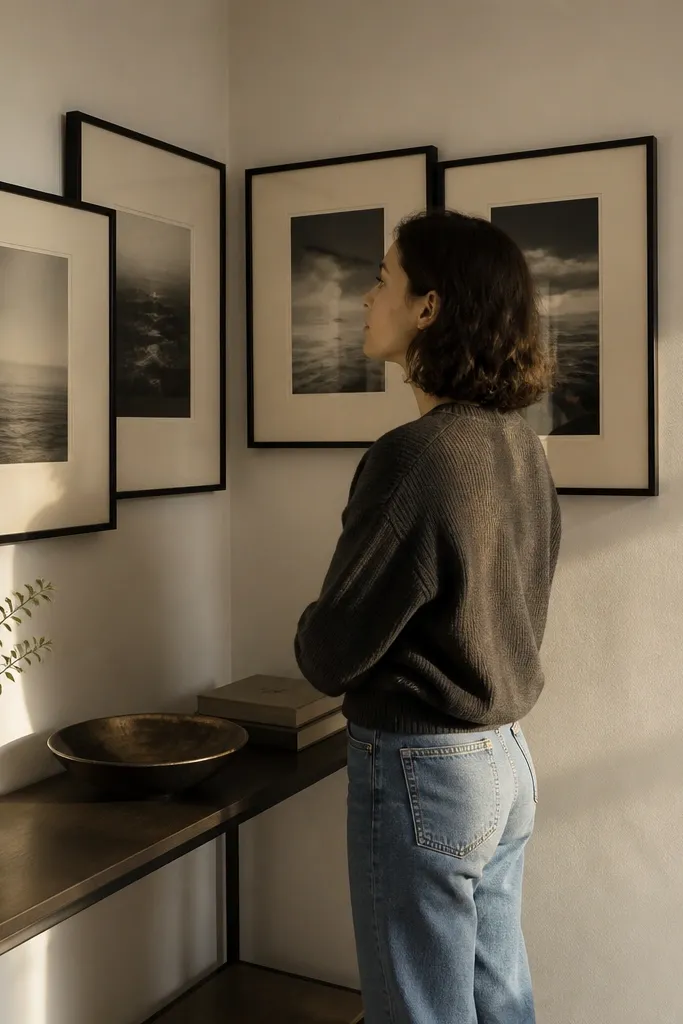
Corners are awkward for small-space wall photo collage layouts, but overlapping frames in an L-shape solves it. This creates a continuous visual path across two walls while keeping the total footprint compact. The overlap trick makes the collage feel fuller without adding more frames. It’s great in small entryways where you want photos to soften the corner and make the space feel intentional. Keep frame widths similar and overlap by about 1 inch so the wall doesn’t look chaotic.
Measure the corner width on both walls and pick a maximum collage depth, like 10-12 inches from the corner. Choose frames with similar widths, then sketch an L layout where each frame overlaps the next by about 1 inch. Use paper tape to map the outline onto both walls so the overlap matches in 3D. Hang the deepest frame first, then the adjacent frames on each wall, checking level on both axes. Fill in gaps with the smallest frames to keep the corner from looking empty.
Editor's noteUse one frame finish across the whole set so the overlap looks intentional.
Skip thisDon’t overlap by more than 1 inch — it starts looking accidental.
8. Vertical Stem Collage for Narrow Walls
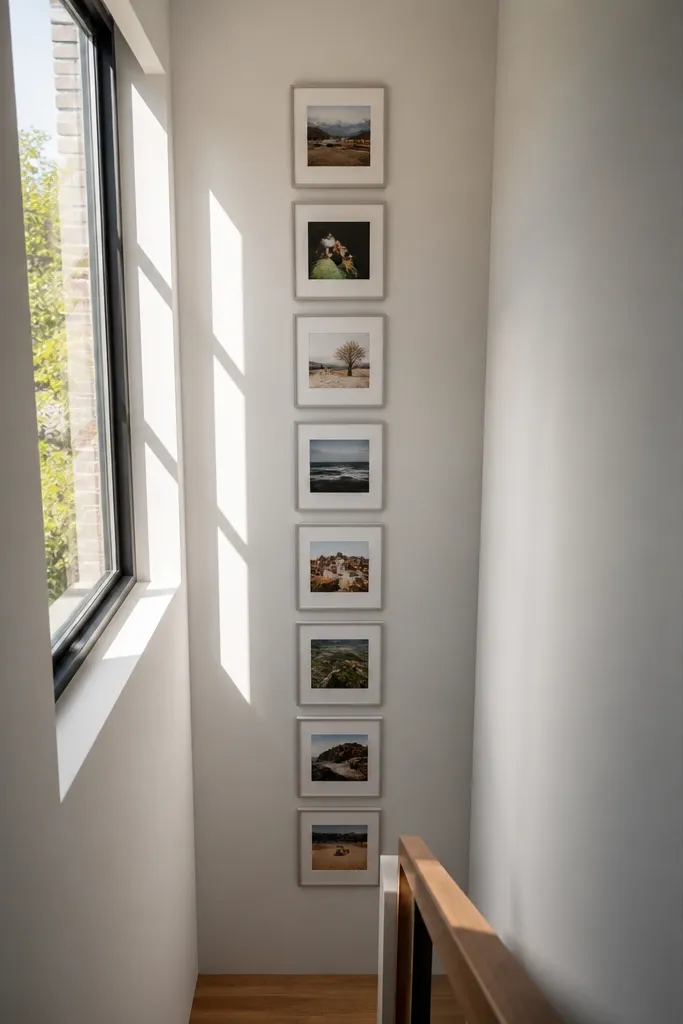
If your wall is narrow, go vertical. A vertical stem collage uses a single column (or two close columns) of photos so it reads clean and doesn’t spill sideways. It’s the best fix for small spaces where you can’t fit a wide grid. The vertical layout also makes photos feel like art prints, especially if you use consistent frame sizes. This is a strong choice for stairs, narrow hallways, and bathroom-adjacent walls where you want something pretty but compact.
Pick a frame size and stick to it for the column, like all 8x10s. Decide how many fit from eye level to around 6 inches above furniture, then keep 1/2-inch gaps between frames. Create a paper template of the entire column height and tape it in place. Mark the hanging points, then install hardware based on frame weight and wall type. Hang from the top down so each new frame lines up with the one before it.
Editor's noteKeep the top frame aligned with your eye line so the whole collage feels balanced.
Skip thisDon’t cram the frames together — small gaps make it look like wall clutter.
9. Picture Rail with Hanging Photo Frames
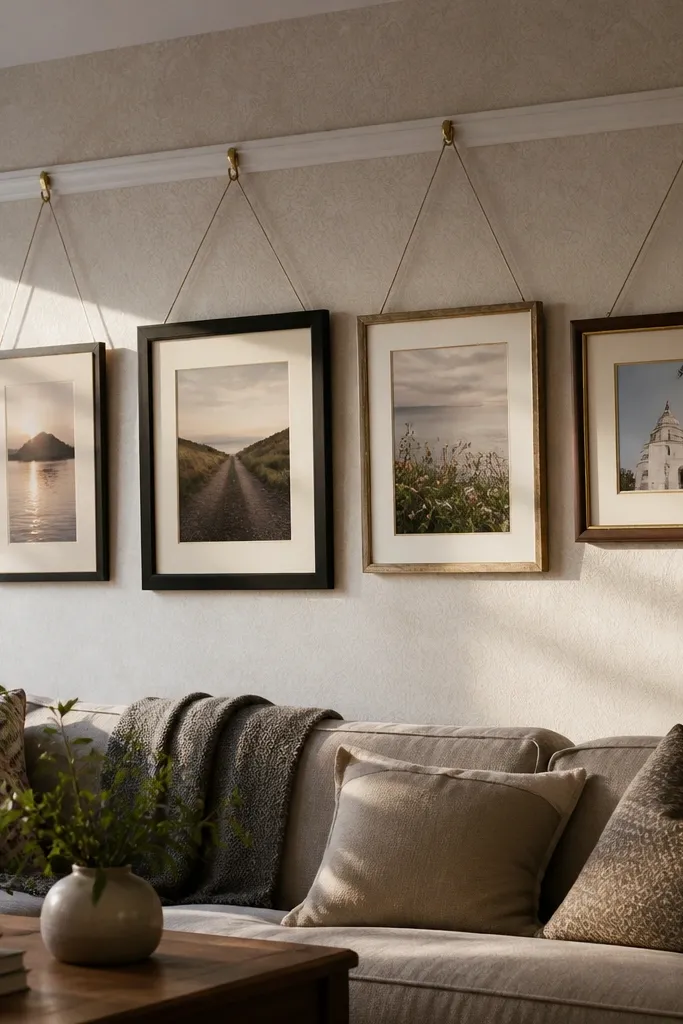
A picture rail gives you a collage that stays straight and lets you rearrange later without new nail holes. For a small-space wall photo collage, that flexibility is a win because you can test layouts until it looks right. The frames hang from cords, which creates a light, gallery-like feel. Use frames with the same height openings so the collage looks uniform even if the frame styles differ. This setup also works well if your wall has uneven drywall — the rail makes placement consistent.
Install a picture rail at a height that centers your future collage around eye level. Use the same kind of hanging hardware for each frame so the spacing stays even. Hang the frames with cords cut to the same length difference between each height step, like 1 inch increments from a baseline. Build your layout on the floor first, then transfer it to the wall using the rail as your reference line. Tighten cords so frames don’t swing, and use a level check after the last frame goes up.
Editor's noteUse metal picture hooks rated for the frame weight so cords don’t stretch over time.
Skip thisDon’t mix hanging methods (some on hooks, some on sawtooths) — alignment gets messy.
10. Oversized Frame with a Photo Grid Inside
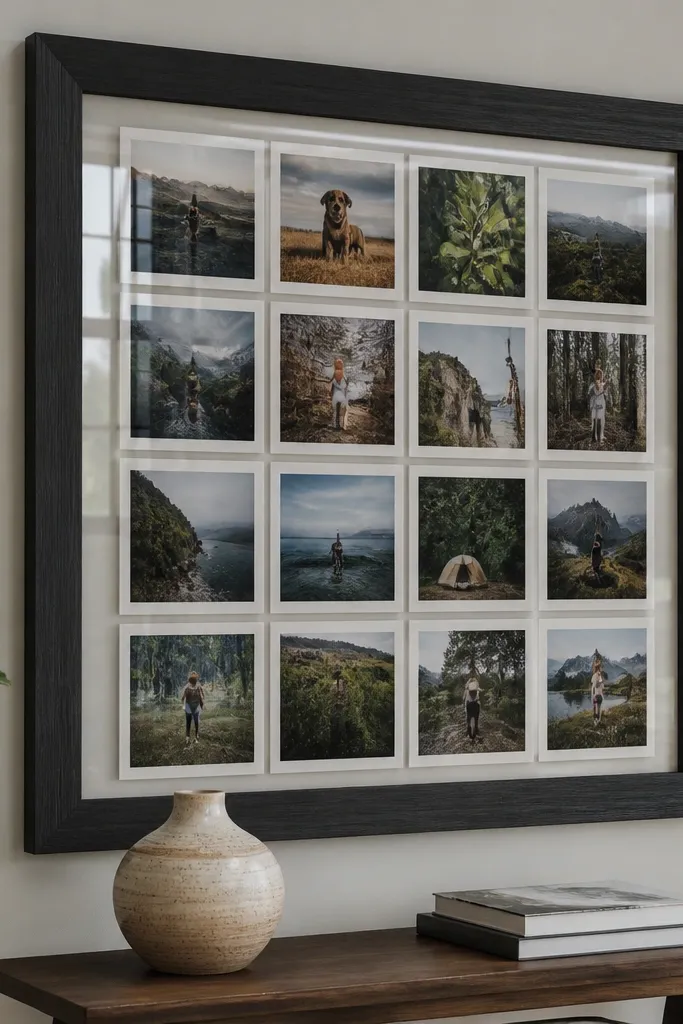
This is a small-space wall photo collage trick that looks expensive because it creates one big focal unit. You mount a grid of smaller prints inside an oversized frame, so you get multiple photos without multiple frames taking up wall space. It’s great for tight spaces because the wall only needs one large mounting point. The grid inside stays orderly, and you can keep a consistent mat border so it looks like a custom piece. Use it for family sets, wedding galleries, or a theme like “weekend mornings.”
Buy or thrift one large frame with a deep enough back to hold multiple photos. Cut a backing board and create a grid layout with 1/2-inch spacing between photo prints. Test-fit photos with removable tape so you can adjust before everything is glued or secured. Mount the grid backing into the frame, then close the frame with the protective backing or glass if you have it. Hang the finished piece using the manufacturer’s hardware and a level check.
If you skip glass, use matte acrylic spray or matte photo paper to reduce glare.
Don’t use photos of different aspect ratios inside the same grid — the spacing looks uneven.
11. Wood Slat Photo Wall with Small Clothespins
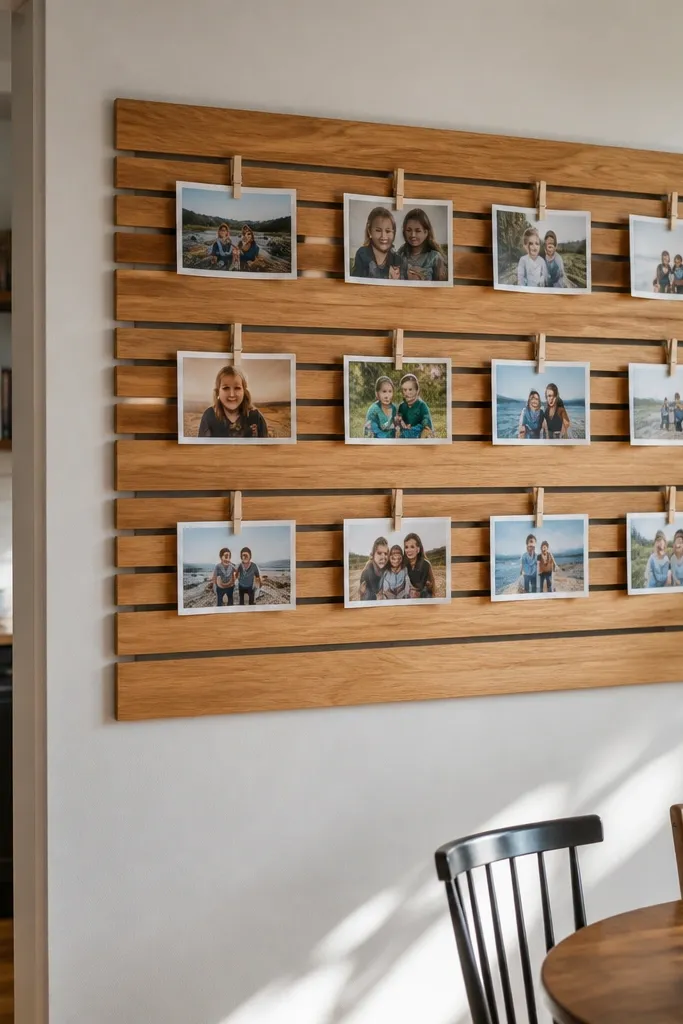
Wood slats plus clothespins give you a collage that looks warm and handmade while still staying neat. It works well in kitchens, dining nooks, and small offices where you want the photos to feel casual but intentional. The slats create built-in spacing, so your prints don’t end up floating at random heights. This setup also makes it easy to swap photos — the clips do the work. Choose slats with a consistent width and stain so the collage reads cohesive from across the room.
Build a small slat board using thin wood strips, like 1-inch wide slats with 1/2-inch gaps. Sand and stain or paint everything in one color, then seal with a clear matte topcoat. Attach a row of small wire or spring clothespins to each slat line at measured intervals. Print photos at a consistent size and clip them so the bottom edges align across the row. Mount the slat board to the wall with 2-3 anchors and check level before adding the photos.
Use matte clear coat — glossy wood makes photos look washed out under indoor lighting.
Don’t clip over the photo corners randomly; align the bottom edges first.
12. Washitape Borders Around a Photo Grid on Poster Board
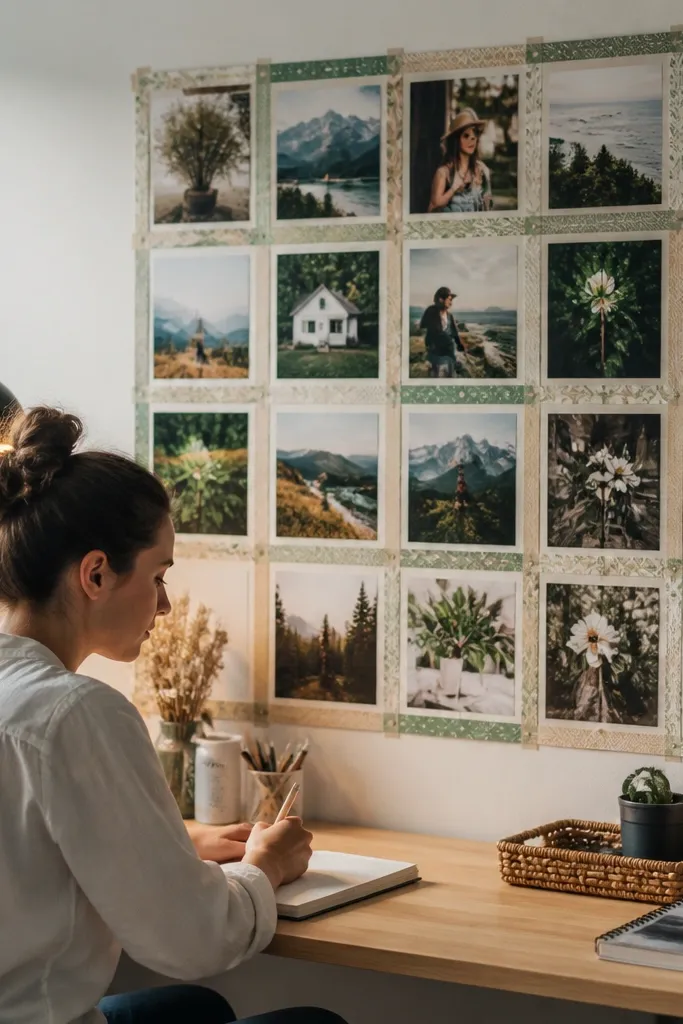
This is the fastest budget option that still looks designed. Washi tape borders create a uniform grid even if your frames are nonexistent. It’s perfect for small-space walls because you can keep the collage lightweight and mount it with minimal hardware. The tape gives you color without buying a bunch of frames, and you can match the tape to your room palette. It looks best when the tape is one color family — like muted sage and cream — so it doesn’t scream “craft project.”
Cut poster board to the size of your wall space, like 18x24 inches. Print photos to a consistent size, then lay them out with 1/2-inch spacing on the board. Tape around each photo using washitape strips, pressing firmly so edges don’t curl. Mount the board with a few picture-hanging strips or a couple of wall hooks depending on weight. After mounting, straighten the whole piece with a level so the tape lines don’t look crooked.
Press tape edges with a plastic ruler so they stay flat and crisp.
Don’t use too many tape colors; stick to one accent palette.
13. Frame-with-Mat Photo Collage in a Monochrome Palette
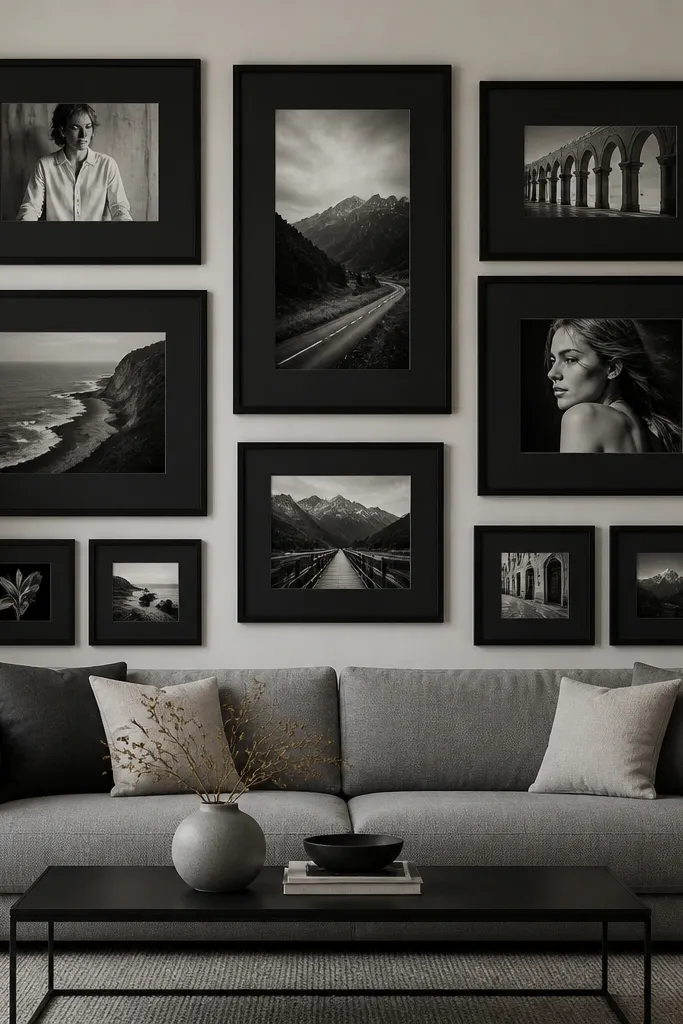
A monochrome palette makes a small-space wall photo collage look like real wall art. Use black or charcoal frames and black mats, then convert your photos to black-and-white or keep them in muted tones. The wall gets a clean, gallery feel without extra decor. This also helps when your photos don’t match in color — the palette forces them to play together. It’s a great choice for modern apartments and small rooms with limited color variety.
Pick one frame finish (black or charcoal) and one mat finish (matte black works best). Standardize your print sizes, like all 5x7s, and center them under the mat. Arrange a grid layout on the floor with 1/2-inch gaps, then tape the positions on the wall. Hang from the center outward, leveling each frame as you go. Finish by wiping frames and glass with a microfiber cloth so the monochrome look stays sharp.
Editor's noteIf you use black mats, choose photos with strong contrast so faces and details pop.
Skip thisDon’t mix glossy and matte finishes — it looks sloppy up close.
14. Shadow Box Collage with 3D Photo Layers
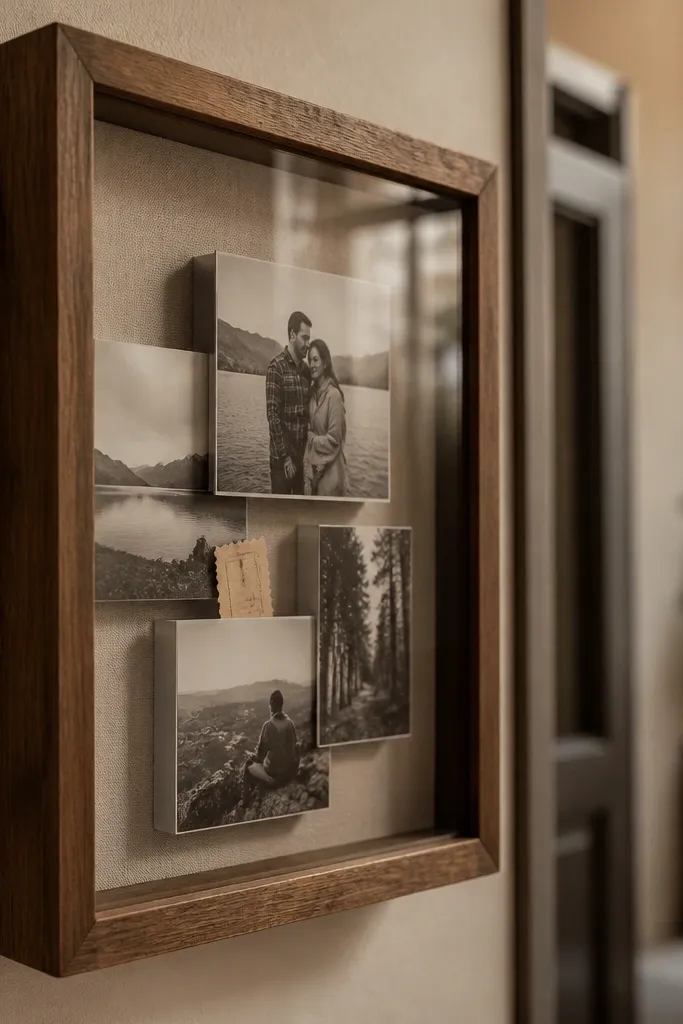
Shadow boxes make your small-space wall photo collage feel dimensional, which is a big visual upgrade. You can layer photos at slightly different depths, and the glass keeps everything looking clean. This works well for keepsakes like ticket stubs, pressed flowers, or small notes paired with photos. The collage is photogenic because it catches light and creates depth even in a small footprint. Choose a shadow box size that fits your wall, like 16x20, and fill it with a tidy layout so it doesn’t turn into clutter.
Choose a shadow box with a depth of at least 1.5 inches so layered photos fit. Print photos to a consistent theme size, then cut mat board pieces to create layers behind them. Place the main photo in the center, then layer smaller photos or keepsakes around it using acid-free tape. Use a ruler to keep edges aligned and keep gaps even at about 1/4-inch. Hang the shadow box with the included hardware and a level check before you let go.
Use museum gel or acid-free tape for the keepsakes so nothing warps or stains.
Don’t overfill the box; leave empty space so the layered look stays readable.
15. Adhesive Frame Ledge Collage with Removable Prints
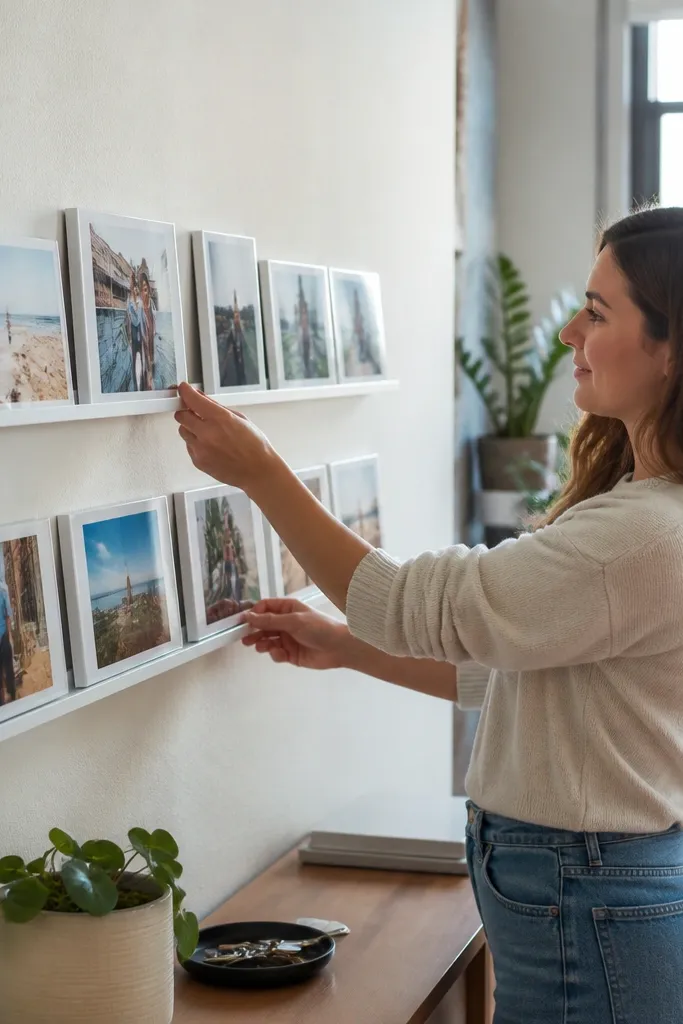
If you want a small-space wall photo collage that changes with your photos, this is the easiest swap system. Use a shallow wall ledge or narrow rail and mount frames or photo holders so prints slide in and out. The look stays tidy because each print sits in a consistent frame area. It’s also a good option if you’re renting and want fewer permanent holes. The visual style is clean and modern, especially when you keep the prints the same size and the ledge finish matches your room hardware.
Install a narrow ledge or rail at the height you want the collage centered, like 60 inches from the floor to the middle of the frames. Choose photo holders or shallow frames designed for swapping, and keep the print size consistent (like 4x6). Mark the positions on the ledge with a template so each holder aligns. Mount the ledge with wall anchors rated for the weight of the rail plus frames. Slide in prints, then check the spacing and straighten the whole line.
Editor's noteUse the same photo crop for every print so the swap looks intentional, not random.
Skip thisDon’t use different holder sizes on the same ledge; spacing breaks the grid.
16. Gallery Mix with One Aligned Side and Varying Sizes
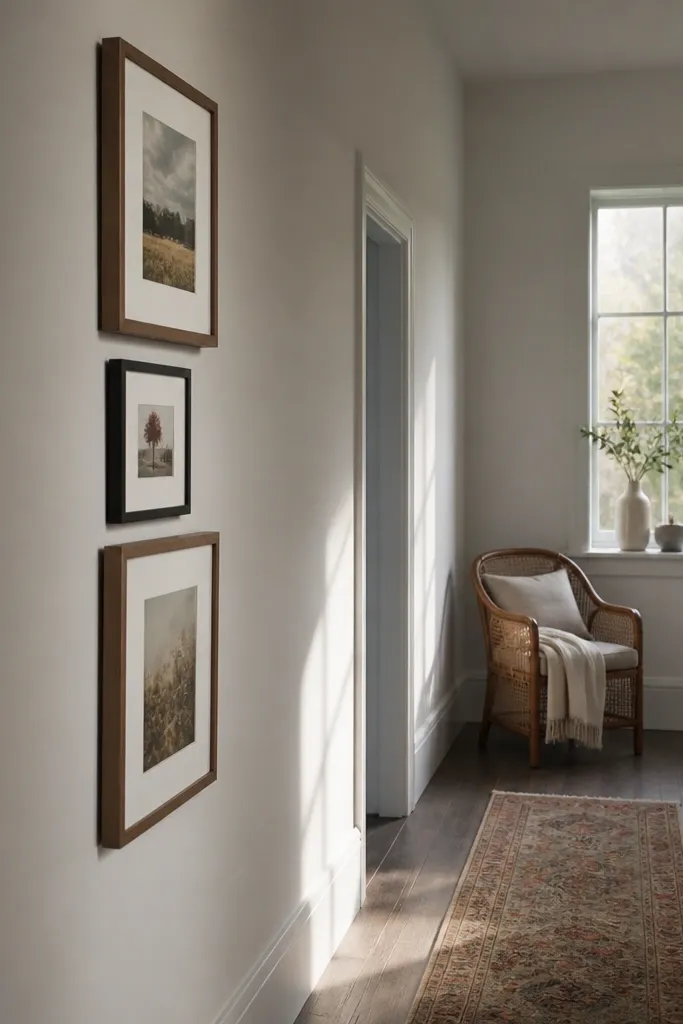
This layout gives you that designer gallery look without needing a perfectly uniform grid. The rule is simple: align one side edge across frames, then let sizes vary. It’s perfect for small-space wall photo collage because it creates a clean vertical line that your eye follows. Choose frames of two or three sizes only, like 8x10, 5x7, and 11x14. Use consistent mat colors to keep the collage from looking like a pile of random thrift finds.
Pick the largest frame first and decide the aligned side — usually the left edges. Arrange the rest so every frame’s left edge lines up, keeping 1/2-inch gaps between frames. Make a paper template of the full arrangement so you can measure total width and height accurately. Tape the template to the wall and mark hanging points for each frame. Hang the largest frame at the correct height, then work outward while keeping the aligned side consistent.
Editor's noteUse a laser level or a long level to keep that aligned edge straight.
Skip thisDon’t let frames drift on both sides; one aligned edge is what makes it look planned.
17. Heart-Shaped Mini Collage with Small Frames
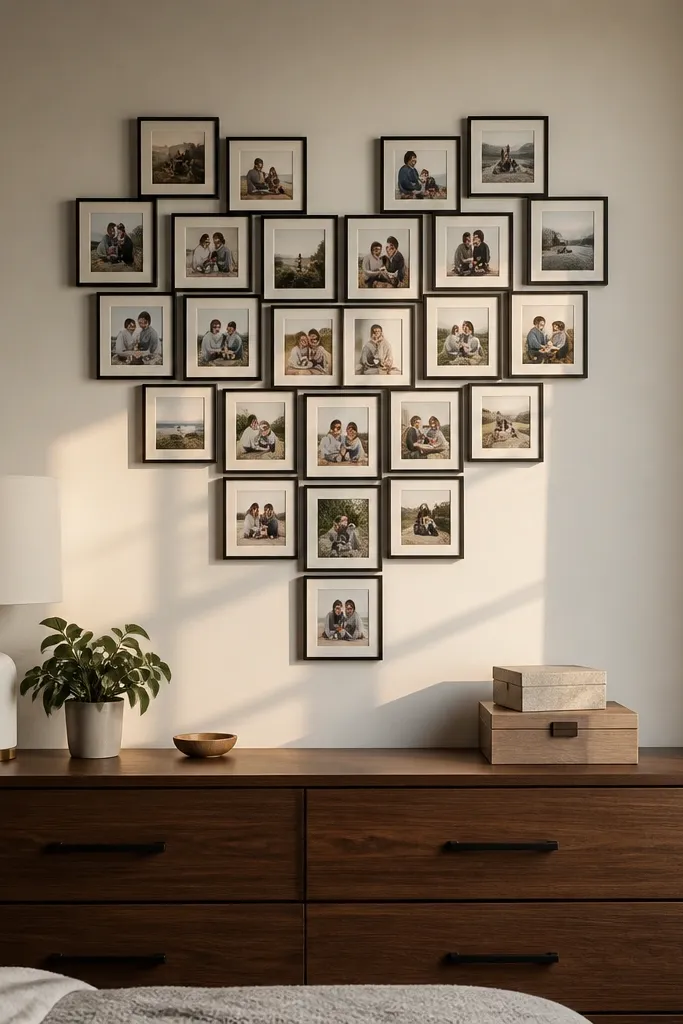
A heart-shaped layout is playful, but it still works in small spaces when you keep it tight and symmetrical. Use small frames around a heart outline so it reads like a single graphic shape from across the room. This is great for a bedroom wall, a Valentine-season swap, or a themed gift wall. The look is photogenic because the shape guides the eye toward the center photo. Keep frame sizes consistent and use a mat to create clean edges so the heart doesn’t look lopsided.
Choose a set of small frames, like 4x6, and decide your heart size based on wall width. Arrange frames on the floor to form a heart outline, then measure the full bounding box. Tape the bounding box to the wall and mark the center point. Hang the center frame first, then place the left and right side frames symmetrically with 1/2-inch gaps. Finish by adding the bottom point frame and checking the heart shape from standing height.
Editor's noteIf your wall is off-level, compensate by adjusting frame mounts so the heart outline stays symmetrical.
Skip thisDon’t mix frame sizes — the heart shape gets messy fast.
18. Photo Mosaic with One Big Color-Corrected Theme
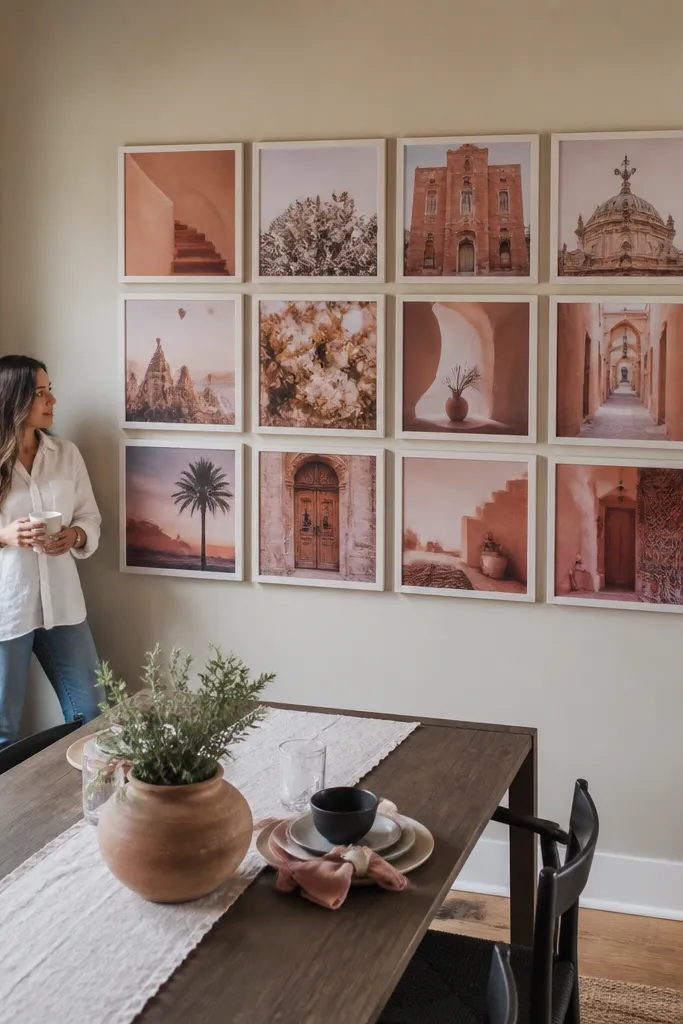
A photo mosaic looks amazing in small-space wall photo collage setups when the photos share a common look. Instead of random images, pick a theme and color-correct them so the mosaic reads as one visual block. This is the “wow” option when you want lots of photos but still want it to look like art. The mosaic grid gives structure, and the consistent photo tone keeps it from feeling like clutter. It’s ideal for a small wall section where you want a statement without going huge.
Pick a grid size based on your wall area, like 4 columns by 5 rows using 4x6 photos cropped to the same ratio. Adjust photo colors before printing so your mosaic has consistent brightness and saturation. Print and mount the photos in frames or use a single backing board with photo pockets. Create 1/2-inch gaps between each photo so the grid lines stay crisp. Mount the whole mosaic as one piece if possible, then level it carefully.
Editor's notePrint with a matte finish for the most natural mosaic look under indoor lighting.
Skip thisDon’t mix extreme color swings; the mosaic stops reading as one image.
19. Floating Acrylic Photo Frames in a Line
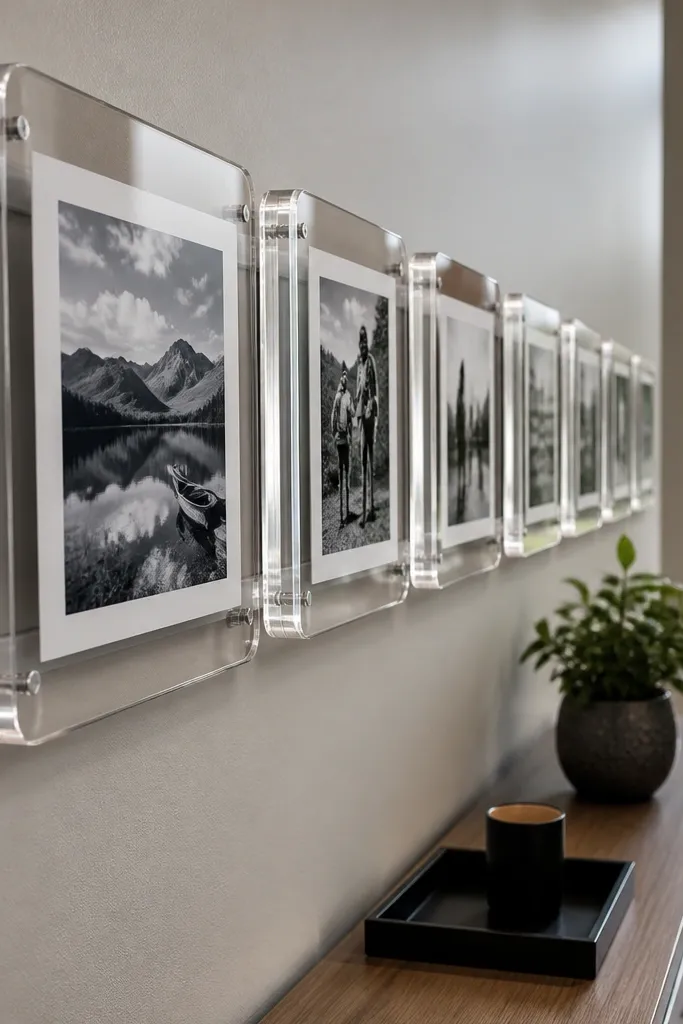
Clear acrylic frames give a small-space wall photo collage a light, modern feel because the frame doesn’t visually block the photos. In tight rooms, that matters. Use a horizontal line layout so it doesn’t swallow wall space. Acrylic also makes the photos look crisp and gallery-like, especially if you use matte prints inside. This setup looks best when all photos are the same size and orientation, so the line reads as one clean design element.
Choose acrylic frames designed for mounting, and pick one photo size across the whole row, like 5x7. Mark a baseline on the wall and place frames along it with consistent spacing, like 1/2-inch between frame edges. Install the mounting points for each frame using the hardware included with the acrylic frames. Hang the frames, then insert photos last so you don’t scratch the plastic. Straighten the line using a level and adjust before tightening screws fully.
Editor's noteWipe acrylic frames with a microfiber cloth and avoid paper towels that leave micro-scratches.
Skip thisDon’t mix photo sizes in acrylic frames; the uneven widths show immediately.
20. Rope-and-Pin Photo Line with Staggered Clothespins
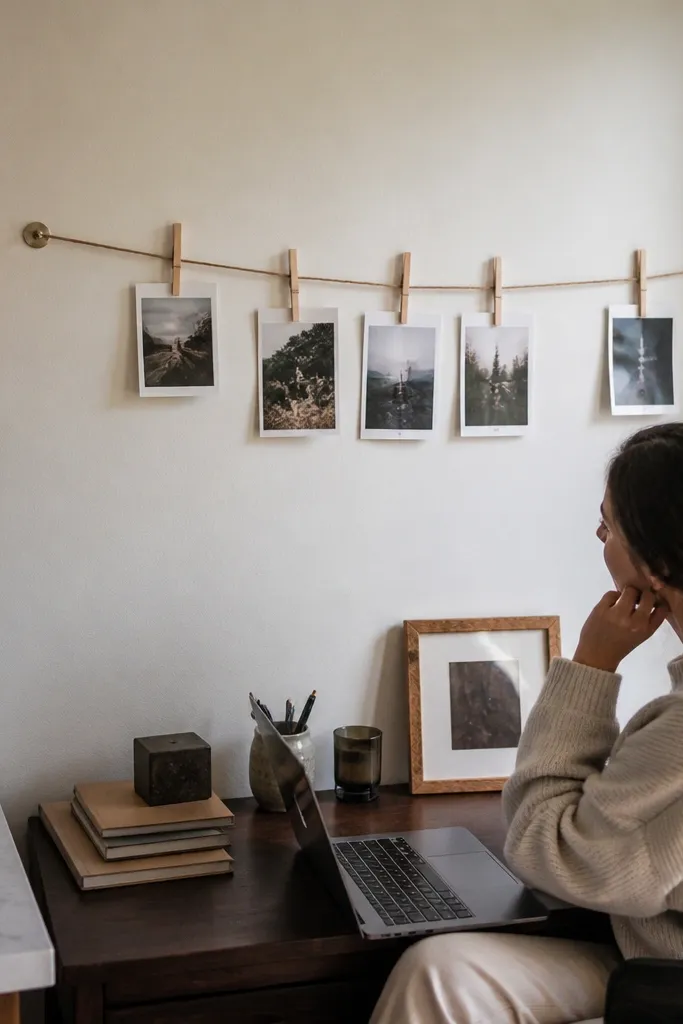
This is a cute, airy option for a small-space wall photo collage that still looks intentional. The rope gives a straight visual guide, and staggered clothespins create motion without losing order. It’s especially good above a desk or in a small kitchen nook where you want photos to feel casual. Keep the number of photos limited so the rope doesn’t look crowded. The look is photogenic because the photos hang slightly separated, and the rope line reads as a clean structure.
Install two small eye hooks on the wall at the height you want your collage line, then run rope between them tight. Mark where each photo will hang using a measuring tape so spacing stays consistent. Use small clothespins or binder clips sized for photo edges, and clip photos so bottom edges align. Adjust each photo’s height slightly but keep the overall rope line straight. When you’re happy, tighten hook hardware and check that each photo hangs flat.
Editor's noteUse identical clothespins for a cohesive look, even if your photos are different.
Skip thisDon’t let photos overlap — the rope line should stay readable.
21. Large Mat Board with Cutout Photo Windows
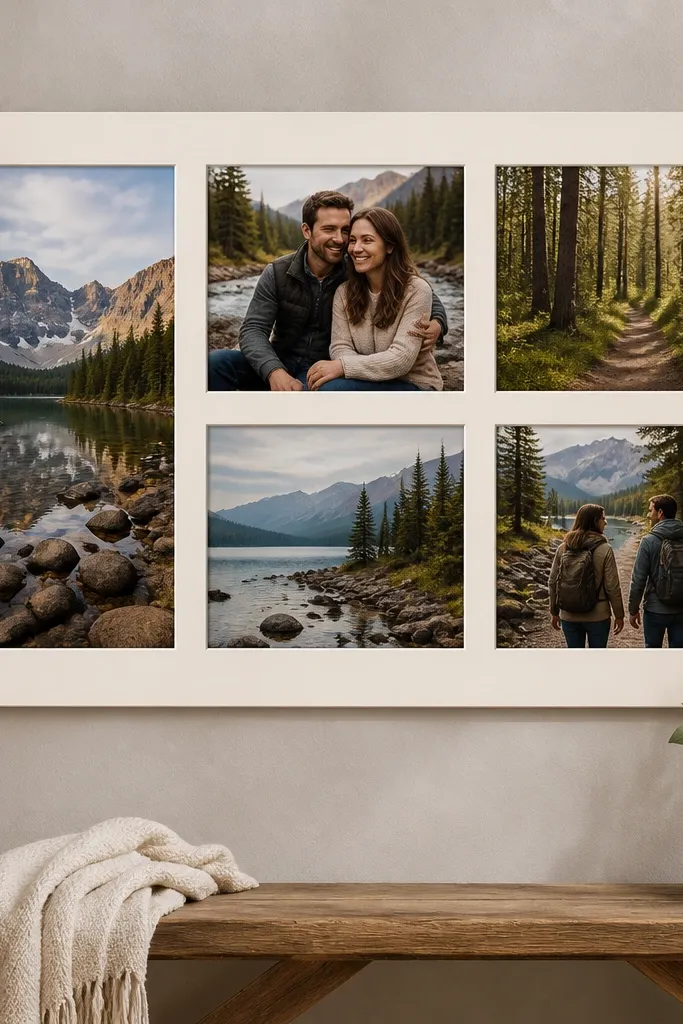
A single mat board with cutout photo windows makes a small-space wall photo collage look clean and modern. You mount photos behind the board, so the wall reads as one artwork instead of a cluster of frames. This is a great budget option because one big board replaces many frames. It also hides messy edges and gives you a consistent border thickness for every photo. If you like a minimalist look, this is the one to pick — it looks sharp even with simple black-and-white photos.
Buy a large foam board or mat board sheet and decide the grid layout, like 3x4 windows. Mark and cut photo windows using a craft knife and a cutting mat, leaving a consistent border width like 1.5 inches. Tape photos behind the board with double-sided photo mounting tape so edges stay flat. Mount the finished board to the wall using hanging hooks rated for board weight. Arrange photos so the grid is perfectly aligned before you tape them permanently.
Cut one test window first so your knife depth and border width look right.
Don’t use thin cardstock as the base; it bows and makes windows look uneven.
22. Fabric Picture Banner with Mini Pegs
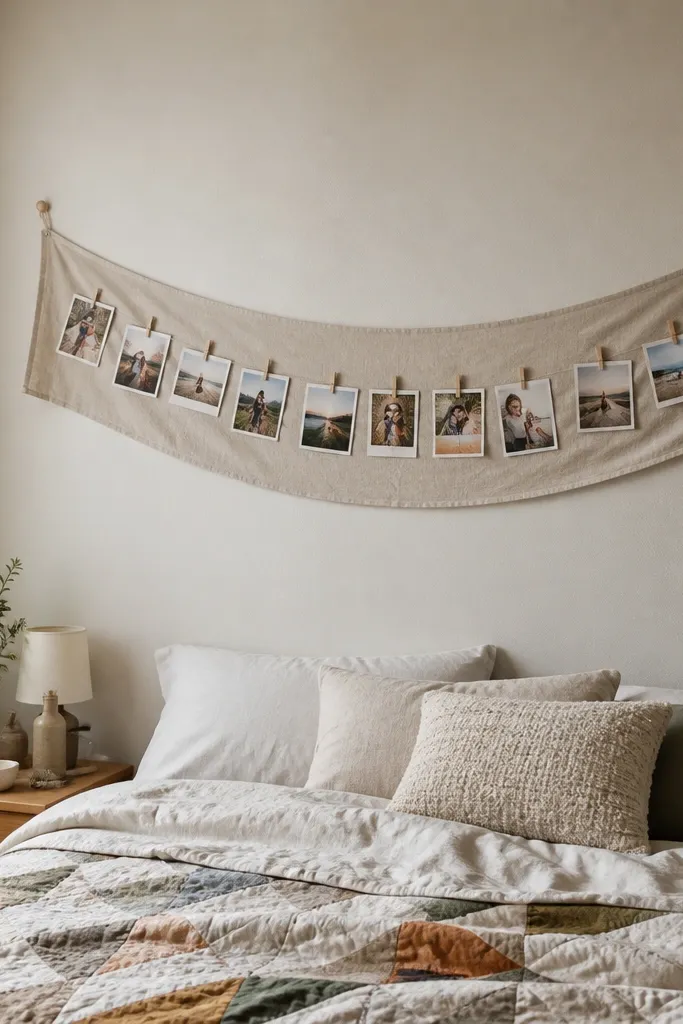
A fabric banner is a small-space wall photo collage that feels soft and decorative. Instead of rigid frames, you clip photos onto a fabric strip, which makes the collage look light and handmade. It’s great for above a bed, along a laundry room wall, or in a kid’s room where you want easy photo swaps. The banner shape also works if your wall is long and narrow. Keep the photos small and consistent so the banner looks intentional, not like a messy photo line.
Cut a fabric strip to your desired banner width, like 10-12 inches tall and long enough for 6-10 photos. Fold and iron the ends, then stitch or glue a simple casing for a hanging rod or hooks. Attach mini pegs or clothespins along the fabric at measured intervals. Clip photos in matching sizes, like 3x4 or 4x6, keeping them centered under each peg. Mount the banner with two secure hooks and straighten it before you clip all photos.
Editor's noteUse a neutral fabric like cotton canvas so the colors of your photos stay the focus.
Skip thisDon’t use stretchy fabric; it warps the photo spacing.
23. Three-Panel Diptych Triplet Above a Console
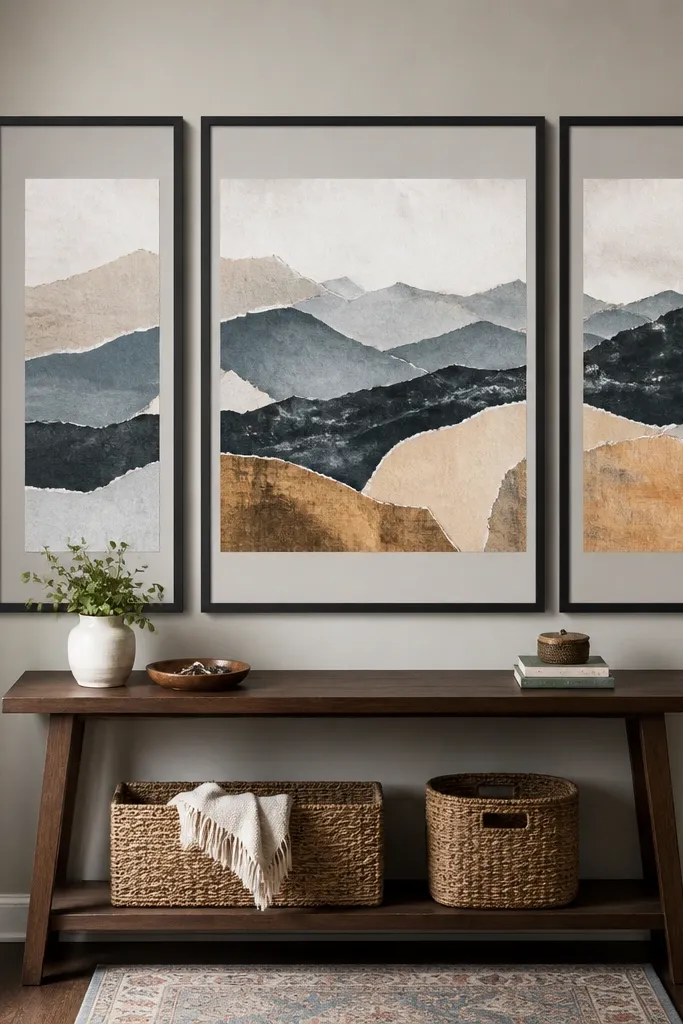
Triptych layouts make a small-space wall photo collage look like a single art piece. With three panels, you get enough photo variety to feel personal, but the overall shape stays clean. This is a strong choice for above a console, dresser, or entry table where you have vertical space but not a lot of width. Use consistent mat colors and frame finishes across all three panels so it reads as one set. The middle panel can be larger to anchor the whole composition.
Pick three frame sizes that relate to each other, like left 8x10, center 11x14, right 8x10. Arrange them on the floor with 1/2-inch gaps between panels, then measure total width and height. Tape a paper template of the three-panel arrangement to the wall and mark the hanging points. Hang the center panel first, then level the left and right panels based on the same height reference. Insert photos and check the spacing from the seating area, not while standing close.
Editor's noteUse the same photo crop style in all three panels so the triptych looks unified.
Skip thisDon’t make the middle panel the same width as the sides; it loses the anchor effect.
24. Frame Stack with One Big Photo and Two Smaller Sides
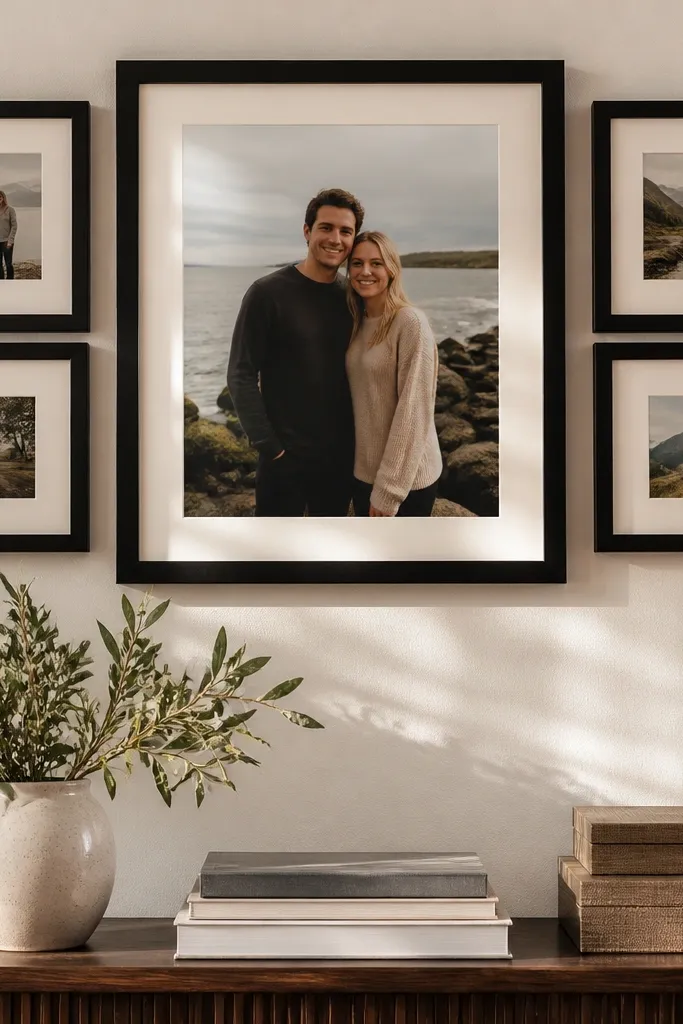
This stack-and-sides layout is a compact way to get a collage look without covering a whole wall. It places one large photo in the center and balances it with two smaller frames on each side, creating a layered visual pyramid. The look is photogenic because the center photo is readable from a distance, while the side frames add detail. It works well for small spaces that need a focal point — like over a sofa end table or in a tight living room corner. Keep frame widths similar and use consistent matting so the stack looks intentional.
Choose one large frame, like 16x20, and two smaller frame sizes, like 8x10 on each side. Lay them out on the floor and set 1/2-inch gaps between the center and side frames. Measure the total layout height and width, then cut a paper template for accurate wall placement. Hang the center frame first at the correct eye-level height. Hang the four side frames next, using the template marks so the pyramid shape stays even.
Use photos with matching brightness so the center doesn’t overpower the sides.
Don’t use wildly different mat colors — the side frames will look disconnected.
25. Wallpaper Accent Backing Behind a Simple Frame Grid
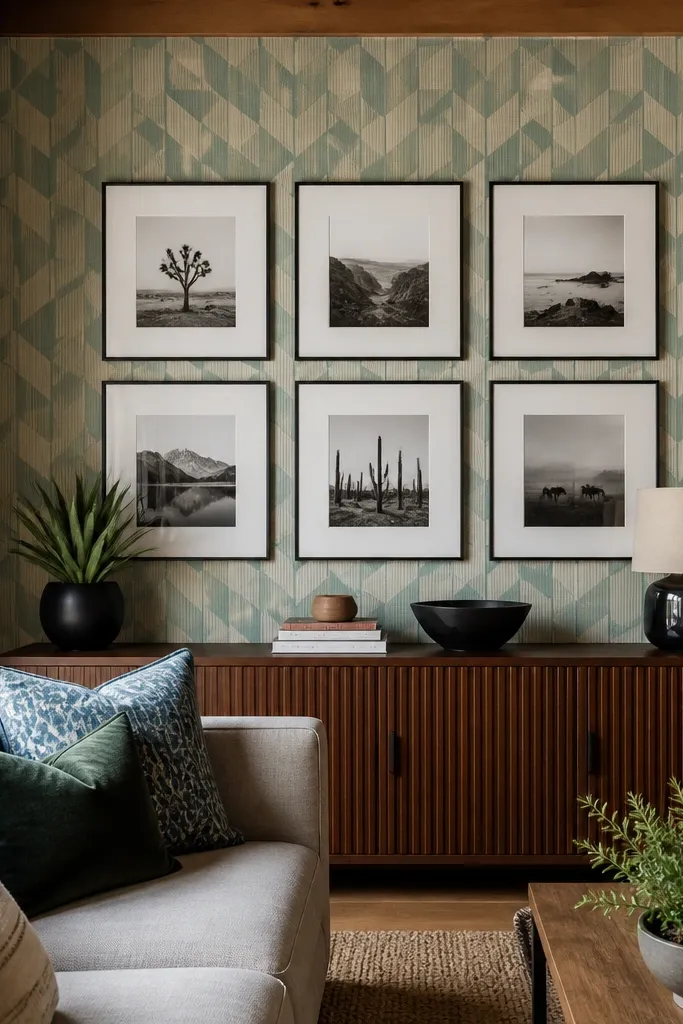
If your small-space wall photo collage looks flat, a wallpaper backing fixes it fast. You mount a simple grid of frames on top of a cut-to-size wallpaper section, so the wall behind the photos has pattern and color without cluttering the photos themselves. It’s a high-impact look for a small footprint because the wallpaper acts like a stage. Choose a wallpaper with a small scale pattern so it doesn’t fight your images. This is especially good in rental spaces because you can remove the wallpaper later while leaving the frame holes minimal.
Cut wallpaper to the size of your planned frame grid, like 24x30 inches for a compact collage. Tape the wallpaper in place on the wall temporarily and mark the frame positions on top. Mount frames with consistent spacing, like 1/2-inch gaps, using level marks for each corner. After the frames are hung, burnish the wallpaper edges around the frames if you can reach them. If you’re using removable wallpaper, test a corner first so it behaves cleanly under light.
Pick wallpaper with a dominant neutral base so photos don’t get color-cast.
Don’t choose a huge bold pattern — it turns the collage into background noise.



