
1. Berry Cupcake Squishy
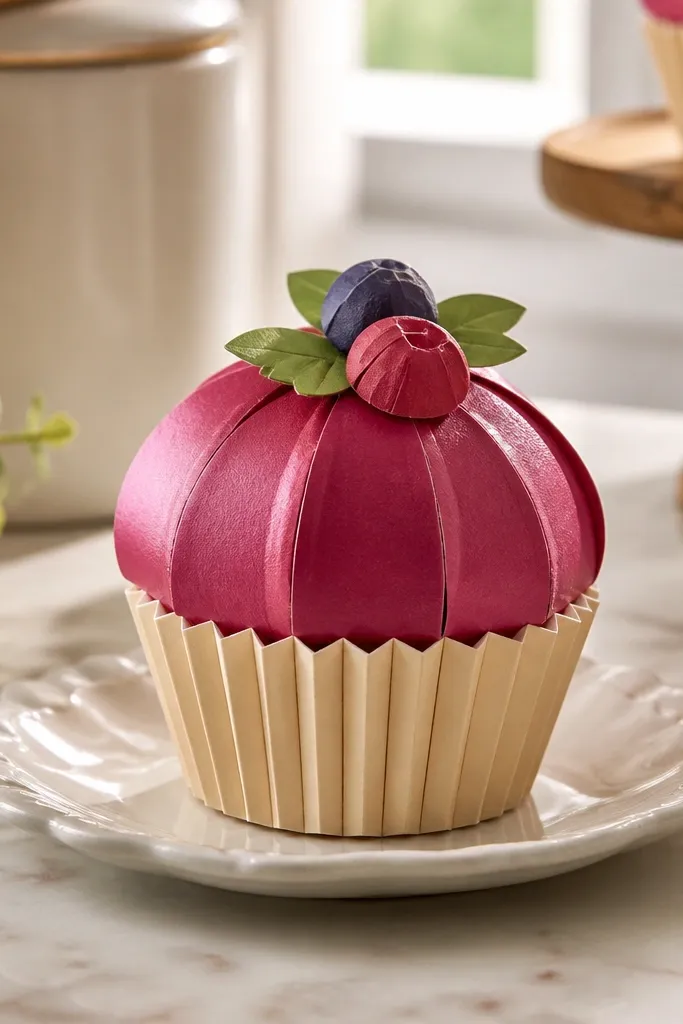
This template makes a cupcake that looks like it’s sitting in a tiny bakery display. The frosting area is wide and rounded, which reads as “soft” even when it’s paper. It’s a good small-space Paper Squishy because the finished piece is compact but still has a strong silhouette. Use thick cardstock for the cupcake base and a slightly softer spacer for the frosting so it compresses evenly when you press the top. The color blocking is simple: deep berry for the frosting and a warm cream for the base.
Start by printing the front and back cupcake faces on cardstock, then print the frosting spacer strip on a thinner sheet so it flexes. Cut all pieces cleanly with a sharp craft knife or scissors, then score fold lines lightly before assembling. Glue the spacer to the back face first, then align the front face and press along the edges. Finish by adding a tiny circle “cherry” cutout on top using a glue dot only at the center so it still squishes.
If your frosting looks too flat, add one extra spacer strip under the frosting panel.
Don’t flood glue into the seam — it stiffens the squish.
2. Cloud Puff Keychain
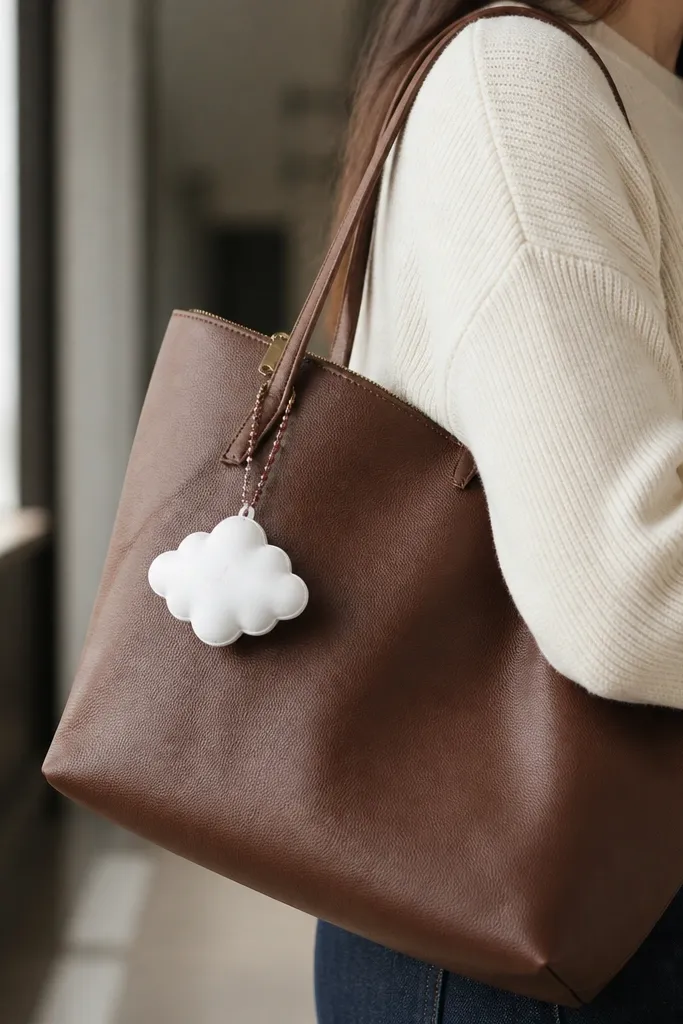
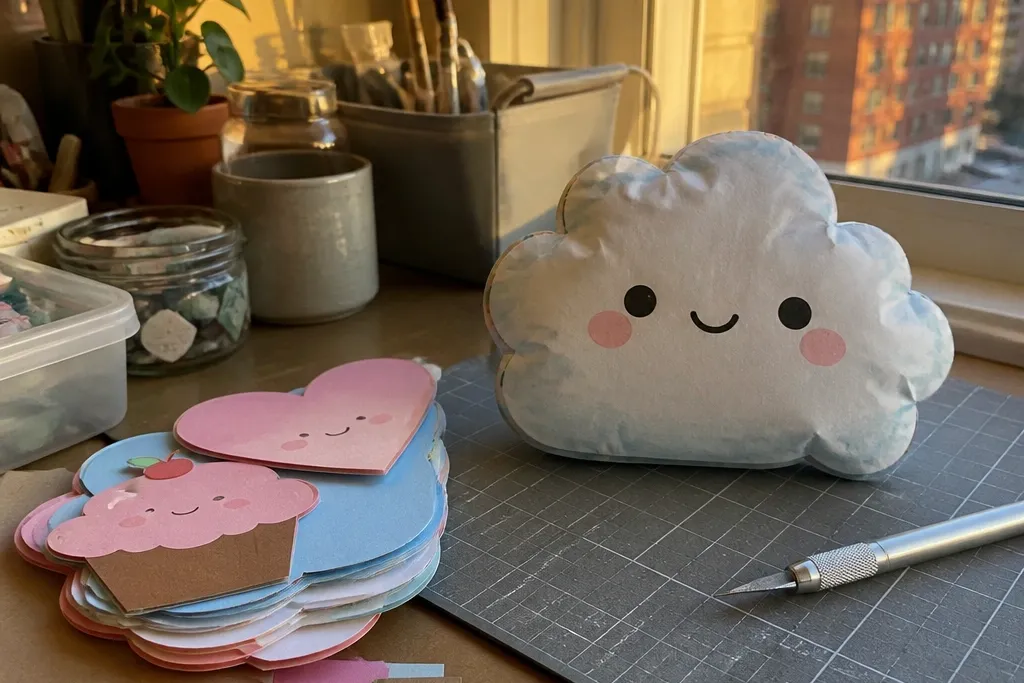
A cloud keychain is one of the best small-space Paper Squishy forms because it’s instantly recognizable and easy to photograph on a bag or desk. The cloud outline is the trick: rounded lobes create highlights that make the paper look dimensional. It squishes because the spacer is a wavy strip that pushes the front panel forward evenly. Choose a cool white or light gray outer print and a darker gray inner panel for contrast. Keep the seam tight so it doesn’t twist when you squeeze it.
Editor's noteUse a 2mm hole punch so the keyring doesn’t tear the cardstock edge.
Print the cloud front and back on cardstock. Cut a separate spacer strip and fold along its wave lines so it holds the puff shape. Glue the spacer to the back panel, then attach the front panel and press the seam flat. Punch a small hole at the top tab, thread a keyring through, and secure with a small tape reinforcement inside.
Skip thisSkip flimsy printer paper — it will crease and lose shape.
3. Mini Taco with Lime Drip
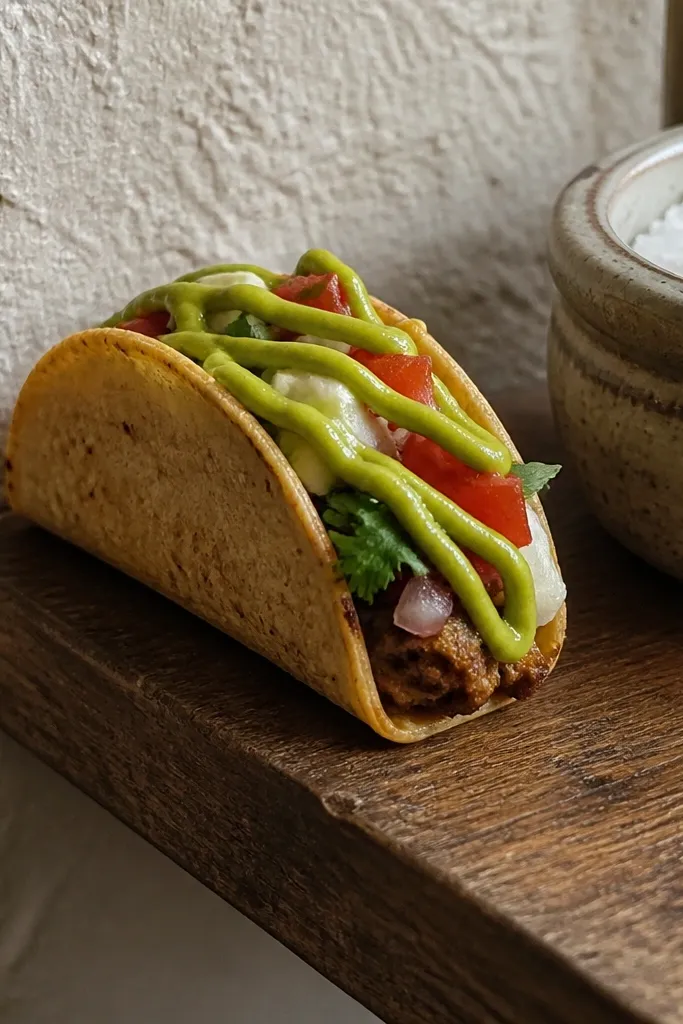
This one is pure shelf candy. The taco shape is compact, but the layered toppings create a “stacked” look that makes the squishy feel fun and fresh. The lime drip lines give you a photogenic diagonal detail that pops even in a small frame. It’s a smart small-space Paper Squishy because the finished size stays under control while the toppings still look busy. Use warm tan for the shell, then bright green and red for toppings.
Print the taco front and back faces on cardstock and cut the shell shape with a clean edge. Print the topping spacer piece so it sits under the topping layer only, not the whole taco. Assemble by gluing spacer to the back, then attach the front face. Add the lime drip cutouts on top with center-only glue so the top layer can compress slightly.
Tint your taco shell with a light brown marker along the fold edges for a baked look.
Don’t attach toppings across the entire surface — it makes the taco stiff.
4. Matcha Donut Ring Squishy
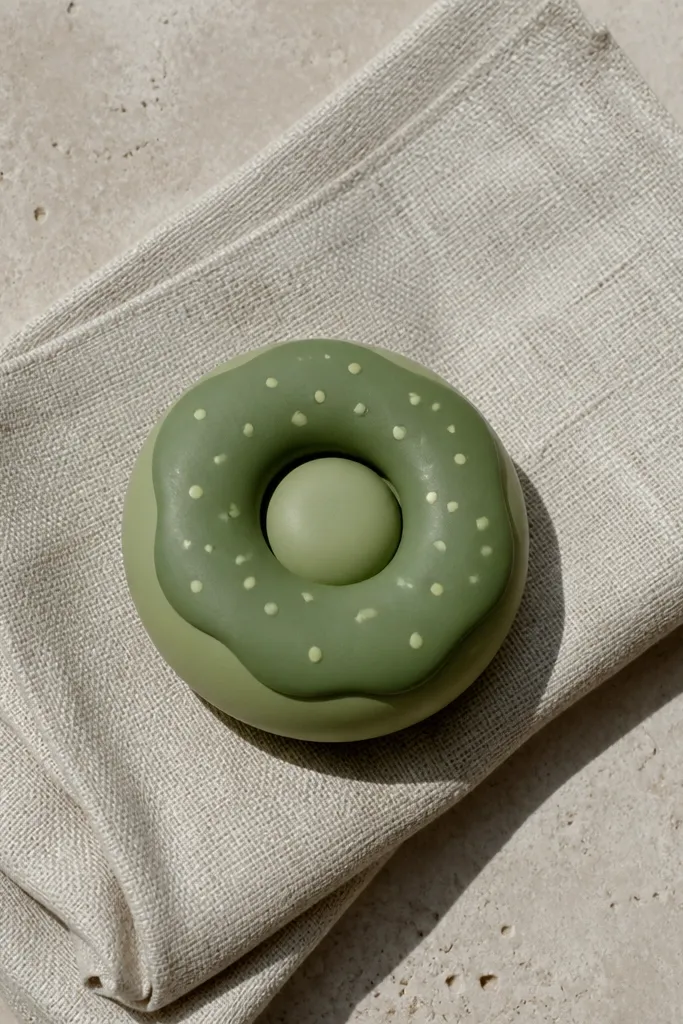
A donut ring reads instantly as squishy because the circle creates a smooth, continuous outline. This template uses an inner ring spacer so it puffs in the center without ballooning the entire donut. The matcha color is the visual hook: light green outer with a darker green “icing” band and tiny sprinkle dots. It’s ideal for small-space Paper Squishy displays because it fits on a tray, desk, or mini plate and still looks like a complete object. Make the edges crisp so the circle stays clean.
Print the donut front and back on cardstock, keeping the ring thickness consistent. Cut the inner spacer ring and fold any tabs so it holds the puff. Glue the spacer ring to the back panel, then align and press the front panel to close the donut. Finish by adding sprinkle dots around the top band using tiny glue dots.
Use a circle cutter or steady scissors for the inner hole so it stays perfectly round.
Don’t over-glue the ring — it restricts the squish movement.
5. Chibi Cat Face Mini
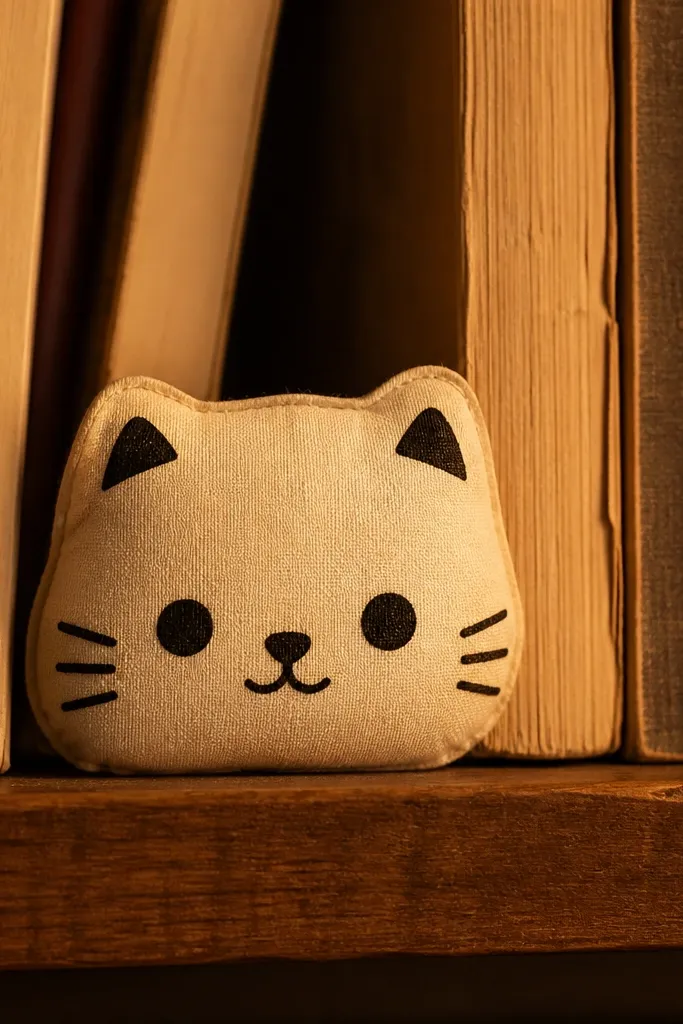
This is a small-space Paper Squishy that looks cute from any angle because the face elements are centered and bold. The spacer is designed for a shallow puff, so the cat doesn’t become a big bulky ball. Use matte paper prints so the eyes and nose look soft, not shiny. The small size makes it great for bookmarks, mini desk stacks, or hanging from a zipper pull. Keep the seam neat — the face is symmetrical, so any misalignment shows.
Editor's noteOutline the face features with a fine black marker after assembly for sharper contrast.
Print the cat front and back on cardstock and cut out the ears separately if the template includes them. Assemble the spacer strip behind the face area, not behind the ears, so the puff stays subtle. Glue the spacer to the back, then attach the front panel and press along the outline. Add the nose and mouth with center-only glue so they keep their slight lift when squeezed.
Skip thisDon’t glue the ears all the way down — it makes the cat look flat.
6. Raspberry Ice Cream Cone
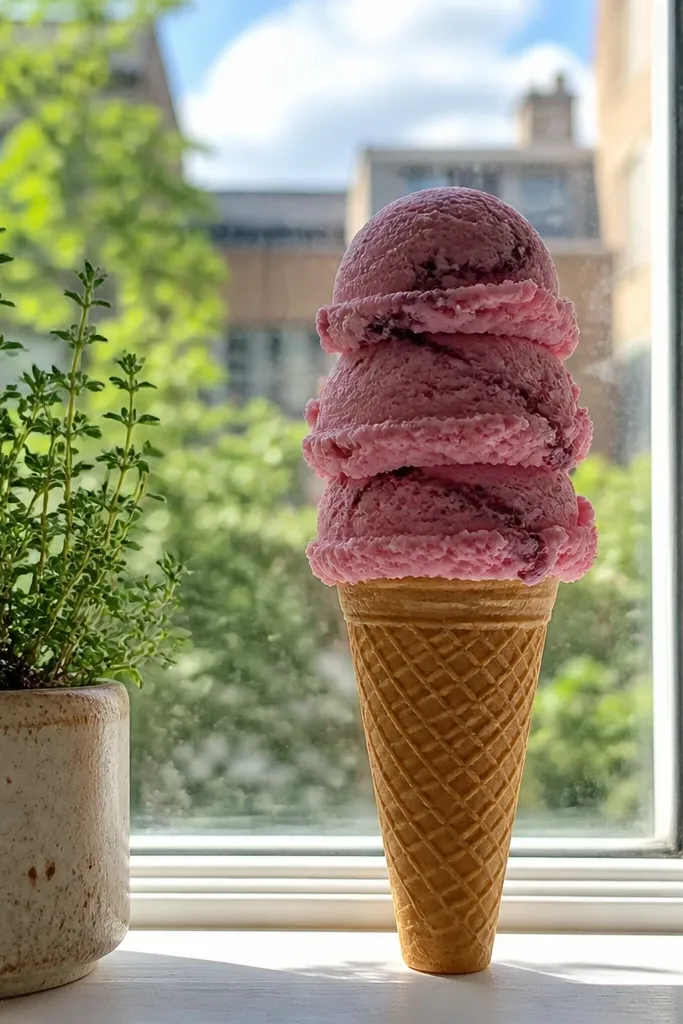
The cone shape gives you a vertical silhouette, which is perfect if you have narrow shelves. This template uses a layered scoop design that puffs just enough to look scooped, not collapsed. Raspberry pink with a darker berry swirl makes the face pop in photos. The cone itself stays firm while the scoop squishes, so you get a satisfying contrast in texture. It’s a great small-space Paper Squishy for gifting because it looks “finished” even without extra props.
Editor's noteUse a brown marker to add a light striped texture to the cone fold lines.
Print the cone front and back on cardstock, then print the scoop layers on slightly thicker paper for color stability. Cut a spacer that sits under the scoop only, and fold it along its guide lines. Glue spacer to the back scoop layer, then sandwich the front scoop and cone faces. Hold the cone seam closed with a thin strip of tape inside for a clean outer finish.
Skip thisSkip thick foam — the cone will bulge instead of squishing.
7. Watermelon Slice Mini
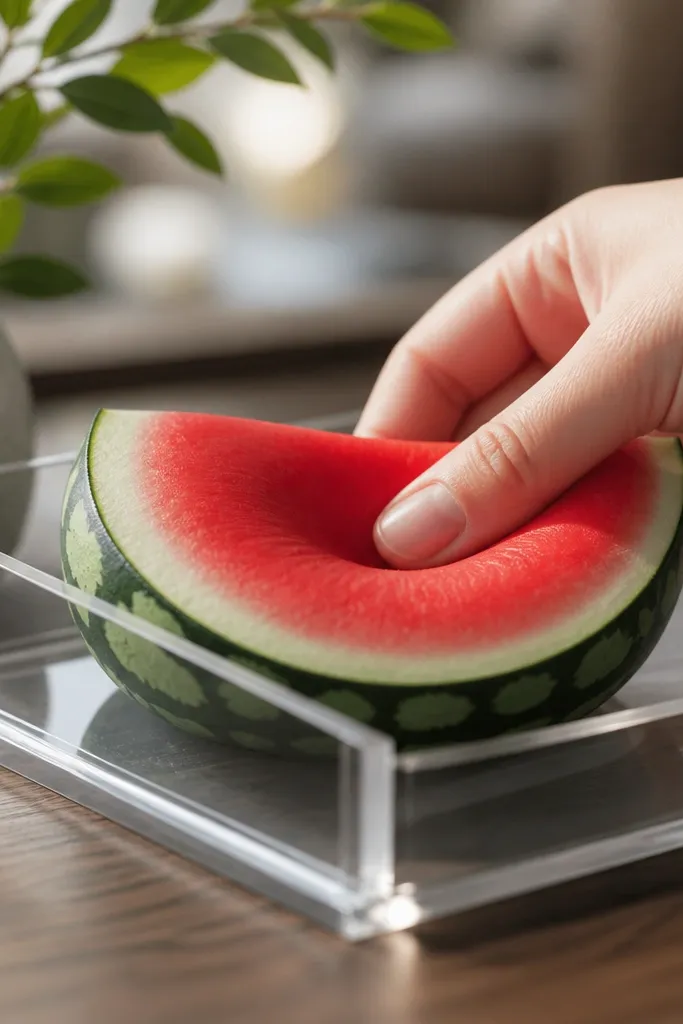
A watermelon slice is one of the most photogenic small-space Paper Squishy shapes because it has three clear color zones. The rind edge creates a crisp border, and the red interior makes it look juicy. This template is built to keep the slice flat enough to store, while the spacer creates a gentle squish in the center. Add black seed dots to make it instantly recognizable. It looks great on a countertop with other fruit decor because it reads as food without needing extra styling.
Print the front and back slice faces on cardstock. Cut the spacer panel that matches the slice curve and fold any tabs so it holds the slice puff. Glue spacer to the back face, then attach the front face and press around the edge. Add seeds using small cutouts or dot stickers, then seal the top edge with a thin glue line only.
If your seeds disappear in photos, switch to white gel pen for tiny seed highlights.
Don’t round the edges by hand after cutting — keep the slice crisp.
8. Sunflower Pocket Squishy
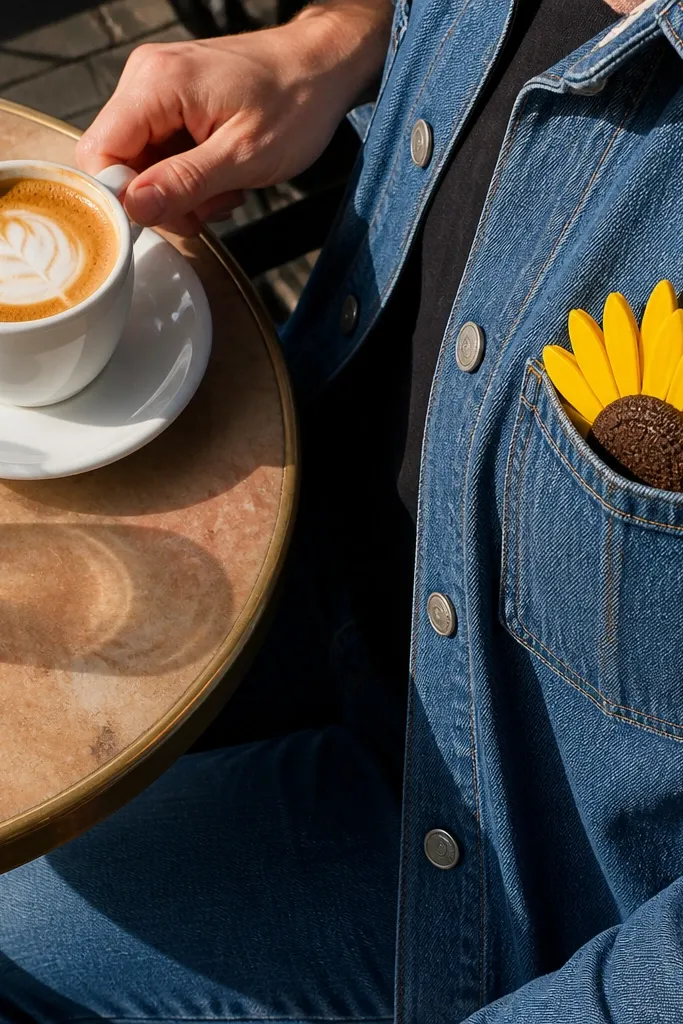
This template is made for small-space Paper Squishy that you want to tuck into pockets, bags, or small display trays. The sunflower has a big center circle and petal tips that create a “burst” look. The spacer is a ring-shaped puff so the petals stay lifted and don’t collapse inward. Yellow petals with a deep brown center look great even with basic printing. It’s photogenic because the petals create a textured edge that catches light.
Print sunflower front and back on cardstock and cut petals carefully along the template lines. Cut the center spacer ring and fold it so it stands off the backing panel. Glue the ring to the back panel first, then attach the front so the center sits high. Finish by adding a dark center disk and a few tiny leaf cutouts if the template includes them.
Use a bone folder on the spacer folds so the ring holds its shape under squeezing.
Don’t glue petals to the spacer — only the center should puff.
9. Pastel Rainbow Stack Squishy

This is a small-space Paper Squishy that looks like a mini wall decor piece even when it’s only a few inches wide. The rainbow arcs are stacked with a spacer so each band has a slight lift, creating depth without bulky materials. Pastel gradients photograph well on light backgrounds, and the arc shape makes it pop. It’s also forgiving — small seam misalignment is less noticeable because the arcs hide it. Use thick cardstock for the arcs and a thinner spacer strip for squish.
Editor's noteMatch your arc colors to the exact band order in the template so the gradient reads correctly.
Print the rainbow front and back, plus one spacer strip per band if the template uses multiple layers. Cut each arc cleanly, then score fold lines where the arcs meet the spacer. Glue spacer strips to the back in the exact order of colors, then sandwich the front panel. Press the seam and let it dry flat under a book for 10-15 minutes.
Skip thisDon’t stack spacers too thick — it makes the rainbow warp.
10. Chocolate Heart with Foil Specks
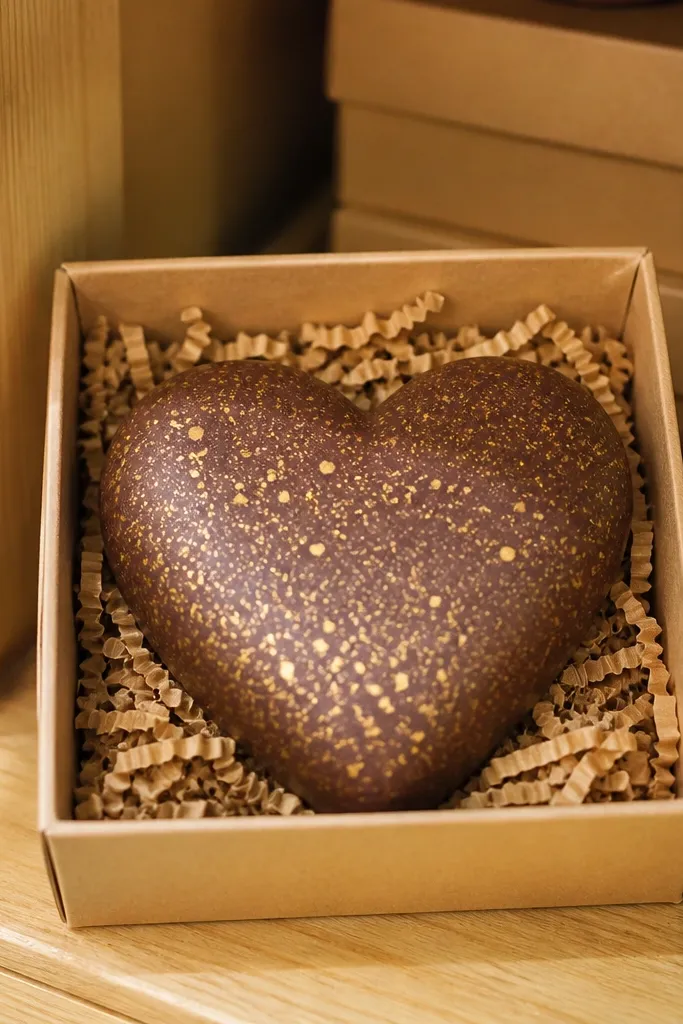
A heart is a classic, but this one looks better because it uses a textured speck effect. Brown cardstock with tiny gold specks makes it feel like chocolate with foil — the squish adds a soft, giftable look. The spacer is a shallow heart puff that keeps edges smooth, so it sits flat in a small box. It’s a strong small-space Paper Squishy for Valentine-style displays, but the color palette also works for “cozy” decor year-round.
Editor's noteLightly scuff the speck paper with your fingertip so the specks look worn like foil.
Print the heart front and back on cardstock and cut out cleanly. Cut a heart spacer piece and fold along guide lines so it curves smoothly. Glue spacer to the back and attach the front, then press the edges firmly. Add gold specks using a small hole punch on gold paper or foil sheet scraps, then tap off loose bits before sealing.
Skip thisAvoid glitter glue on the seam — it stiffens and flakes.
11. Peach Blossom Mini Flower
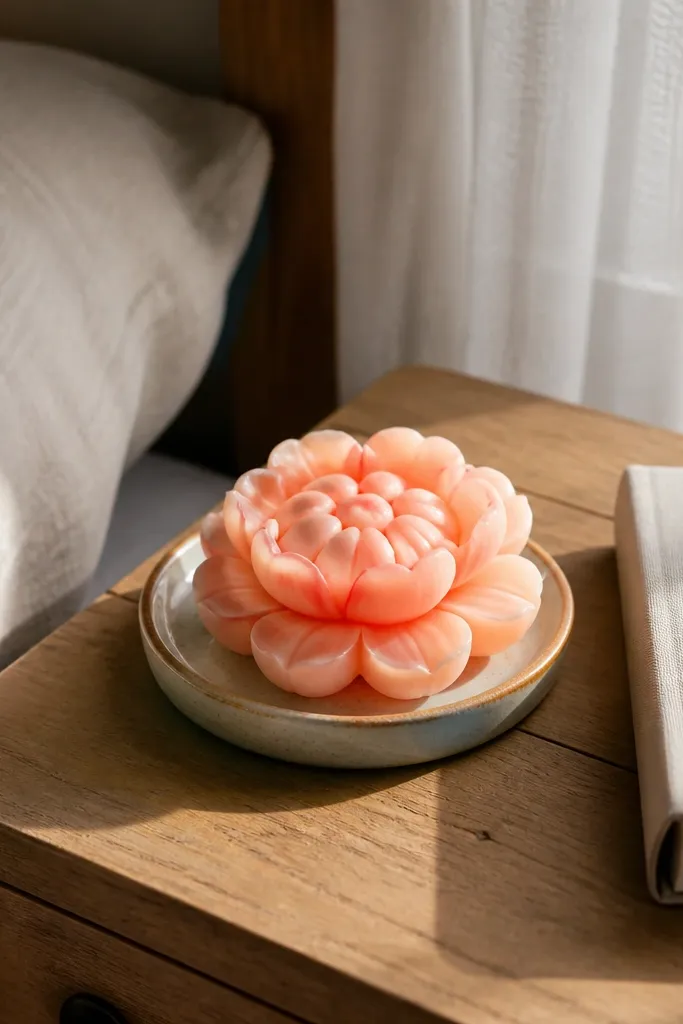
This template makes a flower that looks like it belongs in a tiny spring vignette. Petal layers are where the photogenic magic happens: soft peach tones with a slightly darker petal edge create depth. The squishy center adds a gentle puff, which makes the flower look alive instead of flat. It’s perfect for small-space Paper Squishy because the finished size is small, but the petal spread still reads clearly in photos. Keep the center slightly domed for the best look.
Editor's noteUse two shades of peach cardstock for petals so the edge shading shows even after assembly.
Print the petal front and back layers on cardstock and cut each petal set. Cut a central spacer disk and fold it if the template includes a scored rim. Glue the spacer to the back center, then attach the front petal layer on top. Finish by adding a tiny circle center and a few dot accents for stamens.
Skip thisDon’t over-thicken the center spacer — it pushes the petals out of alignment.
12. Lemon Slice with Zigzag Seeds
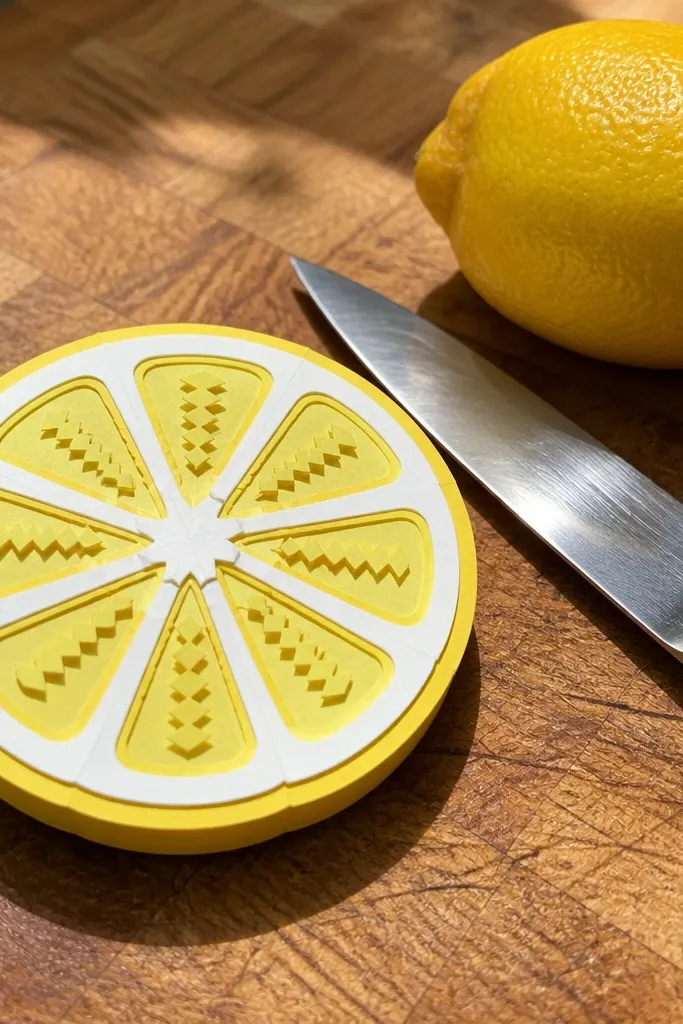
Lemon slices look bright and clean, and this template leans into that with sharp rind lines and playful seed patterns. The zigzag seeds make the center feel textured, which is where squishy paper often looks boring. The spacer creates a soft puff in the middle while the rind stays defined, so it looks like a real slice. This is a great small-space Paper Squishy for kitchens, small desks, and tray decor because it brings color without taking up space.
Editor's noteIf your slice looks wavy, flatten the spacer under a book for 5 minutes before gluing.
Print front and back on cardstock and cut the slice shape. Cut the inner spacer that matches the center curve and fold any tabs for a snug fit. Glue spacer to the back, then attach the front face and press the perimeter. Add the seed zigzags with cutout strips or dot markers, then seal with a light matte glue on the back only.
Skip thisDon’t place seeds too close to the seam — they’ll smear when it compresses.
13. Mini Tote Bag Charm Squishy
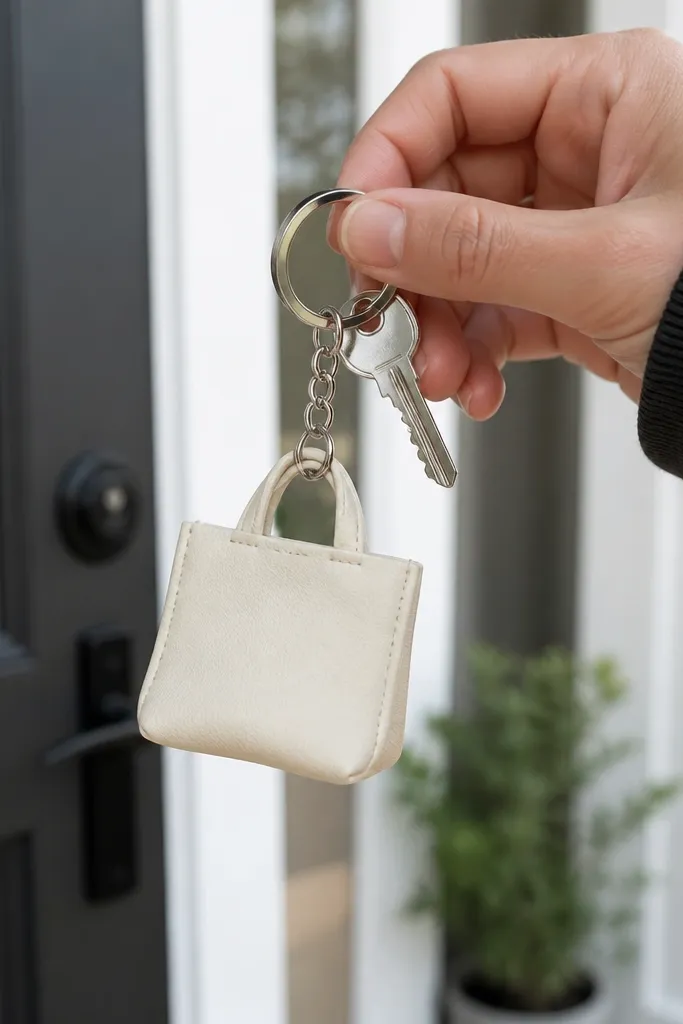
This template turns a squishy into an accessory. The tote bag shape is easy to recognize, and the puff is placed at the bottom so the bag still looks like a bag when squeezed. It’s ideal for small-space Paper Squishy because it’s small, hangs neatly, and looks cute in close-up photos on a keyring or bag zipper. Use a neutral fabric-like print for the bag and a contrasting handle color.
Editor's noteAdd a thin strip of tape inside the side seam to stop the bag from opening when you squeeze it.
Print tote bag front and back on cardstock and cut out the handle and bag body pieces as the template directs. Cut a bottom spacer panel and fold along the edges so it sits inside the bag base. Glue spacer to the back bottom, then attach the front panel and press around the bag outline. Punch holes at the handle ends and thread a small jump ring or ribbon through.
Skip thisAvoid thick glue near the handle holes — it can crack the cardstock.
14. Kawaii Starburst Pop Squishy
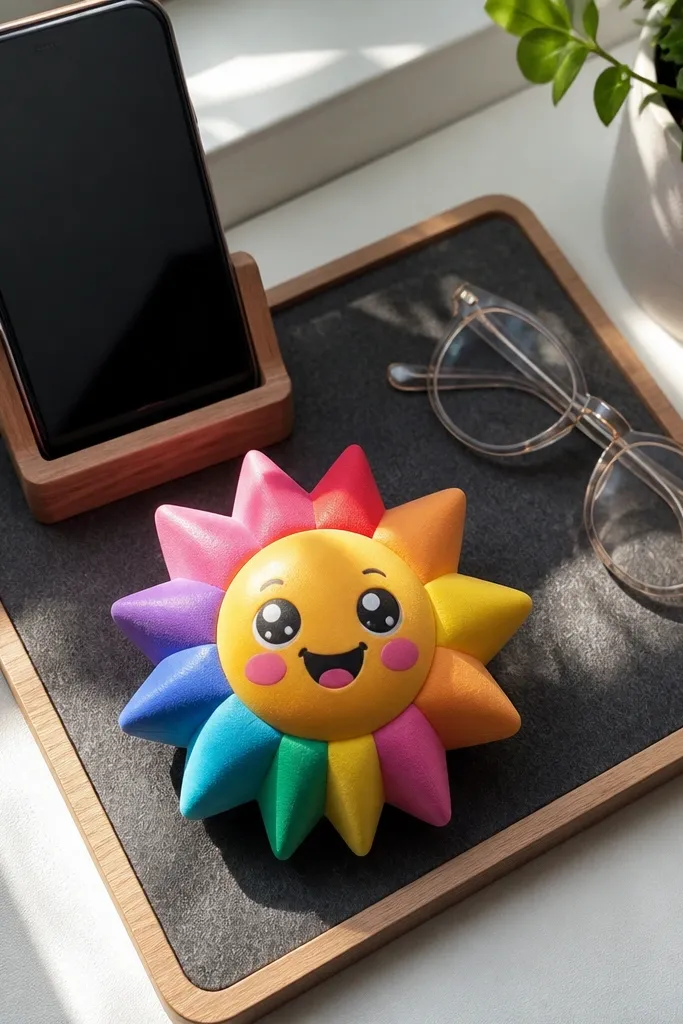
Starbursts photograph like a sticker, and this template makes it squishy without looking bulky. The rays create a lively edge that catches light, while the center face adds personality. It’s a strong small-space Paper Squishy for desks because it reads as fun even when it’s only a few inches across. Use bold ray colors with a pale center, so the face stays crisp. Keep the seam tight so the starburst doesn’t tilt.
Print starburst front and back on cardstock and cut along the ray outline. Cut a spacer piece that matches the inner burst curve so the puff is centered. Glue spacer to the back, then attach the front face and press the perimeter. Add a simple face using printed eyes or cutouts, then outline lightly with a fine marker for contrast.
Use a ruler to press the seam evenly — starbursts show uneven seams more than circles.
Don’t fold the rays too hard — it will crease the photogenic edges.
15. Mini Croissant Layers
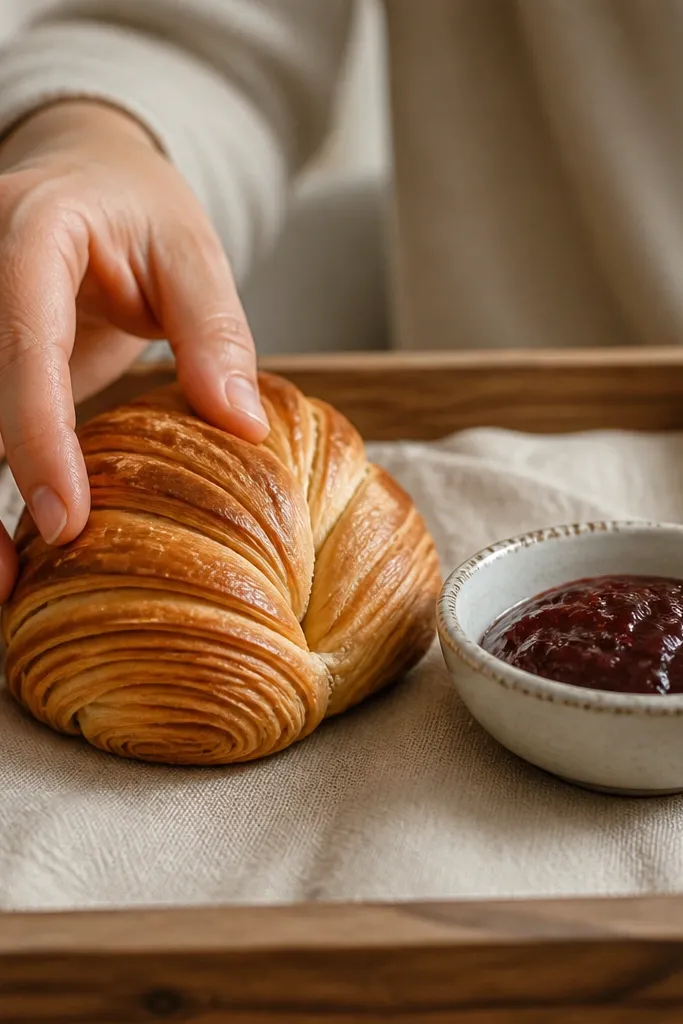
A croissant is one of the best small-space Paper Squishy shapes because it’s mostly layered color, not tiny details. The template uses a stepped puff so the “flakiness” looks layered even when you keep the size small. Golden tan with darker toasted edges makes it look bakery-real in photos. The squish effect is gentle, so it feels like a soft pastry rather than a foam ball. Great for kitchen shelves and morning-table decor.
Print croissant faces on cardstock and cut out the layered wedges. Cut spacer strips that sit behind each layer band, not across the entire back. Assemble by gluing spacer strips to the back layers in order, then attach the front face. Press the seam and trim any glue squeeze-out so the flaky edge stays crisp.
Dry-fit the layers before gluing so the ridges line up and the croissant reads as one shape.
Don’t use glossy paper — light glare hides the flake shading.
16. Sea Glass Square Squishy
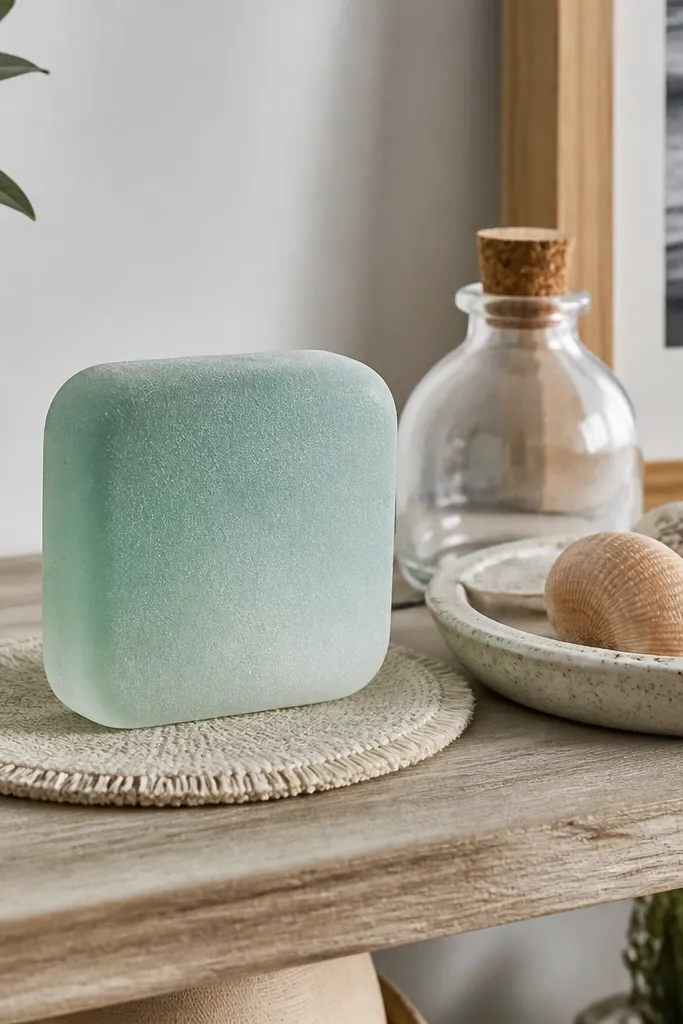
This is a small-space Paper Squishy for people who want decor that looks calm, not cartoon. The template makes a rounded-corner square that mimics sea glass, with a frosted edge effect created by color gradients. The spacer is thin, so the puff is subtle — it looks like a soft block rather than a bouncy toy. Use mint, seafoam, or pale aqua with a slightly darker border to fake that glass depth. It’s photogenic on shelves because the muted tones blend well with wood and ceramics.
Print the front and back on cardstock and cut the rounded square. Cut a thin spacer panel that matches the inner square and fold tabs if included. Glue spacer to back, then attach front and press along edges. Add a fake frosted border by tracing the outer edge with a light cream marker or dry pastel on the front face.
If your gradient looks banded, print again with a slightly higher ink density or choose a smoother color set.
Skip thick spacers — sea glass should feel soft, not swollen.
17. Cherry Blossom Mini Garland Piece
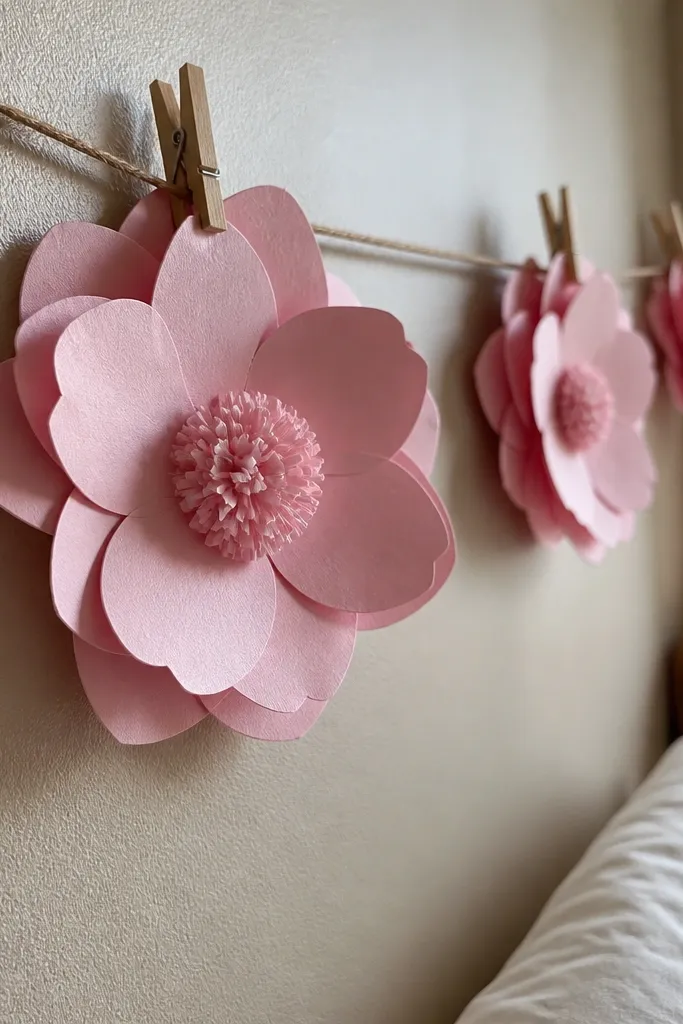
This template makes one blossom that looks good even if you only hang or pin a few. The petals have layered shapes that create depth, and the center puff adds a soft dome for that “bloom” look. It’s designed for small-space Paper Squishy because you can string multiple pieces together without needing large storage. Use pale pink petals and a warm yellow center. In photos, the blossom looks airy because the petal edges are light and defined.
Print blossom front and back on cardstock and cut each petal shape. Cut a small center spacer disk and fold it along the scored rim if the template includes it. Glue spacer to the back center, then attach the front petal layer. Punch a hole at the base and thread ribbon or twine through for hanging.
Stagger petal layers by 1-2 mm when gluing so the petals show as separate tiers.
Don’t glue petals flat to the back — you lose the airy layered look.
18. Mini Strawberry with Green Cap
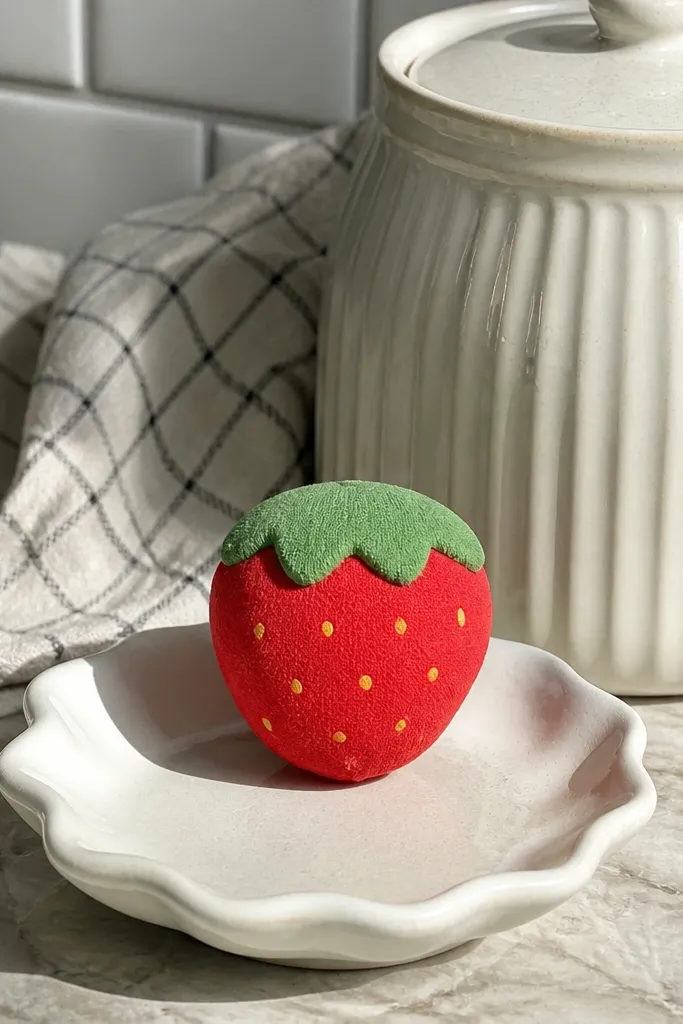
Strawberries are visually dense, which makes them perfect for small-space Paper Squishy. The template uses a red body with a green cap so the top reads instantly in photos. The squish is concentrated in the center — the cap stays slightly flatter so it doesn’t droop. Use textured red cardstock and small seed dot accents for realism. This piece works for desk decor, small gift tags, and tiny party tables where you need “cute” without clutter.
Editor's noteAdd seed dots after assembly so they line up with the squished curvature.
Print strawberry front and back on cardstock and cut the body and cap pieces. Cut a center spacer panel that fits under the body area only. Glue spacer to the back body, then attach the front body face. Glue the green cap on top last with thin glue points so it stays crisp and doesn’t absorb too much stiffness.
Skip thisAvoid full-surface glue under the cap — it will flatten the cap.
19. Pear with Blush and Speckles
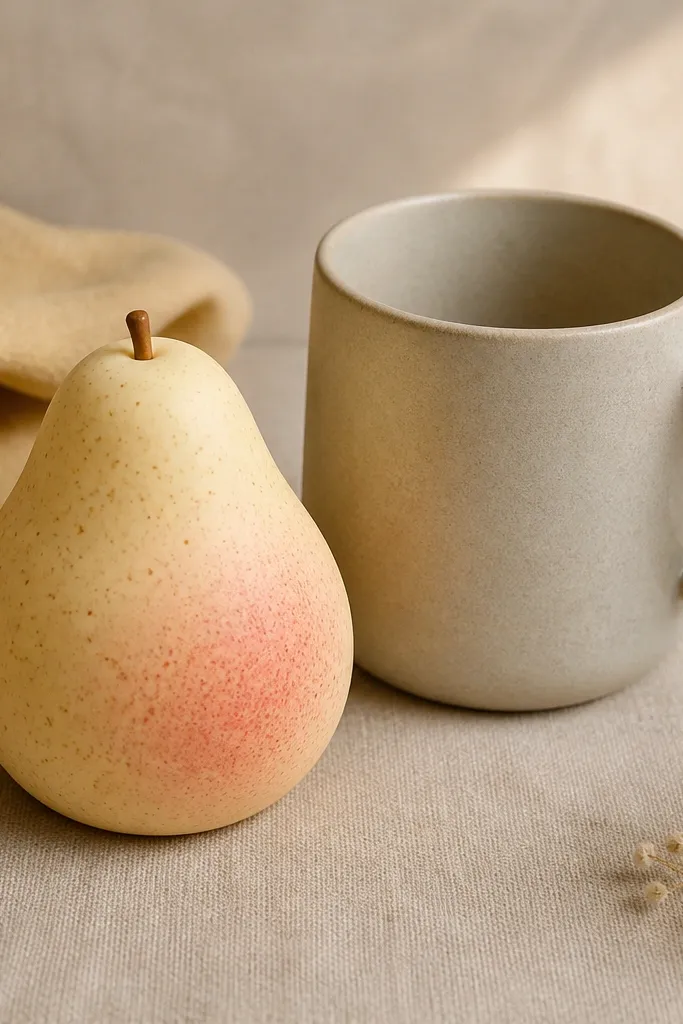
This pear template looks expensive because it uses shading and speckles instead of heavy outlines. The squishy puff is centered so the pear keeps its teardrop shape. Blush on the cheek side makes it pop on neutral backgrounds. It’s a great small-space Paper Squishy for fall decor too, because the colors read warm without being holiday-specific. The shape is also forgiving for storage since it’s narrow and tall rather than wide.
Editor's noteUse a white gel pen to add two tiny highlight dots on the blush area for a glossy fruit look.
Print pear front and back on cardstock and cut out the teardrop shape. Cut the spacer piece that matches the inner curve so the puff sits in the middle. Glue spacer to back, attach front, and press the edges. Add speckles with a fine marker or tiny dot stickers, then let it dry flat before handling.
Skip thisDon’t skip the inner spacer alignment — off-center puff makes the pear look lopsided.
20. Chocolate Chip Cookie Mini
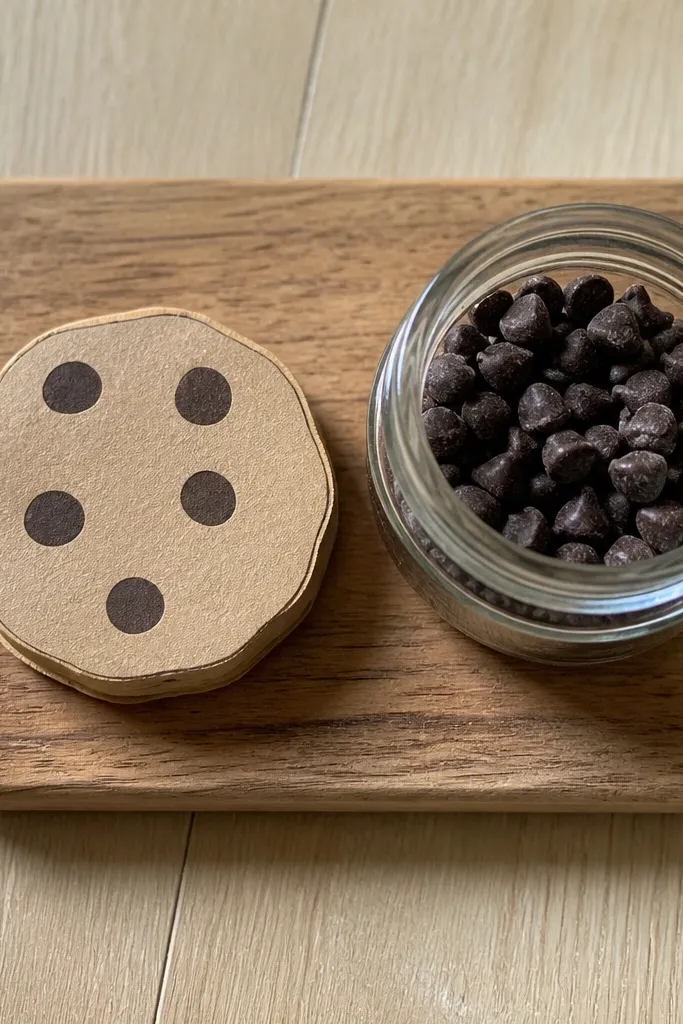
A cookie squishy is a crowd-pleaser because it’s instantly recognizable and looks good even when small. This template creates a soft puff with a layered edge so it looks like a thick cookie, not a flat circle. The chocolate chip dots add high contrast, which helps the shape read clearly in photos. It’s ideal for small-space Paper Squishy because you can make a whole set quickly and line them up on a tray. Use warm tan for the cookie and deep brown for chips.
Print cookie front and back on cardstock and cut a clean circle. Cut a spacer ring or arc strip that creates thickness in the center. Glue spacer to the back, then attach the front and press evenly around the perimeter. Add chip dots after assembly so they don’t shift with the squish.
If your circle looks wobbly, trace a lid as a cutting guide and cut the outer edge straight.
Avoid placing chips over the seam — they smear when the cookie compresses.
21. Berry Macaron Pair
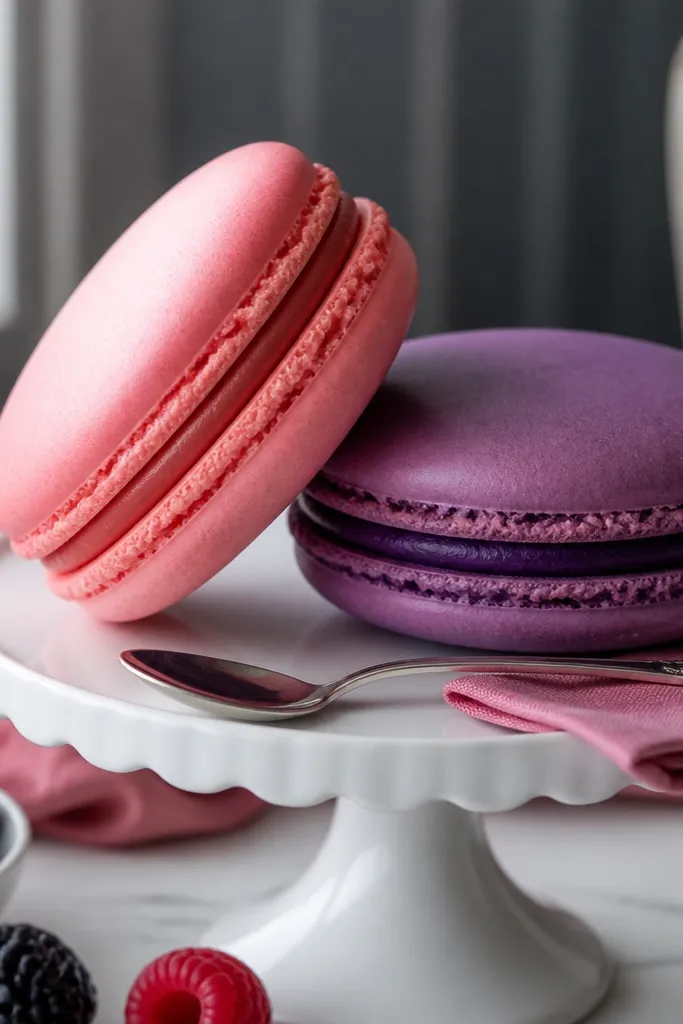
This one looks like a tiny dessert set. The template makes two macarons with a visible filling layer, and the spacer sits behind the filling so the stack puffs in a satisfying way. Berry colors look great together: one macaron in pink, one in purple with a contrasting filling. It’s a small-space Paper Squishy that still looks “gift-worthy” on a mini plate because it reads as two pieces, not one. Keep the macarons symmetrical so the pair looks balanced.
Editor's noteUse matte cardstock for shells so the filling layer reads as soft, not shiny.
Print both macaron fronts and backs on cardstock and cut out the shells and filling shapes. Cut a spacer strip that fits between the shells at the filling area. Glue spacer to the back of the bottom shell, then attach the top shell over the filling line. Add a thin filling layer cutout between shells if the template includes it, then press and let dry.
Skip thisDon’t add too much filling glue — it will squeeze out and dirty the edges.
22. Cat Paw Print Mini
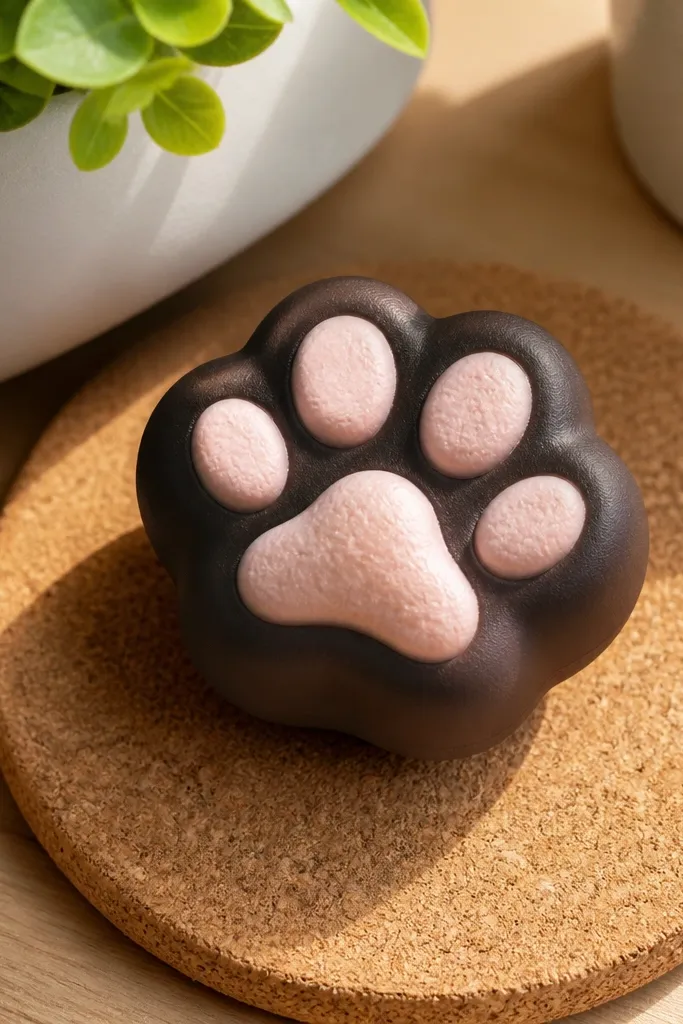
Paw prints are graphic and cute, and this template makes them squishy without losing the recognizable shape. The five toe pads create a natural texture that shows up in close-ups. The spacer is centered under the print so the paw puffs evenly. It’s a small-space Paper Squishy that works as a charm, a desk accent, or a mini gift tag. Use a warm neutral base with a darker toe pad color for strong contrast.
Editor's noteUse a craft knife for the small toe pad cuts so the edges stay sharp.
Print paw front and back on cardstock and cut out the toe pads and outline. Cut a spacer piece that matches the inner shape and fold along any tab lines. Glue spacer to back, then attach front and press the seam around the paw edge. Add optional tiny whisker or heart stamp details on the back if you want it reversible.
Skip thisSkip rounded scissors on the toes — rounded cuts blur the paw shape.
23. Pastel Star Cloud Buddy
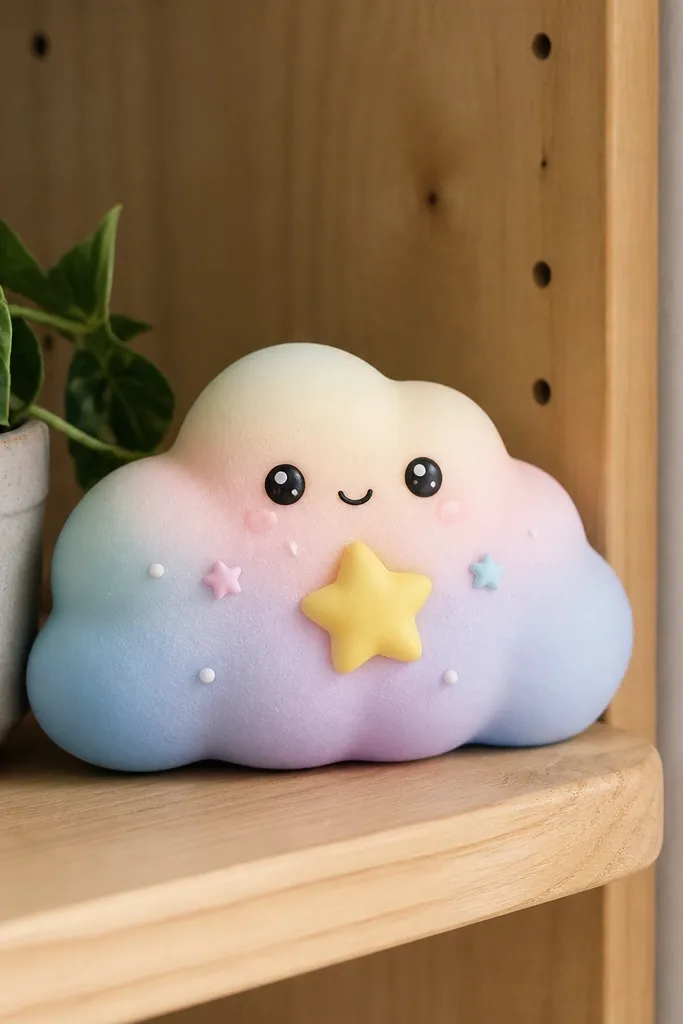
This template gives you a calm, cozy squishy that still looks playful. The cloud outline is big and friendly, and the star detail adds a focal point that makes it photogenic on a wall shelf or desk corner. The spacer is shaped so the cloud puffs in the center, leaving the edges defined. Pastel gradients look best here because the cloud reads like a soft sky bubble. It’s a small-space Paper Squishy for bedtime decor and quiet corners.
Print cloud front and back on cardstock and cut a star cutout if the template includes one. Cut a spacer panel sized for the cloud interior and fold it so it holds its puff. Glue spacer to the back cloud, attach the front, then glue the star on last with a small glue dot. Reinforce the seam with a thin strip of tape inside if you plan to hang it.
Add a light gray outline around the cloud edge with a fine marker for crisp photos.
Avoid glossy star paper — it reflects and hides the pastel shading.
24. Rainbow Sorbet Cup
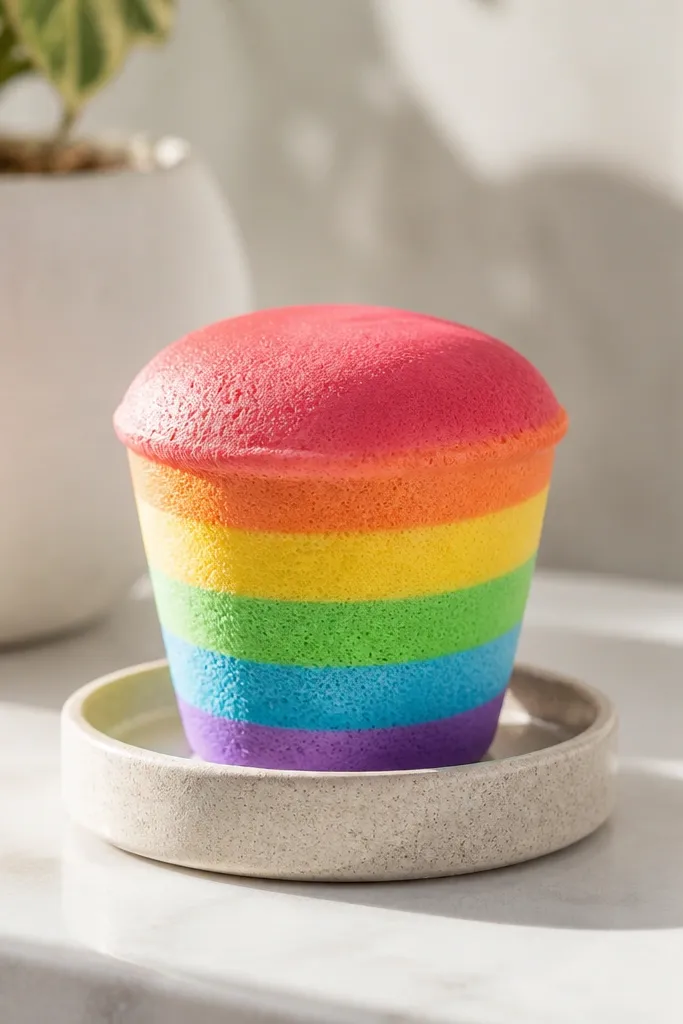
This template makes a tiny cup that looks like it has layers, not just a flat print. The rainbow stripes sit on a puffed top layer so the cup looks dimensional in photos. It’s a small-space Paper Squishy with a wider base, which means it sits stable on shelves. Use bright stripe colors but keep the cup itself in a neutral cream or light gray so the rainbow stays the hero. The squish is focused at the top, so it doesn’t collapse the whole cup.
Print cup front and back on cardstock and cut the cup outline. Print the stripe layer and cut it to fit the top opening. Cut a top spacer piece and fold it to match the cup width, then glue it to the back of the stripe layer. Assemble by attaching stripe layer to cup back, then add cup front and press the seam.
Use a ruler to align stripes before gluing so the rainbow stays straight.
Don’t make the spacer taller than the stripe layer — it warps the cup rim.
25. Mini Hot Cocoa Mug
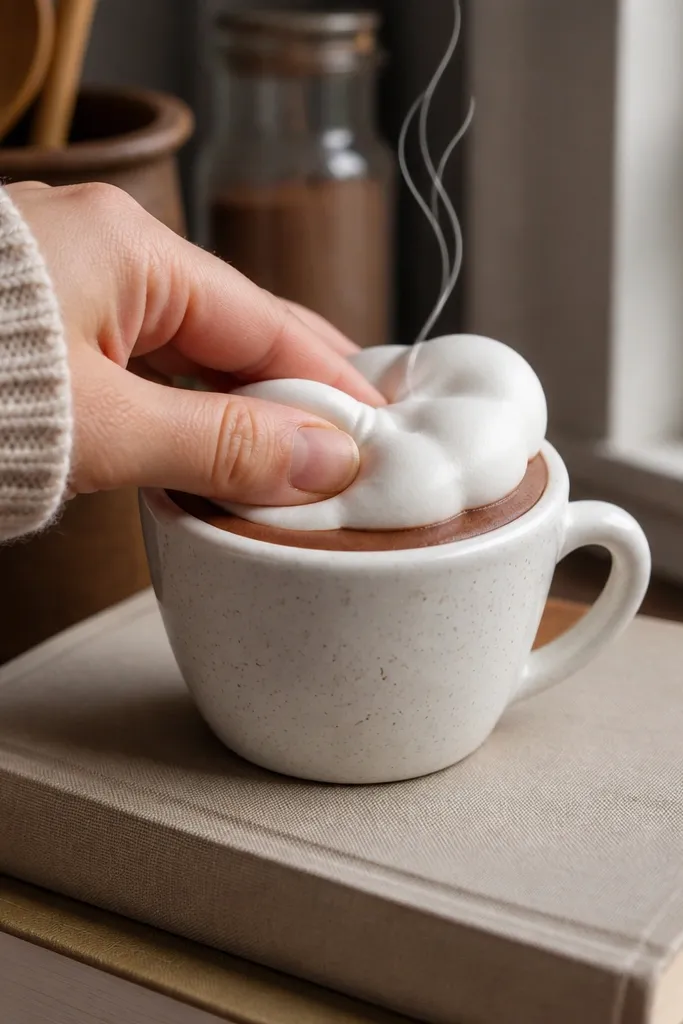
A mug shape is great for small-space Paper Squishy because it reads vertically and holds attention in a tiny display. This template has a whipped cream top puff that compresses, while the mug body stays firm enough to look like a mug. The design uses warm browns and creamy whites with a simple steam line detail. It’s photogenic because the whipped cream texture creates little highlights when you squeeze and release. Keep the mug handle clean so it doesn’t look tangled in photos.
Editor's noteReinforce the handle seam with a tiny strip of tape inside the mug so it holds its shape.
Print mug front and back on cardstock and cut out the handle. Cut a whipped cream spacer piece and fold along any guide lines so it sits under the cream area only. Glue spacer to the back cream layer, attach cream to mug back, then sandwich with mug front. Add steam lines last using thin strips or printed overlays so they don’t get stiff from glue.
Skip thisSkip thick glue under the cream — it kills the puff.
26. Blueberry Puff Pastry Square
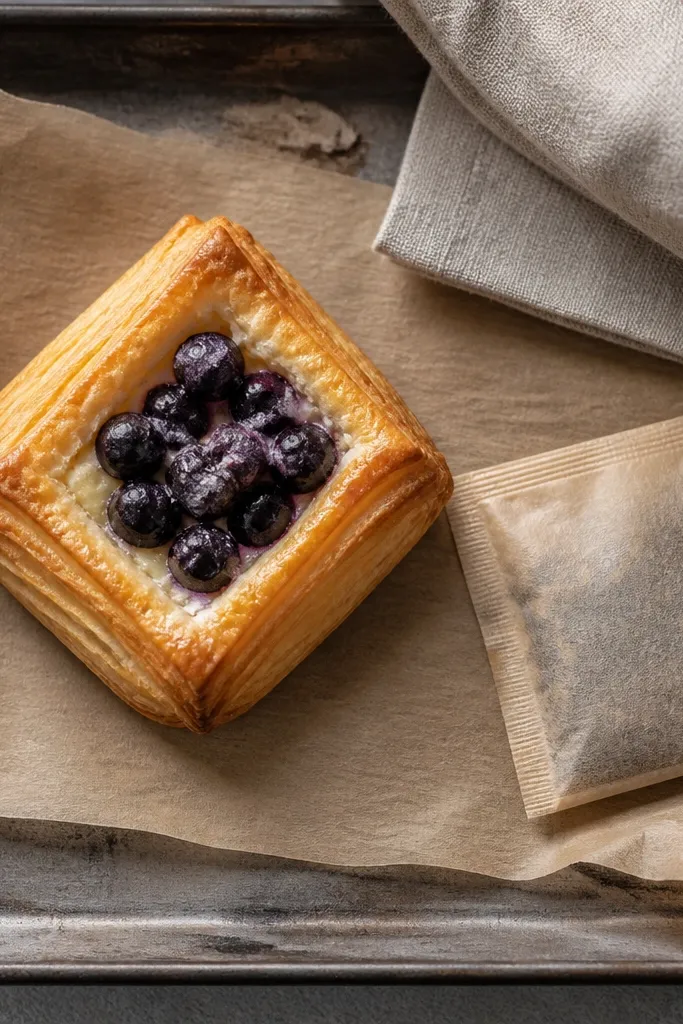
Squares are underrated for small-space Paper Squishy because they stack and line up neatly on shelves. This template uses layered corner shapes to mimic puff pastry while keeping the center puffed with a spacer. Blueberries add contrast dots that look like little jewels. The finished piece stays flat enough for storage but still squeezes in the center. Use deep navy berries and a buttery yellow base for that bakery look.
Print pastry front and back on cardstock and cut clean square edges. Cut a center spacer panel sized for the inner square area, then fold tabs if the template includes them. Glue spacer to back, attach front, and press the seam. Add blueberry dots and a few “sugar” specks on top using a small hole punch for consistent spacing.
If the square edges curl, flatten the cardstock under a book before assembling.
Don’t round the corners by accident — squares show mistakes more than circles.
27. Starry Night Mini Planet
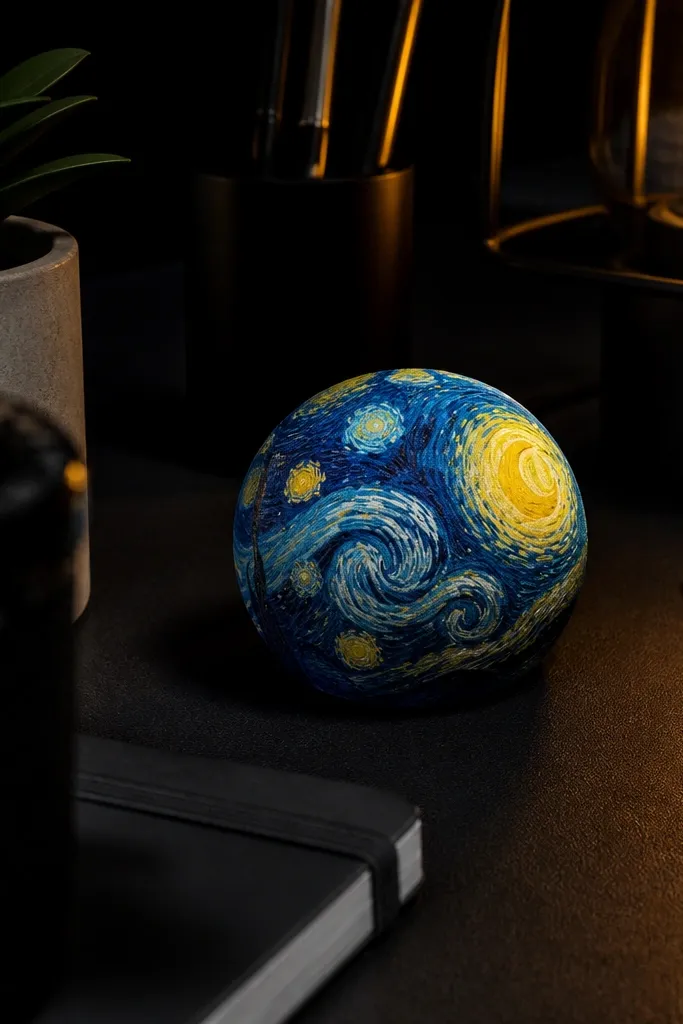
This template is dramatic without being big. A planet shape with a crescent highlight reads like a real sphere, and the squishy spacer gives it a soft, bouncy feel. Star dots around it make the whole piece look like a tiny night sky. It’s a small-space Paper Squishy that looks great on a dark desk mat or near LED lights. Use deep navy for the base, lighter blue for the crescent, and white dot specks for stars.
Editor's noteUse a stiff cardstock for the planet outline so it stays round when squeezed.
Print planet front and back on cardstock, including the star dot layer if the template has it. Cut a spacer piece sized for the planet interior and fold along guide lines. Glue spacer to the back planet layer, then attach the front and press the seam. Add extra star dots with a white gel pen for a more scattered, natural look.
Skip thisAvoid placing thick glue near the crescent highlight — it smears and dulls the contrast.
28. Mini Donut Stack with Sprinkles
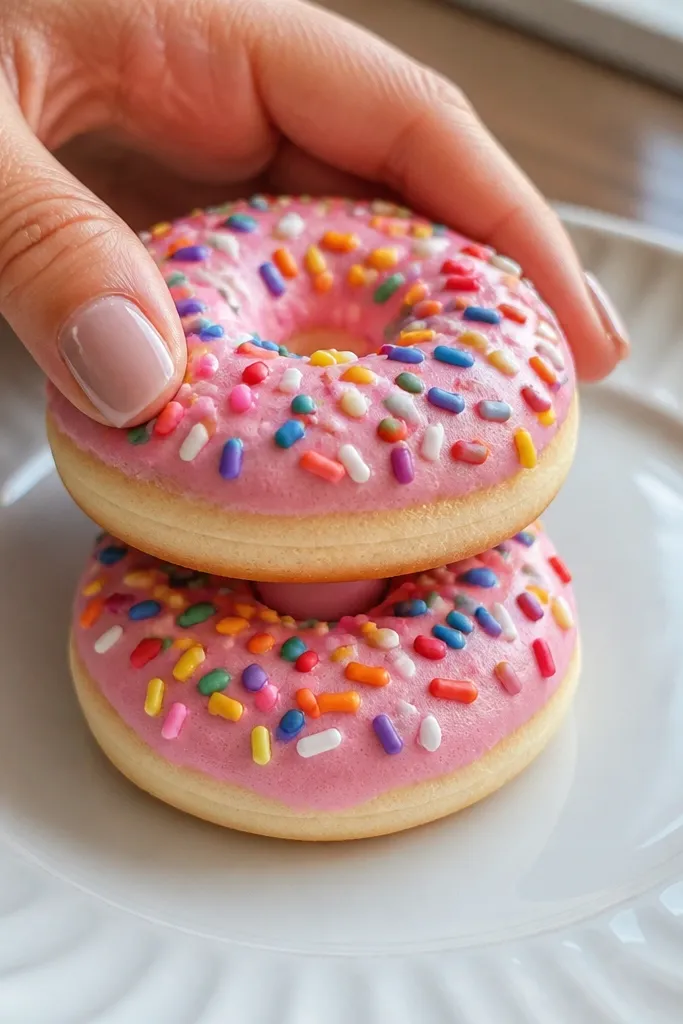
This template gives you a stacked donut look that feels richer than a single ring. The squish is built into the spacer so the top donut compresses slightly, while the stack stays stable. Sprinkles create instant visual texture, and the layered design makes it photogenic from above. It’s a small-space Paper Squishy for desks because it sits flat and reads clearly in a small photo frame. Keep colors bright but use consistent contrast for the ring holes.
Editor's notePunch sprinkles from scrap paper so they’re uniform and look intentional.
Print the two donut faces and the spacer pieces on cardstock. Cut sprinkles separately so you can place them on top after assembly. Glue the spacer to the back of the bottom donut, attach the top donut face, and press the edges cleanly. Add sprinkles with tiny glue dots only where needed so the donut stays flexible.
Skip thisDon’t glue sprinkles across the seam line — they’ll lift or smear.
29. Citrus Slice Trio Tiny
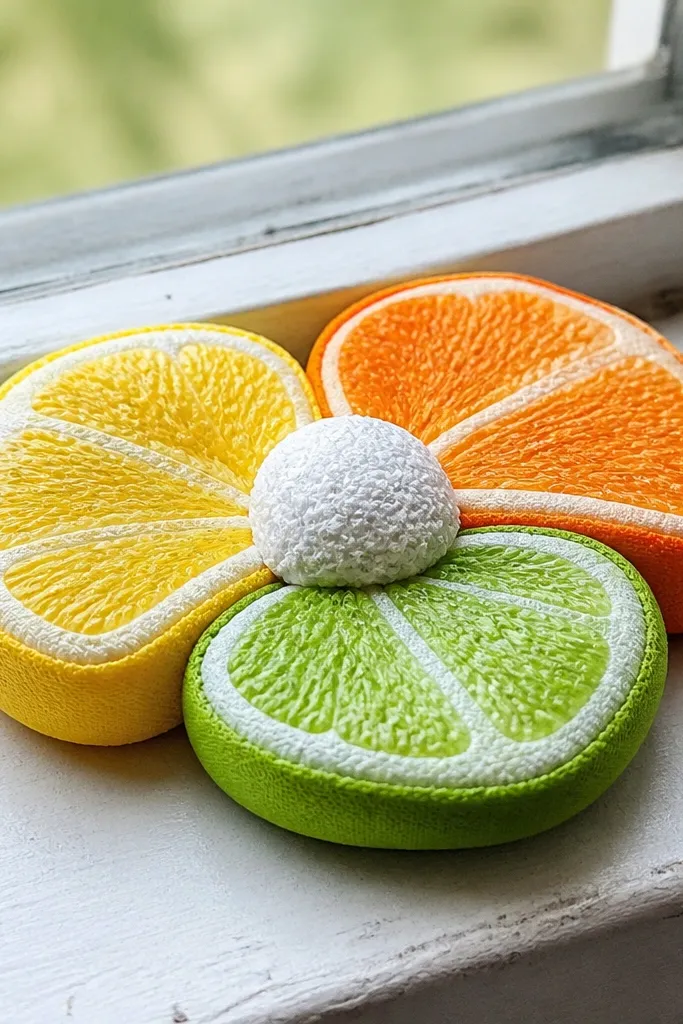
A trio design makes small-space Paper Squishy look like a set without extra storage. This template groups slices — think lemon, orange, and lime — into one compact build with a centered puff so the trio feels like it’s sitting together. The photogenic part is the color contrast between slices and the clean rind outlines. It’s great for planners, small shelves, or mini gift bundles where you want variety in one piece. Keep the slice edges crisp so each fruit reads clearly.
Editor's noteUse a fine brush to apply glue only to the spacer edges, not across the slice faces.
Print slice fronts and backs on cardstock and cut each slice. Cut one shared spacer piece that sits behind the combined trio area, folded to match the overall shape. Glue spacer to the back, then attach all fronts in their correct positions. Seal the seam and let it dry flat before handling so the trio doesn’t shift.
Skip thisAvoid uneven glue — it causes one slice to puff more than the others.
30. Soft Pretzel Twist
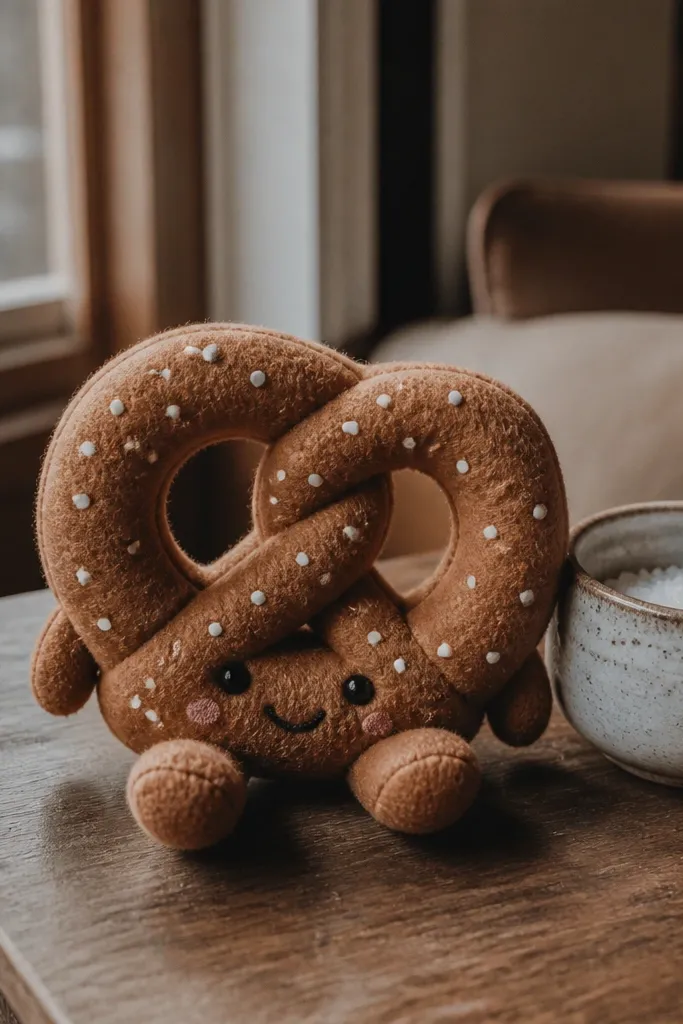
Pretzels look great because the twist shape creates natural depth lines. This template uses a spacer to puff the center while keeping the twist arms defined, so it reads as a pretzel even from the side. Salt dots add texture that pops in photos. It’s a small-space Paper Squishy for cozy decor because the warm brown palette works with most rooms. It also stores well because the twist is compact compared to bigger food shapes.
Print pretzel front and back on cardstock and cut the full twist outline. Cut a spacer piece shaped for the inner curve so the puff sits in the center of the pretzel. Glue spacer to the back, then attach the front panel and press along the twist arms. Add salt dots with a small punch or dot stickers and lightly outline any gaps with a brown marker.
Use a toothpick to press glue into tight twist corners without smearing.
Don’t make the spacer too wide — it will flatten the twist definition.



