
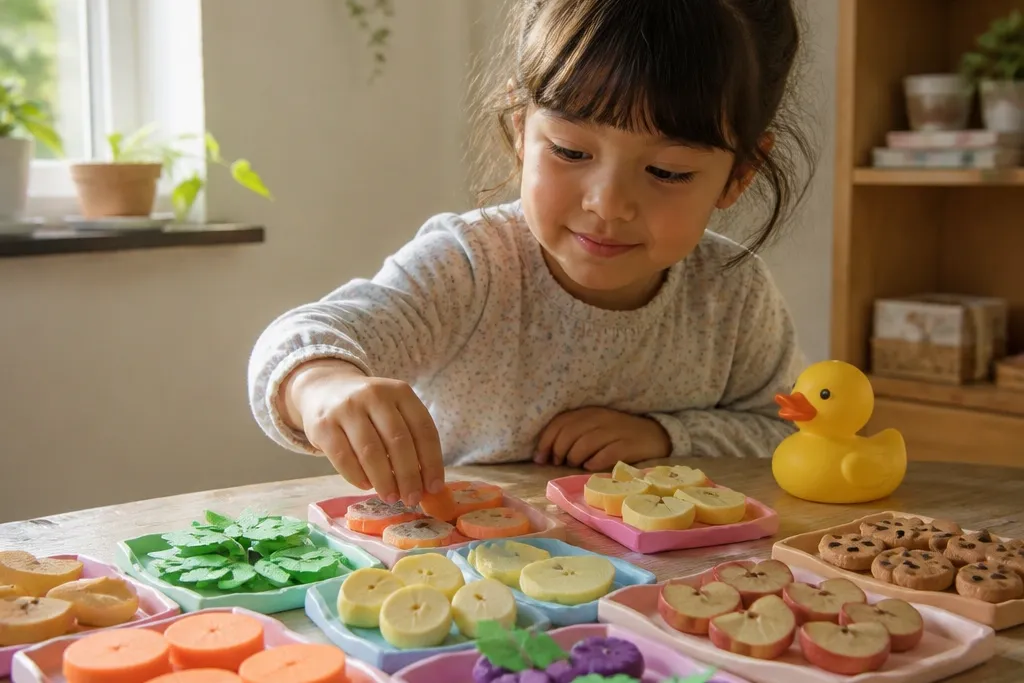
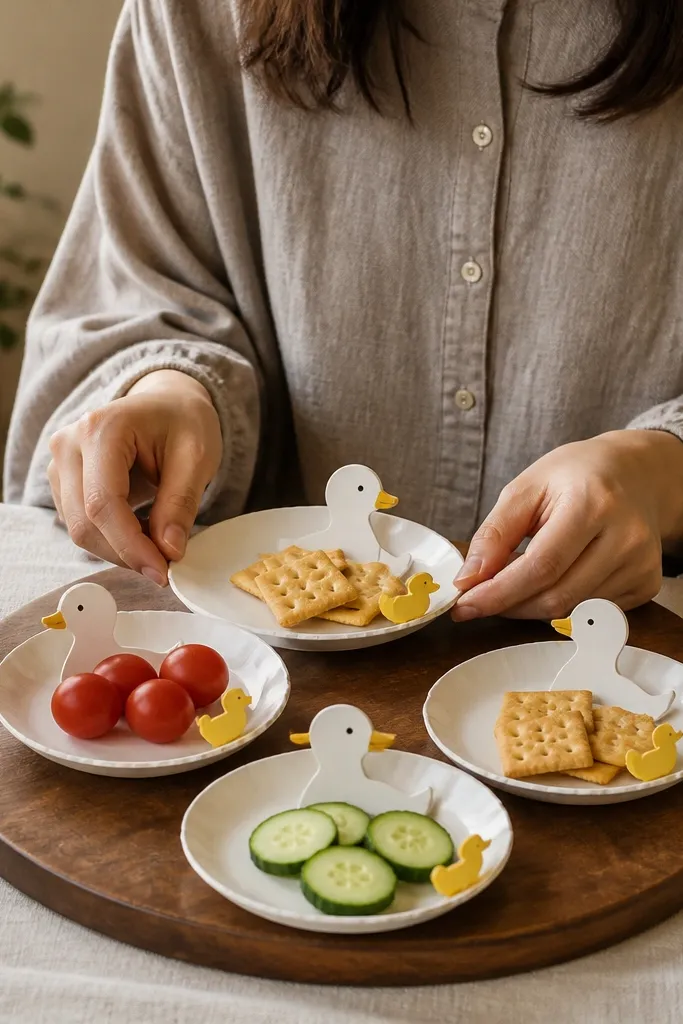
1. Mini Carrot Coins with Orange Ridging
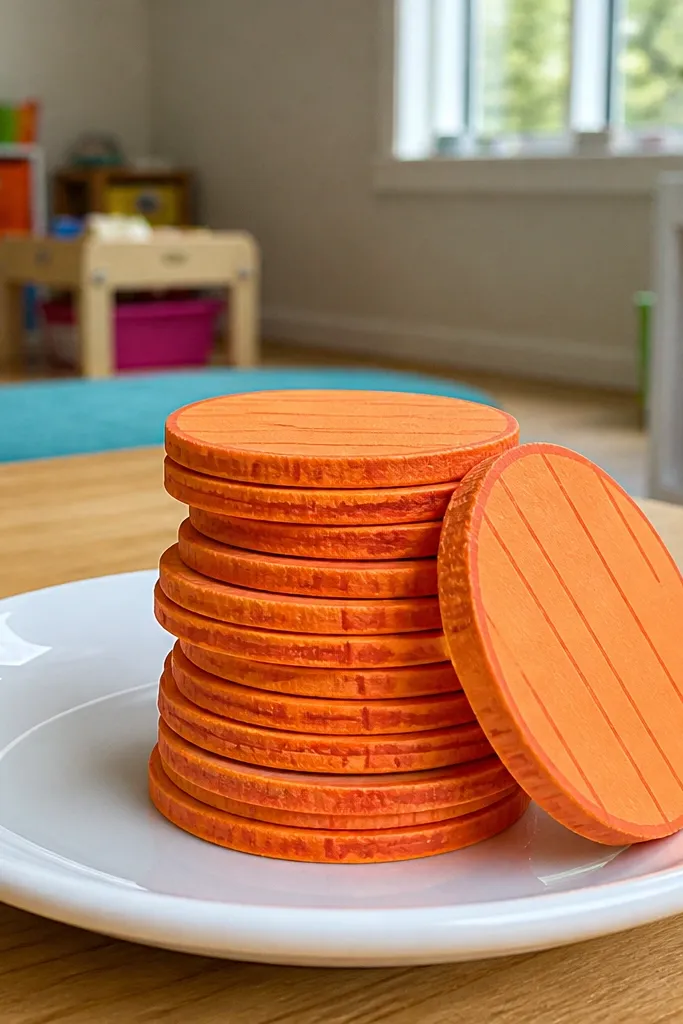
These carrot coins look right even when they’re tiny because the ridges create a believable texture. Cut them from orange cardstock and shade the edges with a darker orange marker so each coin has a rim. Add 3-4 scored lines across the face to mimic the carrot’s fibrous surface. They’re photogenic because they stack into a neat pile and catch light along the scored grooves. This is a great starter idea if you want your Paper Duck food set to look “real” without complex shaping.
Editor's noteUse a foam brush to dab a darker orange wash on the ridges so the texture shows without looking streaky.
Start by cutting 16-20 circles from orange cardstock, about 1.25 inches wide for a standard play tray. Score gentle lines across each circle using a dull craft knife and a ruler so you don’t cut through. Glue a thin ring of darker orange (or marker-painted edge) around the perimeter for a rim. Finally, add a small dot of light orange near the center to suggest shine, then let everything dry flat.
Skip thisSkip tiny lines you can barely see — they disappear in photos.
2. Crispy Cracker Squares with Salt Flecks
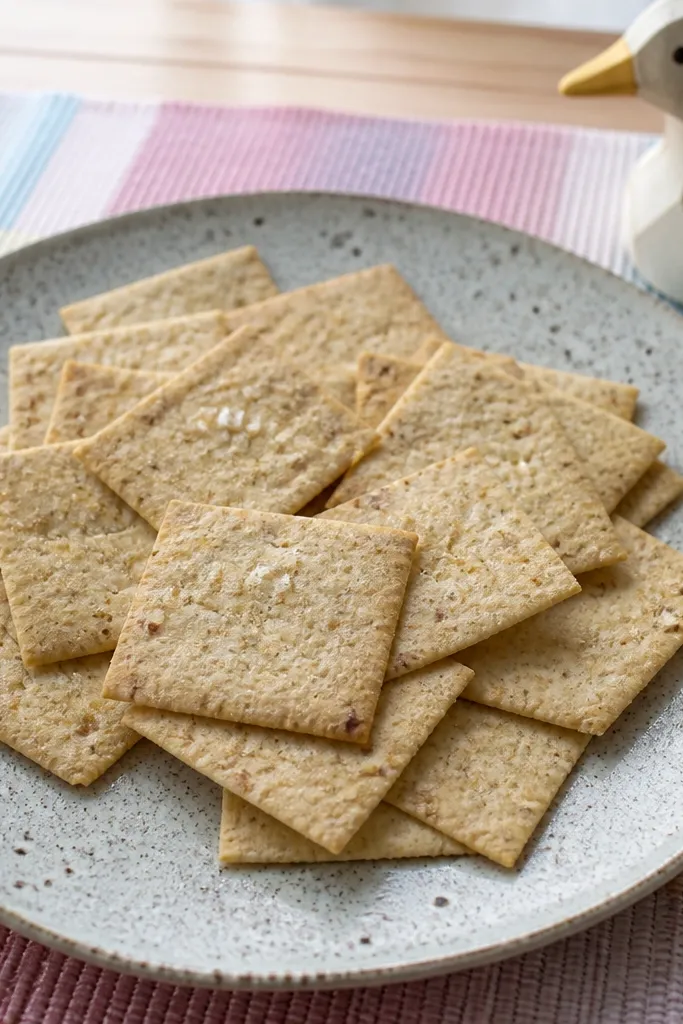
Cracker squares make your duck table look like it has actual snack variety. The trick is the salt flecks — when they’re scattered unevenly, the paper reads as crunchy and seasoned. Use light tan cardstock for the base and add darker tan speckles so the texture isn’t flat. This idea is perfect for a “snack plate” theme because it pairs well with jams, cheese shapes, or fruit. It also holds up in repeated play because the square shape is rigid.
Editor's noteIf you want extra realism, add one faint crease line with a ruler so it looks like a cracker broke naturally.
Cut 12-18 small squares from tan cardstock, around 1 inch each. Stipple darker tan with a sponge so you get mottled brown spots across the surface. Add salt flecks by flicking white paint or a white gel pen in short bursts (practice on scrap first). Let the splatter dry, then round one corner slightly with scissors for a more natural cracker look.
Skip thisDon’t cover the whole surface in perfect dots — real salt looks random.
3. Grape Bunches with Glossy Highlight Dots
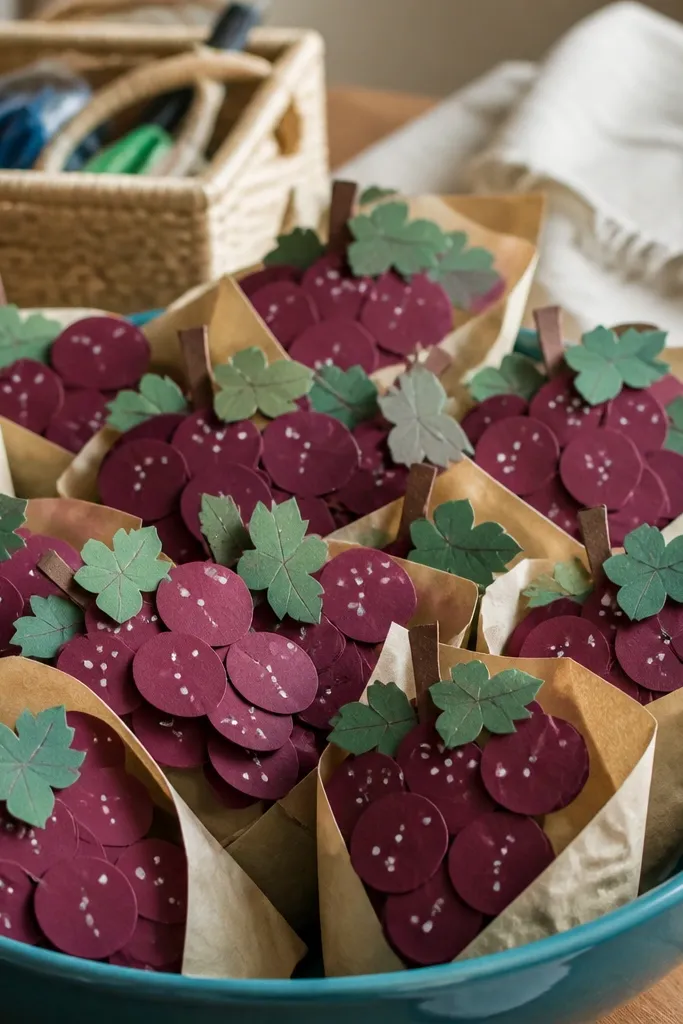
Grapes are a cheat code for photogenic paper food. You only need circles, and the bunching makes it feel abundant. Choose deep purple or burgundy cardstock, then add one tiny white highlight dot to each grape so it looks glossy. Cluster them into small bunches so the tray doesn’t look empty. This is a strong theme builder for “garden snack” and “picnic” setups.
Editor's noteKeep highlight dots the same size across a bunch for a consistent, tidy look.
Cut 20-24 circles from purple cardstock, about 0.6-0.75 inches wide. Punch or cut tiny leaf shapes from green paper for 2-3 leaves per bunch. Glue grapes in clusters on a small strip of thin green paper to suggest stems. Add a single white gel pen dot on each grape, then lightly smudge around the dot with a purple pencil for a soft glow.
Skip thisAvoid using only one grape per “bunch” — it looks like a single decoration, not food.
4. Banana Slices with Curved Edges
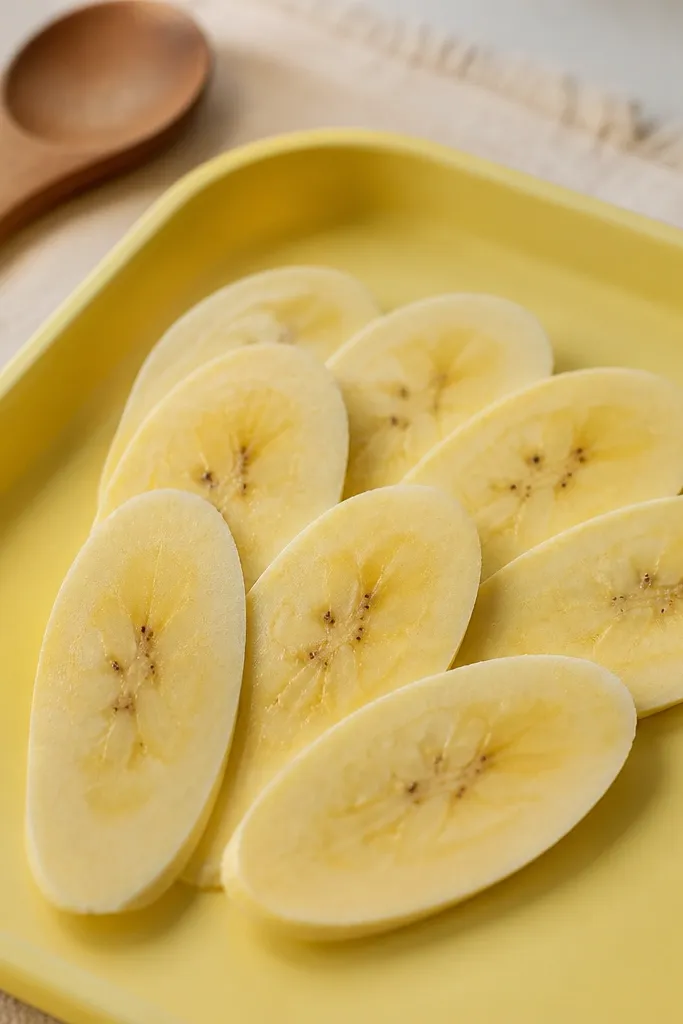
Banana slices look playful and bright, especially on a pastel tray. The curved edge is what sells them — flat ovals look like random shapes. Add brown speckles near the ends and a slightly lighter center so each slice reads as fruit. This idea works great if your Paper Duck tray has a yellow theme or if you want a “breakfast” moment.
Editor's noteUse scissors to add tiny micro-cuts to the edge — it makes the slice look less perfect.
Cut 10-14 banana slices from yellow cardstock using a teardrop-oval shape, about 1 inch long. Make the ends slightly pointed by trimming tiny corners so the curve looks organic. Shade the outer edge with a light brown pencil or marker, then add 6-10 small brown speckles near one end of each slice. Finish by drawing a faint curved line down the center with a lighter yellow pencil to mimic the banana’s seam.
Skip thisDon’t make every slice identical — identical fruits look like stickers.
5. Berry Cups with Rolled Paper Rims
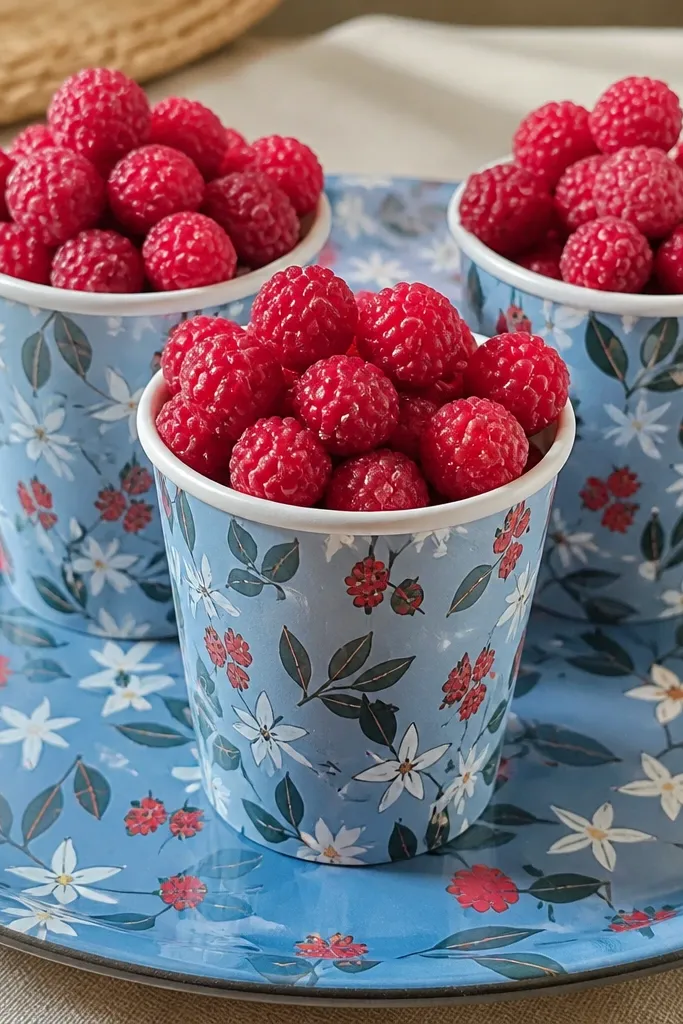
Berry cups bring instant “cute snack” energy to a play tray. The rolled rim makes the paper look like a real cup, not a flat shape, and it gives you a clean place to pile the berries. Use red or magenta cardstock for the berries and add darker dots for seeds or speckling. This is a great option when you want variety in one container.
Cut 8-10 small circles from thick cardstock, about 1.25 inches wide. Roll thin strips of red paper into rings and glue each ring around the circle edge to form a cup. Fill the cup with small berry dots cut from darker red or maroon paper. Add a tiny lighter red highlight dot on 3-4 berries per cup, then glue a couple of green leaf shapes on the side for garnish.
Make the rim slightly thicker than you think — thin rims collapse on a busy tray.
Skip flimsy paper for the cup base; it warps when you glue berries on top.
6. Chocolate Chip Cookies with Wavy Edges
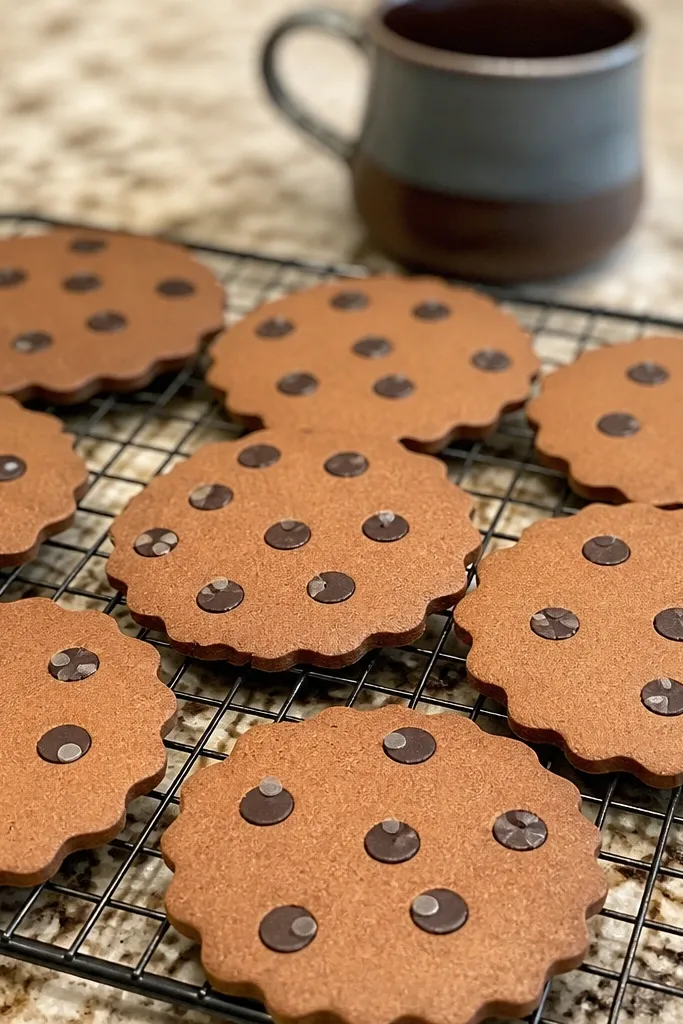
Cookies photograph well because they’re round, familiar, and easy to group. Wavy edges make the cookie look baked, not stamped. Add chocolate chips using small black-brown circles and highlight a few chips with a tiny gray dot for “melted” shine. This idea is perfect for a bakery or “treat time” theme and gives your duck tray a centerpiece.
Cut 10-12 cookie circles from light brown cardstock, about 1.3 inches across. Use scissors to create a wavy edge by trimming tiny notches around the perimeter. Draw a few faint darker brown arcs inside the cookie for baked texture. Add chocolate chips by gluing small circles (about 0.15 inches) in clusters, then add one tiny gray dot on the top half of each chip.
Keep chip spacing random — a tidy grid looks like a craft fail.
Don’t make chips too big; oversized chips turn the cookie into a sticker.
7. Tiny Toast Points with Butter Gloss
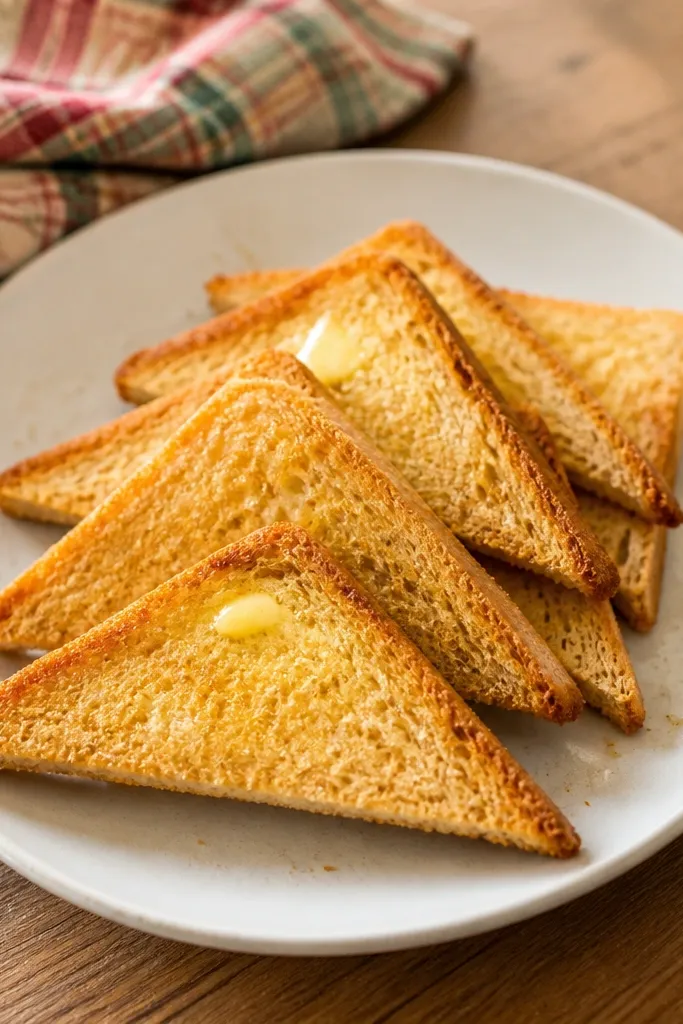
Toast points look adorable and they work for both breakfast and picnic themes. The butter highlight is the key: a tiny glossy curve makes paper look creamy. Cut triangles so they stack easily and don’t flop over. Add a light brown scorched edge and a few “crumb” dots to sell the toast texture. These are also easy to make in a production line.
Cut 12-16 toast triangles from tan cardstock, about 1.1 inches long with a 0.7-inch base. Shade the edges with a darker brown marker to create a toasted rim. Glue a smaller butter triangle on top using pale yellow paper, then add 2-3 curved highlight lines with a white gel pen. Add a few scattered crumb dots around the butter edges using a darker tan pencil.
Use a glue stick, not liquid glue, on the butter — it keeps paper from warping.
Don’t center the butter perfectly every time; slight offset looks more natural.
8. Paper Cheese Wedges with Hole Pattern
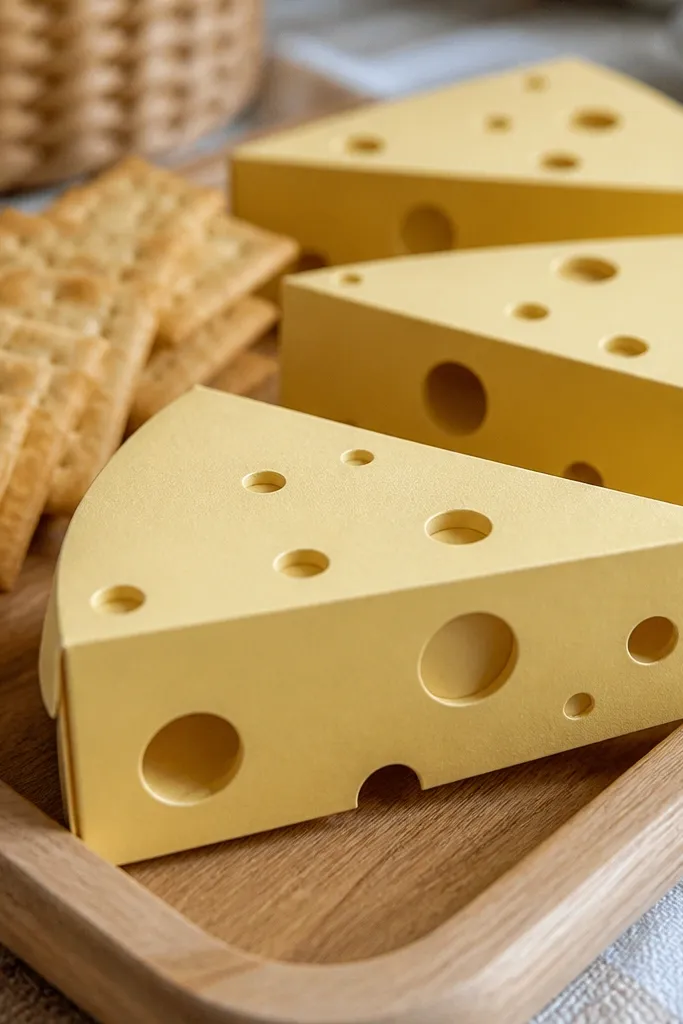
Cheese wedges are one of the most photogenic “duck food” shapes because the triangle reads instantly. The hole pattern makes it look like Swiss-style cheese instead of generic yellow paper. Use pale yellow cardstock and add slightly darker yellow around each hole so the holes have depth. This works well beside crackers, grapes, and berries for a snack board look.
Editor's noteCut holes before assembly so you don’t fight paper layers and misalignment.
Cut 10-12 cheese wedges from pale yellow cardstock, about 1.25 inches tall. Draw 6-8 holes per wedge using a small circle punch or template, then cut the holes out cleanly. Shade the area around each hole with a darker yellow pencil, pressing lightly so it’s subtle. Add a thin darker edge on the outer perimeter for definition, then glue a tiny strip of white paper on one side to suggest shine.
Skip thisSkip tiny holes — if they’re too small, they disappear in photos.
9. Cherry Tomatoes with Green Stem Caps
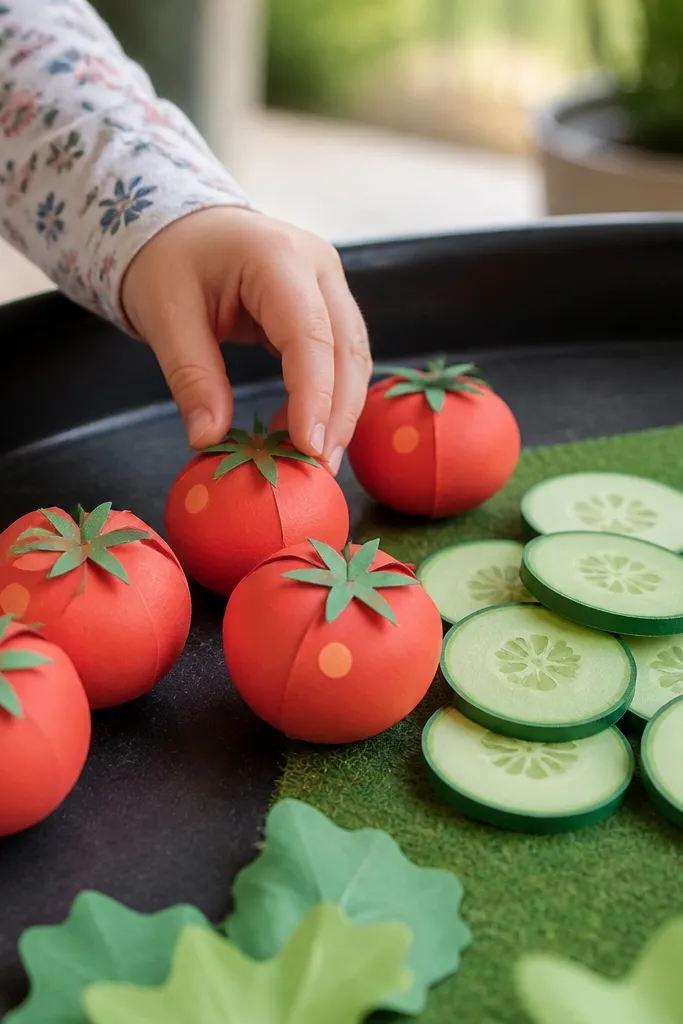
Cherry tomatoes look bright and lively on any tray. The stem cap gives you a focal detail that makes the food feel “complete.” Use red cardstock and add a small lighter red highlight dot so each tomato looks juicy. Pair them with cucumber slices or crackers for a garden snack spread. This is also a good choice if you want minimal cutting but maximum color impact.
Editor's noteMake stem caps slightly different sizes so the bunch looks organic.
Cut 18-24 small circles from red cardstock, about 0.6 inches wide. Cut tiny green teardrops from green paper and glue one on top of each circle to form the stem cap. Add a light red highlight dot near the top edge using a white gel pen or pale pink pencil. For extra realism, shade the bottom edge with a darker red marker so the tomato has weight.
Skip thisDon’t use flat circles with no shading; they look like red confetti.
10. Cucumber Rounds with Water Drop Highlights
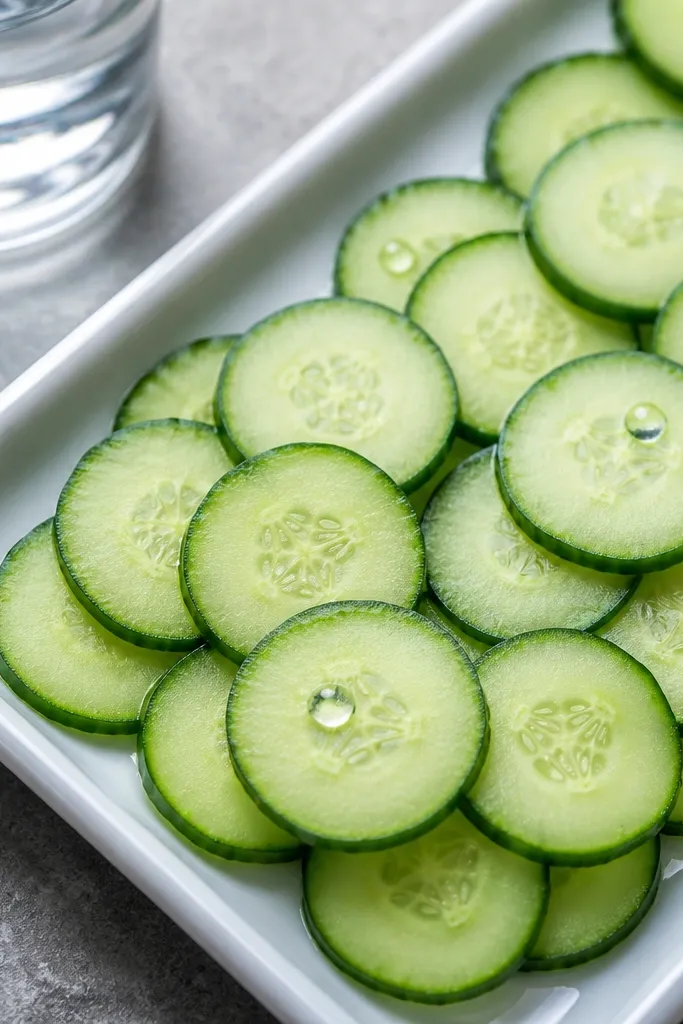
Cucumber rounds add calm green color and they photograph cleanly because they’re thin and layered. Add faint ridges with a ruler so the slice looks like it has thickness. Finish with tiny water drop highlights — just two small dots on each round — to make the paper look wet. These look especially good on a white or light wood tray.
Editor's noteUse a lighter green for the base and reserve dark green for shading — it reads fresher than all-over dark.
Cut 14-18 circles from light green cardstock, about 1 inch wide. Score 4-6 shallow lines across each circle using a ruler and dull knife. Shade one side slightly darker green to create a sense of direction. Add two small white dots with a gel pen near the edge to mimic water droplets, then layer 2-3 slices slightly offset for depth.
Skip thisAvoid thick glue under the slices; it makes them curl and look uneven.
11. Strawberry Halves with Seed Dots
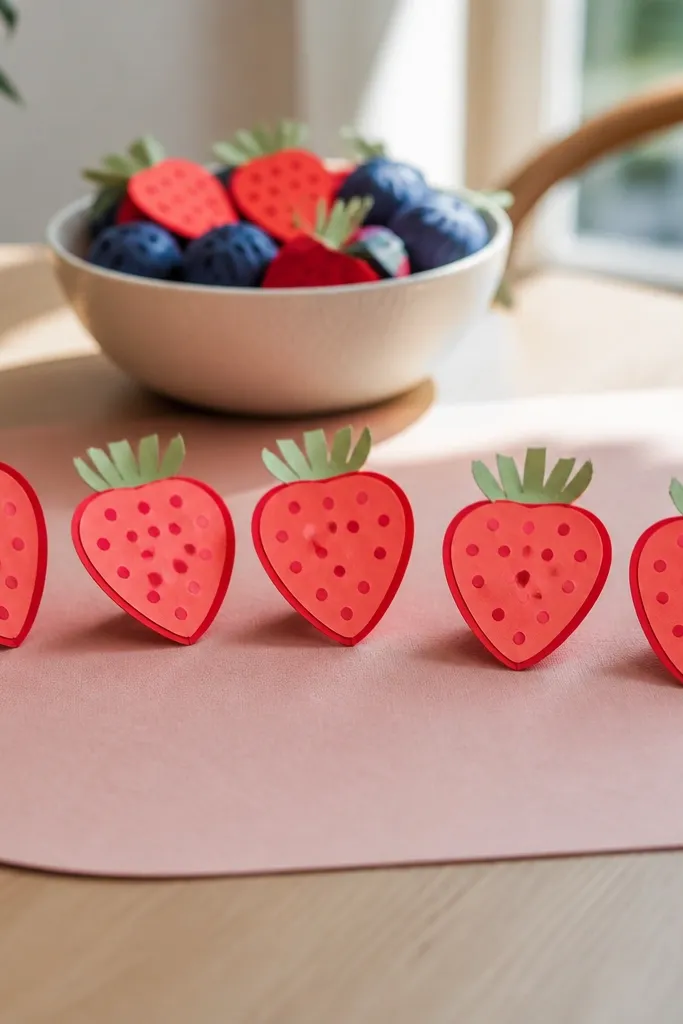
Strawberry halves instantly signal “fruit” and they look cute even when made from paper. The seeds are the main detail — they give texture and make the color more believable. Use red cardstock for the body and add a darker red outline so each half has shape. Add a green top with paper cut slits so it looks like the leaves. This works well for a “garden picnic” or “fruit salad” tray.
Cut 10-12 strawberry halves from red cardstock using a teardrop shape with one flat side. Add a darker red outline to the curved edge using a marker or pencil. Cut tiny green leaf tops and slit them lightly with scissors, then glue them to the top of each strawberry. Add yellow seed dots using a small hole punch or marker dots, spacing them unevenly across the surface.
Make the seeds slightly bigger near the center — it looks natural and avoids a flat pattern.
Don’t draw seeds in perfect rows; it reads like a template.
12. Popcorn Bowls with Butter Specks
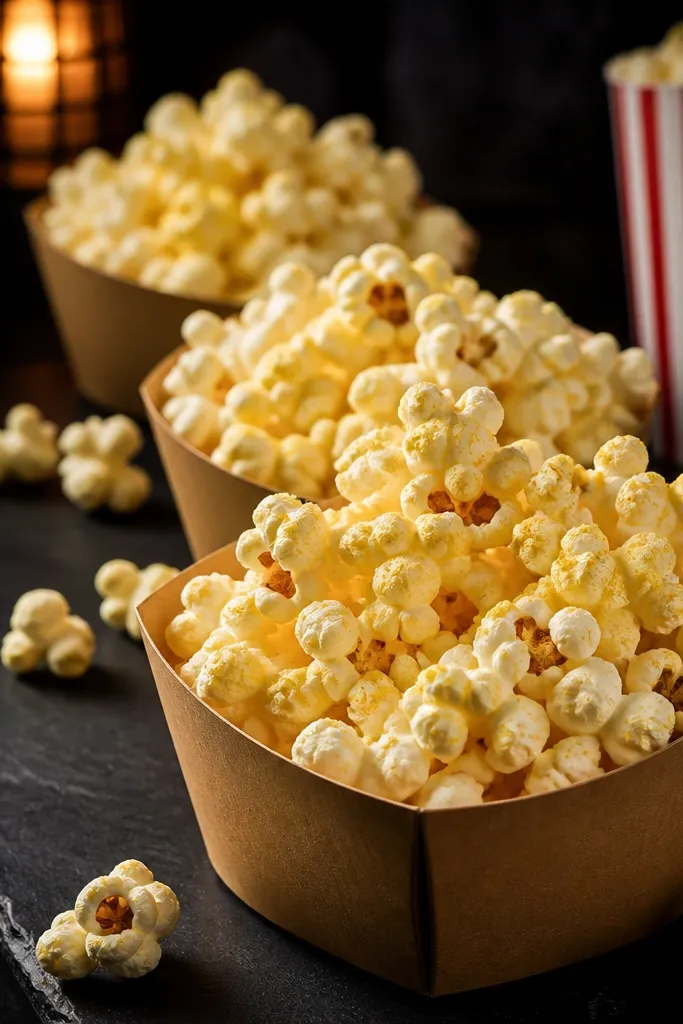
Popcorn bowls add height to a flat tray and they make your Paper Duck food set feel like a “movie night” moment. Use warm cream paper for the popcorn pieces and scatter small yellow specks for butter. The bowl shape matters: even a simple curved paper cup reads as a container. This idea is photogenic because the popcorn pieces are irregular and look dimensional.
Editor's noteUse a thicker cardstock for the bowl so it stands up straight on the tray.
Cut a small bowl from tan or light brown cardstock by rolling a semicircle into a cup and gluing the seam. For popcorn, cut 25-35 irregular teardrops from cream cardstock. Add tiny yellow specks on each popcorn piece with a marker or paint pen. Glue popcorn into the bowl, then add 2-3 larger pieces on top to create a “piled” look.
Skip thisSkip tiny uniform popcorn shapes; uniform pieces look like foam stickers.
13. Hot Dog Minis with Mustard Zigzags
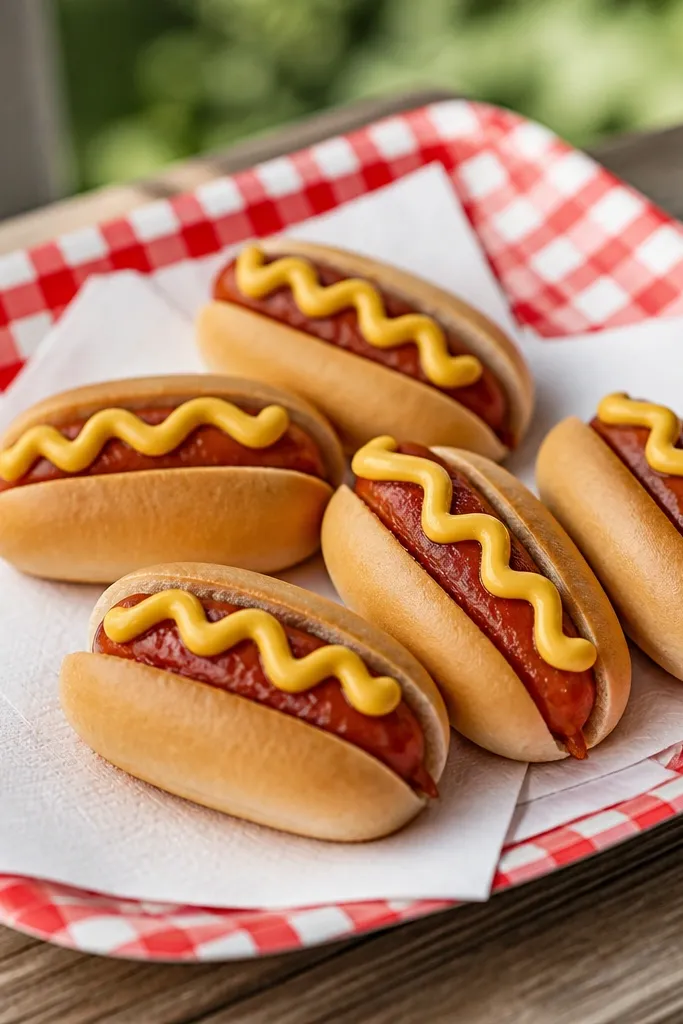
Hot dog minis are bold, easy to spot, and they add a fun, party vibe to your play tray. The bun color gives warmth, and the mustard zigzags create instant visual movement. Use a rounded hot dog shape and add a slit line so it looks like the bun is open. This is a great choice if you want a theme that feels like backyard cookout.
Editor's noteKeep the mustard zigzags thick enough to read in photos — thin lines blur.
Cut 10-14 hot dog bodies from light brown or tan cardstock as rounded ovals, about 1.2 inches long. Cut a second piece slightly larger in pale cream for the bun and glue it around the body, leaving a small opening at one end. Draw mustard zigzags with a yellow paint pen or marker across the bun opening. Add one thin brown line on the hot dog body for texture, then glue the finished minis onto a tray-friendly base strip.
Skip thisDon’t make the bun too flat; add a slight fold so it looks wrapped.
14. Apple Slices with Cinnamon Edge
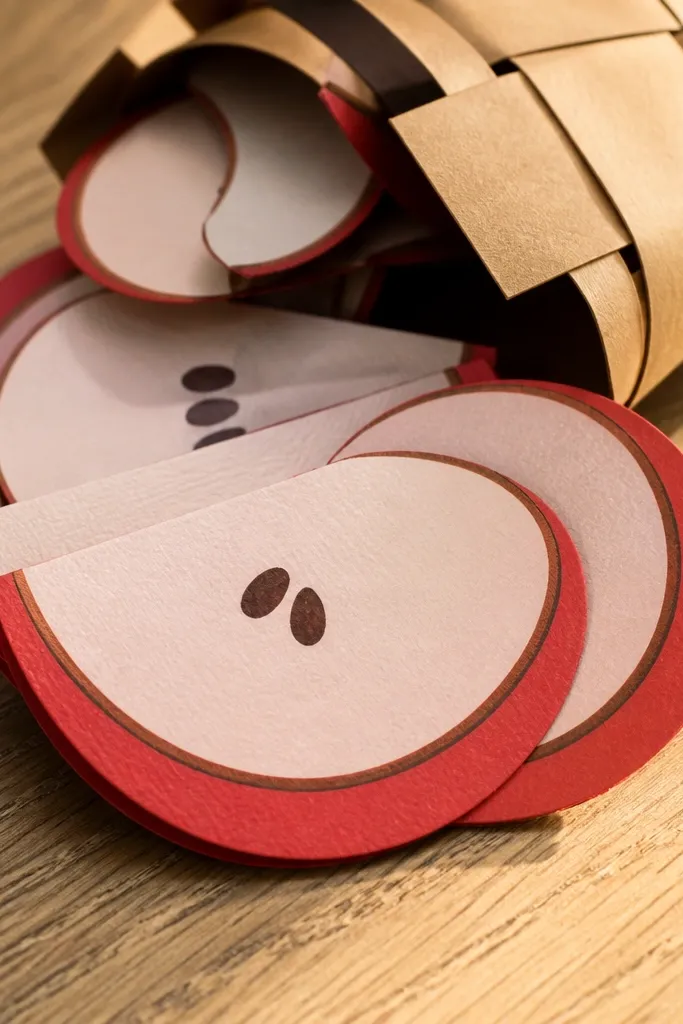
Apple slices look clean and graphic, which is exactly what you want for paper food photos. The cinnamon edge is what makes it feel like snack food, not just red paper circles. Use red cardstock for the skin and a lighter cream or pale pink for the center to create contrast. Add a thin brown ring around the outside so it looks dusted. This one works great for a “fall snack” theme and pairs beautifully with cheese wedges.
Cut 14-18 apple rings by layering two circles: one red outer circle and one lighter inner circle. Make the outer circles about 1.1 inches wide and the inner about 0.55 inches. Shade the red outer edge with a brown pencil to form a cinnamon ring. Add a few tiny darker red dots near the inner edge to suggest natural apple texture. Glue the inner circle centered, then slightly offset one ring in each pile for a more natural look.
Use colored pencil instead of marker on the cinnamon ring for smoother edges.
Don’t center every ring perfectly; perfect symmetry looks like a sticker sheet.
15. Berry Popsicles on Paper Sticks
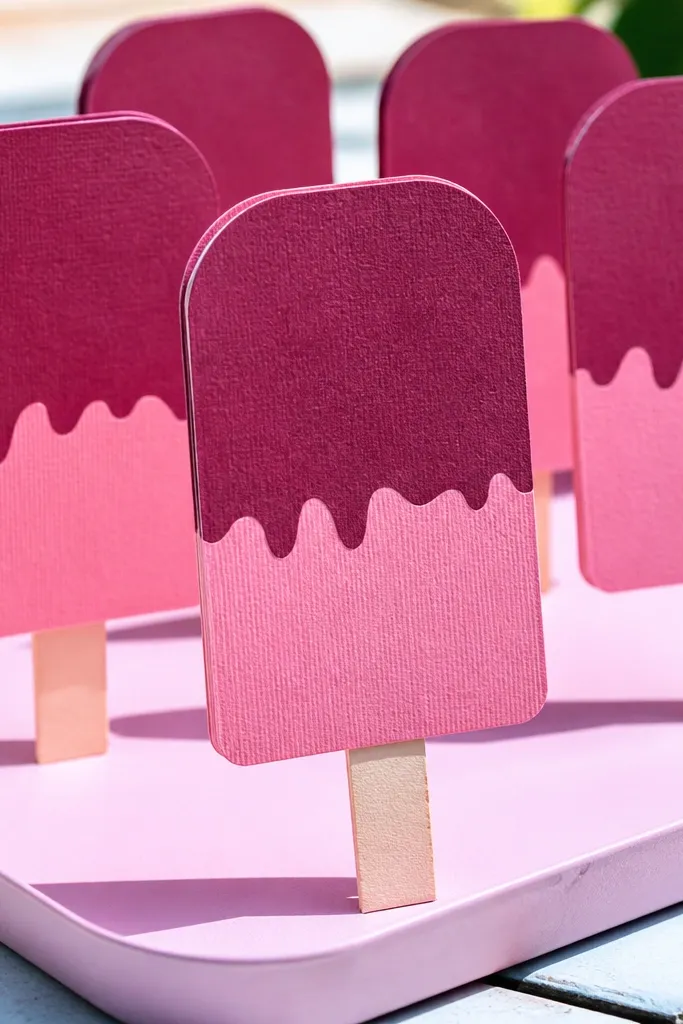
Popsicles add vertical charm, and the layered look makes them stand out on a tray. You’re building an easy “stacked color” effect: darker berry on top, lighter berry in the middle, then a clear edge. The stick makes it instantly read as a treat. This is a strong idea for summer playtime and it looks great when you line them up.
Editor's notePress the layers under a book for 10 minutes so edges stay crisp.
Cut 10 popsicle bodies from cardstock in three layers: dark berry, medium berry, and a pale berry/cream band. Glue the layers from bottom to top on a popsicle shape outline, leaving a tiny edge so layers show. Cut popsicle sticks from thin brown paper strips, about 0.25 inches wide, and glue one to the back of each popsicle body. Add a glossy highlight line with a white gel pen down the center.
Skip thisSkip liquid glue — it can wrinkle berry paper and blur the layers.
16. Mini Donuts with Sprinkles and Icing Drips
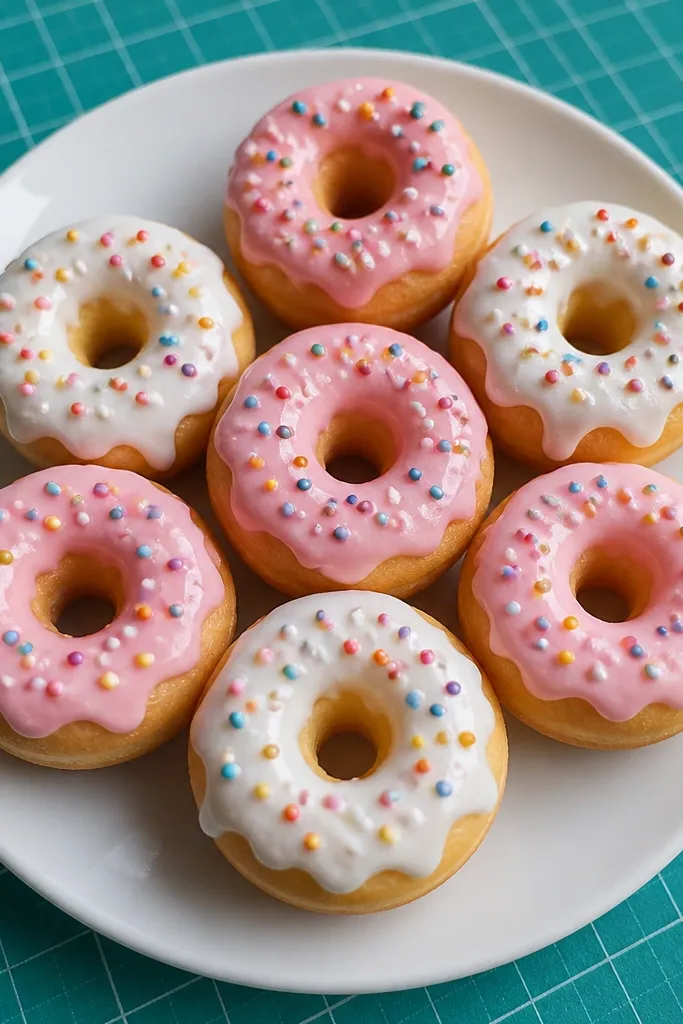
Donuts are the “instant cute” food. The donut hole gives you an easy shape, and the icing ring makes it look bakery-ready. Sprinkles add color pops, and icing drips make it feel hand-finished instead of perfect. Use a bright icing color like white or pale pink so it contrasts with the donut base. This is ideal for a dessert-themed tray because it looks like a whole set, not single items.
Cut 12-16 donut bases from light brown cardstock using a ring template, about 1 inch outer diameter. Cut matching icing rings from white or pale pink cardstock and glue them centered. Add sprinkle dots using small colored paper circles or marker dots, scattering them mostly near the top half. For icing drips, cut 2-3 tiny teardrops per donut from icing paper and glue them hanging from the outer edge.
Make sprinkles slightly larger on the top edge so they show in photos.
Don’t glue drips too low; they should hang a little, not cover the donut hole.
17. Peanut Butter Jar with Pretzel Dips
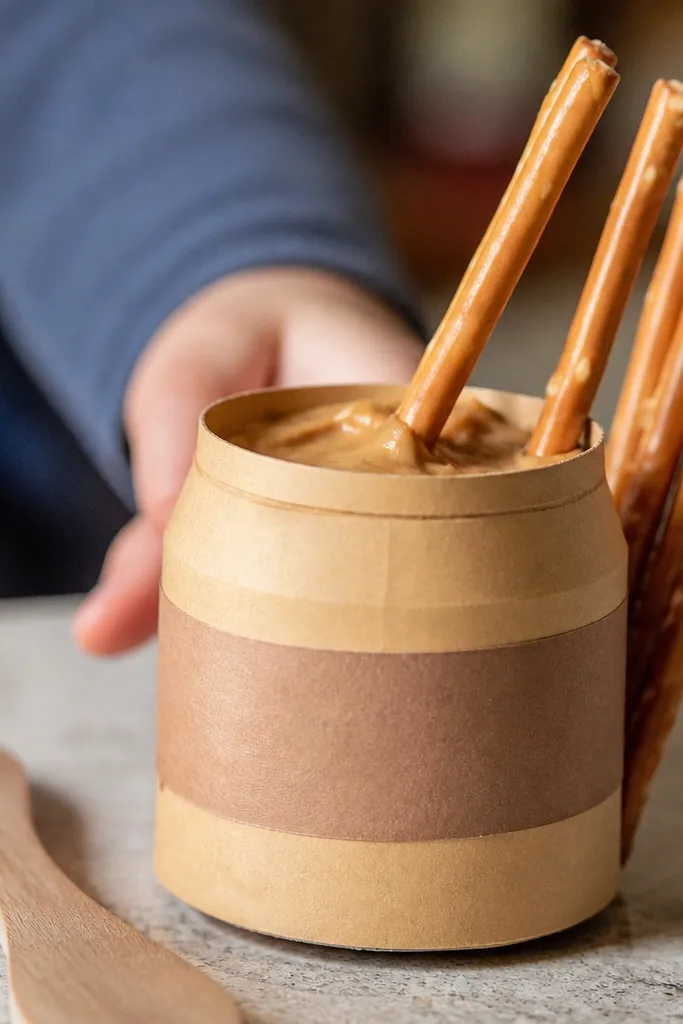
This set looks like an activity, not just food. The jar gives you structure and the pretzels look like they’re dipping, which adds motion. Use warm tan for peanut butter and add a darker tan label band for the jar. Pretzels should be thin and twisted so they read as pretzels, not generic sticks. It’s perfect for a themed “snack dip” table.
Cut a small jar shape from tan cardstock by drawing a rectangle with rounded corners and adding a circular lid. Add a darker tan label band on the front with a simple “label” rectangle and small dots for texture. Cut pretzel shapes from dark brown cardstock as twisted lines, then glue them leaning against the jar edge. Add a few tiny “dip” drips by drawing short curved lines from the pretzels into the jar opening.
Use a ruler to keep the jar label straight; crooked labels show up in close photos.
Avoid thick pretzel shapes; they look like logs.
18. Yogurt Cup with Honey Drizzle
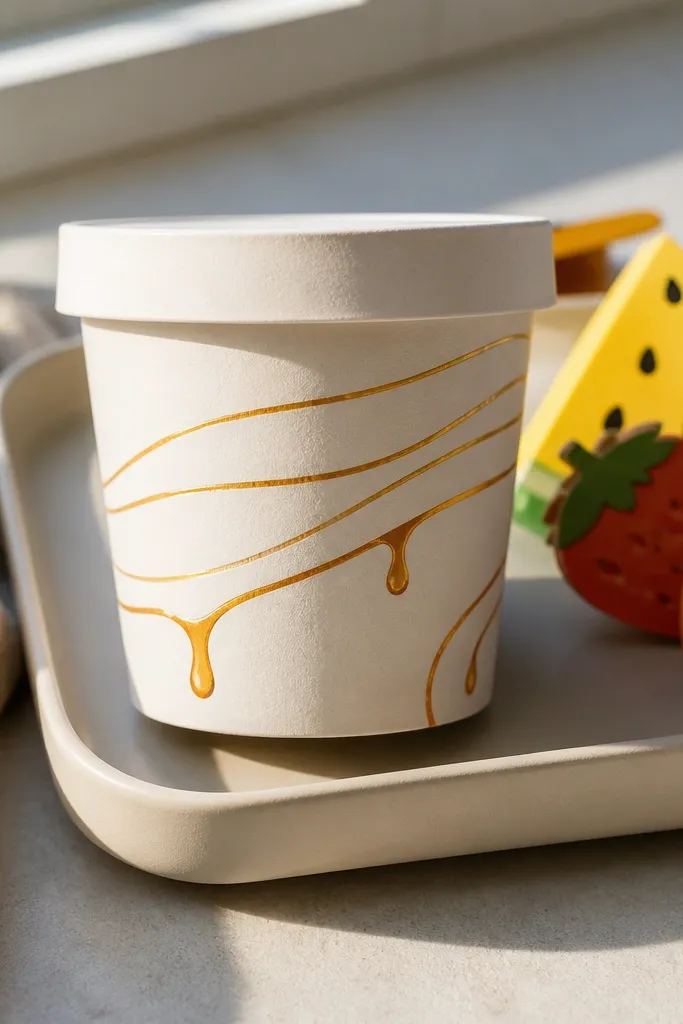
A yogurt cup is clean-looking and it adds a bright “snack container” feel. The honey drizzle is the photogenic part: thin curved lines read as sticky sauce when they’re bright gold. Use white or pale cream cardstock for yogurt, then add a lid-like top band. This idea is great for a breakfast tray or a fruit-and-dip pairing with strawberries and grapes.
Cut a cup body from pale cream cardstock as a tapered rectangle, about 1.2 inches tall, then glue the seam to make it stand. Cut a flat top band and glue it on so the cup looks sealed. Add honey drizzle with a gold paint pen in 4-6 curved lines across the top band, leaving gaps. Finish by adding 3-5 tiny berry dots on one side of the cup for a “mixed” look.
Let the gold pen dry fully before handling so it doesn’t smear.
Don’t flood the top band with honey; drizzle lines look best spaced.
19. Sushi Rolls with Nori Stripes
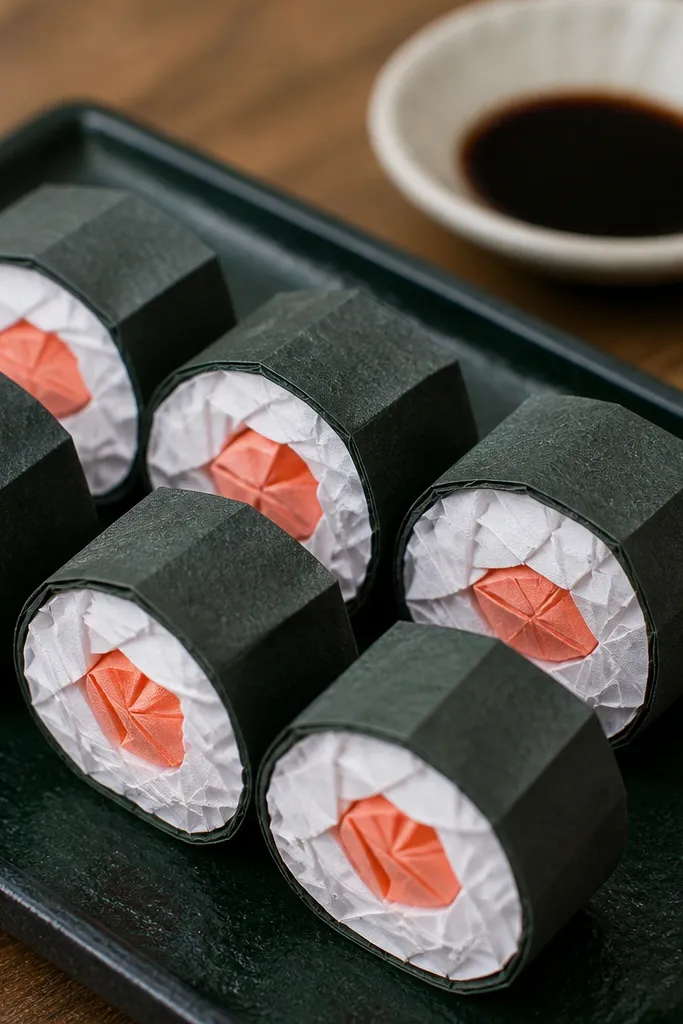
Sushi rolls look modern and crisp, and they’re surprisingly easy to make from paper strips. The nori stripe is what makes it sushi, not just a roll shape. Use dark green or nearly black cardstock for the nori and lighter paper for the rice. Add a thin pink or orange strip for filling so the roll looks layered. This idea is a standout for a themed lunch tray because it feels intentional and styled.
Editor's noteScore a light line down the center before folding so the roll curve looks controlled.
Cut 10-12 sushi roll bases from light rice-colored cardstock as rectangles, about 1.2 inches long and 0.35 inches wide. Cut thinner strips from dark green/black cardstock and glue them around the middle to form the nori band. Add a thin filling strip (pink for salmon-style or orange for carrot-style) under the nori band on one side. Fold the rectangle slightly into a gentle curve and glue the ends to make a roll shape.
Skip thisAvoid using only dark green with no rice contrast; it loses the sushi read.
20. Macaron Trio with Two-Tone Fillings
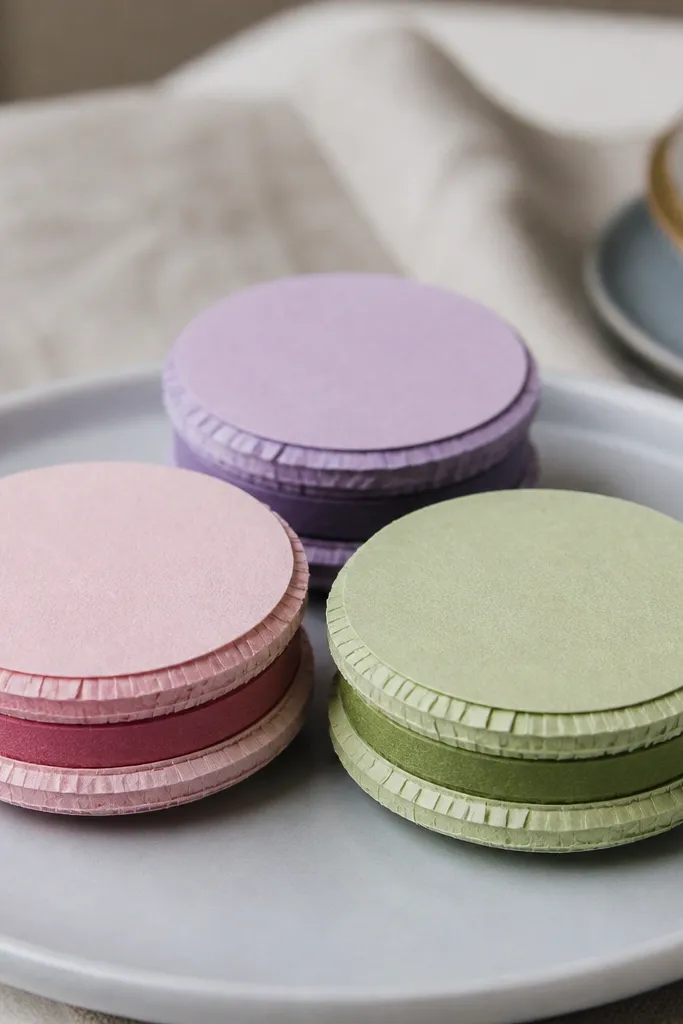
Macarons look fancy in photos, but they’re just layered circles once you pick the right colors. Two-tone shells and a contrasting filling make them look like real macarons instead of flat circles. Use pastel cardstock for shells and a slightly darker pastel for filling so the contrast is obvious. This is a great “pretty tray” idea because you can mix three colors and it looks styled immediately.
Editor's noteUse the same pastel palette across the tray so macarons don’t look random.
Cut 18 macaron shells from pastel cardstock, 0.9-1 inch in diameter. Cut 18 smaller circles from a contrasting pastel for the filling, about 0.55-0.65 inches. Glue filling circles centered on the back of half the shells, then glue the top shells on to create a sandwich. Add tiny shadow arcs under the filling edge with a pencil to create depth, then dust a little white gel pen highlight on the top shell edge.
Skip thisDon’t use white-on-white shells; the edges vanish.



