
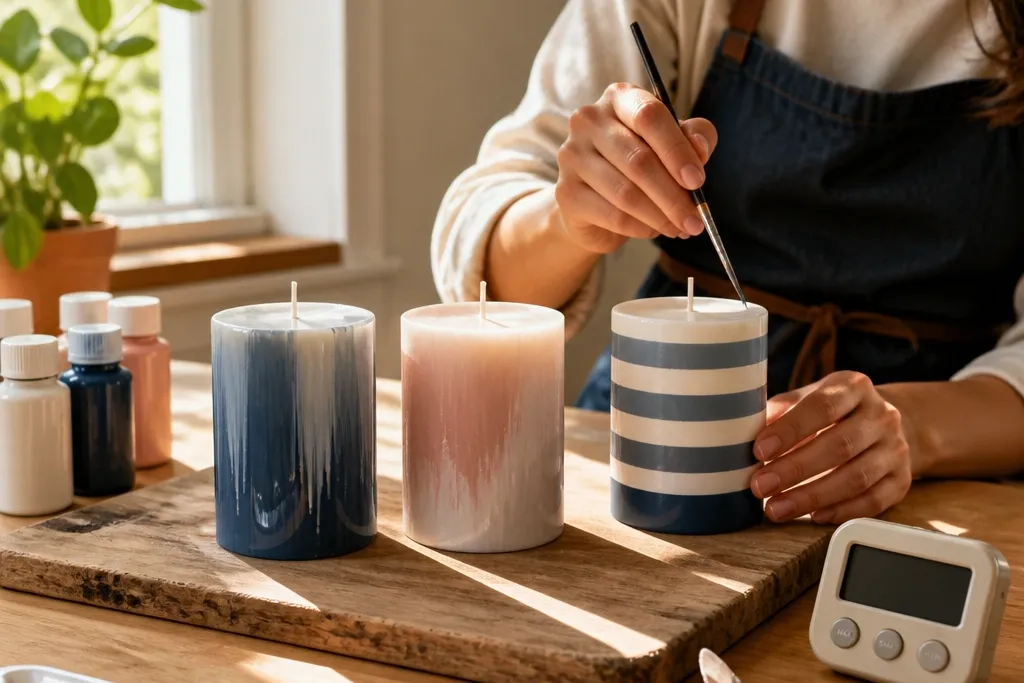

1. Smooth Paraffin Candle With a Stencil Edge
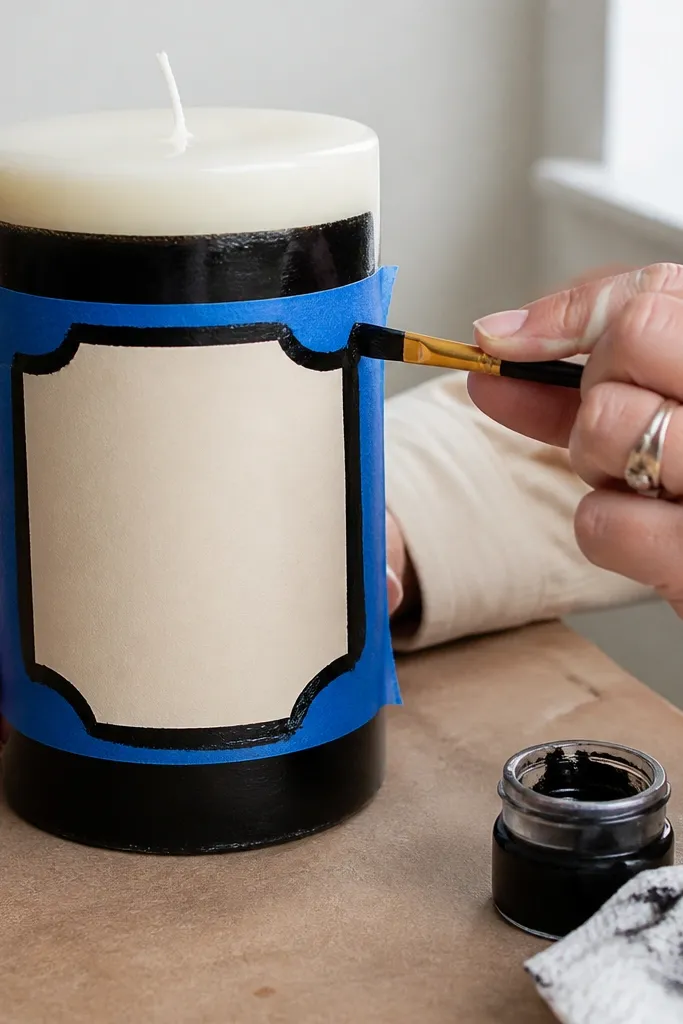
Step 1: Lightly scuff the candle with 400-600 grit sandpaper for 15-20 seconds, then wipe with a dry microfiber cloth. Step 2: Press a stencil or cut vinyl tape onto the candle, then apply acrylic craft paint in one pass using a small foam brush. Step 3: Remove tape while the paint is still slightly tacky, then let it sit until fully dry before handling. Use thin tape edges so paint doesn’t creep under the border.
This is the fastest “real paint” option when the surface is glossy but not coated. Smooth paraffin grabs pigment after a quick scuff, so your paint stays where you put it instead of sliding into streaks. Use this when you want clean borders, like stripes, labels, or simple icons. The finish looks like a painted decal because the paint sits on top and dries matte-ish once it’s fully set. Skill level is beginner; time is about 5-10 minutes including taping and a quick dry window.
Skip thisDon’t skip the scuff — glossy paraffin turns acrylic into a smearing layer.
Editor's noteFoam brushes leave fewer streaks on glossy wax than bristle brushes.
2. Matte Paraffin for Clean Freehand Lines
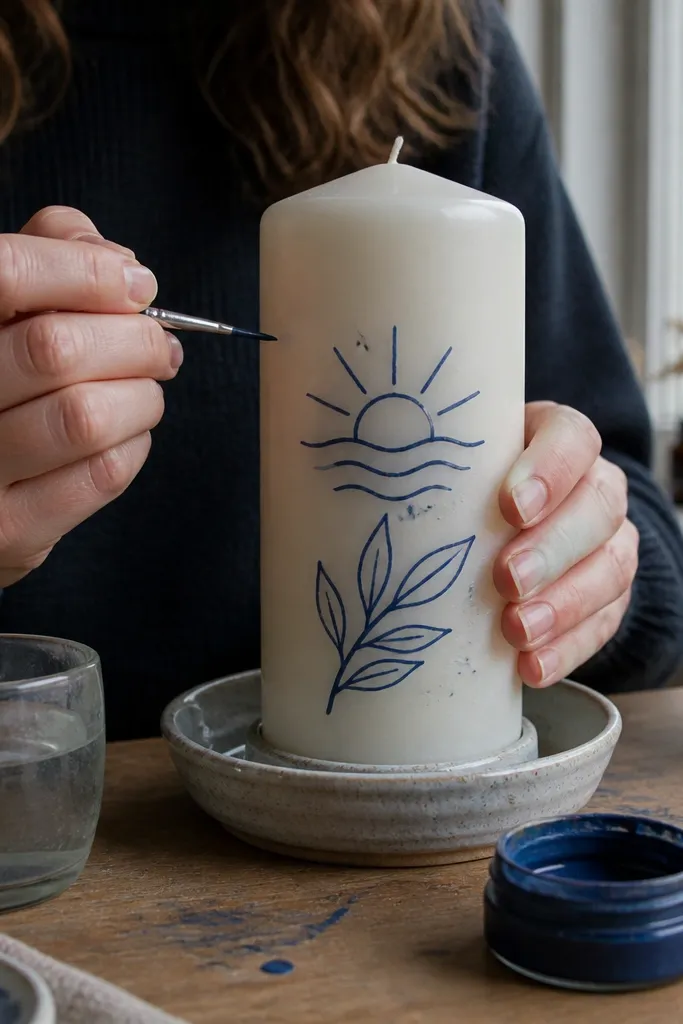
Step 1: Clean the surface with a dry cloth so dust doesn’t cause fisheyes. Step 2: Use a fine liner brush or paint pen to draw your design, keeping your strokes light to avoid gouging the wax. Step 3: Let the paint set for a few minutes, then add a second color only after the first is no longer wet to prevent mixing.
Matte paraffin is forgiving. The surface already has a bit of tooth, so acrylic paint grips without needing heavy prep. This is ideal for quick doodles, single-color lettering, and small icons where you don’t want tape. The look is painterly but controlled, with less beading than you’ll get on glossy candles. If you’re chasing the “five minutes” promise, matte paraffin is one of the easiest starts because it doesn’t fight you.
Skip thisDon’t load the brush with paint — thick paint pools and drags on matte wax.
Editor's noteWork with the candle turned slowly so your hand stays steady and your lines stay even.
3. Fragrance-Coated Paraffin Goes Best With Paint Markers
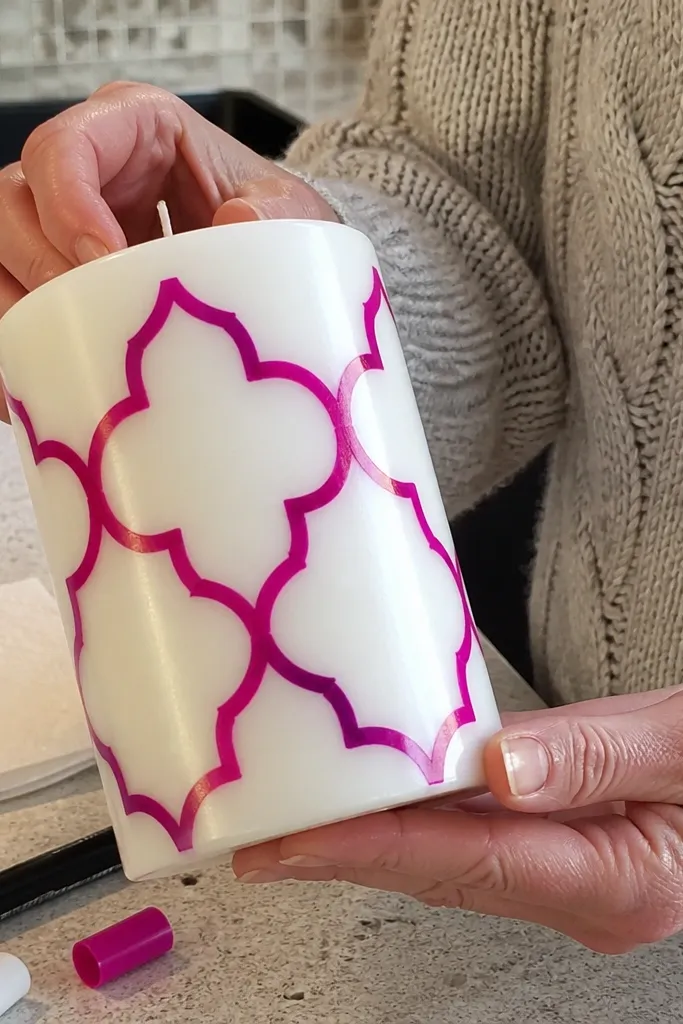
Some scented candles have oils or surface treatments that make water-based acrylic act weird — it beads, then smears when you touch it. In that case, paint markers are the speed route because they lay down pigment with less surface wetting. You still get a crisp graphic look, and you avoid the “why is my paint skipping?” frustration. This works best for high-contrast patterns like dots, stripes, and outlines rather than wide wash backgrounds. Skill level is easy; time is about 5 minutes.
Step 1: Clean the candle with a dry cloth and test one tiny dot in an invisible spot. Step 2: Draw your design with a paint marker, pressing lightly and building color in two thin passes if needed. Step 3: Let it sit untouched until the marker ink is fully set, then add a border line last for clean edges.
Choose an opaque marker tip size that matches your design scale (fine for lines, chisel for blocks).
Avoid brushing over marker ink while it’s wet — it smears fast on coated paraffin.
4. Soy Candle Painting With Light Pressure
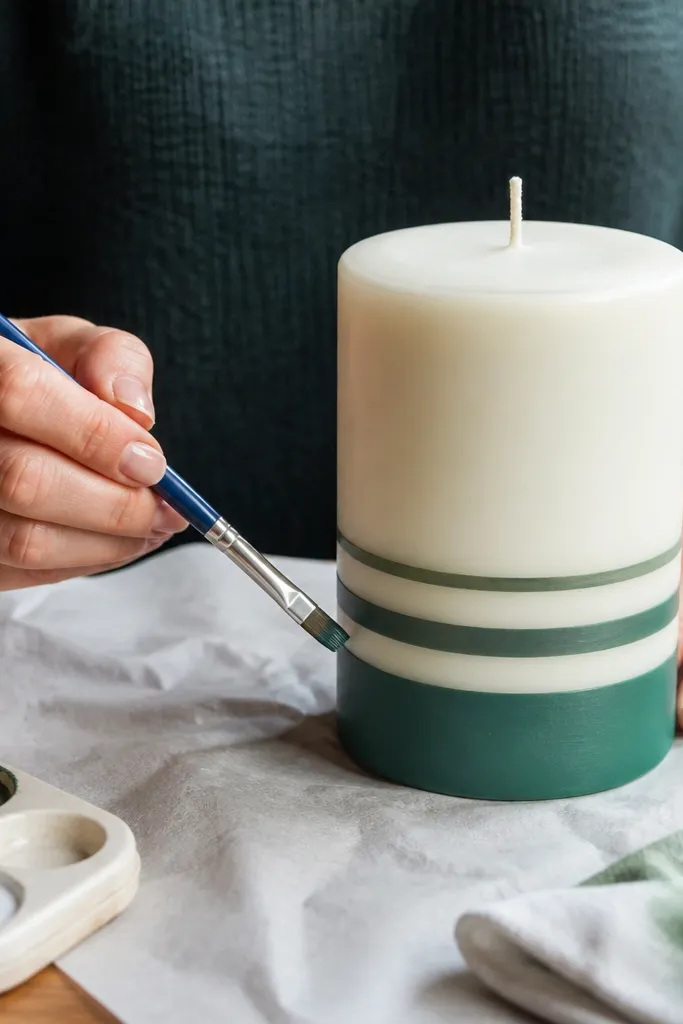
Step 1: Scuff very lightly with 600 grit for 10-15 seconds, then wipe clean. Step 2: Use acrylic craft paint thinned just enough to flow, and apply in thin strokes without pressing into the wax. Step 3: Build up color gradually and stop when it looks even — overworking soy makes streaks.
Soy wax is softer and can pick up pigment under pressure. That’s why the same paint technique that works on paraffin can leave drag marks on soy. The good news is soy is still paintable — you just need thinner layers and lighter hand movement. This is best for quick stripe designs, simple gradients, and anything where you want a slightly softer look. It’s beginner-friendly if you keep your brush almost dry.
Skip thisDon’t try to cover in one thick coat — soy shows brush drag when paint is too heavy.
Editor's noteTurn the candle while painting so you’re always painting on a flat plane relative to your hand.
5. Soy Blend (Soy + Paraffin) for the Best 5-Minute Results
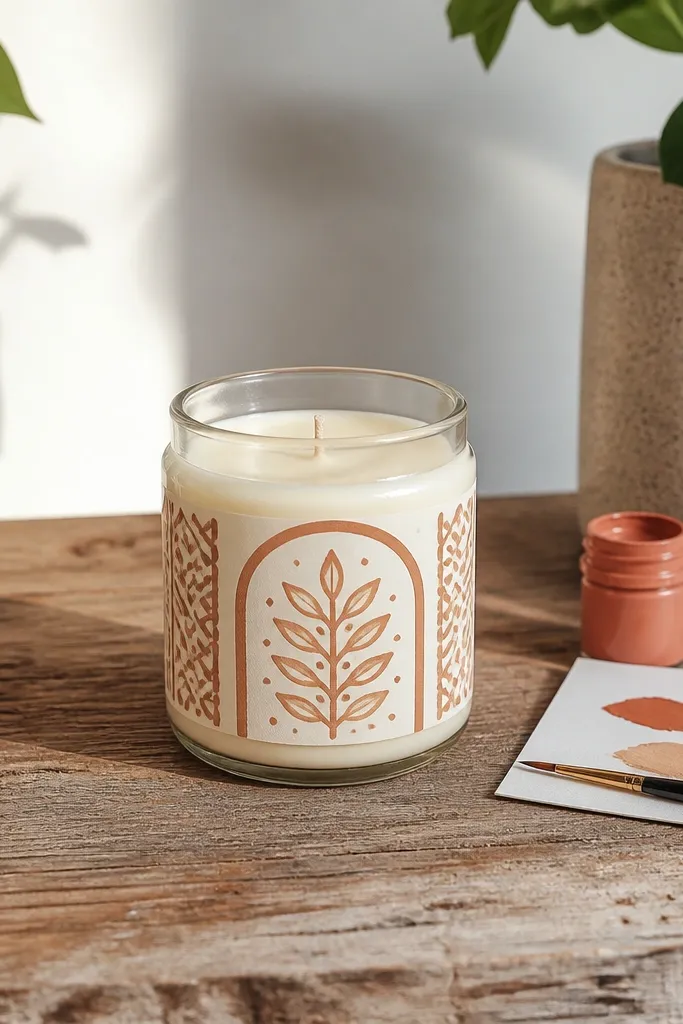
Soy blend candles are the sweet spot for quick painting because they balance grip and smoothness. You get better edge control than pure soy, and less stubbornness than glossy paraffin. This is the easiest place to start if you want the exact outcome in the title: finish a clean design in about five minutes. The painted areas dry fairly quickly and don’t smear as easily as softer blends. Choose this for labels, monograms, and geometric patterns.
Step 1: Wipe the candle with a dry microfiber cloth and tape your stencil. Step 2: Fill the stencil with acrylic craft paint using a small sponge brush so the color stays even. Step 3: Pull the tape while the paint is still slightly tacky, then let it fully dry before lighting or wrapping.
Sponge brushes help paint sit on top instead of sinking into softer wax.
Don’t use thick gel medium — it slows drying and makes smudges more likely.
6. Natural Beeswax Outlines With Wax Paint Markers
Beeswax is the one wax that regularly defeats standard acrylic brushing. Water-based paint beads, and even many craft acrylics can smear while drying. Wax paint markers are faster because they bond to wax better and lay down color without needing a heavy primer routine. This is great for crisp outlines, dot clusters, and simple icons. The finish looks like ink on wax — slightly matte, with a clean edge that doesn’t blur.
Step 1: Use a fine wax paint marker and draw your outline first to map the design. Step 2: Fill small areas with short, controlled marks rather than big sweeps. Step 3: Let it sit undisturbed until the marker no longer feels tacky, then add a second layer only where coverage is thin.
Do outlines first. It’s easier to fix line thickness than to correct a messy filled area.
Don’t try to paint beeswax with watery acrylic — it beads and turns patchy fast.
7. Polished Hard Beeswax With Alcohol Marker Crispness
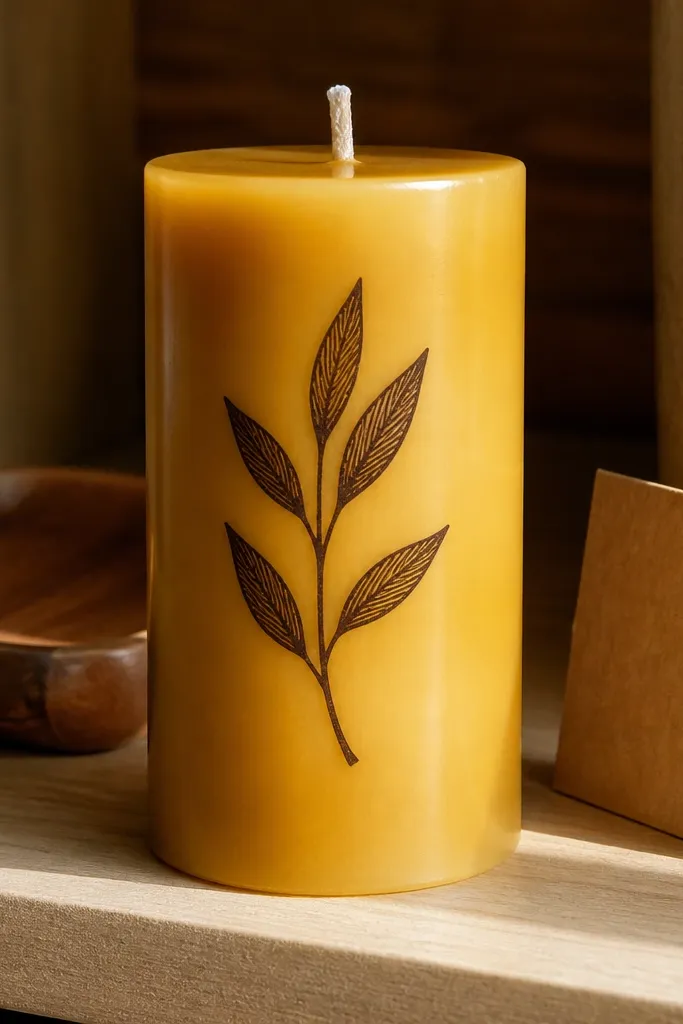
Step 1: Lightly scuff with 600 grit so the surface isn’t glassy, then wipe with a dry cloth. Step 2: Use an alcohol marker to write your design, keeping strokes small so ink doesn’t pool. Step 3: After it dries, seal only if you’re handling the candle a lot — otherwise you risk dulling the marker look.
Hard, polished beeswax holds marker pigment more cleanly than softer blocks. Alcohol markers can grab better because they wet the surface enough to deposit dye, then set quickly as the solvent flashes off. You get sharp lettering and small details with minimal prep. This is a good choice when your design is text-first: names, dates, or simple typography. The look is crisp and graphic, not brushy.
Skip thisAvoid big filled areas — alcohol markers can pool and create dark halos.
Editor's noteUse a sheet of scrap paper under your hand so you don’t transfer oils from your fingers into the wax.
8. Palm Wax With Speckled Dry-Brush Effects
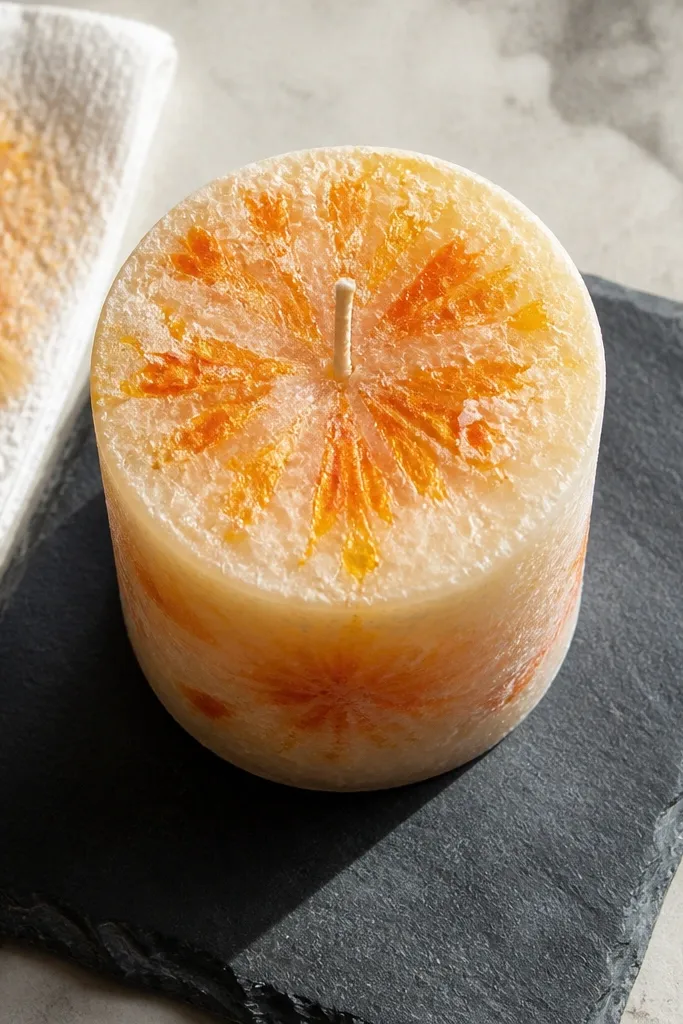
Step 1: Dip a flat brush very lightly into acrylic craft paint, then wipe most paint off on a paper towel. Step 2: Flick or drag the brush lightly over the textured surface for speckles and streaks. Step 3: Stop once it looks balanced — palm wax texture makes it easy to overdo.
Palm wax has a crystalline texture that naturally breaks up paint. That texture is your friend: it creates speckles and uneven highlights even with minimal technique. For quick painting, you can dry-brush acrylic and get a textured look without perfect coverage. This is great for decorative accents like starbursts, sun rays, or abstract backgrounds. The result looks intentional, not messy, because the wax texture does the blending for you.
Skip thisDon’t try to smooth the surface with thick paint — it looks muddy on palm wax.
Editor's noteA stiff-bristle brush gives cleaner speckle control than a soft watercolor brush.
9. Coconut Wax With Marker First, Paint Second
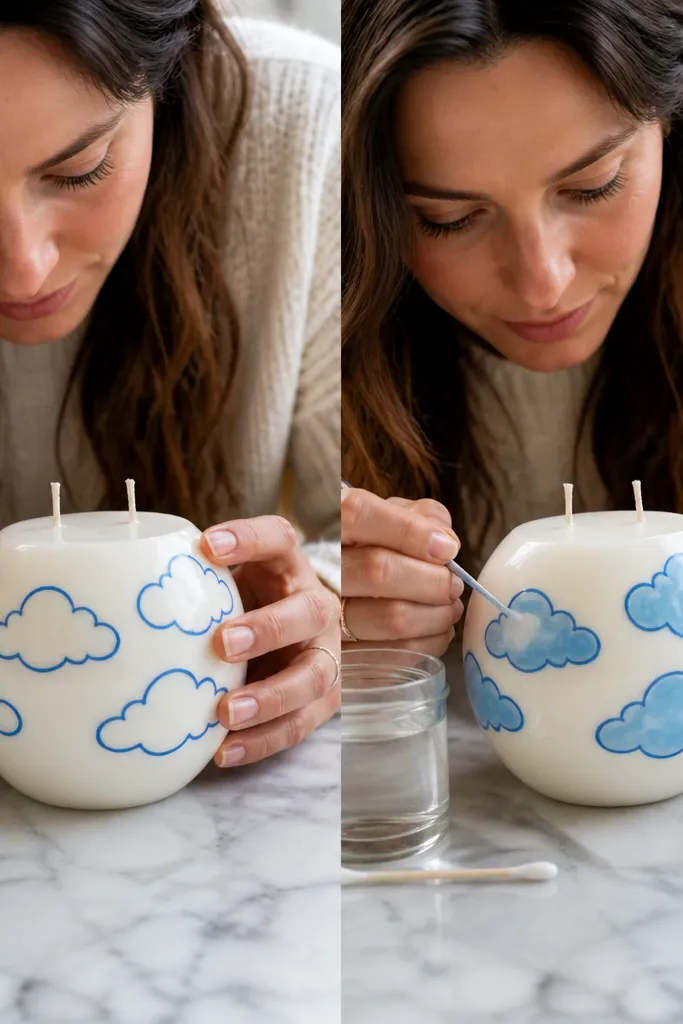
Coconut wax can be glossy and slick, so paint alone can drag or bead. The speed fix is to start with paint marker for the boundaries and major shapes, then use thin acrylic only inside those lines. This gives you control without fighting the surface. The look is clean-edged and polished, and you can still finish fast because the marker sets quickly. Use it for geometric patterns where edges matter.
Step 1: Sketch the design with an opaque paint marker and let it dry completely. Step 2: Fill inside using a small foam brush with thin acrylic paint in one or two passes. Step 3: If you need a second color, wait for the first color to stop looking wet before adding it.
Keep paint layers thin. Coconut wax shows every ridge from thick brushwork.
Avoid painting first. If you lay acrylic over a glossy slick surface, marker lines later won’t stay crisp.
10. Gel Candle Wax for Bright, Fast Designs
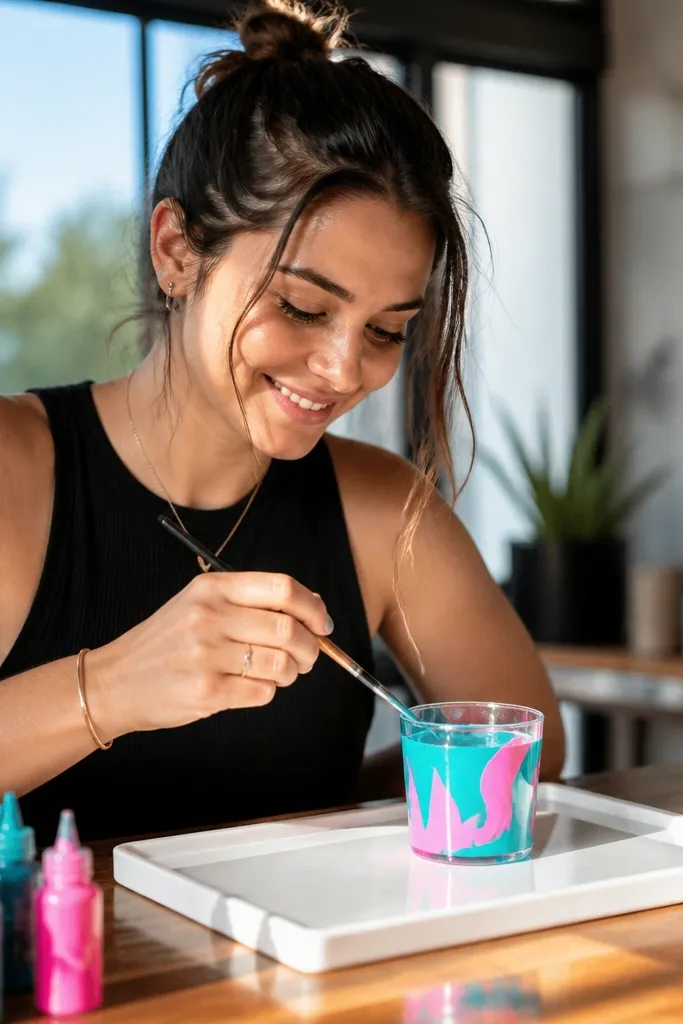
Step 1: Wipe the gel surface with a dry cloth so dust doesn’t trap under paint. Step 2: Use paint markers for crisp outlines, then fill with thin acrylic using a fine foam brush. Step 3: Let it set without moving it until the surface feels dry to the touch.
Gel candles are surprisingly easy because the surface is smooth and paint stays on top. You get bright, high-contrast designs that look almost like decals. This is the best choice when you want the fastest possible “paint and done” look with minimal prep. The finish stays glossy if your paint stays thin, which makes it pop in jars or glass lanterns. Skill level is easy, and the whole design can be finished in about five minutes.
Skip thisDon’t press hard with the brush — gel can dent and smear.
Editor's noteUse thin paint, not thick. Thick paint can wrinkle on gel surfaces as it dries.
11. Stearin-Enhanced Wax With Primer for Durability

Stearin-enhanced wax often takes paint better than plain paraffin, but it still benefits from a primer layer when you want durability under handling. If you’re painting a label you’ll touch, like a gift candle you’ll wrap and carry, primer helps the color resist smudging. This is also a good choice for multi-color designs where you don’t want the top layer to lift. The look is clean and matte once sealed or fully cured.
Step 1: Scuff lightly with 600 grit and wipe clean. Step 2: Apply a thin coat of wax-friendly primer or acrylic gesso made for non-porous surfaces, then wait for it to dry. Step 3: Paint over the primer with acrylic craft paint and seal only if needed for handling.
Two thin primer coats stick better than one thick coat.
Don’t skip primer when you’re doing lettering — bare wax lifts paint at the edges.
12. Tallow Wax Chalk-Paint Look
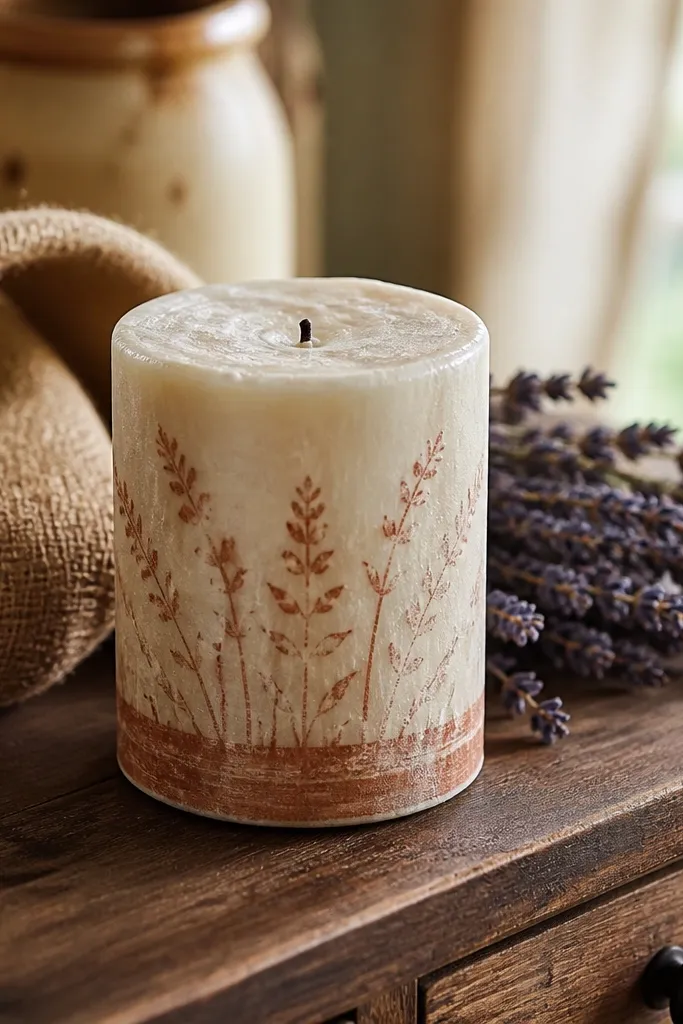
Step 1: Clean the surface with a dry cloth and scuff lightly with 600 grit if it looks glossy. Step 2: Use chalk paint or acrylic mixed with a little baking-soda-like grit substitute for texture, then apply with a small stencil brush. Step 3: Let it dry fully, then brush off loose chalky residue with a dry makeup brush.
Tallow wax has a naturally matte surface, and that makes chalky finishes look right instead of sticky. If you want a worn, soft look for farmhouse decor, tallow is a good match. The texture helps pigment grip, so you don’t need heavy prep beyond a quick wipe. This technique works well for big typography and rustic symbols because the paint looks naturally imperfect. Time is still quick — you can get a readable design in five minutes.
Skip thisDon’t overwork the surface. Chalky tallow finishes get muddy if you keep going.
Editor's noteStencil brush beats foam for chalky paint — it deposits pigment without streaks.
13. Carnauba-Finished Wax for Sharp Labels
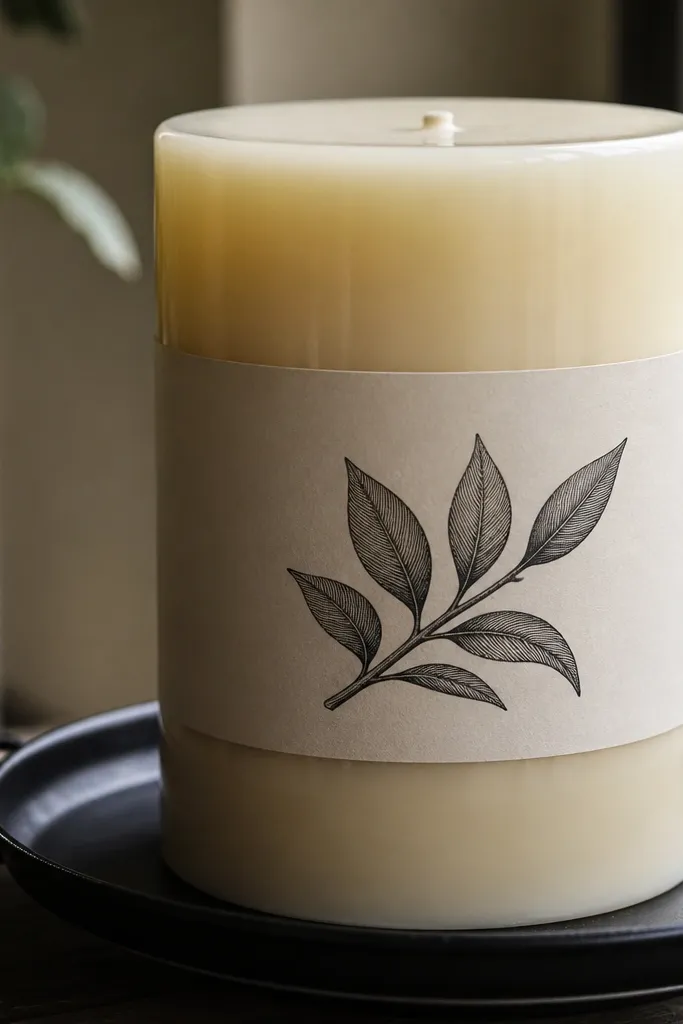
Carnauba-finished wax can be very smooth, and that’s the problem for normal paint adhesion. The upside is that it can look super clean once you get the surface ready. For sharp labels and lettering, primer or marker is the winning route. This is best when you want crisp edges, like “bath salts” or “soy candles” style tags on a candle. Expect slightly more prep than soy or matte paraffin, but the final look is worth it.
Step 1: Scuff with 600 grit for 20 seconds, then wipe thoroughly. Step 2: Apply a thin primer made for smooth/non-porous surfaces, then dry. Step 3: Paint the label with acrylic craft paint using a liner brush, and remove any tape right after the paint stops flowing.
Use a ruler or label tape guide so your lettering stays straight without multiple repaint attempts.
Avoid heavy sanding. You can create grooves that show through paint.
14. Frosted Wax for Low-Bleed Fast Painting
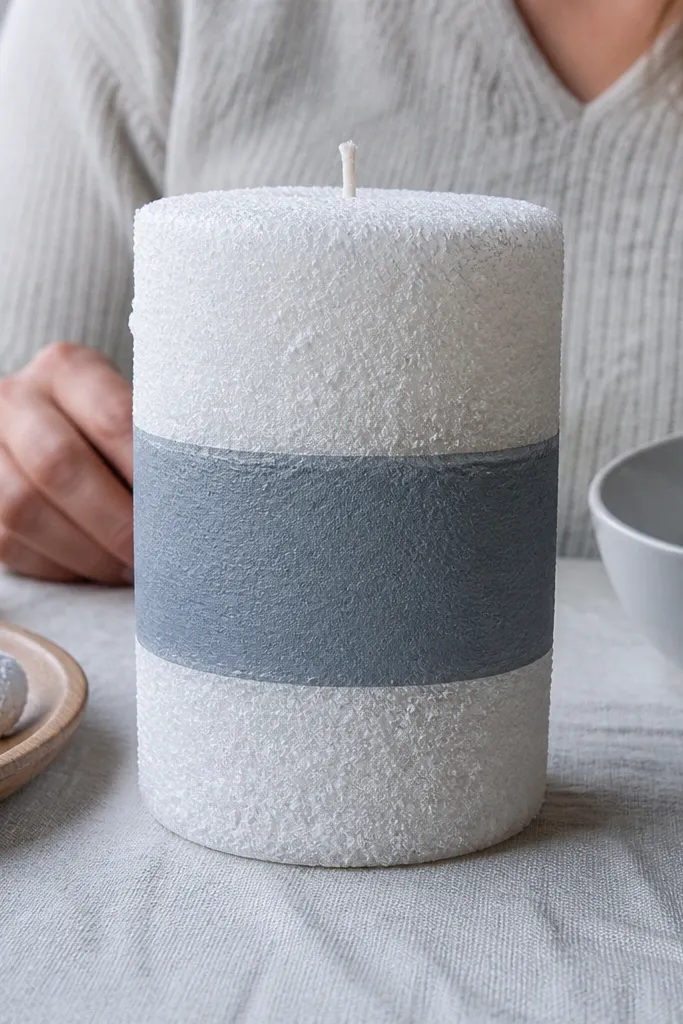
Step 1: Wipe the candle with a dry cloth and press stencil tape firmly with a plastic scraper or your fingernail edge. Step 2: Apply acrylic craft paint with a small sponge brush in one to two thin passes. Step 3: Pull tape while paint is still tacky, then let it dry flat.
Frosted or snow-dipped wax has texture that breaks up paint spread. That means less bleeding under tape and less beading for your brush. It’s one of the best surfaces for the exact promise: Quick Candle Painting in 5 minutes because you can tape, paint, and get clean edges without complicated steps. The finish looks soft and decorative, not glossy and plastic. Choose this for geometric patterns and quick seasonal icons.
Skip thisDon’t use too much water in your paint mix. Frosted wax can still wick if paint is thin.
Editor's notePress tape edges twice — once to place, once to seal — for less paint creep.
15. Embedded Glitter Wax for Dot Accents
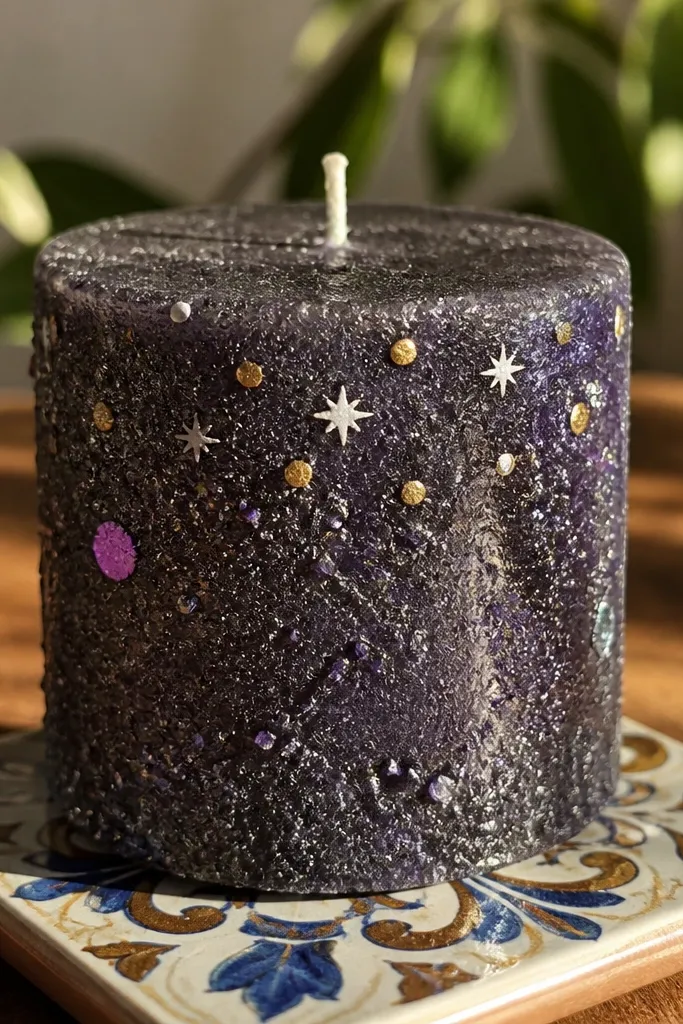
Step 1: Use a paint marker or a small round brush with opaque acrylic paint. Step 2: Add dots and short highlight lines where the glitter is densest for the strongest contrast. Step 3: Let it dry completely before handling, since rough glitter surfaces can rub fresh paint.
Candles with embedded glitter or rough texture are perfect for small accent work. Painting big areas can look uneven because glitter changes how pigment settles. Dot accents, tiny stars, and highlight lines look intentional and pop against the texture. This is fast because you’re doing small marks, not full coverage. If you want a quick decorative upgrade without fighting the surface, this is the easiest route.
Skip thisAvoid wide brush strokes on glitter wax. They drag and smear around the texture.
Editor's noteOpaque paint beats translucent washes here — glitter makes translucent colors look muddy.



