
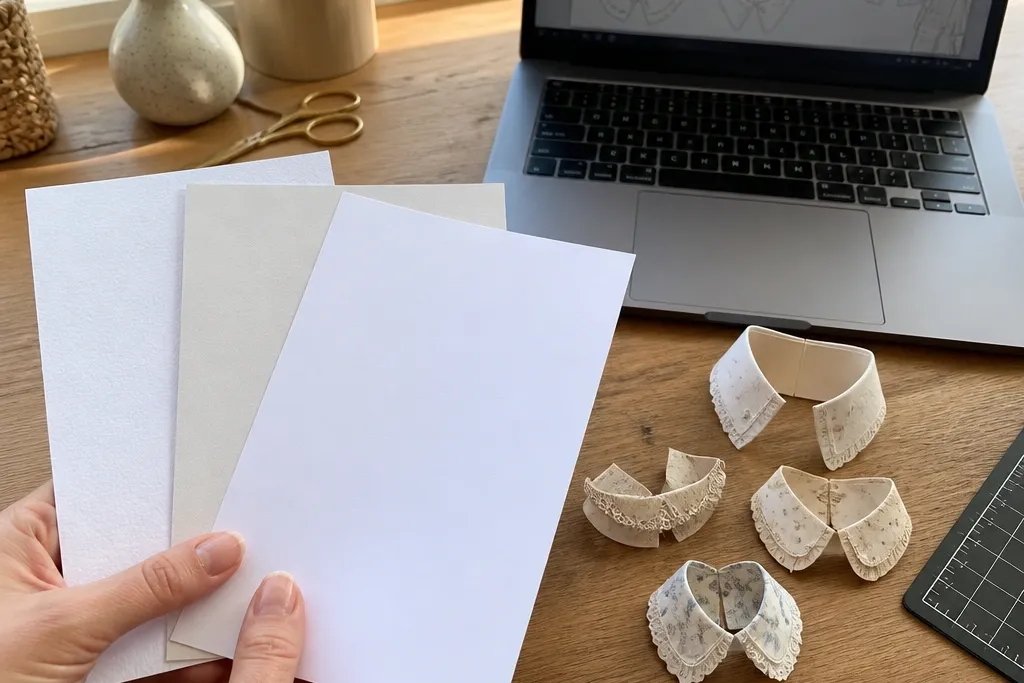
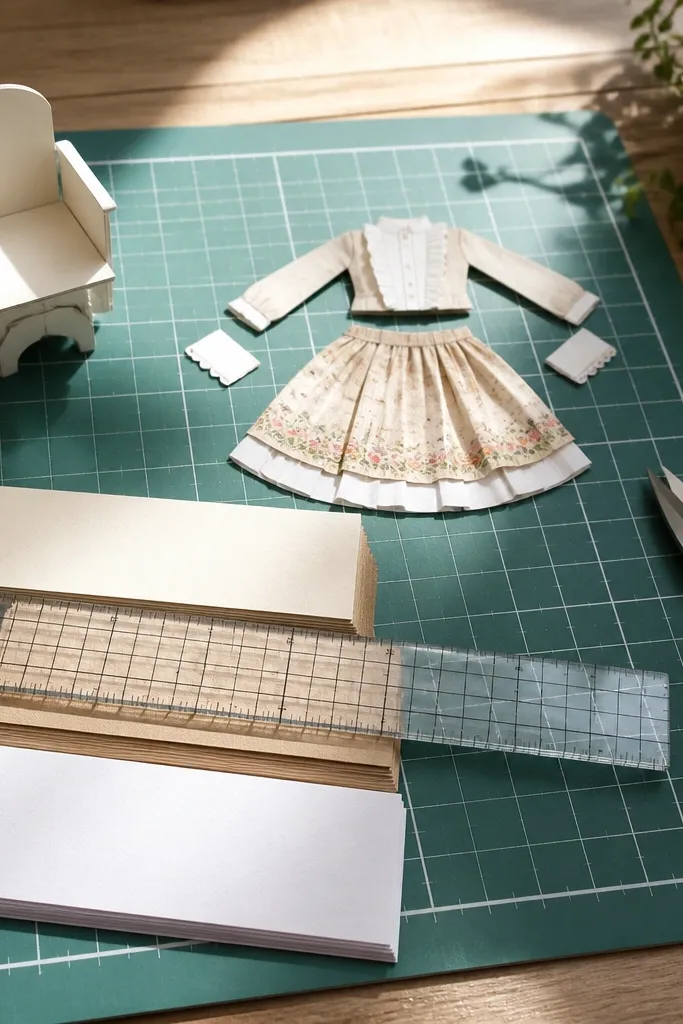
1. Matte inkjet photo paper for razor-sharp outlines
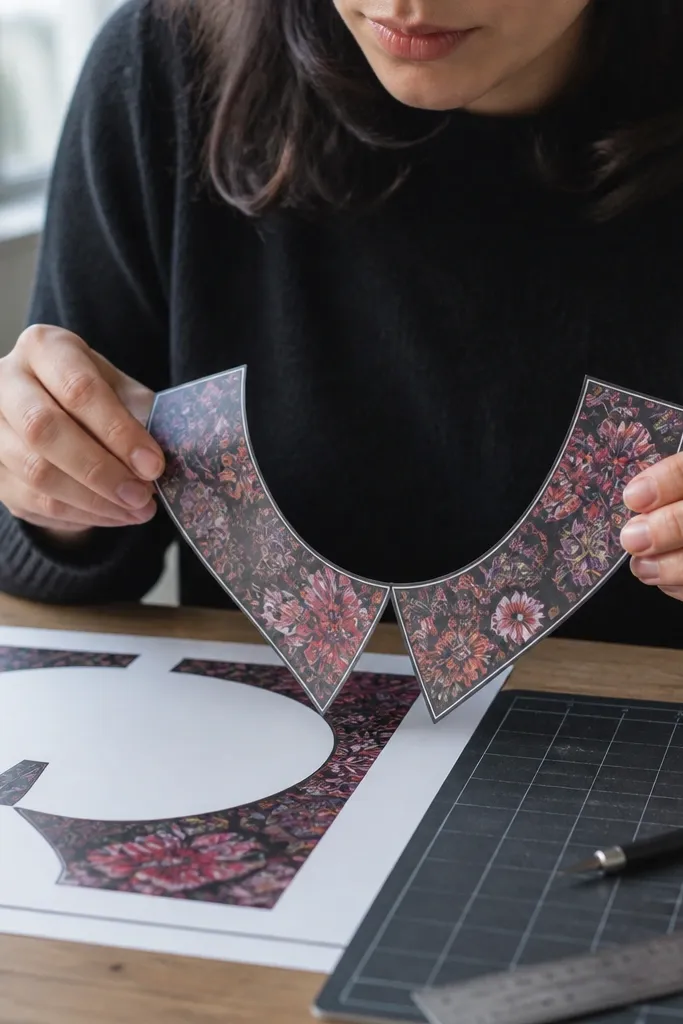
This is the best “default” paper when your paper doll clothes have lots of thin outlines. Matte inkjet photo paper is smooth enough that ink sits where it lands, so blacks stay dark and edges don’t feather into the cut lines. It also takes color well without the blotchy look you get on cheap copier paper. You still get a paper that cuts cleanly with sharp scissors, and it holds up better than plain paper when you handle tiny sleeves and collars.
Start by using your printer’s photo or matte photo setting, not plain paper. Print a single page at 100% scale, then cut the smallest piece on the page and check for any ink smudge when you rub the edge lightly. If the edge looks fuzzy, lower ink density or switch to a higher-quality matte mode and reprint the test piece. When it passes the rub test, print your full template run and store the sheets flat under something heavy so they don’t curl.
Editor's noteUse a fresh blade in a craft knife for tiny details; it keeps the cut edge crisp on smooth photo paper.
Skip thisAvoid glossy photo paper for line-heavy templates — it can smear during handling and curl as it dries.
2. Uncoated smooth matte cardstock for stiff outfits
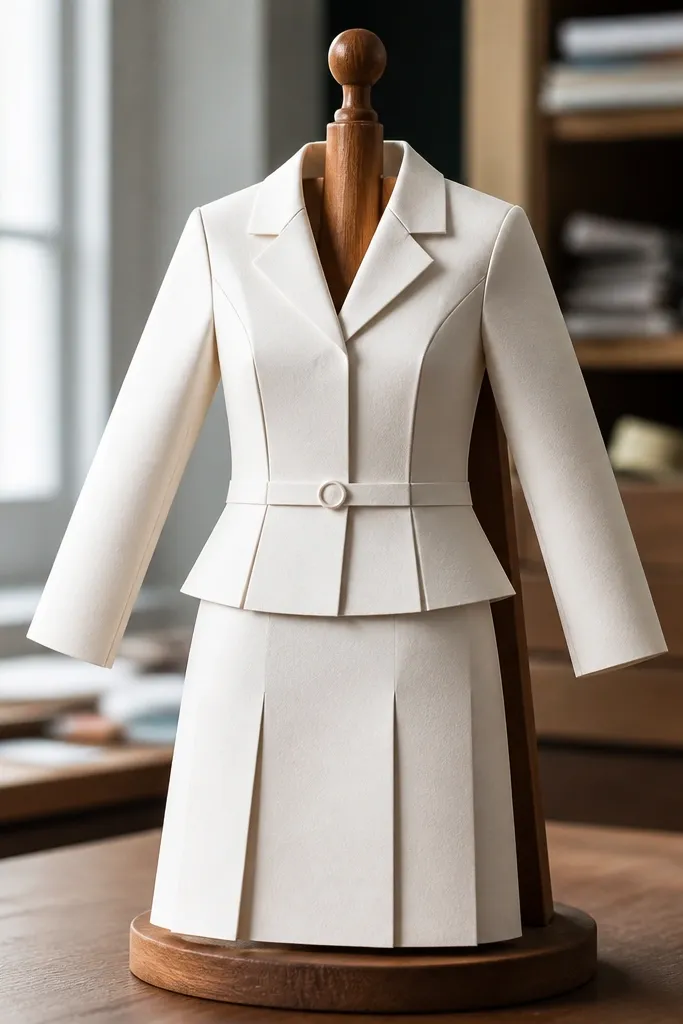
Uncoated smooth matte cardstock is a workhorse for paper doll templates because it balances stiffness with cutability. The ink doesn’t soak in as deeply as on cheap copier paper, so your lines stay readable and your colors don’t look washed out. It also gives you a tougher outfit that doesn’t limp when you bend the doll slightly. If you’re building a wardrobe you’ll re-cut and re-use, cardstock is the safer choice than thin paper.
Pick a smooth cardstock around 80-110 lb (about 150-200 gsm) so sleeves and skirts don’t flop. Print with the paper type set to cardstock or matte, then let the sheet dry flat for a full 10-15 minutes before cutting. Cut with scissors for large pieces, but switch to a craft knife for collars, hems, and layered tabs. Finish by pressing the pieces flat between two scrap sheets for 5 minutes if your printer causes any edge curl.
Editor's noteIf your printer allows it, turn off any “economy” ink mode; cardstock exposes streakiness more than thin paper.
Skip thisDon’t use heavily textured cardstock for tiny clothes unless your template has thick outlines.
3. Plain 20 lb printer paper for layout drafts and practice cuts
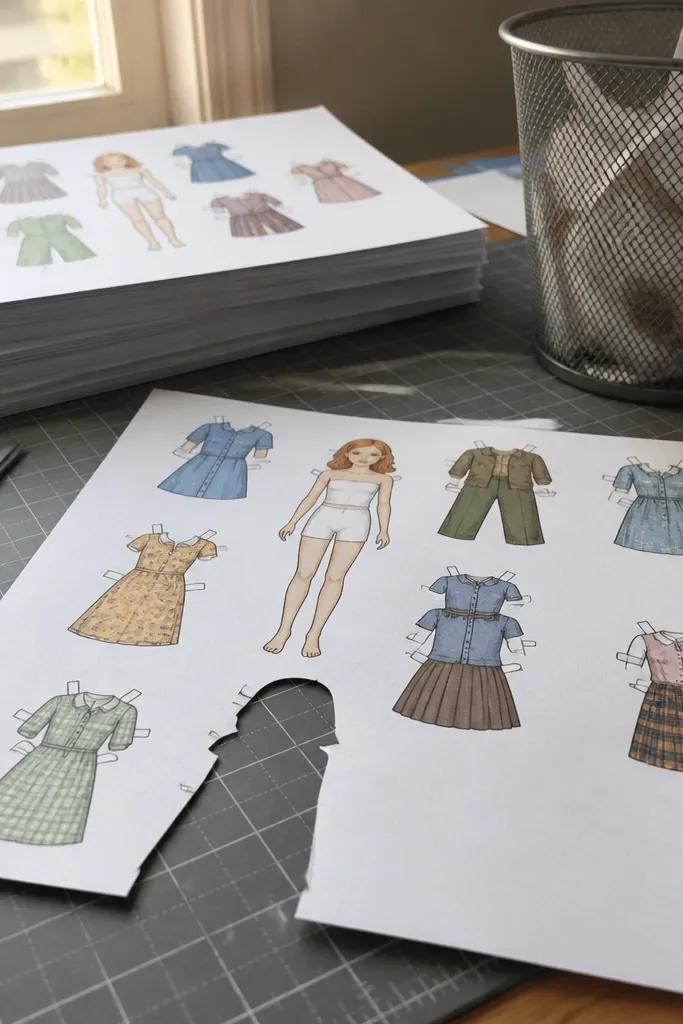
Plain printer paper is best when you’re testing fit and proportions, not when you want heirloom-looking outfits. It’s cheap, it prints fast, and it cuts easily with scissors, so you can iterate without wasting specialty sheets. The downside is that ink can look slightly dull and feather at the cut edge, especially on inkjet. For paper dolls that you’ll display once or that you’re still tuning for size, plain paper gets the job done.
Print one template page on your normal settings, then cut the smallest pieces you care about. If you’re using inkjet, wait longer before touching the cut edges — 15 minutes is a safe baseline for clean handling. Fold-test a skirt panel and check whether it creases sharply; if it tears, switch to 60-90 lb cardstock. When the proportions look right, reprint the final templates on matte cardstock or matte photo paper for the clean edges.
Mark your best settings with a tiny checklist on paper scrap so you can repeat the same scale and quality later.
Don’t use plain paper for outfits that need crisp hems; the edges will look soft after repeated handling.
4. Laser-friendly 24 lb / 90-100 gsm paper for crisp toner edges
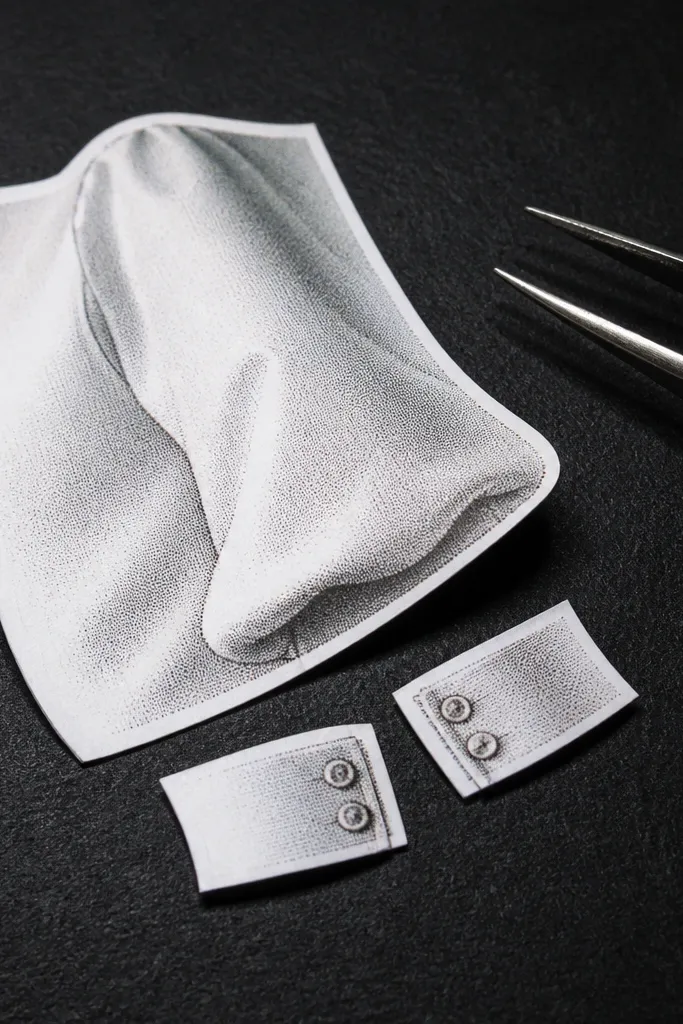
If you have a laser printer, this is the straightforward option for paper doll templates. Laser toner bonds well to smoother, mid-weight printer paper, so you get crisp edges without the ink feathering you see on inkjet. It also resists smudging during cutting and gluing because toner is already “fixed” on the surface. For line art templates and simple color blocks, this paper can look surprisingly polished.
Set your printer to plain paper or laser paper, not photo. Print at 100% scale and let the sheet cool for a minute before you cut. Use a sharp blade for small notches so you don’t tear the paper fibers. If you’re layering clothes, print the base pieces on this paper and print detailed trims on matte cardstock for sharper edges.
Avoid high-heat settings that cause curl; toner paper that curls makes small tabs hard to align.
Don’t swap laser paper into an inkjet workflow and expect the same edge crispness.
5. Smooth recycled paper for lower cost, decent results
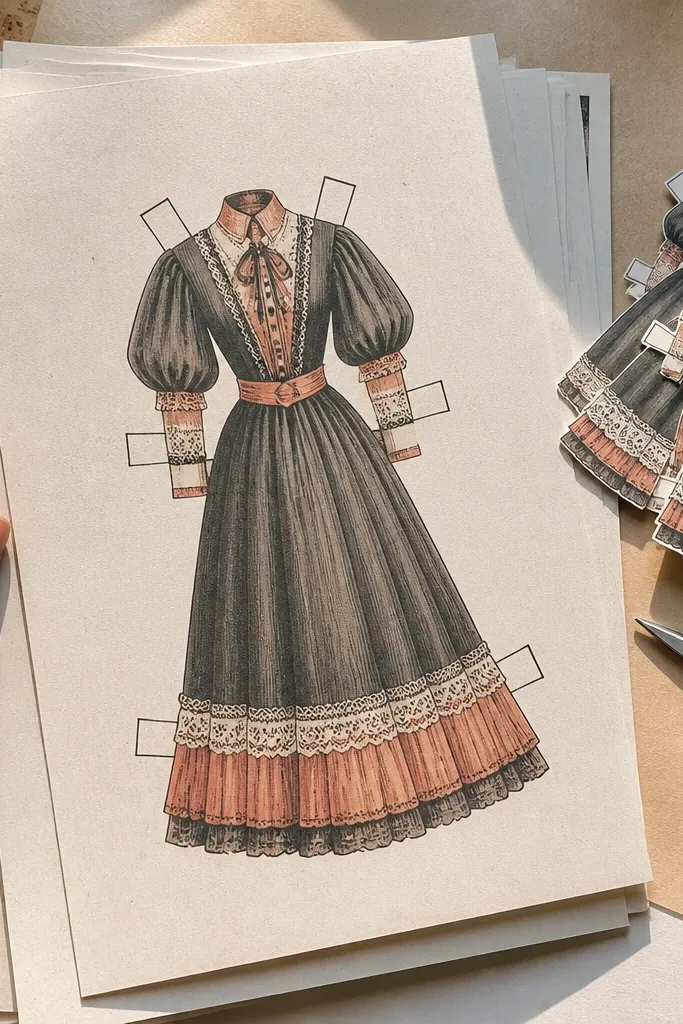
Smooth recycled paper works when you want the look of real paper without paying for photo stock. The key word is smooth — some recycled sheets have a visible tooth that makes thin lines look fuzzy. When you get the smoother grades, you still get decent readability and a softer, more “paper craft” vibe. It’s a good choice for vintage-style outfits, but don’t expect the same edge sharpness as matte photo paper.
Choose recycled stock labeled smooth or bright white, and aim for 80-100 gsm. Print one test page and check whether the black outlines look slightly grainy; if they do, switch to uncoated smooth cardstock. Let the ink dry completely, then cut the smallest piece and inspect the cut edge under bright light. If the edge is okay, use recycled paper for larger garments and reserve matte photo paper for collars and cuffs.
Editor's noteUse a higher print quality mode; recycled paper makes low-quality modes look extra rough.
Skip thisAvoid heavy cotton-texture recycled sheets for templates with hairline details.
6. Heavy cardstock around 110-130 lb for display-ready outfits
When you want clothes that hold their shape — especially long coats, structured skirts, and layered bodices — heavy cardstock is the move. It gives you crisp folds and a stiff silhouette without the limp look of thin paper. The trade-off is cutting time and tool wear; thicker stock asks for sharper blades and slower, cleaner cuts. Still, for paper dolls you plan to pose and display, this paper makes a noticeable difference.
Pick 110-130 lb cardstock (roughly 200-260 gsm) and print with a cardstock or thick paper setting. After printing, wait 10-20 minutes before cutting so ink fully sets and doesn’t smear under pressure. Use a cutting mat and a metal ruler for straight seams, then a sharp craft knife for curves. Store finished pieces flat and weighted; heavy cardstock can hold printer curl if you pile it too soon.
Editor's noteCut thick pieces in batches using the same blade until it drags — fewer ragged edges than switching tools mid-run.
Skip thisDon’t force scissors through 130 lb; you’ll get frayed edges and uneven tabs.
7. Printable matte sticker paper for peel-and-press clothes
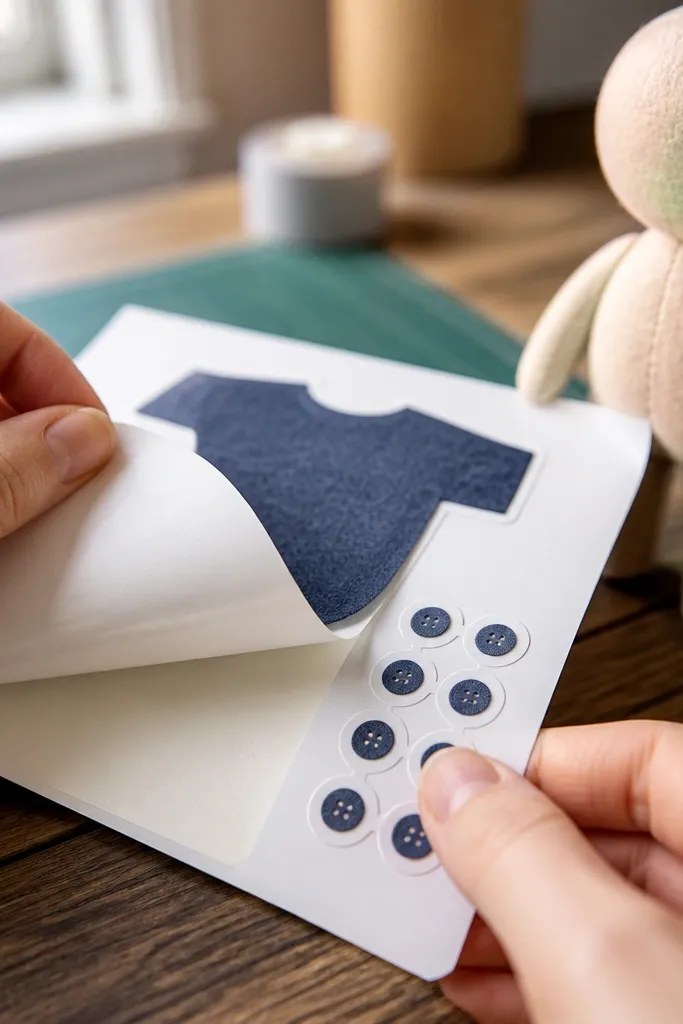
Sticker paper is ideal when your template includes pieces you want to stick onto a doll body, a costume backdrop, or a felt backing. Matte sticker stock keeps the look from going too shiny, so printed clothes still feel like paper craft instead of labels. The downside is thickness and edge finish; too-thick sticker paper can make tiny tabs lift or look bulky. Still, for quick wardrobe swaps and mess-free placement, it’s a strong option.
Print on the sticker side with the correct media type (sticker or photo). Let the sheet dry flat for at least 15 minutes, then cut carefully — don’t rush the adhesive layer. After cutting, peel and test on scrap first to confirm the adhesive isn’t too aggressive for your doll material. For neat edges, trim close to the outline but leave a hairline margin so the adhesive doesn’t show.
Use a craft knife and cut on glass or a hard mat so the adhesive layer stays smooth at the edge.
Don’t touch the adhesive area while cutting; fingerprints show through and grab lint.
8. Printable vellum for layered, fabric-like clothing effects
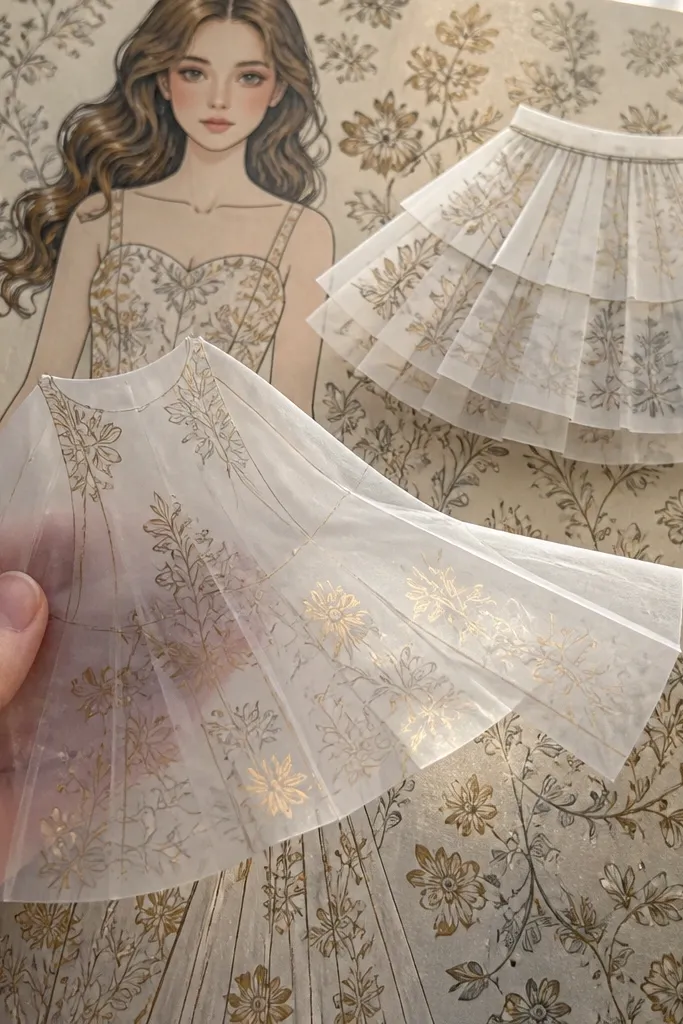
Printable vellum gives you a totally different look: the clothing reads as semi-transparent, like tissue fabric or organza. It’s great for layered skirts, overlays, and “daylight” effects where you want patterns to float over the doll. Vellum also makes certain template styles look more dimensional because the light catches the printed ink differently. The trade-off is that it’s harder to cut cleanly; it can shift on the sheet and smear if ink is still wet.
Print on vellum with the printer’s transparency or matte transparency setting if available. Tape the vellum down lightly at the corners so it doesn’t slide in the printer feed. After printing, dry flat for 20 minutes before cutting, then use a sharp craft knife and cut on a firm mat. For assembly, glue with a thin dot behind the edges, not across the full piece, so the vellum stays light.
Editor's noteUse a thin glue stick or glue pen for edges; wet glue can warp vellum.
Skip thisAvoid wet cutting techniques or heavy pressure; vellum creases and can tear along the cut.
9. Matte art paper 90 gsm for a clean, "book page" feel
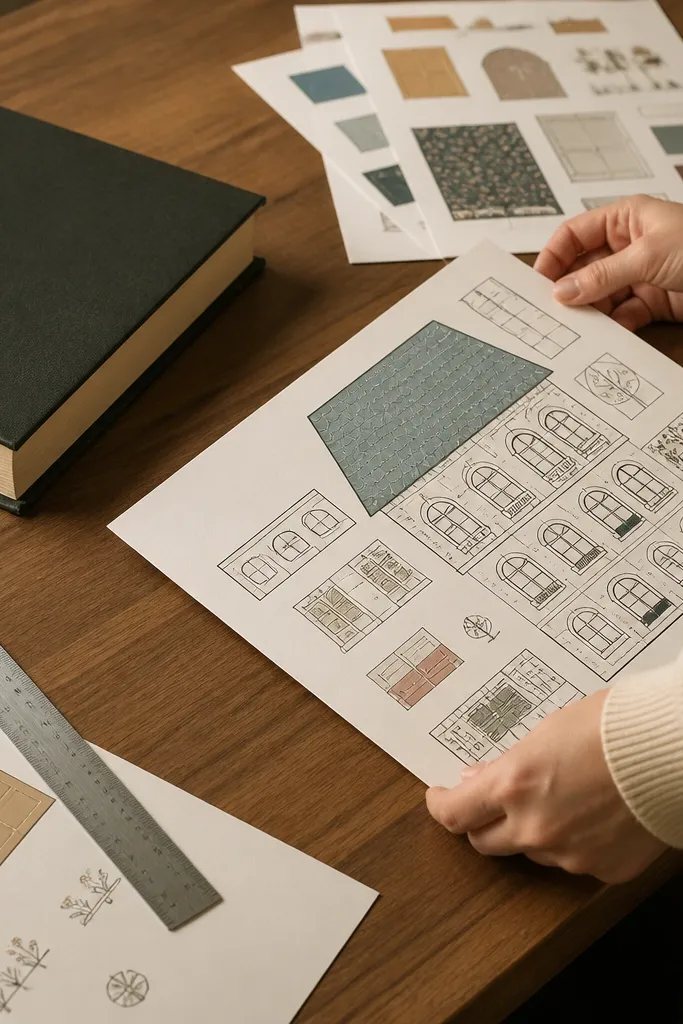
Matte art paper around 90 gsm is a nice middle ground between plain paper and cardstock. It has enough body to feel substantial, but it doesn’t feel like you’re cutting a brick. For paper doll templates with a mix of line art and small color blocks, it prints with less feathering than cheap copy paper. It also takes glue well and stays flatter after assembly than ultra-thin sheets.
Choose a matte art paper that lists 90 gsm or close to it, and confirm it’s compatible with inkjet or laser based on your printer. Print one test page and inspect the black outlines at the smallest shapes. If you see feathering, move to matte cardstock; if the ink looks too muted, try a brighter matte photo paper. Once it looks right, cut with scissors for straight edges and a knife for tight curves and notches.
Editor's noteLet the printed sheet rest under a stack of books for 10 minutes to reduce edge curl.
Skip thisDon’t pick glossy art paper for line-heavy templates; glare makes cut lines harder to see.
10. Textured linen paper for vintage styling (with thicker outlines)
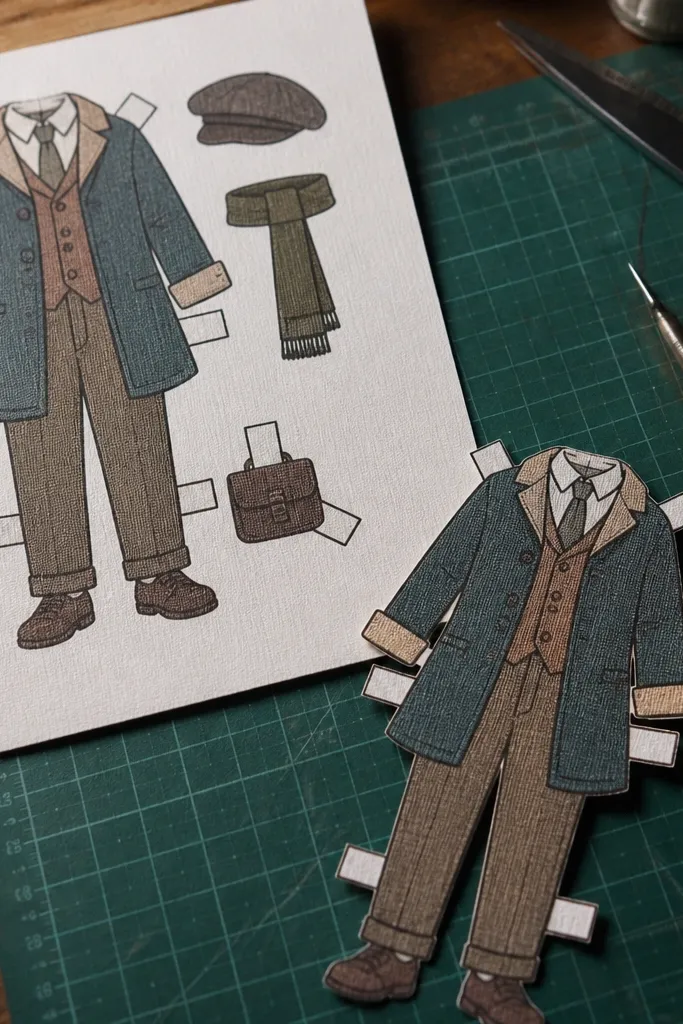
Textured linen paper gives you a vintage, fabric-like look that can make paper doll outfits feel more handmade. The texture shows through the print, so it’s better for templates that have thicker outlines or big color regions. If your template relies on hairline details, texture will blur them visually. Still, for “storybook” dolls, clothing with patterned fills, and layers that you want to look tactile, linen texture can be worth the trade-off.
Select a linen-textured paper that says it’s smooth enough for printing (not super rough). Print a single page and zoom in on the smallest notch — if edges look fuzzy, switch papers. Cut slowly with sharp scissors; texture makes dull blades snag. For assembly, use thin glue and press under a flat weight for 2-3 minutes so the texture doesn’t lift at corners.
If the texture is strong, keep your template pieces slightly larger so small trims don’t vanish into the grain.
Avoid using textured paper for tiny cuff and collar parts unless your template has bold lines.
11. Two-layer approach: print on photo paper, mount to cardstock
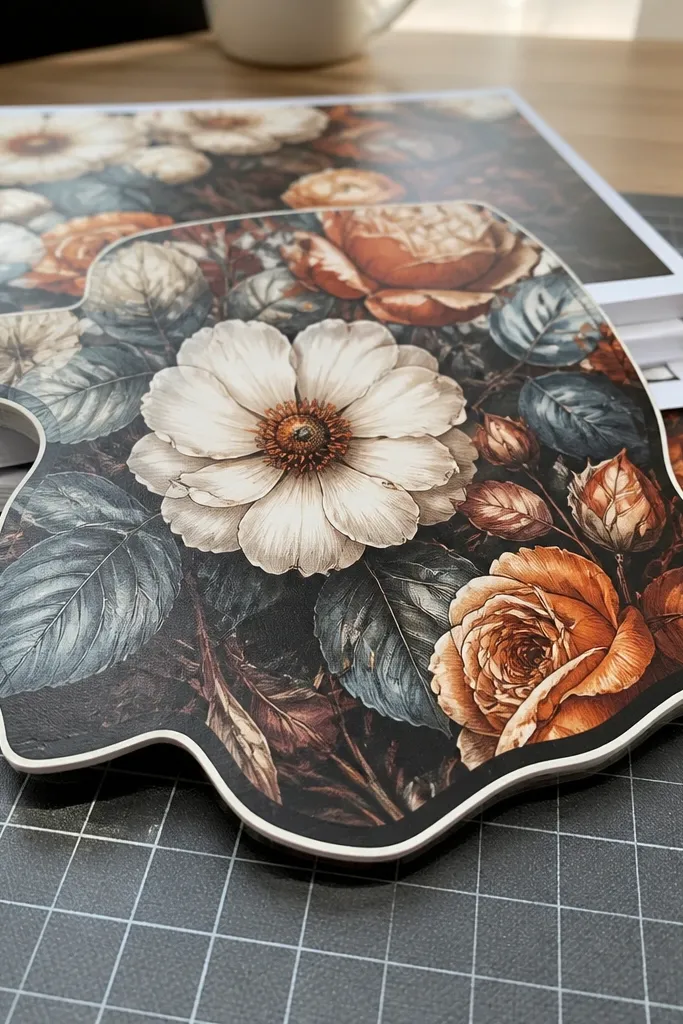
This is the method I recommend when you want the best of both worlds: photo-paper print quality and cardstock durability. You print the outfit pieces on matte inkjet photo paper so the ink edges stay sharp, then mount them onto a thin cardstock backing so the final clothing piece stands up and doesn’t flop. It also lets you keep the cut line clean by trimming the photo layer close and leaving the backing slightly larger. The look ends up cleaner than printing directly on heavy cardstock, especially for fine collars and sleeves.
Print the full template on matte inkjet photo paper, cut the pieces, then cut matching backing shapes from 80-110 lb smooth cardstock. Use a thin, even coat of glue stick or double-sided tape on the backing — keep glue off the printed edge so it doesn’t creep. Center the photo layer on the backing and press under a flat weight for 5 minutes. For assembly, attach the final piece to your doll using small glue dots to avoid warping.
Editor's noteMake a backing template by tracing one cut piece; it saves time and keeps layers aligned.
Skip thisDon’t glue the printed piece directly to thick backing across the entire surface; it can cause edge lifting.
12. Printable iron-on transfer sheet for fabric doll clothing
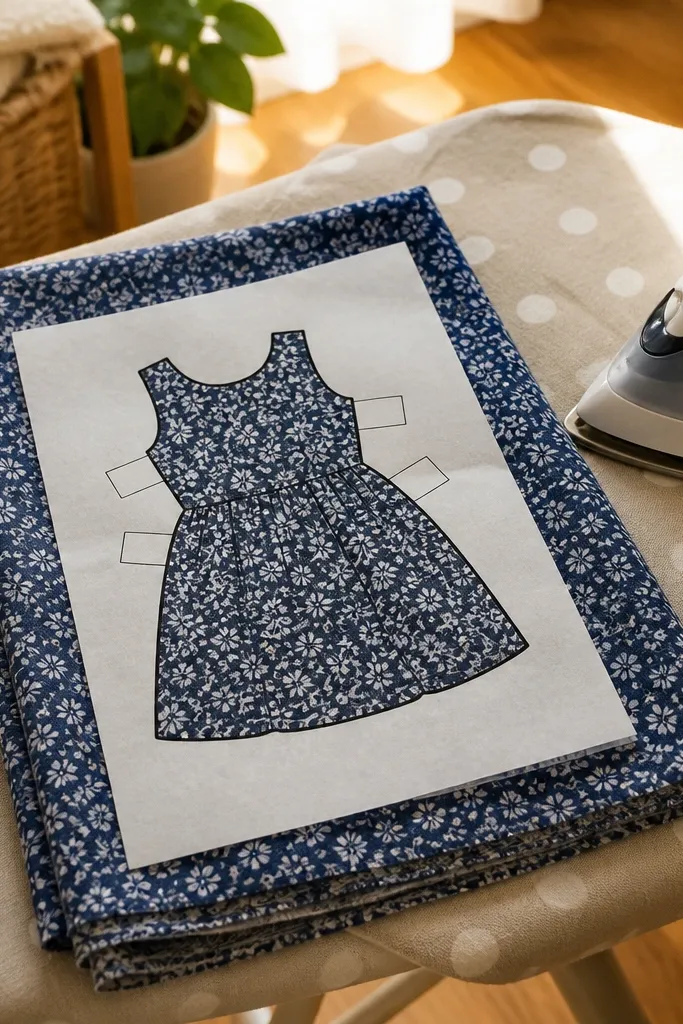
If your paper doll template is meant to become fabric (for a cloth doll or fabric backdrop), a printable iron-on transfer sheet is the right lane. It turns your printed design into something you can fuse onto cotton or felt, giving you a soft fabric finish instead of a stiff paper one. The print quality depends on the transfer sheet brand and the fabric you fuse to, but the outlines can look crisp when the sheet is handled correctly. This isn’t for delicate paper cutting; it’s for turning templates into fabric pieces.
Print the template onto the transfer sheet using the correct side and printer setting listed for that sheet. Cut the transfer roughly around the piece, then cut more precisely after cooling. Fuse using a hot iron with steady pressure for the time on the packaging, and test on scrap first to confirm the ink transfers fully. Let it cool completely before peeling and then trim the fused fabric edge.
Editor's noteUse a pressing cloth between iron and transfer to prevent glossy marks from heat.
Skip thisDon’t peel while warm; it makes faded edges and incomplete transfer.



