
1. Scandi Galley Kitchen With Detachable Stove Backplate
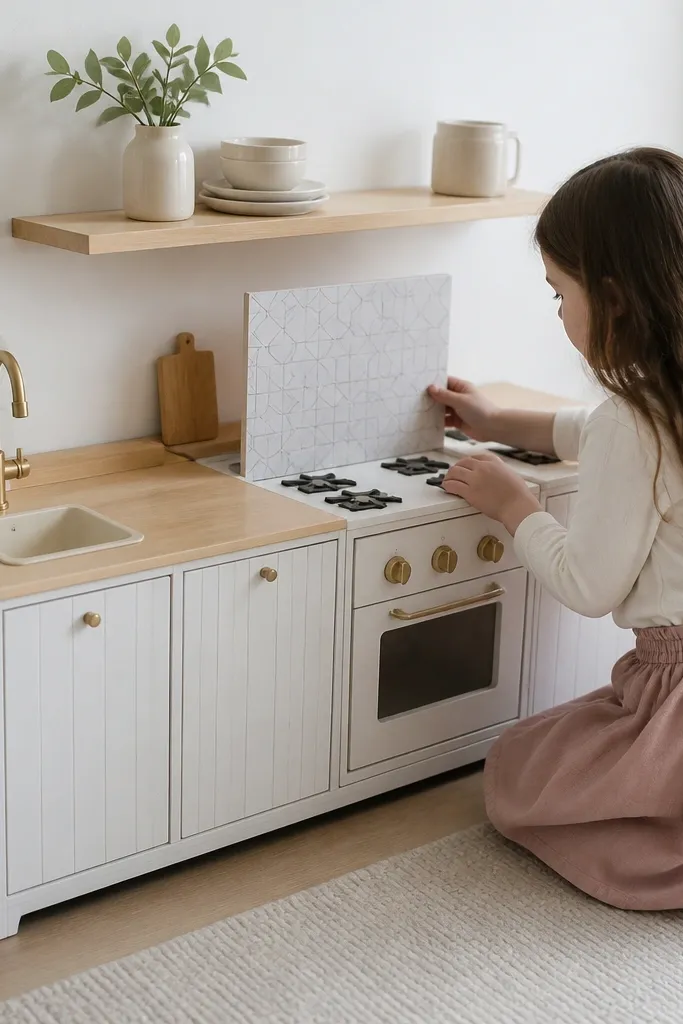
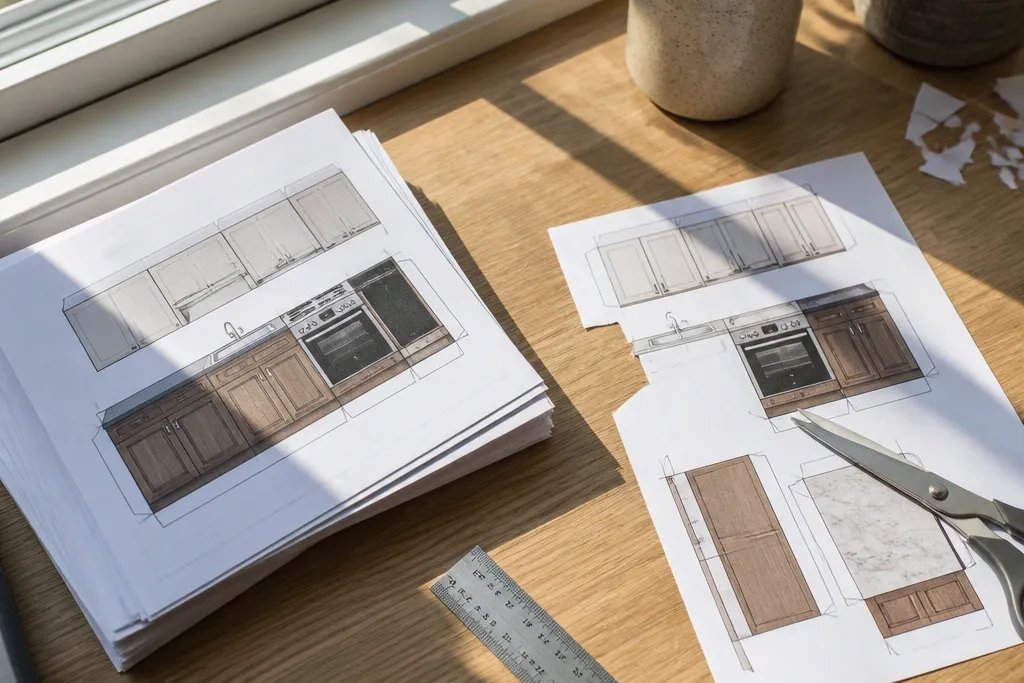
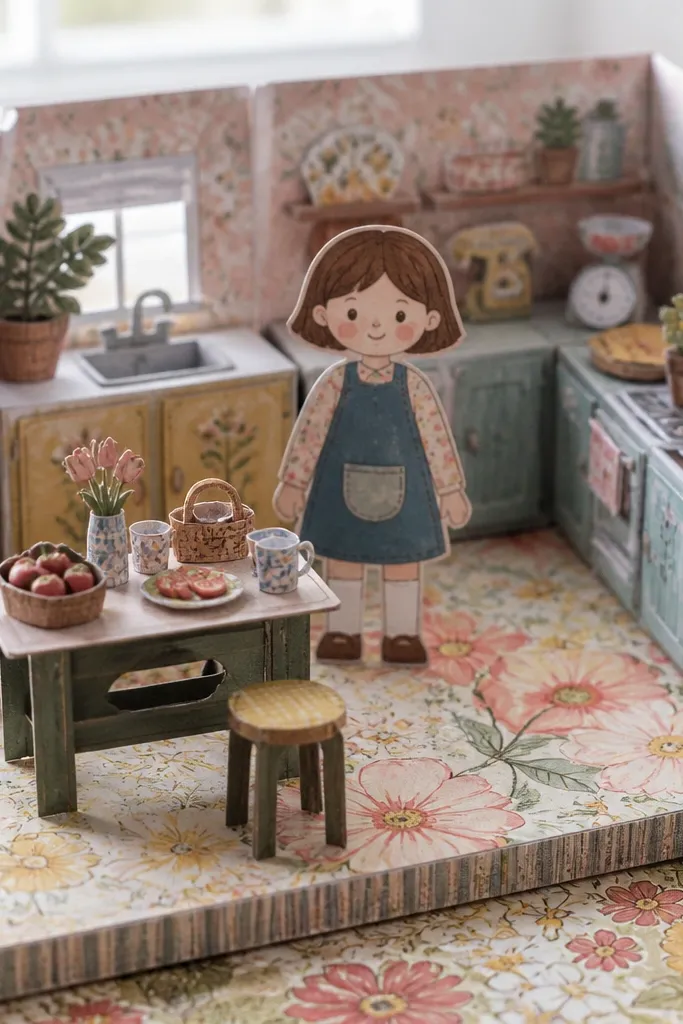
This template gives you a narrow, photo-friendly kitchen layout that reads instantly as a galley. You get cabinet doors with simple lines, a stove area that stands out, and a backsplash panel you can remove and swap. The look is clean because the pieces have consistent vertical spacing, so the stove height matches the countertop band. It’s a great pick for beginners who want a polished result without complex hinges, and it fits small diorama frames really well.
Start by printing on matte 110 lb cardstock and cutting the wall and countertop sections first. Score every fold line with a metal ruler, then fold the cabinet boxes so the tabs lock from the inside. Next, attach the stove front to its base, and glue the detachable backplate only along the top edge so it stays aligned. Finish by adding the tiny shelf or utensil details last so you don’t smear ink or bend tabs.
Use a glue stick for long cabinet seams, then switch to a micro glue dot for the backplate edge.
Don’t glue the backsplash fully if the template is meant to be detachable — you’ll lose the crisp “layer” look.
2. Retro 70s Kitchen Tile Wall + Yellow Fridge
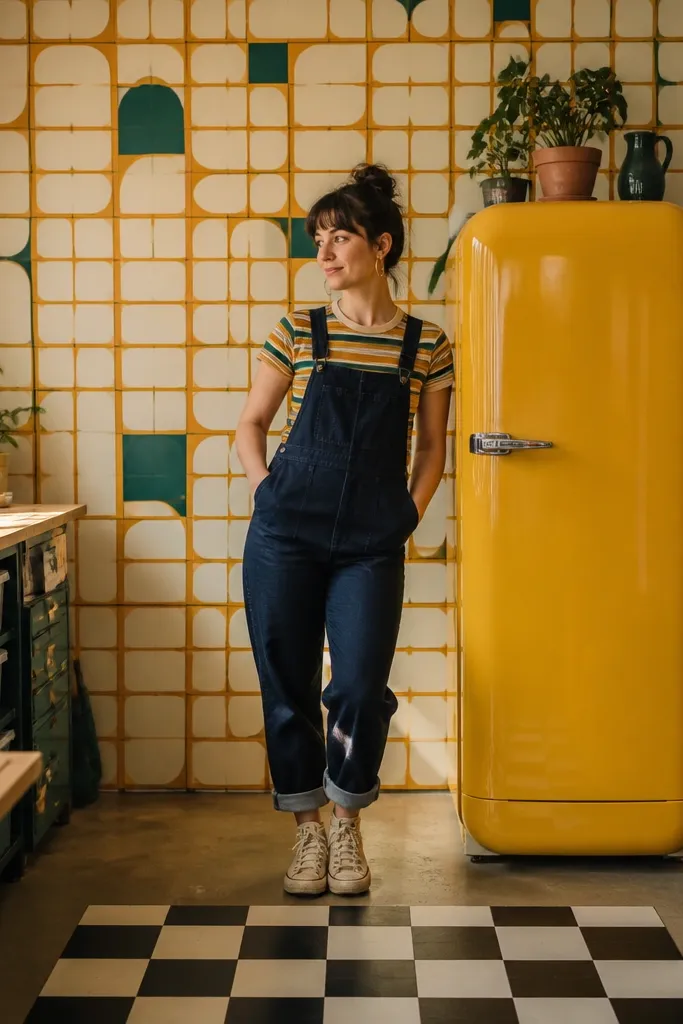
If you want instant color and strong contrast, this is the one. The tile wall pattern makes the whole kitchen look finished even with minimal furniture, and the yellow fridge anchors the scene with a bold focal point. The counters are drawn with enough perspective cues that your paper edges don’t look flat. This template is ideal for anyone who wants their doll kitchen to pop in photos without adding extra stickers.
Editor's noteBefore gluing, dry-fit the fridge on the countertop band to confirm the spacing matches the wall panel cutouts.
Print the template and cut out the tiled wall panel and the floor strip separately. Fold the wall on its score lines, then glue the floor strip to the bottom edge so the perspective lines stay straight. Assemble the fridge box by folding the sides inward and locking the door line panel in place with tabs. Finally, add the countertop strip and any small decor (like a kettle silhouette) using glue dots at the corners only.
Skip thisAvoid trimming the tile panel too close to the border — the pattern edges are part of the finished look.
3. Farmhouse Kitchen With Layered Open Shelving
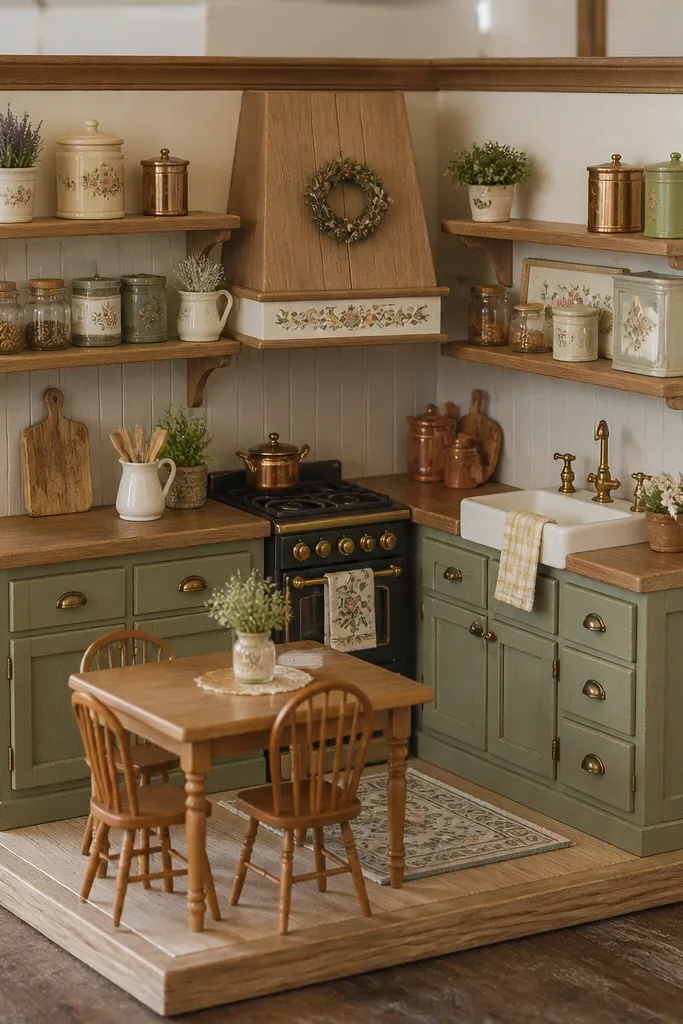
This one looks cozy because it uses open shelving that creates depth. You get cabinet frames plus separate shelf boards, so the jars and small decor sit in front instead of printed flat. The countertop is drawn with a wood grain band that makes the paper edges feel intentional. It’s a solid mid-level build because you’ll align multiple layers, but the payoff is a kitchen that looks styled, not just assembled.
Editor's noteUse a ruler to keep shelf boards level; a slight tilt shows up fast in photos.
Start by cutting the cabinet back panel and folding it into a flat wall. Cut the shelf boards and jar pieces as separate layers, then glue the shelves to the wall using the printed guides. Assemble the cabinet bases last so you can place the countertop band after the shelves are set. Press everything flat under a book for 10 minutes so layers don’t curl.
Skip thisDon’t glue jar pieces directly to the wall panel if the template has them designed to sit on shelf boards.
4. Minimal Black-and-White Kitchen With Floating Shelves
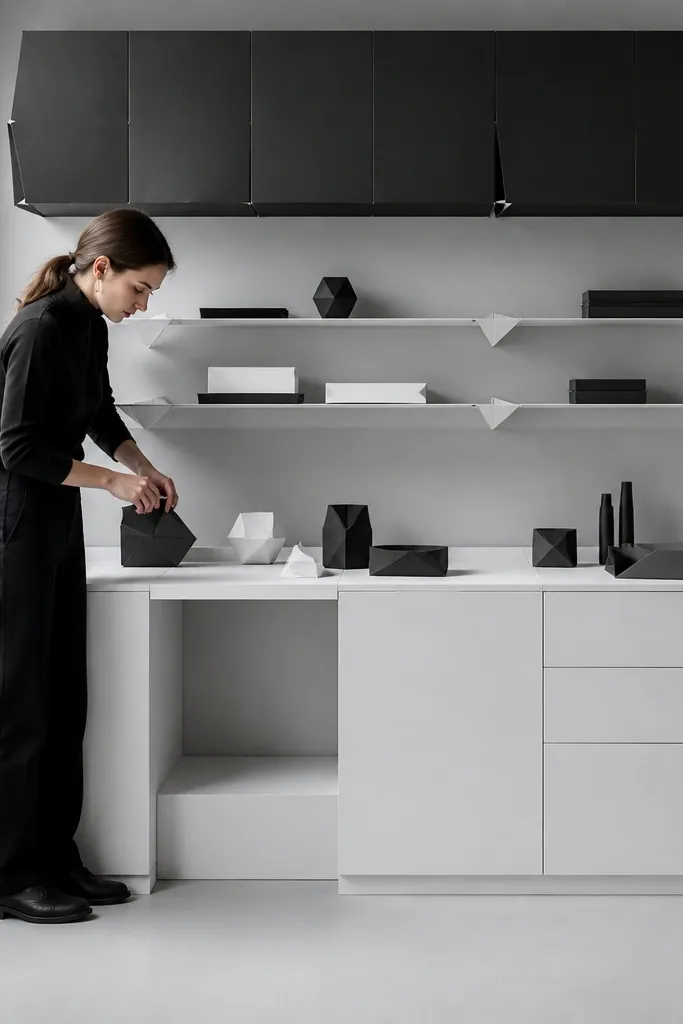
A monochrome template is unforgiving in the best way. With black cabinets and white counters, every fold line and tab edge shows, so the end result looks crisp when you do it cleanly. Floating shelves make it feel modern, and the limited palette keeps the scene readable even when you crop the photo. This template fits people who like a tidy look and want to reuse the same doll kitchen background with different accessory sets.
Editor's noteIf your black ink looks slightly streaky, print one test sheet and adjust printer settings to a higher quality mode.
Print in color on matte cardstock and cut the shelf strips carefully with a sharp blade. Fold cabinet boxes first and glue tabs with a thin layer so black edges don’t smear. Attach the shelves to the wall panel by gluing only the tab areas, then let the glue set before adding decor pieces. Finish by mounting the countertop band, making sure it covers shelf tab lines.
Skip thisDon’t rush the glue tabs — thick glue will warp the black surfaces.
5. Tiny Apartment Kitchen With Tall Pantry and Narrow Sink
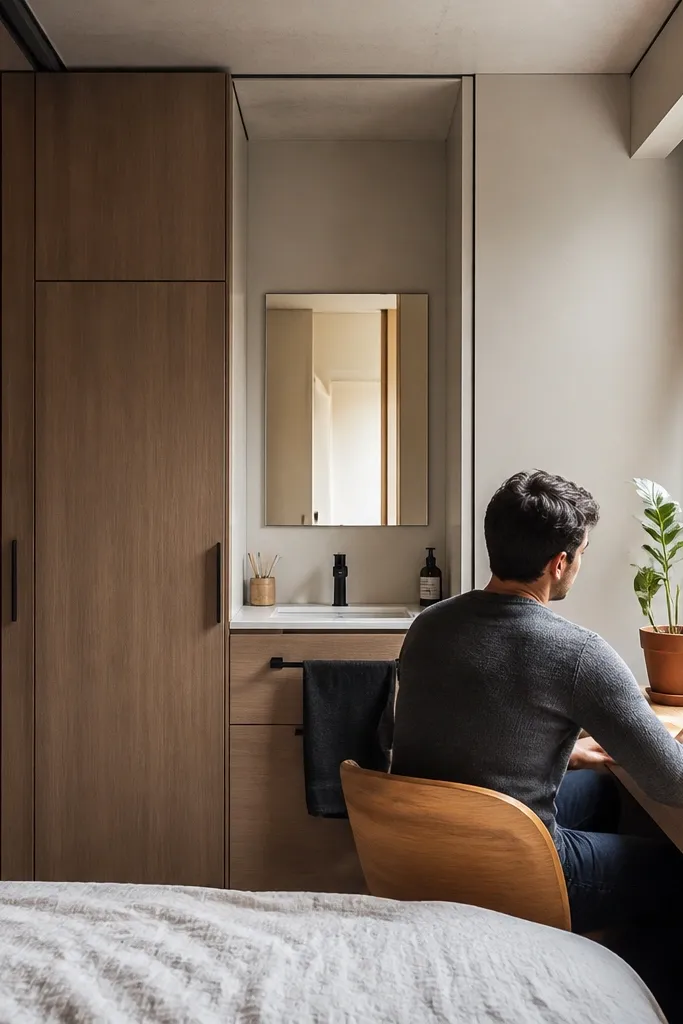
This design is all about scale tricks. A tall pantry cabinet gives you vertical interest, and a narrow sink keeps the kitchen feeling compact instead of crowded. The template works well when you want a small diorama that still looks like a real room because the wall panel includes a clear height boundary and a floor strip. It’s beginner-friendly because most pieces are larger shapes, not lots of tiny decor.
Editor's noteMark the center of the countertop band with a pencil dot before gluing the sink — it keeps the sink from drifting.
Cut the wall frame and pantry unit first, then fold the pantry sides and glue the door panel using the tab guides. Assemble the sink base next and attach it to the countertop strip so the sink opening sits centered. Glue the countertop to the wall, then add the small backsplash detail last to cover any seam lines. Press flat for 10 minutes to prevent the pantry from bowing.
Skip thisDon’t glue the sink before the countertop is attached to the wall — you’ll fight alignment.
6. Victorian Kitchen With Ornate Door Panels and Wainscoting
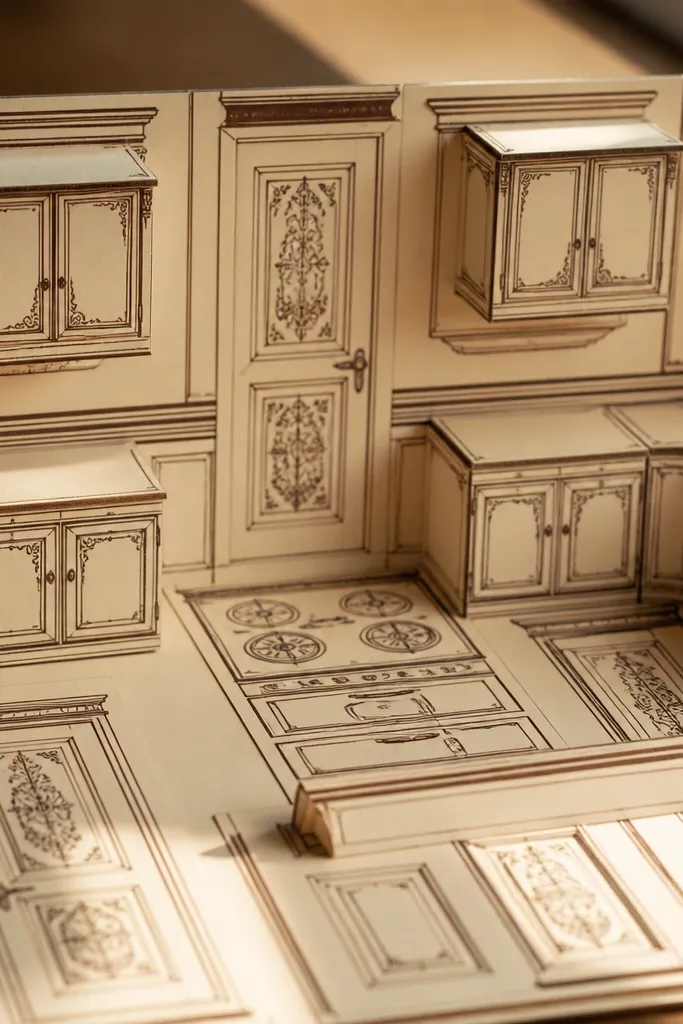
This template looks fancy because the wainscoting and door panel details give you a layered, architectural feel. The cabinets have decorative trim lines that show up beautifully when folded into small 3D boxes. You get a stove or range area with a classic outline so it reads as a kitchen, even if you keep the decor minimal. It’s a satisfying project for someone who likes detail work and wants a kitchen that looks like a dollhouse room.
Editor's noteUse a bone folder or the back of a spoon for trim folds to avoid cracking thin lines.
Print on cardstock and cut the wainscoting panel and cabinet fronts separately so trim lines don’t get crushed. Fold the wainscoting on score lines and glue it to the main wall backing. Build cabinet boxes by folding sides inward, then glue ornate door panels to the front faces. Add the stove and countertop strip after the cabinets are set, then lightly press the trim edges so they lie flat.
Skip thisAvoid cutting ornate door details too aggressively; leave the outer border so the trim frame stays crisp.
7. Coastal Kitchen With Blue Drawer Pulls and Rope Shelf
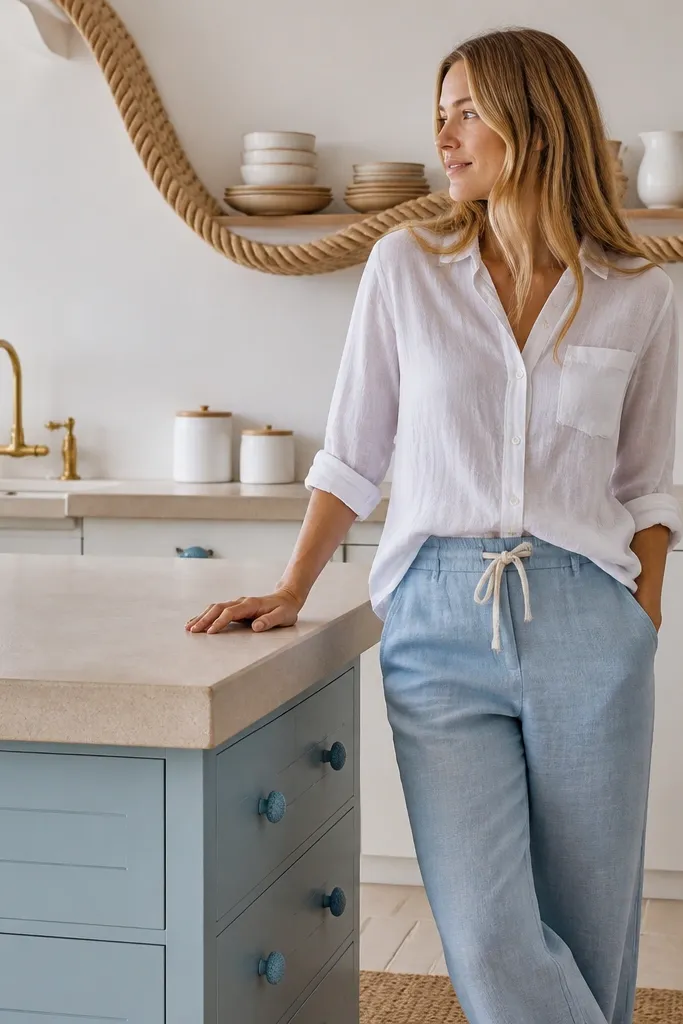
Coastal kitchens look good because of contrast and texture cues. This template uses blue drawer pulls and a rope-style shelf graphic that makes the wall feel dimensional. The counters and floor strip are drawn in light tones that keep the scene airy. It’s a great option if you want something photogenic with minimal extra crafting since the template already carries the theme through pattern and color placement.
Editor's noteIf the rope shelf looks too flat, lightly bend it before gluing so it forms a gentle arc like tensioned rope.
Cut the cabinet base and wall panel, then fold the wall into a flat backing. Assemble the drawers as separate front layers so the blue pulls sit above the cabinet body. Add the rope shelf strip by aligning it to the printed shelf guides, then glue only the tab points so it doesn’t crease. Finally, attach the countertop band and place any hanging utensil pieces last.
Skip thisDon’t glue the drawers flush if the template has drawer-depth tabs — you’ll lose the layered look.
8. Modern Kitchen With Subway Tile Backsplash and Glass-Front Cabinet
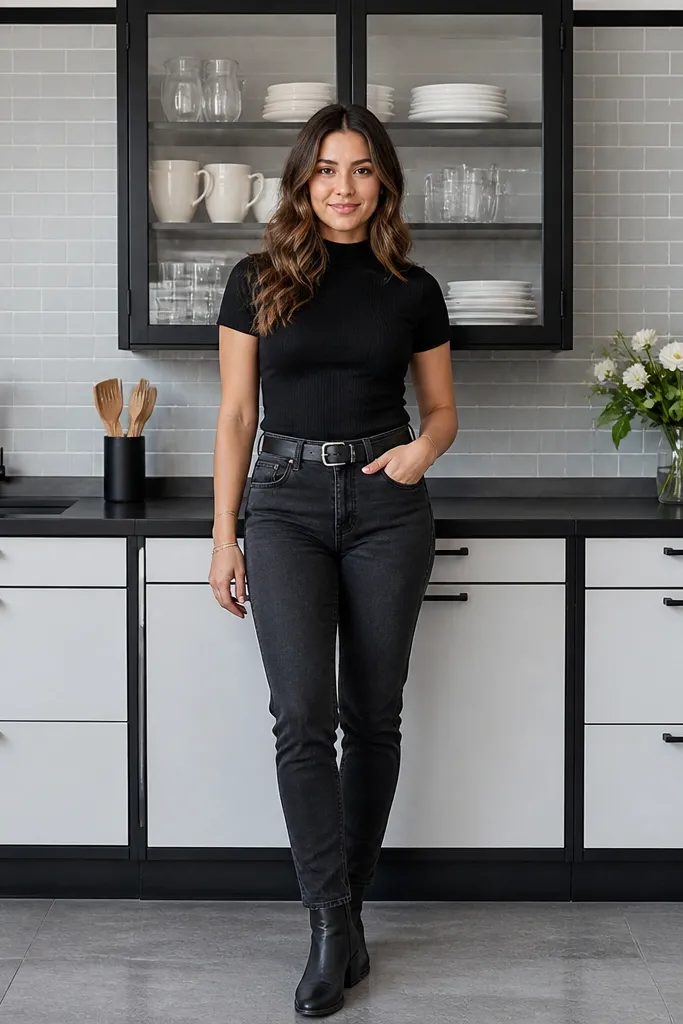
This one reads modern because it uses a subway tile backsplash pattern and a glass-front cabinet door section. The trick is that the glass door area is separated so it can sit slightly forward, giving you a real depth cue. The black trim lines make the paper edges look intentional rather than accidental. It’s a medium build since you’ll align the glass door panel with the cabinet frame, but it’s still doable with careful cutting and tab folding.
Editor's noteUse thin double-sided tape for the glass-front insert so it stays flat without glue squeeze-out.
Print, then cut out the subway tile backsplash panel and the glass-front door insert separately. Fold the cabinet frame first and glue the sides to form a box. Insert the glass-front panel into the cabinet door section so it sits centered, then glue the door to the frame. Attach the backsplash behind the countertop area so the tile pattern stays straight and covers seam lines.
Skip thisDon’t overfill the cabinet interior with glue — it will bow the door panel.
9. Kitchen Island Scene With Checker Floor and Hanging Pendant
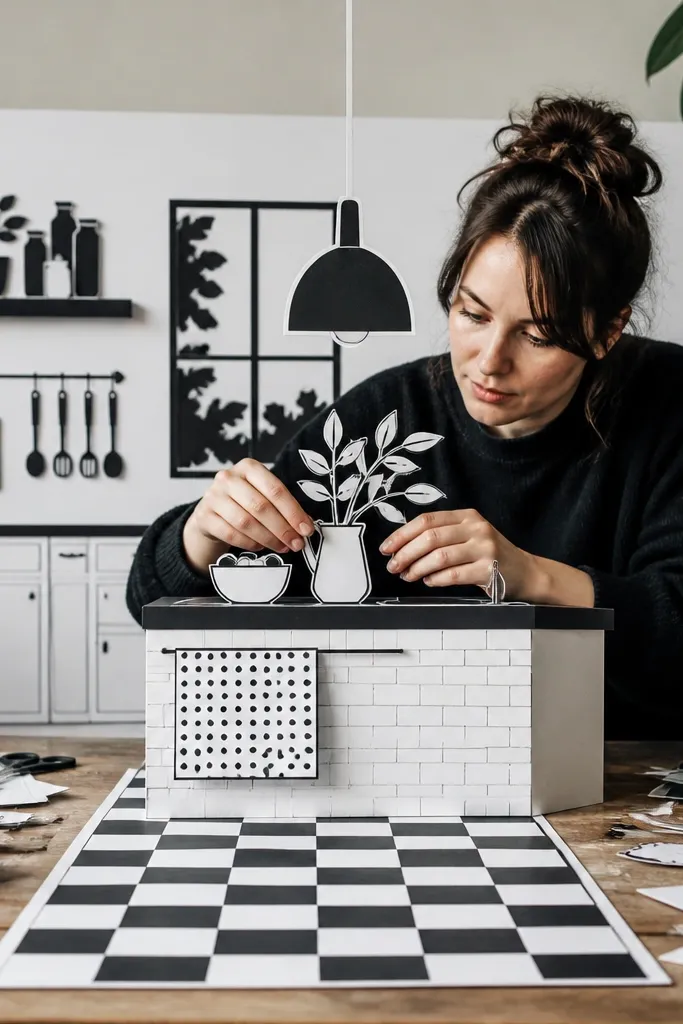
A kitchen island scene is the easiest way to make your doll kitchen look like a staged room. The checker floor adds a strong graphic base, and the pendant light gives you a vertical focal point. The island has distinct front and side faces, so you get 3D depth without complicated moving parts. This template is great for photos because the island and floor pattern create natural framing lines.
Cut the checker floor strip and island base first, then fold the island sides up on score lines. Glue the floor strip to the bottom wall backing so the checkers line up. Attach the island front face to the folded base, then glue the side faces so the corners square. Finish by adding the pendant pieces, gluing the top tab to the wall or ceiling support area only.
Dry-fit the island against the floor strip before gluing so corners meet cleanly.
Avoid gluing the pendant from the sides; glue the top tab so it hangs straight.
10. Rustic Log Cabin Kitchen With Slate Countertop
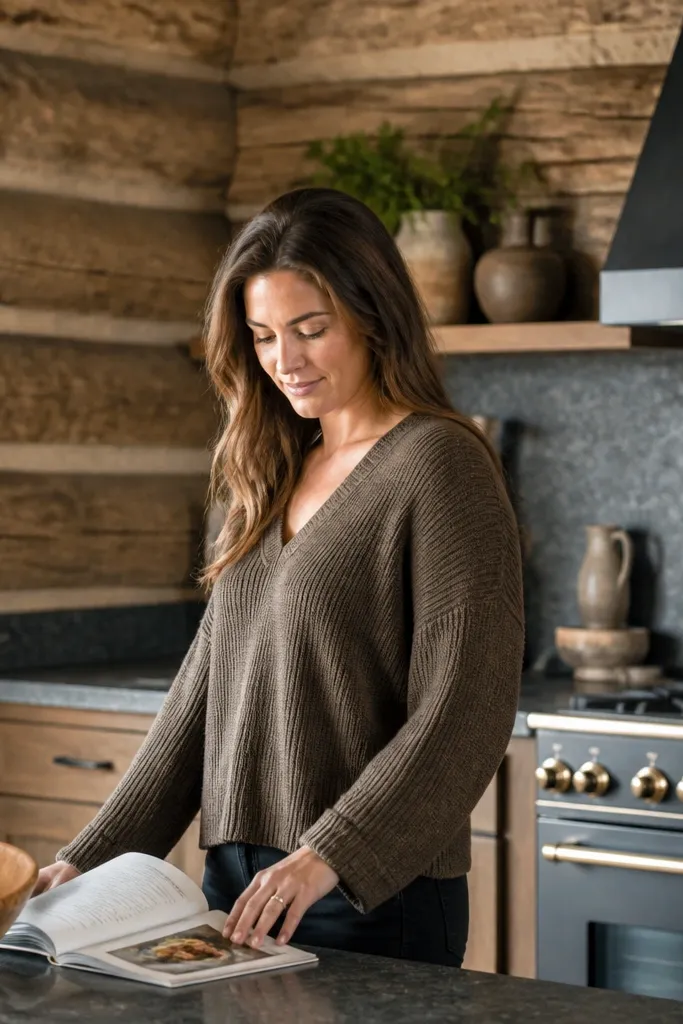
Rustic kitchens look authentic because the template uses texture cues: log-style wall panels and a slate-gray counter band. The stove and cabinets are simplified so the texture stays the hero, not a clutter of tiny decor. This makes the build forgiving — you don’t need perfect micro-assembly to get a great look. It’s also a nice choice for themed dioramas in small frames where you want the background to do the work.
Editor's noteUse matte medium-weight cardstock so the slate-gray doesn’t look glossy under indoor lighting.
Print and cut the log wall panel and slate countertop strip. Fold the wall backing on score lines and glue it flat. Assemble the stove base and cabinet boxes, then attach them to the slate counter band. Glue the counter to the wall, then add any small hanging detail pieces last using corner-only glue dots.
Skip thisDon’t add extra stickers over the texture areas; it flattens the printed depth.
11. Art Deco Kitchen With Gold Frame Panels and Geometric Oven
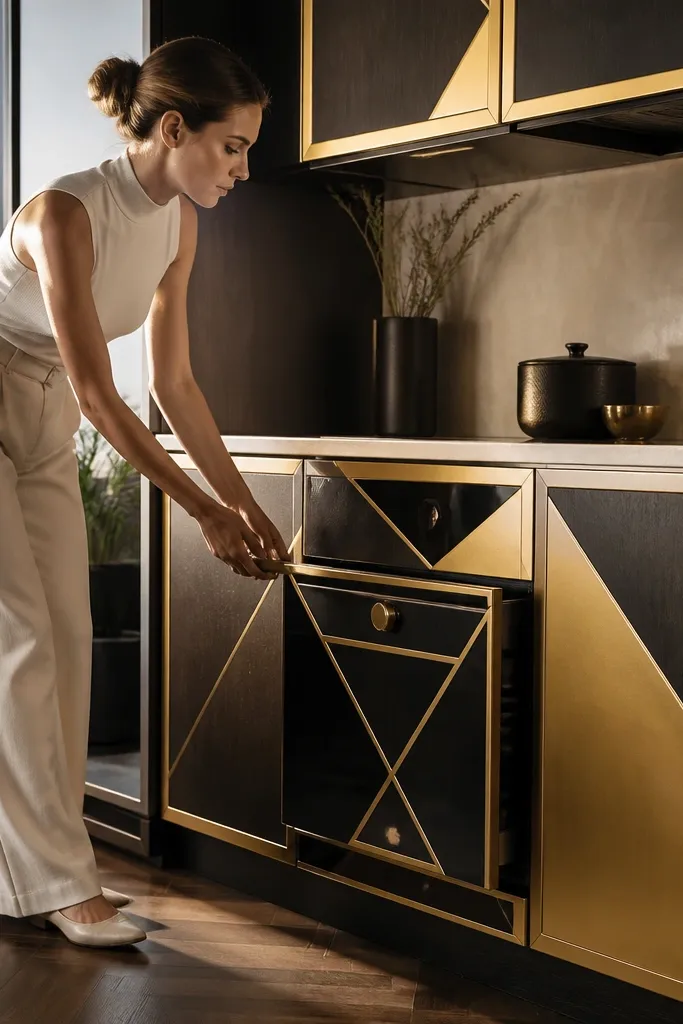
Art Deco kitchens look stunning because the shapes do the decorating. This template has gold frame panels and geometric oven styling that makes the scene feel “designed,” not assembled. The black accents keep the geometry sharp, and the cabinet doors are drawn with symmetrical lines that stay readable after folding. This is a medium build — the lines are crisp, so careful cutting matters — but you get a high-impact look with no extra paint needed.
Editor's noteIf your printer tends to banding, print at a higher resolution mode so gold lines look solid.
Print on smooth cardstock so gold lines stay clean, then cut along the frame borders. Fold cabinet boxes and glue tabs from inside so the gold outlines don’t get smeared. Assemble the geometric oven by folding its side faces first, then attach the front panel last. Add the countertop strip and any small geometric wall details after the oven is in place for better alignment.
Skip thisAvoid thick glue on the gold frame edges — it will soak into paper and dull the line.
12. French Country Kitchen With Blue-and-White Dishes Display
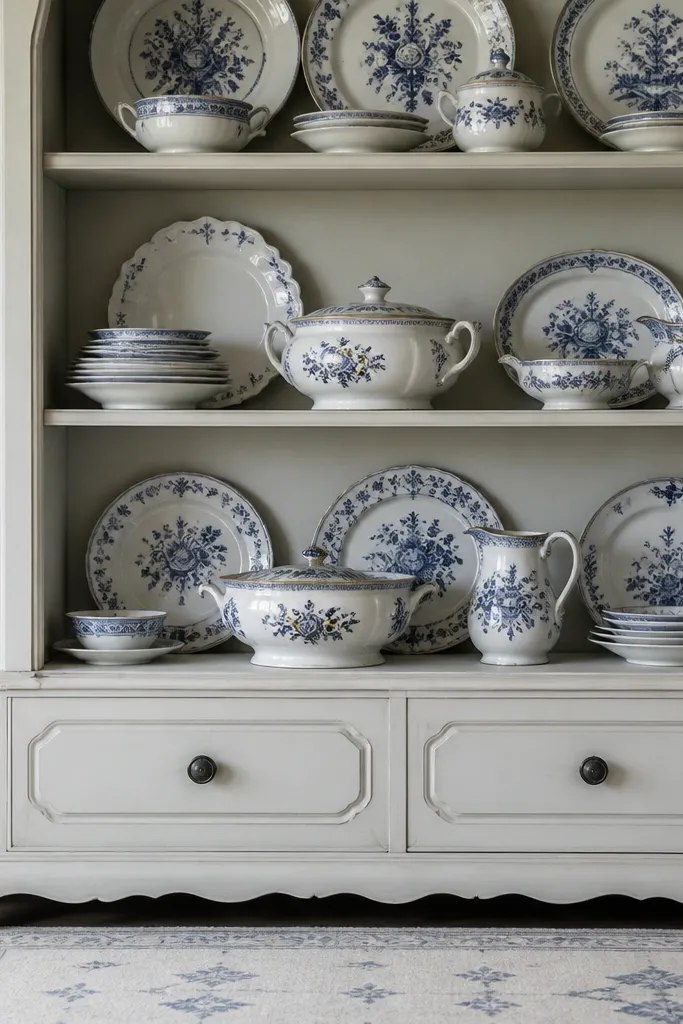
French Country style works because it uses repetition and small details. This template focuses on an open shelf display of blue-and-white dishes, plus a soft rug strip that grounds the scene. The cabinets have gentle curves in their panel lines, which show up nicely when the doors fold into 3D. It’s beginner-friendly because the dish pieces are larger shapes, not tiny cutouts, and you can keep it clean for photos.
Cut the open shelf back panel and fold it flat. Glue shelf boards in place, then add dish pieces to the shelves using small glue dots at the base. Assemble the cabinet frames around the shelf section so everything sits aligned. Attach the rug strip and countertop band last, then press under a book for 10 minutes to keep shelves from lifting.
Start gluing dishes at the center and work outward so the display looks balanced.
Don’t glue dish pieces on the underside of shelves — they’ll peek out weirdly in side-angle photos.
13. Kids Play Kitchen With Pretend Food Labels and Chalkboard Panel
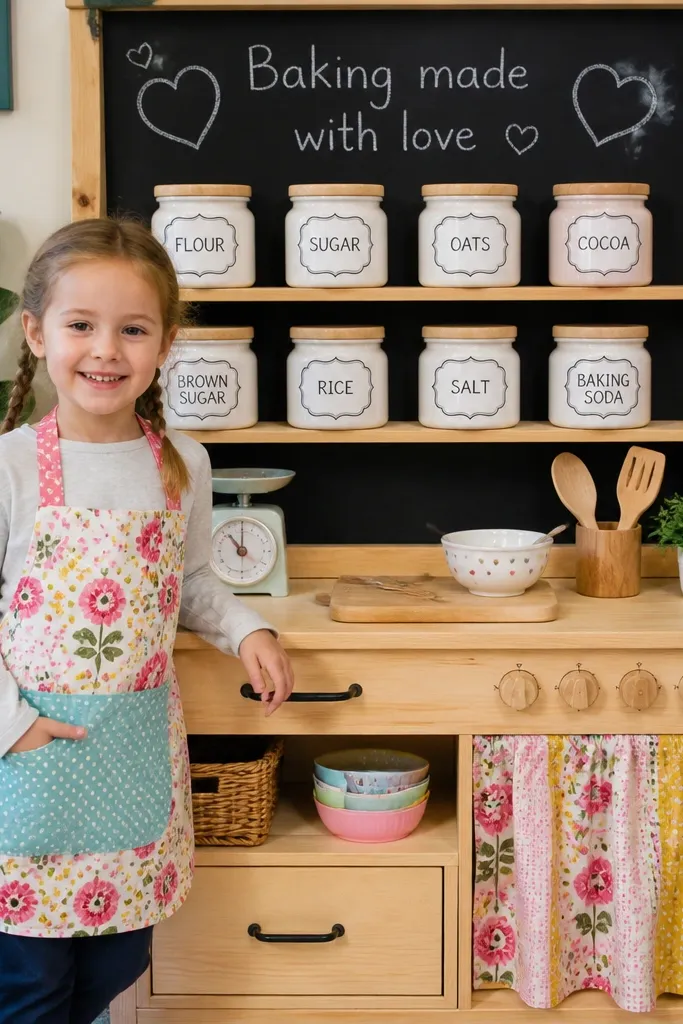
This is made for charm and readability. A chalkboard panel gives you a fun background, and labeled jars turn the kitchen into a “story” that reads instantly in pictures. The countertop area is bright and easy to spot, so your doll kitchen doesn’t blend into the background. It’s a great build if you want more visual content without adding real tiny objects, and it’s still neat because the labels are printed with clear boundaries.
Editor's noteUse a craft knife to free tiny label tabs before gluing so they lie flat against the shelf.
Print on cardstock and cut the chalkboard panel, jar labels, and countertop pieces. Fold the wall backing and glue the chalkboard panel in place so it sits slightly forward using its tabs. Assemble the cabinet base and attach the countertop strip, then glue jars into their shelf slots. Finish by adding the smallest label strips last to keep edges sharp and prevent bending.
Skip thisAvoid printing on thin paper — labels will wrinkle and the chalkboard panel won’t look smooth.
14. Galley Kitchen In Pastel Pink With Fold-Open Cabinet Doors
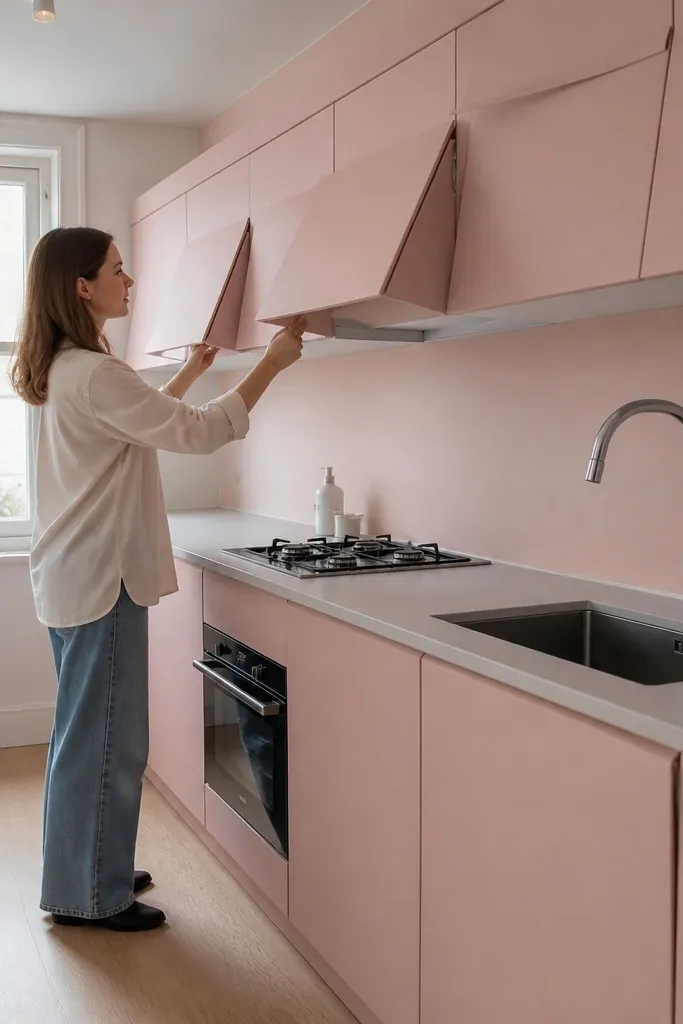
This template is built around one thing: fold-open cabinet doors that look cute even when closed. Pastel pink makes the kitchen soft and photogenic, and the doors are drawn with clear outlines so the hinges and folds read as intentional. You get a sink and stove area that stays balanced because the template keeps vertical spacing consistent. This is a good choice if you want interaction without complicated moving mechanisms.
Print on cardstock and cut the door panels carefully along the door outline. Score fold lines lightly, then fold the doors so the hinge tabs align with the cabinet box. Build the cabinet boxes first, then attach the doors using the hinge tabs. Attach the sink and stove pieces to the countertop, and glue the countertop to the wall after doors are set so you don’t trap tabs.
Use a thin strip of tape on the hinge fold if your doors keep popping open.
Don’t glue hinge tabs flat to the cabinet — you’ll lock the door and lose the open-door look.
15. Kitchen Corner Setup With L-Shaped Counters and Hanging Utensils
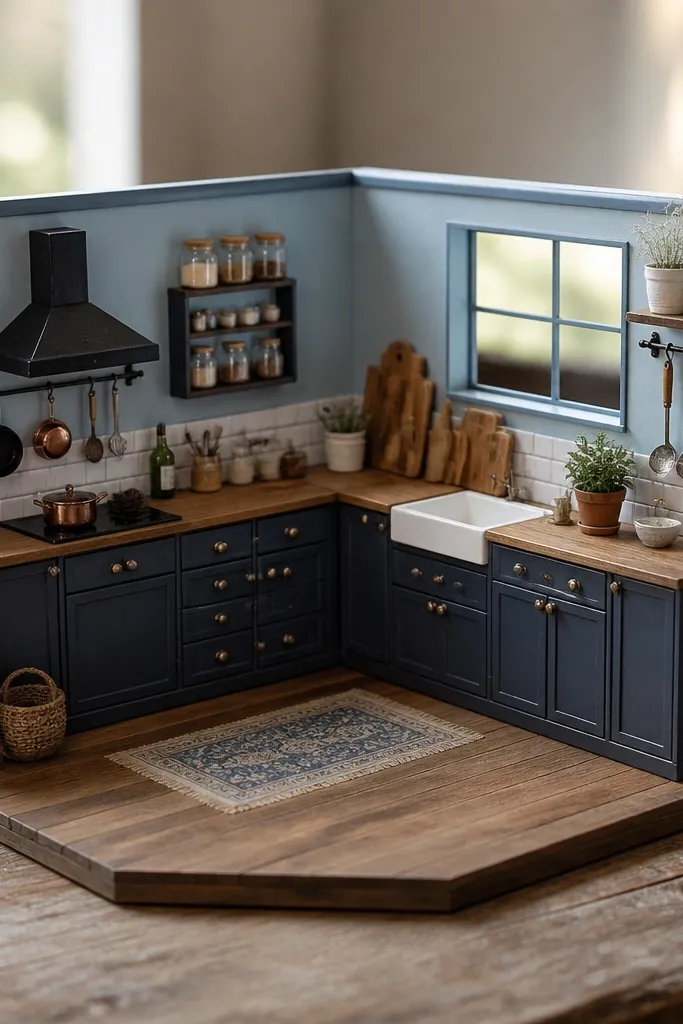
Corners are hard to make look right, so this template is worth it. The L-shaped counter gives you a natural depth cue, and the corner cabinet makes the scene feel like a real room instead of separate furniture pieces. Hanging utensils add movement and vertical detail without needing extra crafts. This template looks best in a slightly angled photo because the corner creates a clean diagonal line across the frame.
Editor's noteDry-fit the corner joint before gluing; a 1-2 mm gap ruins the L-shape look.
Cut the two counter segments and the corner cabinet unit first. Fold the counter side faces up and glue the segments together at the printed corner angle. Assemble the corner cabinet box, then glue it into the corner space so the doors align with both counter edges. Add the hanging utensil bar and small utensil pieces last, gluing only the top bar tabs to the wall.
Skip thisAvoid gluing counters before the corner cabinet — it’s harder to align the meeting edges.
16. Modern Farmhouse Kitchen With Shaker Cabinets and Open Pantry Niche
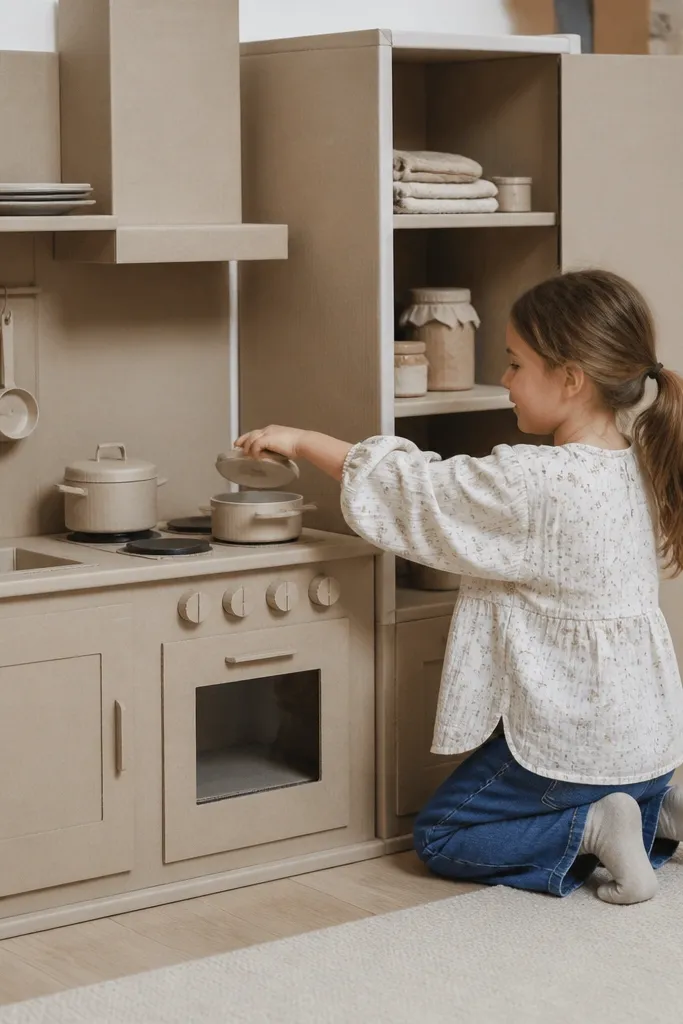
This template hits the modern farmhouse look by mixing simple shaker lines with an open pantry niche. The niche gives you a place for small decor like folded towels or jars, which makes the kitchen look lived-in. The neutral floor strip keeps the palette calm, so your paper edges and folds show cleanly. It’s a medium build that rewards careful alignment, especially around the niche shelves.
Print and cut the pantry niche parts and shaker cabinet fronts separately. Fold the wall backing flat, then glue the niche back panel first so shelf placement is accurate. Add niche shelves, then glue the niche front frame pieces over the seams. Assemble the cabinet bases and countertop strip afterward, and attach them so the countertop covers any interior tab edges.
Use a small dot of glue on the niche shelf ends only, then press with tweezers for 10 seconds to avoid warping.
Don’t flood glue into the niche; it will curl the thin shelf panels.
17. Kitchen With Bold Pattern Wallpaper and Monochrome Appliances
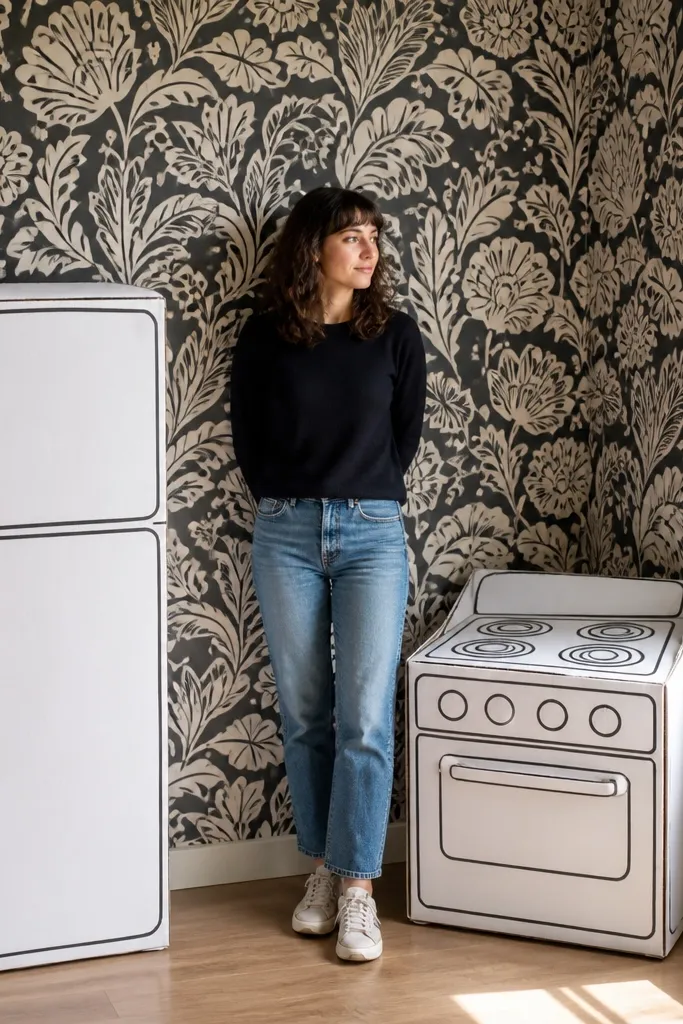
When wallpaper is the star, the appliances need to stay simple. This template does that: the wall has bold pattern, while the fridge and stove are monochrome and outlined clearly. That contrast makes every piece easier to read in photos, especially if you crop tight. It’s a good choice when you want visual drama without painting, because the template already includes the pattern and the placement guides.
Cut the wallpaper wall panel and the appliance pieces separately. Fold the wall panel first, then glue it to your base so the pattern lines stay centered. Assemble the fridge and stove boxes, then attach them to the countertop band. Add the countertop and backsplash detail last so they cover any glue seams from attaching the appliances.
Rotate your photo 10-15 degrees so the wallpaper pattern shows without washing out the black appliances.
Avoid using glossy paper here — patterns get too reflective under light.
18. Tiny Galley Kitchen With Sliding Drawer Tabs
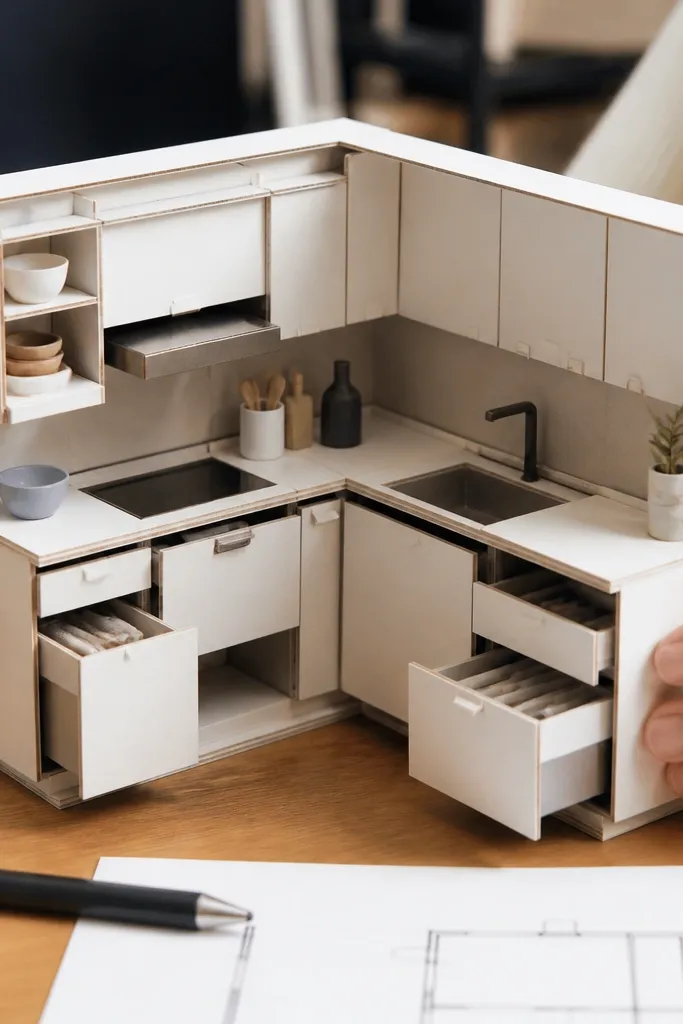
This is a compact template that still looks clever because it includes sliding drawer tabs. The drawer fronts are separate enough to create a visible gap, so it reads as “real storage” rather than printed drawers. The narrow counter keeps the scene tight and makes it easy to display on a shelf or desk. It’s great for small paper doll worlds where you want movement but don’t want too many parts.
Editor's noteLightly sand the tab edges with a fine nail file if drawers feel too tight.
Print and cut the drawer front pieces, then score the drawer fold lines and keep the tabs intact. Build the counter base and attach it to the wall panel, then slide the drawer tabs into their matching slots. Glue only the back edges of the drawer assemblies if the template calls for them to move; otherwise glue the drawer fronts to the tabs. Finish by attaching the sink and stove fronts after drawers are installed so you don’t snag tabs.
Skip thisDon’t glue moving drawer tabs — they should slide, or they’ll look stuck and messy.
19. Kitchen Window Wall With Curtain Strip and Sink Under Glass
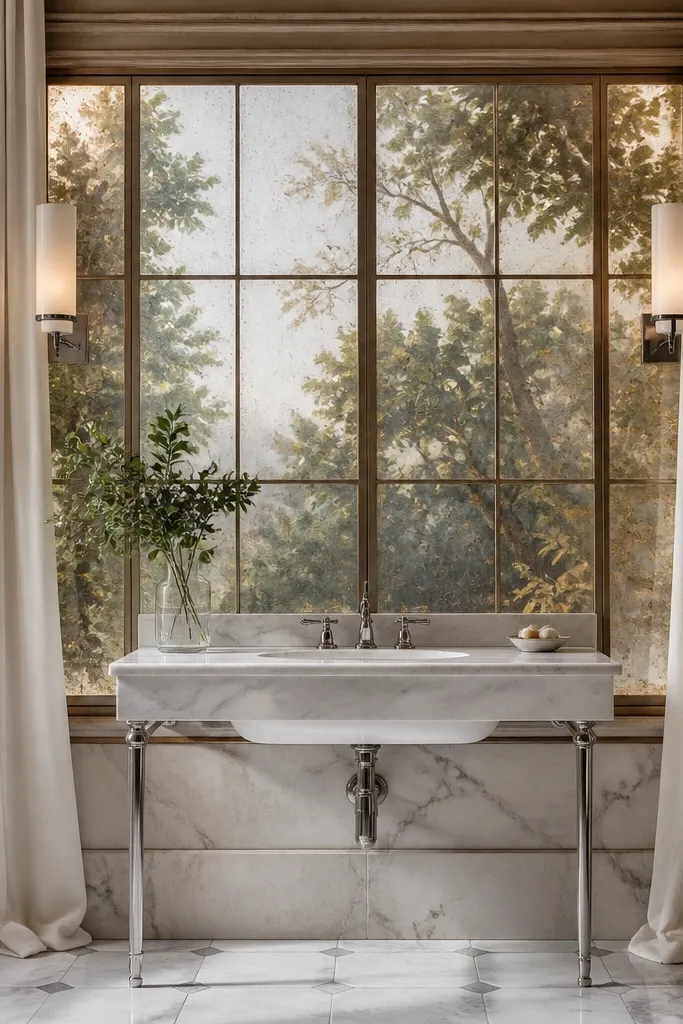
A window wall makes a doll kitchen feel like a room, not a set of furniture. This template includes a curtain strip and a window frame so you get vertical layering and a soft visual edge. The sink under glass is centered, which keeps the composition balanced and photogenic. It’s beginner-friendly because the window and sink pieces are big shapes, and the curtain strip adds charm without demanding tiny cutouts.
Cut the window frame and curtain strip, then fold the curtain strip on its guide lines. Glue the curtain behind the window opening so it sits between the wall layers. Assemble the sink base and attach it to the countertop band, then glue the countertop to the wall. Finally, mount the window frame so it covers the countertop seam and finishes the scene.
Trim the curtain strip edges with a clean scissor cut so the folds look intentional, not jagged.
Avoid gluing the curtain strip to the front of the wall — it flattens the layering.
20. Monochrome Industrial Kitchen With Metal Shelf and Pegboard

Industrial kitchens look sharp because of grid lines and hard edges. This template gives you a pegboard wall texture and a metal shelf bar that visually supports small tools and decor. The monochrome palette keeps the build looking cohesive even when you add extra paper accessories later. It’s a medium project because pegboard patterns require careful alignment, but it’s worth it for the clean, modern look.
Editor's noteUse a light grip for small pegboard tools — tape or micro glue prevents them from tipping.
Print on cardstock and cut the pegboard panel, shelf bar, and appliance fronts. Fold the pegboard panel and glue it flat, then add the shelf bar using the printed tab points. Assemble the stove or range box and glue it to the countertop band. Add small tool silhouettes to pegboard slots last, using glue only at the base so they stay straight.
Skip thisDon’t press hard on pegboard folds; you’ll flatten the pattern and lose the texture cue.



