
1. Scandi Mid-Century Lounge Chair Set
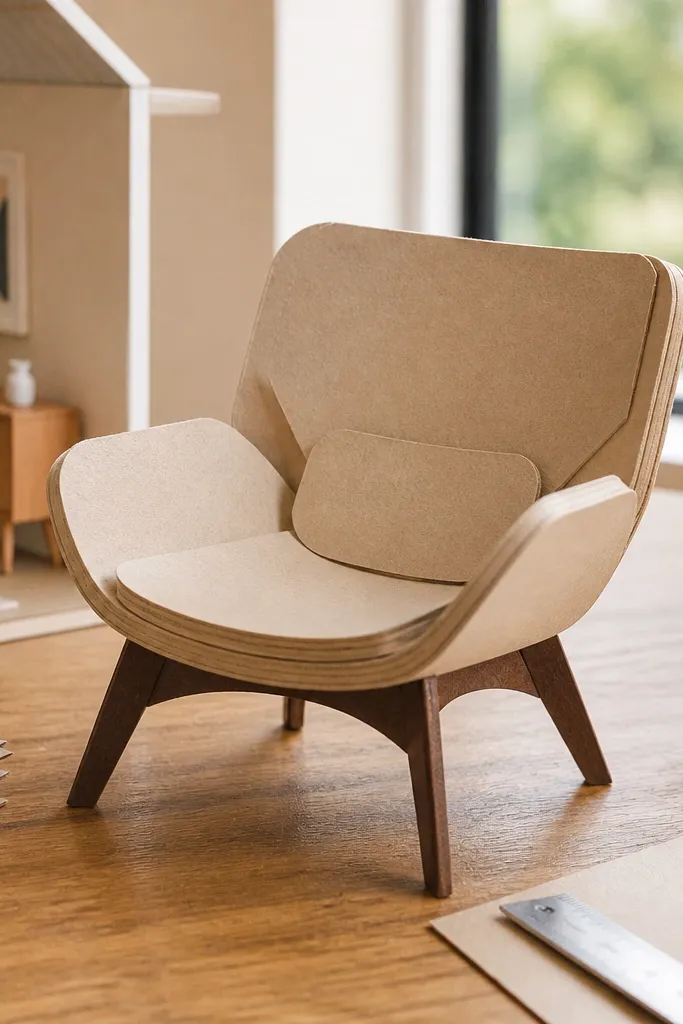
This template set gives you a chair that reads like mid-century design instead of a flat cutout. The secret is the layered back and seat panels, which create a gentle curve and hide the paper edge at the outer silhouette. Choose a warm neutral cardstock for the seat and a slightly darker brown for the legs so the shape pops in daylight photos. It’s a good pick if you want one hero piece that makes the whole room feel styled.
Cut all parts first, then do a dry fit before glue — especially for the legs. Glue the seat and back layers together so the outer frame edges line up cleanly, then add the legs last using small dots of glue on the inside tabs. Finish by running a craft knife along any tab edges that look too thick, so the silhouette stays crisp.
Editor's noteRub a graphite pencil lightly along the inside fold lines — it helps you see the fold without leaving marks on the outside.
Skip thisDon’t glue tabs directly over printed cut lines; trim 1-2 mm past them so the edges don’t buckle.
2. Ruffled Bed Frame With Folded Blanket
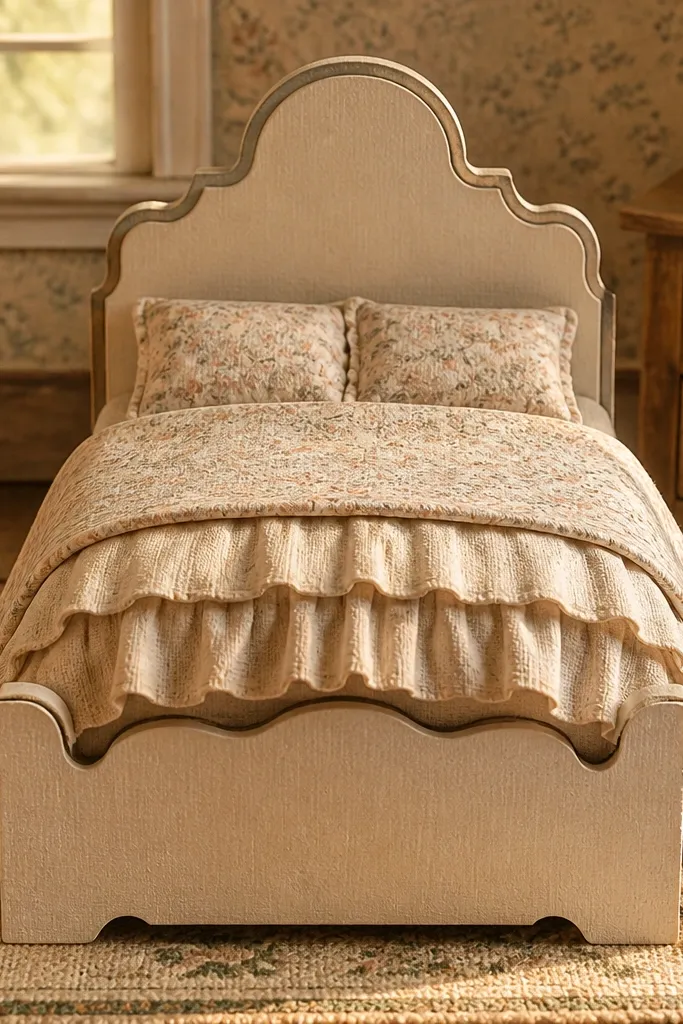
A bed is the easiest way to make a dollhouse feel real, and this template leans into that with a headboard shape that looks intentional from the front. The blanket part uses folded folds or layered strips so it looks like fabric rather than a flat rectangle. Pick two pattern papers: one for the blanket top and one for the bed skirt, then keep the headboard in solid cardstock. The result photographs like a mini bedroom set — clean lines, believable textures, and no messy paper seams on the visible face.
Start by assembling the bed frame panels into a box shape, using tabs to lock the corners. Then fold and layer the blanket pieces: glue the underside strips first, then add the top layer so the ruffles sit higher. Finally attach the blanket to the frame at the points where it naturally tucks, so it doesn’t slide.
Editor's noteUse a bone folder on the blanket folds; it makes sharp creases that read as fabric folds.
Skip thisAvoid over-gluing the blanket to the side; leave a tiny gap so it still looks draped.
3. Tiny Gallery Wall Picture Frames (6-Piece Set)
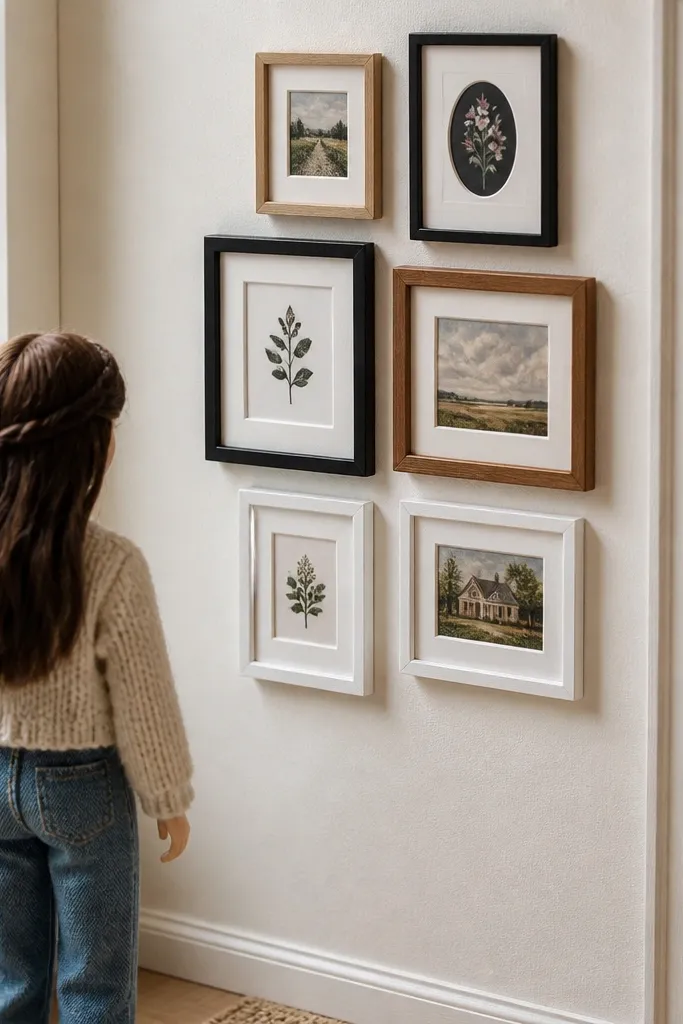
These templates are meant for layering and spacing, so they make wall decor look curated instead of random. The frames are built with a front layer plus a backing, which hides the paper thickness and gives you a clean “glass” look. Use different frame colors — one black, one warm oak, one white — to create contrast without repainting. This is also one of the fastest projects here because you’re repeating a simple cut pattern with consistent results.
Cut frame fronts and backs, then glue a thin strip of paper behind the opening to act like a mat. Add the picture layer inside the opening, then sandwich the front to the backing so edges align. Use double-sided tape or a small glue dot at the top corners only if you want the frames to sit slightly away from the wall.
Lightly sand the outer frame edge with fine sandpaper to remove cut fuzz before gluing.
Don’t glue the picture layer directly to the back without a mat strip; it makes the image feel glued-on and flat.
4. Vintage Corner Cabinet With Open Shelves
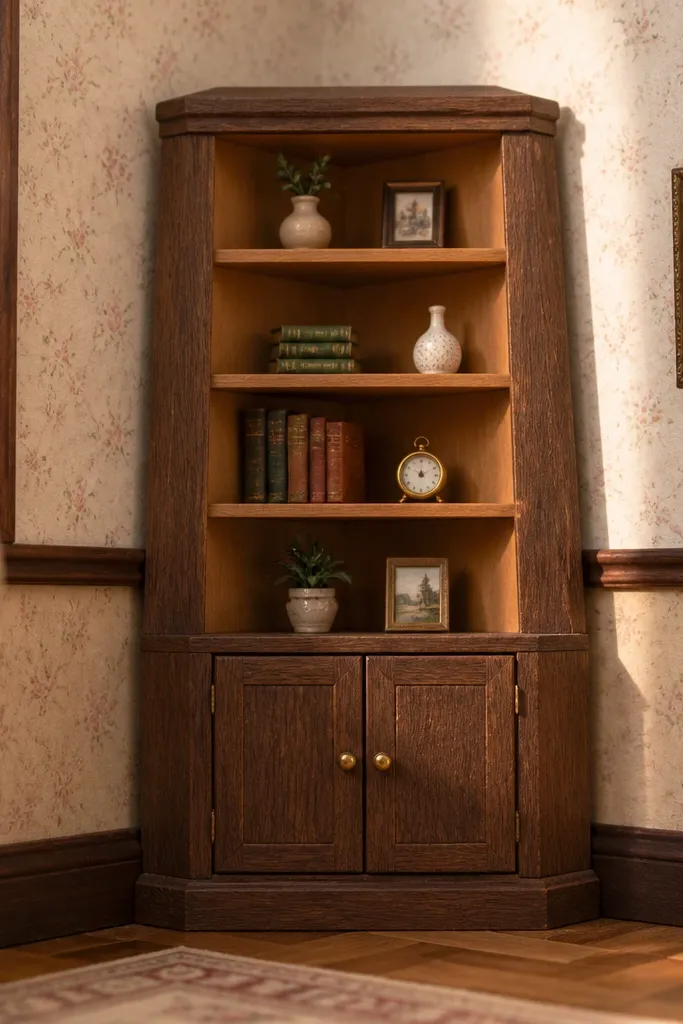
This cabinet template is designed for the corner angle, so the door and shelves look like they belong in a real room. The layered shelves create depth, and the angled sides prevent the typical “paper box” look. Choose a darker wood tone for the outer frame and a lighter tone for the shelf interiors so it reads as storage. It’s a strong option if you’re styling a narrow hallway or a room corner where furniture has to work in limited space.
Assemble the angled side panels first so the cabinet base forms a stable wedge. Then glue the shelf layers into place using the shelf tabs, and add the door frame last so it lines up with the opening. Finish by adding a thin trim strip at the top edge to hide any slight misalignment.
Use a ruler to press shelf tabs down flat; crooked shelves look wrong immediately at tiny scale.
Skip thick glue blobs inside corners; they squeeze shelves out of alignment.
5. Classic Dining Table With Folding Leaf Detail
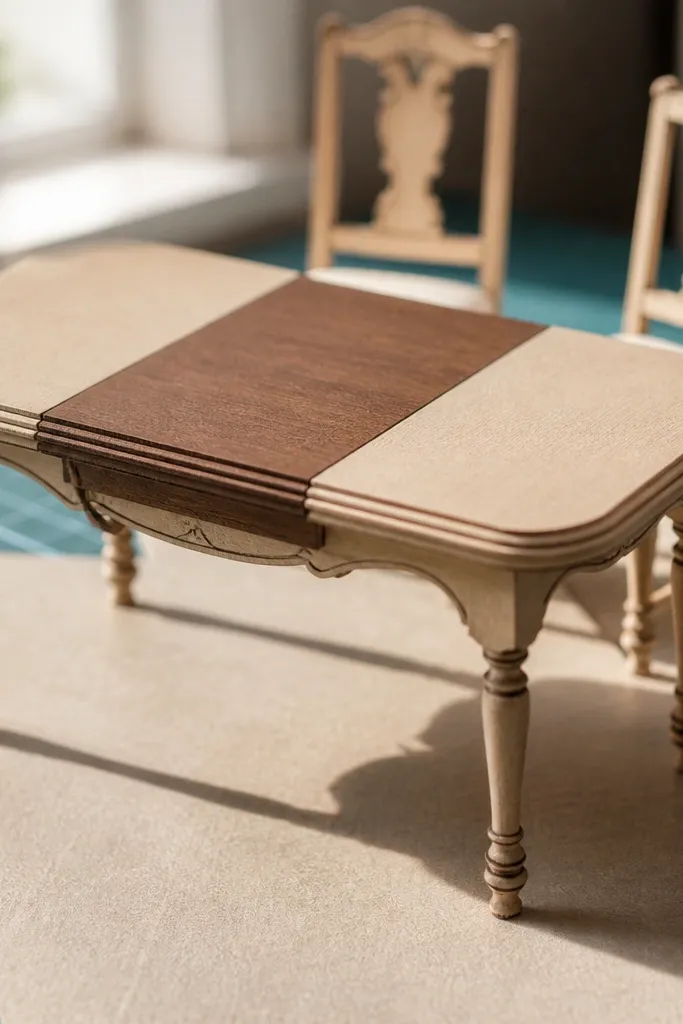
A dining table is all about silhouette, and this one nails it with a leaf detail that turns a basic rectangle into something believable. The template includes separate tabletop layers so the edge reads like a thickness instead of a flat print. Pair it with simple chair templates later, or let it be the only “big” piece in a photo. It also works well for staged scenes because the tabletop is a natural place to add tiny plates or decor.
Cut the tabletop layers and edge strips, then glue them together before attaching legs. Build the folding leaf section separately so you can angle it slightly for a more dynamic look in photos. Attach legs using tabbed corners, then reinforce the underside with a thin paper strip across the leg bases.
Editor's noteScore the tabletop edge lines gently with a craft knife so the layers fold without warping.
Skip thisDon’t attach legs before the leaf section; you’ll lose alignment and the table will look tilted.
6. Kitchen Sink Base Cabinet With Faucet Knob
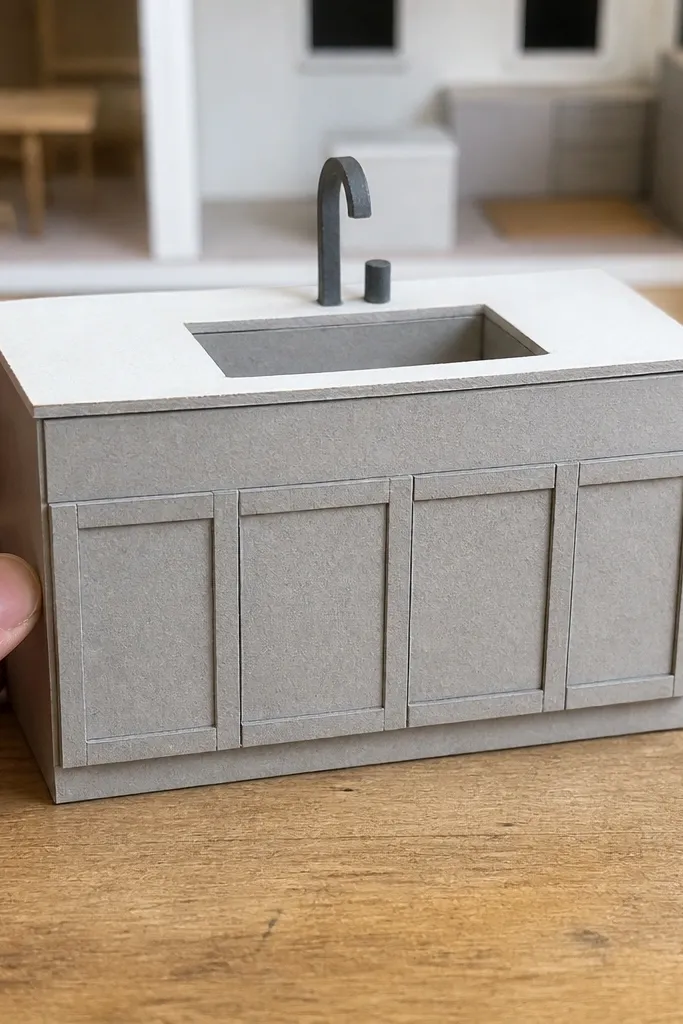
This template makes a kitchen look instantly “finished” because it includes the countertop cutout and a recognizable faucet silhouette. The sink opening is an easy visual anchor, and the base cabinet panels hide paper edges behind the countertop layer. Choose matte white or light gray cardstock for the countertop and a warm wood tone for the cabinet body. It’s a good choice for a dollhouse kitchen corner where you want one focal point that reads from across the room.
Assemble the base cabinet walls into a box using tabs, then glue the countertop layer on top so edges are sealed. Add the sink opening piece underneath or behind the cutout depending on the template instructions. Finish with the faucet knob and handle pieces using tiny glue dots so they don’t smear through the cardstock.
Use a craft knife to slightly deepen the sink opening cut; it makes the cavity look deeper in photos.
Avoid shiny glue on the faucet area; it reflects light and can look messy.
7. Modern Pendant Lamp With Layered Shade
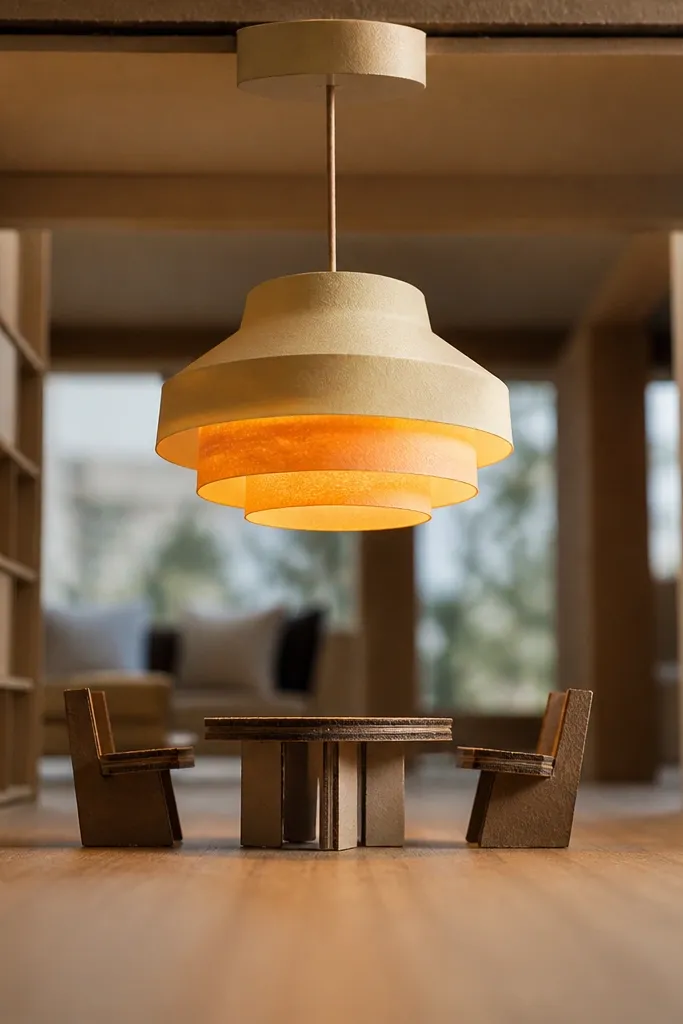
Lighting makes dollhouses feel designed, and this pendant lamp template creates a believable shade shape using layered panels. The cord and canopy pieces keep it from looking like a flat sticker, even though it’s paper. Pick a gradient or textured cardstock for the shade so the light area reads as warm. This project is also forgiving because small glue seams are hidden by the shade layers.
Cut the shade panels and glue them into a cylinder or cone shape using the tab edges. Attach the canopy piece to the top, then glue the cord in place so it hangs straight. Finish by adding the bottom ring or inner diffuser piece last, so you get a clean opening.
If your shade looks slightly uneven, press it around a pencil for 20-30 seconds to set the curve.
Don’t glue the cord before the shade cures; it can pull the shade off-center.
8. Tall Bookshelf With Spines That Read Like Real Stacks
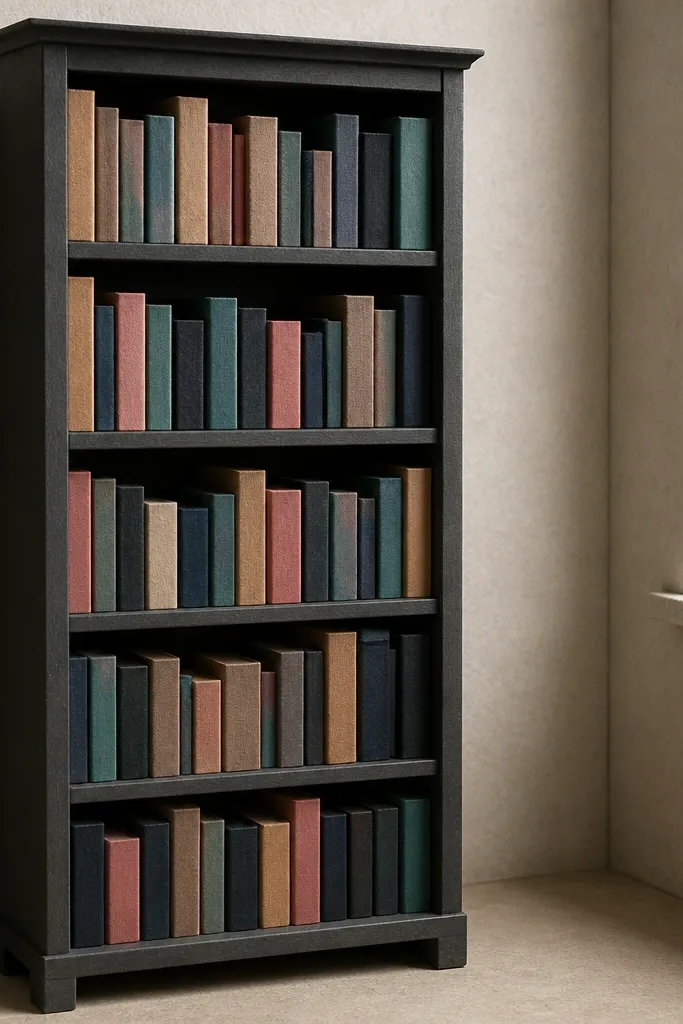
The difference between a toy shelf and a real-looking shelf is the spine rhythm, and this template is built for that. It uses separate spine strips or layered shelf panels so the books have height variation, not identical rectangles. Color-code by using 4-6 cardstock colors so the spines look intentional. This is a perfect background piece for photos because it fills negative space without looking cluttered.
Assemble the bookshelf frame first, then glue the shelf dividers in before adding book spines. Layer spine strips in rows, starting with the back row so you can tuck edges behind the shelf lip. Add the top trim last to cover any slight gaps where spines meet.
Use a straightedge to keep spine rows aligned; a small skew makes the whole shelf look crooked.
Skip rushing the spine layering; gluing out of order creates visible seams between rows.
9. Wardrobe Closet With Hanging Rail Detail
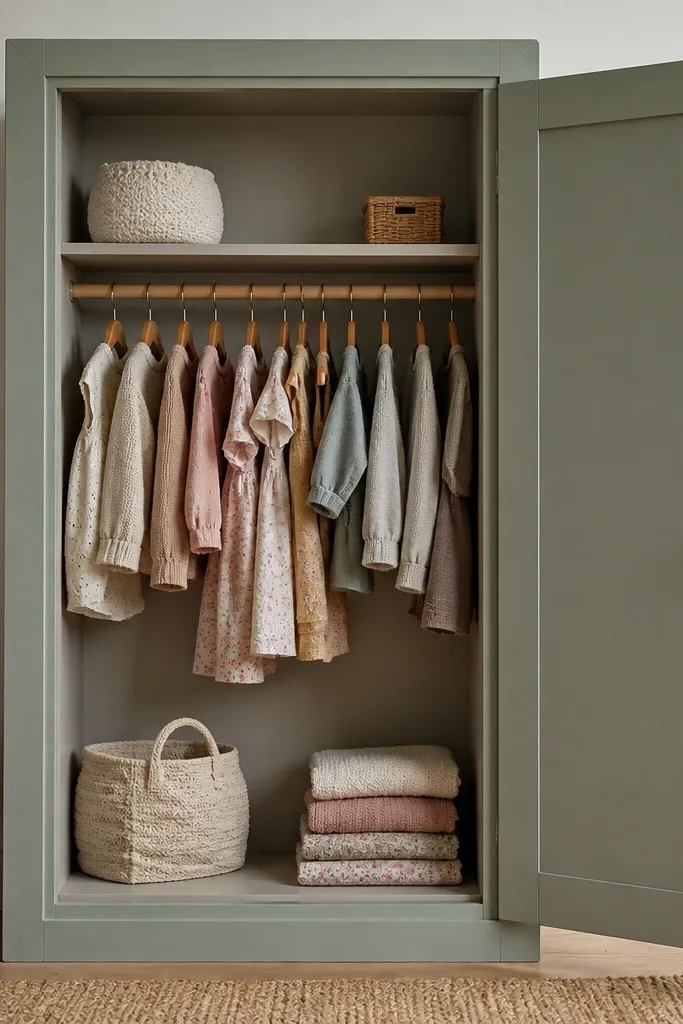
This closet template makes a room look organized because it includes a hanging rail detail and a door that frames the interior. The interior panels are layered so the rail sits in front of the back wall, not printed on top. Choose a neutral wall color for the inside and a contrasting door color so the door reads as a separate object. It’s a smart pick when you want storage furniture that looks good even with the door cracked open.
Build the inside frame first, then glue the hanging rail pieces to the back wall at the marked height. Add the side walls and back panel, then attach the door layers with tabs so the door has thickness. If the template allows, add tiny handle pieces last to avoid smearing on the door face.
Dry fit the door before final glue; paper doors bind if tabs are too thick.
Don’t use wet glue near the door face; it can warp the cardstock and throw off alignment.
10. Rug Runner With Fringe Strips
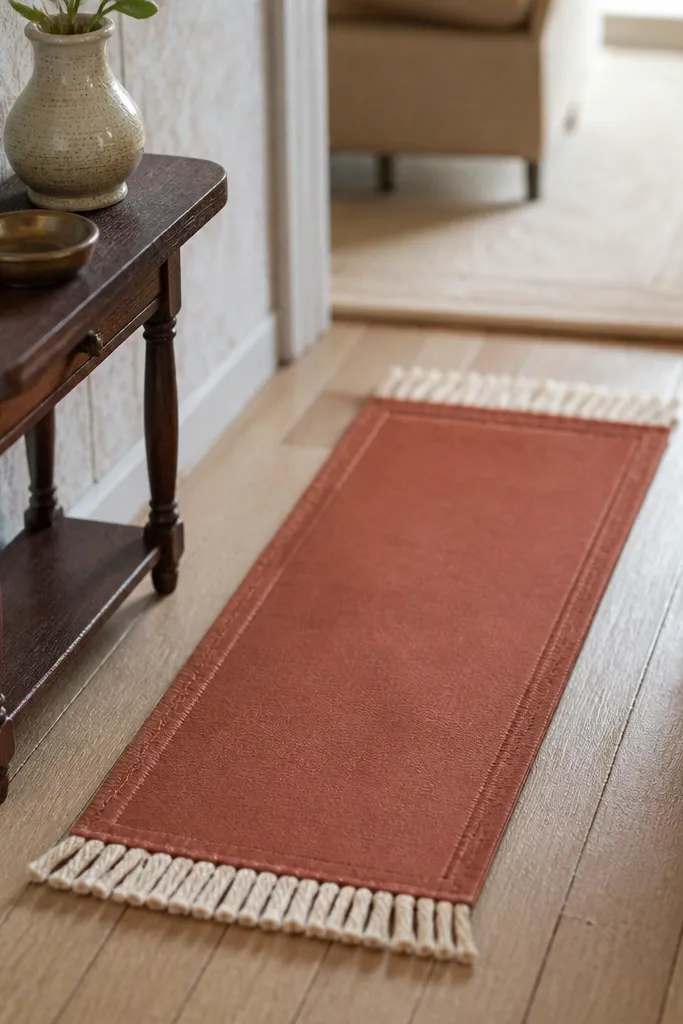
A rug is the fastest way to make a dollhouse look styled, and this template is designed for texture. Fringe strips create movement and catch light differently than flat printed patterns. It also helps visually ground furniture, so your room stops looking like floating cutouts. Pick a solid-color cardstock for the base and a slightly different tone for the fringe to make the edges pop.
Cut the rug base and fringe strips, then glue the fringe to the underside first so the top surface stays smooth. Fold fringe ends outward or down depending on the look you want, then secure with a second tiny glue dot per strip. If the template includes a backing layer, sandwich the base to hide any glue lines.
Trim fringe strips with small snips, not one long cut — uneven fringe looks more realistic than perfectly uniform.
Don’t stretch the fringe while gluing; stretched paper looks wavy on the finished rug.
11. Round Coffee Table With Turned-Leg Illusion
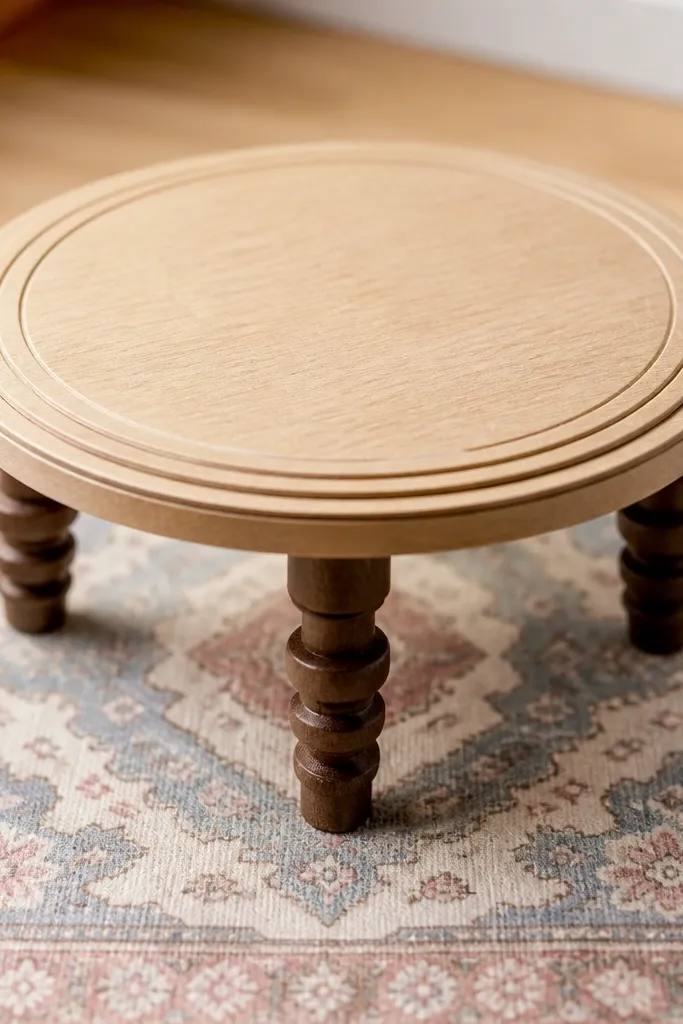
Round tables photograph well because they avoid sharp corners, and this template uses layered rings to create a tabletop edge. The legs are built in stacked segments, which makes them look turned instead of flat. Use a dark wood cardstock for legs and a lighter tone for the top ring so the shape reads instantly. This is a strong centerpiece for a living room vignette.
Assemble the tabletop layers into a shallow stack, then glue the leg segments together in sets. Attach legs to the underside using tabs, then cap the top ring after legs are secure. Finish by adding a small base ring if the template includes one; it hides tab joins.
Press leg stacks together on a scrap board with a flat weight for 5-10 minutes so they stay straight.
Avoid gluing legs to the top ring; glue to the underside only so the tabletop edge stays clean.
12. Wall-Mounted Floating Shelf With Books and Vases
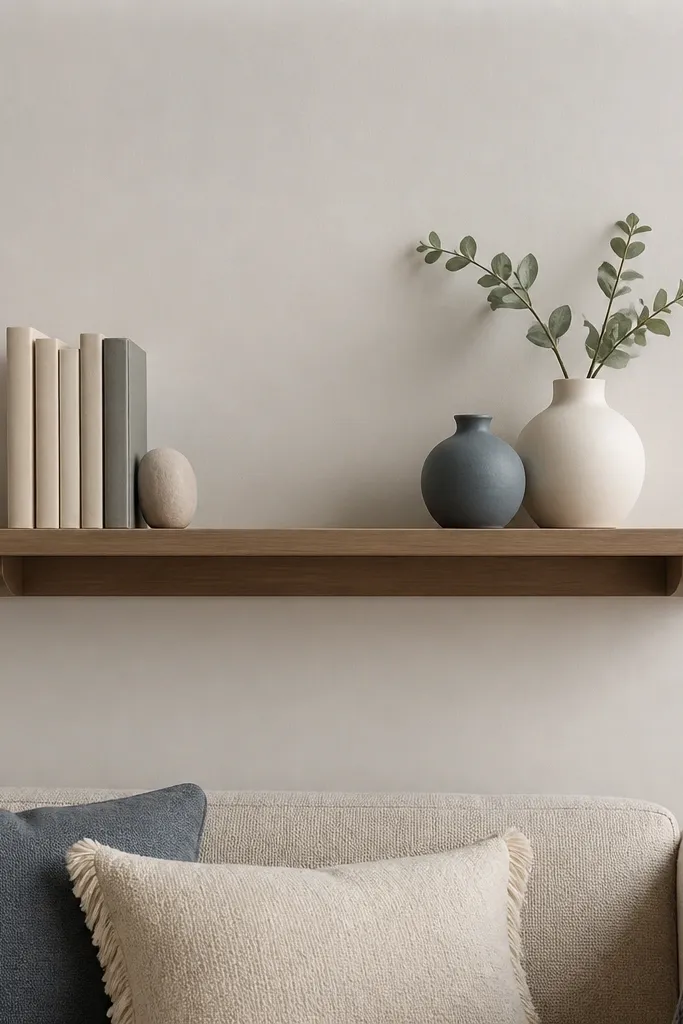
Floating shelves look high-end in mini rooms because they create a clean horizontal line. This template includes a back bracket or layered support so the shelf reads as attached to the wall, not just sitting there. The included small decor pieces help you avoid the blank, empty-shelf look that kills photos. Use matte cardstock for the shelf and glossy or textured paper for the “vases” to add contrast.
Cut the shelf board and the bracket pieces, then glue the bracket to the wall-side layer first. Attach the shelf top layer last so seams are hidden. Add books and vase shapes in a staggered pattern, then seal the shelf edge with a thin strip of cardstock if the template leaves raw cut edges.
If your printer leaves a slight border, trim the shelf piece by 1 mm so it sits flush against the wall layer.
Don’t crowd every item onto the shelf; leave 1-2 inches of empty shelf space for a styled look.
13. Classic Rocking Chair With Curved Back Layering
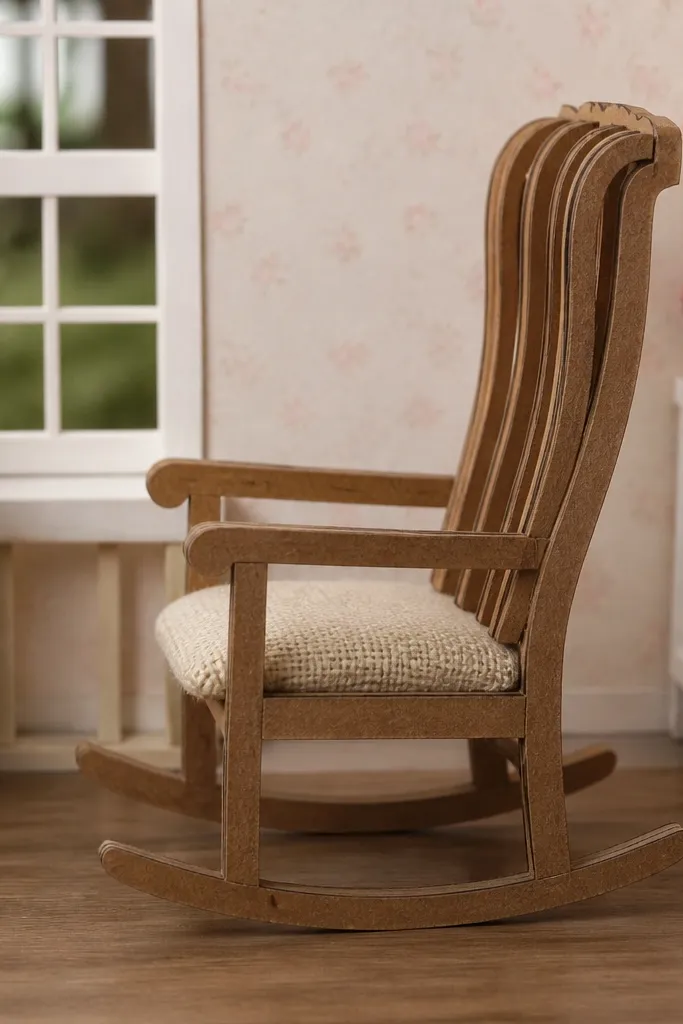
This rocking chair template looks good because the curved back is built from multiple layers, so it shows depth even from the side. The rockers are separate pieces, which keeps the silhouette smooth instead of jagged. Use a medium wood tone for the chair frame and a contrasting fabric paper for the seat. It’s a standout for a nursery or reading corner where you want something charming without bulky materials.
Glue the curved back layers together first, then attach the seat panel on top so the curve doesn’t distort. Build the rocker base separately and attach it last, lining up the chair legs with the rocker feet. Reinforce the underside with a small scrap strip where legs meet the base to prevent wobble.
Editor's noteCut rocker feet slightly wider than the tab — then sand the edge lightly for a clean curve.
Skip thisSkip cheap paper for this one; thin copy paper will curl and make the chair look warped.
14. Decorative Wall Clock With Hinged Hands
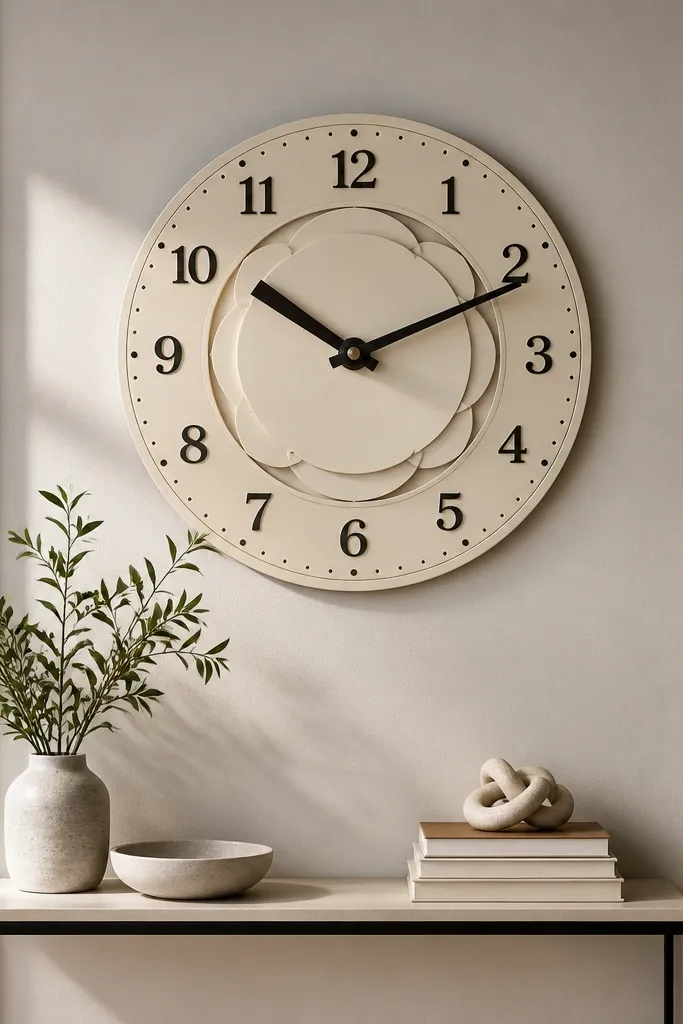
A clock adds story instantly, and this template is built with a layered dial that makes the numbers pop. The hands are designed to sit on top with a hinge point, so they look like real clock hands instead of flat printed lines. Use thick cardstock for the dial and a contrasting color for the hands to keep readability in photos. It’s also a great practice project because hinge placement is straightforward and you can reuse the technique for other paper mechanisms later.
Cut the dial layers and glue them together, leaving the hand area clean and flat. Punch a small hole at the hinge point, then attach the hands with a brad or paper fastener through the layers. If the template includes a backing plate, glue it last to stabilize the mechanism.
Editor's noteUse a metal brad if you want the hands to actually move without tearing the cardstock.
Skip thisDon’t use glue to attach the hands; it ruins the layered depth and makes them look stuck.
15. Bathroom Vanity With Mirror Frame
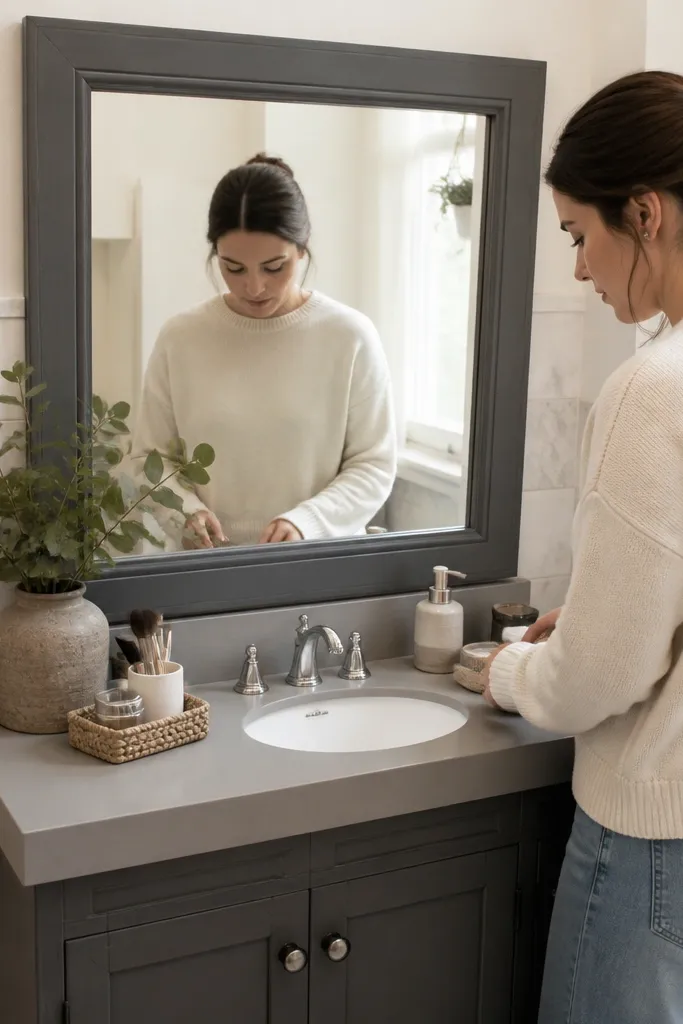
This vanity template looks like a real bathroom because it includes a mirror frame and a countertop layer that hides the messy middle seam. The mirror is built with a backing and a front ring, which makes it read as a separate object. Choose a cool gray or white for the countertop and a darker tone for the vanity cabinet so the shapes separate in photos. It’s ideal for a small bathroom scene where you want one tidy focal point.
Assemble the vanity cabinet box first, then glue the countertop layer on top and align the sink cutout. Build the mirror frame as a ring sandwich with a backing, then glue it to the wall behind the vanity. Add small details like faucet knobs or cabinet handles after the mirror is set so you don’t bump it.
If the mirror looks too flat, add a thin acetate sheet behind the front ring for a glassy reflection effect.
Avoid placing mirror glue at the edges only; a too-thin bond can lift the frame and show gaps.
16. L-Shaped Sofa With Pillow Inserts
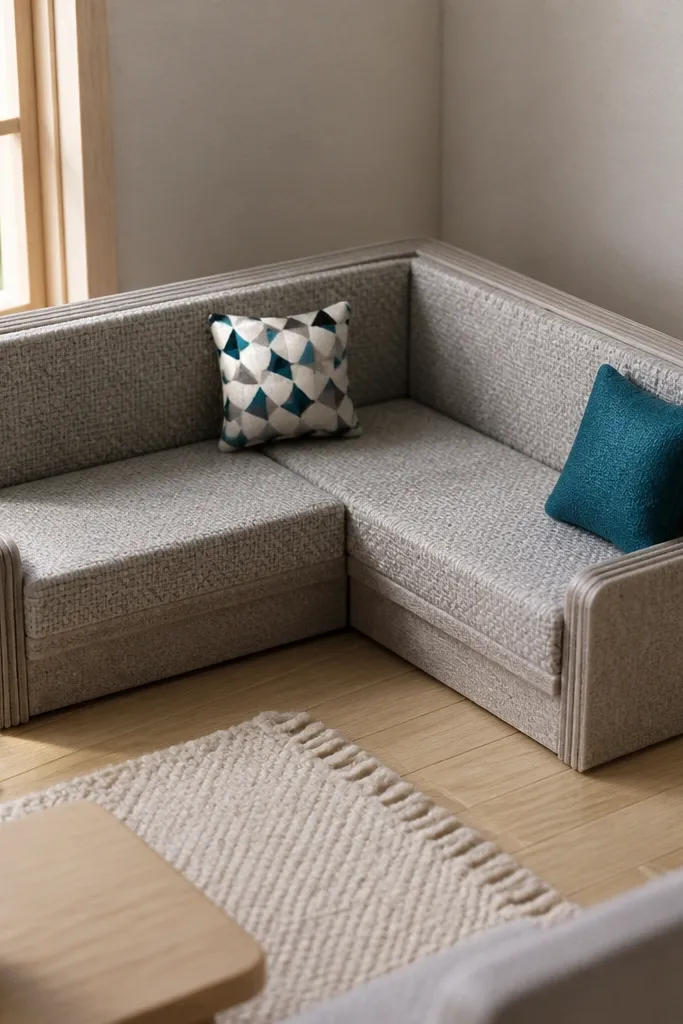
This sofa template is built for the angle that sells it. The L-shape is layered so the back and armrest have thickness, and the pillows are separate inserts so you can arrange them like a real couch. Use textured fabric-print cardstock for the seat and a contrasting pattern for pillows to create depth through color. It’s a room-defining piece that looks great in a wider shot because it fills space without needing bulky materials.
Glue the main sofa base layers into an L shape first, then attach the backrest layer so the seam sits at the inside corner. Build pillows as separate stacks and glue them after the couch base is fully dry. Attach the arms last, then press the outer edges with a flat tool to keep the silhouette clean.
Cut pillow edges with a sharp blade and keep them crisp; soft edges make the couch look sloppy.
Don’t glue pillows directly onto the couch without checking placement; one off-center pillow ruins the symmetry.
17. Petite Dresser With Drawer Fronts
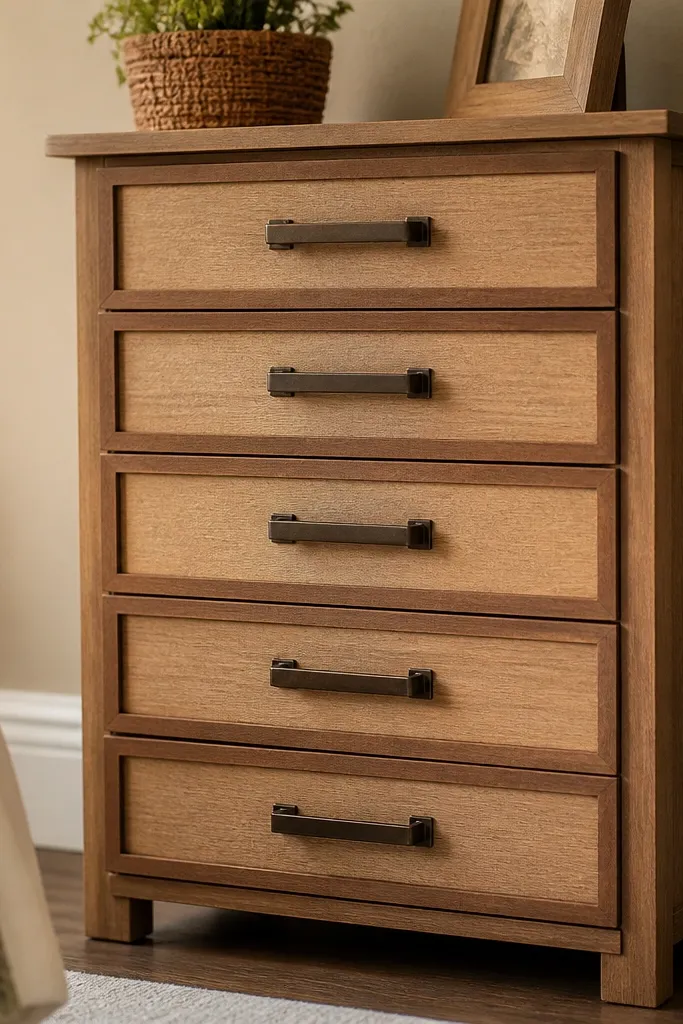
A dresser looks impressive because drawers create lines, and this template gives you drawer fronts that sit in layers. The handles are separate pieces, so you get a real “detail” moment instead of printed marks. Use a light wood or painted tone for the body and a slightly darker tone for drawer frames to make the drawer stack readable. This is a great choice for a bedroom photo where you want vertical structure.
Assemble the dresser outer walls and back panel, then glue drawer frame pieces into their positions. Add drawer fronts on top so each drawer has a raised face. Finally attach handles and a top trim strip to cover any tiny alignment gaps at the drawer edges.
Use a ruler to space drawer fronts evenly before gluing; the human eye spots drawer misalignment fast.
Avoid using too much glue on the drawer fronts; it can swell the paper and make handles sit uneven.
18. Modern TV Stand With Cable-Like Shelf Detail
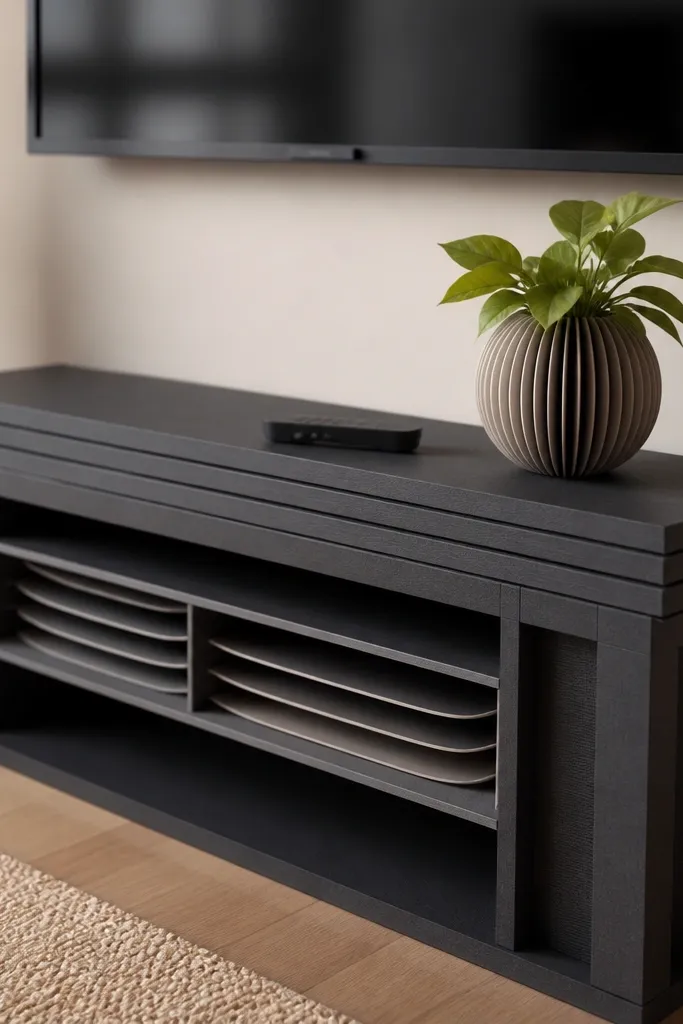
This TV stand template is designed for the open shelf look, with lines that mimic cables or stacked media. That detail makes it feel lived-in without adding clutter. The stand uses layered panels to create a thick top edge and separate door or side frames. Pick a dark matte cardstock for the base and a lighter tone for the top so the silhouette reads cleanly. It’s ideal for a living room corner where you want a techy feel.
Build the stand base by assembling side panels and the top layer first. Then glue the open shelf insert, lining up the cable-detail lines with the shelf center. Add any door frames last so the openings stay crisp and you don’t smear glue into the cable area.
If the cable lines look too dark, print the template on lighter paper or swap to a medium gray cardstock for subtle contrast.
Don’t glue the shelf insert before the base dries flat; warped bases make open shelves look off-level.
19. Cottage Window Seat With Removable Cushion and Side Baskets
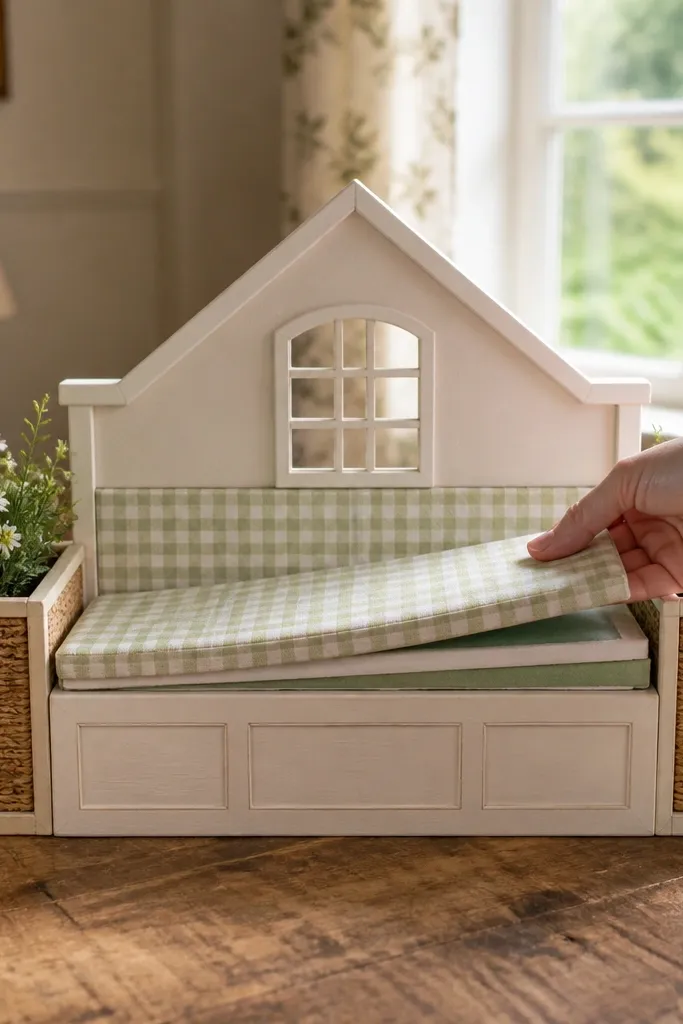
This template set gives you a cozy built-in look that reads instantly as a real piece of furniture, not a flat cutout. The window-seat shape frames the scene and gives you a place to add a cushion that actually pops off the page with foam or cardstock layers. You get a clean, cottage style with a seat back panel, two side basket compartments, and a removable cushion you can swap for different seasons. It suits small dollhouse living rooms and bedrooms where you want storage plus a soft spot for tiny accessories. Skill level is beginner-friendly because the structure is mostly straight cuts and simple folds, and assembly time is usually under an hour once the pieces are printed and trimmed.
Print the window-seat base, back panel, and side rails on 110 lb cardstock. Cut the cushion template on two layers: one on solid fabric-pattern paper and one plain cardstock, then glue them together so the cushion has a slightly thick edge; aim for a finished cushion thickness of about 3-4 mm. Fold along the base fold lines, then glue the back panel to the seat base so the unit forms a shallow U shape; press with a book for 10 minutes. Cut the two side basket frames, then add basket fronts by layering thin strips of paper in a crisscross pattern on each compartment opening. Seal the cushion with a thin coat of matte Mod Podge so the paper pattern doesn’t scuff, and glue the cushion to the seat with Velcro dots if you want it removable.
Use a metal ruler and a craft knife for the folds and trim — cardstock edges stay crisp and the furniture looks sharper in photos.
Don’t glue the cushion directly to the seat if you want it to stay clean for future swaps.
20. Industrial Workbench With Pegboard Back and Tool Hooks
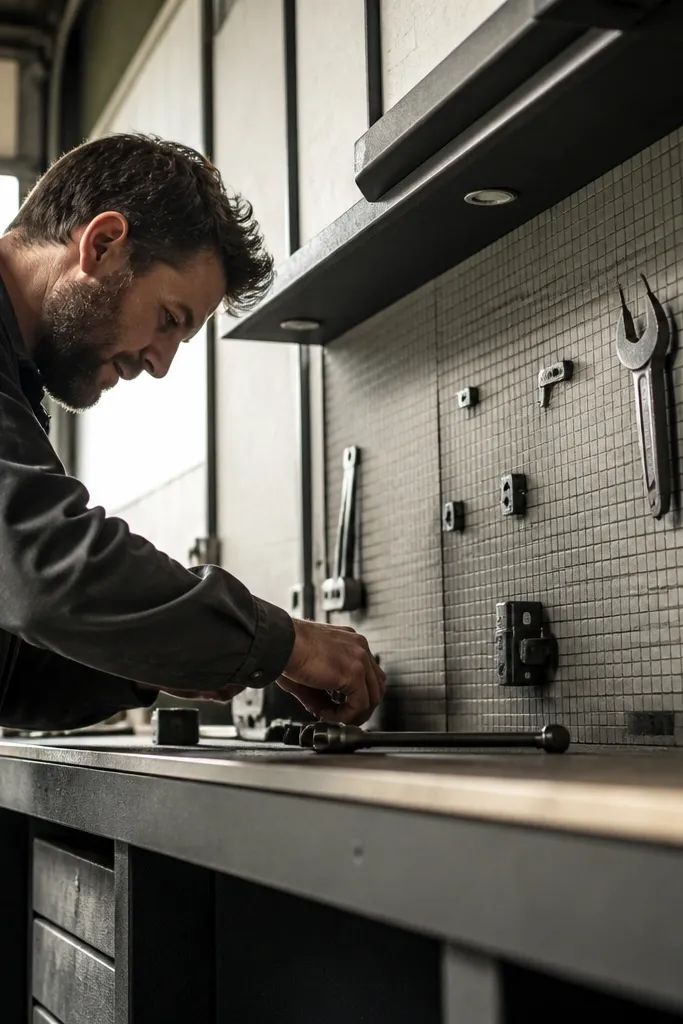
This set is the one that makes your dollhouse look busy in a good way. The pegboard back adds a textured grid that reads well even at small scale, and the tool hooks give you that lived-in workshop vibe without needing extra tiny items. The workbench top has a layered edge so it casts a little shadow, which makes the whole piece photogenic from the side. It fits garages, craft rooms, and basements where you want function and clutter that still looks intentional. It’s a step up from the simplest furniture templates because you’re cutting lots of small hook pieces, but the build stays manageable and usually takes 1 to 2 hours.
Print the workbench base, tabletop, pegboard, and hook templates on 120 lb cardstock for stiffness. Cut the pegboard grid on the back panel and use a hole-punch or the tip of a craft knife to open the marked holes; keep the grid lines aligned so the pattern looks straight. Layer the tabletop over the base with a 2-3 mm offset so you get a visible lip, then glue and clamp for 10 minutes. Assemble the pegboard by gluing it to the back of the workbench frame, then insert hook tabs into the pegboard holes and secure with a tiny dot of glue on the back side only. Finish with black or dark gray acrylic paint on edges and a light dry-brush on the tabletop lip for a worn metal look; let it fully dry before handling.
Editor's noteCut hooks in batches and do a quick test fit on the pegboard — adjusting one hook template saves you from redoing the whole set.
Skip thisDon’t flood the pegboard holes with glue; it warps the paper grid and makes the hooks look messy.



