

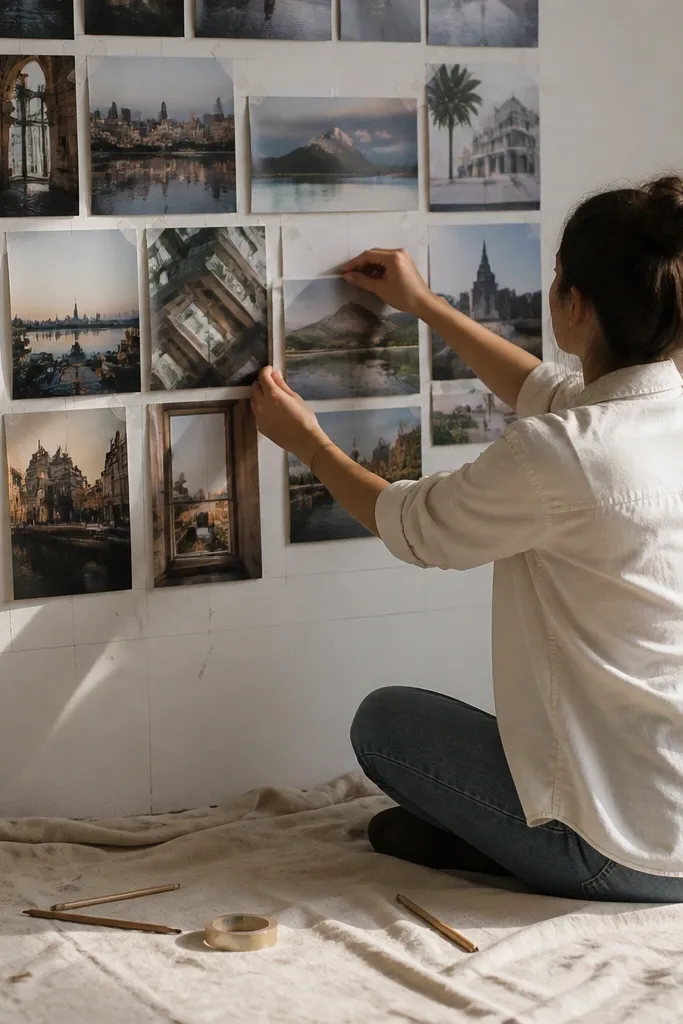
1. The "Permanent Tape" Panic (Residue on Paint)
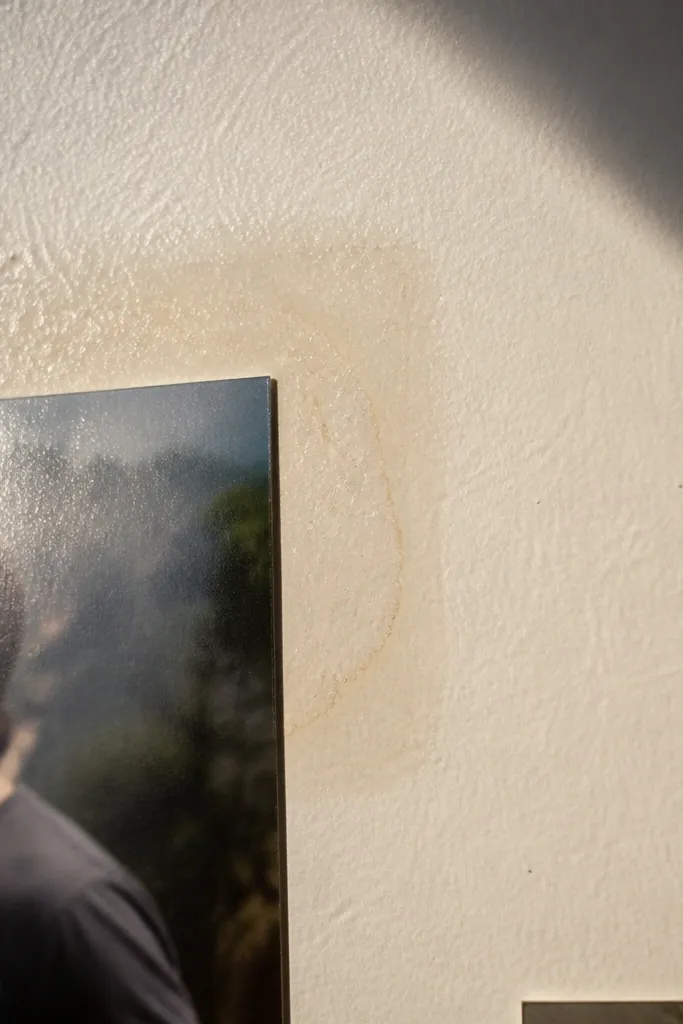
This is the classic photo wall collage tape mistake: you use a tape that feels strong in the store, and your wall pays for it later. The photos can look fine for a few days, then you see a dull sticky ring around the edges where tape touched the wall. It also makes future rearranging a nightmare because that residue attracts dust and makes the next tape less predictable. Fixing it means switching to low-tack tape for placement and reserving stronger tape only for final corner holds.
Start with painter’s tape (blue or beige) to mark your grid and photo positions, not to hold photos for keeps. Place each photo using small pieces of removable mounting tape or low-tack photo tape at the corners only. Finally, after everything is aligned, press each taped edge for 20 seconds, then remove the painter’s tape marks once you confirm nothing shifts.
If you’re unsure, do a 10-second wall patch test with the same tape and wait 30 minutes before you commit.
Don’t use packing tape, duct tape, or double-sided “heavy duty” tape directly on painted walls.
2. Corners Lift After 48 Hours
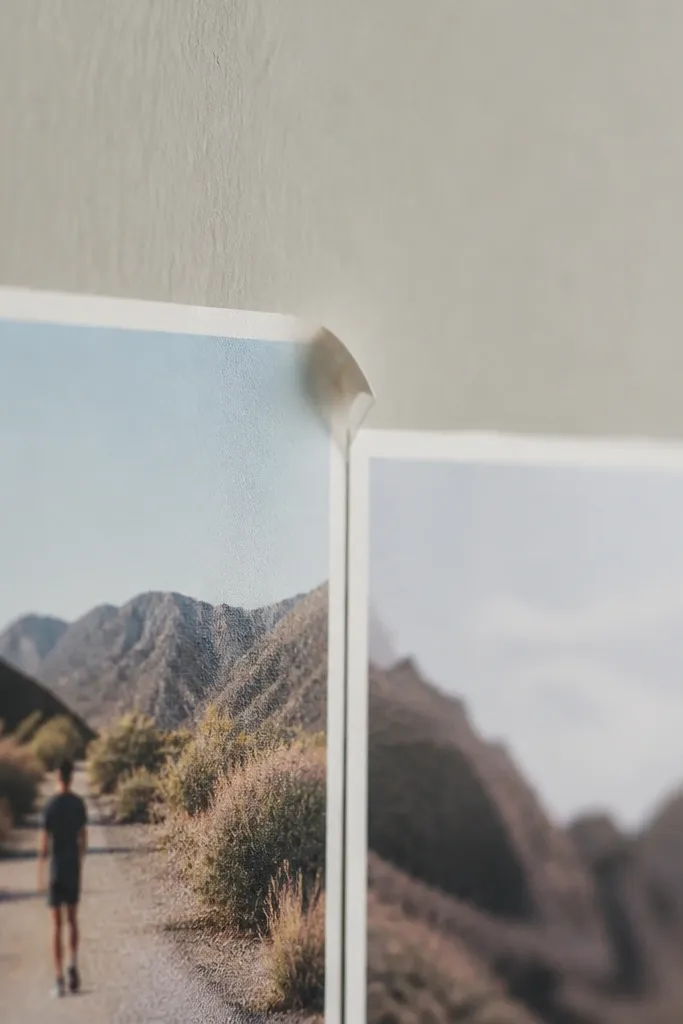
Corners lift when tape contact is too small or the photo edge isn’t sealed. You’ll see a raised corner that catches light and makes the whole collage look messy even if the spacing is correct. This happens a lot with glossy prints because they don’t grip tape as well as matte cardstock. The fix is to tape at the corners with enough surface contact, then press long enough for the adhesive to bond.
Cut tape pieces into small corner tabs, about 1.5-2 cm wide, so they touch the photo edge cleanly. Place one tab per corner (or two if the photo is thin), then press the photo edge firmly against the wall. Wait 2 minutes and press again — the adhesive needs a second contact cycle to stay flat.
Use a plastic ruler to press the edge in straight passes instead of pressing with your fingertips.
Don’t tape the center only and assume the corners will stay down.
3. The Misaligned "Center" Illusion

This tape mistake isn’t about tape strength — it’s about reference points. If you measure each photo individually from the left edge, your collage can drift because photo sizes vary and tape thickness adds tiny offsets. The result is a layout where the eye reads “off” even when the measurements seem close. Fix it by using one shared centerline and snapping every row to that line before you commit tape.
Mark a vertical centerline on the wall with painter’s tape and a level. Build your collage using that centerline: place the middle photo first, then align the next photos by their edges to the first photo, not to the wall. Only after the full row looks straight, apply corner tape to each photo and press for 20 seconds.
Use a laser level or a phone level app for straight lines, then tape the lines with painter’s tape so you can remove them later.
Don’t measure from the same wall edge for every photo when sizes differ.
4. Thick Tape Creates Uneven Seams
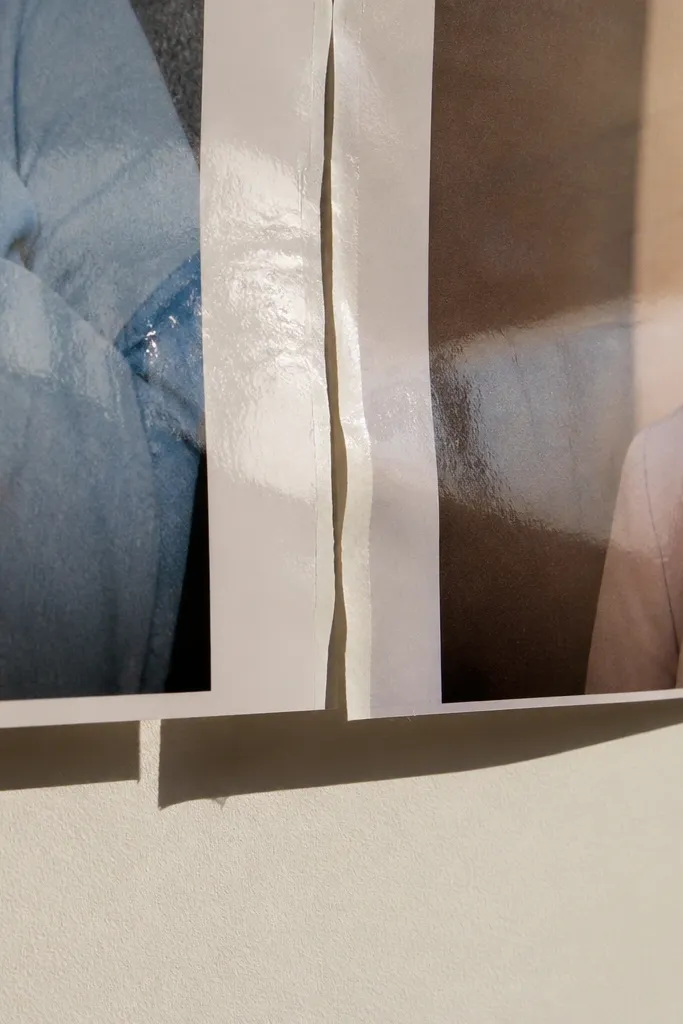
Switch to thin photo mounting tape (or corner tabs of removable double-sided tape) instead of wide foam-backed tape. Apply tape only at corners or along one short edge per photo corner, keeping the taped area under 2 cm. Press the photo down firmly and check the seam from eye level, then add one more small corner tab only if a corner lifts.
Thick tape under a photo makes the surface look wavy and creates uneven seams between photos. It also makes glossy prints catch light differently, so the collage looks patchy. You can even get hairline gaps where two photos meet because one is slightly lifted. The fix is to use thin tape and keep taped areas small so the photo lies flat.
Editor's noteIf you see a seam gap, add tape to the lifted photo corner, not to the photo next to it.
5. Tape on Photo Faces Instead of Edges
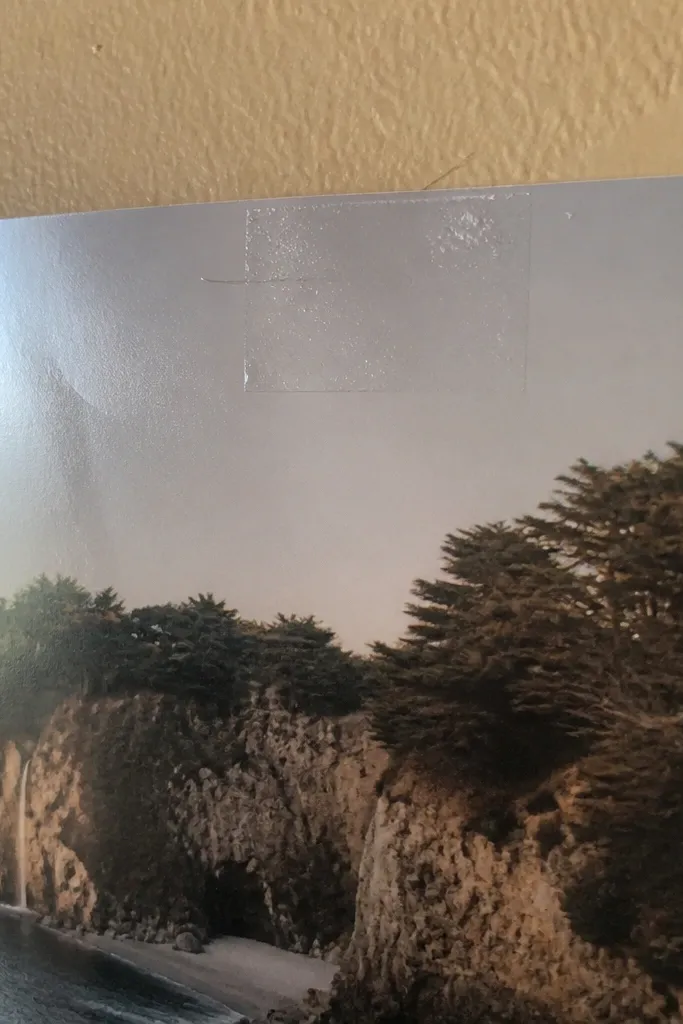
Use mounting tape designed for photos or removable corner tabs so the adhesive stays on the back or edge. Position the photo, then place the tape at the corners so it disappears when viewed straight-on. Press the edges, then wipe the photo face gently with a microfiber cloth to remove any dust that sticks to adhesive residue.
Putting tape on the photo face is a fast route to scuffs, shine differences, and ugly edges. Even if the tape is clear, it can leave a faint sheen or lint trap on glossy prints. It also ruins the look when you remove tape later because the surface can get tacky or slightly lifted. Fix it by taping only to the photo backing or photo edge — where it’s hidden and controlled.
Skip thisDon’t tape across the face to “make it stick.”
Editor's noteIf your photos are frameless prints, leave a tiny border and tape on that border area so you don’t touch the image.
6. Spacing Drift From Stretchy Tape
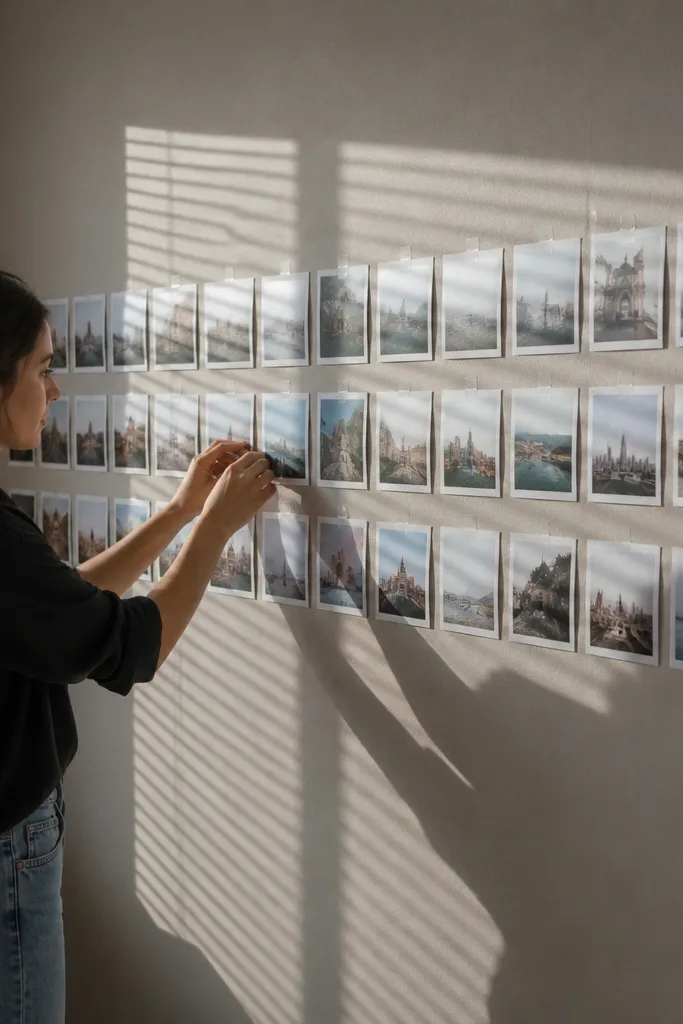
Set your gap size first using paper strips or thin cardboard spacers, like 3 mm or 6 mm. Tape the spacer positions to the wall with painter’s tape lines, then place photos within those bounds. When aligned, add small corner tabs and press each corner down without dragging the photo.
Some tapes stretch slightly or shift when you press them down, and that shifts spacing by a few millimeters. That’s enough for a photo wall collage to look like it’s creeping. You’ll notice it most on long rows and grids with consistent gaps. The fix is to use tape that holds shape and to lock spacing with a temporary spacer before you press the final tape.
Editor's notePress straight down — don’t slide the photo into place after tape touches.
7. Removing Tape Too Soon
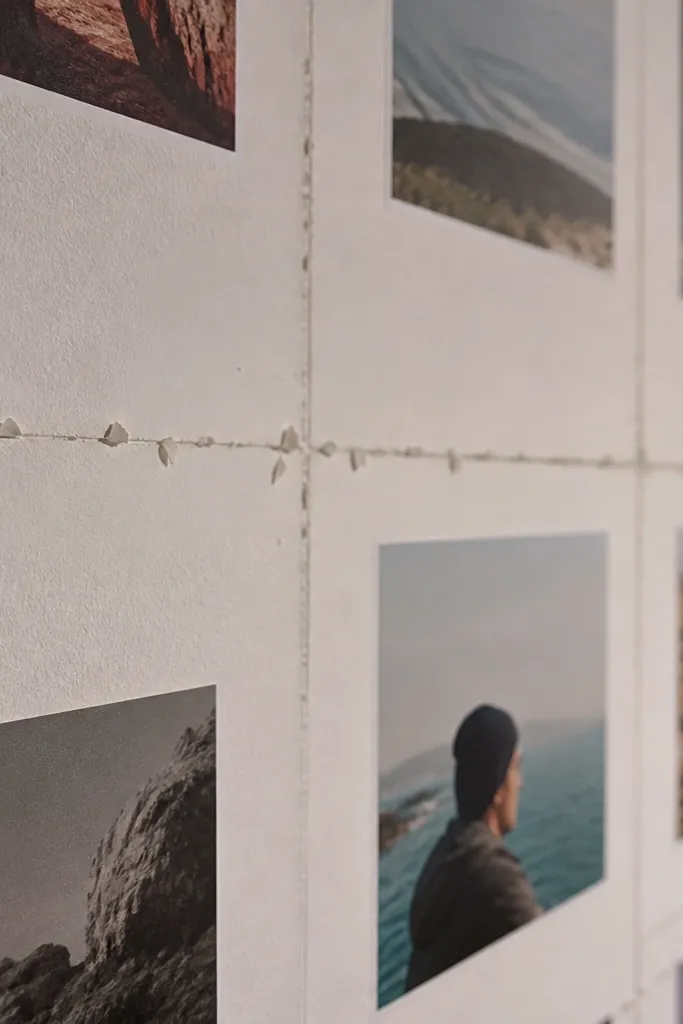
If you remove marking tape right after placing photos, you can pull paint because the wall adhesive hasn’t relaxed. This shows up as small paint flakes or a dull patch around your grid marks. People do it because they’re excited and want to see the final look immediately. Fix it by separating temporary placement marks (painter’s tape) from final holds (removable photo tape) and timing the removal.
Use painter’s tape for temporary lines and remove those after you’re confident the layout is locked, usually after 20-30 minutes. For any tape that touched the photo edge, keep it in place until the collage is fully positioned and you’re ready to commit. When you remove, pull the tape back on itself at a low angle, not straight up.
Warm the tape slightly with a hair dryer on low for 5-10 seconds if you see resistance.
8. Textured Wall Fail (Tape Only Touches the Peaks)
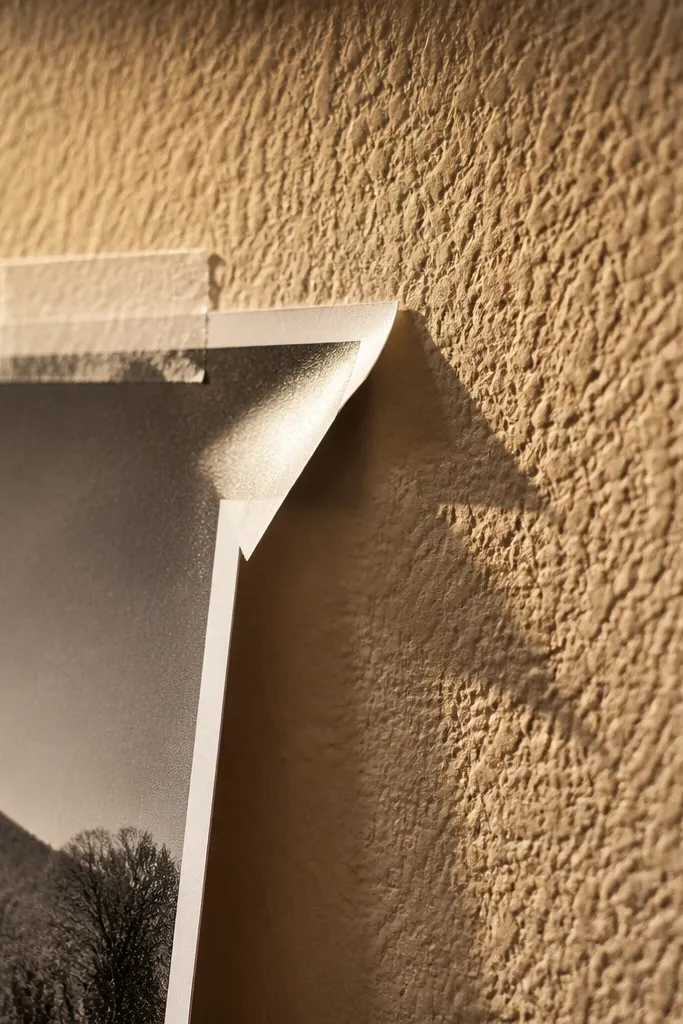
Clean the wall with a dry microfiber cloth so dust doesn’t block adhesion. Use mounting tape that’s rated for textured surfaces, then apply it in two shorter corner segments instead of one long strip. Press firmly across the taped area for 20 seconds, then check the corner by gently lifting at the edge with a fingertip.
On textured walls, tape only contacts the high points and the corners lift like they’re floating. It looks like your adhesive is “weak,” but the real issue is contact area. Glossy photos exaggerate this because they don’t flex to follow texture. The fix is to use mounting tape designed for rough surfaces or increase the contact area by taping shorter segments along the edge.
Editor's noteIf corners still lift, add one tiny reinforcement tab on the center of the edge — textured walls reward extra contact.
9. Double-Sided Tape That Shows Through
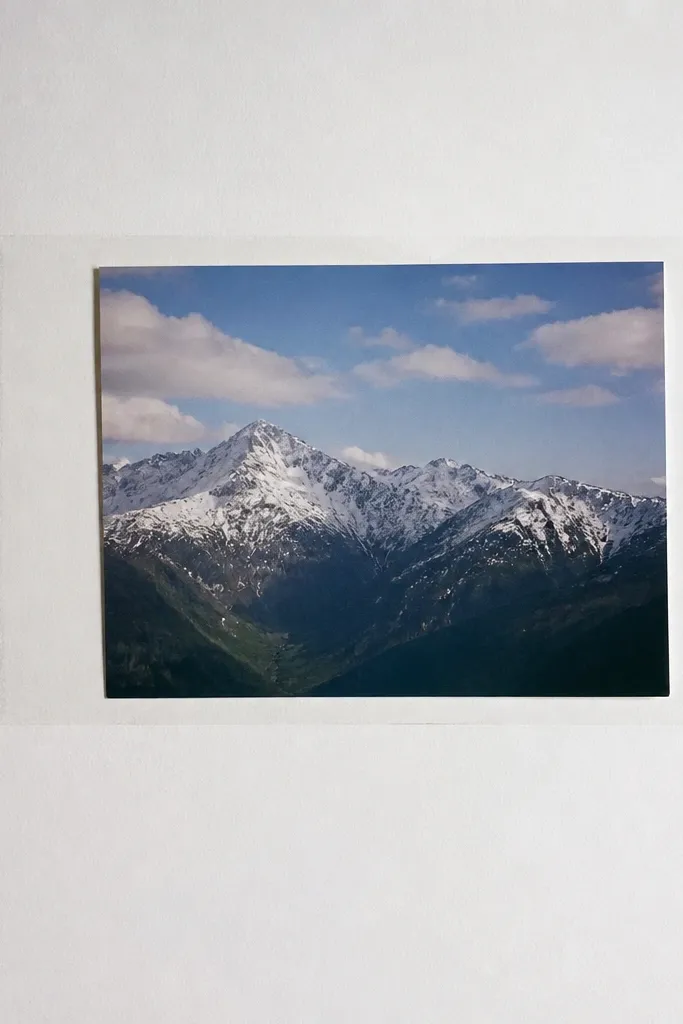
Some double-sided tapes have color, shine, or thickness that telegraphs through thin paper or matte prints. You end up with a faint rectangle outline where the tape sits, and the edge looks messy up close. This is especially common with smaller photos where tape placement is tight. Fix it by using clear, thin photo mounting tape and placing it exactly at the corner where it’s least visible.
Choose clear or low-profile mounting tape and cut it into smaller corner tabs. Place the tape at the extreme corners so it stays hidden by the photo border. Press down and then check visibility from 45 degrees — if you can see it, switch to a thinner tape or reduce the tab size.
For thin prints, use corner tabs instead of long strips along the edge.
10. Tape Overlaps Between Photos
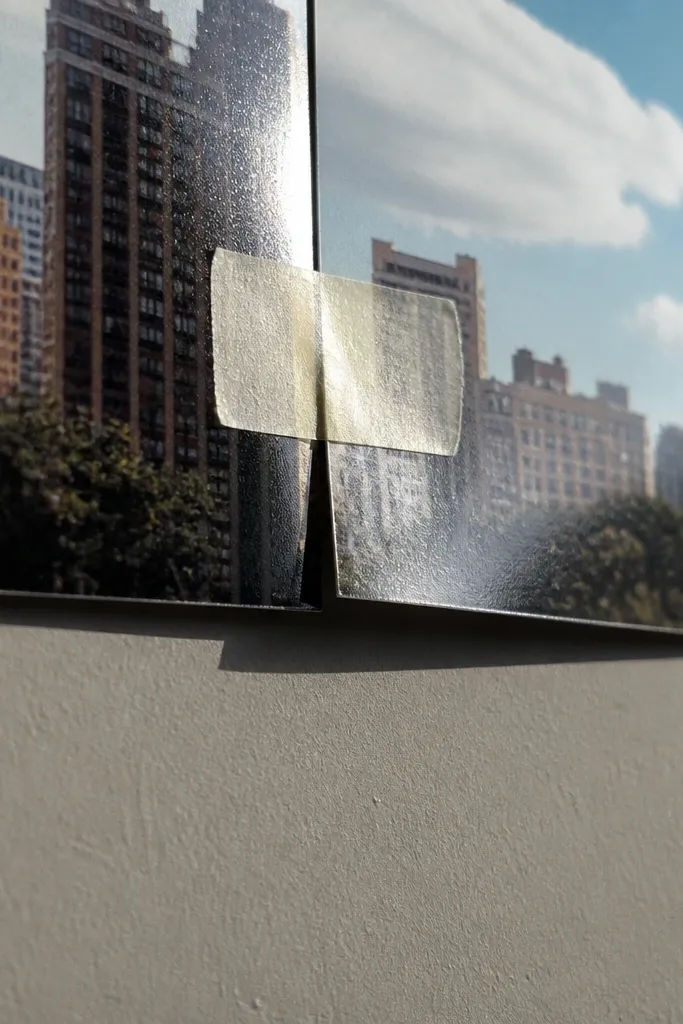
When tape lands too close to the seam between photos, it can push one photo slightly forward. That creates a visible gap or a step in the collage line. It’s most common when people place photos by eye and then press tape down quickly. The fix is to keep tape away from the seam and to tape corners where you want stability without interference.
Dry-lay the full row first so you can see where seams fall. Place corner tape so it sits inside the photo edge by at least 5-8 mm from the seam line. Press each photo after the whole row is aligned, then add a reinforcement tab only if a corner lifts.
If two photos share a narrow gap, tape both corners first before pressing either photo fully.
11. Using One Tape Type for Every Material

A single tape choice rarely works for every photo print you own. Glossy prints, matte prints, and thicker cardstock all grip differently. If you use the same tape everywhere, some photos flatten perfectly while others curl or lift. The collage looks uneven even when the layout math is right. Fix it by sorting your photos by finish and using a matching tape tack level for each group.
Sort prints into two piles: glossy and matte/thick. Use lower-tack removable tape for glossy prints to avoid scuffing, and use slightly stronger corner tabs for matte or thicker cardstock. Apply corner tabs consistently within each pile, then press edges for 20 seconds and re-check after 1 hour.
Keep one small roll of low-tack tape for adjustments — it saves you from redoing whole rows.
12. No Press Time (Adhesive Needs Contact)

After placing each photo, press each taped corner with firm pressure for 20 seconds. Use a ruler edge to keep pressure even along the photo border. Wait 2 minutes, then do a second press pass on every corner before you walk away.
People stick photos up and move on. Adhesive needs pressure to spread into the microtexture of your wall and the back of your photo. If you press for 2 seconds instead of 20, the photo may hold at first and then loosen as gravity and room humidity do their thing. The fix is simple: press method and time at every taped corner.
Editor's notePress in a pattern: top-left, top-right, bottom-left, bottom-right. It keeps you from missing corners.
13. Wrong Removal Angle Triggers Paint Pull
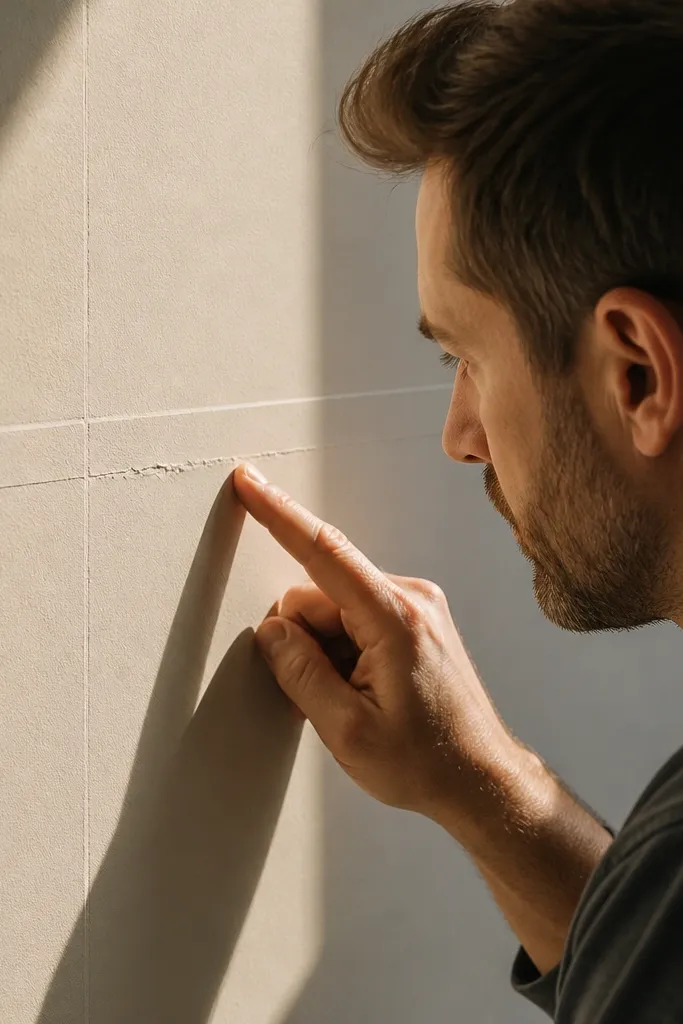
Even with painter’s tape, removal angle matters. Pulling straight up concentrates stress on the paint film and can lift it, especially on fresh paint. The damage often shows up in the exact grid lines you used, which makes the wall look worse than the layout mistake. Fix it by removing at a low angle and slowly, so the paint film releases instead of tears.
Warm the tape lightly with a hair dryer on low for 5 seconds if the wall is cool. Pull the tape back on itself at a 15-30 degree angle, keeping steady tension. Move slowly along the tape line; don’t yank at the end because that’s where paint pull usually starts.
If tape fights you, stop and re-warm for another 5 seconds.
14. Tape Placement Too Close to the Photo Edge
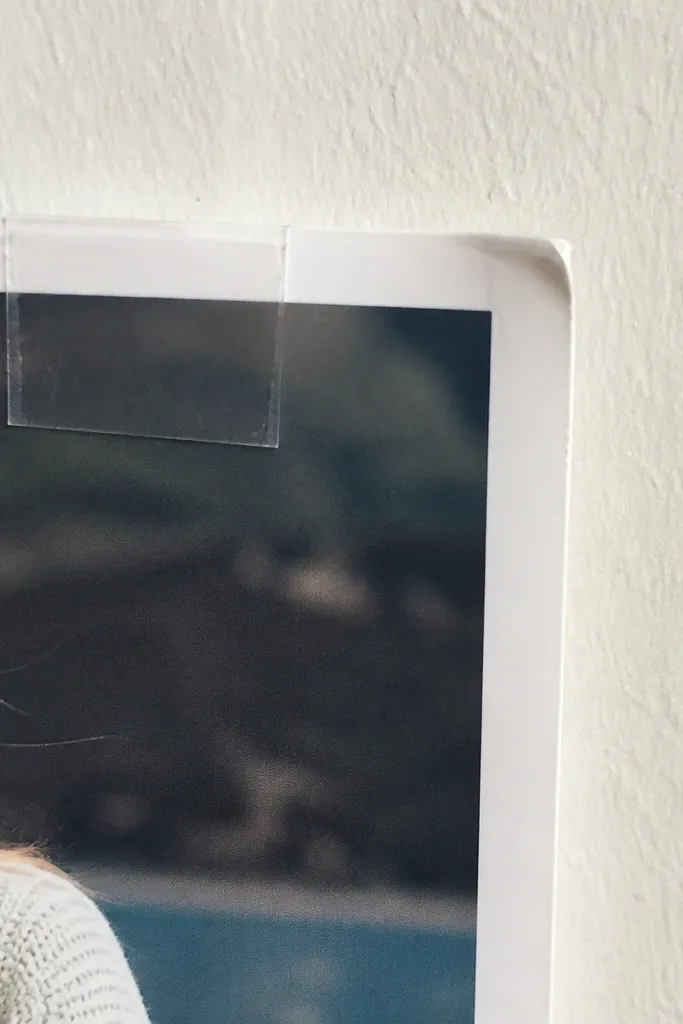
Measure your photo border and keep tape placement at least 5 mm inside the edge. Cut corner tabs small enough that they land fully on the backing area, not on the outermost edge. Press the corner, then run a finger along the border to confirm it lies flat without tension.
When tape sits right on the outer edge, it can peel the photo border over time. You get a tiny fray or corner curl that looks like the photo is aging, but it’s really adhesive stress. This is common with thin prints and photos with matte coating that lifts if it’s stressed. Fix it by keeping tape a few millimeters in from the edge and using corner tabs sized to the border.
Editor's noteFor thin prints, use two smaller tabs per corner instead of one large tab.
15. Grid Lines Made With Sticky Tape

People use the same tape to mark the grid and to hold photos. That creates residue in the exact lines you’ll notice most after everything is up. It also messes with alignment because sticky tape can pull and distort when you re-position photos. The fix is to keep grid marking separate: painter’s tape for lines, removable photo tape for corners, and nothing else touching your wall for long.
Mark your grid with painter’s tape lines and remove them after you finish placing photos. Use a level to keep horizontal lines straight, then place each photo within the grid bounds without dragging. Once the collage is aligned, apply photo tape only at the corners and press each one for 20 seconds.
If you need to move a photo, lift from the corners — don’t peel the whole face upward.



