
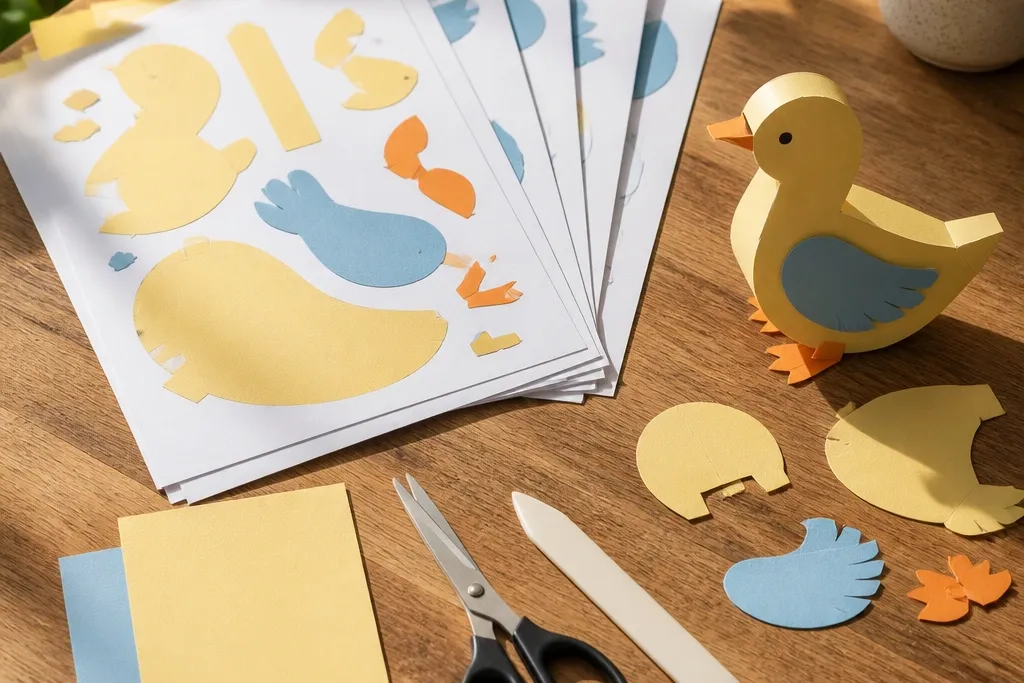
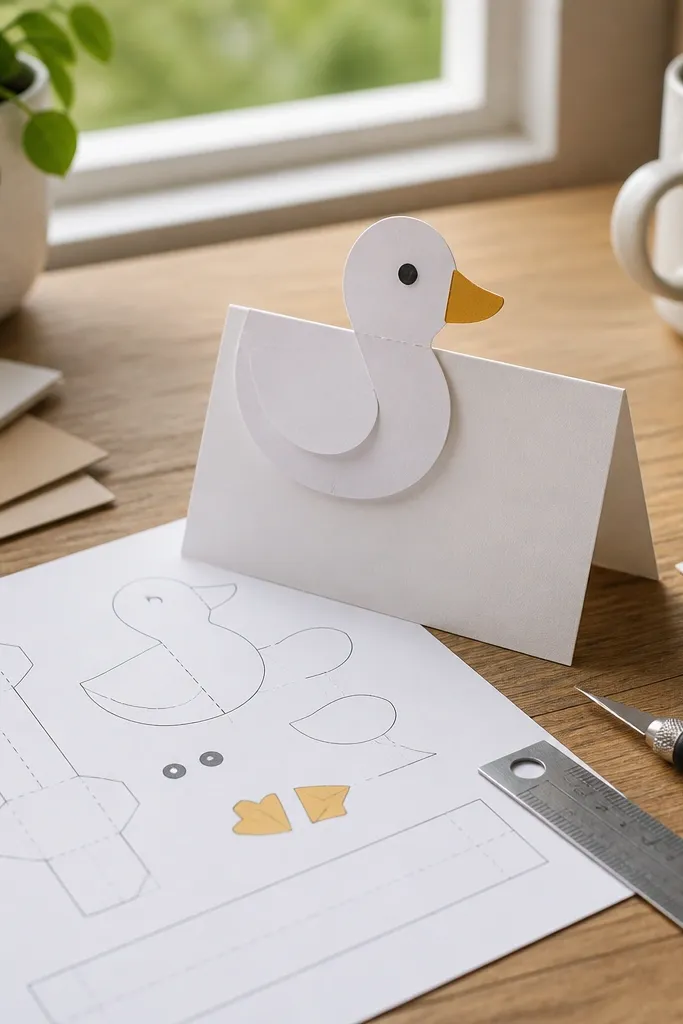
1. Classic Standing Duck with Simple Fold Wings
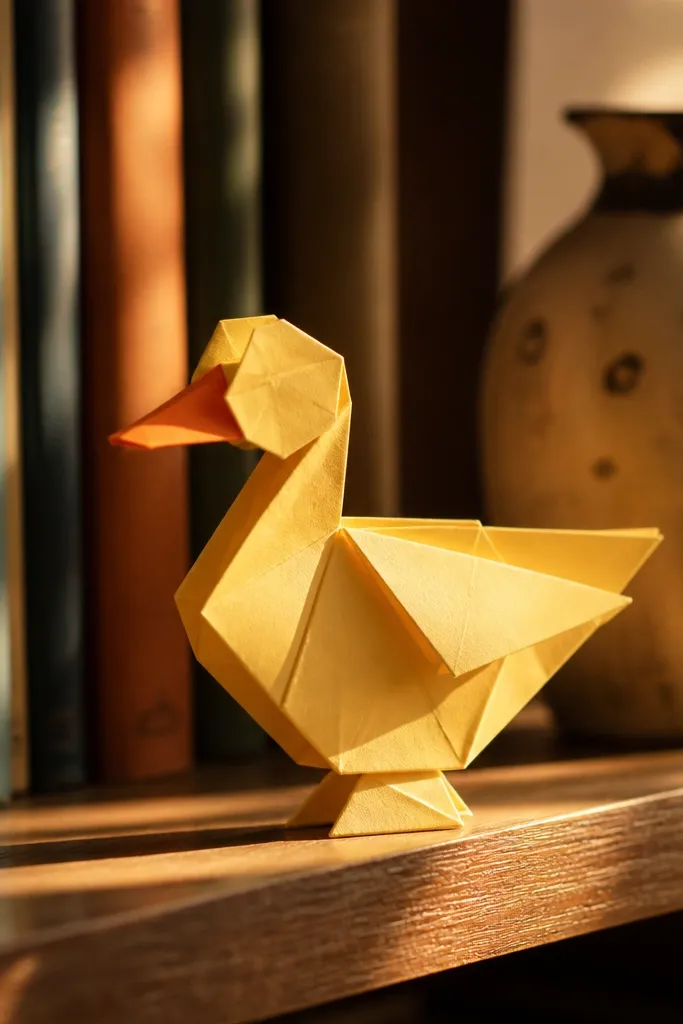
Step 1: Print the template at 100% (actual size) and cut the body and wing pieces cleanly along the solid lines. Step 2: Score fold lines with a ruler and dull butter knife, then fold the body panels first and tape or glue the seam tabs. Step 3: Attach wings last, aligning the wing base to the body fold so both sides mirror, then add the beak and eye tab. Step 4: Add feet tabs to the bottom edge and let it dry flat so the stance holds.
This template is the fastest route to a duck that reads clearly in photos because it uses big, simple wing folds and a stable standing stance. The body silhouette is clean, so even if your cuts are slightly off, the overall shape still looks intentional. It’s a great pick for shelf decor, party place cards turned mini props, or a repeatable set for a kids' craft table. Plan for cardstock, since the legs and wing tabs need structure to keep the duck from collapsing. Expect about 15-25 minutes for a first pass and less once you get the fold rhythm.
Skip thisDon’t cut through scored fold lines; you’ll lose the hinge and the wings will flop.
Editor's noteUse double-sided tape on the long body seam and liquid glue only on the smaller tabs to reduce warping.
2. Floating Duck on a Paper Ripples Base
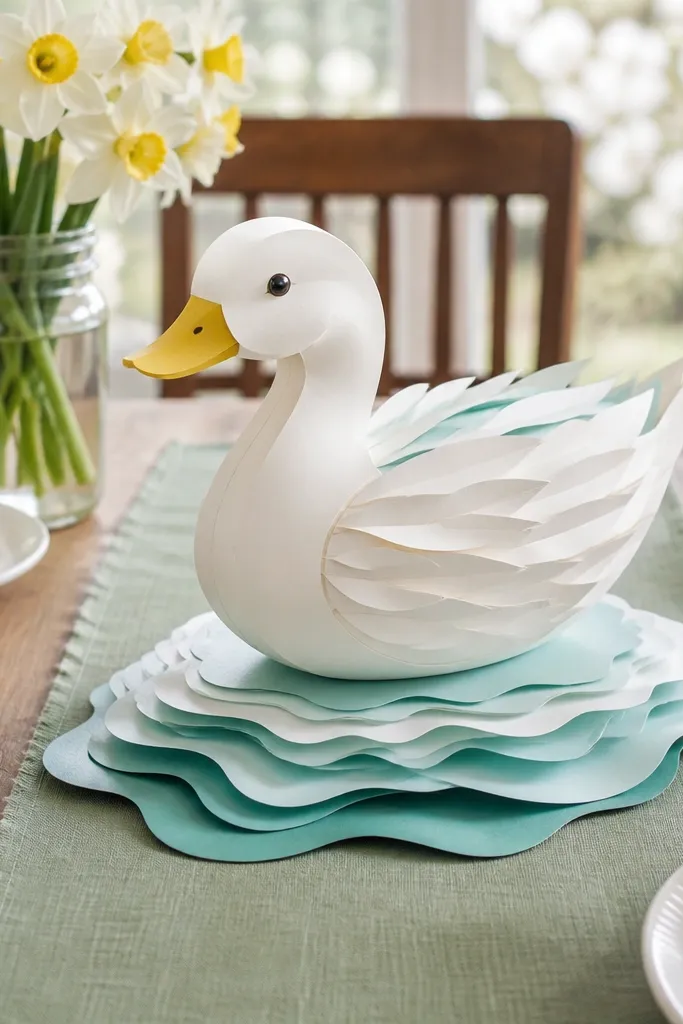
Step 1: Print and cut the ripple layers, then stack them by size order (largest on bottom). Step 2: Score and fold the duck body, then assemble the duck separate from the base so it doesn’t shift while you glue. Step 3: Attach the duck to the top ripple layer using small tabs at the belly so it looks like it’s “resting” on water. Step 4: Glue ripple layers together last, then press under a flat book for 5 minutes to keep the curves crisp.
This one looks cute from every angle because the ripples give the duck depth and movement. The base is what sells it: layered waves create a water effect without needing paint. It works well for spring tables, bath-themed party decor, and photo props where you want something more interesting than a flat cutout. The duck itself stays simple, so you get a polished result without complicated assembly. Build time is usually 20-30 minutes because you’re layering the ripple pieces, not because the duck is hard.
Skip thisDon’t glue the duck to the bottom ripple layer; it sinks the silhouette and kills the floating look.
Editor's noteIf your ripples look flat, lightly crumple each ripple layer once, then smooth it out before stacking for natural wave curvature.
3. Duck Face Bookmark with Beak Pop-Up
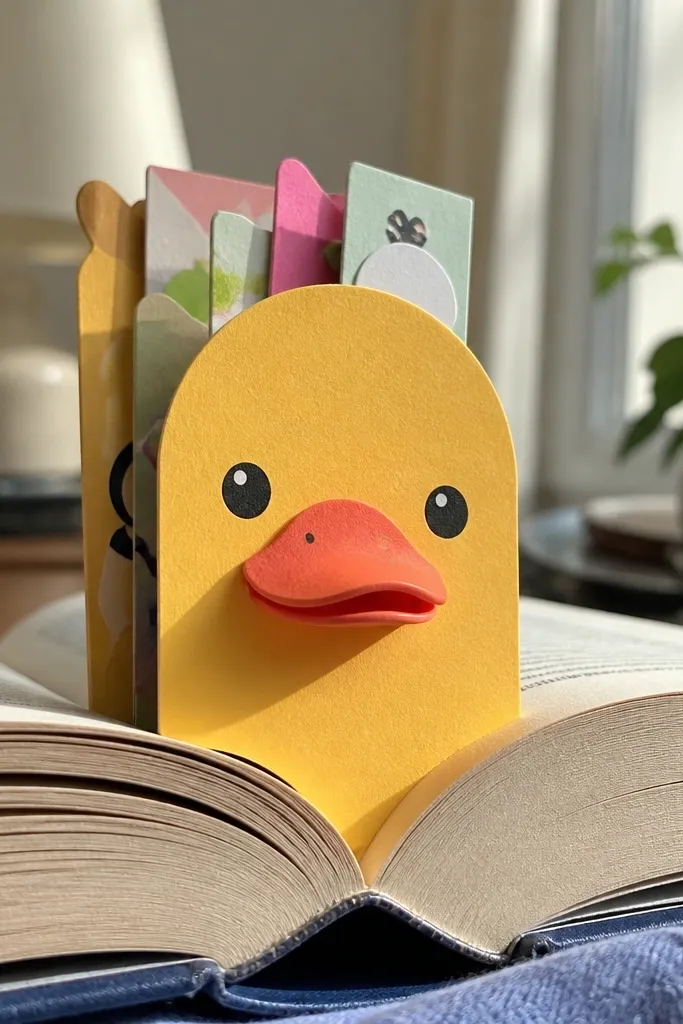
This template is pure aesthetic utility. The duck face is big and centered, and the pop-up beak gives it a fun 3D moment that looks great on a desk or in a book photo. It’s also the easiest way to use smaller scraps of cardstock because you’re building a single, compact piece. If you want “quick and easy” that still looks designed, this is it. Assembly usually takes 10-18 minutes, and you can make a set of matching ducks for gifts.
Step 1: Print on 160 gsm cardstock and cut the outline, then separate the pop-beak piece. Step 2: Score the fold line behind the beak and fold so the beak stands up; attach with a small glue strip only at the hinge edge. Step 3: Fold the bookmark body strip, then glue or tape the back panel so the duck face sits flat and centered. Step 4: Add eye and cheek details last, then trim any glue squeeze-out with a craft knife once dry.
Use a craft knife to clean the beak hinge edge so it folds without snagging on paper fibers.
Don’t use wet glue on the beak hinge; it can soak in and make the fold bulky.
4. Mini Duck Party Favor Box Topper
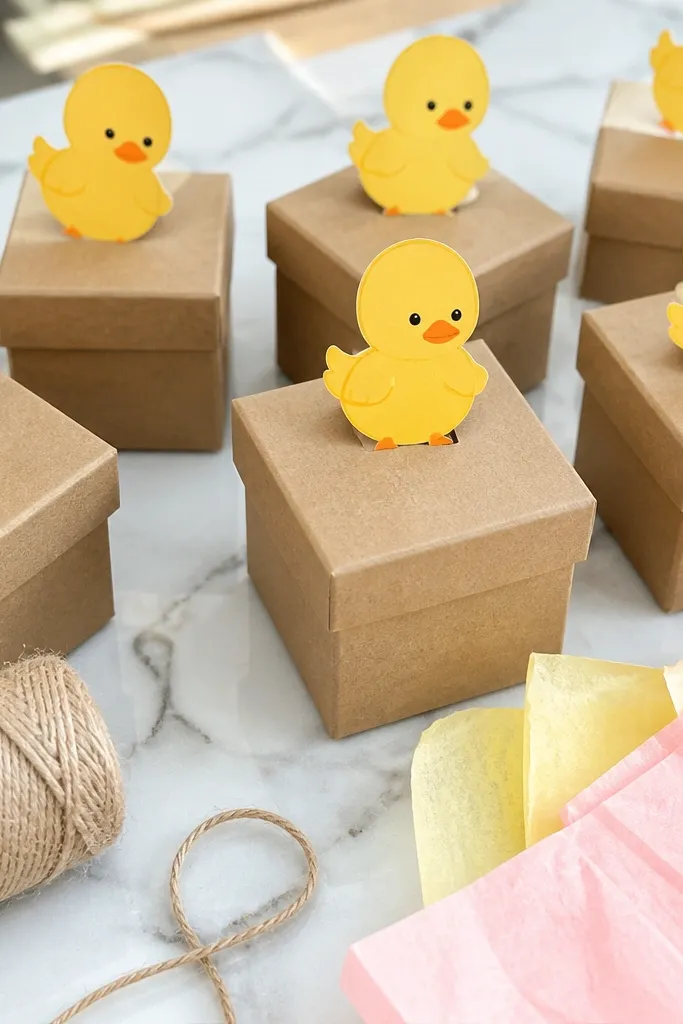
Step 1: Print the topper template and cut the duck pieces plus the box attachment tabs. Step 2: Assemble the duck face and body first, then fold any side tabs so the topper has a slight lift. Step 3: Glue the attachment tabs to the inside of the favor lid, keeping the duck centered. Step 4: Press firmly for 1 minute, then check alignment from the front before the glue sets.
This template turns a plain favor box into something that looks like it came from a design shop. The duck sits on top, so you don’t need complex assembly all over the box, just a clean topper that frames the lid. It’s great for birthdays, baby showers, and classroom rewards because you can mass-produce matching ducks. The look is photogenic because the duck face is front-facing and bold. Plan for 15-25 minutes per topper, depending on how neat your cuts are.
Skip thisDon’t attach the topper after the box is decorated; glue smears are harder to hide on printed lids.
Editor's noteUse a glue stick for the face panels; it dries fast and keeps the paper from buckling.
5. Duck in a Teacup Diorama
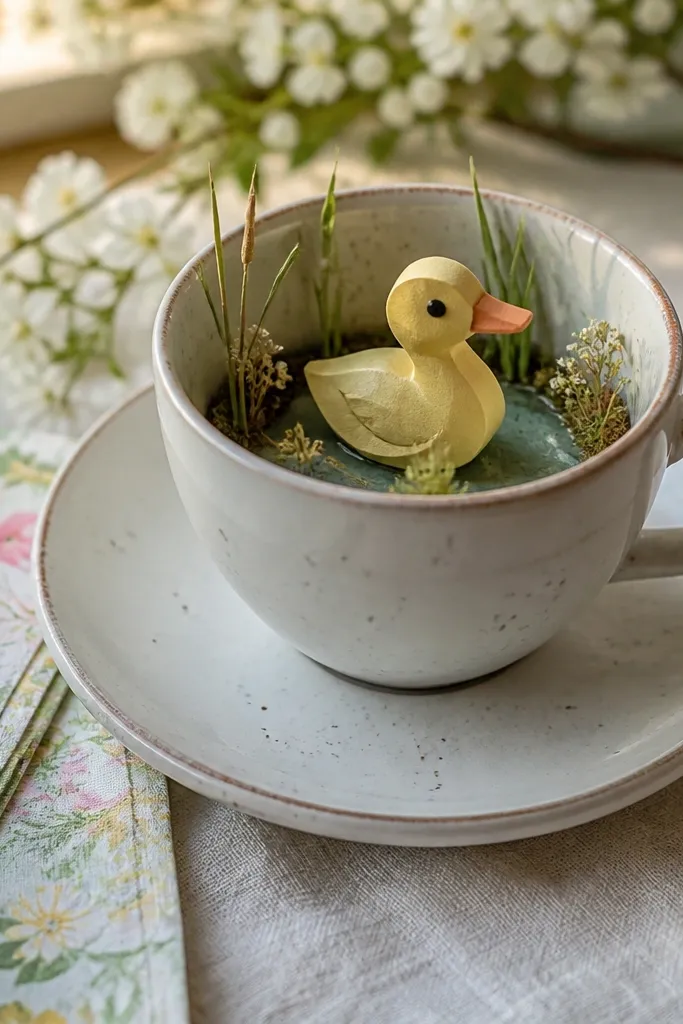
Step 1: Print and cut cup, saucer, and duck pieces; score all dotted lines before you fold. Step 2: Assemble the cup walls and glue the rim seam, then attach the saucer to the bottom tabs. Step 3: Build the duck separately, then insert or glue it so only the head and beak show above the cup opening. Step 4: Reinforce the cup base with a small strip of tape under the saucer for stability.
This template looks like a tiny scene, not a craft project. The teacup and saucer give you a built-in background, so the duck pops forward and reads instantly in photos. It’s perfect for tabletop displays, spring centerpieces, or a cute corner shelf item. You’re building three parts — cup, saucer, and duck — so it feels more “decor” than “paper toy.” Expect 25-40 minutes the first time because the cup folds need careful scoring.
Skip thisDon’t skip scoring; unscored cup folds look wrinkled and the cup edge won’t sit round.
Editor's noteDry-fit the duck in the cup opening before gluing so the beak sits at the exact height you want.
6. Standing Duck with Scalloped Tail Detail
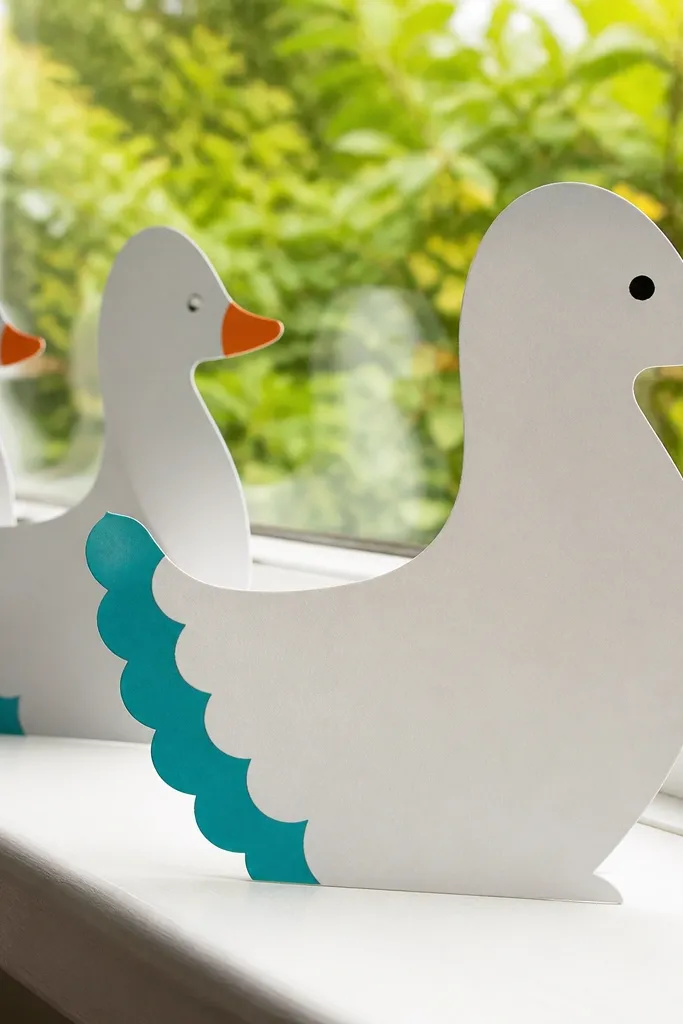
This is a step up in look without turning into a complicated build. The scalloped tail adds pattern and texture, so the template feels “designed” even if you’re doing it quickly. It’s great for wall decor or a row of ducks that you want to photograph side-by-side. The silhouette stays strong because the tail pattern is contained, not messy. Build time is usually 18-28 minutes, with most of that time spent on the tail tabs.
Step 1: Print at 100% and cut the tail scallops carefully, then fold them along the tail fold lines. Step 2: Assemble the body and attach the tail to the back panel using the tab edges so it sits flat. Step 3: Add the wing pieces and align them symmetrically by pinching the fold points into place. Step 4: Finish with feet tabs and let it dry flat so the tail doesn’t lift.
Use a craft bone folder for the scallops; it keeps edges crisp instead of creasing the paper unevenly.
Don’t glue the scalloped tail directly over the body seam; it will hide the seam and look lumpy.
7. Duck with Lift-Open Wing Panels
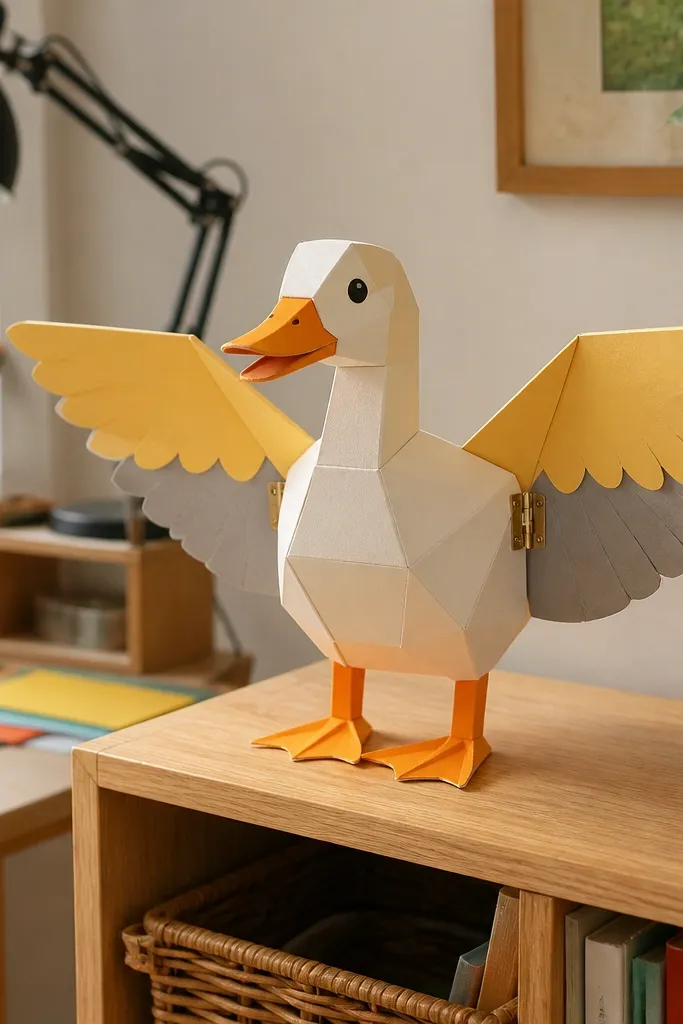
Step 1: Print and cut the hinge tabs and wing panels; score the hinge line so it folds smoothly. Step 2: Assemble the body first, then attach hinge tabs to the wing base so both wings swing evenly. Step 3: Connect the wing hinges to the body at the same height on both sides, pressing tabs firmly. Step 4: Add the beak and eye details last so you don’t snag them while testing the wing motion.
This template makes the duck interactive in a way that still looks clean on a shelf. The wing panels lift on hinges, so you get a “pose” option for photos — wings tucked for a calm look, wings opened for a playful one. It’s a great choice for kids' crafts because the mechanism is simple and forgiving. The look is photogenic because the lifted wings create depth and shadow. Plan around 25-35 minutes due to hinge alignment and extra tabs.
Skip thisDon’t over-glue the hinge area; thick glue creates stiffness and the wings won’t lift cleanly.
Editor's noteTest the wing swing before gluing the final tab — if one side binds, fix it immediately with a small trim.
8. Duck Head on a Flap for Gift Tags
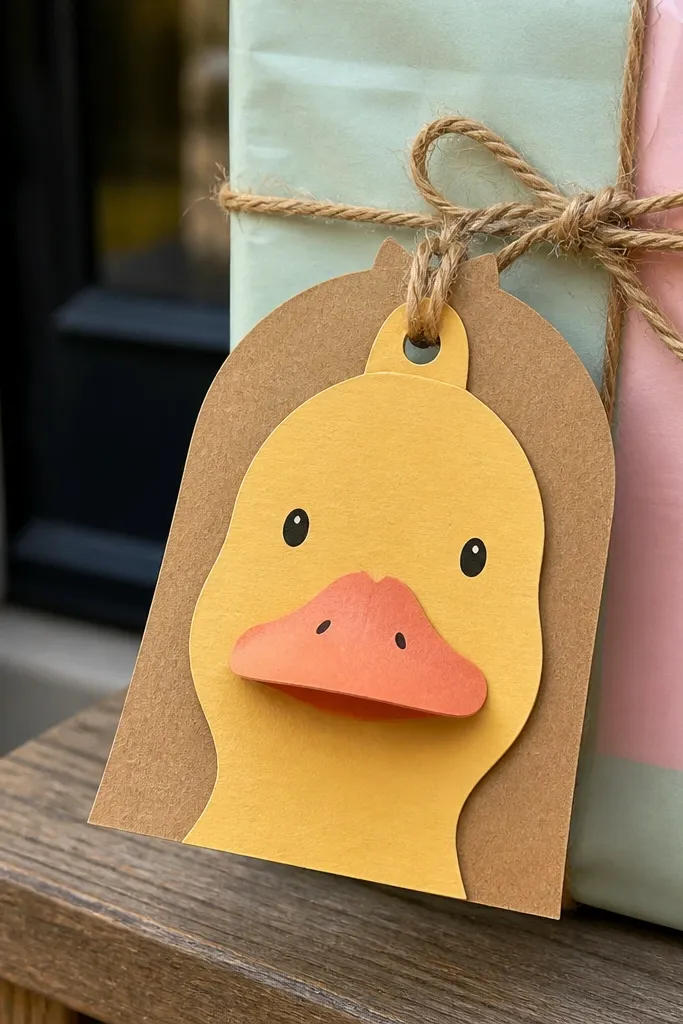
Step 1: Print and cut the tag outline plus the flap piece; score the flap fold line. Step 2: Glue the flap to the back of the duck face panel, aligning edges so the flap sits centered. Step 3: Assemble the tag layers and attach the duck face so the flap covers the top attachment edge. Step 4: Punch the hole with a 2-3 mm hole punch and thread twine or ribbon through.
This template is made for quick, good-looking gift finishing. The duck face is the hero, and the flap gives it a clean, layered look that stands out on kraft paper and pastel wrapping. It’s also easy to mass-produce, so you can do a whole batch of gifts without repeating the same plain tag. The flap construction hides attachment points, so the back doesn’t look messy. Expect 12-20 minutes per tag depending on how neat you cut the tiny beak area.
Skip thisDon’t glue the flap edge over the hole punch area; you’ll weaken the tag and it tears.
Editor's noteUse a hole punch before gluing the final layer so the paper stays aligned and you don’t shift the tag.
9. Duck Silhouette Ornament with Hanging Loop
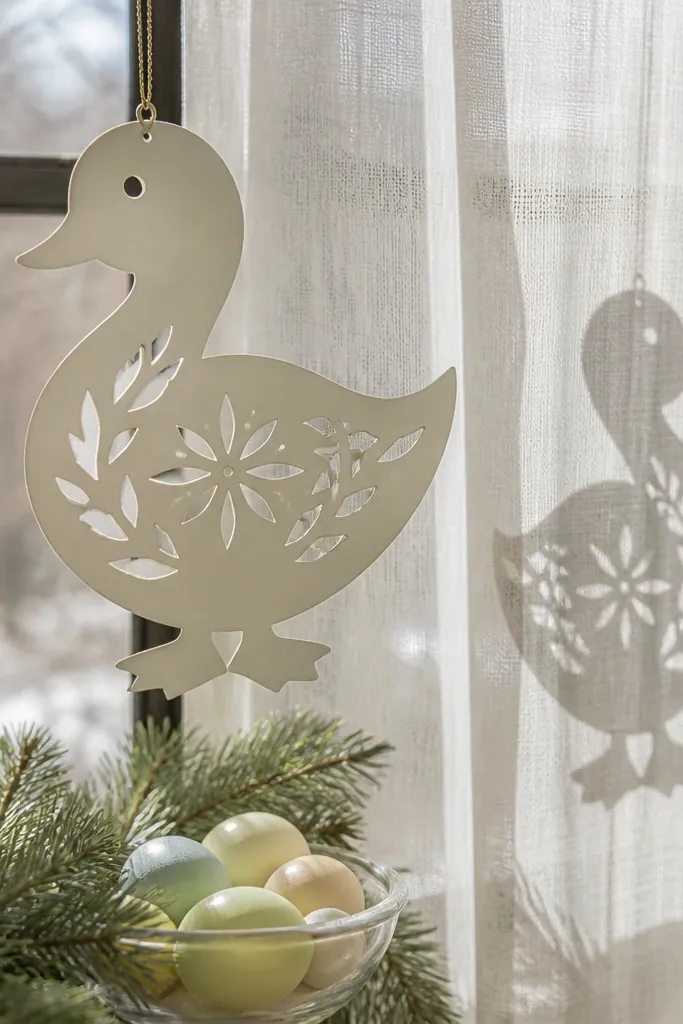
This one looks great because it leans into negative space. The duck silhouette is bold, and the hanging loop makes it feel like a real ornament even when it’s paper. Use it for seasonal decor, a spring garland, or a window display where light shows through the cutouts. It’s quick because there’s less folding — mostly cutting, then assembly. Build time is 10-20 minutes per ornament.
Step 1: Print the silhouette template and choose a thin-to-mid cardstock so it cuts cleanly. Step 2: Cut the outer shape and any inner cutouts, then glue the back layer if the template includes a second piece for opacity. Step 3: Fold or attach the hanging loop tab at the top and reinforce with a small tape strip behind. Step 4: Let it dry flat, then string it with thin ribbon so it hangs without twisting.
Back the silhouette with colored paper so the inner cutouts glow when you hang it near a light source.
Don’t use thick glitter cardstock unless the template includes large cutout clearance; it’s hard to cut cleanly and edges look ragged.
10. Duck Wearing a Tiny Bow Tie
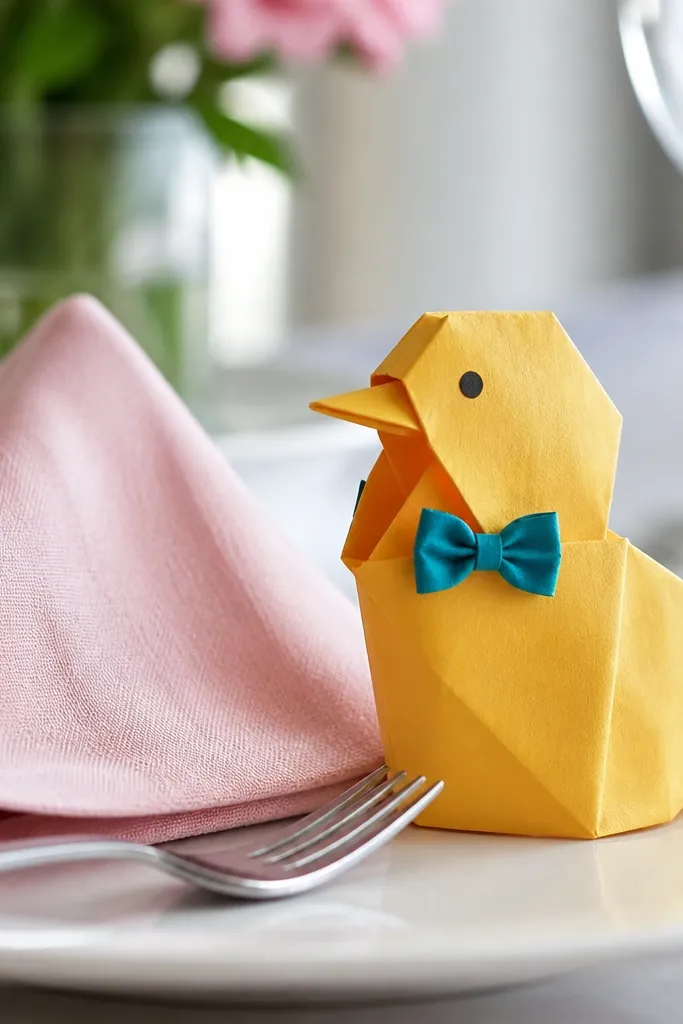
This template is for the “aww” factor that still looks neat. The bow tie is small, centered, and adds a sharp focal point, so your duck looks styled rather than plain. It’s a strong choice for Valentine-season decor, baby shower favors, or a set of matching ducks where you want each one to feel intentional. The construction stays simple — the bow tie is folded from a few pieces. Expect 15-25 minutes with most time spent on the bow folds.
Step 1: Print the duck template on yellow or cream cardstock and cut the bow tie pieces. Step 2: Fold the bow main shape along the center line, then pinch and glue the back seam so it holds a crisp point. Step 3: Attach the bow to the duck chest using a small glue dot, then add the beak and eye last. Step 4: Press under a book for 3-5 minutes so the bow stays flat and symmetrical.
Make the bow tie from slightly stiffer paper than the duck so the folds stay crisp instead of sagging.
Don’t center the bow using the eye position; use the template chest guide so it lands at the same height every time.
11. Duck with Layered Belly Patch (Color Block Look)
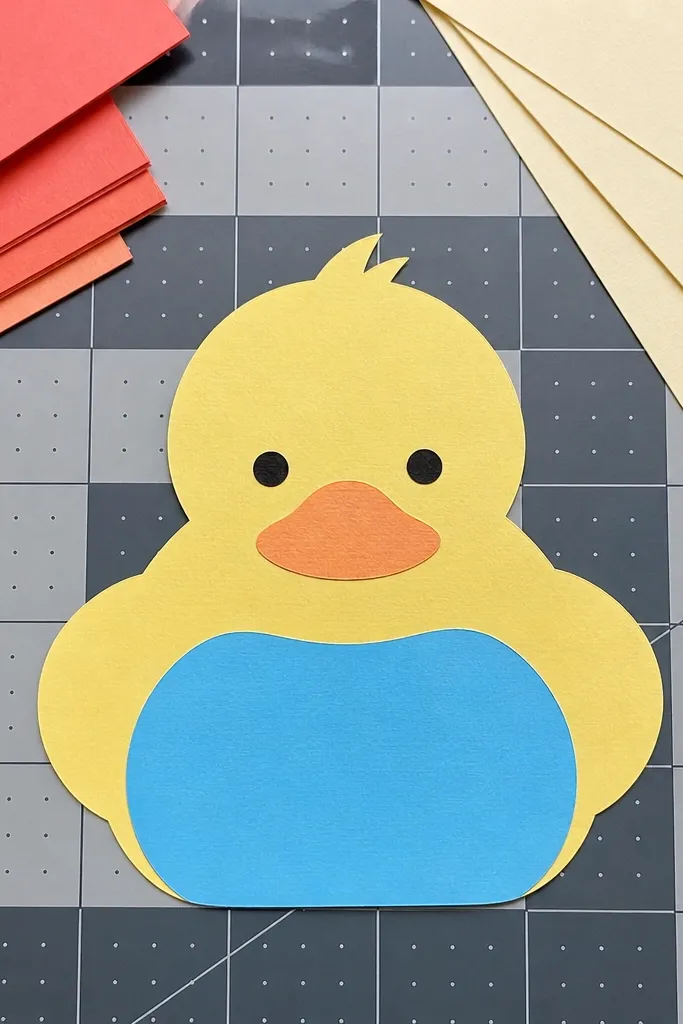
This template looks high-effort because the belly patch creates color layering. The duck body stays simple, while the belly patch adds a clean, graphic pop that reads well in close-up photos. It’s also a smart way to use leftover paper — you can swap belly colors without changing the whole template. If you want an aesthetic set (same duck, different belly colors), this is the one. Build time is about 18-30 minutes because you’re aligning layers carefully.
Step 1: Print the body and belly patch layers on two paper colors; cut every belly patch piece cleanly. Step 2: Assemble the duck body first and let the seam lie flat. Step 3: Glue the belly patch layers starting with the bottom layer, then add the top layer so it lines up with the body curve. Step 4: Add face details and feet last, and press flat so the belly patch doesn’t lift.
Lightly trace the belly patch outline on the body before gluing so you place layers without eyeballing.
Don’t stack thick layers; too much paper makes the belly bulge and the duck looks uneven.
12. Duck Egg Surprise with Cutout Window
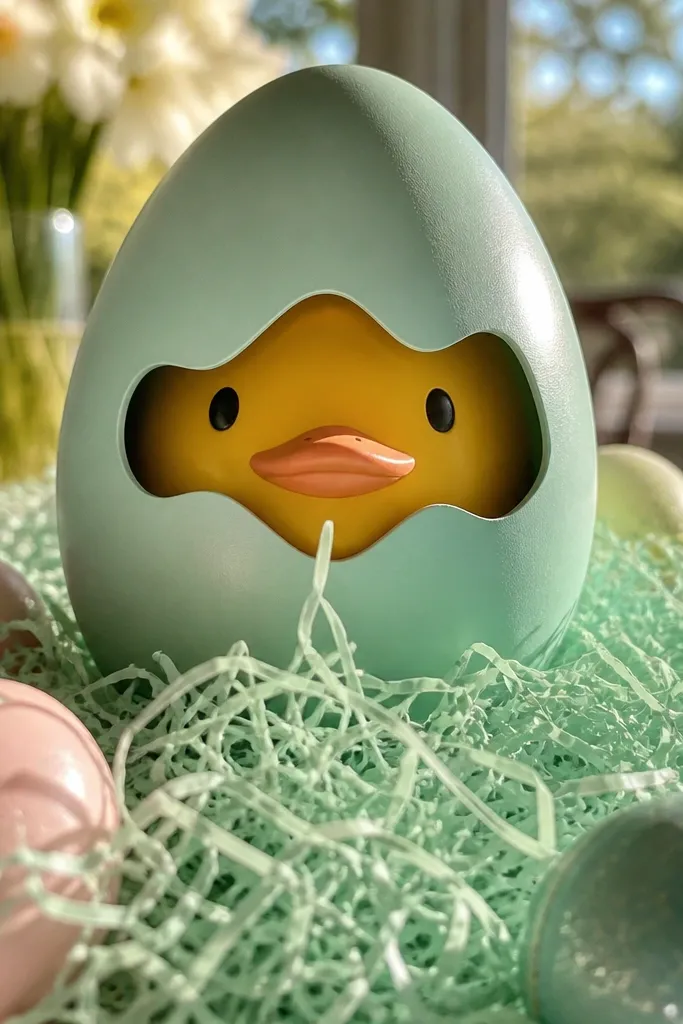
This template is playful and photogenic because the egg has a window that reveals the duck inside. It’s a great decor idea for spring, Easter-week gifts, or table centerpieces where you want a “wow” moment without complex crafting. The egg shape makes it look polished, and the window keeps the focus on the cute face. Assembly takes longer than a flat duck, but it’s still manageable for a quick project. Plan for 25-40 minutes depending on how carefully you cut the window edges.
Step 1: Print and cut the egg outer shape, inner duck, and window frame pieces; score fold lines where indicated. Step 2: Assemble the inner duck and secure it to the inside of the egg so the head sits at the window height. Step 3: Glue the window frame to the egg outer layer, then attach the egg halves around the edges. Step 4: Press flat while drying, then check the window alignment from the front before adding the final details.
Use a sharp blade for the window so you get clean corners; sloppy window edges stand out in photos.
Don’t glue the egg window frame before you position the inner duck — you’ll end up with the duck face too high or low.
13. Duck on a Flower Stand (Tabletop Pop)
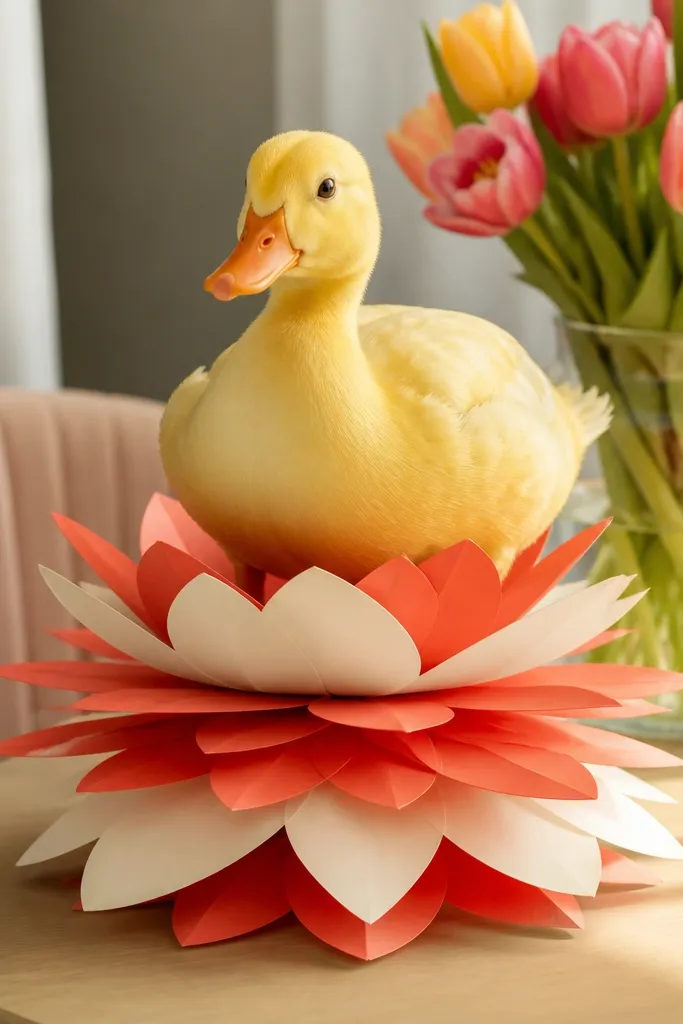
Step 1: Print and cut the flower layers and duck pieces; score any fold lines on the duck body. Step 2: Assemble and glue the flower layers together, then add the stand support tabs if the template includes them. Step 3: Attach the duck to the stand top, checking that it faces forward and doesn’t lean. Step 4: Add final beak and eye details after the duck is seated so you don’t smear glue on the face.
This template turns a duck into a mini centerpiece because the flower stand gives it height and a crisp base. The duck looks like it belongs on a table, not just on a desk. It’s a good option if you want something aesthetic for spring events, teacher gifts, or a small shelf display. The flower layers also make the project look more “decor” even though the duck assembly is straightforward. Build time is typically 25-35 minutes because you’re stacking the stand.
Skip thisDon’t attach the duck while the flower layers are still soft; it can tip and ruin the alignment.
Editor's noteIf the stand wobbles, add a small strip of tape under the top layer where the duck attaches.
14. Duck Wall Decal Style Cutout (No-Fold Version)
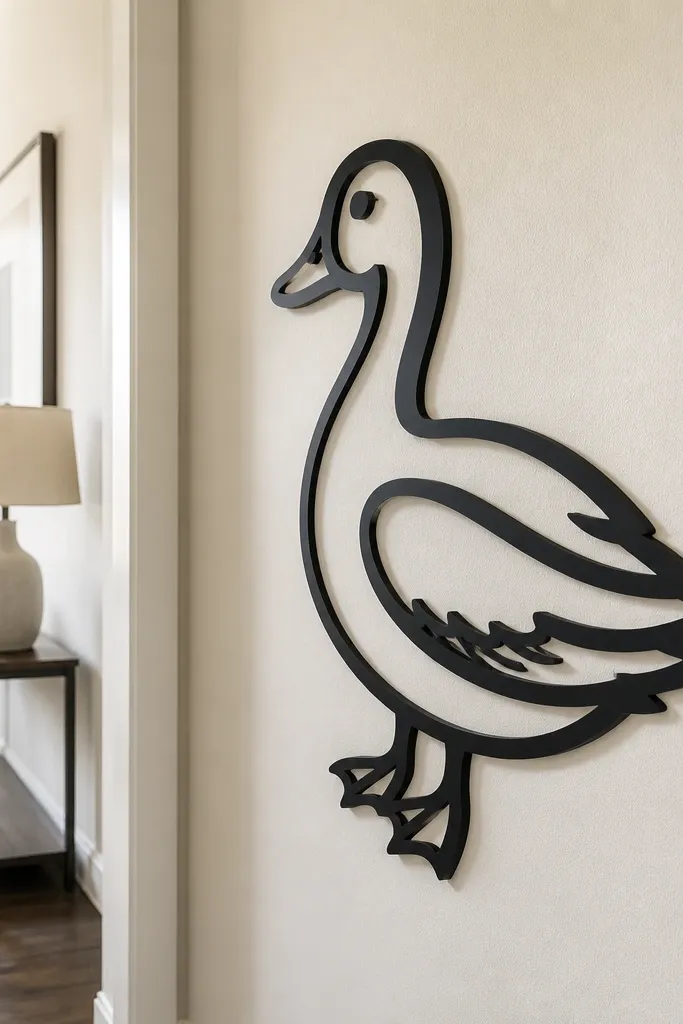
Step 1: Print on cardstock and cut the outer duck shape and any internal cut lines. Step 2: If the template includes a second outline layer, glue it behind to make the cutouts opaque. Step 3: Apply removable adhesive dots to the back at the belly and tail areas, keeping them spaced so the duck lies flat. Step 4: Press on the wall or window and smooth outward from the center to remove air bubbles.
If you want quick and easy with maximum visual impact, this no-fold cutout template is the move. It’s designed to look finished with just a clean outline and internal cutouts, so you skip the folding step that slows most paper ducks down. It’s ideal for wall decor, window displays, and photo backdrops where you want a big subject without assembly stress. Use it with removable adhesive so you can move it around for different shoots. Build time is 10-18 minutes per piece.
Skip thisDon’t use regular craft glue for “decal” style unless you’re okay with residue on your wall or window.
Editor's noteFor crisp edges, chill the cardstock 1 minute in the fridge before cutting; it cuts cleaner with less tearing.
15. Duck Pop-Up Card with Layered Feet (No-Glue-Slap Version)
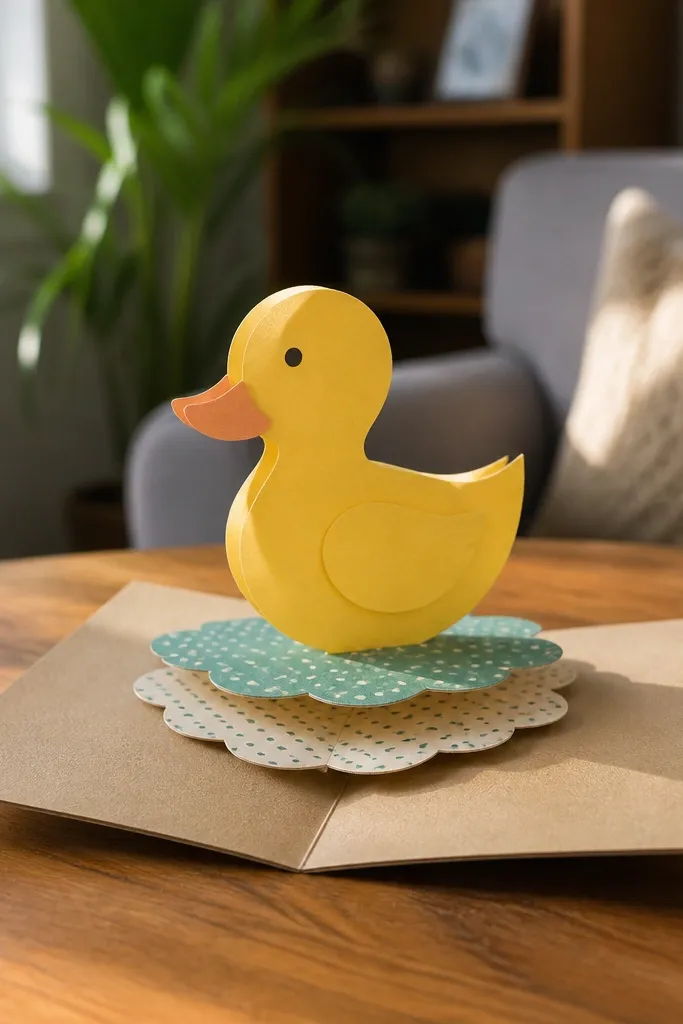
This is a paper duck template you can print and cut into a pop-up card where the duck actually rises when the card opens. The layered feet give it that “toy-like” depth that looks great in photos, especially with bright patterned paper. It solves the annoying part of pop-ups: the duck stays aligned and doesn’t sag because the fold lines do the work. You only need basic paper tools and you’ll finish in about 30 to 45 minutes at a comfortable pace. This fits birthdays, thank-yous, and any desk decoration you want to gift without buying store-bought cards.
Print the template on cardstock (160-200 gsm) and also print the feet layer on a second sheet so you get a clean two-tone look. Cut along all solid lines, then score the fold lines with a ruler and an empty ballpoint pen so the card opens sharply. Assemble the card base first by folding the main sheet in half, then glue the pop-up mechanism tabs to the inside panels only, keeping glue away from the moving fold area. Attach the duck layers to the top support tab, then glue the feet layer last so it sits centered and doesn’t rub the base when you close the card. Finish by burnishing the folds with your fingertip and test-open it twice before gifting.
Use a glue stick for the tabs and a tiny dot of glue for the feet so the pop-up still moves freely.
Don’t glue across the fold line — the card will close crooked and the pop-up will bind.



