
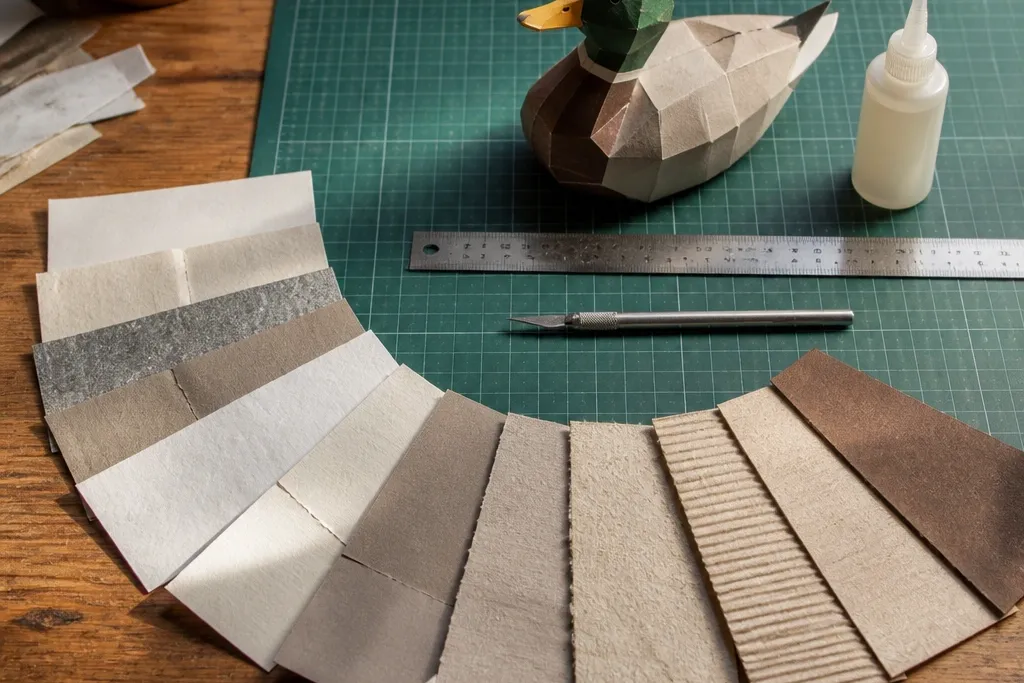
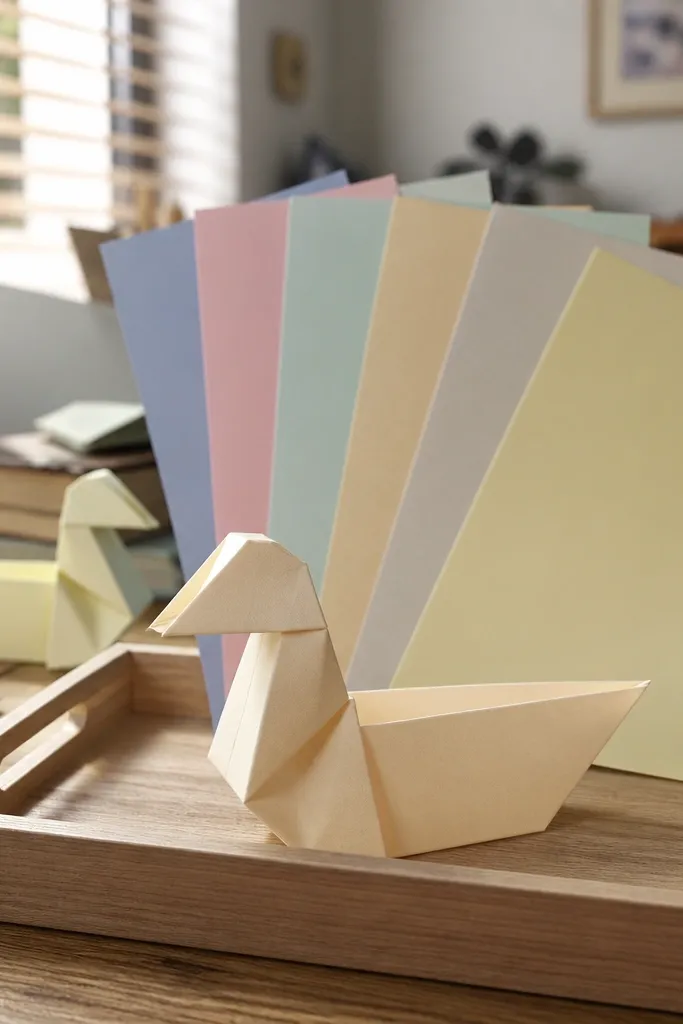
1. Uncoated Cotton Blend
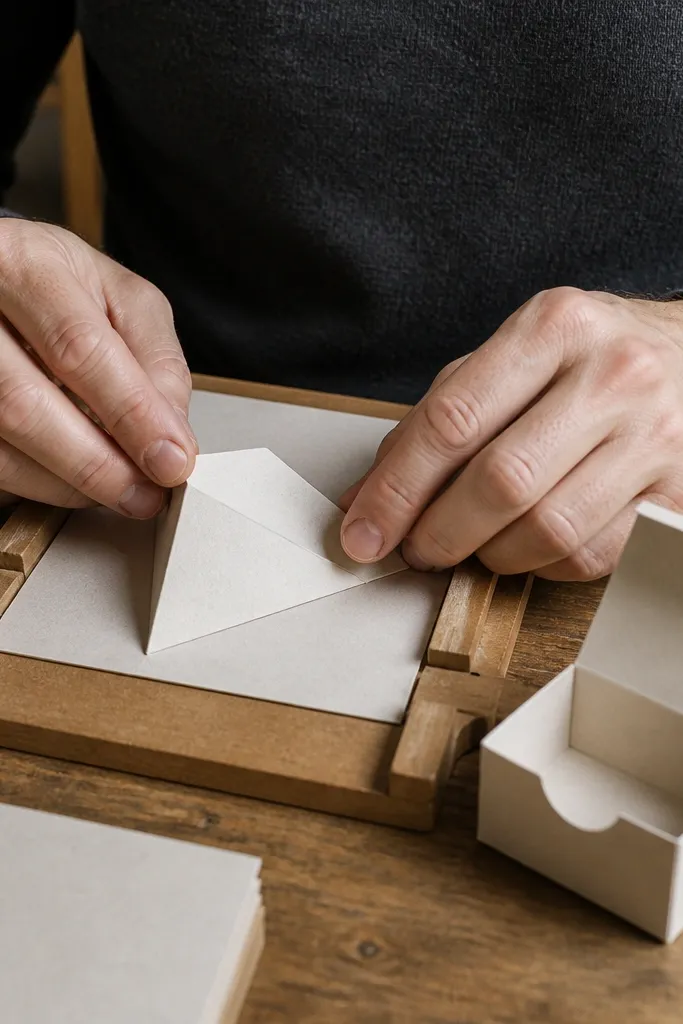
This is the “survives handling” paper. The cotton blend fibers give you tear resistance at the cut edges, and the uncoated surface stays flexible at creases instead of whitening. It’s the best choice when your project gets bent more than once, like a paper duck with wing folds or a small box with repeated open-close movement. Expect a matte look that hides thumb smudges better than glossy types. It also tends to take ink and markers cleanly without the surface fighting you.
Start by cutting your panels with a sharp blade or a new craft knife blade so the fiber edges stay crisp. Then fold using a bone folder with light pressure — do one pass, check the crease, and only add pressure if it’s not fully set. Finally, glue with a thin even layer so you don’t soak the paper; use PVA or a glue stick for edges and press flat under a book for 10-15 minutes.
Editor's noteScore folds lightly first, then fold along the score. It prevents micro-cracks that show up later.
Skip thisDon’t flood the crease with wet glue — it causes buckling and a fuzzy, wavy edge.
2. Heavyweight Uncoated Cardstock
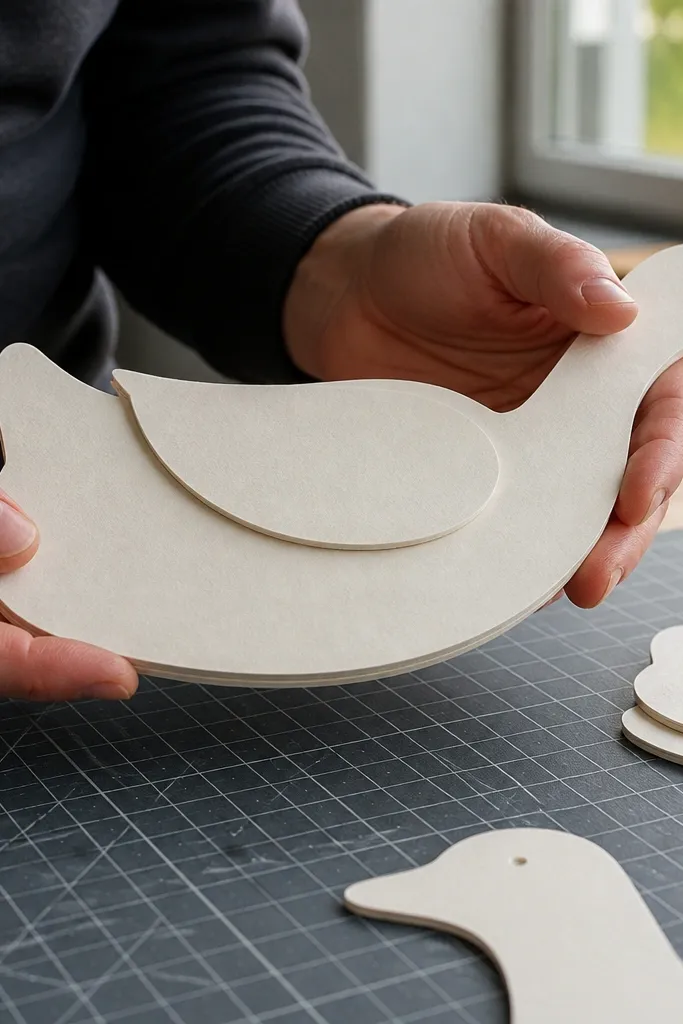
If your goal is durability without babysitting, this is the workhorse. Heavyweight cardstock resists tearing when you pick up the finished piece, and because it’s uncoated, it’s less likely to scuff back into a shiny patch. It’s great for card fronts, layered duck bodies, and decor panels that get touched. The matte finish also makes it forgiving if you need to trim slightly after assembly. For most glue-based crafts, it stays flat when you use a thin adhesive layer.
Start by measuring your cut layout and leaving a 2-3 mm margin for trimming so you can clean up edges after die cuts. Then apply glue with a fine-tip applicator or a thin brush — aim for coverage, not pooling. Finally, press the layers flat for 15 minutes and avoid moving the piece until the glue sets.
Editor's noteUse a ruler and craft knife for straight lines instead of scissors — cleaner edges look tougher.
Skip thisSkip cheap double-sided tape on thick stacks; it creates uneven lift that looks sloppy after drying.
3. Natural Kraft (Unbleached)
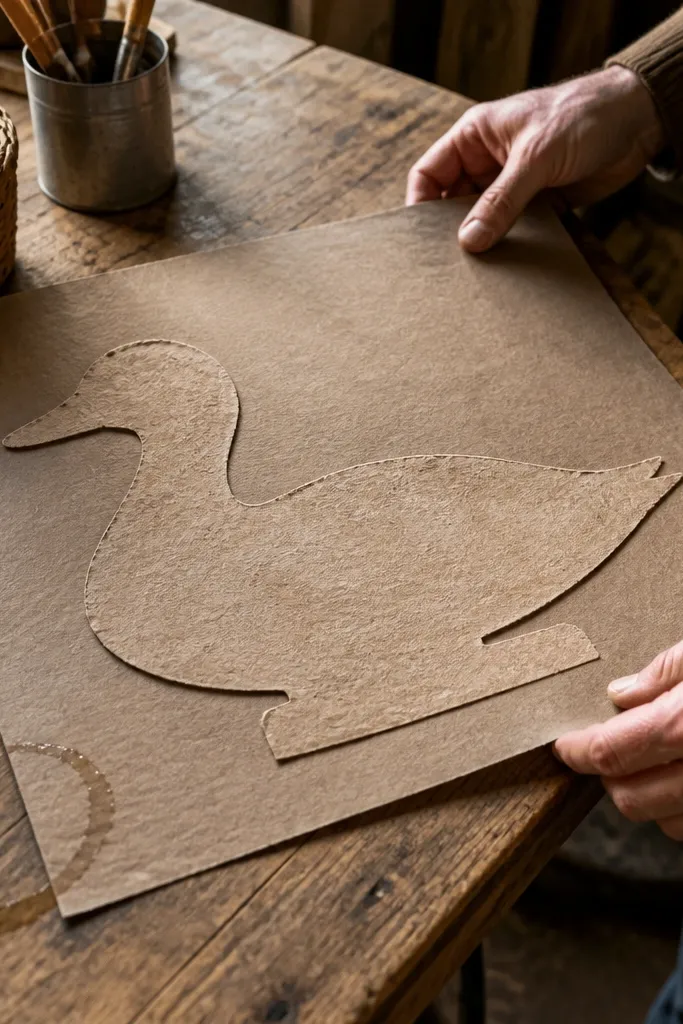
Kraft is durable in a specific way: it’s tough and forgiving, but it doesn’t love heavy moisture. The fiber structure gives you decent tear resistance and strong edges, so it works well for rugged decor, sturdy backers, and rustic layers. You’ll get a warm, textured look that hides small imperfections. Where it can disappoint is fine detail — the texture can blur crisp lines if you cut tiny shapes too aggressively. If your project is mostly dry assembly, kraft is a solid durability pick.
Start by using a fresh blade and cut with a firm, steady motion so the paper doesn’t chew. Then seal the surface if you’re using any wet elements: brush a thin coat of matte medium or diluted PVA and let it dry fully before adding more layers. Finally, glue edges with a thin line and press under weight until flat.
If you’re coloring kraft, use alcohol markers lightly first, then go darker in layers to avoid feathering.
Don’t use watery glue across large areas; kraft can buckle and stay wavy.
4. Smooth Matte Paper
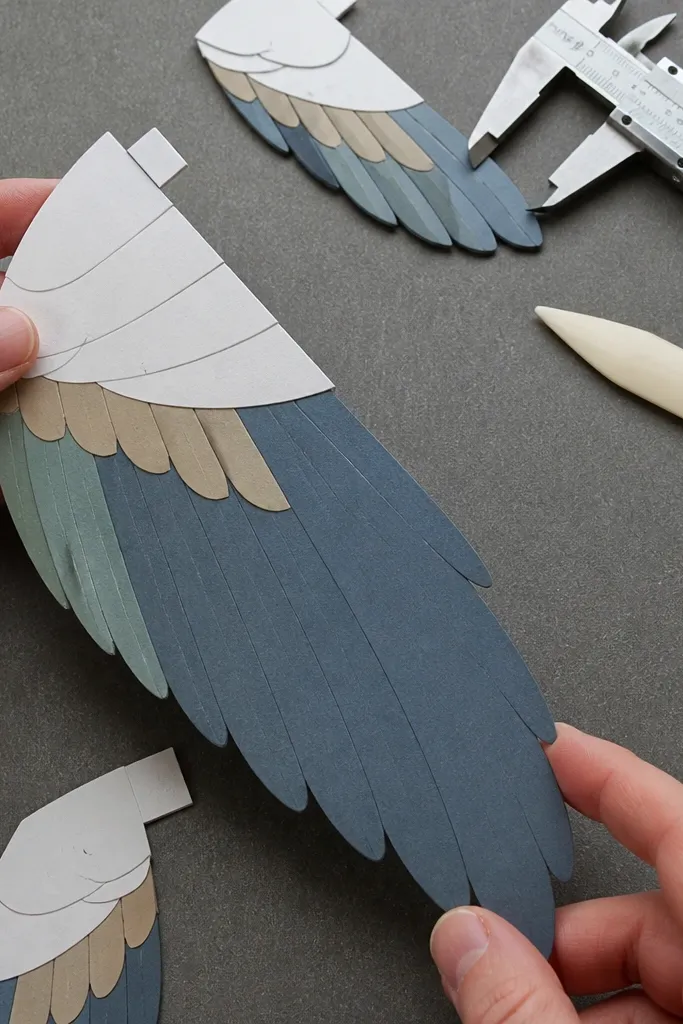
This one is about clean cuts and low glare. Smooth matte paper gives you crisp edges and reduces scuffing from handling, which matters for card fronts and duck wing details. It’s also good for printing or drawing because the surface doesn’t reflect light like glossy stock. Durability is solid, but it’s not as tear-resistant as heavier uncoated cotton blends. Still, if you build with thin glue lines and avoid soaking, it holds up well for everyday crafts.
Start by using a die or cutting tool designed for smooth stock so you don’t get ragged edges. Then assemble with glue stick or a thin PVA line — keep adhesive away from the face so you don’t get shine or edge soak. Finally, dry flat under something heavy for 10-20 minutes to prevent lifting.
For layered pieces, apply glue only to the back and press from the center outward to avoid bubbles.
Don’t rough up the surface with sandpaper; it turns scuffs into permanent dull patches.
5. Recycled Chipboard Weight
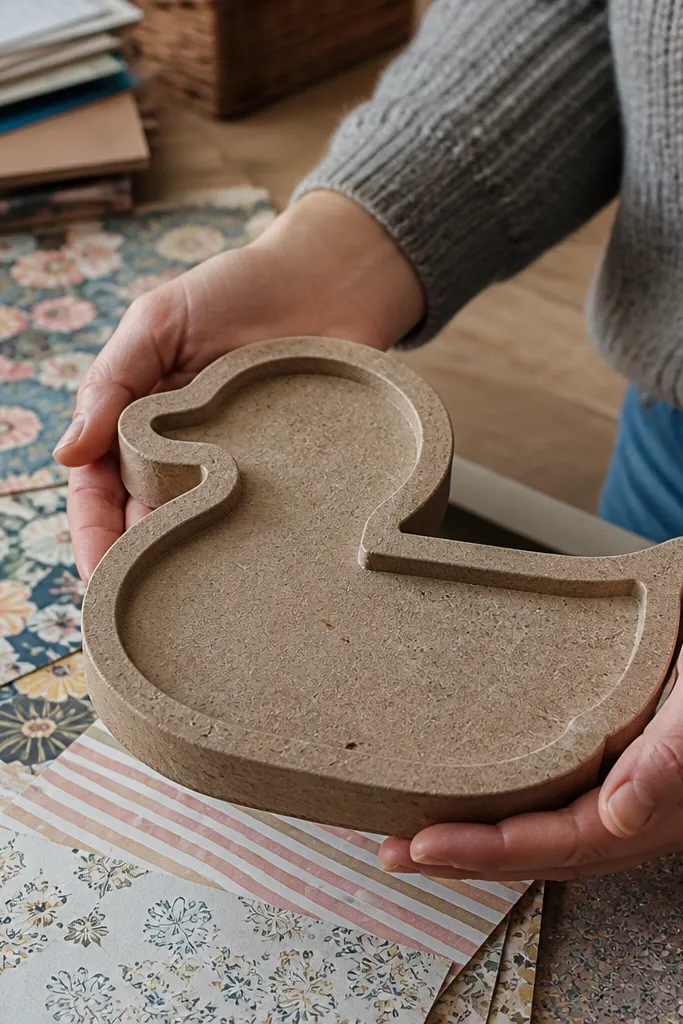
Chipboard weight is durability in brick form. It resists dents and tearing better than most craft papers, which makes it perfect for rigid bases, tray inserts, and stiff backers for decor. The surface can be a little uneven, but that’s a plus if you’re covering it with patterned paper or paint. For anything that needs to stay flat and hold shape — like a mounted duck silhouette — this is one of the best options in the list. It’s harder to fold, so treat it as a structural layer, not a crease-friendly material.
Start by cutting with a scoring tool first if you need a bend; score along the bend line and then crease gently. Then attach it as the bottom layer using strong craft glue so it bonds firmly. Finally, cover edges with matching paper strips so raw chipboard fibers don’t fuzz.
Editor's noteWrap the edges with narrow strips instead of trying to glue a big flat cover; edge failures are where chipboard looks bad.
Skip thisDon’t attempt sharp folds without scoring — it cracks and the break line shows.
6. Bookbinding Paper
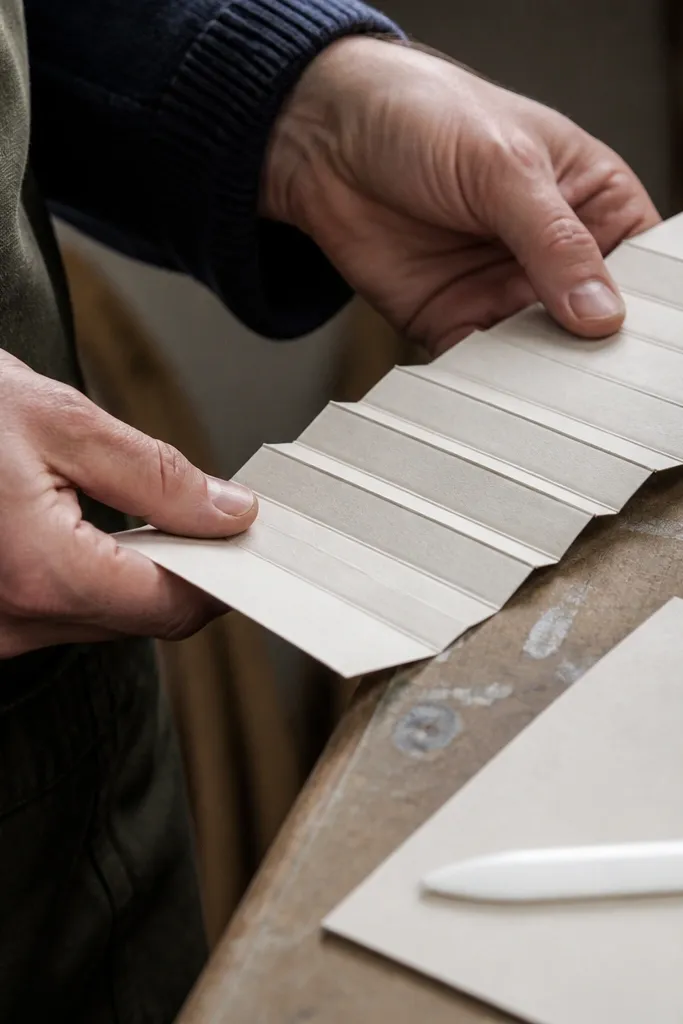
This is the paper I reach for when the craft needs repeated folding or wraps. Bookbinding paper holds up at creases because its fibers are built for structure, not just appearance. It’s also less likely to split along glue seams when you reinforce edges. For paper duck builds that require multiple fold lines, or for decorative wraps around a base, it keeps the shape longer. It has a calm matte look that doesn’t glare, and it glues cleanly when you keep adhesive thin.
Start by pre-creasing with a bone folder along a ruler so your fold lines stay straight. Then apply glue to the fold area lightly — a thin brush stroke across the seam — and press the fold into place. Finally, let it dry flat under weight for 20 minutes before you handle it.
Use a ruler and mark fold lines lightly with a pencil; you want guides, not heavy dents.
Avoid thick glue blobs on seams — they create stiff bumps that split when you fold again.
7. Watercolor Paper Sheet
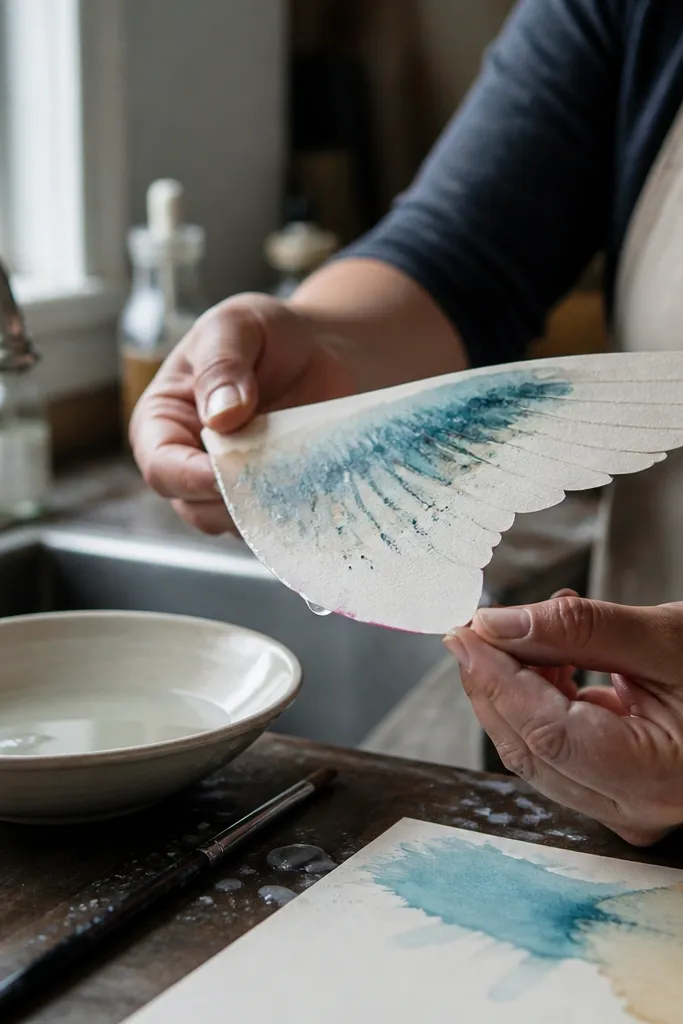
If your durability problem is moisture — like you spritz, paint, or use water-heavy adhesives — watercolor paper is the safe bet. The thicker fiber structure handles wet glue without turning into a wavy mess. It also takes pigment and markers cleanly, so your colors don’t smear as easily on contact. The surface texture gives dimension, which can look great on decor backgrounds and duck feathers. The trade-off is it’s slower to cut cleanly and it can feel stiffer than uncoated cardstock.
Start by cutting with a sharp blade and expect you may need a couple passes for tiny shapes. Then glue with a controlled amount and let the piece dry completely before you fold or assemble fully. Finally, if you’re adding color, test your marker or paint on a scrap first because some inks sink deeper into the texture.
Editor's noteDry under a flat board with a sheet of parchment between so the surface doesn’t stick.
Skip thisDon’t rush drying — moving a damp watercolor sheet while it’s setting causes permanent warping.
8. Laminated Craft Paper
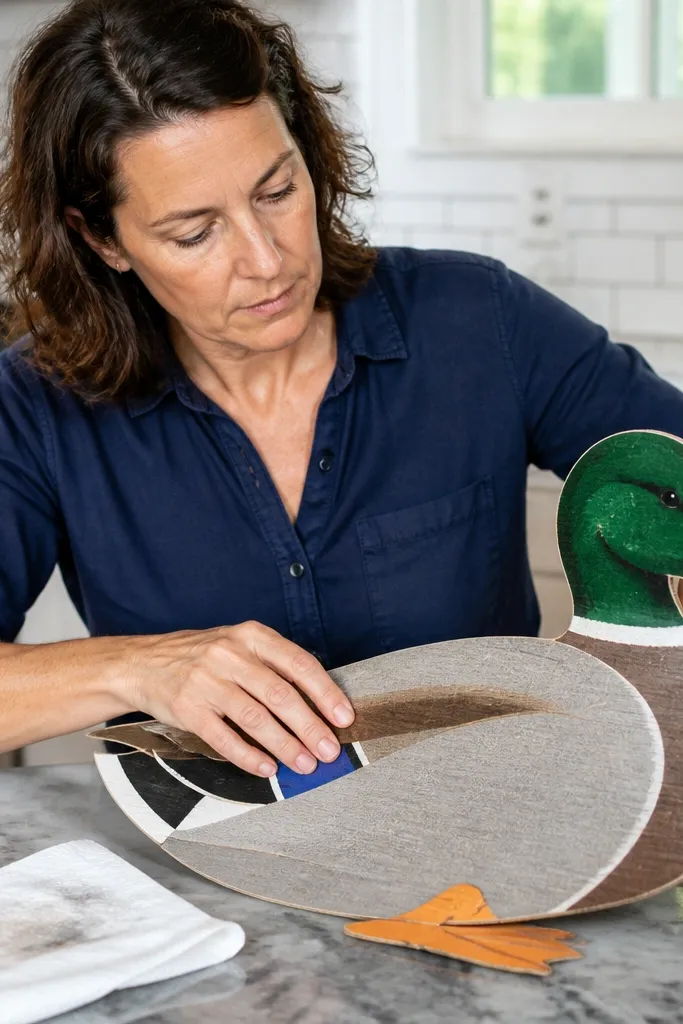
Laminated paper wins when the finished decor gets wiped, handled by kids, or exposed to light splashes. The laminate layer protects the face from scuffs and fingerprints, so your colors stay crisp longer. It also resists moisture better than uncoated paper when you use adhesives carefully. The downside is fold behavior — laminate can crack at sharp creases and it doesn’t like being bent repeatedly. Use it for panels, covers, and flat pieces where you don’t need sharp folding.
Start by planning your layout so folds are gentle and wide, not tight corners. Then glue edges only — don’t flood — and press the seam with a roller or firm fingertip pressure. Finally, seal cut edges if the laminate is exposed so it doesn’t peel over time.
Editor's noteIf you must fold, score first with a stylus and fold slowly along the score line.
Skip thisDon’t laminate over messy glue lines; bubbles and ridges show through fast.
9. Coated Scrapbooking Paper
This is the paper you pick when you want a polished look and you’re mostly doing layering. Coated scrapbooking paper handles normal handling well and resists scuffing better than many uncoated patterned stocks. It also holds printed designs sharply, which matters for duck patterns and face details. Durability drops when glue soaks into the edges or when you fold aggressively — coatings can crack and sometimes lift at seams. Still, for flat builds and light-to-medium glue work, it’s a strong option.
Start by test-gluing a small scrap to see if your adhesive causes edge darkening. Then assemble with a thin application: glue the back, press flat, and avoid excess squeeze-out. Finally, for clean edges, wipe any glue residue immediately with a barely damp cloth on a scrap test.
Use a glue stick for quick tack and PVA only where you need strong bonding.
Skip heavy wet glue across large areas; coated paper buckles and the coating can wrinkle.
10. Natural Textured Lined Paper
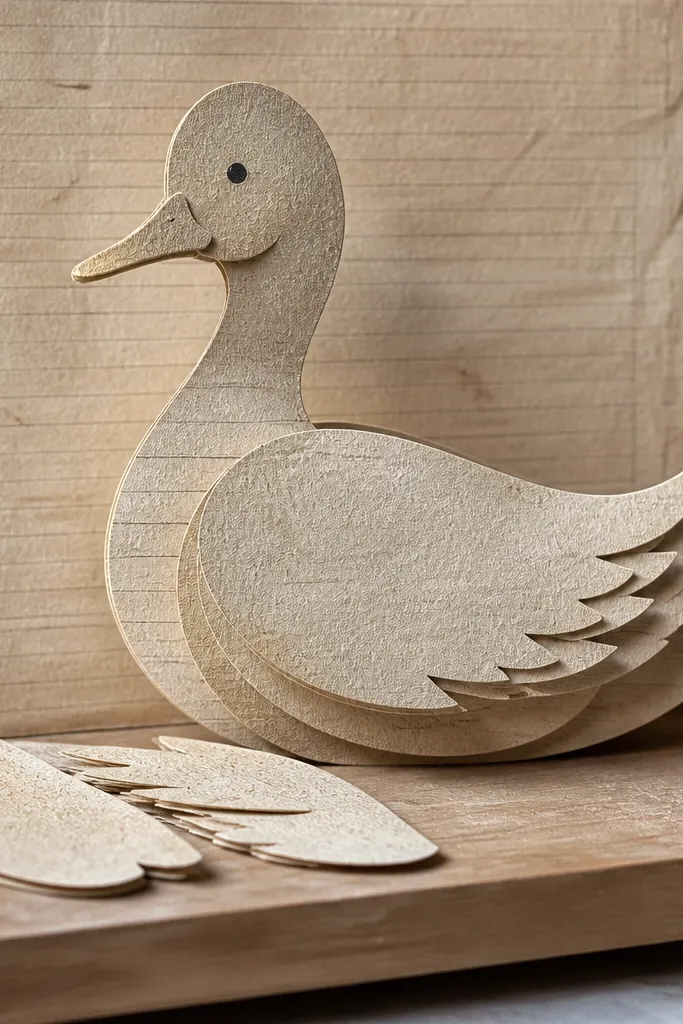
Textured lined paper is durability in the form of camouflage. The raised texture hides minor scuffs and fingerprints, which helps for decor that sits out and gets touched. It also feels more substantial in hand than many smooth patterned papers. The trade-off is cutting detail and fold precision: texture can make small shapes look less crisp and can create uneven crease lines. Choose this when you want a handmade look and your project doesn’t demand razor-smooth folds.
Start by cutting using a sharp blade and backing the paper with a cutting mat that doesn’t flex. Then fold with a bone folder and do short passes — texture resists deep pressing. Finally, glue with thin coverage and press under weight so the texture doesn’t shift while drying.
If your design has tiny cutouts, use fewer tiny parts and group shapes for cleaner assembly.
Don’t try to force sharp corners; textured paper rounds and looks unfinished.
11. Embossed Paper with Raised Texture
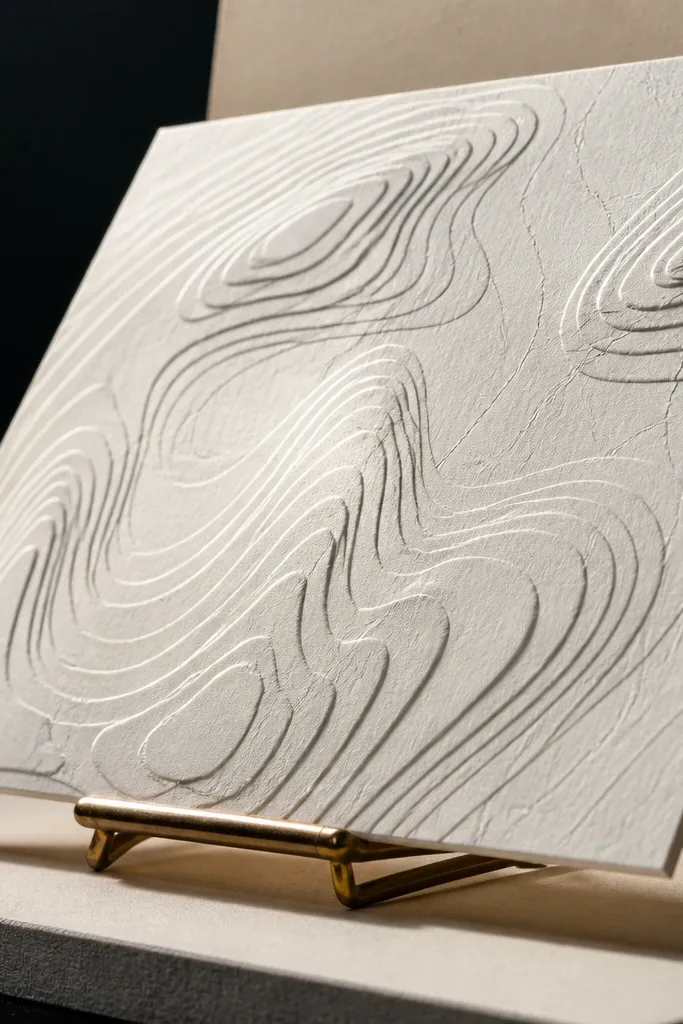
Embossed paper looks tough because the surface holds shape, but it’s fragile at stress points. The raised pattern makes it great for display decor and layered backgrounds where it won’t be bent. It resists scuffs on the high points, but cracks show on the low areas if you fold it. For durability, treat embossed paper like a face layer, not a structural fold layer. If you’re making a paper duck body shell that stays mostly flat, it can look fantastic.
Start by sealing the embossed face with a light mist of matte fixative if your project gets handled, and let it dry fully. Then attach it to a sturdier base using thin glue — keep adhesive off the raised peaks. Finally, trim edges cleanly and avoid repeated pinching during assembly.
Use it as the top layer over cardstock so the base takes the bending stress.
Don’t fold embossed paper sharply; the emboss pattern will crack and flatten unevenly.
12. Smooth Matte Paper for Die Cuts
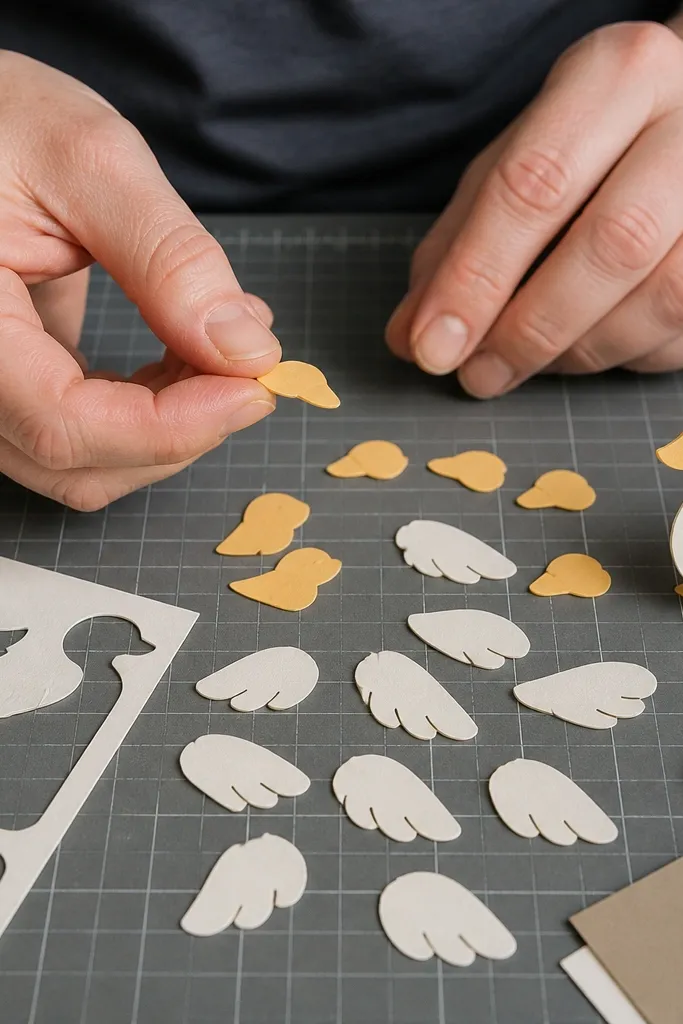
This is a practical pick for people who cut a lot of small parts. Smooth matte paper gives you clean die-cut edges and consistent release, which means less edge fuzz and fewer re-cuts. If your durability issue is “it looks frayed after cutting,” better cutting behavior fixes it more than thickness alone. It also holds up well to light rubbing because there’s no glossy layer to scratch into shininess. Use it for wings, beaks, and layered details where the face stays visible.
Start by running one test cut to check blade sharpness and adjust pressure before you do the full sheet. Then assemble with glue applied to the back of each piece, not across the cut edge. Finally, let each layer set before stacking more parts so the first bond doesn’t slide.
Editor's noteUse a scrap under your work so cut edges don’t snag and lift while you peel them off the die.
Skip thisDon’t use dull blades — fuzzy edges are the biggest durability complaint with this paper type.
13. Velvet Touch Coated Paper
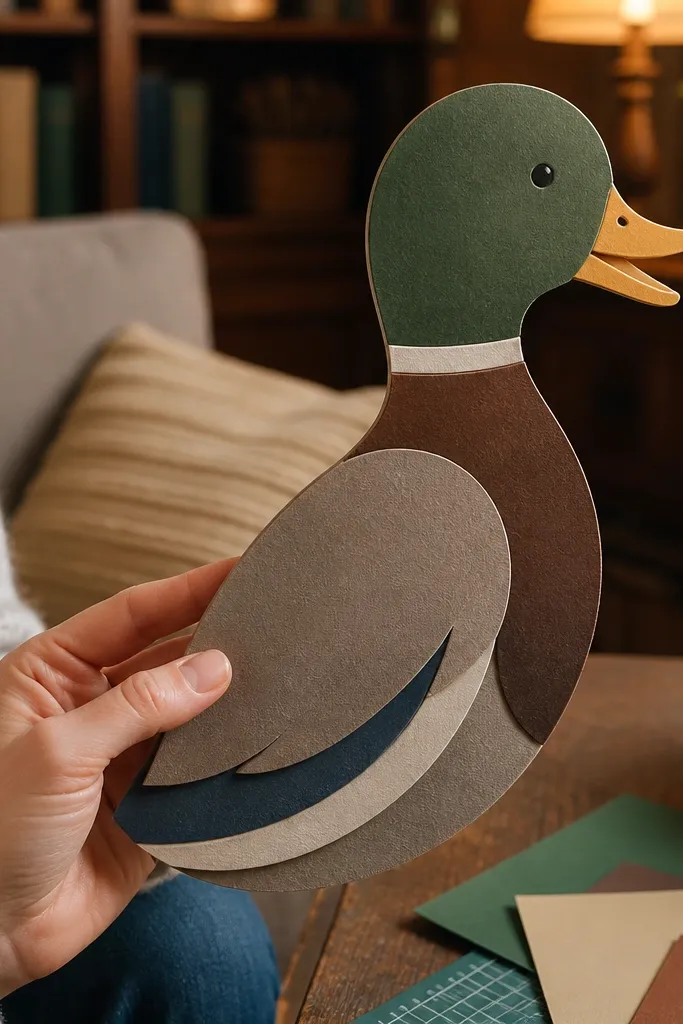
Velvet touch is durable against glare and fingerprints, but it’s not durable against folding. The surface feels soft and hides small scuffs, which is great for decor faces and character-style paper duck accents. The coating can scuff if you rub hard on edges, and it can crack when you crease it sharply. I recommend it when your finished piece stays mostly flat and you want a premium feel without glossy shine. It also looks great under warm indoor light.
Start by keeping folds wide and using scoring for any crease lines. Then glue with a light touch: press long enough for tack, but don’t soak the seam. Finally, store flat to prevent curl, and avoid stacking heavy items on top of velvet surfaces while drying.
Editor's noteUse double-sided tape only on the back — tape lines show through if they squeeze out.
Skip thisDon’t attempt tight origami-style folds; velvet coatings mark and crack.
14. Glossy Photo Paper
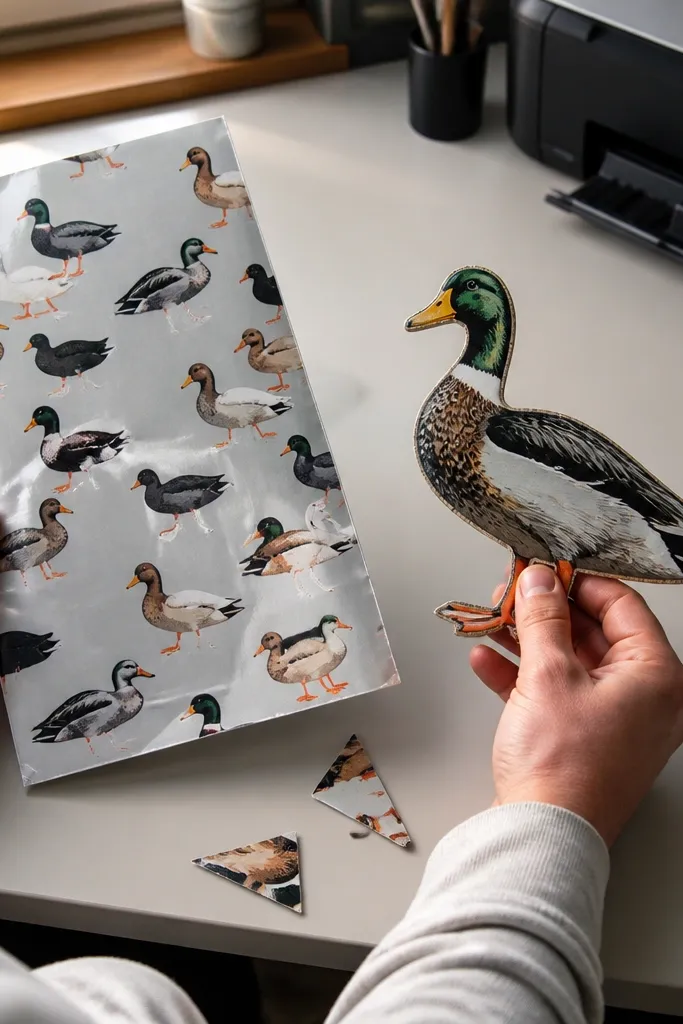
Glossy photo paper is for crisp printed color, not for durability under handling. The surface looks sharp, but it shows scratches and scuffs quickly, especially on edges. It’s also more likely to show glue marks or bubbles because adhesives can sit on the slick face instead of soaking in. Where it works best is flat display — printed signs, duck pattern panels, and cover pieces that don’t get bent. If you need durability from rubbing and folding, this is the wrong direction.
Start by printing or placing your design so you can cut cleanly with a sharp blade — rough cutting leaves jagged edges that catch light. Then glue only on the back and press flat with a sheet between the paper and your weight. Finally, seal the surface lightly if you’ll handle the piece often, using a spray designed for photo paper.
Cut slightly oversize, then trim after assembly so edges don’t get stress from aligning on a slick surface.
Don’t fold glossy photo paper — the crease line turns into a visible white crack.
15. Foil Accent Paper
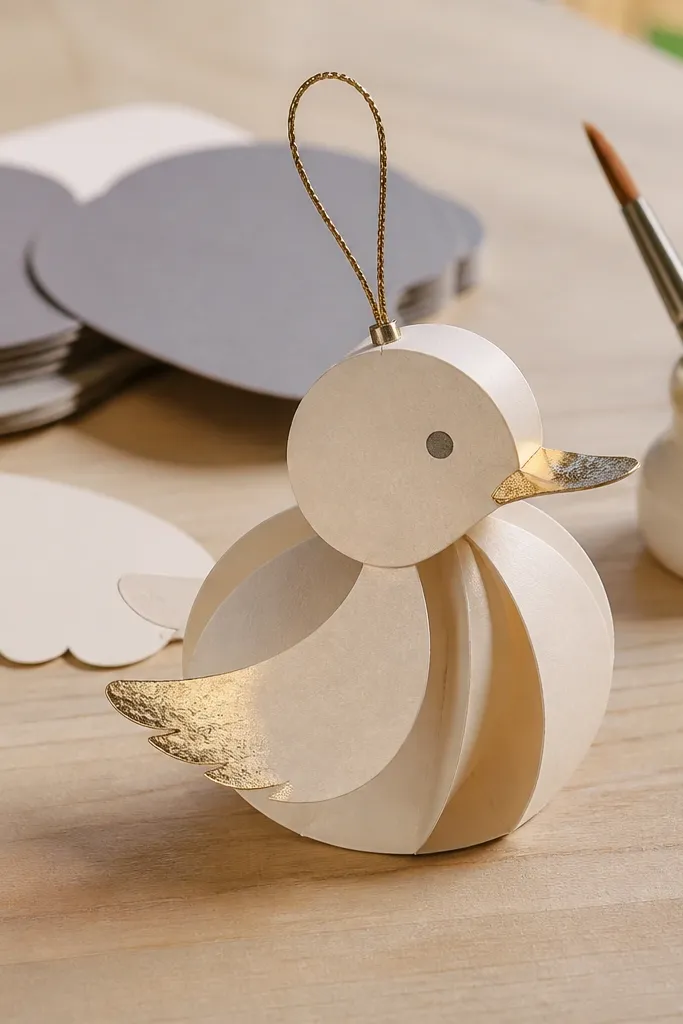
Foil accent paper adds instant “wow,” but it’s fragile where you touch it. The reflective layer scratches more easily than matte finishes, and the paper base can tear if you’re cutting tiny trims with dull blades. It’s best as a small accent — beak highlights, tiny wing tips, or layered letters — not a full structural component. If durability is your goal, treat foil like jewelry: it looks best when it’s protected by a base layer and kept away from repeated rubbing.
Start by cutting with a very sharp blade and slow, controlled pressure to prevent edge tearing. Then mount it on a sturdier backing paper so the base takes stress. Finally, seal the foil accents with a thin clear matte or satin sealant so fingerprints and scuffs don’t eat the finish.
Use foil only on the top layer and keep it off the fold line of the project.
Skip foil for large surfaces that get handled — scratches show fast.



