
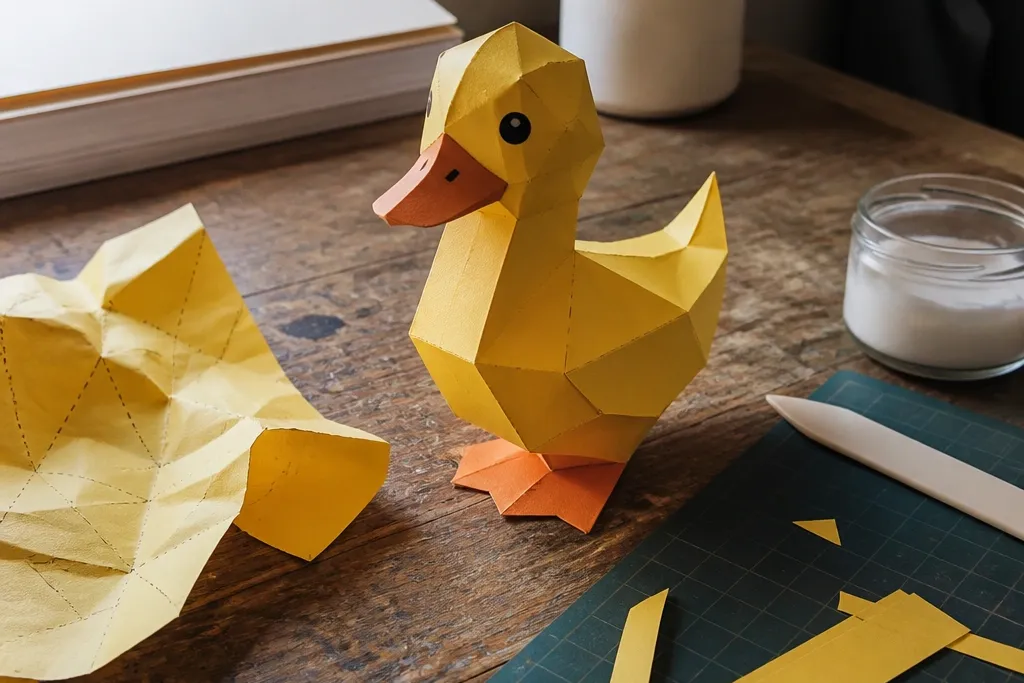
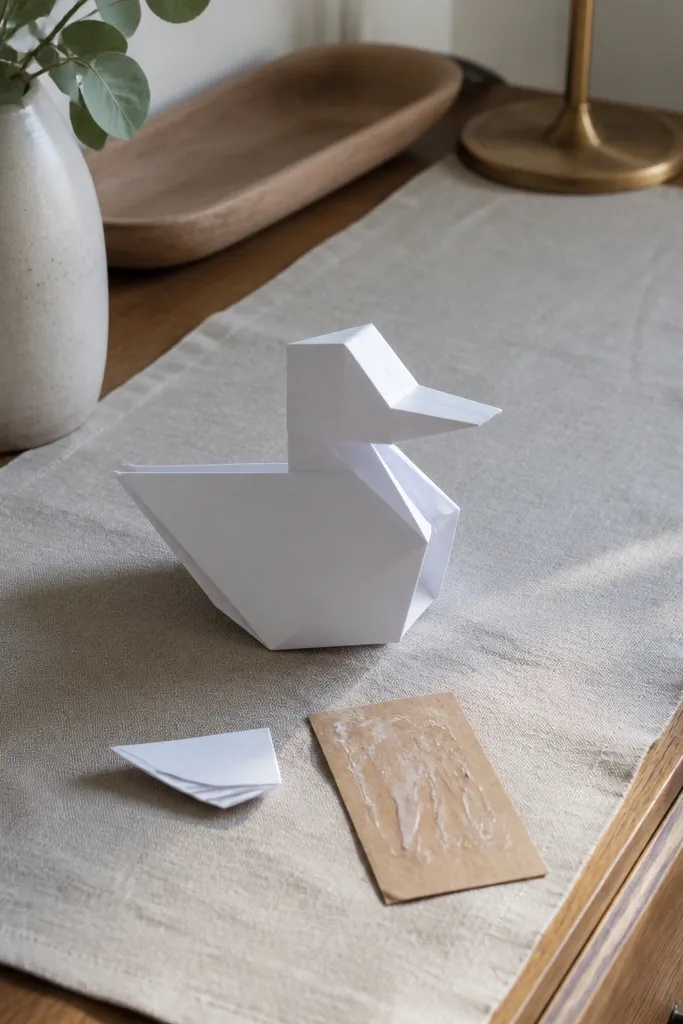
1. Printer paper duck that turns wavy in a day
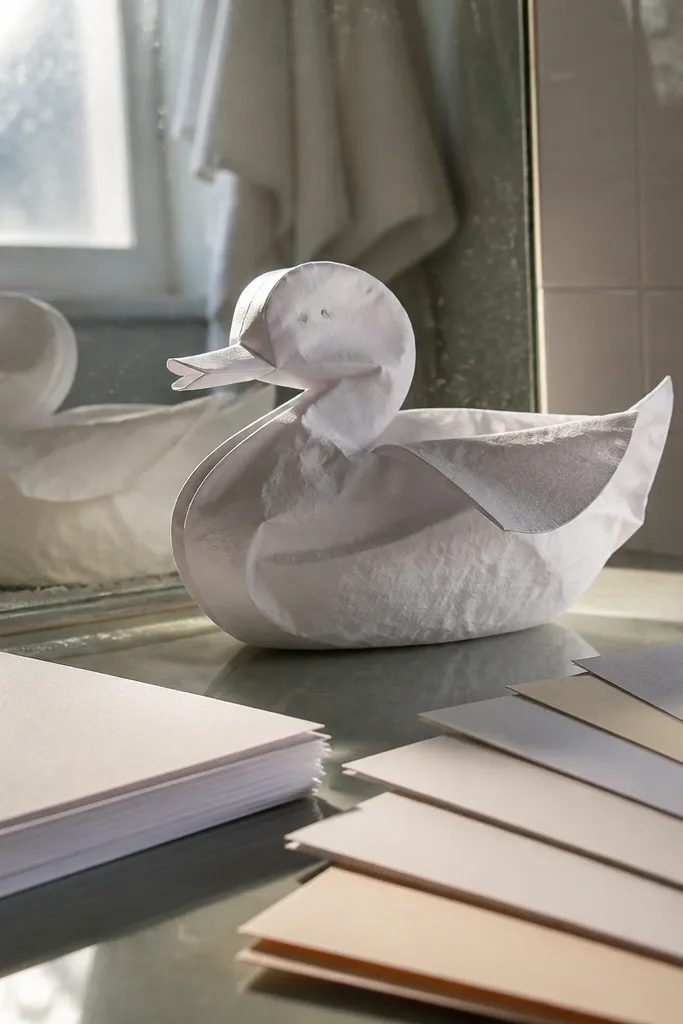
If your duck feels flimsy or looks like it’s breathing, the paper is the culprit. Printer paper is too light and too thirsty for sharp folds, so it softens with humidity and handling. You end up with a body that waves instead of sitting flat. Choose cardstock around 160-220 gsm for the body and 120-160 gsm for smaller pieces like wings if your template uses separate parts. You’ll get crisp creases and less edge fuzz, which is the foundation for low-maintenance decor.
Start by switching to cardstock that you can fold without cracking. Cut your pieces cleanly — a sharp craft knife on a cutting mat beats scissors for paper edges that will stay visible. Then score each fold line lightly with a ruler and a dull tool so the paper bends where you want. Finally, test-fit the body panels without glue and only glue after everything lays flat.
Editor's noteRun a quick crease test on a scrap piece — if it cracks, your paper is too stiff or your scoring is too hard.
Skip thisDon’t build the duck from printer paper and expect it to stay crisp.
2. Pressing folds like you're ironing a shirt
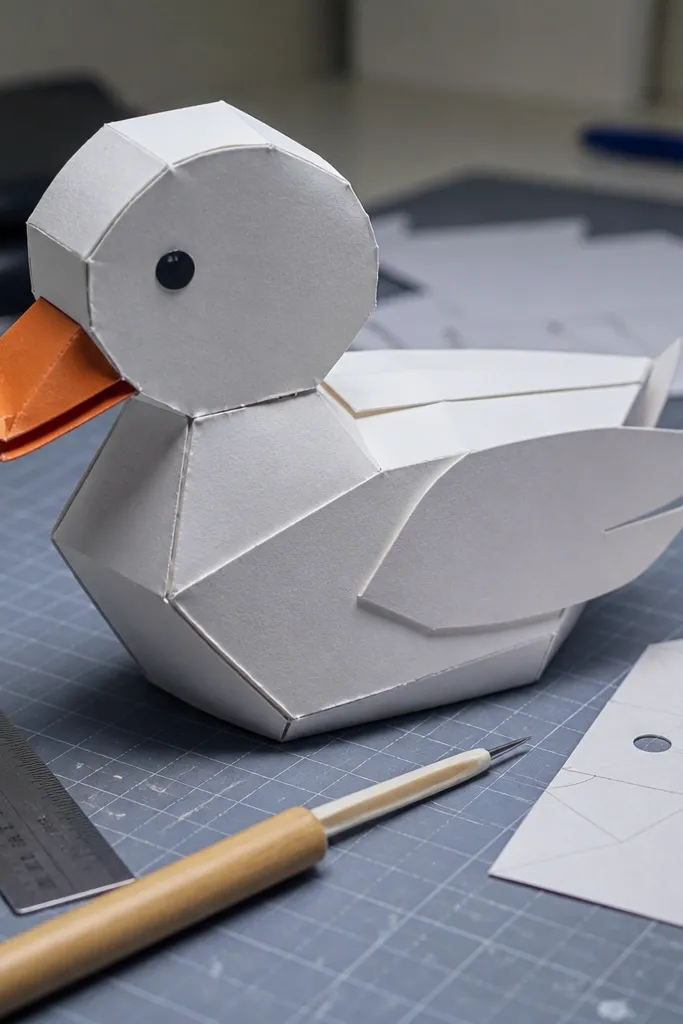
Over-pressing creates paper fiber damage. Then your duck looks permanently stressed — creases crack, edges lift, and wings don’t hold their angle. Beginners often think “harder crease = stronger duck.” It’s the opposite. You want a crease that guides the fold, not one that fractures the paper. Light scoring plus a single fold gives you a stable shape that holds up when you reposition the duck on a shelf.
Lay your template piece on a cutting mat and align a ruler with the fold line. Score gently 1-2 passes with a craft knife blade held at a shallow angle or a scoring tool. Fold once, using your fingertip to guide the bend along the ruler edge. If the fold doesn’t look clean, adjust scoring strength — don’t keep pressing harder on the same line.
Editor's noteUse a ballpoint pen with the ink removed or a dedicated scoring tool for smoother, safer scoring.
Skip thisDon’t repeatedly press and re-fold the same crease hoping it gets better.
3. Skipping dry-fit so glue locks in a crooked duck
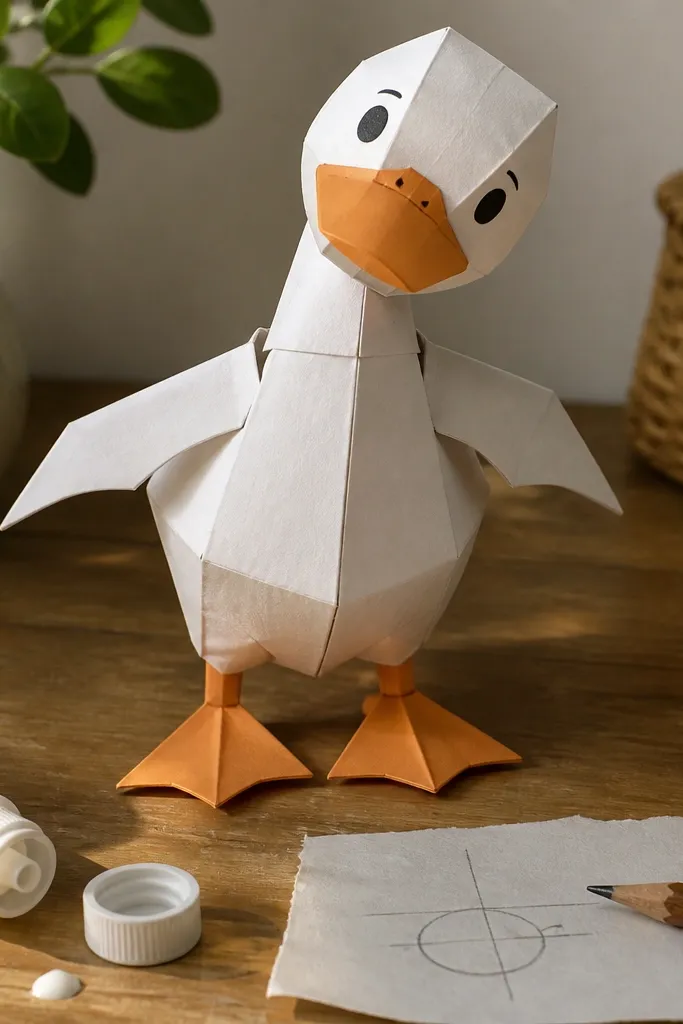
Glue is permanent. When you skip dry-fitting, you end up aligning parts by eye while the paper is already sticking. That creates a head that tilts, a wing that sits too high, or a body seam that shows a gap. Low-maintenance means it looks right without constant tweaking. Dry-fit first so you see alignment issues before glue makes them a permanent design. You also avoid glue coverage on the wrong edge, which is one of the fastest ways to ruin paper surfaces.
Arrange all pieces on a flat surface in the order they assemble. Tape the parts lightly with removable tape or painter’s tape to check fit — no glue yet. Once the head and wings sit where you want, mark tiny pencil dots on hidden contact edges so you know which side goes where. Apply glue only after those marks match the dry-fit positions.
Use a ruler edge to check wing height against the body — even 2-3 mm off looks obvious.
Don’t glue directly from the template diagram without checking the actual piece alignment.
4. Thick glue blobs that show through and weaken joints
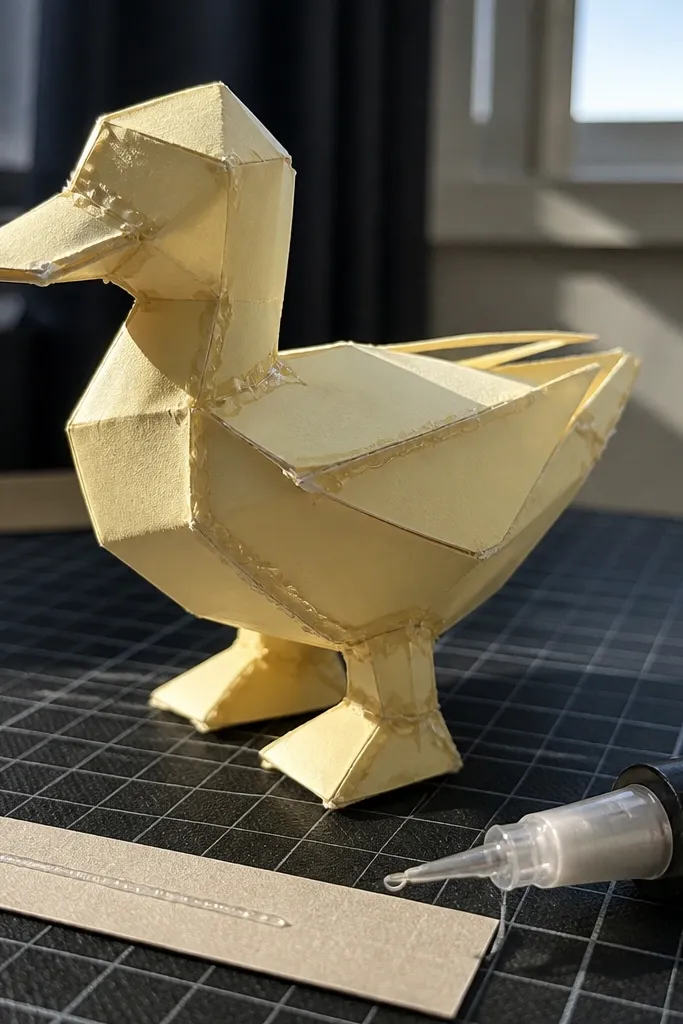
Thick glue creates ridges that you can see through paper, especially on lighter colors. It also soaks into fibers, making the area stiff and uneven. When you handle the duck, those stiff glue zones become stress points and the paper can peel. For low-maintenance, you want joints that are strong but flat. Thin, controlled glue keeps the surface clean and helps the duck survive normal touching.
Use a glue bottle with a fine tip or a glue pen so you can draw a thin line along the contact edge. Apply glue to one piece only, then spread it with the tip so it covers the edge without pooling. Press the seam for 10-20 seconds with a flat finger or scrap paper barrier. Let the duck rest flat so the glue can dry without warping the joint.
Editor's noteIf you see shine or pooling, you used too much — wipe excess with a damp cotton swab before it dries.
Skip thisDon’t use a heavy school glue squeeze where the bead is thicker than the paper edge.
5. Using double-sided tape on paper edges that peel later
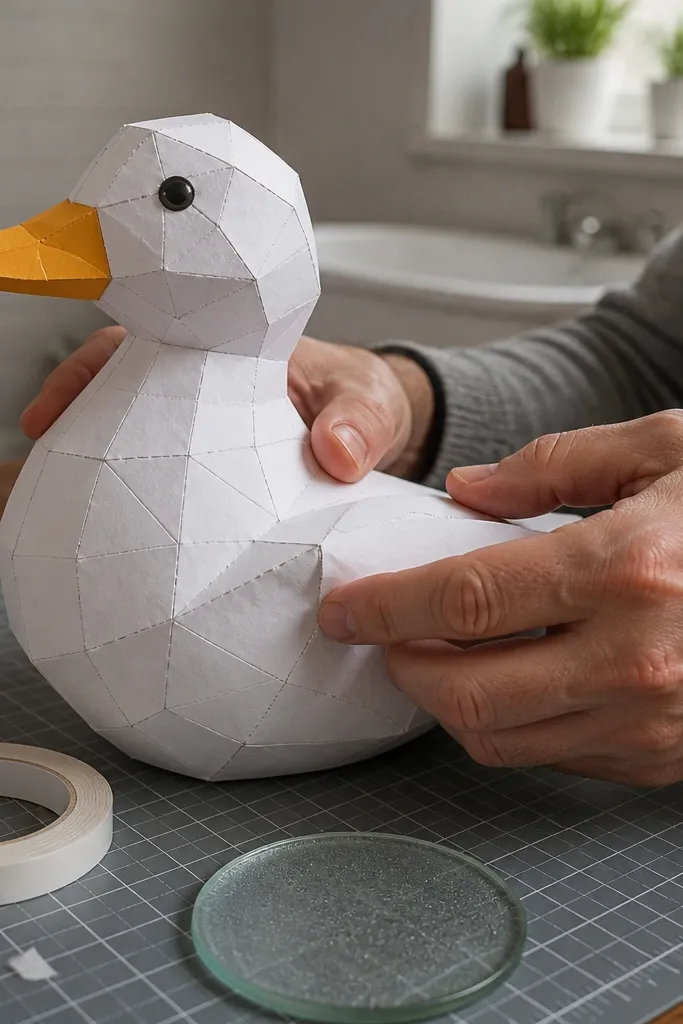
Double-sided tape can look clean at first, then edges lift when humidity changes or the duck gets handled. Paper fibers can’t grip the tape evenly, so you get corners that curl and seams that reopen. Low-maintenance decor needs joints that stay put without re-pressing. Tape also makes it harder to correct alignment, since you’re committing instantly. Glue gives you a little time to position and it dries flatter.
If you insist on tape, use it only as temporary positioning, not as the final seam. Put small strips on hidden overlap areas, then reinforce the final seam with a thin glue line. Press with a flat tool for 20 seconds so the bond sets. After drying, check edges by gently running a fingertip along the seam — if it catches, reinforce with glue.
For best results, glue the seam and use tape only for 30-second hold time.
Don’t rely on tape for visible paper edges that will be touched or brushed.
6. Glue drying too fast while you reposition
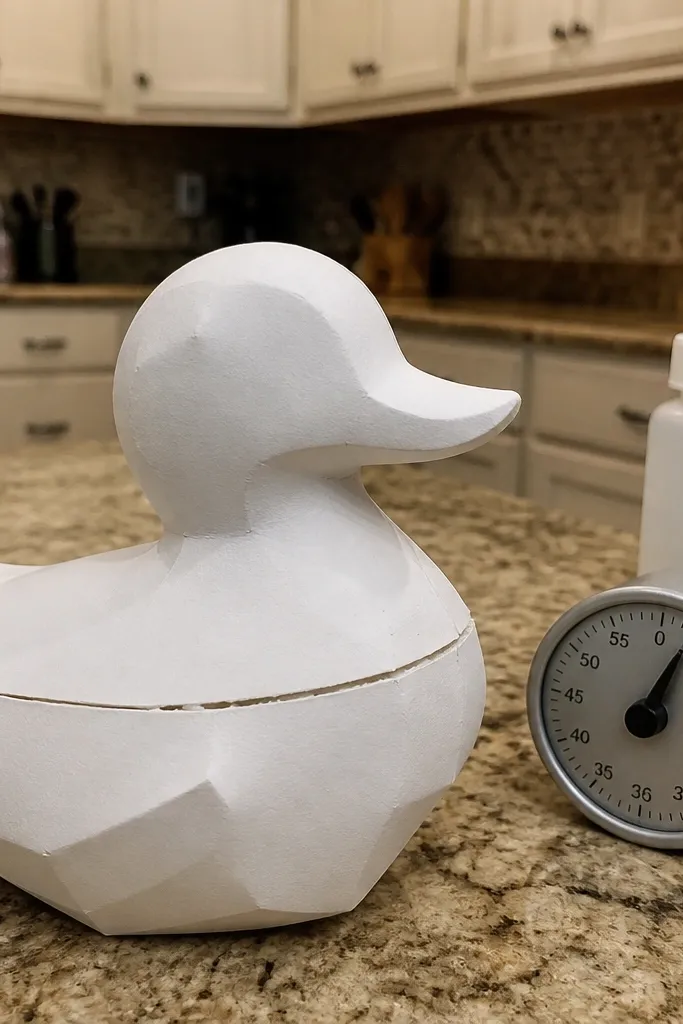
Some adhesives grab quickly, so you move the part once and the seam locks crooked. Then you try to fix it by pulling, and paper fibers tear. The duck ends up with a gap line or a stretched fold. Low-maintenance means assembly that stays adjustable just long enough to align. Choose a glue that gives you a short working window and dries clear without soaking.
Test your glue on a scrap piece first — glue the edge, align, then see how quickly it grabs. Apply glue to the contact edge, wait 5-15 seconds if your glue needs tack, then position the part. Hold steady with light pressure until it sets. If the seam won’t align in time, switch glue type rather than forcing the paper.
Use a small spring clamp or clothespin with scrap paper between jaws for consistent pressure.
Don’t yank misaligned parts — lift and reposition only while the glue is still wet.
7. No protective finish so edges fuzz immediately
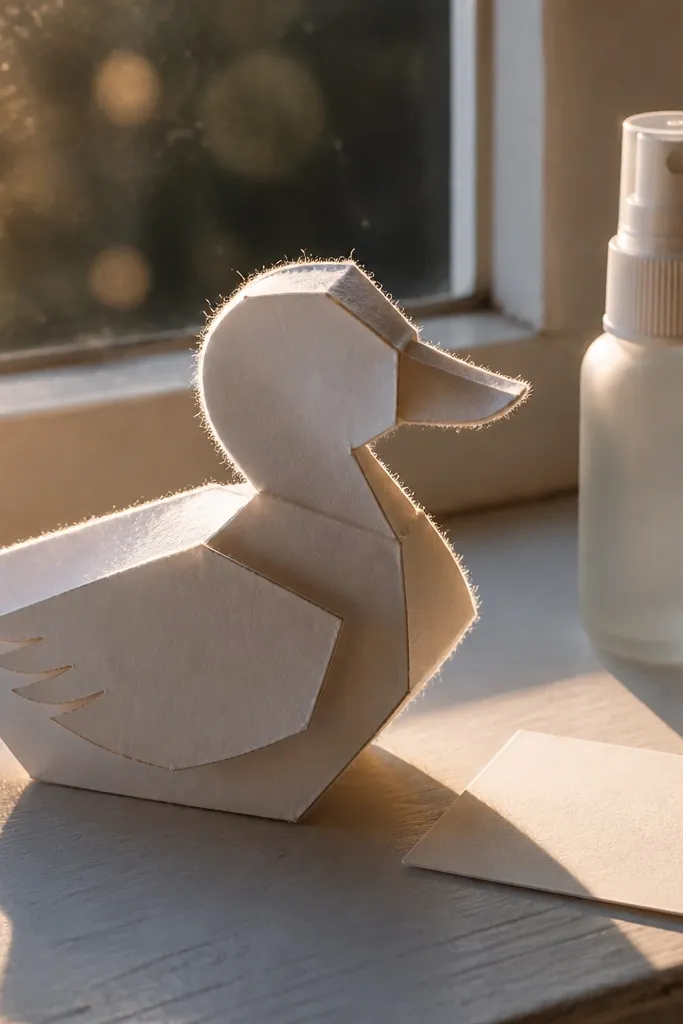
Paper ducks look finished until you touch them. Then the edges fuzz, especially along folds and cut lines. Without a protective layer, oils from your fingers and light humidity break down the top paper fibers. If your goal is low-maintenance decor, finish matters. A thin protective coat keeps colors looking even and reduces edge wear from normal handling.
Choose a finish that doesn’t soak paper — matte acrylic spray works well, or a matte acrylic sealer that you brush very lightly. Test on a scrap first to check color shift and glare. Spray in short passes from 20-30 cm away, rotating the piece after the first coat. Let it dry fully between coats — two thin coats beat one heavy coat.
Seal the folds last — a quick coat after assembly protects the edges you created during gluing.
Don’t skip finishing if you plan to touch the duck or display it near windows.
8. Glossy spray that turns paper into a shiny mess
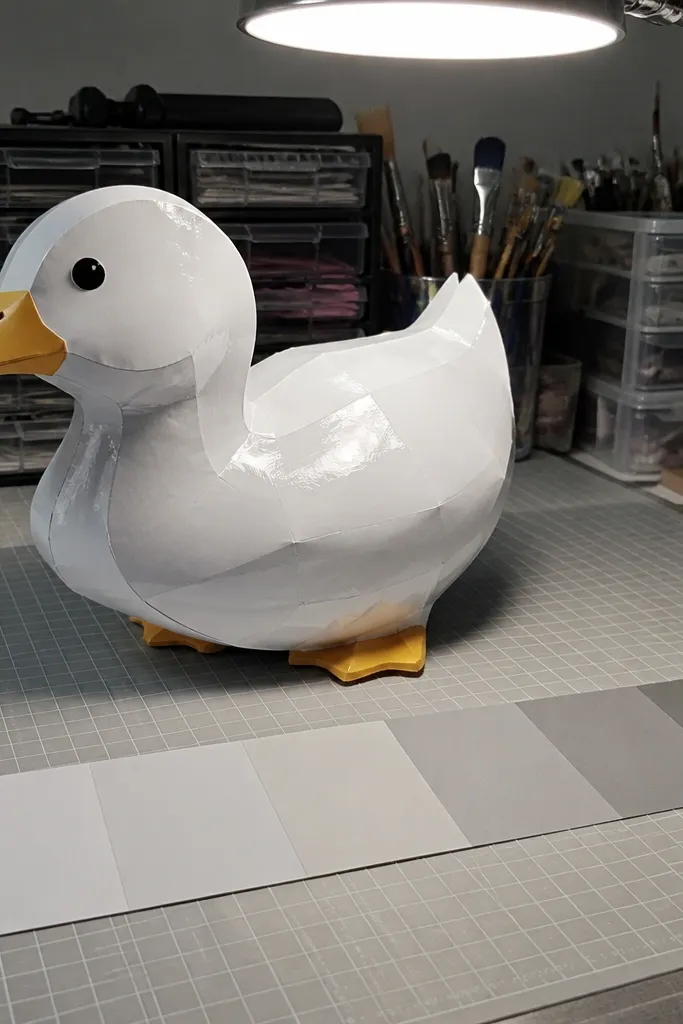
Gloss finish makes paper look plasticky and highlights every glue bump or uneven seam. It also shows fingerprints more clearly than matte. If you want low-maintenance, pick a finish that hides small imperfections and resists glare under room lighting. Matte or satin finishes keep the duck looking like paper without turning it into a mirror. You still get protection, just with a more forgiving look.
Pick matte or satin acrylic sealer — avoid high-gloss craft sprays. Apply two light coats rather than one thick coat so the surface stays even. Keep your spray distance consistent and move continuously to prevent pooling. After drying, check under a lamp at an angle — if it’s too shiny, add another light matte coat instead of sanding.
Editor's noteSpray test cards first — some brands dry with a noticeable sheen on cardstock.
Skip thisDon’t use glossy varnish thinking it will hide paper texture.
9. Wrong glue type that warps the duck
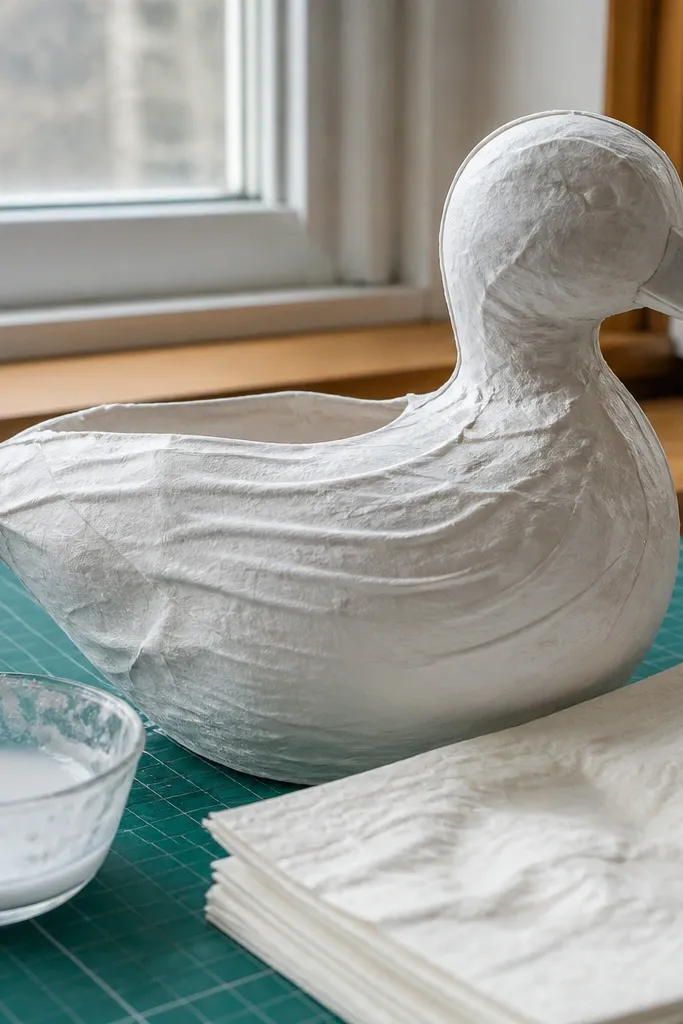
Some glues are water-heavy. They soak paper, causing buckling and waves right where you applied them. Then you spend time trying to flatten a duck that keeps springing back. Low-maintenance means choosing glue that sticks without flooding the fibers. A glue pen or PVA formulated for paper crafts usually dries flatter and cleaner than watery adhesives.
Use a glue that goes on thin — glue pen, thin PVA, or craft glue with a fine nozzle. Apply glue to the edge only, not across the surface. Press and hold briefly, then place the duck under a flat weight for 10-20 minutes while it dries. If you see buckling on a scrap, switch glue before you ruin the main pieces.
Editor's noteWork in small sections so glue doesn’t sit too long before contact.
Skip thisDon’t use heavy liquid glue that spreads like paint across the paper.
10. Cutting fold lines with scissors
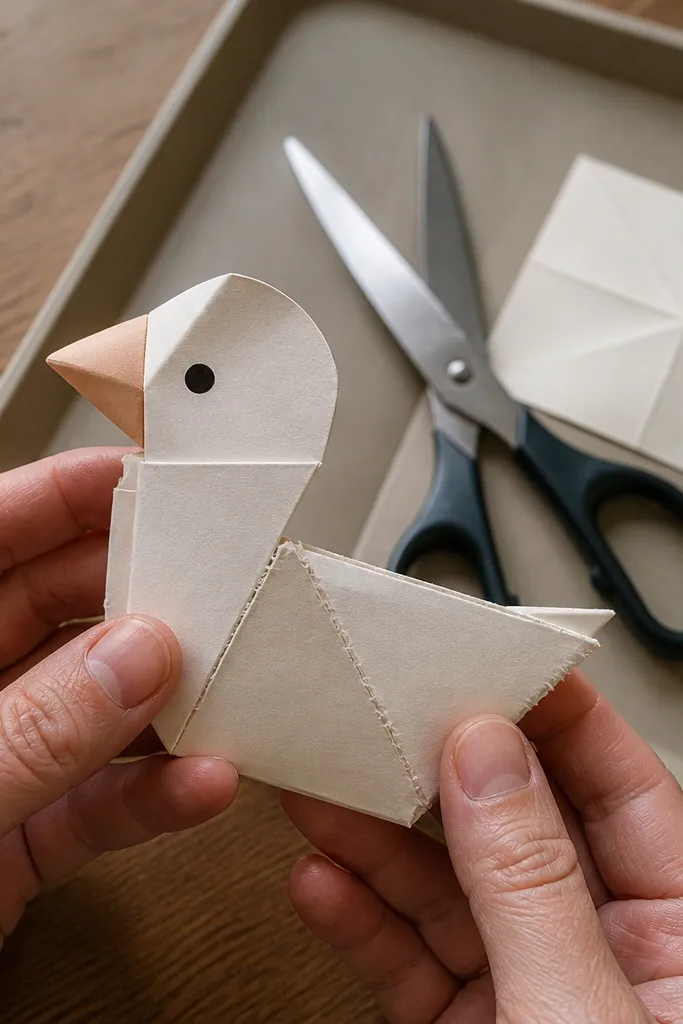
Scissors can leave tiny nicks along the fold line. Those nicks become weak points and they show up as ragged edges after folding and sealing. Fold lines should be smooth and continuous. If you cut or rough up the fold, your duck loses that clean paper look and becomes more fragile. Low-maintenance decor needs strength at the fold points, not just pretty colors.
Cut pieces with a sharp craft knife on a cutting mat for clean edges. Use a metal ruler for straight cuts so you don’t drift into fold zones. Keep the blade perpendicular to the paper and make one confident pass. For perforation-like fold marks, score instead of cutting through — the paper should bend, not separate.
Replace the blade when you feel resistance — dull blades crush fibers and make folds look fuzzy.
Don’t trim fold lines like you’re cutting fabric — score them instead.
11. Mixing paper colors without matching finish
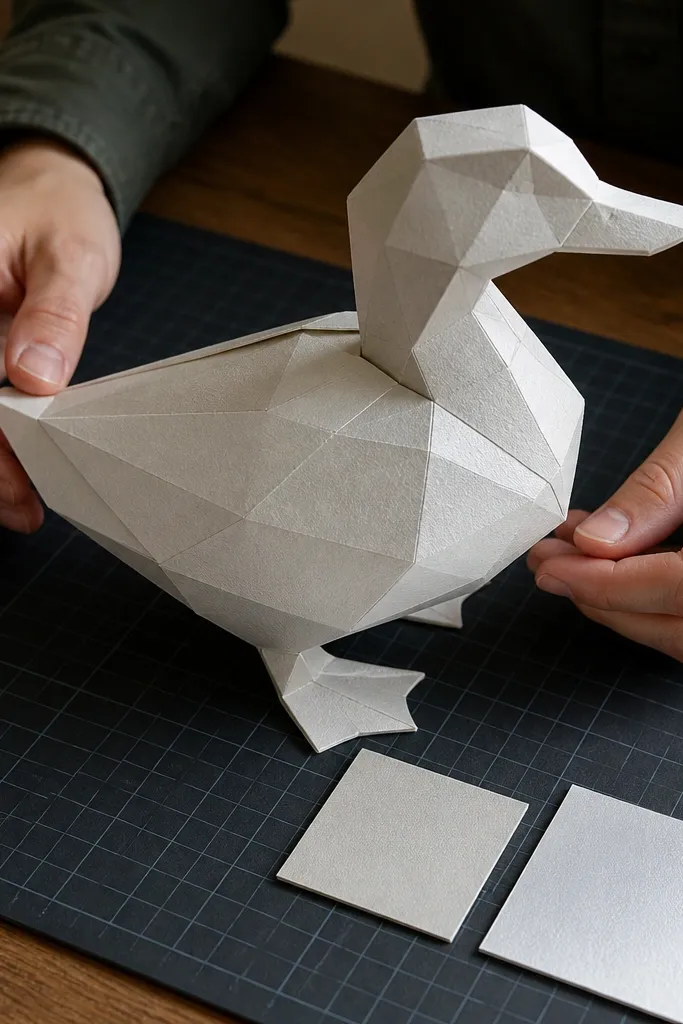
Different paper sources have different coatings, thickness, and absorbency. Even if the color looks close, the finish can be off — matte one piece, slightly glossy another. That makes the duck look uneven and “assembled,” not intentional. Low-maintenance means everything looks consistent after sealing and drying. Pick one paper pack or one cardstock brand across all pieces when possible.
Choose one cardstock set for the whole duck. If your template uses multiple colors, buy them as a coordinated set or test-match by printing small swatches. Cut a small wing and body scrap, fold, glue, then finish with the same sealer you’ll use on the full duck. If the sheen differs, switch paper before assembly.
Do a 5-minute test: fold + glue + finish on scraps to see the real final look.
Don’t mix random paper scraps from different packs and expect the finish to match.
12. Forgetting to round the body seam

Paper ducks depend on shaping. If you glue a seam flat without rounding the body, the duck looks boxy and the seam can gap under light pressure. It also makes the wings sit wrong because the body isn’t the shape the template expects. Low-maintenance ducks look good from normal viewing angles, not only when you hold them perfectly. The fix is to shape while the glue sets, not after it hardens.
Dry-fit the body around a soft curve — a foam pad, rolled magazine sleeve, or your palm. Apply glue to the seam edge, then bring the seam together while the body is held in that curve. Hold pressure until the seam sets, then release slowly to avoid springing flat. Only after it holds shape should you attach wings and head.
Use a foam block or thick book cover to get a smooth curve with less finger pressure.
Don’t glue the seam flat and then try to “bend it back” once it’s dry.
13. Attaching wings with no hinge fold
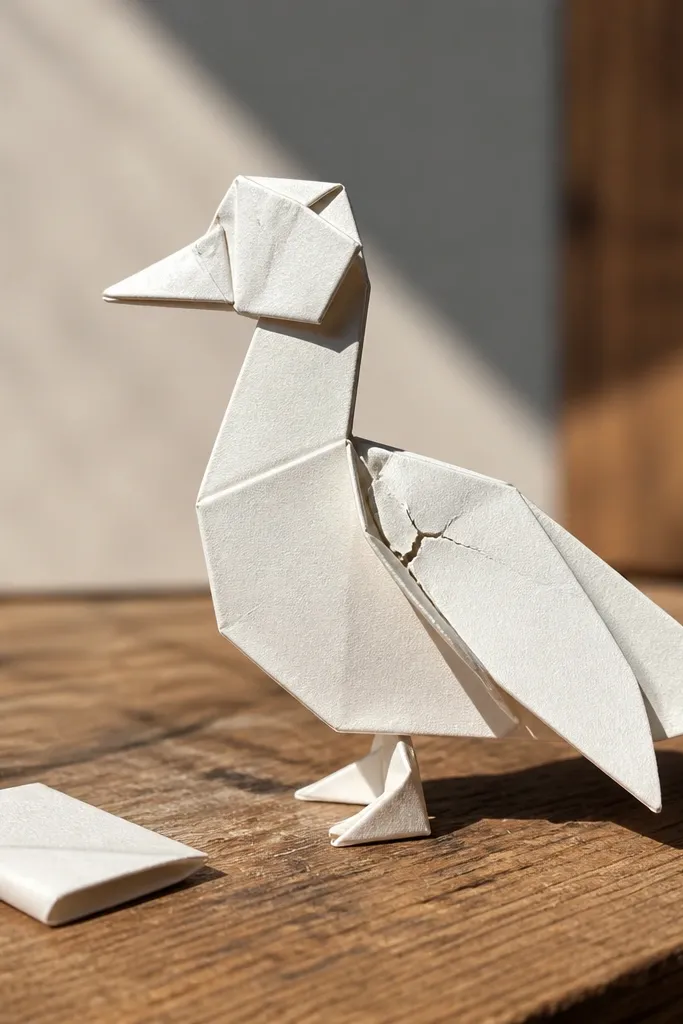
Wings need a controlled bend line. If you glue wings straight onto the body without a hinge-like fold, the wing edge takes stress every time you touch or display the duck. That leads to cracks along the wing base and a wing that droops or pops off. Low-maintenance means wings stay in place without you treating the duck gently. The fix is to create a clean fold line and let the wing swing less, but bend without tearing.
Before gluing, find the exact wing base fold line on your template and score it lightly. Fold the wing so it sits at the intended angle before any adhesive touches the base. Apply glue to the contact surface only, not across the hinge fold. Press the wing base to the body and hold for 10-20 seconds so it sets without forcing the hinge into a crease-crack.
Editor's noteIf the wing base cracks, reduce fold pressure and use slightly thicker cardstock for that piece.
Skip thisDon’t glue wings across a fold line that needs to bend.
14. Painting directly on bare paper and staining it
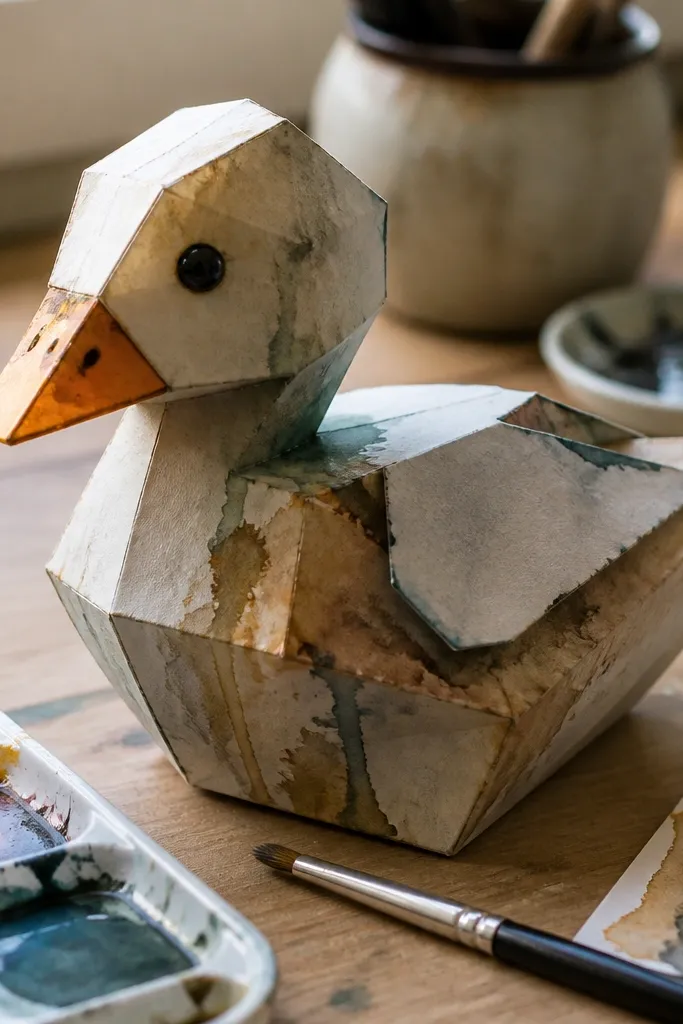
Wet paint soaks into paper and spreads unevenly. It can also cause color bleed around folds, which makes the duck look messy even if the shape is correct. Low-maintenance decor needs clean, even color that doesn’t re-stain when you handle it. If you want to add details, do it with thin layers and seal between steps. Better yet, use printed or pre-colored cardstock so you’re not fighting absorption.
If you must paint, use a small brush and thin paint consistency — not watery wash. Apply paint in small strokes and let it dry fully before adding another layer. Seal the painted area with a light matte acrylic coat before assembling if the paint is heavy. For details like beak or eye areas, use colored cardstock cutouts instead of paint when possible.
Use a scrap test — fold and paint the scrap, then finish it to see how the color behaves on creases.
Don’t flood bare paper with paint and expect it to dry evenly.
15. Skipping eye and beak placement marks
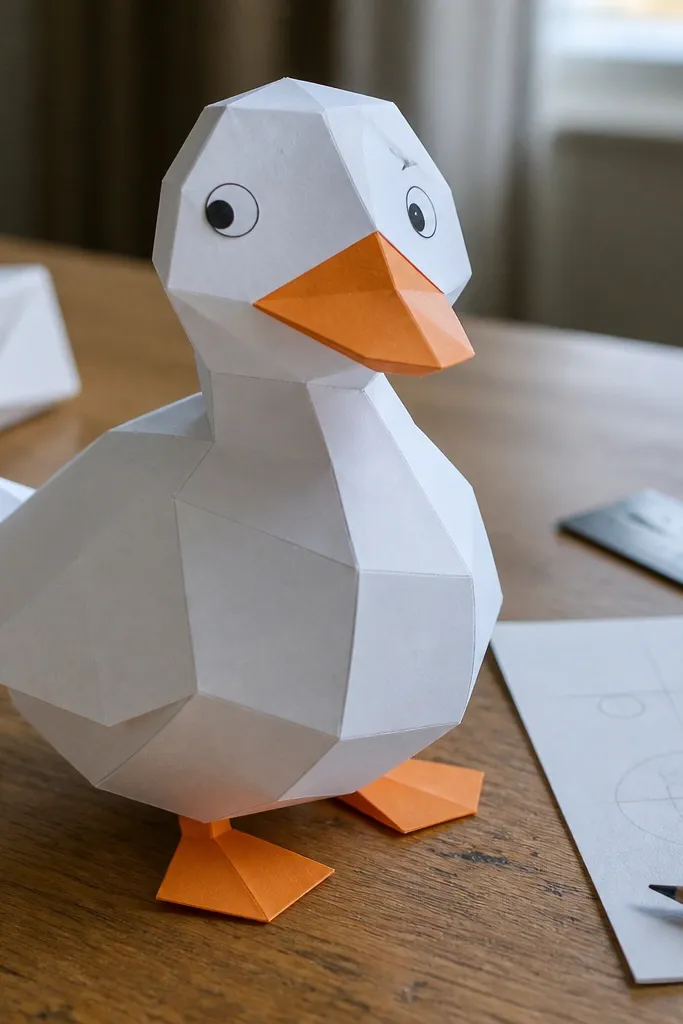
Tiny placement errors make the whole duck look “off,” even when the build is perfect. Beginners glue eyes and beaks by eye, then the duck looks like it’s staring in the wrong direction. Low-maintenance doesn’t mean low standards — it means you get it right once. The fix is simple: mark placement lightly before gluing. That gives you repeatable alignment, especially if you’re making multiple ducks for gifts or a shelf set.
Use a light pencil to mark the centerline of the face and the exact eye height based on the template. Dry-fit the eye piece and beak piece without glue to check spacing. When it looks right, glue one side first, press, then glue the second piece. Step back and check alignment under normal room light before finishing with a protective coat.
If you make a mistake, scrape off wet glue immediately with a toothpick — don’t wait for it to dry.
Don’t glue eyes and beaks without pencil placement marks.



