
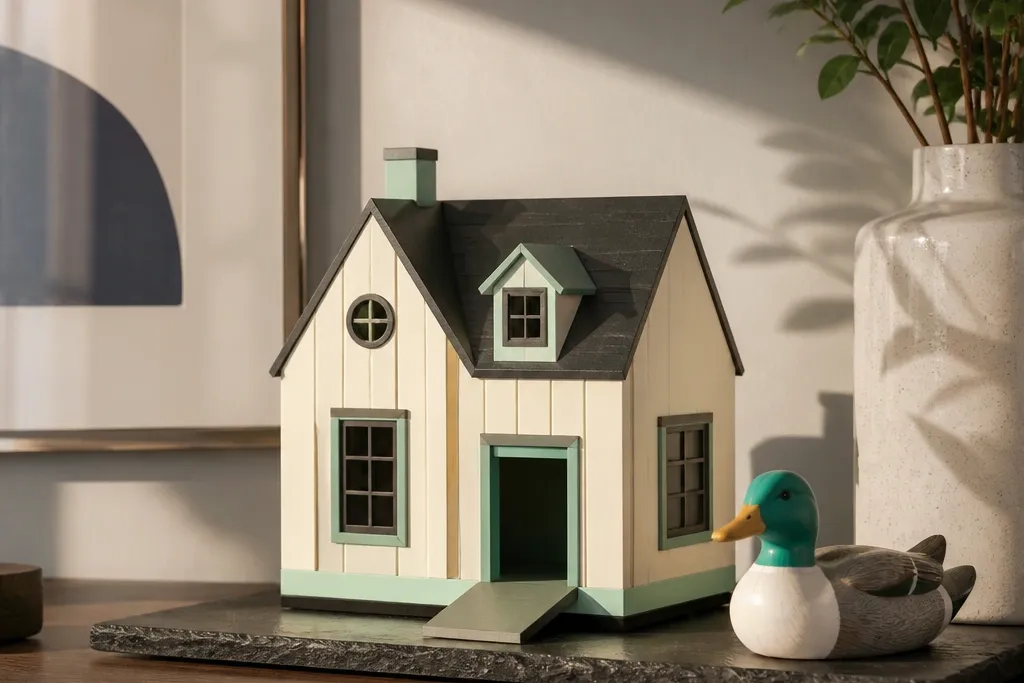
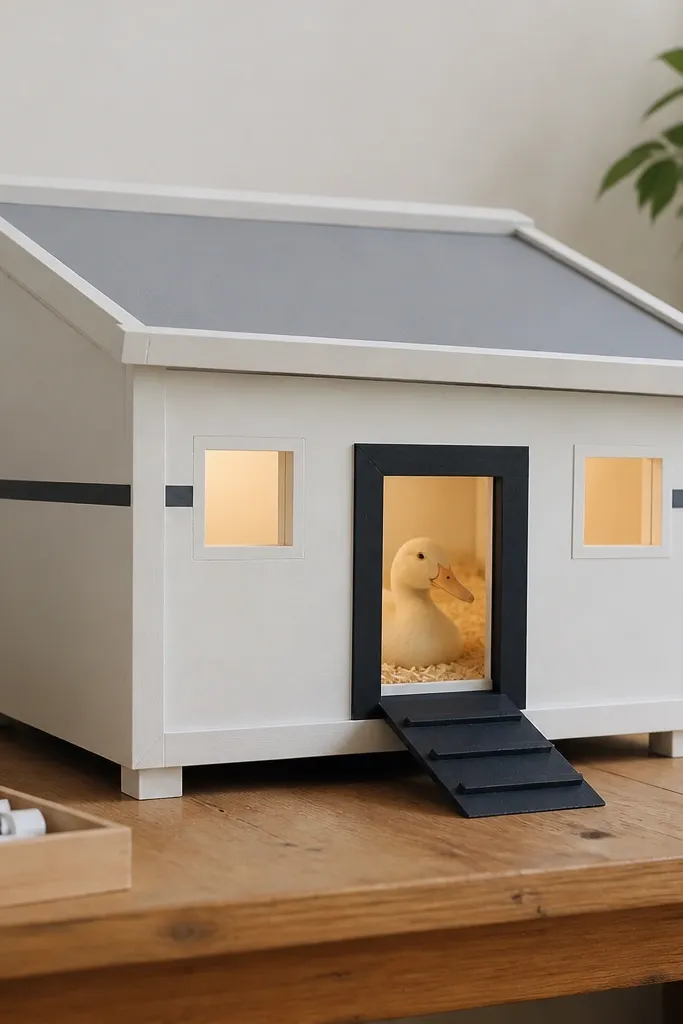
1. Charcoal-White Modern Duck House with Shadow Gap Base
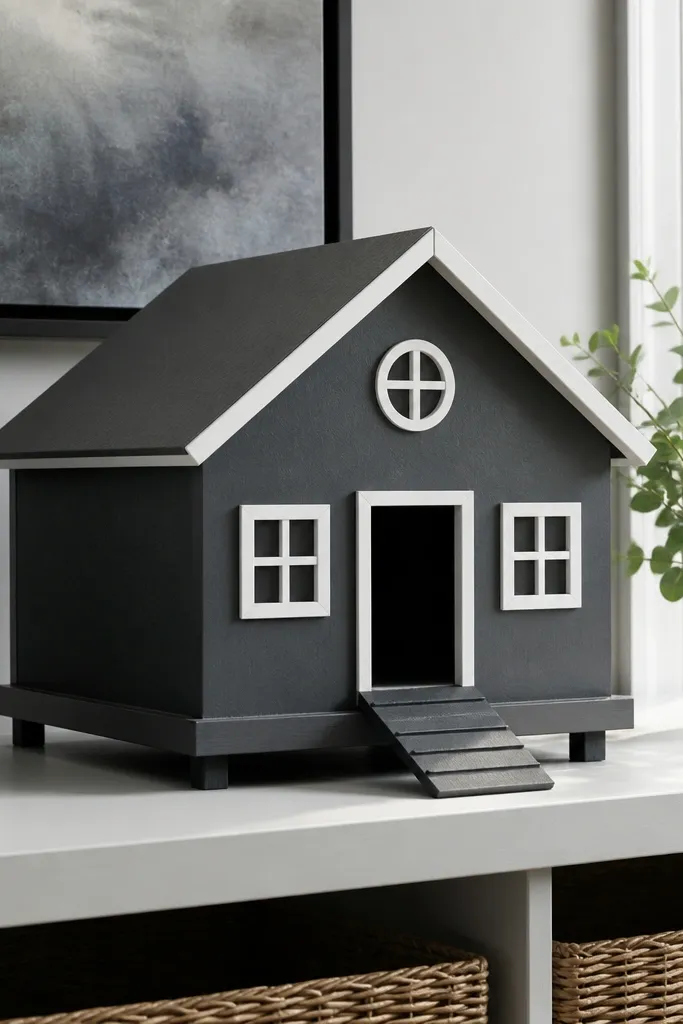
This one is modern because the base creates depth. The shadow gap makes the walls look like they’re sitting on a platform instead of being flat on a table. Use charcoal for the walls and a bright white for trim so your windows and door lines stay readable in photos. The roof stays simple — one clean angle — so the silhouette looks architectural even at small size. Expect a medium build time because you’re adding a base layer, but the payoff is that crisp “designed” look.
Cut two wall panels from 180-220 gsm cardstock and score long fold lines so the edges land straight. Build a base that’s 1 cm taller than the wall depth: glue a bottom platform first, then glue a second strip behind the front edge to form a visible gap. Finish by adding a roof piece from 200-300 gsm cardstock, then frame the door and windows with thin white strips (3-5 mm). Seal the edges with a thin coat of matte glue or glue stick, then press under a flat book for 10 minutes.
Dry-fit the roof angle before gluing — a 10-15 degree tilt reads modern, while a steep angle looks toy-like.
Avoid glossy black paper; it makes corners look fuzzy once it reflects light.
2. Pastel Mint Duck House with Crisp White Window Frames
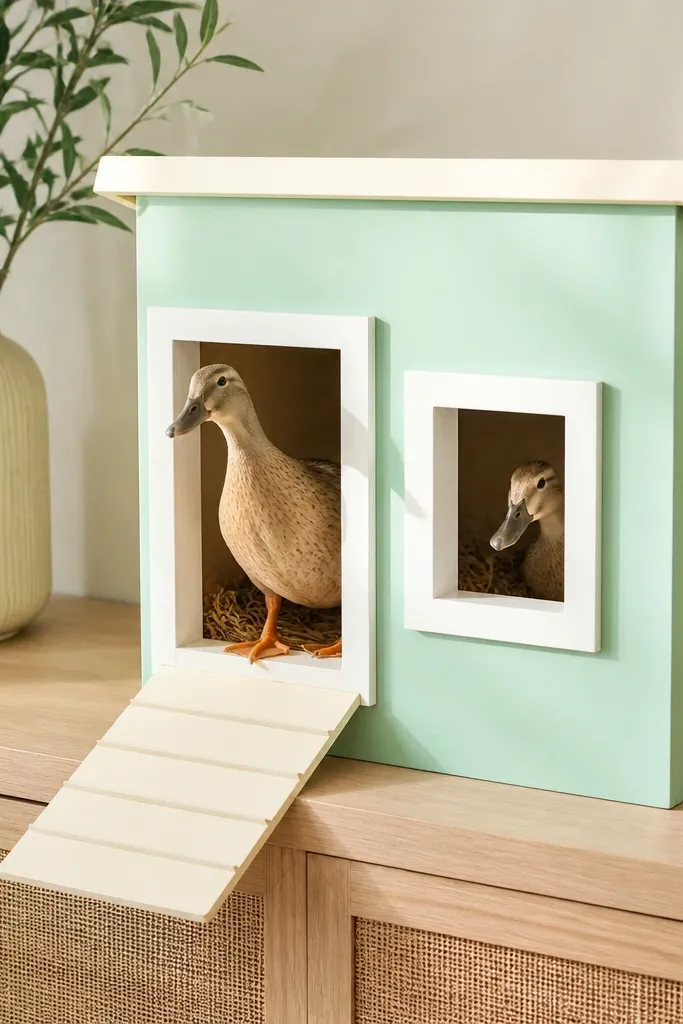
Mint and white reads clean and modern without needing complicated patterns. The modern trick is the window frame thickness: it creates a border that makes the paper openings look like real architecture. Keep the roof light (soft cream or very pale gray) so it doesn’t compete with the mint walls. The duck details stay minimal — small beak and feet shapes — so the house stays the hero. This is a good pick if you’re building for a nursery shelf or a pastel-themed modern room.
Cut walls from mint cardstock and add two diagonal roof supports so the roof sits straight. Frame windows using white strips cut to match each opening: keep the frame width consistent at about 4 mm. Glue the window frames after the walls are assembled so you can adjust alignment. For the roof, use cream cardstock and add a 5 mm trim strip along the eaves. Finish by attaching a tiny chimney strip in pale gray and press everything flat for 15 minutes.
Use a metal ruler and craft knife for the frame strips; paper frays less and edges look sharper.
Don’t use thick foam tape under the windows — it looks bulky and breaks the clean lines.
3. Monochrome Beige Duck House with Layered Brick-Style Strips
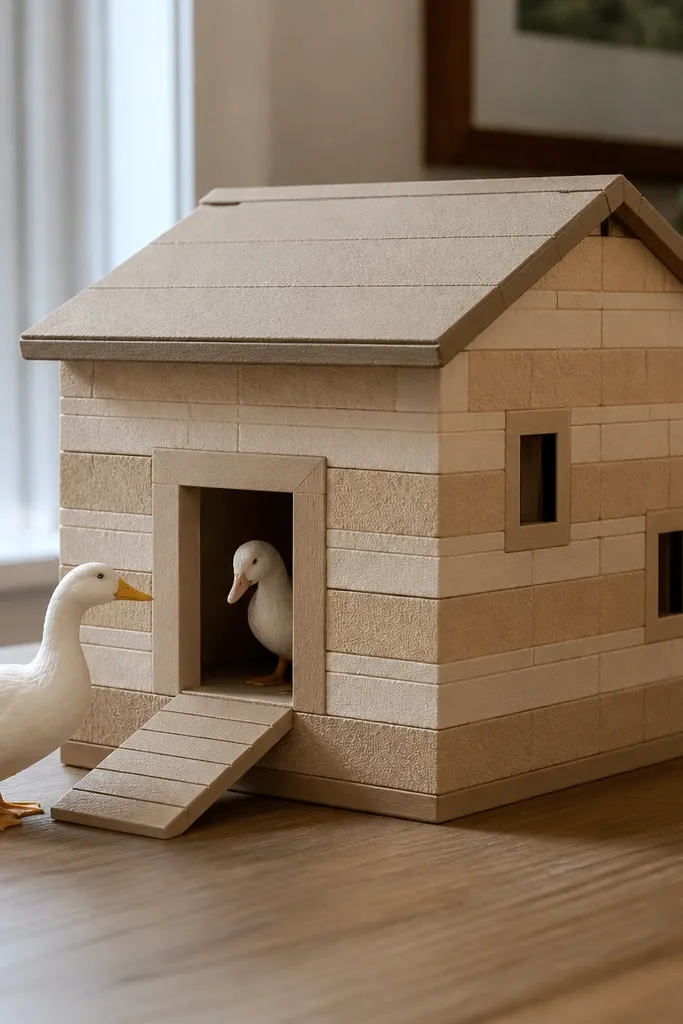
This looks modern because it uses controlled repetition. Instead of full patterned paper, you add brick-style horizontal bands in a single color family, which reads like texture rather than clutter. Beige walls with slightly darker striping make the building feel dimensional. The roof is tan with a subtle overhang so it frames the front openings. It’s a satisfying build if you like measured, tidy crafts and want something that photographs well from straight-on and at angles.
Start with beige cardstock walls and cut 10-12 horizontal strip pieces in a slightly darker beige or taupe. Glue the strips in rows, leaving a 2-3 mm gap between each band so the layers show. Build the roof from tan cardstock and add a 1 cm overhang at the front by extending the roof base. Cut windows as simple rectangles and mount them on top of the brick strips for a framed look. Seal with matte medium only on the outside surfaces so the layers don’t warp.
Make strip lengths slightly uneven by 1-2 mm — perfect uniformity reads printed instead of built.
Don’t cover the whole house with a busy pattern; the modern look needs restraint.
4. Black and Neon Yellow Duck House with Minimal Lines
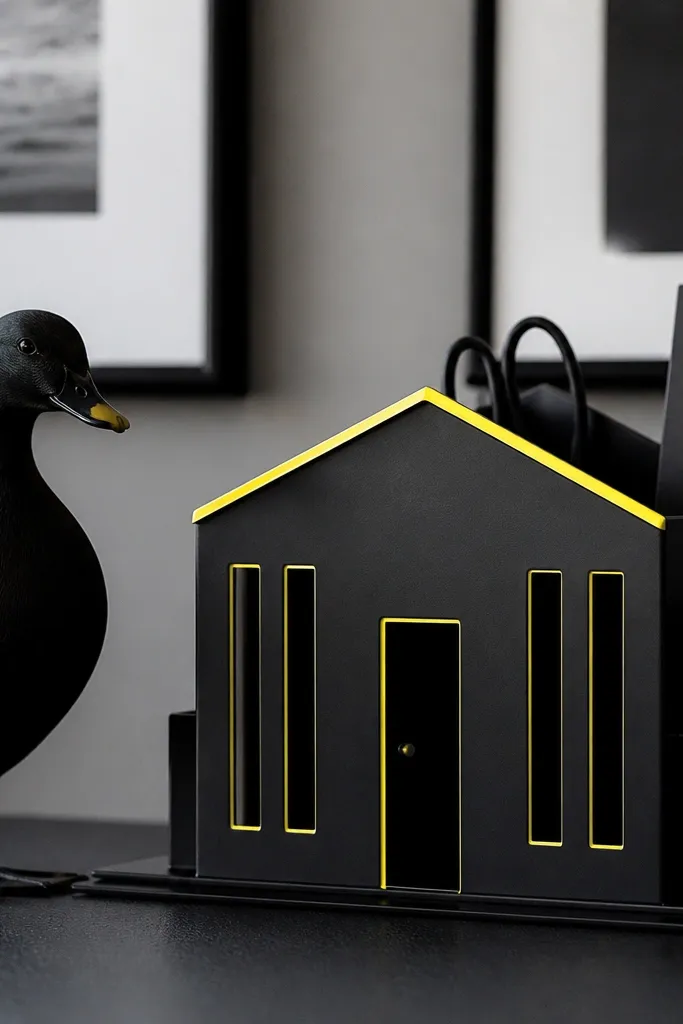
Cut walls from black cardstock and assemble with straight folds for sharp corners. Add neon yellow accents as 3 mm strips: one trim line at the roof edge, one thin stripe above the door, and two window borders. Use a craft knife to cut the window openings, then glue the neon frames on top. Make the roof from black cardstock and score a slight overhang so it casts a tiny shadow. Press under a heavy book for 10 minutes before adding the duck details.
If you want one that looks like it belongs in a modern gallery shelf, this is it. Black cardstock gives you a strong base, and neon yellow only appears as thin accents so it reads intentional, not childish. Keep the windows narrow and tall; modern proportion is vertical. The roof edge gets a neon trim line that makes the silhouette pop in photos. This project is bold but still clean because the color use is controlled.
Skip thisAvoid using neon for large wall panels; it overwhelms the house shape.
Editor's noteNeon paper shows fingerprints — wipe it gently with a dry microfiber cloth before cutting.
5. Soft Gray Geometric Duck House with Angled Roof Panels
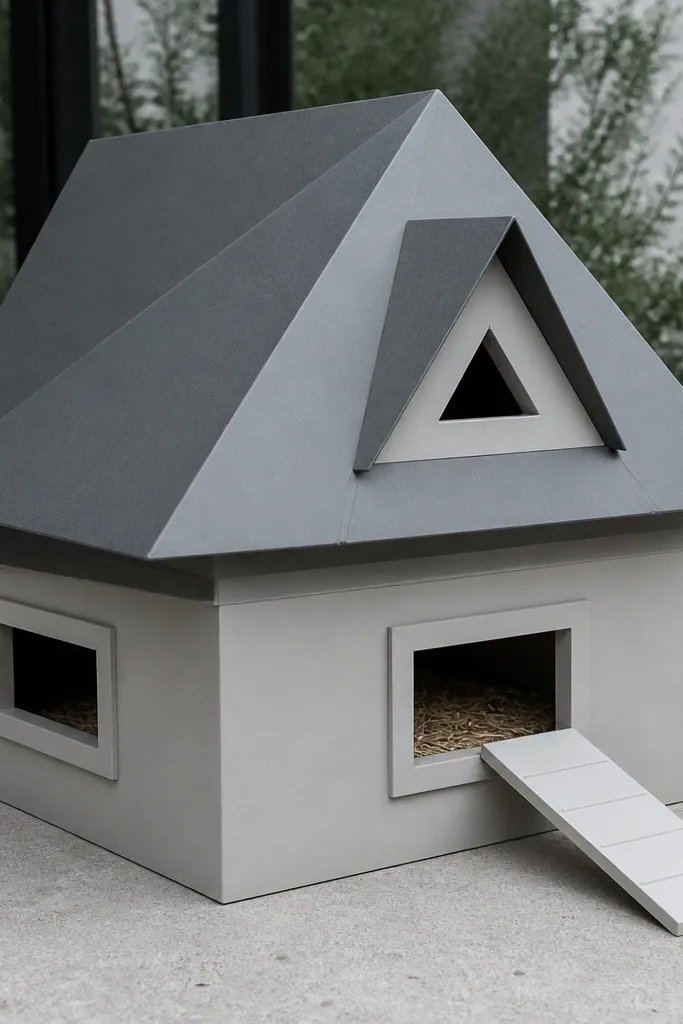
Cut two roof facets from 220-300 gsm gray cardstock: each facet should mirror the angle of the other. Assemble the walls from 160-220 gsm gray and add a small gable triangle centered on the front. Glue roof facets so the seam sits at the ridge line, then cover the seam with a thin gray strip. Cut and frame the windows with 3-4 mm lighter gray strips. Finish by adding a tiny vent panel above the door using two stacked rectangles.
This one uses geometry, not decoration. Angled roof panels create a faceted look that reads modern even when the rest stays simple. Soft gray keeps it calm and lets the roof lines do the visual work. Add a small triangular gable detail and keep windows as clean rectangles. It’s a great choice if you want a “paper architecture” vibe without complicated miniatures.
Skip thisDon’t choose thin paper for the roof; faceted roofs collapse and ruin the geometry.
Editor's noteUse a bone folder for the roof scoring lines — it keeps angles crisp instead of rounded.
6. Navy Striped Duck House with White Doorframe
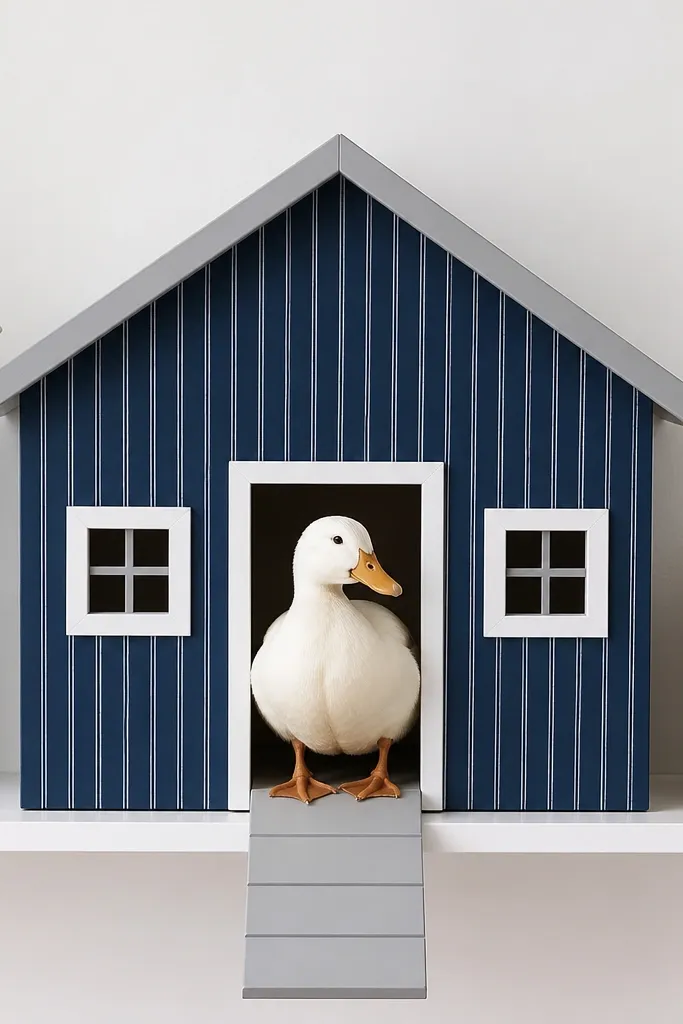
Stripes can look modern when they’re aligned and used as a single design element. Navy striped walls with a white doorframe create a clean contrast that reads well in photos. The trick is keeping the stripe pattern vertical or horizontal consistently across the front panel. The roof stays solid white or light gray to balance the stripes. This is a strong shelf piece because the eye knows exactly where to land: door, windows, roofline.
Use patterned paper for the wall stripes, but cut only the front panel from the pattern so the side panels can be solid navy cardstock. Assemble walls first, then add a white doorframe cut from a strip about 6 mm wide. Create windows as openings and add white frames with the same width as the doorframe. For the roof, use solid light gray cardstock and glue it so the front overhang is 8-10 mm. Add a small striped chimney by wrapping a narrow strip around a rolled paper tube.
When cutting windows, cut the opening first, then frame — framing after makes alignment much easier.
Don’t let stripes wrap around corners; it looks messy on small houses.
7. Two-Tone Wood-Look Duck House with Horizontal Trim
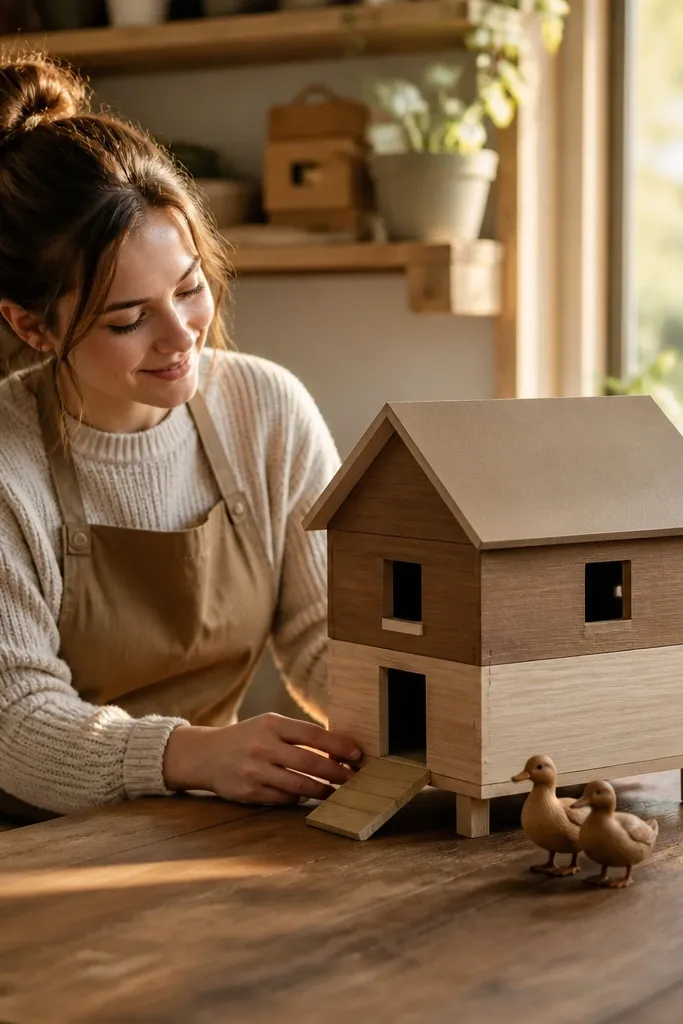
Choose wood-look paper and cut the front wall panel, then split it into two horizontal sections. Glue the sections to a backing cardstock so the edges stay straight. Add a trim line between the two tones using a solid cream strip cut 4-5 mm wide. Build the roof from warm neutral cardstock and add a thin trim strip along the eaves. Frame windows and the door with cream strips for a consistent border look. Press flat under weight for 15 minutes so layers bond cleanly.
Wood-look paper makes a paper duck house feel grown-up. The modern part is the two-tone system: one color for the upper wall band, another for the lower band, plus a crisp trim line in between. Keep the roof in a warm neutral and avoid busy “plank” patterns across everything. This project looks great on desks or beside plants because it feels like miniature home decor, not a school craft.
Skip thisAvoid using wood-look paper on the roof; it makes the silhouette look busy.
Editor's noteIf your wood-look paper has a strong grain, rotate it so the “planks” run horizontally — it reads calmer and more modern.
8. White Minimal Duck House with Black Outline Windows
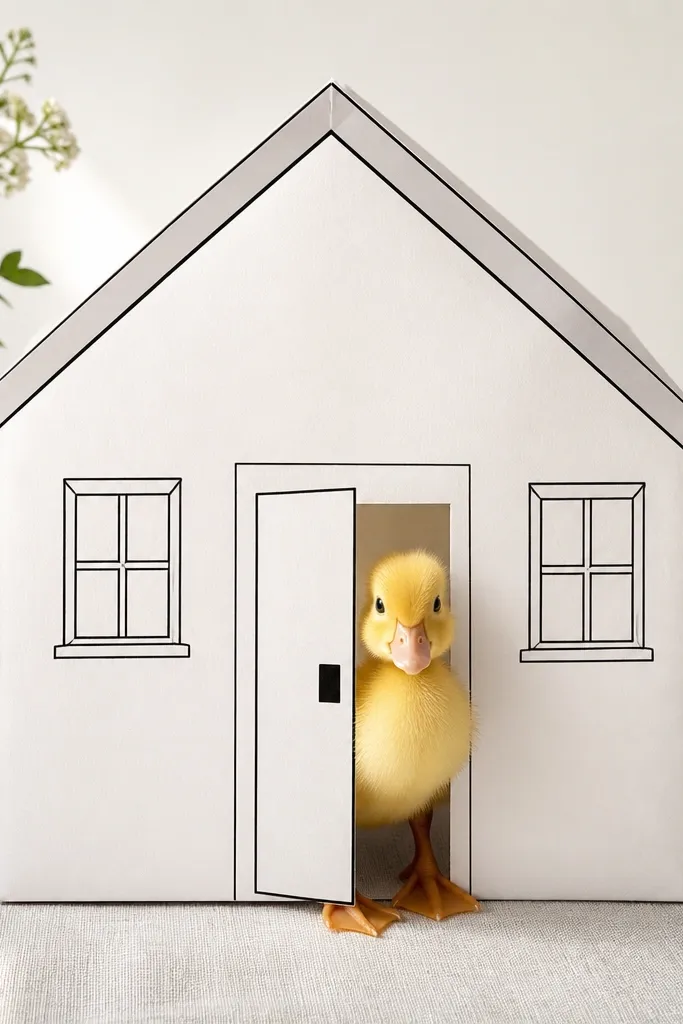
This is the cleanest modern look: white paper, black lines, and tiny details. Instead of heavy frames, you draw or cut thin black outlines so the house stays airy. The roof edge gets a black outline strip that makes the roofline crisp. Use small windows and center the door so the composition feels balanced. This project is for people who want a modern look fast — it’s mostly cutting, folding, and clean outlines.
Use white cardstock for walls and roof, then assemble with scored fold lines for crisp corners. Cut window openings and glue a thin black paper strip behind each opening to create an outline effect. For the door, cut a rectangle opening and add a black border strip around it. Add a black strip along the roof edge and a tiny chimney using a narrow black rectangle. Let glue dry fully, then press under a book so outlines stay aligned.
Use a fine-tip black marker to touch up any tiny gaps after assembly instead of re-cutting.
Don’t use thick black card for outlines; it makes the house look heavy and less modern.
9. Terracotta and Cream Duck House with Curved Door Panel
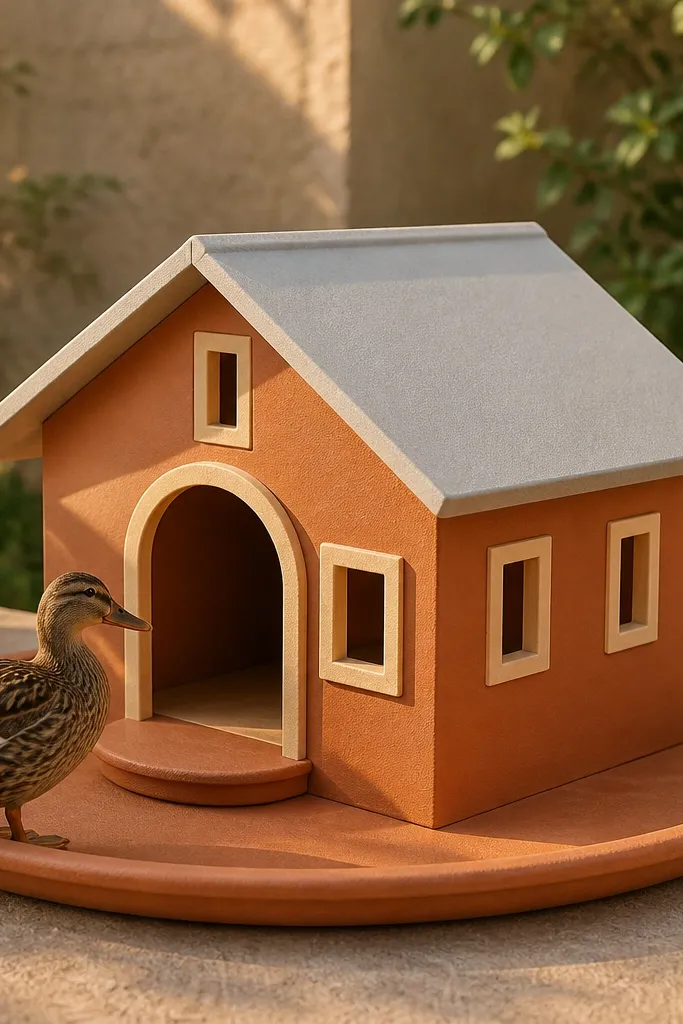
Cut terracotta walls from 180-220 gsm cardstock and assemble the box shape. Make a curved door panel using a paper circle segment or a door template with a radius curve; glue it onto the wall after the walls are assembled. Add cream window frames using 4 mm strips and keep window corners crisp. Build the roof from cream or light terracotta and score a gentle overhang at the front. Add a small chimney in terracotta and press everything for 15 minutes.
Modern doesn’t have to mean sharp angles everywhere. This house uses a rounded door panel and terracotta walls to soften the look while still feeling designed. The contrast between terracotta and cream keeps it readable, and the rounded door makes the front feel welcoming. Keep the windows rectangular so the curve feels intentional, not random. It’s also a good choice if you want something that looks great even when the duck details are small.
Skip thisAvoid a curved door with messy roof angles; pick one “soft” element and keep the rest clean.
Editor's noteUse a compass or a round lid to trace the door curve so it looks smooth, not wobbly.
10. Olive Green Duck House with Cut-Out Lattice Window Detail
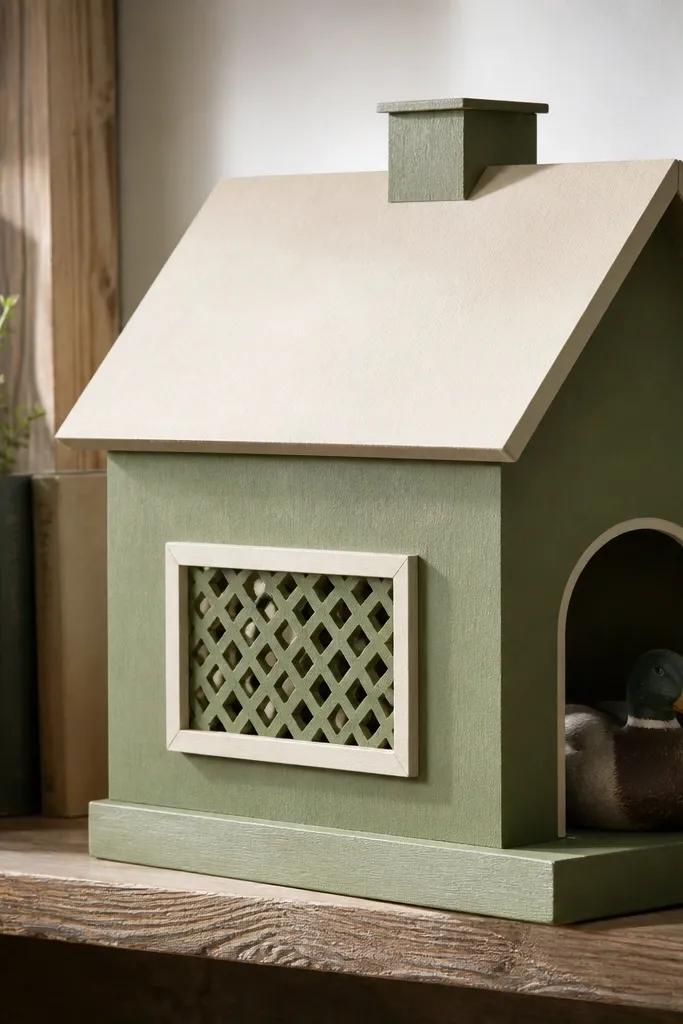
Cut olive walls from 160-220 gsm cardstock and assemble with straight folds. Make window openings as rectangles, then cut a smaller rectangle lattice insert from thin paper or craft foam sheet (2-3 mm spacing between strips). Glue the lattice insert behind the opening so it sits recessed. Frame the outside of the window with a thin olive or cream strip about 4 mm wide. Use a simple olive roof and add a cream trim along the eaves.
Cut-out lattice turns a simple duck house into something that reads like modern farmhouse design. Olive green keeps it grounded, and the lattice detail adds texture without using lots of colors. You’ll get a stronger photo look because the window openings cast small shadows. This works best when the rest of the house stays plain — one color and one roof. It looks great on a neutral shelf or near wood picture frames.
Skip thisAvoid thick craft foam behind the lattice; it bulks the window and kills the modern shadow effect.
Editor's noteCut lattice strips with a sharp blade and go slow — clean cuts make the shadow lines look crisp.
11. Black Marble-Sheet Duck House with White Vein Accents
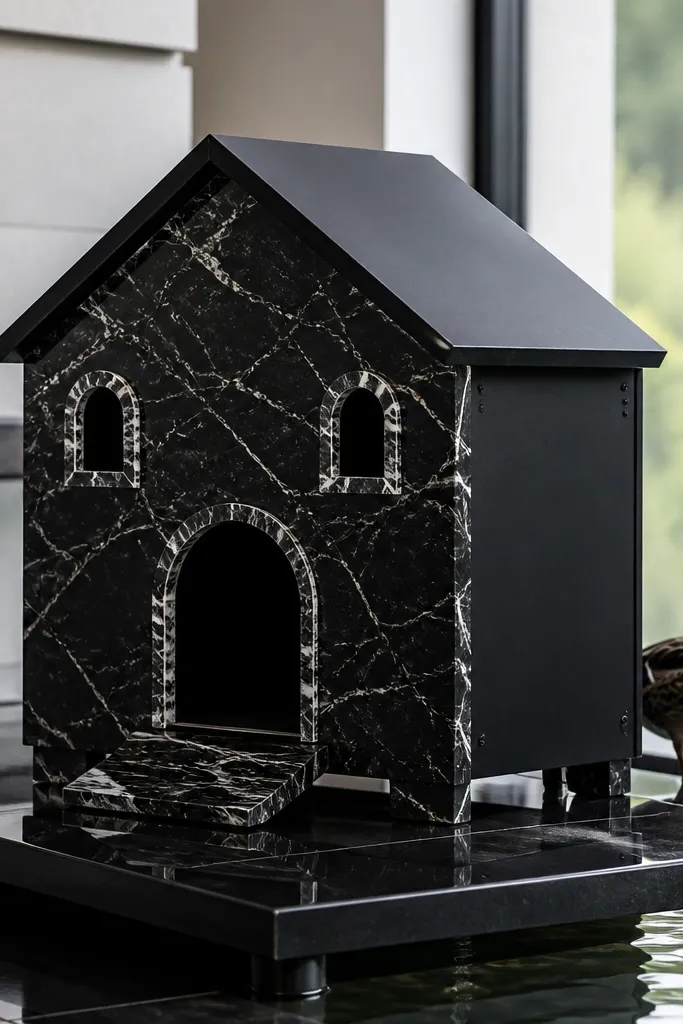
Cut the front wall from black marble paper and back it with black cardstock so the surface stays firm. Assemble side panels from solid black cardstock. Frame windows and the door by cutting thin strips from white marble or white paper and layering them as borders. Build the roof from charcoal cardstock and add a 5 mm overhang. Glue the roof last so you can adjust alignment and keep the marble panel centered. Press under weight until fully dry.
Marble-style paper looks expensive when you treat it like a single surface, not a pattern explosion. Use black marble paper for the front wall panel, then keep side panels solid black. Add white “vein” accents only around the windows and door so the house stays modern and structured. The roof should be matte black or charcoal to reduce glare. This is a strong choice for a high-contrast shelf setup.
Skip thisDon’t use marble paper on the roof; it reflects light and makes the silhouette look messy.
Editor's noteIf the marble paper is glossy, dust it lightly with matte medium on the outside only — it kills glare without dulling edges.
12. Rainbow-Accent Duck House with Monochrome Body
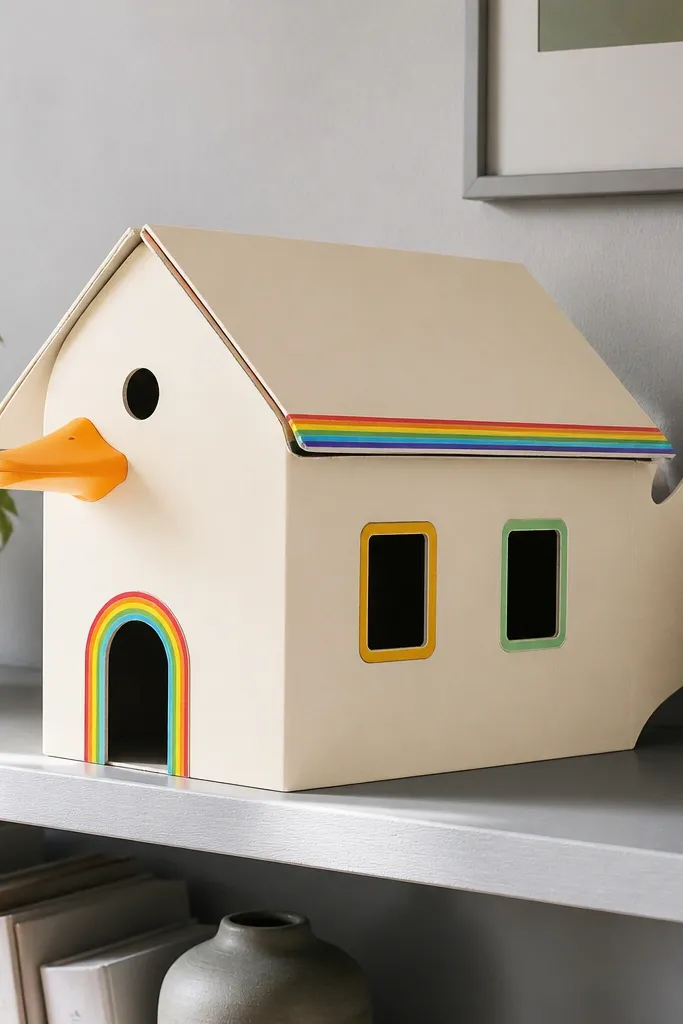
This is modern because the rainbow is controlled. Keep the body monochrome — white or cream — then add rainbow accents in thin bands so it looks like graphic design. Use a single rainbow stripe on the roof edge and a small rainbow door trim. The windows stay minimal with one color border so the piece doesn’t turn into a kid’s craft. It’s photogenic because the accents catch attention without clutter.
Use cream cardstock for walls and assemble a clean box. Cut a roof from white cardstock and add a rainbow strip along the front edge made from 5-7 narrow color bands. Frame windows with a single neutral border strip (gray or black) about 3-4 mm wide. Add a small rainbow trim above the door and keep the duck details tiny so the accents remain the focal point. Press flat while the glue sets, then check roof alignment from the front.
Cut the rainbow strips slightly thinner than you think — at 3-4 mm each band, it looks like modern graphic detail.
Avoid rainbow pattern paper for the walls; it reads busy and loses the modern graphic effect.
13. Matte Pastel Lavender Duck House with Off-Center Door
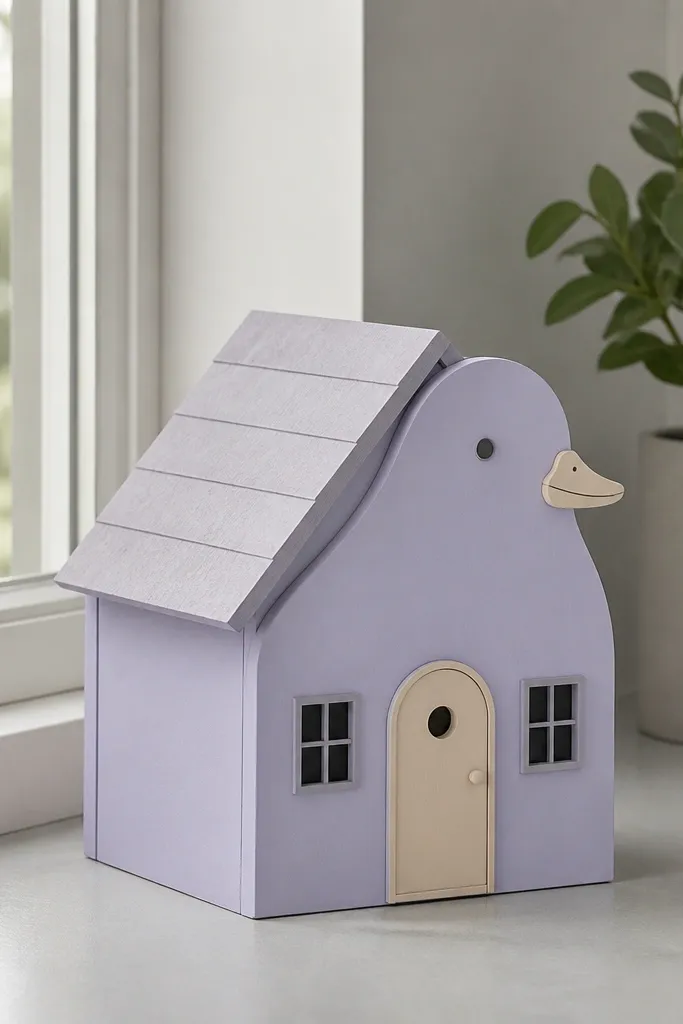
Off-center placement gives a modern, design-y feel. The house stays simple and matte, but the door sits slightly to one side so the composition looks intentional, not symmetrical-by-default. Lavender is soft and modern when you keep the accents cream or light gray. Use small windows and a clean roofline, and let the door be the only “feature.” This fits desks, bedside shelves, and minimalist decor corners.
Cut lavender walls from matte cardstock and assemble with a crisp score line at each fold. Mark the door position so it sits 1-1.5 cm off center on the front panel. Frame the door with cream strips about 6 mm wide and add a tiny step platform under it using a folded strip. Make the roof from light gray cardstock with a simple overhang. Place windows as two small rectangles on the opposite side for visual balance. Press flat for 15 minutes.
Use a pencil guide line lightly; erase after gluing so your door alignment stays clean.
Don’t add extra decoration to “fix” the asymmetry; the modern look comes from restraint.
14. Two-Story Paper Duck House with Modern Stacked Levels
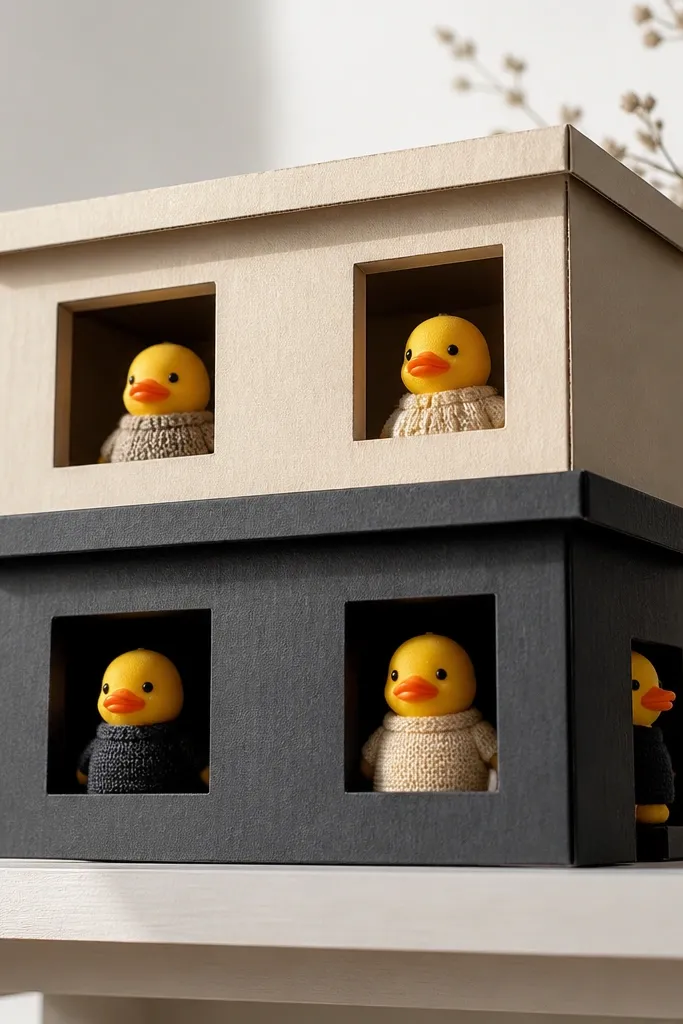
Stacking levels makes it look like modern architecture instantly. This is still a duck house, but the stacked design reads like a small apartment building, which photographs well because it has vertical interest. Use two complementary colors so the layers separate clearly. Keep the roof shapes simple: one flat-ish top for the upper level and one angled roof for the lower level. The build is more work, but the look is more striking than single-story houses.
Build the lower level first: walls from 180-220 gsm cardstock and a roof from 200-300 gsm with a clean overhang. Create the upper level as a smaller box, using the same width so the stack looks aligned. Add spacers or a thin cardstock “stair-step” strip between levels so you see a gap line. Cut windows on both levels and frame them consistently. Finish by adding a chimney on the lower roof and a tiny railing strip on the upper front edge.
Measure once, stack twice: dry-fit the upper level on the lower before gluing so it doesn’t skew.
Avoid stacking without a gap; if the levels touch, you lose the modern layered look.
15. White Paper Duck House with Accordion Roof Overhang
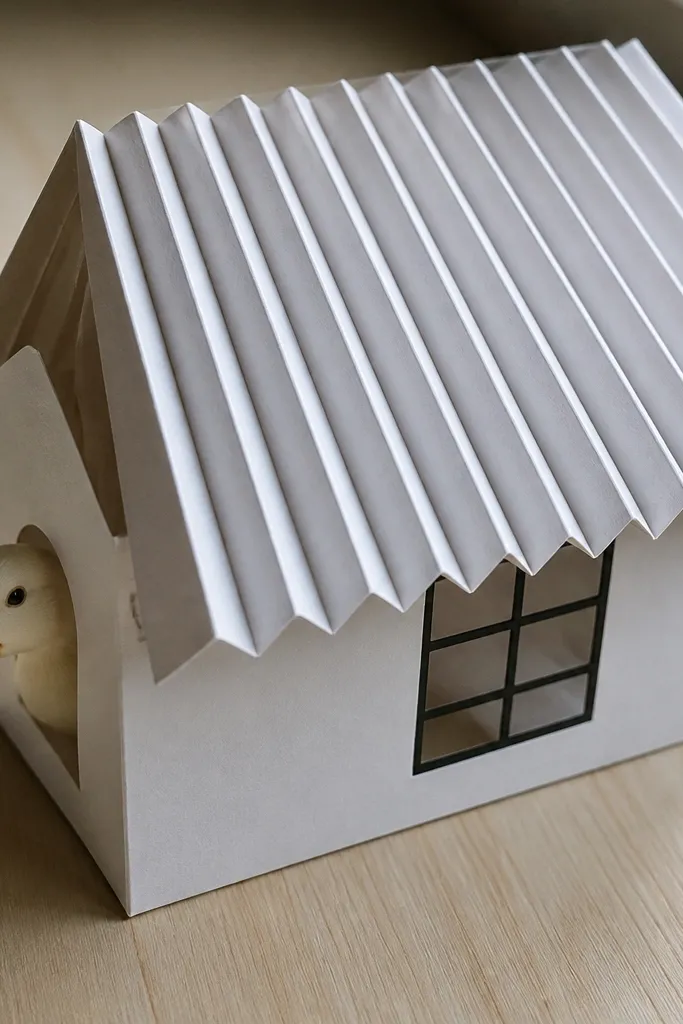
Cut the walls from white cardstock and assemble. For the accordion overhang, cut a long strip of cardstock and score parallel lines about 4-5 mm apart, then fold it like a fan. Glue the accordion strip along the top edge of the front roofline so it hangs down slightly. Add a simple roof base behind it to support the shape. Frame windows with thin black strips and glue them after the roof is attached for easier alignment.
This roof shape makes the house look dimensional without extra bulk everywhere. The accordion roof overhang creates a repeating fold line that reads like modern siding or a structured canopy. Keep the body white and let the roof texture do the visual work. Add simple black window outlines so the roof pattern stays the main feature. It’s a great project if you want something that looks “crafted” but still modern and clean.
Skip thisDon’t use very thin paper for the accordion strip; it collapses and loses the crisp canopy shape.
Editor's noteScore deeper for the accordion than you think; shallow scores crack when you fold.
16. Sand and Sage Duck House with Minimal Chimney and Window Sill
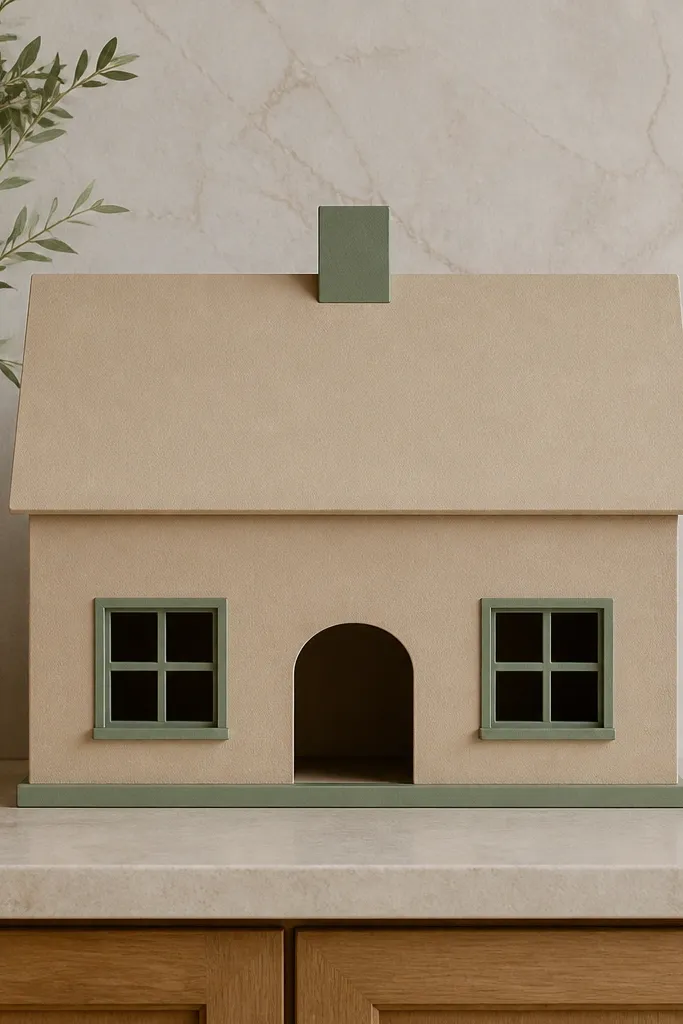
Sage and sand feel modern because they’re muted and paired like interior design. The window sill detail adds realism and makes the windows look built-in. Keep the chimney small and centered so it reads like a design element, not a random add-on. The roof should be sand with a clean edge — no extra trim. This is a calm, stylish option for neutral rooms and photo sets with plants or light wood.
Cut sand cardstock walls and add sage side accents using strips about 1 cm wide. Assemble the front panel with a door and two windows as openings. Create window sills from tiny folded paper tabs and glue them under each window opening, about 5-7 mm deep. Build the roof from sand cardstock and add a small overhang. Add a chimney as a narrow folded rectangle, then glue a tiny cap strip on top. Press flat so sills don’t lift.
Fold window sill tabs with a bone folder so they stay crisp and don’t look wobbly on camera.
Avoid oversized sills; big ledges make the house look like a cartoon storefront.
17. Sky Blue Duck House with Clear Acetate Window Panels
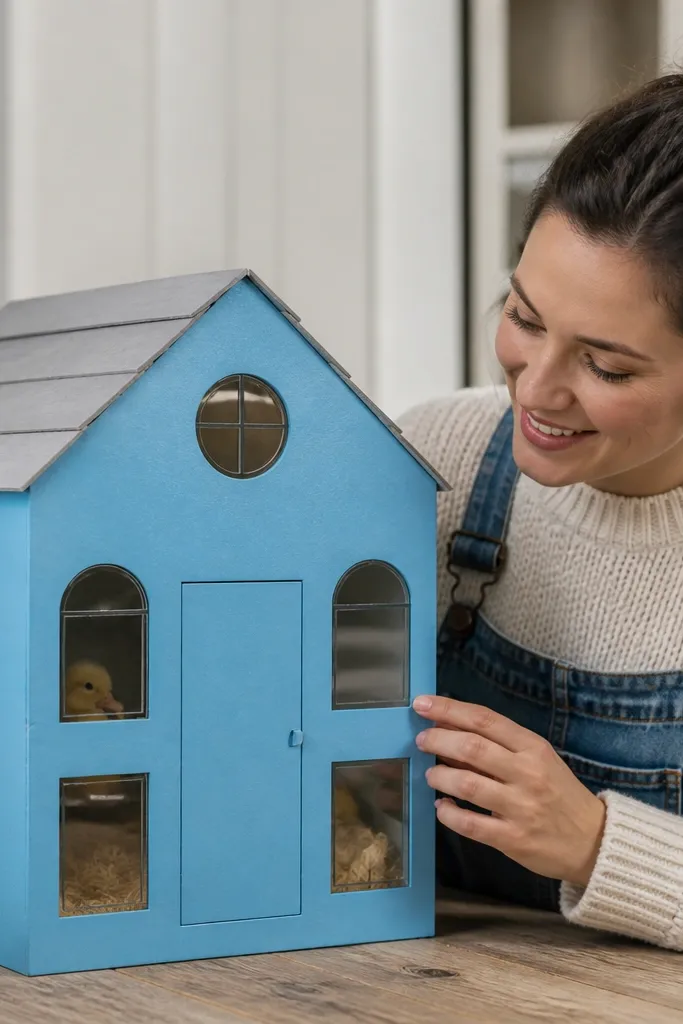
Cut sky blue walls and assemble the house front and sides. Cut window openings and measure each opening exactly. Cut acetate pieces slightly smaller than the openings so they sit inside without bubbling. Glue acetate behind the opening using a thin adhesive layer around the edges, then add thin frame strips on top. Build the roof from white or pale gray cardstock and add a simple chimney. Let everything dry flat so acetate stays smooth.
Adding clear acetate turns paper windows into a mini “glass” effect, which makes the whole piece look more modern and polished. Sky blue walls feel light, and the acetate catches highlights without turning the house glossy overall. The key is keeping the frames thin so the windows look inset, not sticker-like. This looks great in bright room light and makes photos feel more premium than typical paper windows.
Skip thisDon’t glue acetate across the whole window — leave the center clear so it looks like glass.
Editor's noteUse matte glue for acetate edges so you don’t get shiny glue marks that show in photos.
18. Olive-Black Duck House with Raised Door Steps
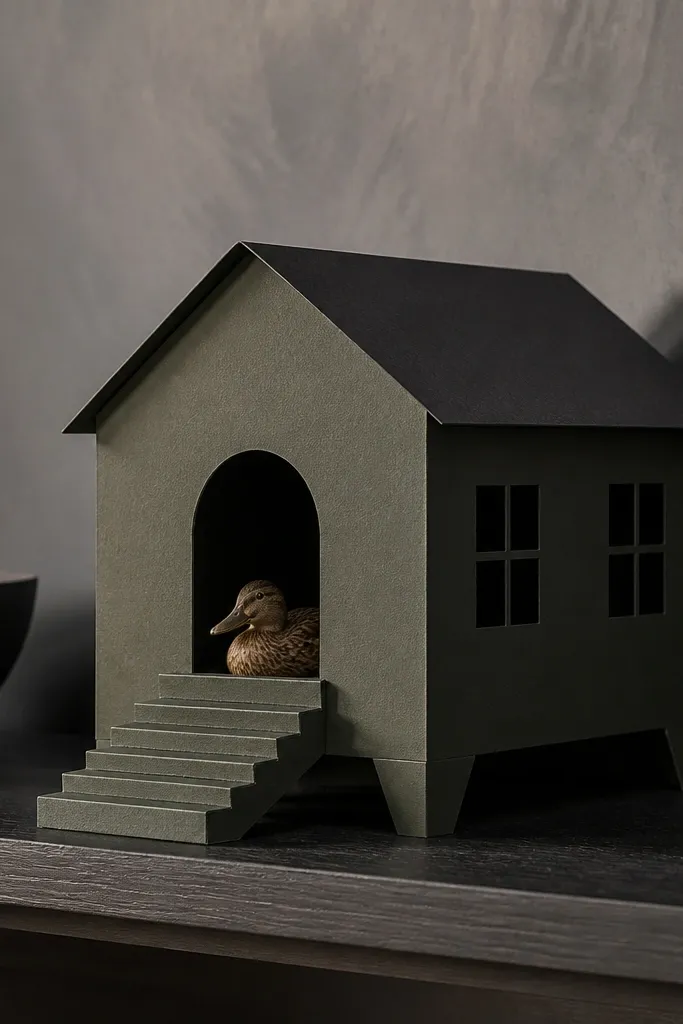
Build the main walls from olive cardstock and add black trim bands at the corners using 4-6 mm strips. Assemble the front with a door opening and frame it with black trim. Create steps using folded cardstock: a top step the same width as the door frame, plus one lower step slightly wider. Glue steps to the base behind the door opening so the top step sits level with the door threshold. Add a black roofline and a simple olive roof panel. Press under weight for 15 minutes.
This one looks modern because it adds a small physical story: steps. Olive-black contrast gives it depth, and raised steps create a strong shadow line under the door. The windows stay minimal and framed so the front doesn’t get crowded. A small step platform also helps the duckhouse feel grounded on a shelf. It’s a strong project if you want something that reads 3D even though it’s paper.
Skip thisAvoid thick layers under the steps; heavy cardstock makes shadows look harsh and uneven.
Editor's noteMake the top step 2-3 mm taller than you think; it reads better in photos than a barely-there ledge.
19. Two-Tone Roof Duck House with Diagonal Paneling
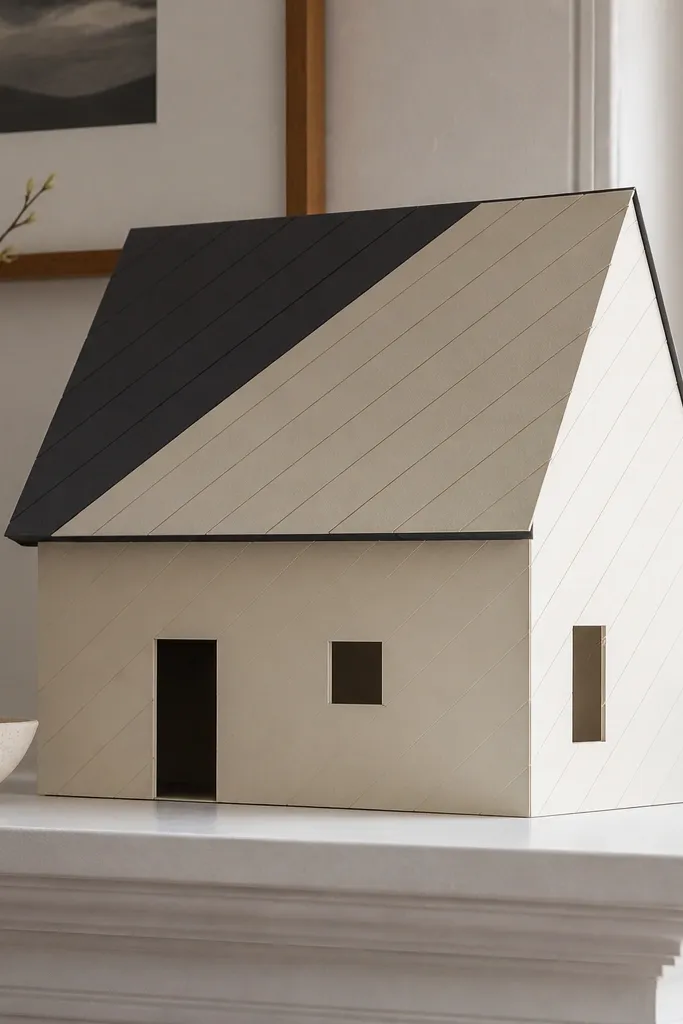
Cut walls from a single solid color cardstock and assemble. For the roof, cut two roof panels: one base panel in charcoal and one diagonal accent panel in cream. Glue the diagonal panel onto the base panel along one edge, then attach the combined roof to the walls. Frame the windows with thin strips in the cream color so the diagonal theme continues. Add a tiny chimney in charcoal and a small gutter strip at the eaves. Press flat to keep diagonal alignment crisp.
Diagonal paneling makes this duck house look like it has real facade design. The trick is to keep the body simple and let the diagonal panels live on the roof, where the visual energy belongs. Use two roof colors that match your wall palette — for example, charcoal roof with cream diagonal paneling. The diagonal lines give you motion and make the house pop from the side. It’s a great project when you want modern style without adding more small parts.
Skip thisDon’t add diagonal patterns to the walls; it turns modern into busy fast.
Editor's noteUse a light pencil to mark the diagonal line on the roof base before gluing the accent panel.
20. Matte Terracotta House with White Herringbone Door Trim
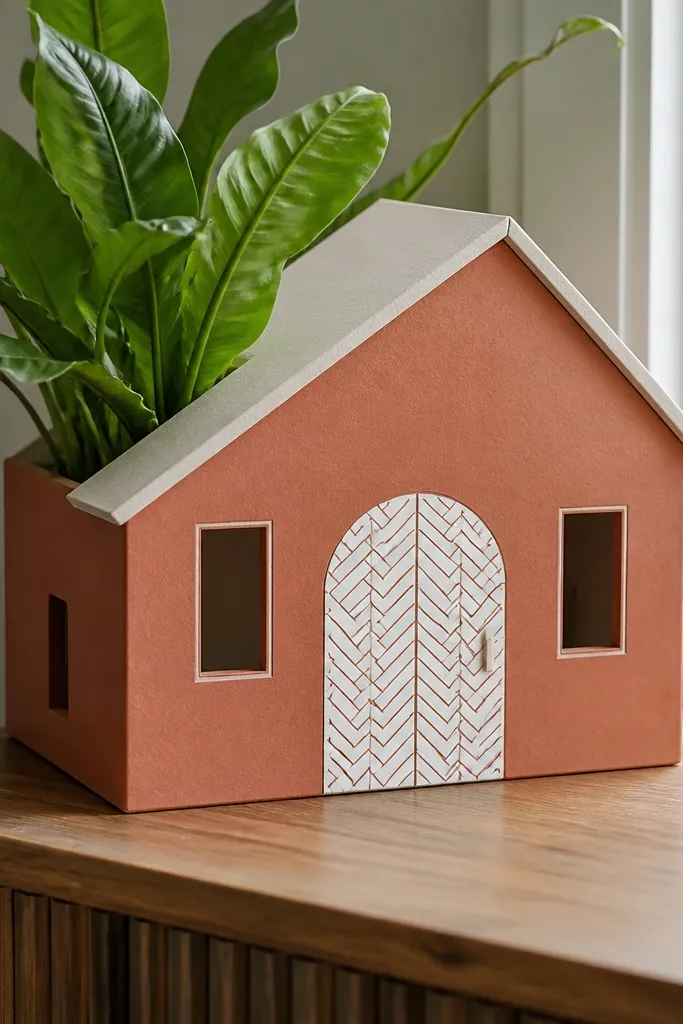
Cut terracotta walls from matte cardstock and assemble the house body. Make the door opening and build a white door frame with two vertical strips and a top strip. Then create herringbone trim using tiny white rectangles cut about 3-4 mm wide and glued in alternating angles to form a V pattern. Glue the herringbone piece onto the door frame edges after the frame is attached. Add a simple roof in cream or light terracotta and keep window frames plain. Press flat so the trim doesn’t lift.
This looks modern because the detail is small but clever. A herringbone door trim gives a structured pattern without turning the whole house into a patchwork mess. Terracotta stays warm and modern when you keep everything else matte and simple. The windows are clean rectangles with minimal frames so the herringbone remains the focal point. This is a great pick if you like pattern, but you want it controlled and photo-friendly.
Skip thisAvoid herringbone on the windows too; one patterned zone keeps it modern.
Editor's noteCut herringbone tiles with a fresh blade; dull blades crush paper edges and the pattern looks sloppy.



