
1. Saddle-stitched mini booklet with a stitched spine band
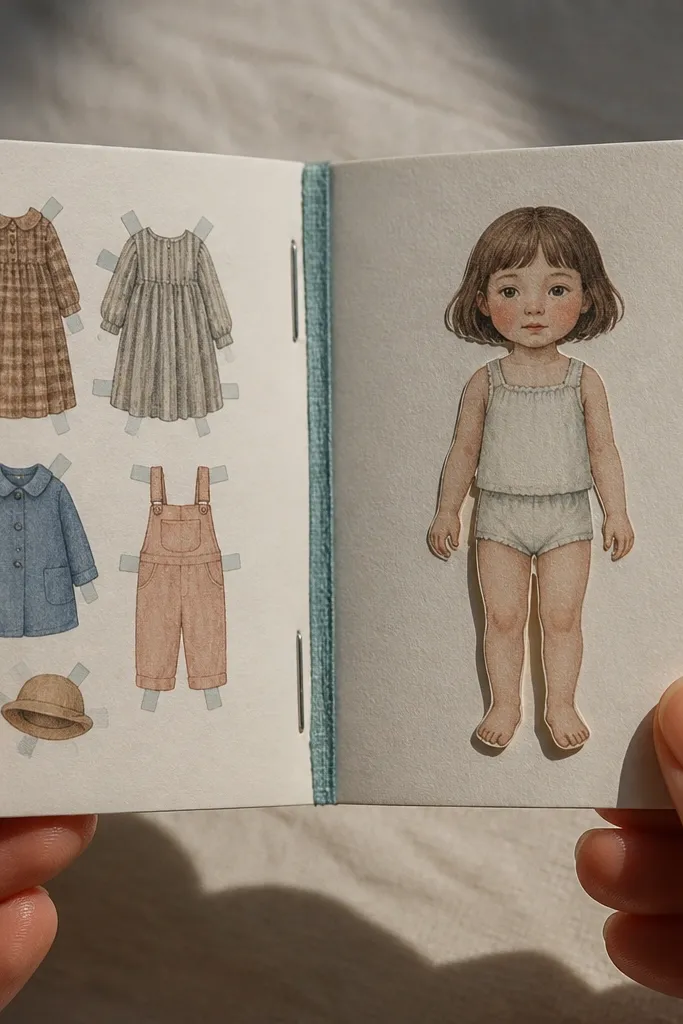
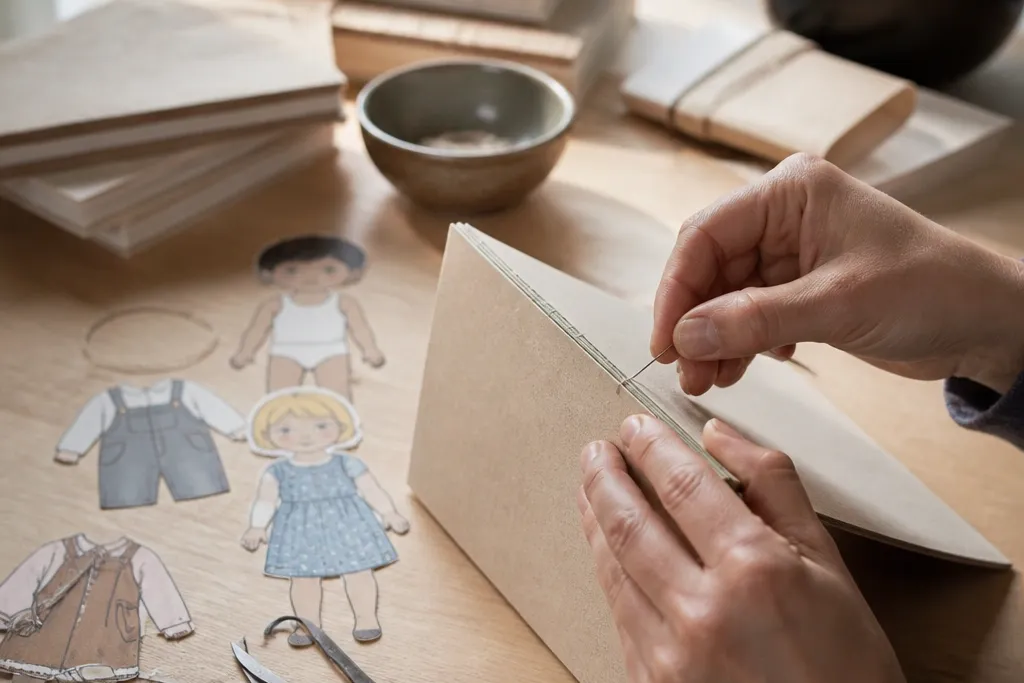
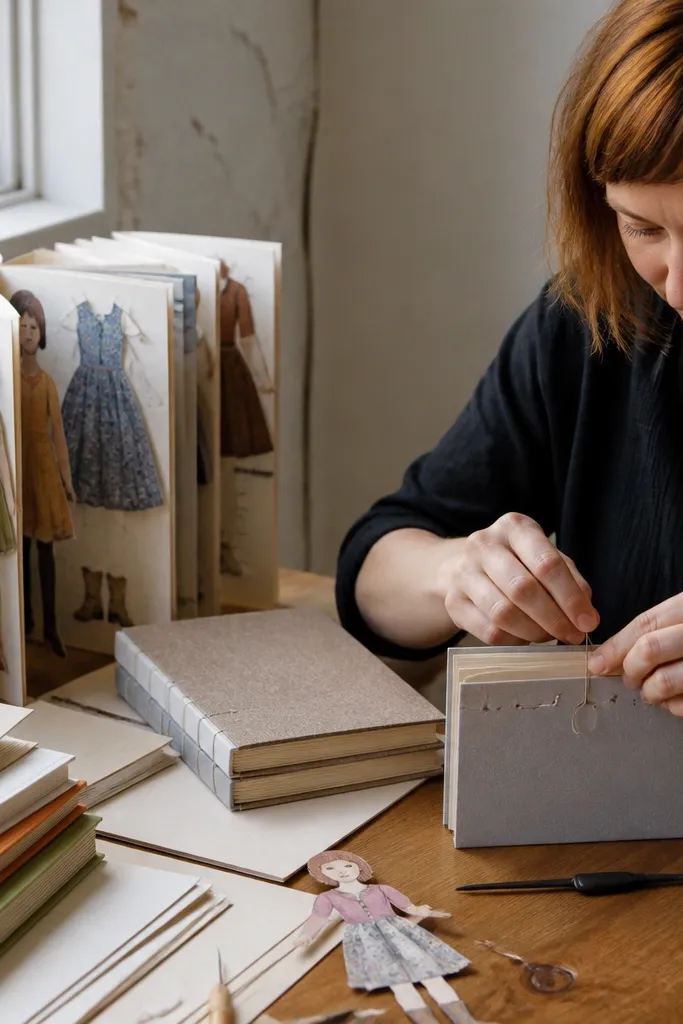
This is the simplest way to get that “real book” flip without heavy tools. You print your doll pages, fold them into signatures, then stitch through the folded spine so the book lays open without a bulky glue seam. The visible thread band is what makes it look styled, not handmade-by-accident. Use a cover sheet slightly thicker than your pages so the front holds shape and the spine stays straight.
First, print and cut your pages, then fold them into signatures of 4 pages each (2 sheets folded down). Next, use a ruler to mark 2-3 stitch points along the spine, punch through the folded stack, and stitch with waxed thread or embroidery floss. Finally, trim the cover to size, glue only the cover edges (not the spine), and press under a flat weight for 30 minutes so it doesn’t warp.
Do a test signature on scrap paper and check that the stitches don’t pull the fold out of alignment before you bind the full set.
Don’t punch too close to the fold line — it tears the paper and makes the spine look jagged.
2. Perfect-bound paper doll book with a reinforced glue spine
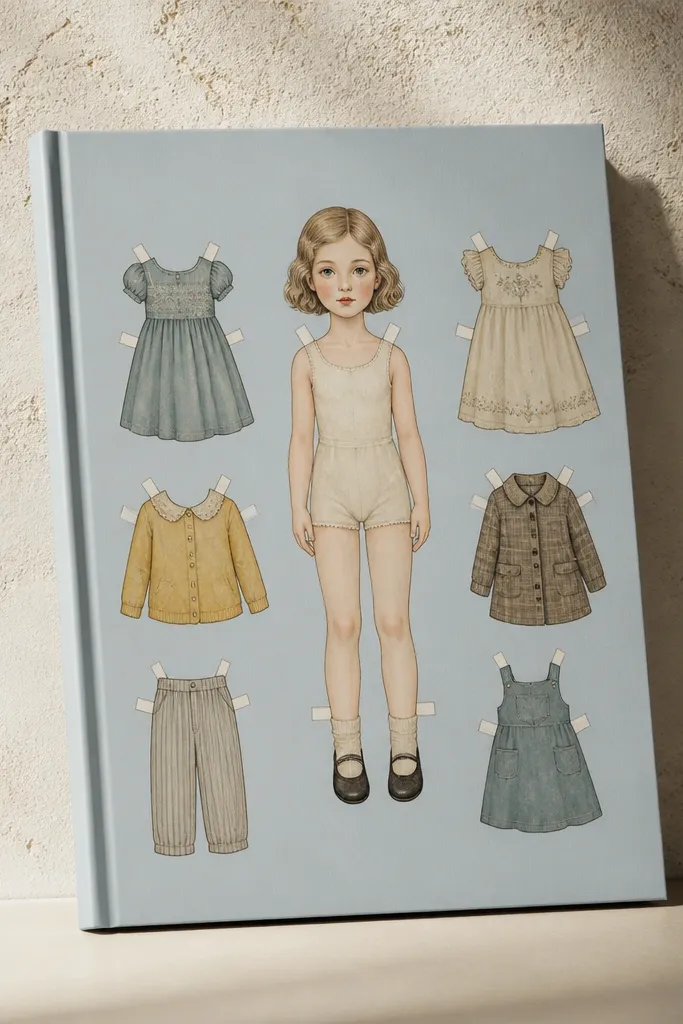
If you want a sleek, store-bought look, perfect binding is the move. The secret is reinforcing the spine so the pages don’t pop loose after a few openings. This format is great for 10-20 pages where you want a flat back cover and a smooth front presentation. It’s also the easiest way to make multiple matching books for a theme party or seasonal rotation.
Start by building signatures of 4-6 pages and gluing the spine edges after trimming the stack square. Then rough up the spine with fine sandpaper (lightly) so glue grips, apply a thin PVA layer, and add a strip of thin fabric or paper along the spine for reinforcement. After that, clamp the book spine-up while the glue dries, then apply a spine strip and attach the cover with glue to the cover’s inside hinge area only.
Use a bookbinding clamp or two flat boards with rubber bands so the spine cures evenly flat.
Avoid soaking the spine with glue — it soaks through and warps the page blocks.
3. Thread-bound signatures with a cloth spine wrap
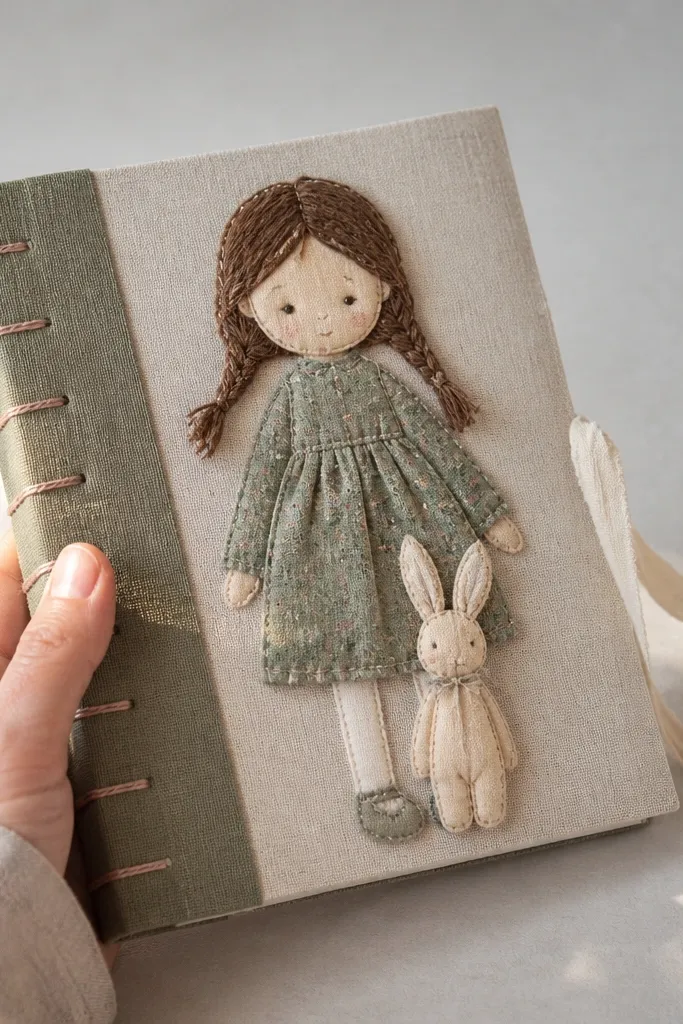
This one looks the most “designed,” even when you keep the tools simple. Thread binding keeps the pages flexible and strong, and the cloth wrap hides the messy part where signatures meet. It’s a great pick when you want your paper doll outfits to be handled a lot, because thread holds up better than glue alone. The cloth spine wrap also makes the book look intentional on a shelf.
First, fold signatures (4 pages per signature is a good start) and punch holes along the spine using a spacing template on scrap. Next, sew through the holes with waxed thread, pulling snug but not bowing the signatures. Finally, glue the spine only at the threads' base, wrap with a strip of cloth or bookcloth, and press under weight until fully set.
If your holes are uneven, make a simple cardboard jig with pre-punched marks and use it every time.
Don’t over-tighten — it can pull the fold line inward and make the book open unevenly.
4. Accordion-fold outfit gallery book
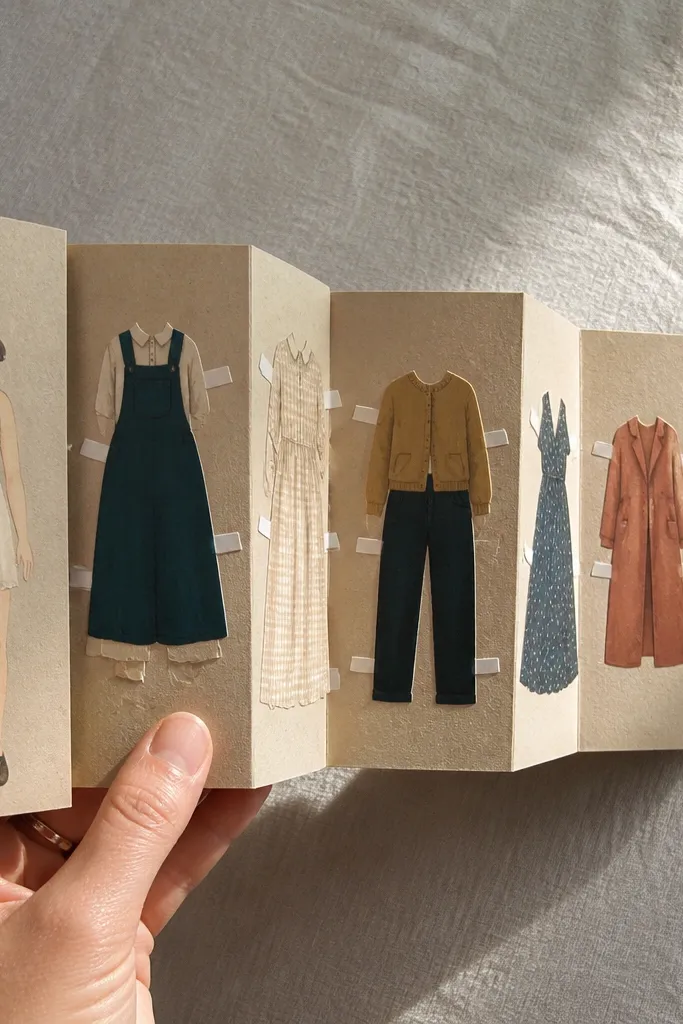
Accordion books make paper doll pages look like a display, not a stack. Each fold becomes its own little stage, so the outfits are easy to flip through and look great photographed from the side. This is also a strong option when you want fewer pages but higher visual impact, like 6-8 outfit sets. The trick is crisp folds and a sturdy cover hinge so the accordion doesn’t sag.
Start by printing and trimming your pages into a single long strip layout, then score fold lines with a ruler and bone folder every 20-25 mm (choose based on how thick your pages are). Then fold the strip accordion-style, and attach it to a cover using two hinge tabs: one on the front cover, one on the back. Finally, glue the tabs with a thin layer, then press flat between scrap boards while it dries.
Editor's noteUse double-sided tape for the hinge tabs before gluing so alignment stays perfect as you press.
Skip thisDon’t skip scoring — folding without scoring creates fuzzy creases and your accordion looks sloppy.
5. Coptic stitch mini book with decorative spine thread
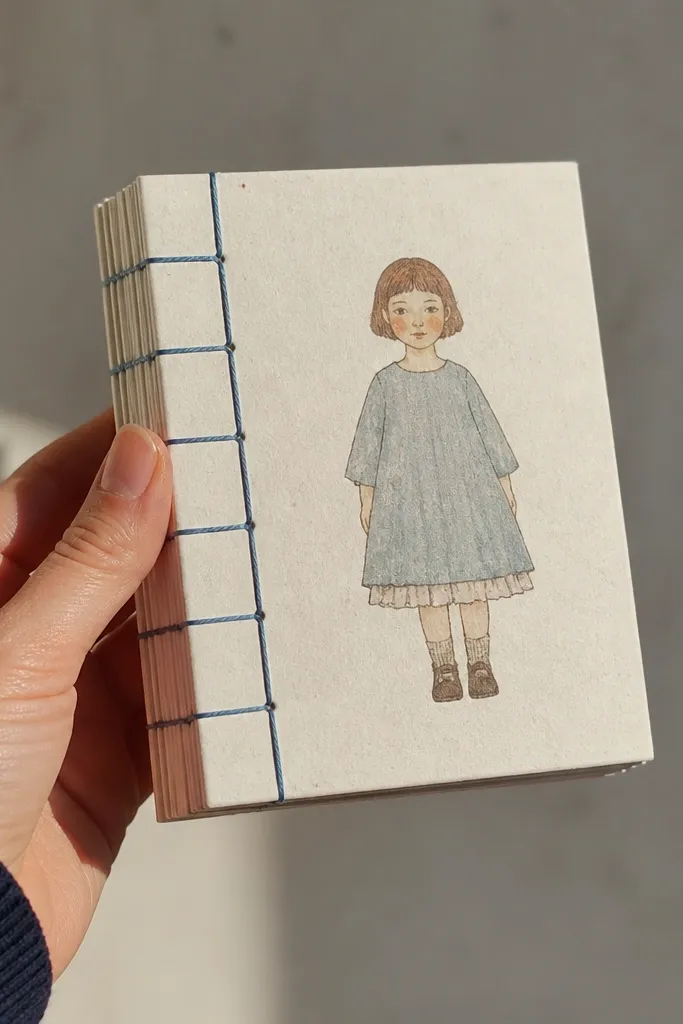
Coptic stitching gives you that distinctive ladder spine, and it makes the book look like a handmade journal instead of a craft project. It’s strong, flexible, and looks great even with a simple cover. Choose this when you have 12-24 pages and want the book to open flat. The decorative thread color becomes part of the aesthetic.
First, fold your pages into signatures and mark 4-5 sewing points along the spine. Then stitch through the signatures using the Coptic method: anchor at the first signature, loop between signatures, and keep tension even. Finally, attach the cover with hinge glue along the spine edge and place the book under a flat weight to keep the spine from curling.
Use a thread color that matches one small detail in your doll pages so the spine looks deliberate in photos.
Don’t let gaps form between signatures — uneven spacing makes the ladder spine look crooked.
6. Ring-bound doll book with spine labels for quick swapping
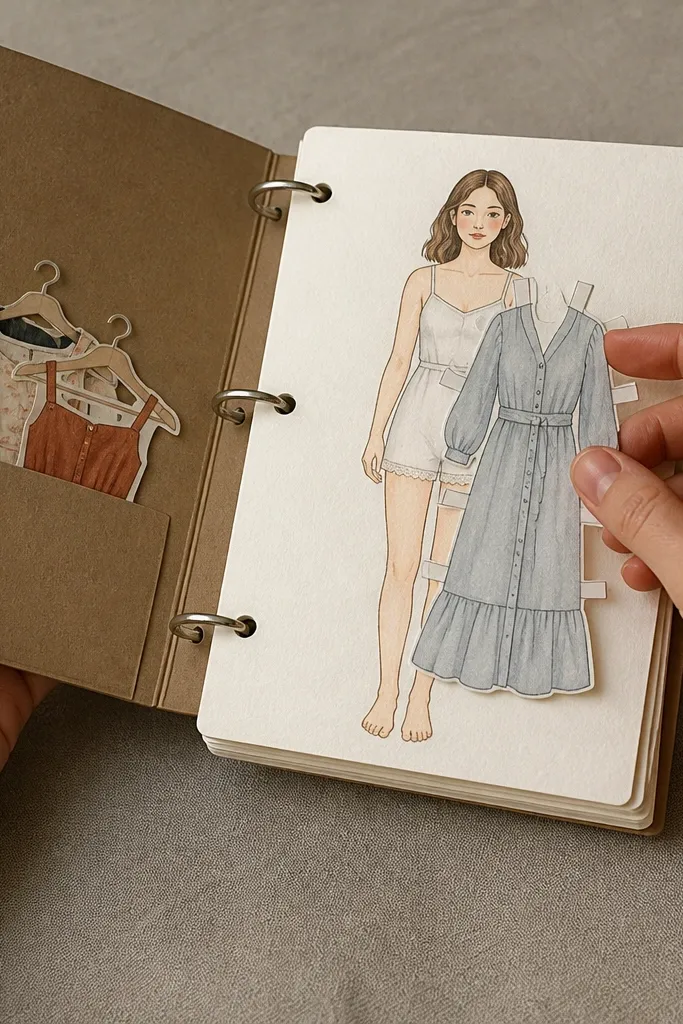
Ring binding is the “I want to change outfits fast” format. It keeps pages flat because they’re supported, and it lets you swap in new printouts without rebuilding the whole book. Add a label strip on the spine so each mini season or character set looks organized. This one is perfect for classroom kits, photo sessions, or a rotating display where you want clean swaps.
Start by punching matching holes near the left edge of each page using a template (three holes works well for small books). Next, stack pages with a cardstock cover, then feed them onto binder rings. Finally, add a spine label strip by gluing it to the front cover edge and back cover edge so it wraps slightly without covering the ring area.
Editor's noteUse a hole-punch jig made from scrap cardstock with drilled holes so every page lines up exactly.
Skip thisAvoid punching too close to the art — rings cast shadows and can cut into important details.
7. Tape-bound book with a clean cloth spine hinge
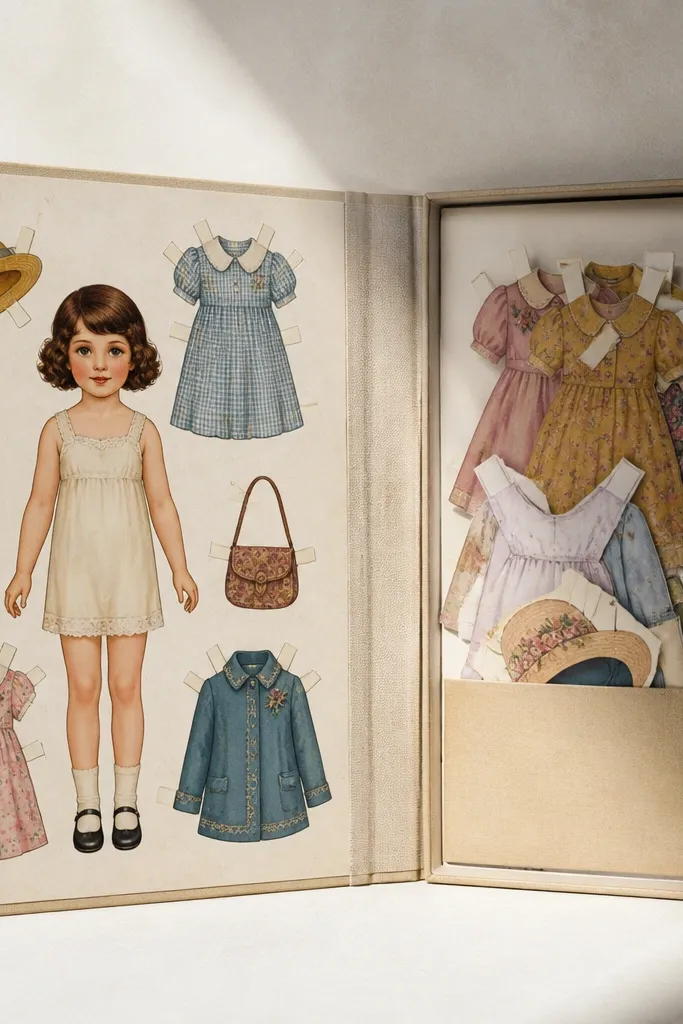
This is a tidy way to get a sturdy hinge without messy glue blobs. Tape binding works well when you want the book to survive repeated opening, and the cloth hinge makes it look polished instead of “crafty.” It’s also fast, so you can make matching sets quickly. The look is minimalist: clean edges, controlled spine movement, and a crisp cover outline.
First, create a folded spine hinge strip from cardstock and score it so it bends easily. Then attach each page block to the hinge using narrow archival tape along the spine edge, keeping tape thickness consistent. Finally, cover the hinge with a strip of cloth or patterned paper, and press under a flat weight so the spine stays straight.
Use archival tape with a matte finish so it doesn’t reflect under indoor lighting.
Don’t overbuild tape layers — thick spines make the cover bend and the book won’t close flat.
8. Fold-over cover with hidden side glue and page tabs
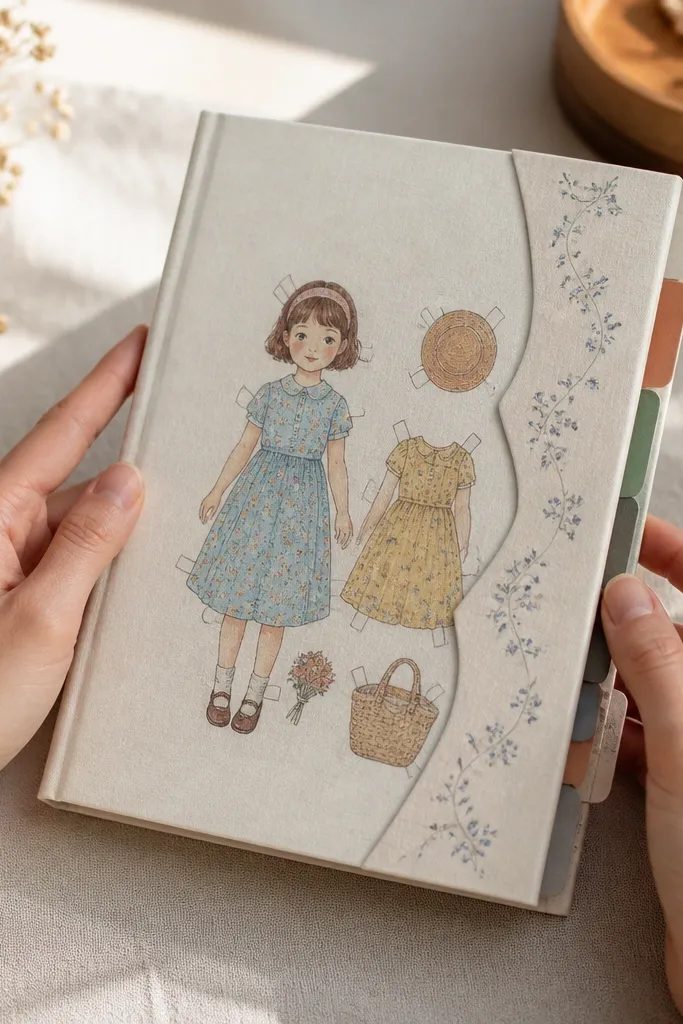
If you like interactive books, this format gives you tabs that make flipping effortless. The cover is fold-over, so the edges frame the doll pages and protect them. Hidden side glue keeps the spine area clean, which matters for photos and for longevity. This is a smart pick for 8-16 pages where you want a compact book that still feels “playable.”
Start by cutting page blocks and adding small tab tabs along the outer edge (about 8-10 mm wide). Next, fold a cover sheet so it wraps around the pages, then apply glue only to the cover’s inside side edges, not across the fold line. Finally, press the book closed with a binder clip and add a strip of cover tape inside the fold for reinforcement.
Editor's noteRound the corners of the cover with scissors — it keeps the book from catching and fraying.
Skip thisDon’t glue across the spine crease — it locks the fold and pages won’t open smoothly.
9. Boxy case-bound paper doll book with a spine label
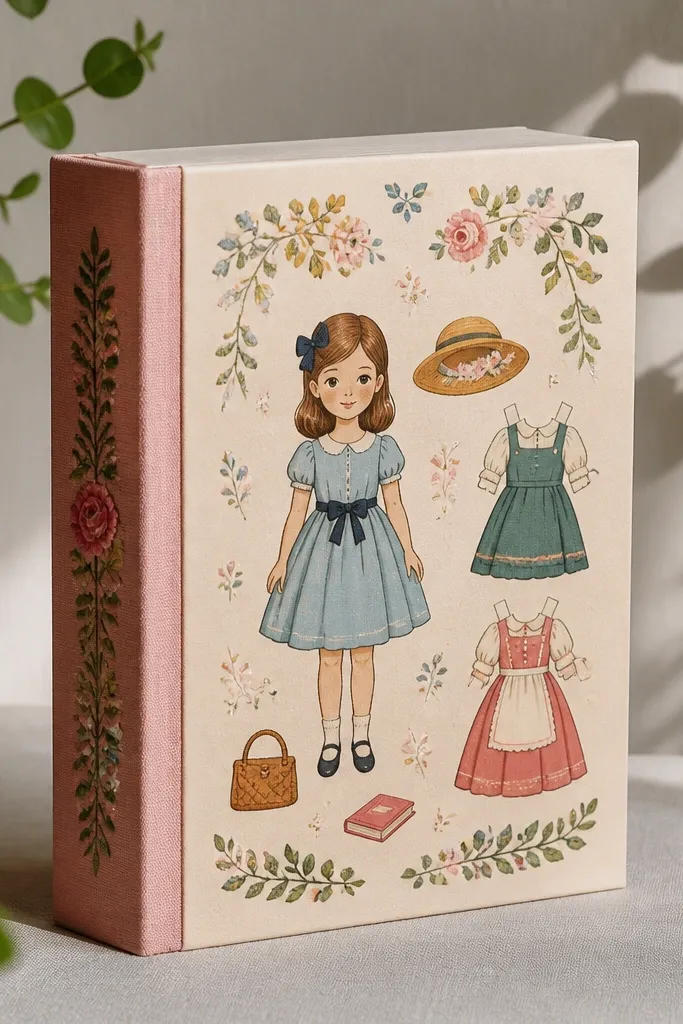
Case binding makes your paper doll book feel like a real object. You get a hard-ish outer cover with a separate paper spine label, so the book stands up nicely on a shelf. This format is great for larger pages, like 8x10 in, because the case supports the page block and reduces bowing. It also looks amazing in themed sets because you can print matching spines for each character.
First, build a book block with signatures and a stitched spine or strong glue spine. Then create a case from thicker cardstock: cut two cover boards and a spine piece, and hinge them with thin paper. Finally, glue the case to the book block at the endpapers only, then wrap a matching spine label strip on the outer spine for a clean look.
Editor's noteUse a straightedge to keep the spine label perfectly centered — even a 2 mm shift shows in photos.
Skip thisDon’t skip endpapers — without them, the case pulls away from the page block.
10. Waterfall page flow book with angled fold pockets
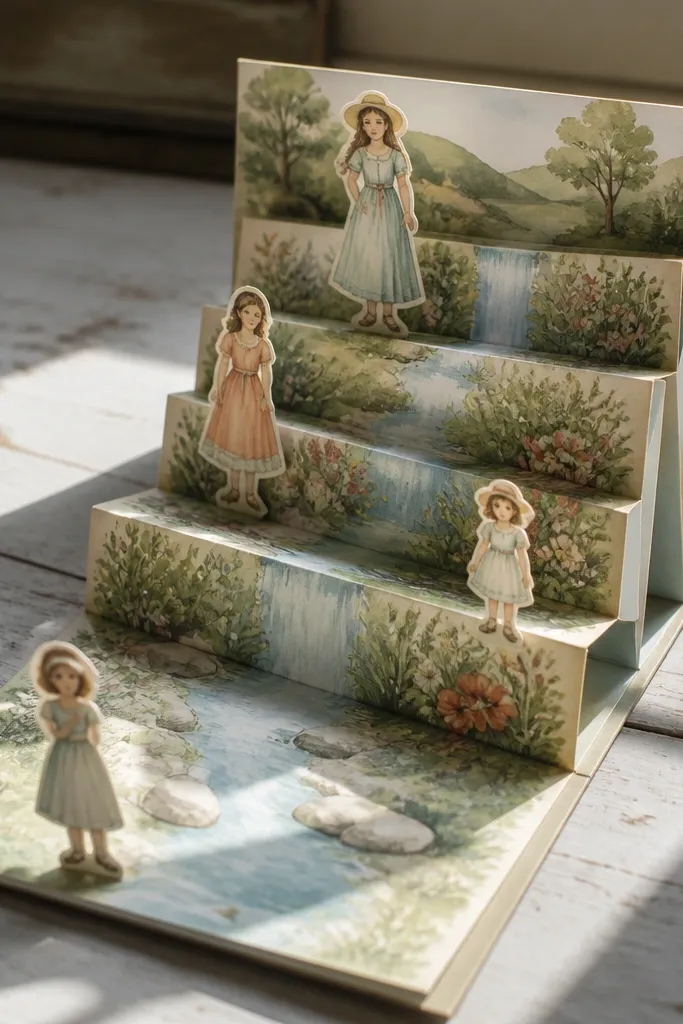
Waterfall books make the doll story feel like motion. Each page drops into the next, so outfits reveal in a sequence rather than a simple flip. This looks dramatic in photos because the pages create layered depth. It’s a strong choice for mini scenes: 6-12 outfits that you want shown in order, with a clear visual path from top to bottom.
Start by cutting pages to a consistent height and planning the angle of the waterfall folds (a 45-degree fold line looks clean for most layouts). Then score fold lines and assemble with a pocket hinge approach: one page tucks behind the next. Finally, bind the top edge with a simple stitched or glued top spine and reinforce the hinge areas with thin tape so the movement stays smooth.
Test the reveal order with one or two pages before you commit — waterfall angles lock you into the sequence.
Don’t use thick cardstock on waterfall hinges — it resists bending and the flow looks stiff.
11. Magazine-style wrap binding with side tabs
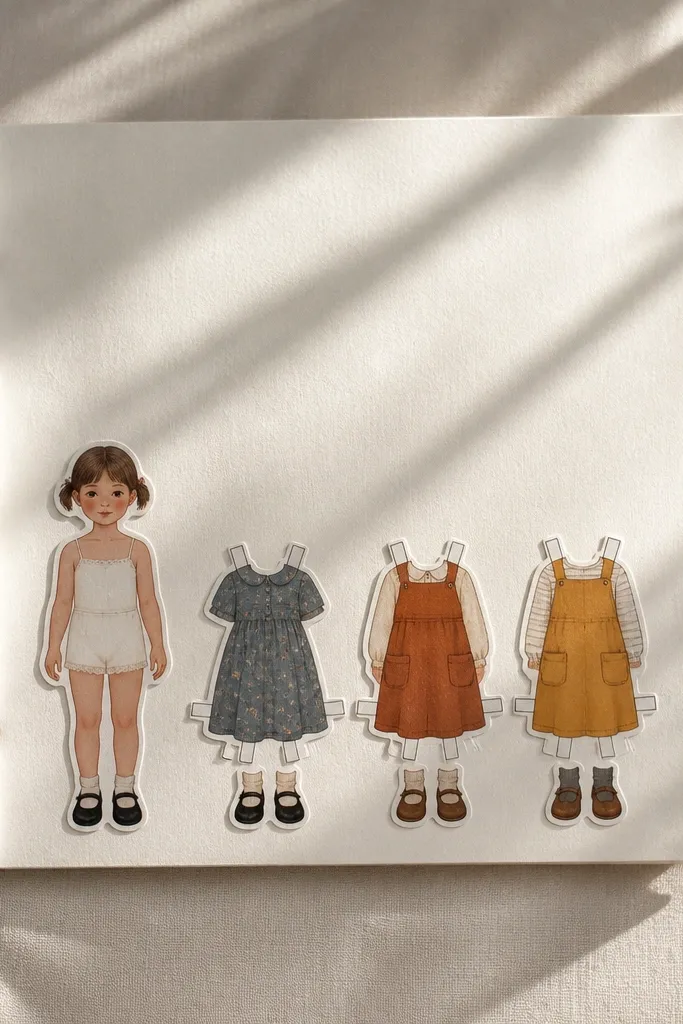
Wrap binding gives you that magazine look and it’s surprisingly sturdy when done with side tabs. The pages stay aligned because the wrap holds tension across the spine area. This one is photogenic because the front flap frames the doll art cleanly. It also works well for sets you want to slide into a bag or gift without worrying about the spine.
First, assemble your pages into a stack and apply a thin adhesive strip to the spine edge only. Next, wrap a cover sheet around the stack, then add side tabs by gluing small cardstock tabs to the inside edges of the wrap. Finally, press under a flat weight and trim any overlap so the wrap edges sit flush instead of bulging.
Editor's noteUse a lighter cover pattern on the inside wrap so the front art stays the visual focus.
Skip thisDon’t rely on glue alone across the spine — without tabs, the wrap loosens after repeated handling.
12. Spiral-bound mini book with layered cover windows
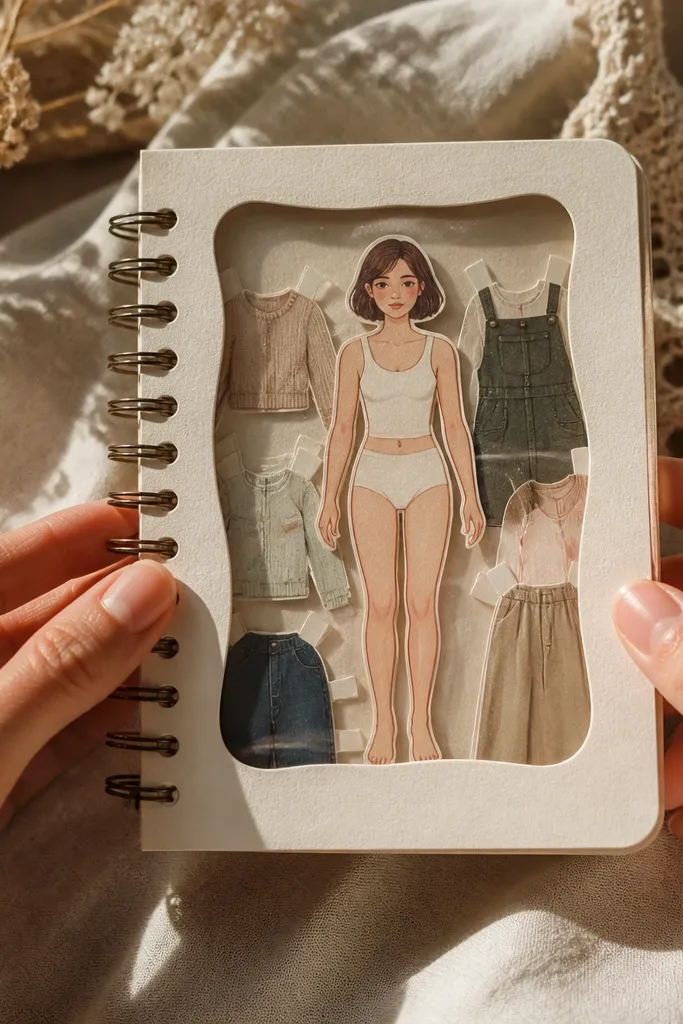
Spiral binding is fast, looks clean, and keeps pages easy to flip flat for play. Pair it with a layered cover window so the front looks like a little doll display case. This format is ideal for small outfit sets where each page is a quick reveal. The layered window also protects paper edges, so corners don’t get bent from handling.
Start by trimming your pages and punching consistent spiral holes along one edge. Next, build a two-layer cover: one back layer and a front layer cut with a window opening slightly smaller than your main art. Finally, assemble the spiral binding, then glue the layered cover together around the window edges while keeping the spiral channel free.
Choose a matte front cover layer — shiny lamination reflects light and ruins the doll art in photos.
Avoid punching too many holes — it weakens the page edge and the spiral looks messy.
13. Clothespin-bound photo-like doll book for desk display
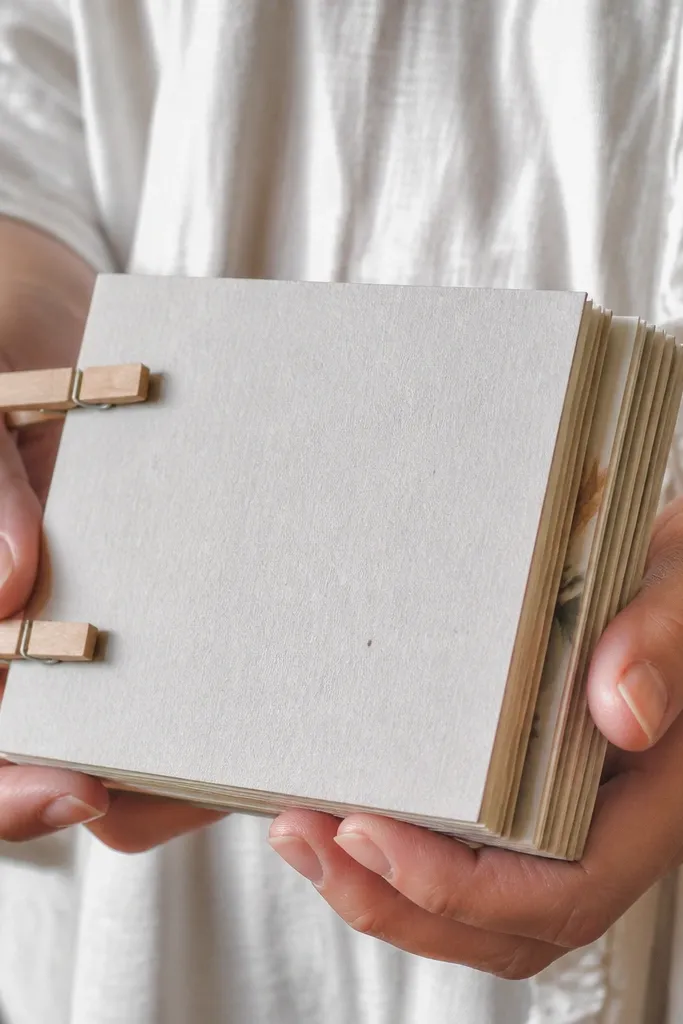
This format looks like a styled desk display because the closure is part of the design. You get a thick cover that stands up, and the clothespins add a tactile, handmade feel. It’s great for small sets you want to open and close quickly, like seasonal outfit cards. Keep the pages slightly oversized so they frame the dolls and create a clean border.
First, cut a thick cover from 110-130 lb cardstock and score a shallow fold so it closes flat. Then insert a page stack and add two small anchor points on the cover edges for the clothespins to grip. Finally, decorate the cover with printed border strips, and keep the closure area clear so the pins don’t sit on important art.
Editor's noteUse clothespins with a smooth grip pad so they don’t crease the paper edges.
Skip thisDon’t stack too many pages — too thick and the pins won’t close tightly.
14. Envelope-page bound book with pull-out doll scenes
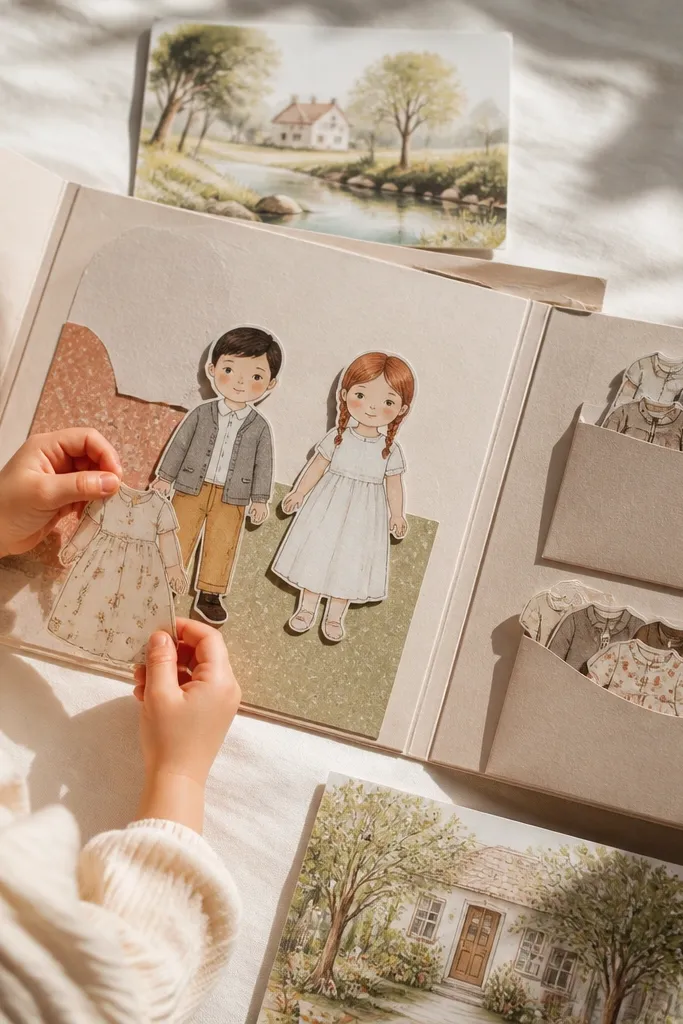
Envelope pockets make your paper doll book interactive without turning it into a complex craft. Each pocket holds a scene page that pulls out, so you get surprise reveals and clean composition. This looks great in close-up photos because the pocket edges create structure around the art. It’s a strong choice for gifting because scenes stay protected inside the envelopes.
Start by building a simple base book with a stitched or glued spine. Then create envelope pockets from cardstock strips sized to your pull-out pages, and glue the pocket sides and bottom only. Finally, attach the pocket units to the base pages, then reinforce the pocket openings with a thin strip of tape so repeated pulls don’t tear the edges.
Editor's noteMake pull-out pages 2-3 mm narrower than the pocket opening so they slide smoothly.
Skip thisDon’t glue the top of the envelope shut — the opening needs a clean gap for the pull.
15. Hardcover paper doll book with hinge-sleeve spine
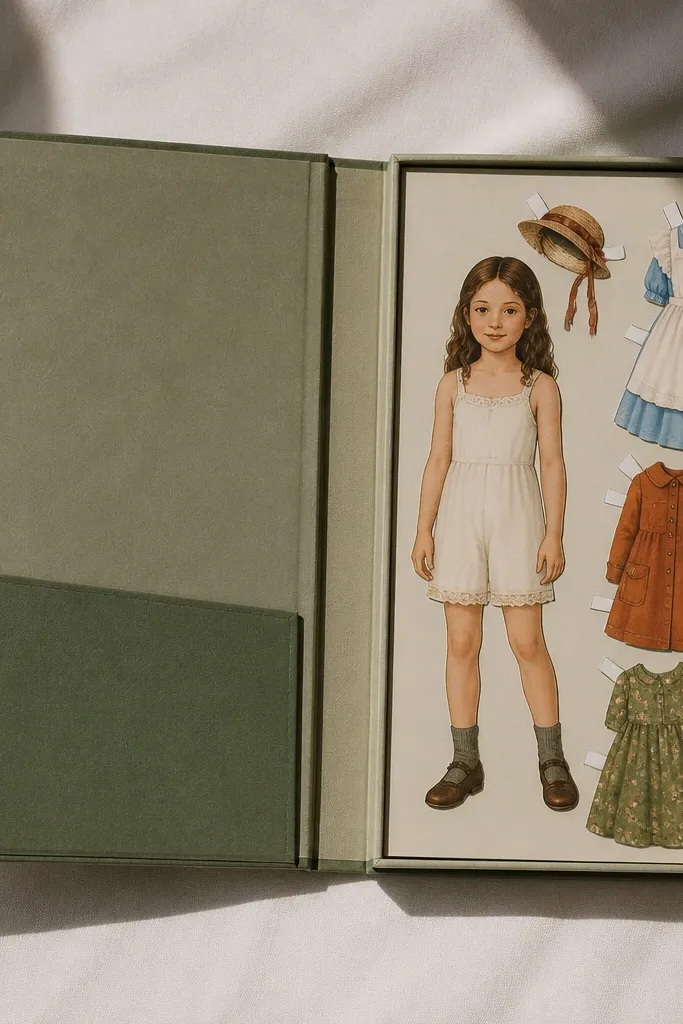
A hinge-sleeve spine gives you a hardcover feel while still letting the book open wide. The sleeve protects the joint where pages meet the cover, so the spine doesn’t crack or peel with use. This is the format to pick when you’re printing larger pages and want a sturdy, shelf-worthy object. It also looks impressive because the spine line stays sharp and the cover sits neatly aligned.
First, build the inside page block with stitched signatures or a strong glued spine. Then cut a spine sleeve from thin cardstock or bookcloth, and hinge it so it bends without wrinkling. Finally, glue the sleeve to the page block at the hinge line and attach the outer covers with endpaper glue, then press until set under flat weight.
Editor's noteUse a thin spacer strip between cover and spine while drying so the book opens without binding.
Skip thisDon’t use thick, stiff paper for the sleeve — it stops the book from opening flat.



