
1. Classic standing girl base with straight shoulder line
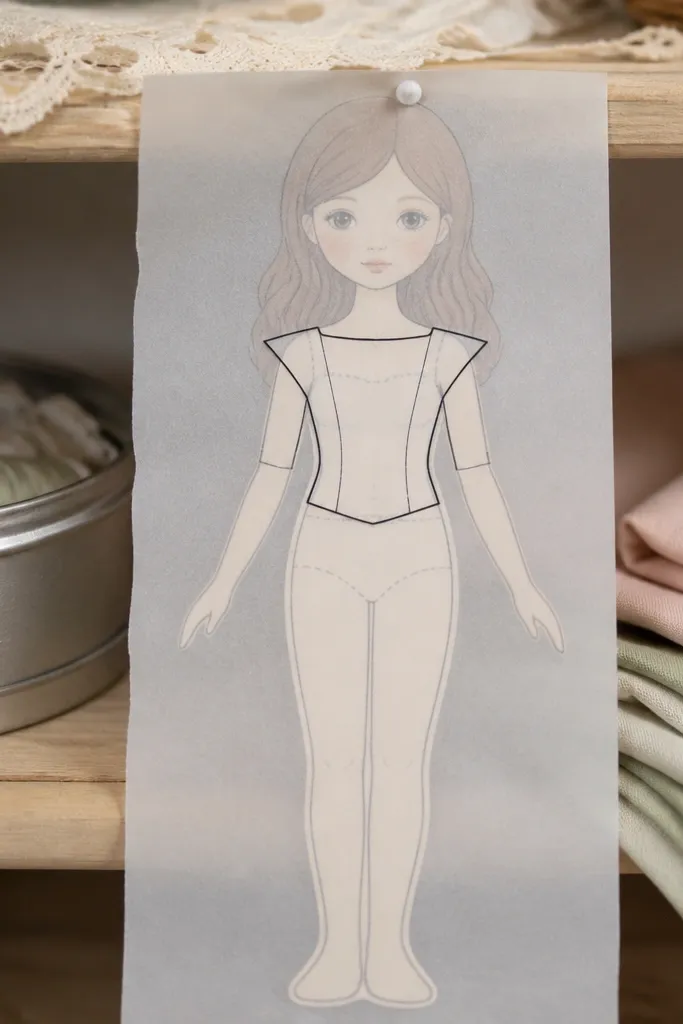
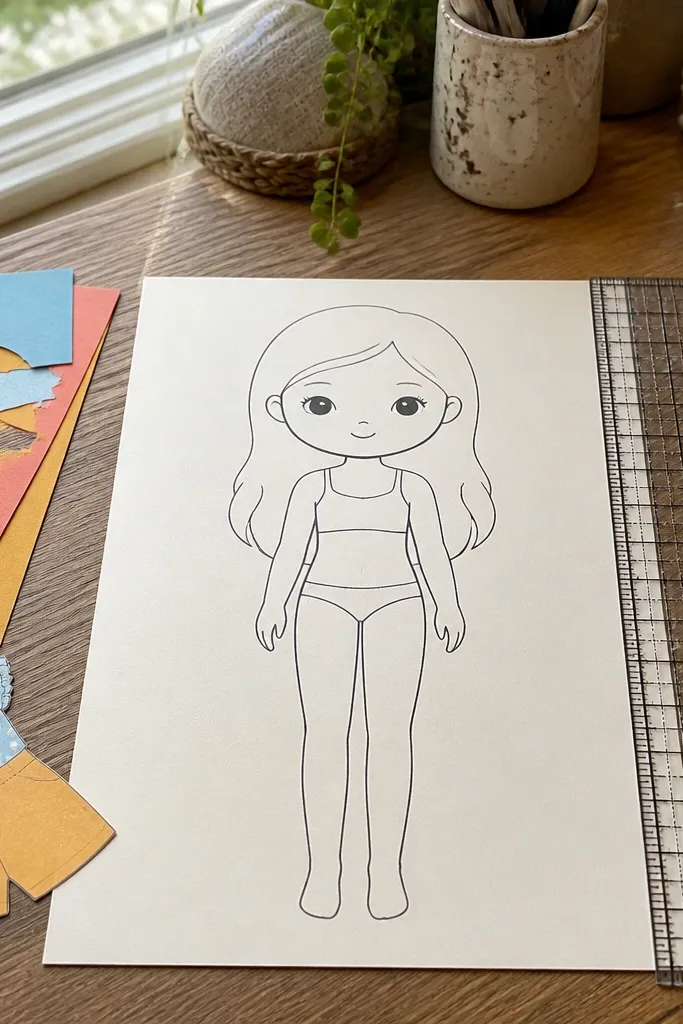
This base is the one I reach for when I want clothes to look crisp and readable. The shoulder line is straight enough that shirts and fitted bodices sit cleanly without twisting. The arms hang in a neutral position, so sleeves match left-to-right without extra fiddling. It also photographs well because the silhouette stays simple — you get clear outfit shapes instead of busy body lines.
Print the template at 100% scale and check the head height against a ruler so you don’t accidentally shrink it. Trace the outer silhouette onto 200 gsm cardstock, then trace the inner cut guides if your template includes them. Cut the body out, then place it on top of each outfit paper and trace only the clothing layers, not the whole doll again. Finish by lightly burnishing the cut edges with a bone folder so the paper lays flat when you photograph it.
Editor's noteMark the waist center with a tiny dot before you cut, then reuse that dot to align every new outfit.
Skip thisDon’t freehand the neckline — trace it exactly or collars will look crooked in every photo.
2. Ballerina pose base with curved arm lines
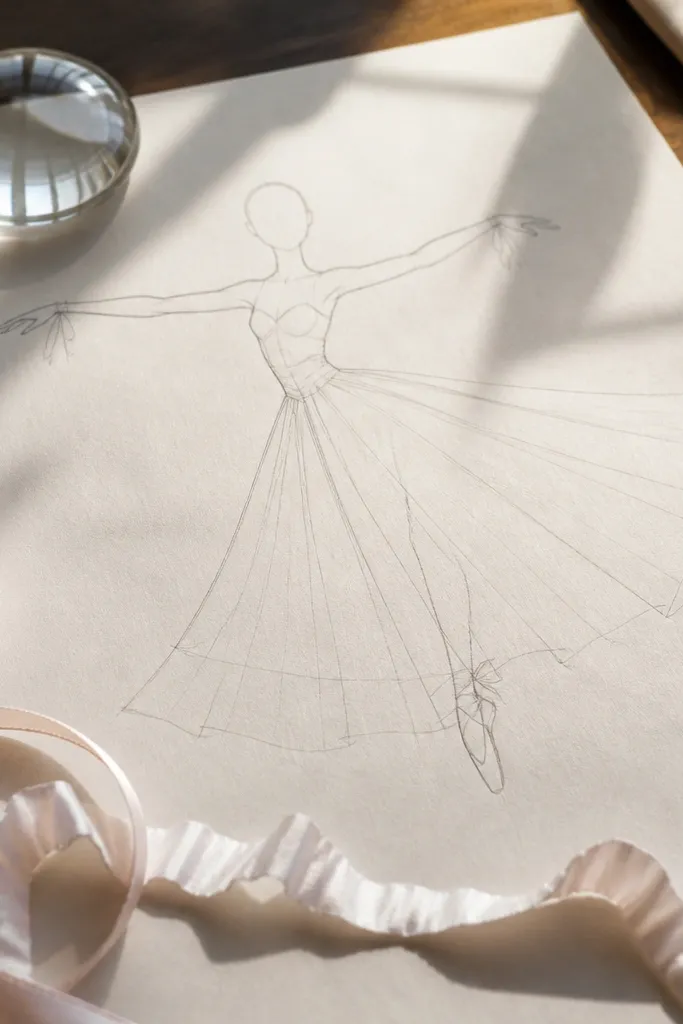
If your goal is airy, dressy outfits, this base does it. The arms curve in a way that makes sleeves and gloves look intentional instead of droopy. The torso shape is slightly elongated, which helps skirts look fuller when you add tulle or layered paper ruffles. It’s also great for accessories like ribbons, mini bags, and wrap scarves because the pose gives you natural “story” space around the body.
Print and trace onto 160-200 gsm paper first, then cut a test version of the body. Hold the body against your outfit paper and confirm the sleeve opening hits the arm curve — adjust by tracing the sleeve line to the arm instead of using a generic sleeve size. After the fit looks right, trace the final base onto 220-250 gsm cardstock and cut cleanly with a sharp craft knife. Seal the cut edges with a thin swipe of clear glue stick if you use lighter paper, so the curves don’t fray when you flip outfits.
Editor's noteUse translucent vellum for sleeves or wraps — the arm curve makes it look elegant without needing heavy shading.
Skip thisAvoid thick paper for tiny ruffles; it turns the delicate arm curve into a stiff bend.
3. Teen fashion base with slightly angled hips
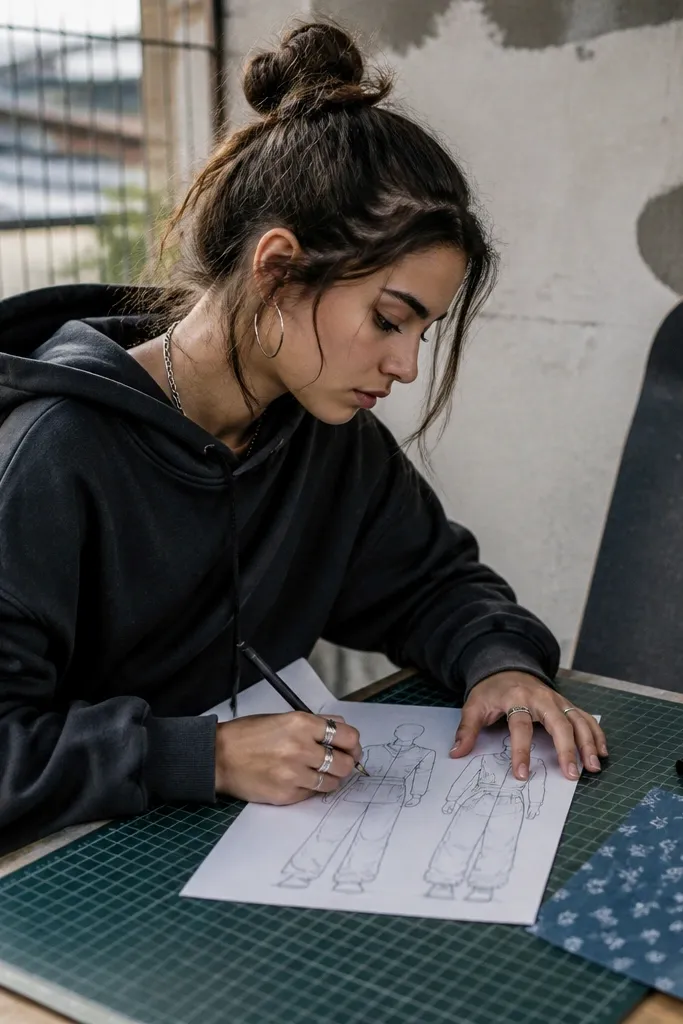
This base makes streetwear and casual looks look like real outfits instead of flat costumes. The hips angle subtly, so high-waist pants and cropped jackets naturally look “in motion.” The torso proportions are balanced for layered clothing — think hoodie + skirt, or long coat over leggings. When you photograph it, the silhouette reads clearly even with busy patterns because the body shape guides the eye.
Trace the template onto 200 gsm cardstock and cut the body. Add two registration dots: one at the waist center and one at the hip angle point (the spot where the hips change direction). When tracing pants, line the waist edge to the waist dot, then trace the pant leg outlines so they follow the angled hips. For jackets, trace the front edges separately and test-fold the paper at the center line so the opening stays symmetrical.
For clean jacket fronts, trace a mirrored right-side piece onto the left side using the center line, not by guessing.
Don’t use a straight hem line on pants — follow the base’s hip angle so the hem doesn’t float.
4. Chibi-style base with oversized head and tiny body
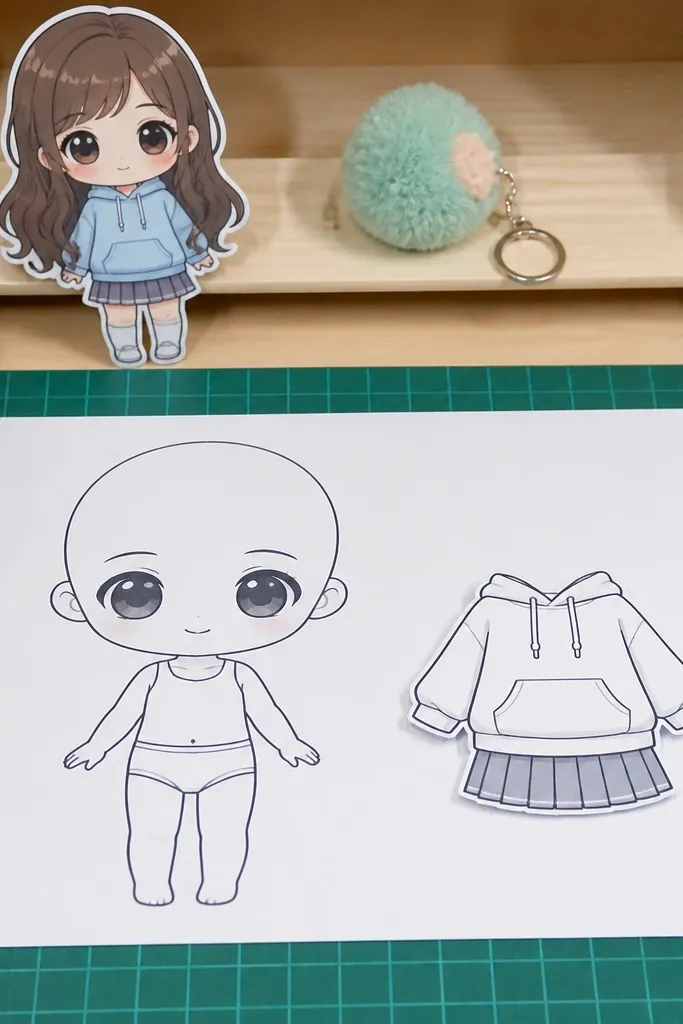
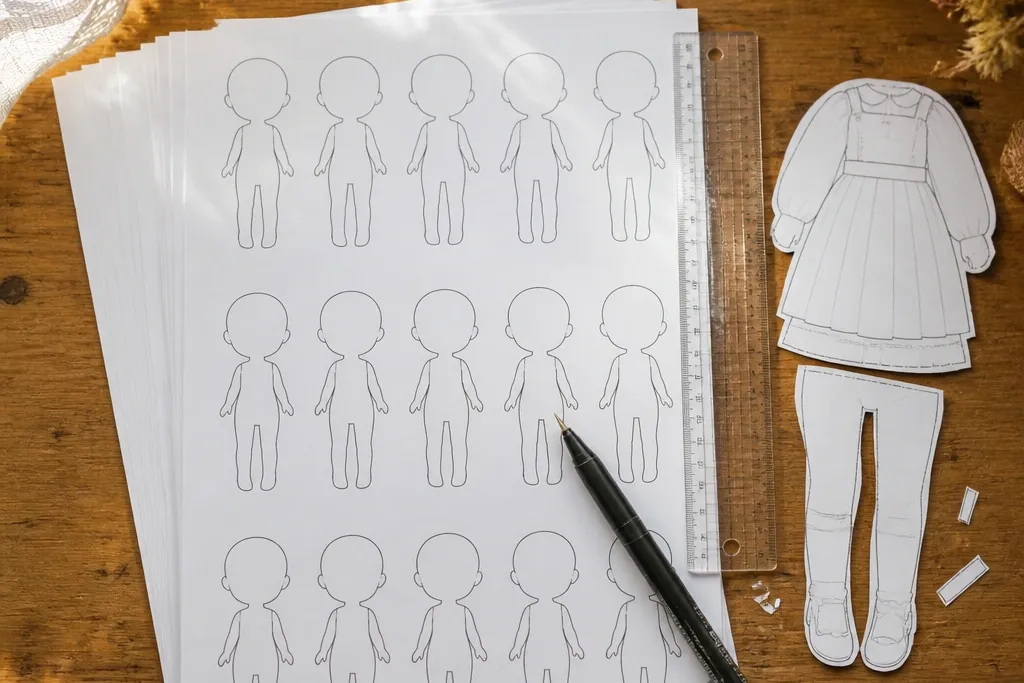
Chibi bases are a cheat code for adorable outfits that still look neat. Because the body is simplified, tracing stays forgiving — small errors don’t ruin the whole silhouette. This is ideal for beginners who want results that look polished quickly. It also works great for themed decor like “mini character” ornaments, because the proportions make accessories readable even at small sizes.
Print at a size that keeps the head at least 3 inches tall, so you have room for clean cutting. Trace the simplified body outline onto 160-200 gsm paper, then cut slowly around the head-to-neck curve. When adding outfits, scale clothing pieces to the body using the neck and waist lines as your only reference — don’t try to match tiny arm angles perfectly. If you want extra durability, trace the final base onto cardstock and glue it on top of your first cut-out for a thicker edge.
Use thicker marker lines on clothes, not on the body — it keeps the doll face readable in photos.
Don’t add too many tiny details to sleeves; chibi proportions hide clutter and make cutting harder.
5. Slim dress form base with narrow waist
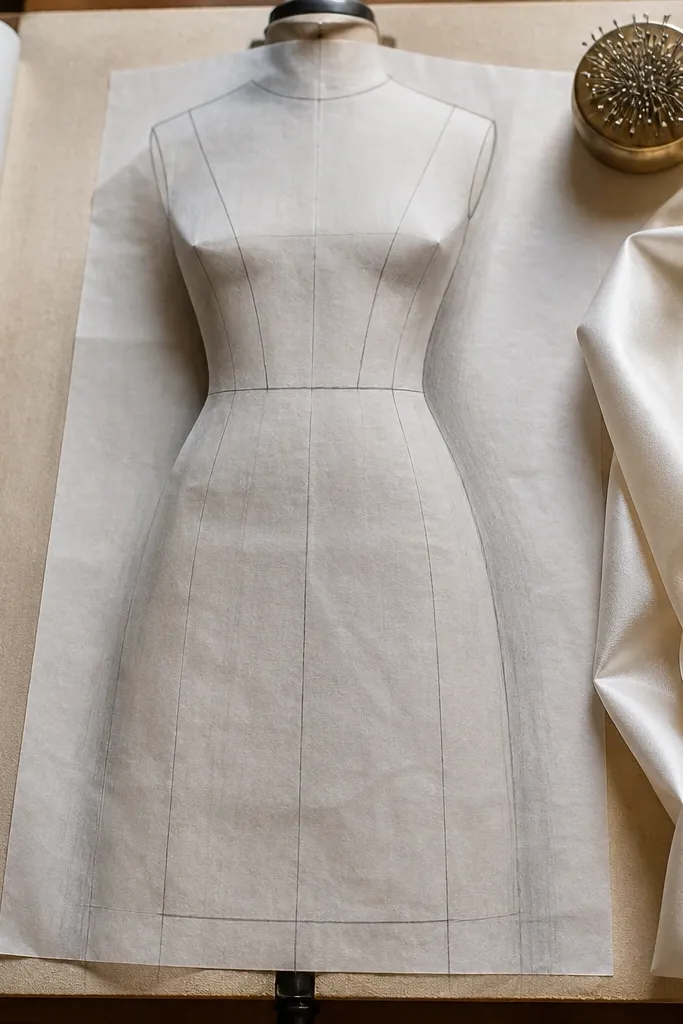
This base is made for dresses that hug and flare. The narrow waist line gives you a natural place for darts, belts, and waist seams, so traced bodices look tailored instead of boxy. It also makes long skirts look smooth because the body silhouette doesn’t fight the fabric shape. If your aesthetic is “fashion illustration,” this is the base that keeps your paper outfits looking like actual garment patterns.
Trace the torso onto 220 gsm cardstock so the waist stays sharp when you cut. Transfer the belt line if your template marks it, then cut the torso body. For dress pieces, trace one bodice panel and one skirt panel, then add a small seam overlap at the waist so layers meet cleanly. Finish by pressing the skirt fold line with a bone folder so the flare curves read well in photos.
Editor's noteAdd a 2-3 mm belt tab overlap so belts stay centered when you swap outfits.
Skip thisAvoid tracing bodice edges too close to the cut line — leave a small border so glue doesn’t squeeze out.
6. Plus-size curvy base with fuller sleeves and torso
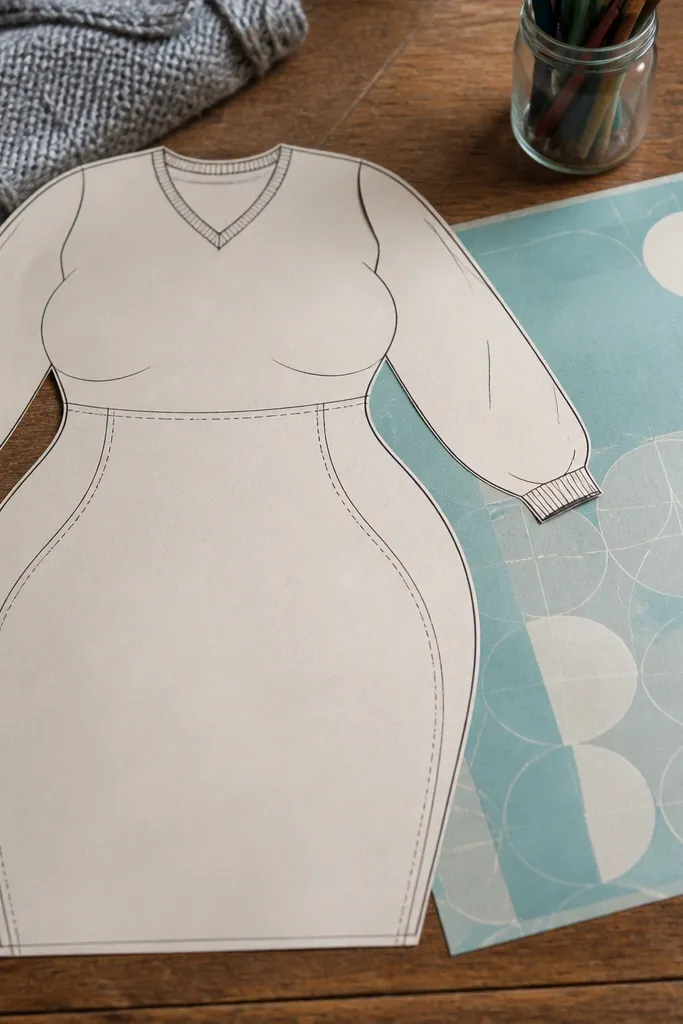
A curvier base fixes a common tracing problem: clothes look stretched when the body shape is too narrow. Here, the torso and arm openings are drawn to match fuller silhouettes, so sweaters drape and dresses sit naturally. It’s also more forgiving if you’re using patterned paper, because the curves help patterns look intentional instead of accidentally warped. This base is great for cozy outfits — cardigans, big scarves, and layered skirts.
Print and trace onto 200-250 gsm cardstock so the wider curves hold their shape. Cut the body, then trace the outfit pieces using the arm opening as your sleeve boundary, not the arm outline. For sweaters, trace a slightly wider sleeve cuff than you think you need, then trim after a test fit against the body. Seal any paper edges that will be handled frequently with clear glue stick, especially around the arm curve.
When tracing necklines, draw a tiny notch at the center front so scarves and collars land correctly.
Don’t force skinny sleeve patterns onto a curvy base — match the sleeve opening line instead.
7. Retro 1950s hourglass base with defined waist seam
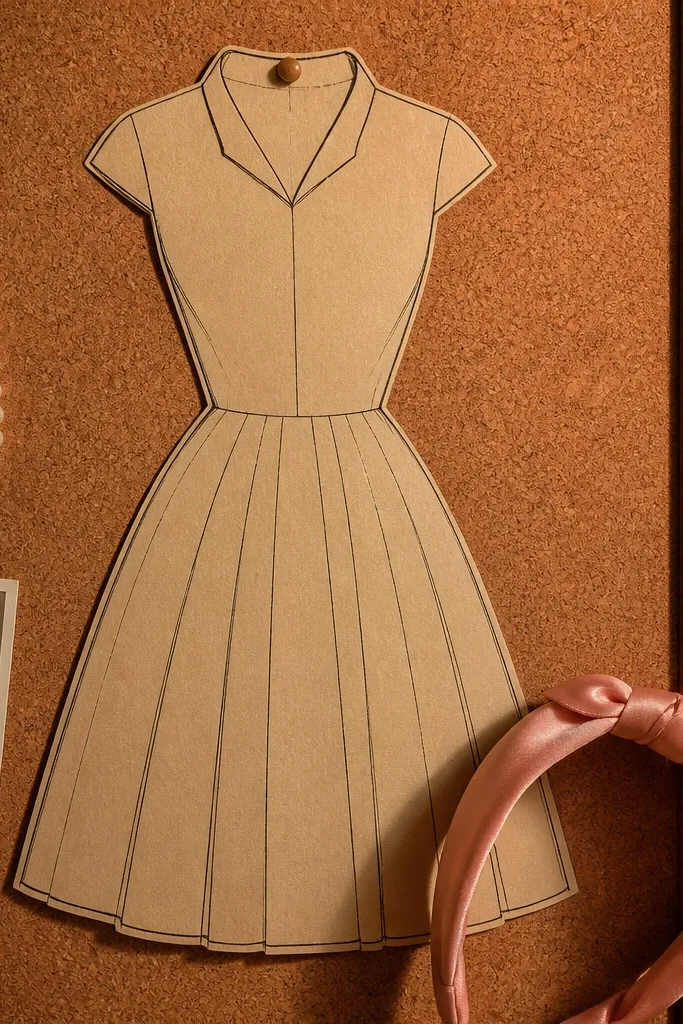
This base makes vintage outfits look like they belong together. The waist seam line is clear, so you can trace fitted tops, pleated skirts, and structured collars without guessing. The stance reads classic, which helps when you add accessories like gloves and pearl-like paper beads. If you want a polished “retro paper fashion” look, this base is the easiest way to get it without redesigning every pattern from scratch.
Trace the body onto cardstock and cut it out cleanly, then mark the waist seam line with a pencil dot. For tops, trace around the waist seam and add a small front overlap tab so the bodice closes neatly. For skirts, trace a pleated shape by drawing three to five pleat lines on the skirt piece before cutting, using the waist seam line as the top reference. Press pleat folds with a bone folder so they hold during swapping.
Use a slightly heavier paper for pleated skirts so the folds don’t spring back.
Skip freehand pleat spacing — count pleats and keep them equal from top to bottom.
8. Victorian corset base with high neckline
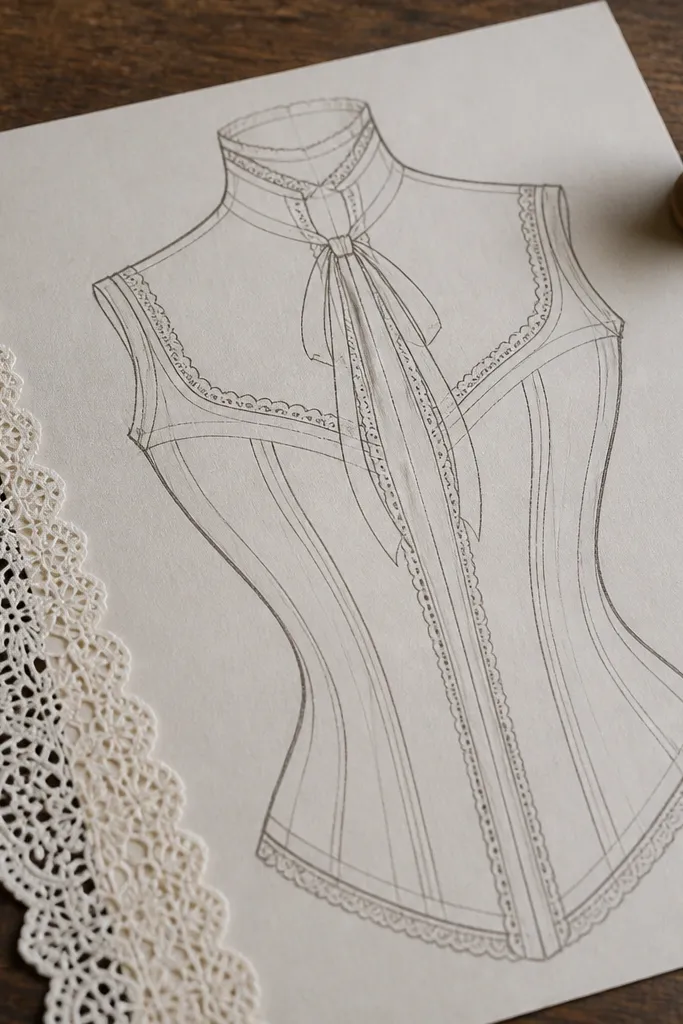
High-neck outfits can look messy fast if the base neckline is vague. This one is drawn with a clear collar boundary, so traced lace collars, ruffles, and ribbon ties sit where they should. The corset shape gives you a natural place for panel lines and decorative trim, which makes your final decor look more “designed” and less like a generic cut-and-glue job. It’s also great for small details because the neckline frames them.
Print and trace onto 200 gsm paper, then cut the body while keeping the neckline opening intact and clean. Add a center-front line on the base with a pencil so you can align ribbon ties and trim. Trace bodice panels separately: one left panel, one right panel, then glue them to the base from the center outward. For ruffles, cut thin strips and fold them into small accordion pleats before attaching at the collar boundary.
Use thin craft foam for corset panels if you want crisp edges that don’t curl.
Don’t glue ruffles directly to the cut edge — glue to the flat area just inside the neckline line.
9. Fantasy mage base with staff-holding arm position
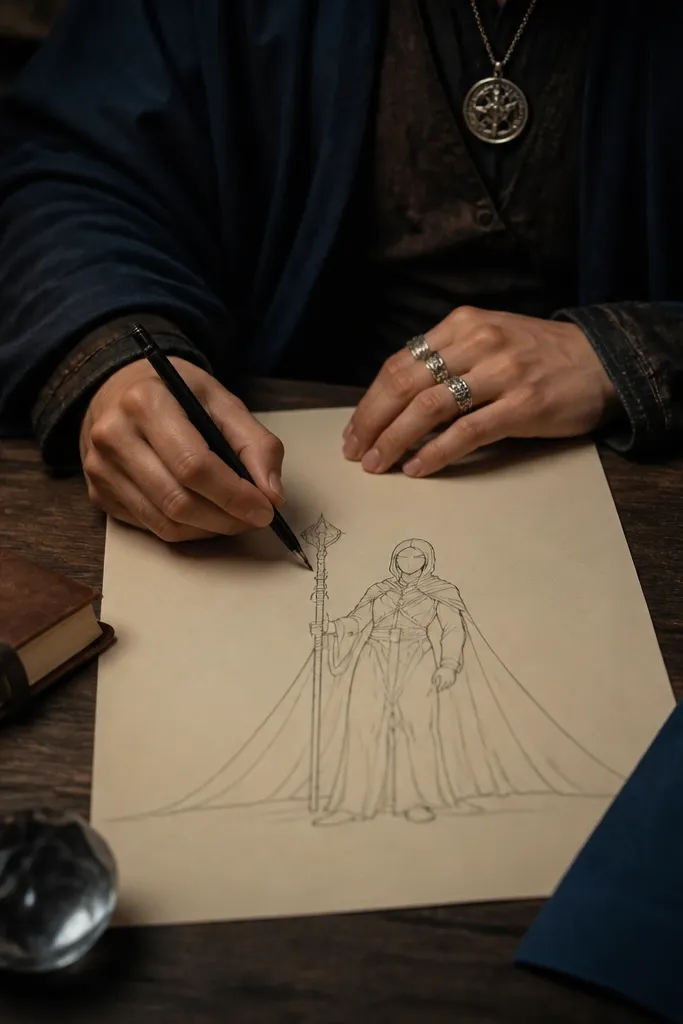
This base is for readers who want outfits that look like a scene, not just clothes. The arm position gives you a natural grip point for a staff, wand, or umbrella accessory, so your traced props look aligned. The torso shape is simple enough for robes and capes, but the pose adds drama. It’s a strong pick for decor pages because the prop space makes compositions look intentional.
Trace the body onto cardstock and cut it out, then keep the arm detail sharp by using a fresh blade. Trace your staff or wand separately, then test-fit it against the arm boundary line before gluing. For robes, trace a front panel and a back panel, then add a small overlap at the center so the robe doesn’t gape. Finish by attaching a cape or shawl piece behind the shoulders, aligning it to the shoulder slope lines on the base.
Add a tiny notch where the staff meets the hand so you can line it up quickly every time.
Don’t attach the staff before you finalize the robe — the robe thickness changes alignment.
10. Overalls and farm girl base with relaxed arms
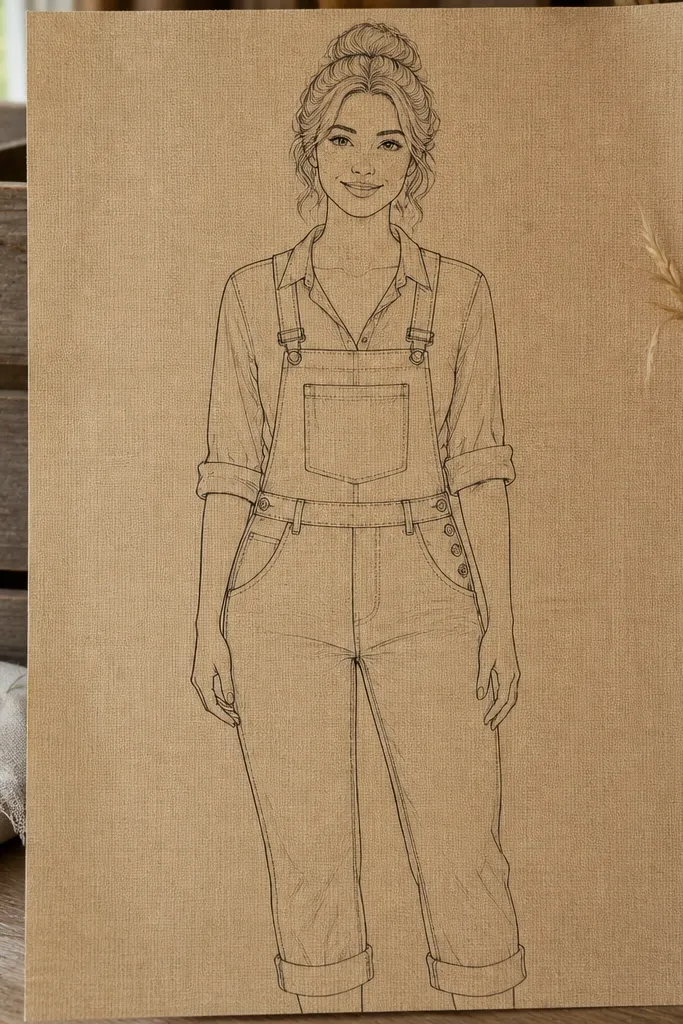
This base is built for practical, everyday outfits that still look cute. The relaxed arm position makes overall straps and rolled sleeves look clean, even if you’re using textured paper like burlap-pattern sheets. The torso proportions are friendly for tracing pockets, button rows, and hem bands without crowding. It also photographs well in warm color palettes because the silhouette frames the outfit details.
Trace onto 200 gsm cardstock and cut the body, then mark the center of the chest and waist. Trace overall bib and straps separately so you can glue them flat without warping the torso. For the legs, trace the overall pants as a single piece with cuff bands, then glue to the base at the waist center dot. Add pocket pieces last so you can place them after the pants sit correctly.
Use a ruler to keep button rows straight — 1 mm drift shows instantly on pocket lines.
Don’t glue pockets first; their placement depends on how the pants settle at the waist.
11. Sportswear base with bent-knee stance
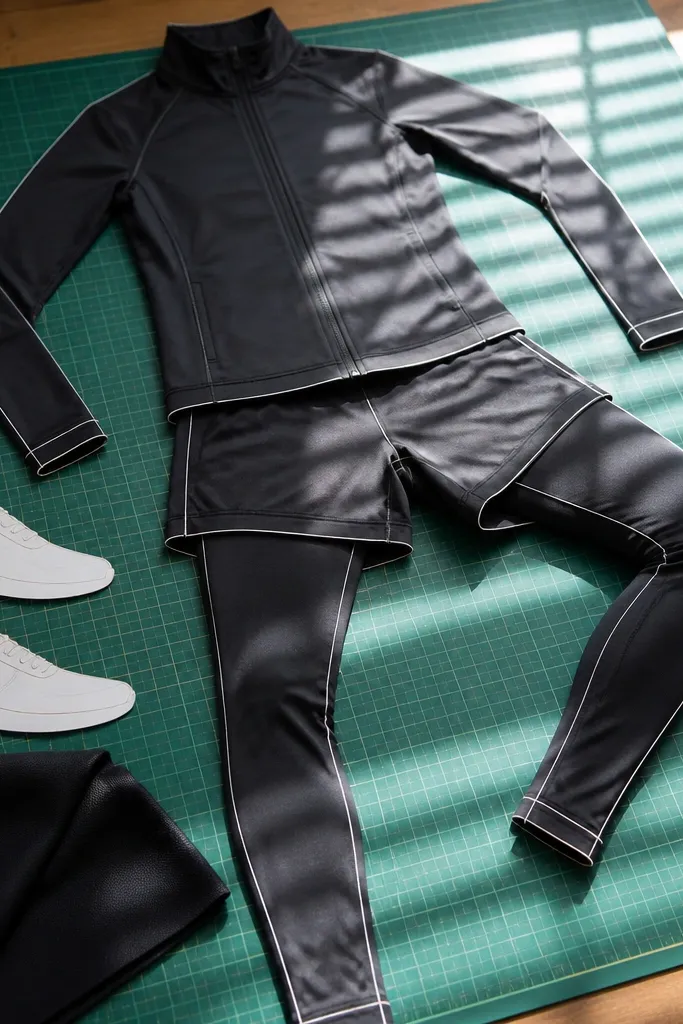
Bent-knee bases make active outfits look like movement. The stance gives your traced shorts, leggings, and sneakers a natural “angle,” so the outfit doesn’t look pasted on flat. This base is also perfect for layering because the leg separation helps you place jacket hems and hoodie cuffs where they belong. If you want a dynamic, modern look, this is the base that sells it.
Print and trace the body onto cardstock, then cut carefully around the knee crease so it can fold or sit flat. When tracing bottoms, trace each leg piece separately so the seam line matches the base leg separation. For shoes, trace soles as separate pieces and glue them under the foot boundary line for a cleaner edge. Finish by tracing a hoodie or jacket hem that wraps around both legs, using the waist line as your anchor.
Add a tiny fold allowance at the knee line so the outfit layers don’t bunch.
Avoid one-piece pants for bent-knee stances — you’ll fight the angle and the seam will twist.
12. School uniform base with pleated skirt guides
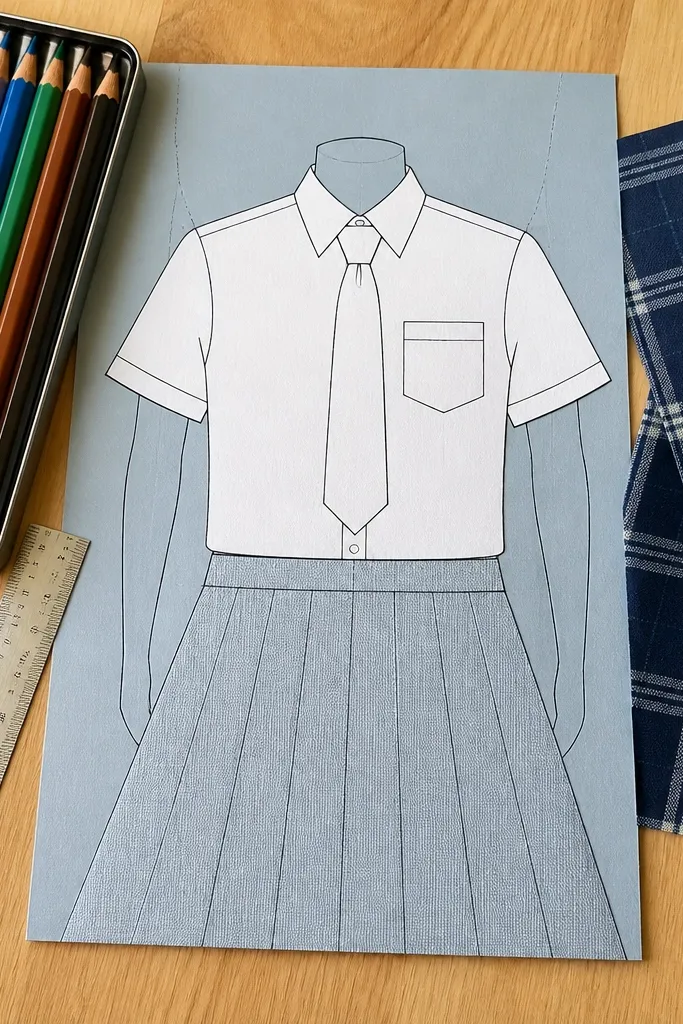
This base makes pleats look intentional, not random. With skirt guides that match the waist placement, your traced pleats land evenly and the hem reads straight in photos. The torso shape works for buttoned shirts, vests, and ties, so you can build a full uniform set without redoing alignment each time. It’s also great for themed printables because uniforms look cohesive even when you swap colors.
Trace the body onto 200-250 gsm cardstock and cut it out. Trace the skirt piece using the skirt guide line, then draw pleat lines directly on the skirt paper before cutting. Fold pleats toward the same direction and press each fold with a bone folder. Finally, glue the skirt to the torso at the waist line only, then add vest and shirt layers on top so the pleats stay visible.
Editor's noteUse a scoring tool for pleat lines so folds stay crisp and don’t tear patterned paper.
Skip thisDon’t glue the skirt all the way down the pleats — glue at the waist band so pleats fan out.
13. Coat-and-scarf base with wide collar and shoulder roll
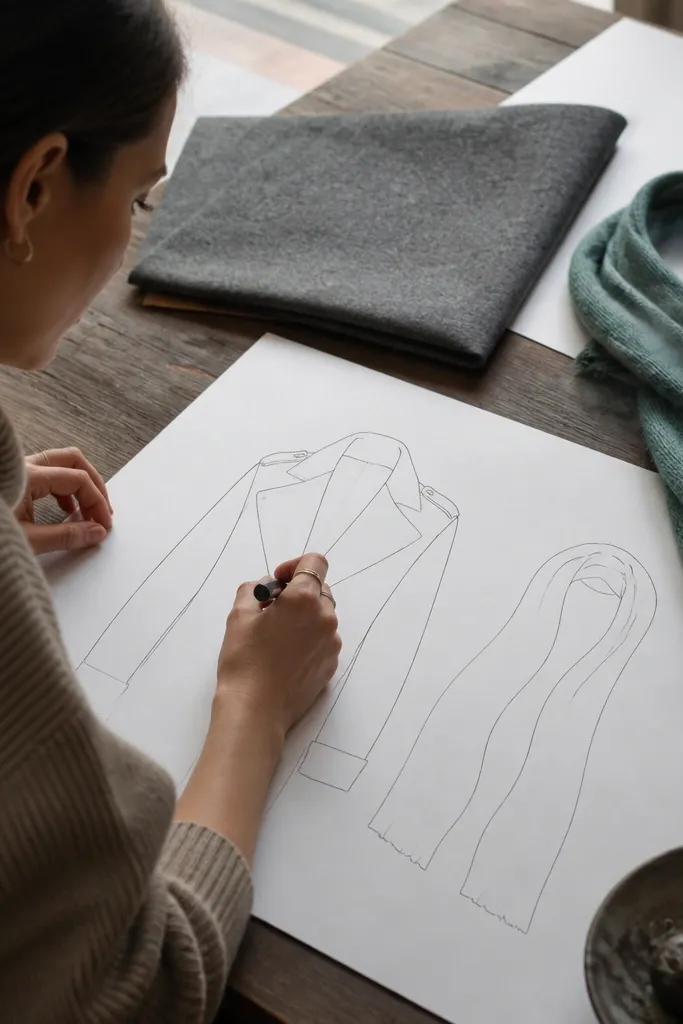
If you love cozy, layered looks, this base is built for it. The collar area is wider, so traced coats and scarves have room to sit without overlapping awkwardly. Shoulder roll lines help you place epaulets, lapels, and strap details so they look structured instead of flat. This base is a strong choice for winter palettes, because the silhouette holds color blocks nicely in photos.
Trace the body onto cardstock and cut it out, then outline the collar boundary with a pencil. Trace the coat front panels separately with lapels that end at the collar boundary line. Add a scarf piece that wraps around the neck using the collar boundary as your anchor, then glue the scarf ends behind the coat lapels. For a clean edge, trim coat hems after assembly so the coat sits centered on the torso.
Use thin double-sided tape dots under lapels so the coat opens cleanly without visible glue lines.
Don’t place scarf ends in front of lapels; it hides the collar line and looks messy.
14. Minimal line-art base for quick outfit swaps
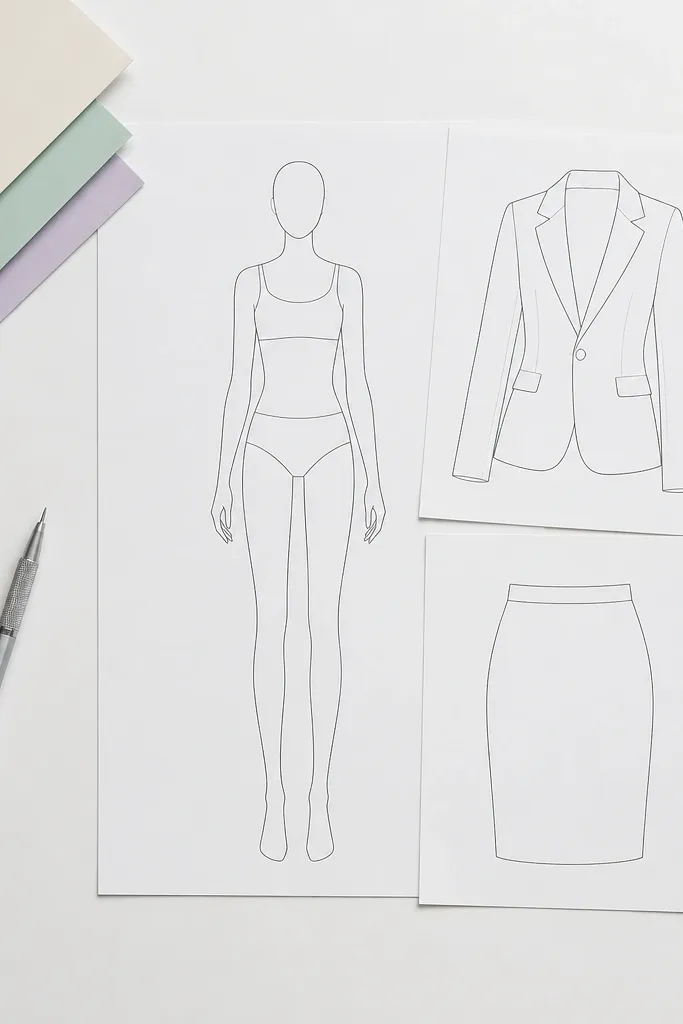
Minimal bases are the best pick when you want speed and consistency. Fewer internal lines means less clutter when you trace outfits and layer them for photos. The silhouette is still proportioned enough that shirts, skirts, and jackets look balanced, but you’re not fighting extra markings. This is also the easiest base to customize — you can add your own seam lines and details after the outfit fit is right.
Print at your preferred size and trace onto 160-200 gsm paper for flexibility. Cut a test base, then trace clothing pieces directly over the base outline to confirm fit. Once you like the proportions, trace the base onto 220-250 gsm cardstock and cut the final master. Store it flat under a binder clip so it doesn’t warp — warping makes tracing shift by a millimeter or two.
Use a fine-tip pen for tracing clothing edges so your cut lines stay sharp without thick ink blobs.
Don’t over-ink the base — thick lines make it harder to align layers cleanly.
15. Sailor Boy Base With Anchored Sailor Jacket Lines
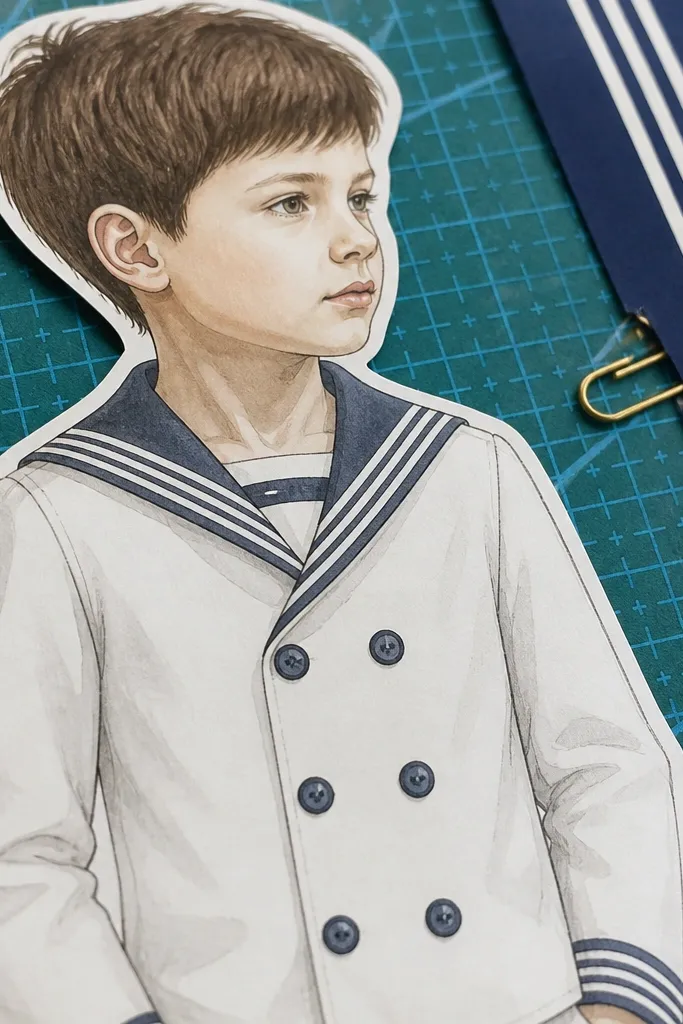
This base is built for outfits with structure — sailor collars, double-breasted fronts, and jacket seams that need straight, clean tracing. The stance is a gentle three-quarter turn, so the collar and sleeve lines look sharp even on a flat paper cutout. It fixes the common tracing problem where collar shapes drift because the shoulders are too narrow or the neckline guide is vague. You get a template that makes crisp, repeatable results for nautical outfits, school uniforms, and any theme that needs “button-front” symmetry. Skill level is beginner-friendly because the lines are simple and bold, and the template takes about 20 to 30 minutes to trace and assemble once you have your materials ready. It suits a desk setup with good natural light or a bright lamp, because the guide lines need to be readable through paper.
1) Draw your base on sturdy paper using a 6H pencil for light construction lines, then ink the final outlines with a 0.3 or 0.5 black fineliner. Keep the shoulder line slightly slanted (about 10 to 15 degrees) to sell the turned stance, and set the torso width so the sailor jacket front lines have room for two parallel rows. Add a high neckline guide that wraps close to the neck, then sketch the sailor collar as two mirrored curves that meet at the center with a small notch. 2) Add jacket seam guides: a center front line, two vertical front panels (spaced about 8 to 10 mm apart on a typical 1:10 paper doll scale), and sleeve cap lines that start at the shoulder and angle slightly toward the elbow. Finish with hem and pant guide lines so you can trace consistent jacket length and trouser rise. 3) Cut the base cleanly, then laminate or cover with clear tape if you plan to reuse the template — focus on edges and corners where pencil smudges happen.
Editor's noteUse a lightbox or place the template under a thick sheet of glass on top of a window — you’ll trace collar curves without guessing where the line really is.
Skip thisDon’t make the collar too wide at the neck — it collapses when you cut the paper and the traced jacket won’t sit flat.



