


1. Matte kraft wrap paper with a tight seam

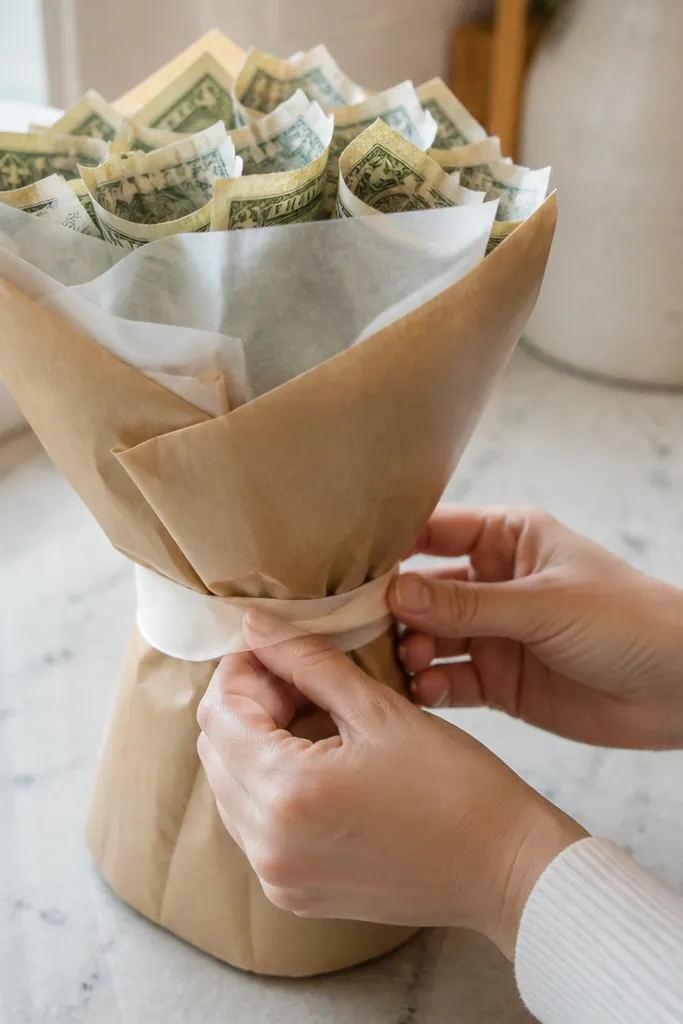
Cut a strip of kraft paper 3.5-4 inches wider than your cash bundle and long enough to wrap once with overlap. Wrap the paper around the cash bundle with the seam centered on the back, then crease the overlap so it holds tension. Secure the seam with double-sided tape along the overlap, then add a ribbon band over the seam using hot glue or strong tape. Finish by smoothing the paper with your palm in straight passes so you don’t create creases at the bill folds.
This is the crisp-bill workhorse because kraft paper has structure without shine. It presses the bills flat when you wrap with consistent tension, and the matte surface hides tiny scuffs that shiny materials show instantly. Use it when your goal is sharp edges and a clean silhouette, not lots of sparkle. It also plays well with ribbon because you can hide the seam under a band of grosgrain. Skill level is beginner-friendly, and the build takes about 10-20 minutes once you have your cash folded.
Skip thisDon’t use glossy wrapping paper — it reflects glare and makes bill ridges look worse.
Editor's noteWarm your hands first and press in long strokes; quick finger pokes leave dents that show through ribbon.
2. Waxed paper liner under ribbon (no snag assembly)
If your bills keep catching on ribbon edges, a waxed paper liner fixes that. The liner creates a smooth slip layer so you can slide the cash into position without dragging fabric across paper folds. It also keeps the outer wrap from getting wrinkled by friction, which is why the finish stays crisp. The look is clean and controlled because the liner is invisible once the ribbon band covers it. This is a great choice when you’re doing quartered bills and you want minimal bulk.
Cut a liner sheet slightly larger than the cash bundle footprint. Wrap the waxed paper around the cash bundle like a sleeve, then secure the overlap with a small strip of tape. Add your outer wrap (grosgrain ribbon or matte paper) over the liner, and tie your band tight enough to compress the bills, not so tight it bows them. Smooth the outer layer from top to bottom so pressure distributes evenly.
Use a matte outer wrap; the liner already reduces friction, so shine just highlights imperfections.
Skip thick plastic wrap as a liner — it creates static and makes bills slide out.
3. Thin craft felt wrap with a hidden elastic band
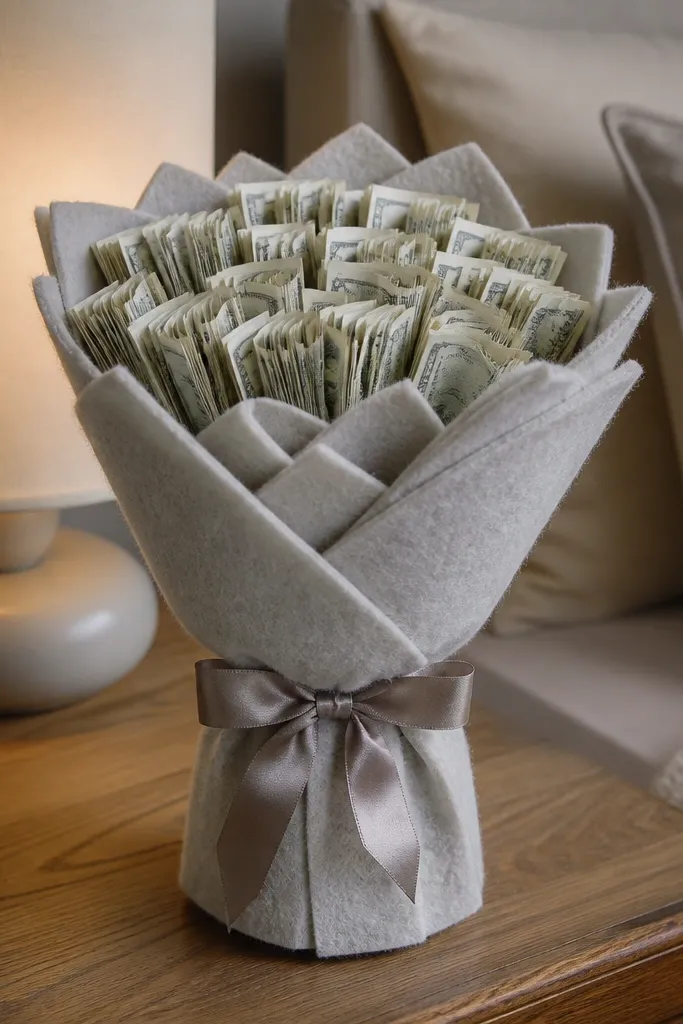
Cut a felt strip 3 inches wide and long enough to wrap around the bundle once with overlap. Wrap it around the cash bundle, then secure the overlap with a small line of hot glue at the back. Place a thin elastic band under the felt before you glue the overlap, then stretch just enough to hold tension. Finally, cover the join with a ribbon band to hide the glue line and keep everything crisp.
Craft felt is grip without bulk, which is why it helps money bundles look tidy. The fuzzy surface grabs the ribbon slightly and prevents the wrap from shifting, so the bill edges stay aligned instead of drifting. Felt also compresses gently, which is good for rolled bills that need structure on the outside. You get a soft, matte look that photographs well in daylight. Plan 20-30 minutes if you’re new, mainly because you’re cutting and trimming clean edges.
Skip thisDon’t choose thick, bulky felt; it telegraphs ridges from quarter folds.
Editor's noteTrim felt edges straight with a sharp craft knife — jagged edges show through ribbon.
4. Grosgrain ribbon sleeve (matte) with double tension ties
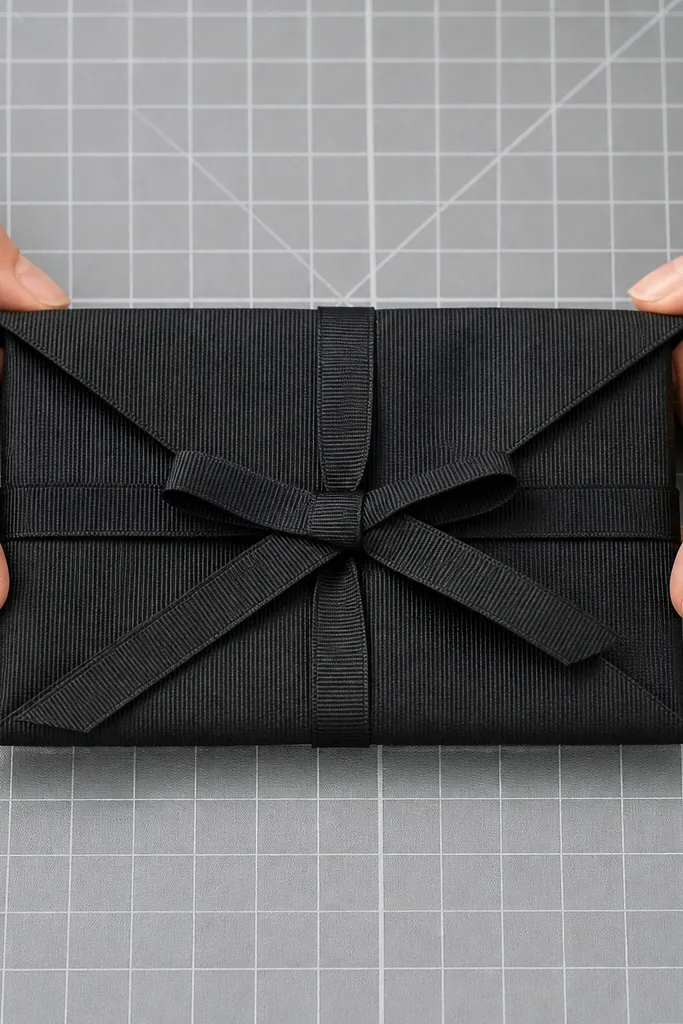
Grosgrain has a tight weave and a firm hand, so it flattens better than slippery satin. A ribbon sleeve also lets you control where the pressure sits, which keeps corners crisp. Matte grosgrain hides small wrinkles that would show on gloss. This wrap gives a polished look that still feels handmade. It’s medium-easy because you’re managing ribbon tension, but the result stays neat for photos and handling.
Measure the bundle diameter and add 1 inch for overlap; cut a ribbon strip that width. Wrap the ribbon around the cash bundle and secure the back seam with double-sided tape first, then add a dot of hot glue for backup. Tie a second hidden band at the opposite side (elastic or thin string under the ribbon) so the wrap doesn’t rotate. Finish by smoothing the ribbon ribs with your fingers in one direction only to keep the weave looking straight.
Use double-sided tape under the ribbon ribs; it prevents ribbon drift that causes uneven bill pressure.
Don’t tie a big bow on top of the bills — knots create a bump line.
5. Matte tissue paper wrap with a compress-and-tape finish

Tissue paper is lightweight and looks airy, but only if you control the compression. Matte tissue hides micro-wrinkles better than shiny paper, and the thin layer keeps bills close to the original shape. This wrap is great when you want a soft outer look without thick bulk that makes bills look lumpy. The trade-off is durability — tissue dents faster — so it’s best for indoor shoots or short events. Budget-friendly and quick, usually 10-15 minutes.
Cut a tissue strip wide enough to wrap and overlap by at least 1 inch. Wrap it around the cash bundle and press lightly with your palm so it conforms without creasing at the bill folds. Secure the overlap with small strips of tape at the back only. Add a ribbon band around the middle to lock the tissue in place and keep the outer surface smooth.
Press with a flat palm, not fingertips. Fingertips leave dents that look like creases.
Don’t use glossy tissue — glare exaggerates any unevenness.
6. Crepe paper wrap with a structured inner band
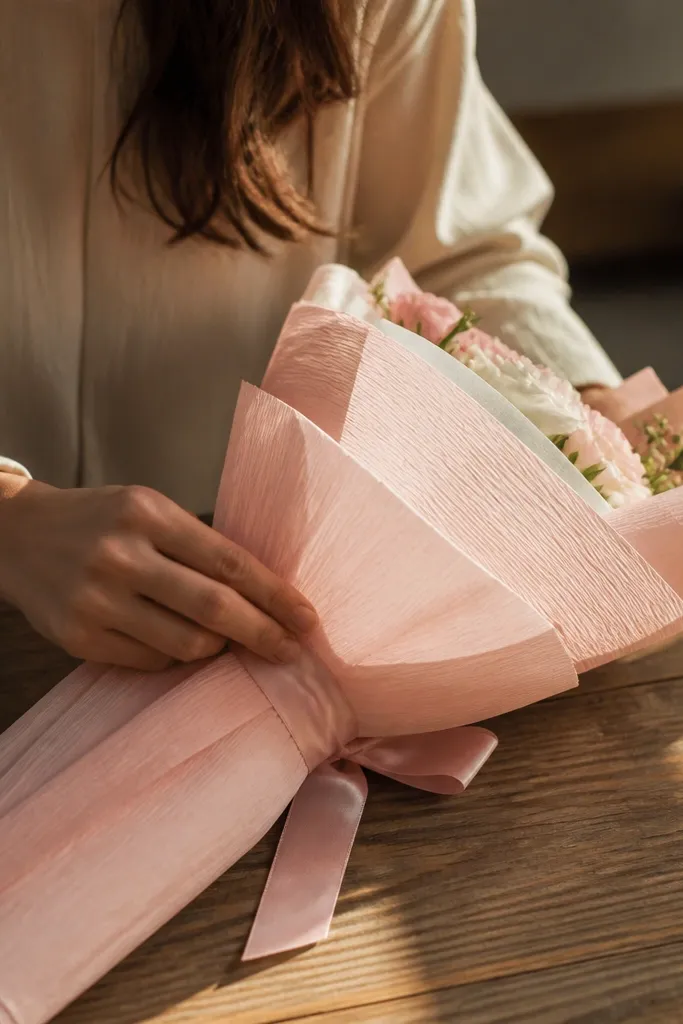
Wrap a thin craft felt strip or narrow kraft paper band around the cash bundle first to create a stable base. Then cut crepe paper strips and wrap them around that base, overlapping slightly as you go. Secure crepe at the back with hot glue in small dots so it doesn’t soak and wrinkle. Finish with a ribbon band to smooth the center and cover any glue spots.
Crepe paper is textured and forgiving, which helps when your cash folds aren’t perfect. The texture hides tiny edges, so the bouquet still looks neat even if your bill corners aren’t razor-sharp. The downside is crepe can look messy if it’s not stabilized. That’s why this method uses a structured inner band so the bills stay pressed while crepe adds the outer look. Choose this for a casual, handmade vibe where crispness comes from structure, not a stiff outer shell.
Skip thisDon’t wrap crepe directly around loose bills; it shifts and creates uneven pressure.
Editor's noteCut crepe strips with a straight edge and stretch them only slightly — too much stretch makes waviness show.
7. Matte satin ribbon wrap (thin) with edge sealing
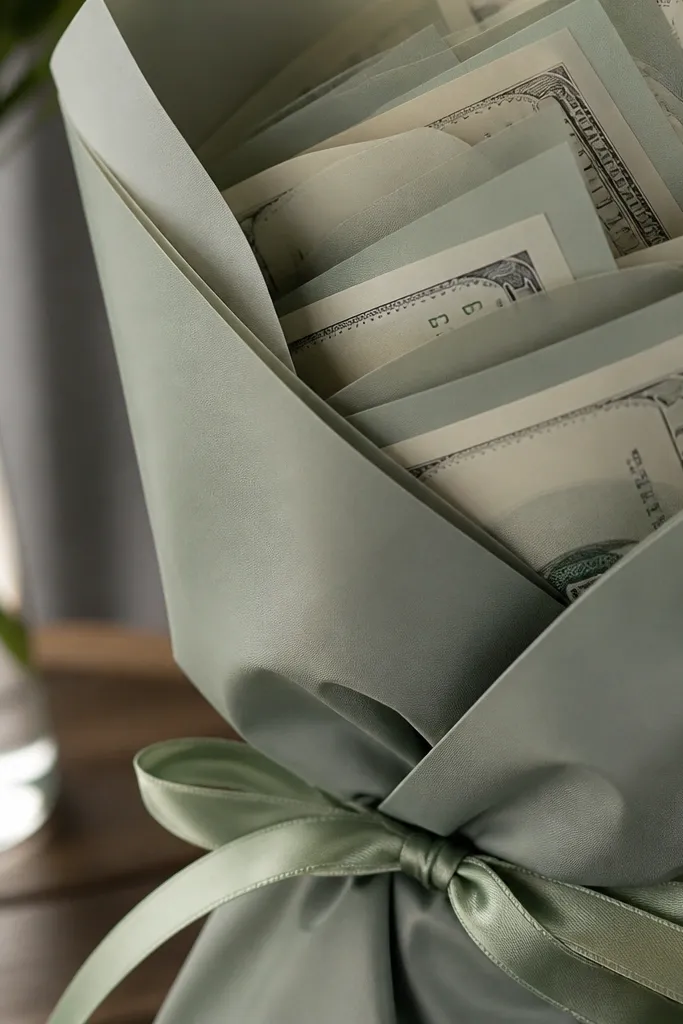
Cut satin strips about 1.5-2 inches wide so you can wrap in layers without building bulk. Wrap one layer around the cash bundle and secure the back seam with a small line of hot glue. Add a second layer slightly overlapping the first to cover seams, then seal ribbon edges with fray-check or a careful heat pass on the hem. Tie a thin band at the center to compress the bills, then trim any excess and press gently to flatten.
Thin satin can look clean and gift-like without the heavy ridges you get from thick fabric. Matte satin also reflects less light than shiny satin, so bill folds don’t pop out as sharply. The key is thickness: thin satin stays close to the cash and avoids bulky seams. This wrap suits events where you want a smoother, more polished look than paper. Expect 20-25 minutes because you’ll be sealing edges and keeping tension even.
Skip thisDon’t use glossy satin — glare makes every bill crease look intentional.
Editor's noteKeep satin layers narrow. Wide satin creates a thick ridge where the overlap lands.
8. Organza wrap with matte liner to kill glare
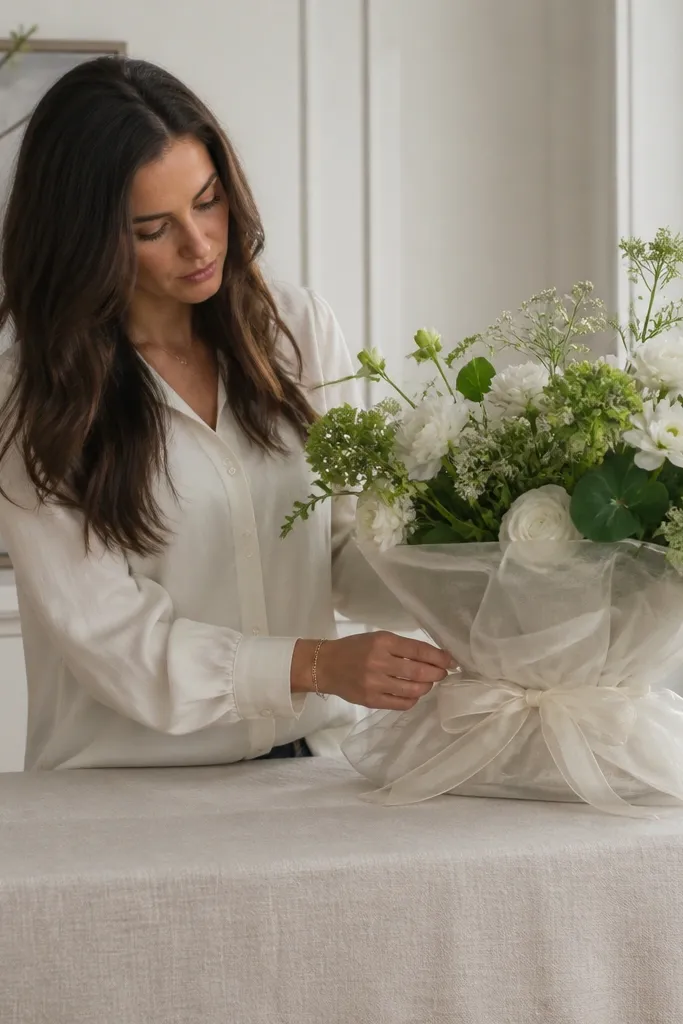
Wrap the cash bundle with a matte kraft paper band or thin felt strip as the base. Cut organza into a rectangle that wraps around the base plus overlap, then tuck the edges under a central ribbon band. Secure organza at two anchor points on the back using hot glue, not along the whole seam. Finally, pull the organza taut just enough to remove waves and press flat under the band so bill edges stay crisp.
Organza gives that airy, gift-bag feel, but sheer fabric is the enemy of crisp bills if you don’t control glare and movement. The fix is a matte liner underneath and a tight outer band so organza doesn’t float. When done right, organza looks light while the bills stay pressed and aligned. This is a good option for indoor evening events where you want softness, not a hard paper look. Skill level is medium because sheer fabric shifts while you glue.
Skip thisDon’t skip the matte liner — shiny organza makes bill folds look like wrinkles.
Editor's noteGlue at anchor points only; full-length glue stiffens organza and creates puckers that show through.
9. Matte paper wrap with ribbon bow side tuck

Wrap the cash bundle with matte paper like a sleeve and secure the seam at the back with tape. Leave a slight paper flap at the top where the ribbon will tuck. Wrap a ribbon band around the middle, then tie a bow off-center and tuck the bow knot into the paper flap. Glue the bow in place lightly so it doesn’t pull the paper out of alignment.
This is a clean way to get crisp bills without a bulky front knot. The matte paper gives structure, and the ribbon bow tucks to the side so it doesn’t sit on top of bill folds. Side tucking also helps photos because the front stays flat. Use this when you want a traditional “gift wrap” look but with better control over bill appearance. Time is about 15-25 minutes, mostly from folding and trimming paper edges.
Skip thisDon’t place a big bow dead center over quartered bills.
Editor's noteMake the bow knot slightly off-center so the thickest spot doesn’t land on a bill fold line.
10. Thin faux leather strip wrap for crisp structure

Cut faux leather into a strip 2 inches wide and long enough to overlap by 1 inch. Wrap it around the cash bundle and secure overlap with hot glue at the back only. Add a ribbon band or twine around the center to compress the bills and keep the leather from sliding. Smooth the leather with a flat tool (like a plastic spoon handle) so the surface stays even.
Faux leather is firm, which means it keeps the cash bundle’s shape without wrinkling. It also resists creasing from pressure, so quartered bills stay looking flat. This wrap has a modern, grown-up look, and it hides minor fold imperfections under a smooth surface. The trade-off is it can look bulky if the strip is too wide. Use narrow strips and you’ll get crisp bills with a clean, tailored finish. Build time is around 20 minutes.
Skip thisDon’t use stretchy faux leather; it shifts and breaks the crisp pressure line.
Editor's noteUse narrow strips. Wide faux leather makes the overlap mound visible.
11. Matte coffee-brown paper wrap with corner crease control
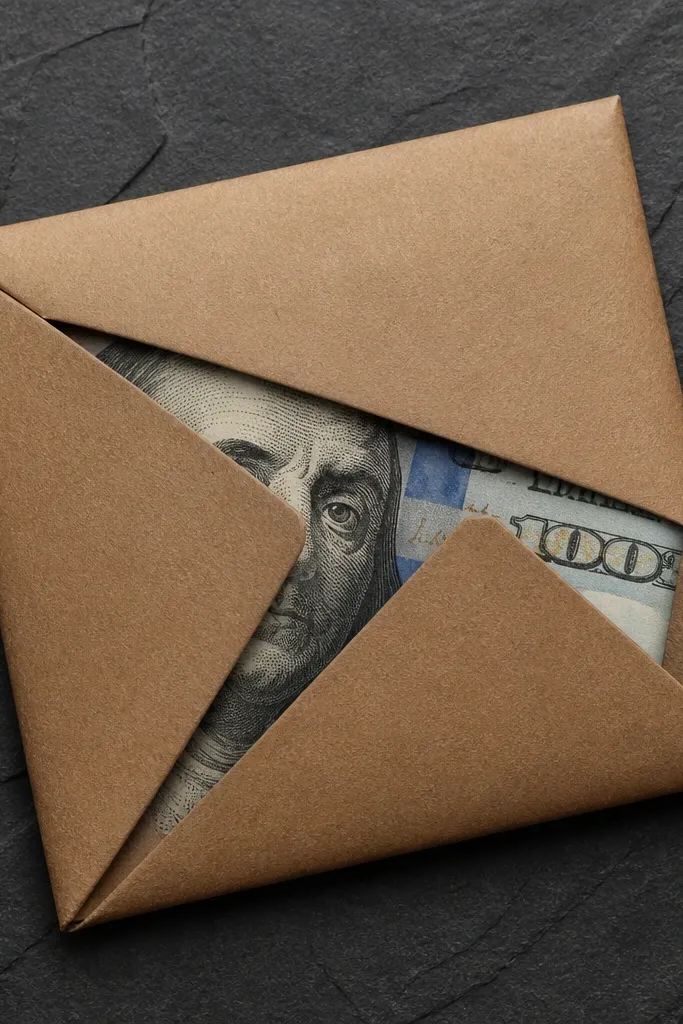
This is the look you want when you like kraft paper but want cleaner corners. By controlling corner creases, you prevent the paper from forming random folds that line up with bill edges. The matte surface also keeps the bills from looking glossy and “creased.” It’s a strong pick for quartered bills because paper can press them into a tidy rectangle. Time is 15-25 minutes, and the skill is mostly careful folding.
Cut paper into a rectangle sized to wrap with overlap, then mark corner fold lines so corners land between bill fold areas. Wrap the paper around the cash bundle and secure the seam with tape. Fold and crease corners sharply, then hold them for 20-30 seconds so the paper sets. Add a ribbon band around the middle to lock corners in place and hide any tiny gaps.
Press corner creases with a ruler edge for straight lines.
Don’t freestyle corner creases — uneven corners show as bill-edge shadows.
12. Thin burlap wrap with a satin band over the bills

Cut burlap into a strip wide enough to wrap, and seal the cut edges with fray-check or a quick hot-glue line along the back edge. Wrap burlap around the cash bundle and secure at the back with hot glue. Add a satin or grosgrain band tightly over the middle where the bills sit, then tie a small ribbon bow at the top or side. Trim excess burlap so it doesn’t poke into the ribbon band.
Burlap is textured and forgiving, but it can snag bills if it’s the only layer. The trick is to use burlap as the outer texture while a smooth satin or grosgrain band sits right over the bill area to keep pressure even. This gives a rustic look without the messy bill edges you get when burlap rubs against paper folds. It’s best for quartered bills where you want a stable, centered finish. Expect 25-35 minutes because burlap frays and needs careful trimming.
Skip thisDon’t let burlap sit directly on bill folds; it creates rough pressure points.
Editor's noteSeal burlap edges before wrapping. Wet glue and fray make bumps under ribbon.
13. Tulle wrap with a tight ribbon corset band
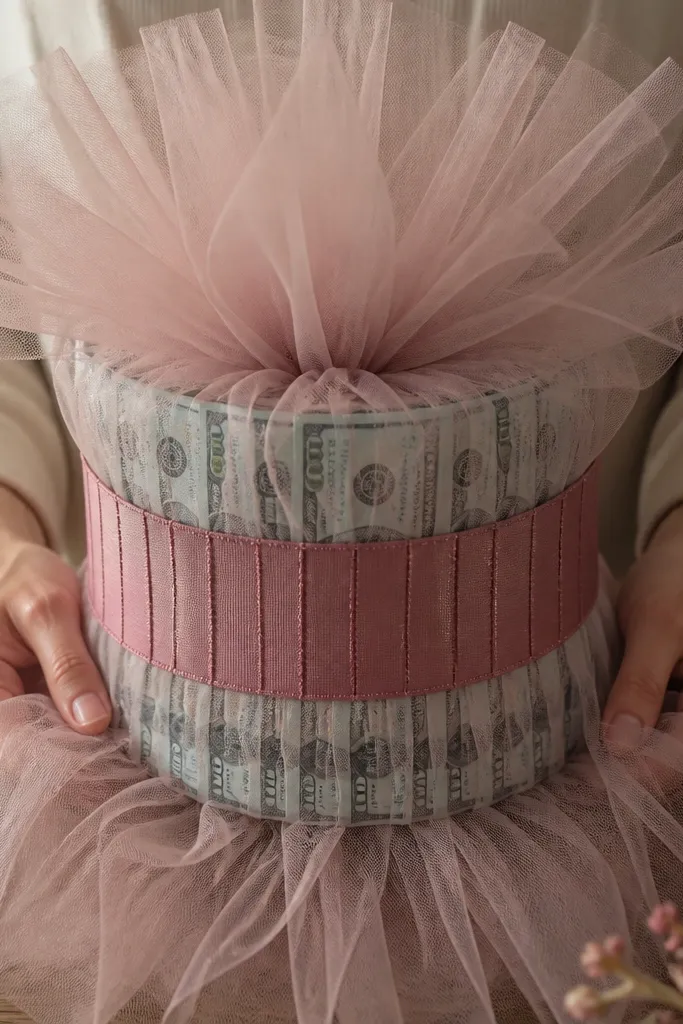
Wrap the cash bundle with a thin matte paper or felt base strip first. Drape tulle around the outside and anchor it at two back points with hot glue. Then tie a wide grosgrain or satin band tightly around the middle like a corset, compressing the bills under the band. Trim tulle overlap neatly and press the band area so it flattens the cash surface.
Tulle gives a soft, light look, but it wants to float. The corset band idea keeps it tight where it matters — over the bills — so the cash stays pressed and crisp. This wrap is good for events where you want a romantic look without thick fabric. If you’ve ever seen tulle make money bouquets look puffy, this method stops that. It’s medium difficulty because tulle is hard to glue flat.
Skip thisDon’t glue tulle across the entire front. It creates bumps that show through.
Editor's noteUse a wide band (about 1.25-1.5 inches). Narrow bands create a thin pressure line that exposes bill edges.
14. Paper fan wrap with hidden tape spine

Cut a long paper strip and fold it into a fan accordion style. Wrap the accordion fan around the cash bundle with the spine placed at the back, then secure the spine with double-sided tape. Add a ribbon band around the middle to lock the fan shell in place. Trim the fan edges so they sit evenly and don’t press into the bill fold area.
This wrap gives movement and a crisp silhouette without relying on bulky fabric. The fan folds create a structured outer shell, and the hidden tape spine keeps everything aligned so bills don’t shift. It’s a great choice if you want the bouquet to look “designed” rather than wrapped in a single flat layer. Crisp bills come from the spine and from keeping the fan folds off the bill fold lines. Build time is about 25-40 minutes depending on how neat you want the fan.
Skip thisDon’t place the tape spine on the front — it telegraphs through ribbon.
Editor's noteKeep fan folds consistent width (about 0.5 inches) so the shell presses evenly.
15. Accordion craft paper sleeve with ribbon top band
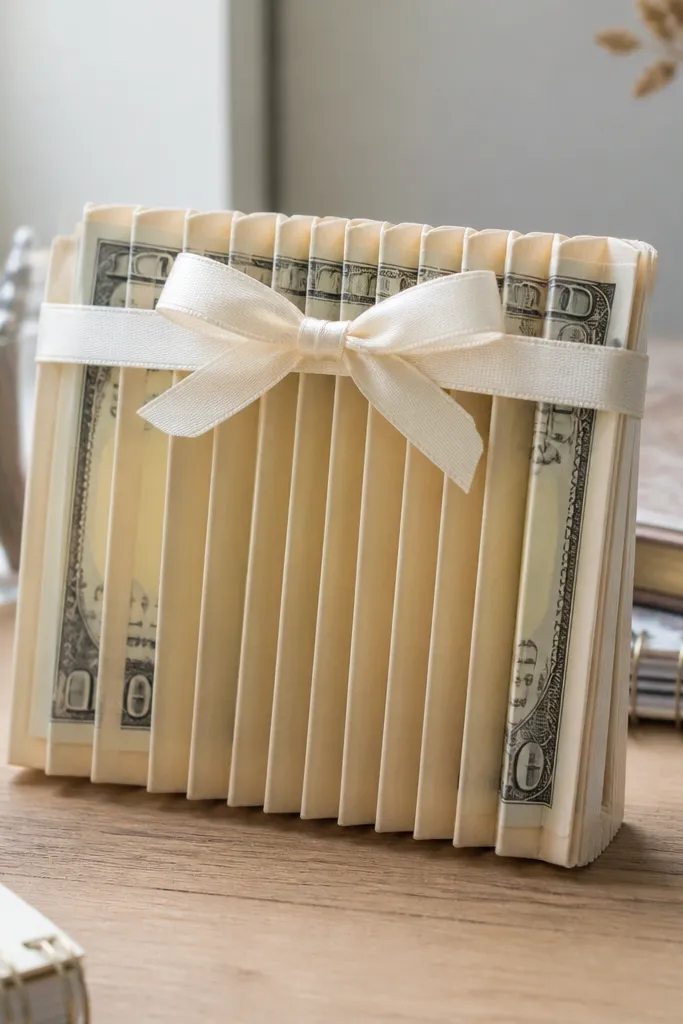
Cut craft paper to wrap around the cash bundle with overlap, then score and fold into an accordion (fold width around 0.4-0.5 inches). Wrap the accordion sleeve around the bundle and secure the overlap with tape at the back. Place a tight ribbon band near the top to compress and stabilize, then add a second band around the middle if your paper sleeve feels loose. Smooth the sleeve with a flat hand so the folds sit flat.
Accordion craft paper gives you structure plus a slight give, which helps keep bills looking flat and centered. It presses evenly because the folds distribute pressure, so you don’t get that single ridge effect. The ribbon top band covers the attachment points and makes the whole thing look intentional. This is a strong pick for quartered bills and for cash bundles that need to survive being carried in a bag. Skill level is medium because accordion folding needs straight, even folds.
Skip thisDon’t use thin flimsy paper — it collapses and bills look uneven.
Editor's noteScore with a ruler and dull tool so the folds stay crisp and don’t crack under pressure.
16. Organza bow wrap with flat bill compression strip

If you like the airy look of organza but hate the wrinkly bill look it can create, this is the compromise. You use organza for the outer effect, but you compress the bills with a flat strip under the organza so there’s no floating fabric over the folds. The result is crisp edges and a clean front panel. This works well for photo sessions where you want a light, soft top layer. Time is about 20-30 minutes because you’re managing layers and trimming organza edges.
Cut a flat compression strip from matte kraft paper or thin felt and wrap it around the cash bundle first. Drape organza over the outside and anchor it at the back with hot glue. Tie a ribbon band over the compression strip area so it holds bills flat and prevents organza from sliding. Finish by wrapping the bow tie area with a small ribbon piece to hide glue points.
Anchor organza at the back only. Front glue lines show through sheer fabric.
Don’t let organza cover the bill folds without a compression strip — it lifts and distorts the surface.



